
Building In Some Billies
Psssst… this post *might* contain affiliate links: see my disclosure here.
Raise your hand if you’re familiar with a yellow and blue Swedish big box store with aisles and aisles of white laminate. Raise your hand if you’re a fan of custom built-ins. Raise your hand if said custom built-ins fit easily within your budget. No? I thought so. When we decided to redecorate our library/ den into a home office, the first thing we decided to tackle were these shelves. (This is the den after 12 minutes with the kids…)
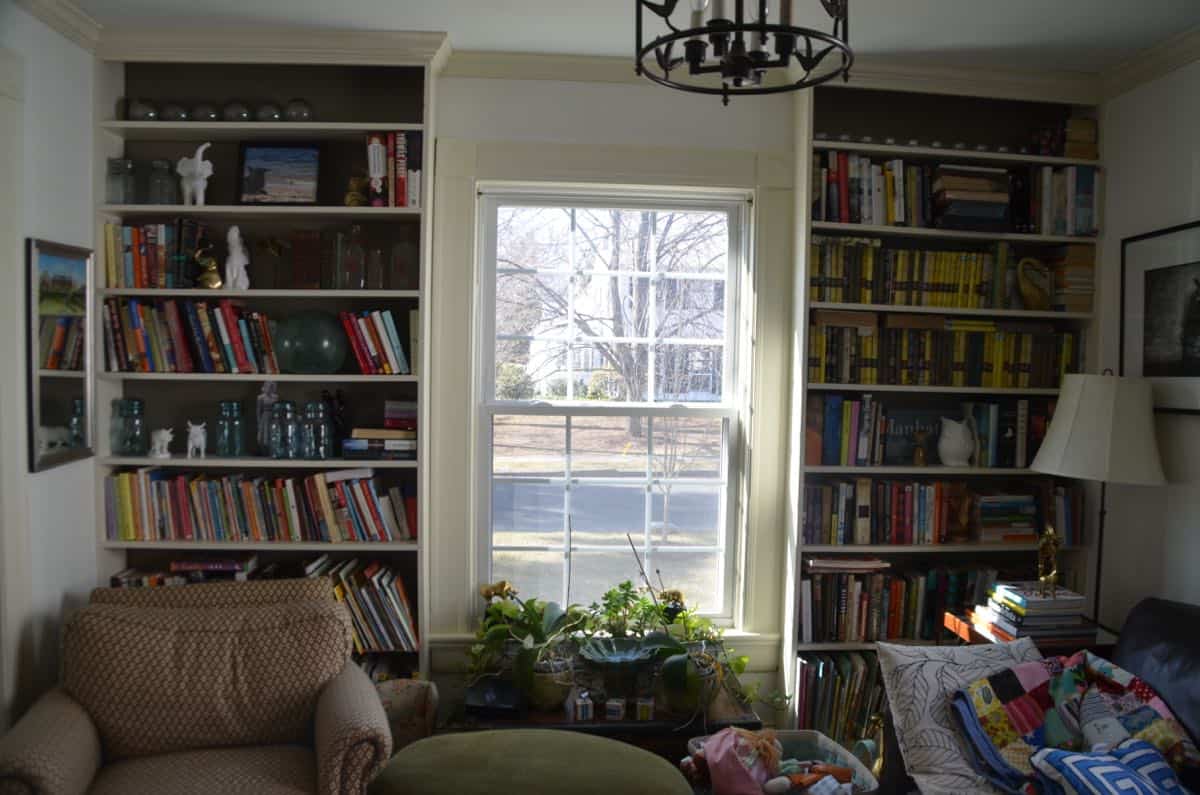
They were ‘custom’ and they were ‘built-in’…. but they were stupid. They were 7 inches deep. SEVEN!!! That’s deep enough for my Danielle Steele paper back collection. Barely. They were also built so close to the windows that the moulding was pretty much obscured by the shelving. They had to go. But…we weren’t just sitting on a couple thousand dollars for a new and improved set of built-ins… Eureka! An Ikea idea!
Shop my favorites!
“Built-In” Ikea Billy Shelves
The Billy is one of the most basic, inexpensive, and handy items Ikea has to offer. The biggest rap, in my opinion, is that the sides are a little thin and the shelves are particle board so over time can sag. But… for $75 a unit, it’s hard to argue the affordability. And if we need to spring for new $10 shelves in a few years, we’re still WAY below the price point of a custom built-in. So let’s jump in, shall we? There are 2 depths for the Billy (11″ and 14″). We needed to get the 11″ one in order to accommodate the height extension unit which only comes in the 11″ depth. The extension brought the shelf to 8′ which is important when you see how we framed the whole thing out.
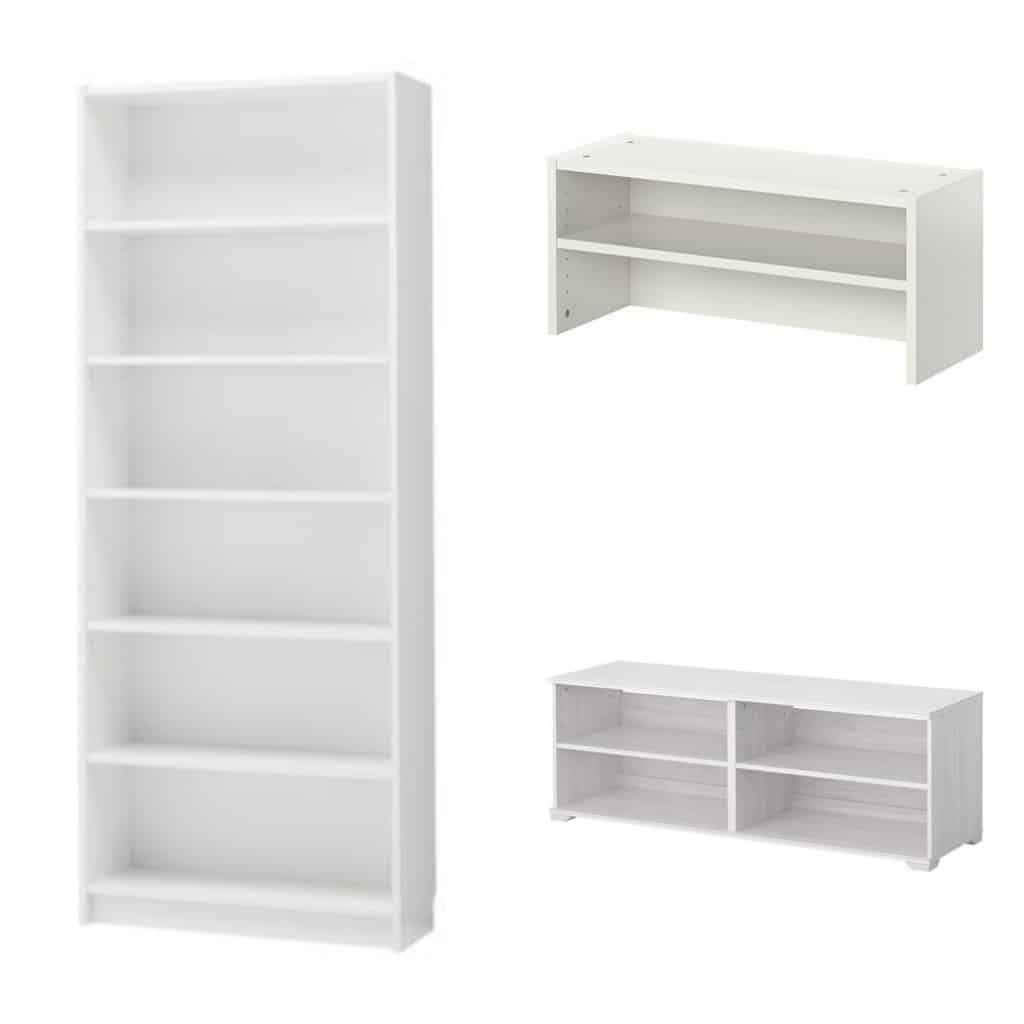
Clockwise from left: Billy, Billy Height Extender, Borgsjo TV Unit
Step 1: Assemble the Billies
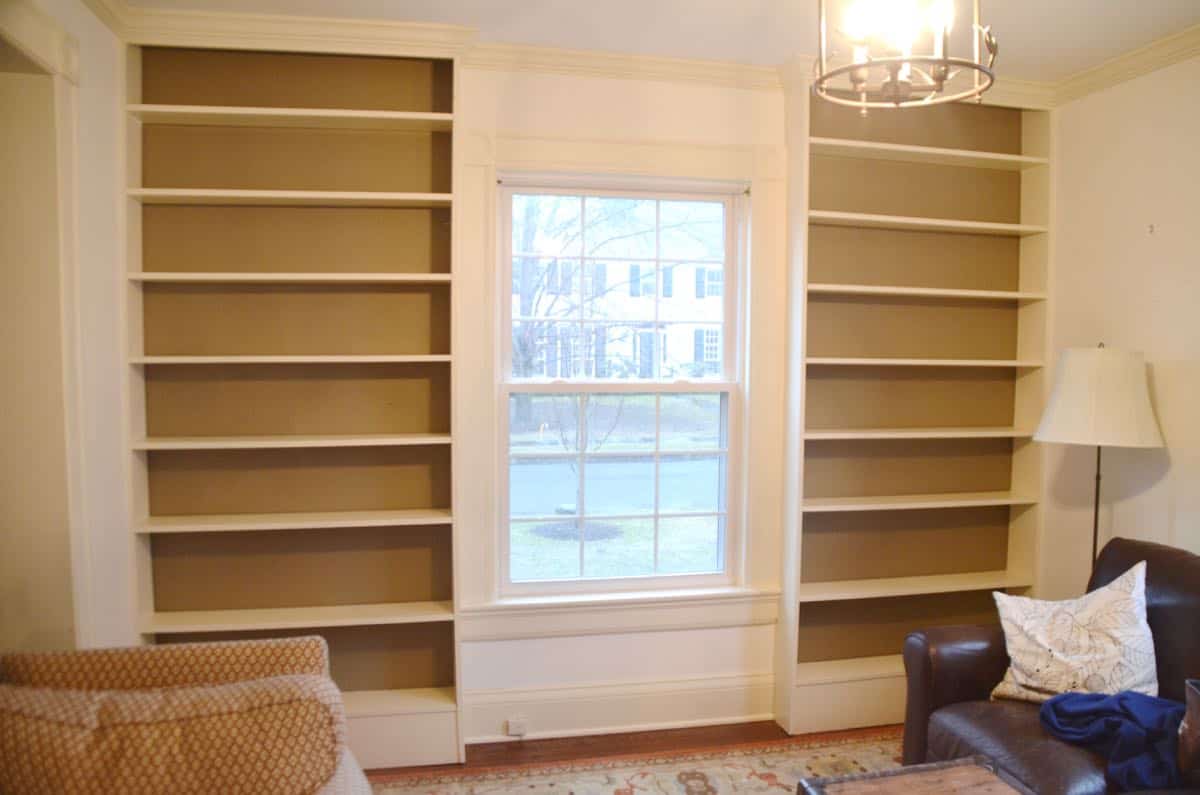
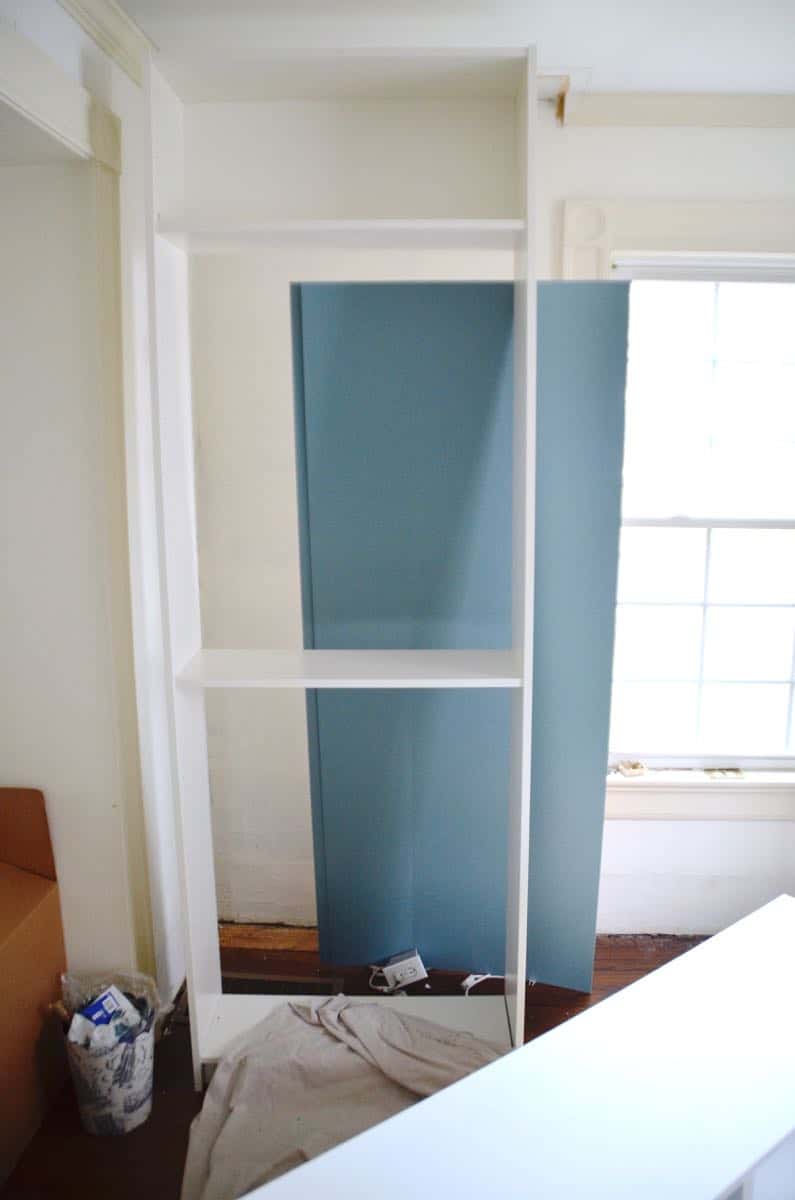
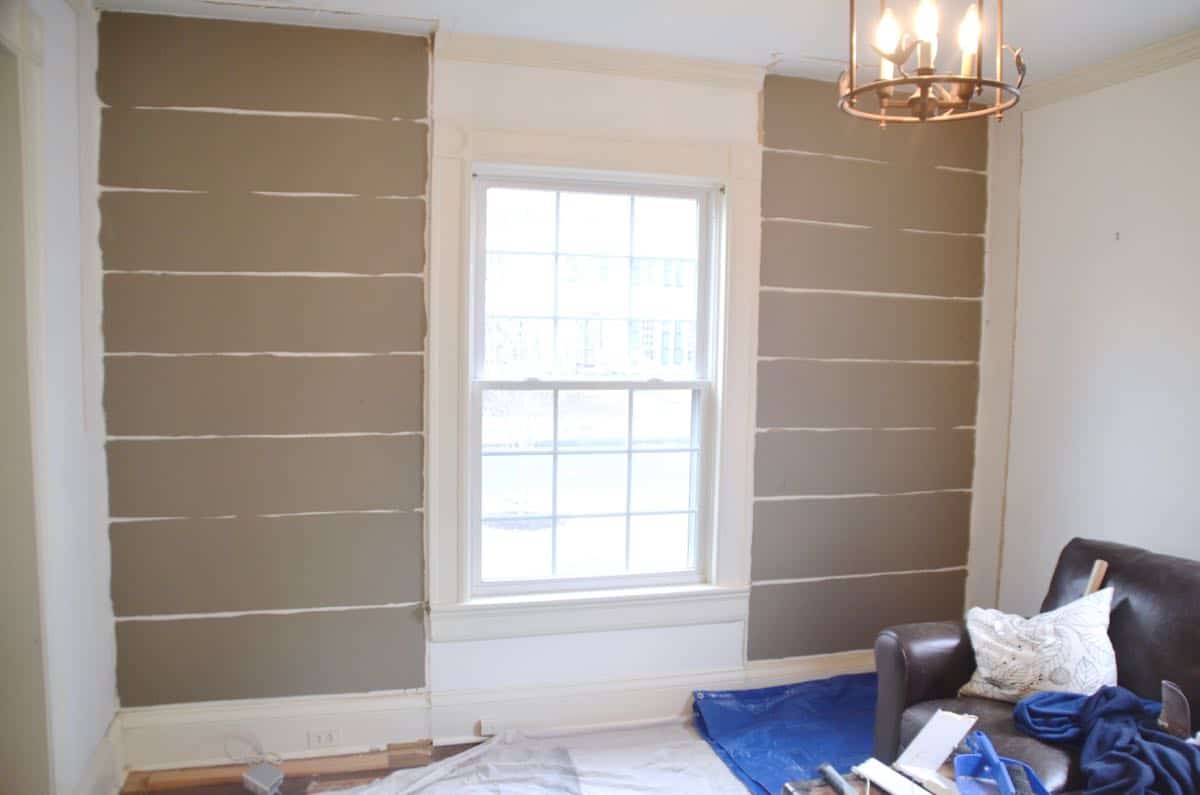
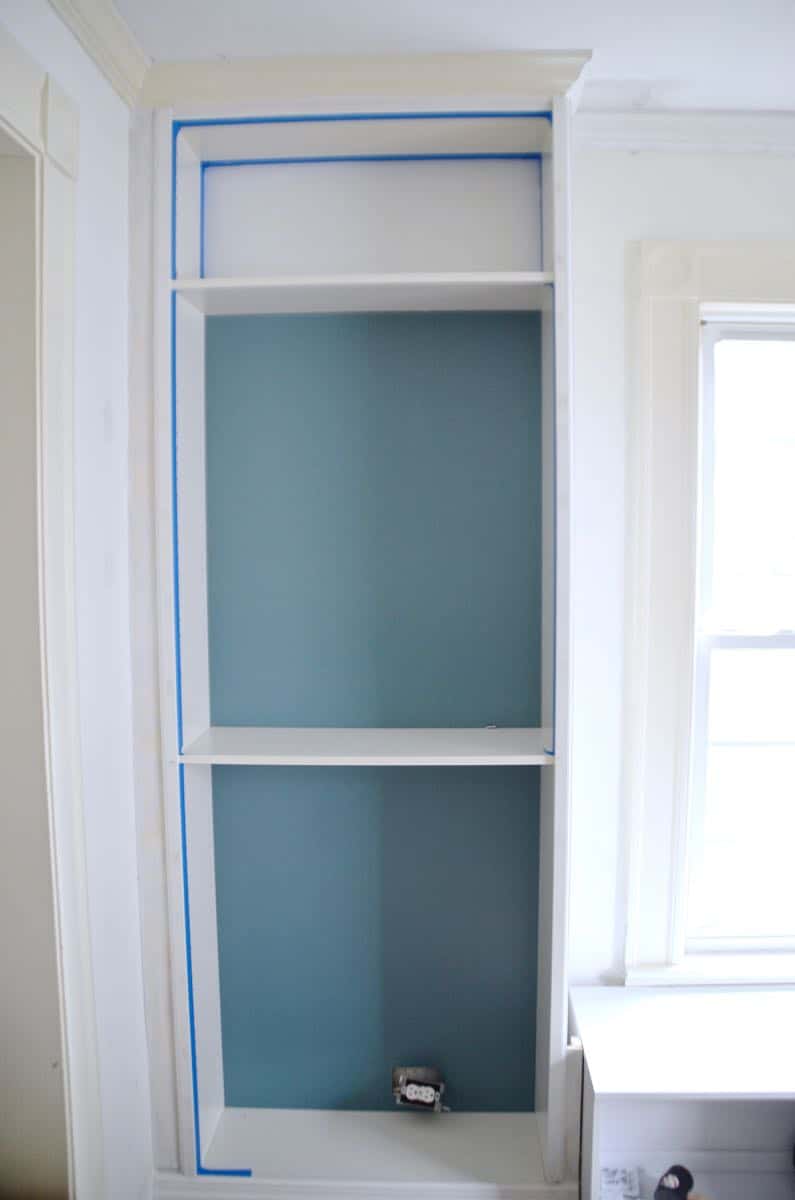
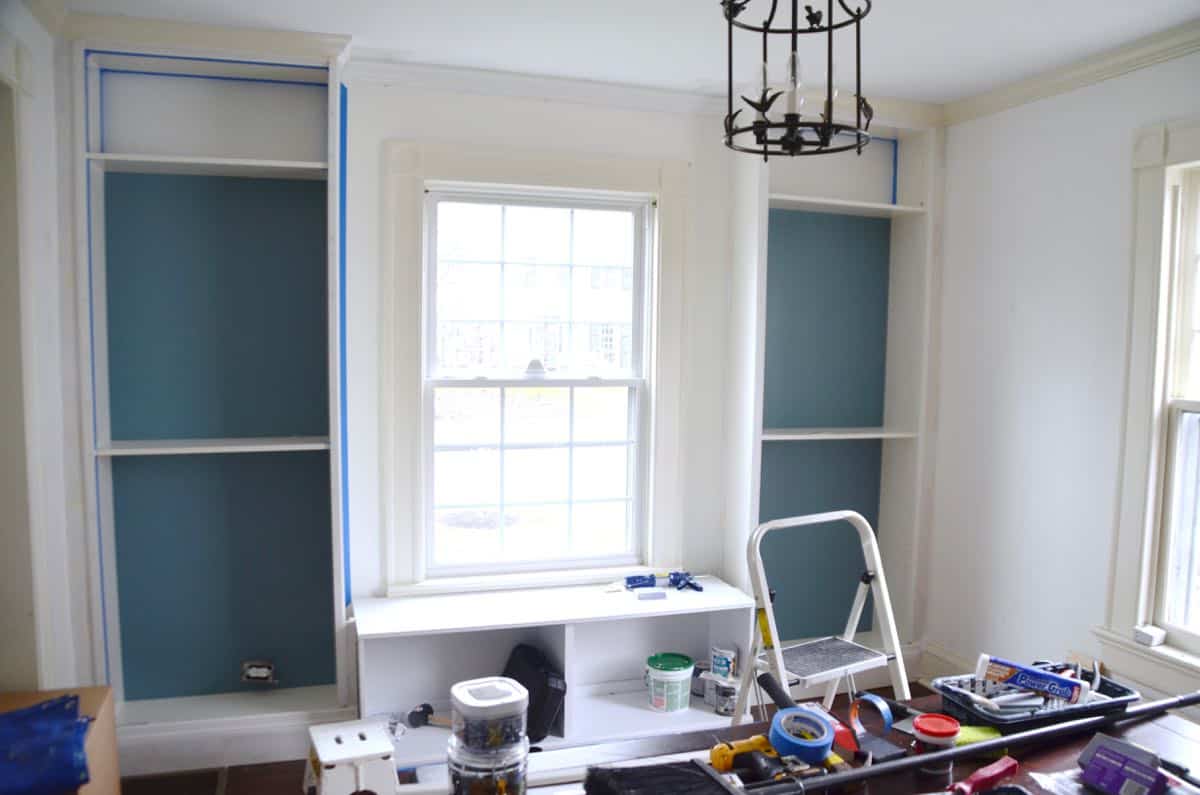
For the bench seat, I snagged this Borgsja media unit for $59. Mark took care of the demo (how could I deny him a chance with a sledgehammer) and sadly the existing built-ins pretty much peeled away so no rugged smashing needed. Mark also took care of the Ikea building (I painted the back of the Billy’s before sliding them in place). (Secretly, I enjoy putting together Ikea furniture, but I was happy for the help!) Status at this point is zero 7″ built-ins and 3 Ikea units. And the built-in wall looked like this.
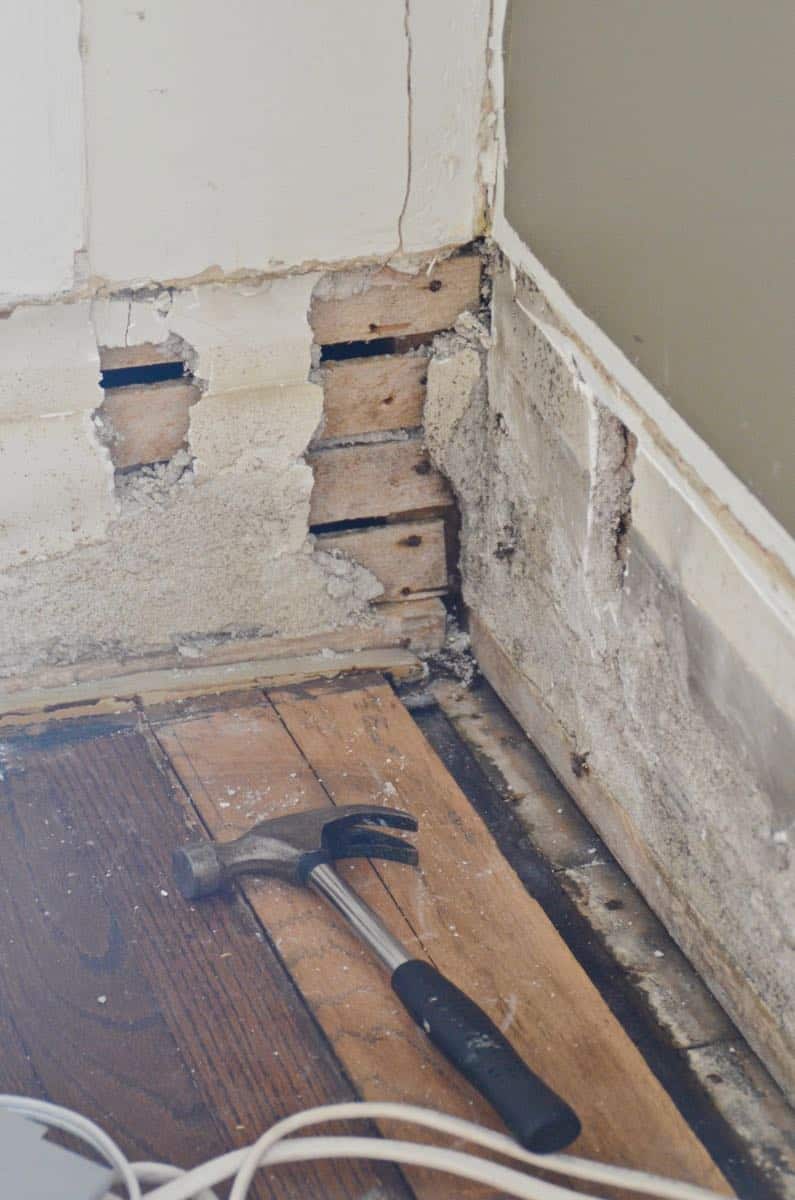
Step 2: Remove any baseboards
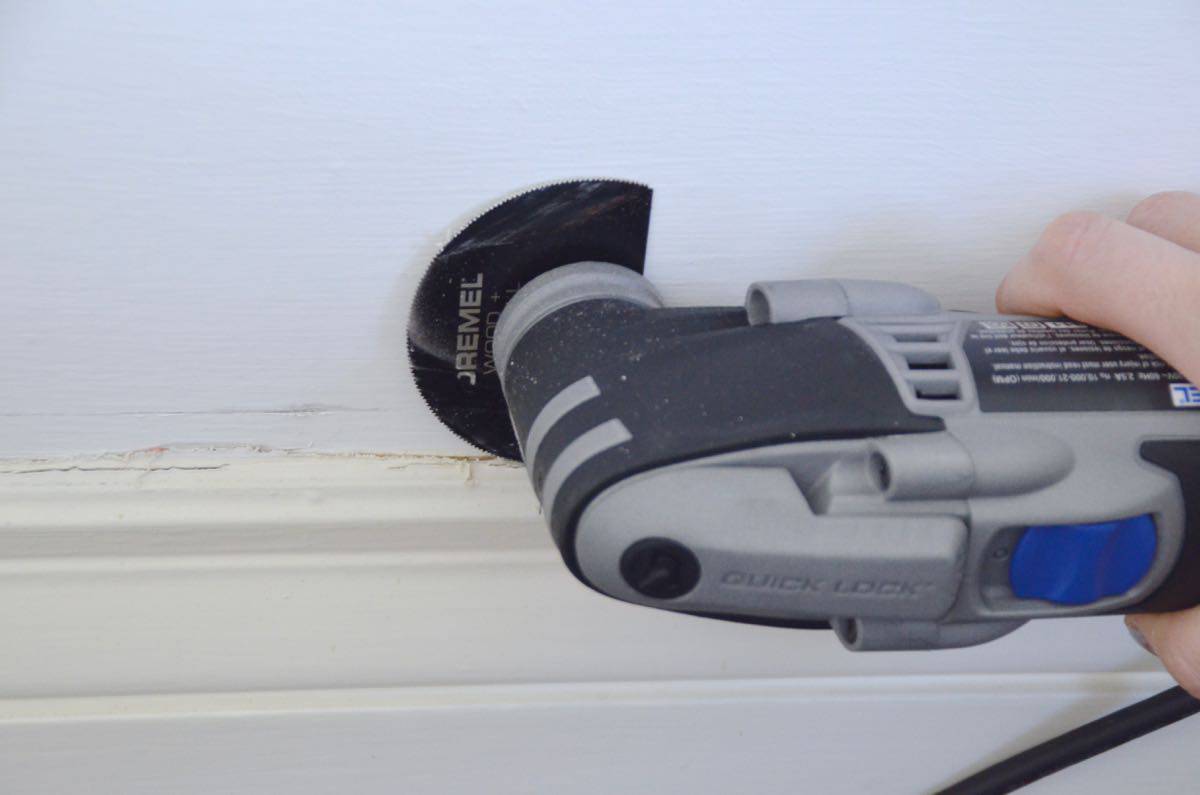
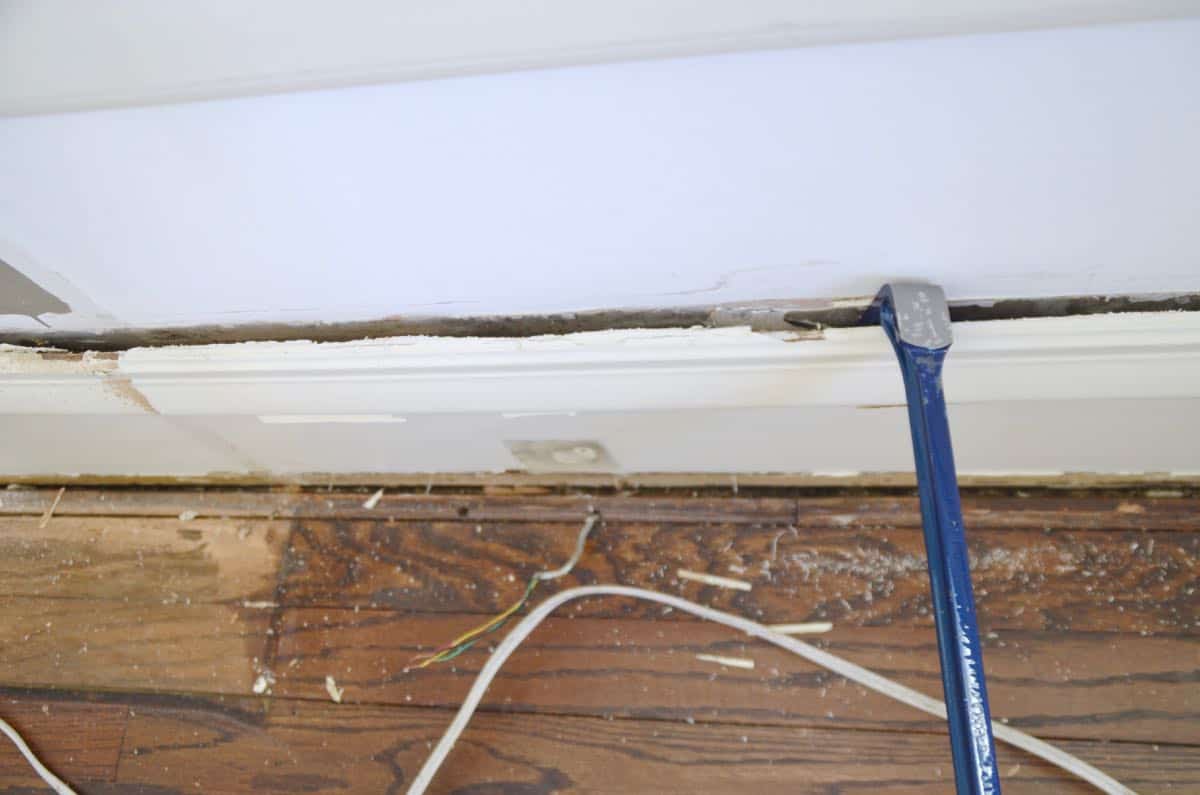
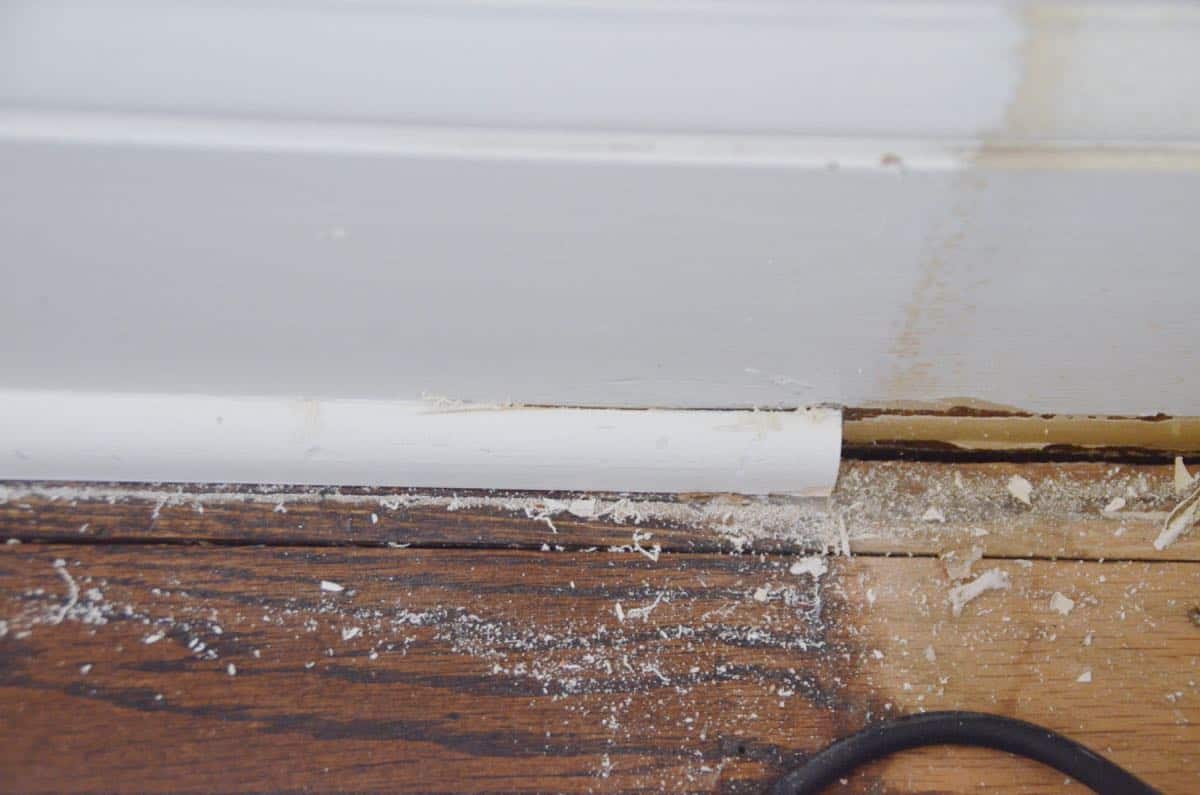
In order for the built-ins to sit flush against the wall, I needed to remove the baseboards. Here’s what you need to remove baseboards. A crow bar. And (*affiliate link) the amazing Dremel Multi Max![]() to cut through the caulk in order to pry the baseboards off. Our old home has plaster and lathe walls so pulling out the baseboards got way worse before it got better.
to cut through the caulk in order to pry the baseboards off. Our old home has plaster and lathe walls so pulling out the baseboards got way worse before it got better.
Step 3: Patch any holes in the wall
I fell in love with joint compound as a result of this project. (These walls aren’t visible, but I still wanted to patch them up a bit…)

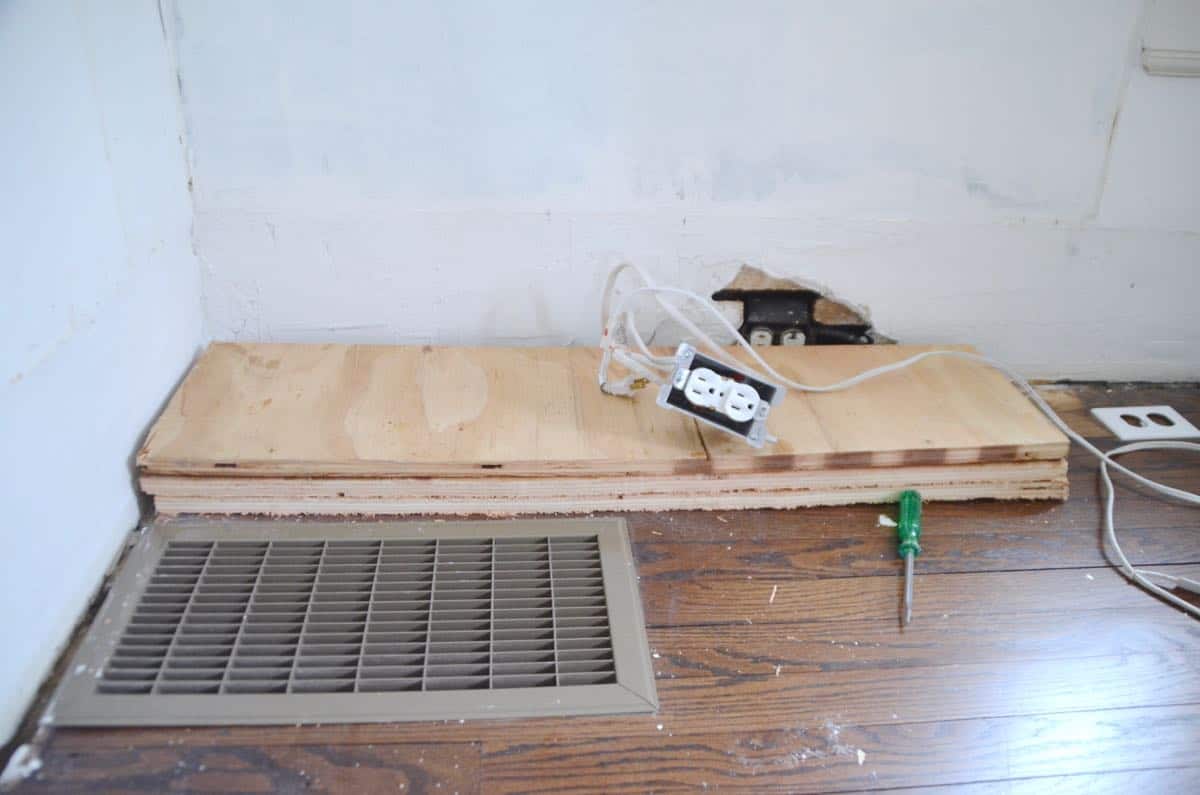
Step 4: Elevate the Billies
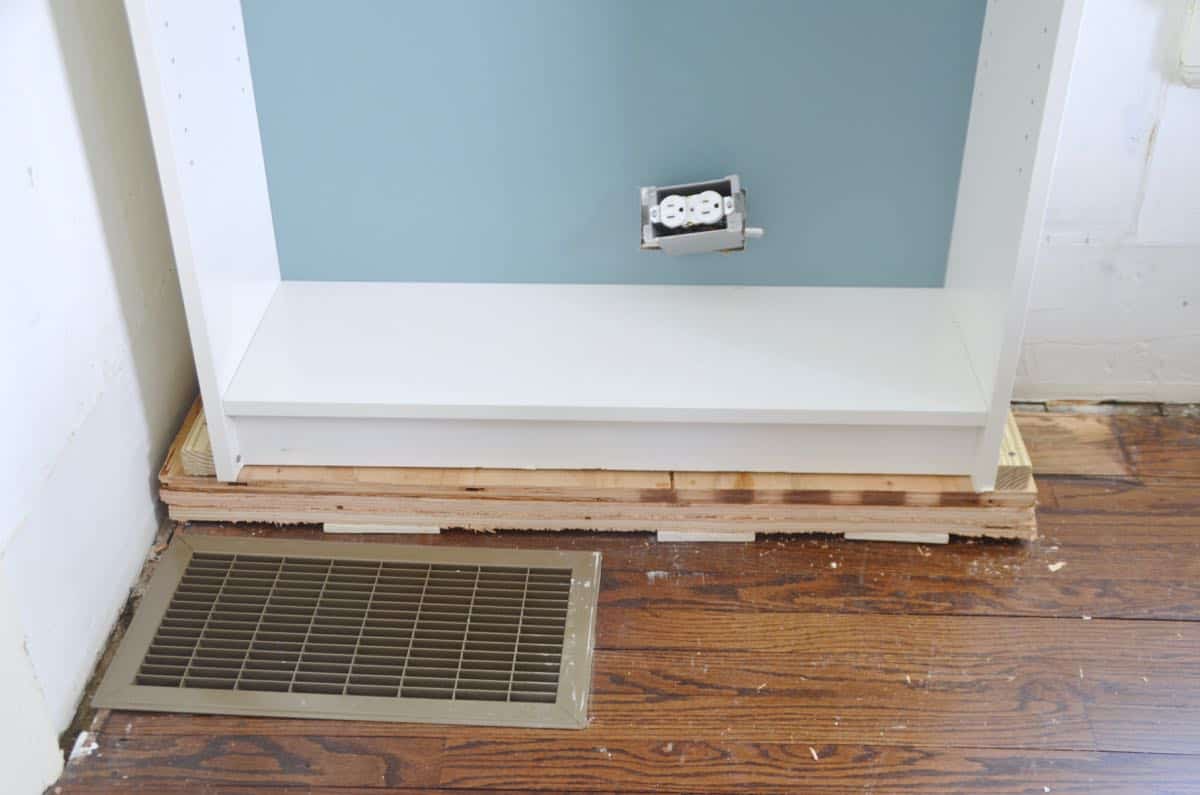
Onto the building-in portion of this program. The goal is obviously to make the Billies look less like Billies, so the first step was to raise them high enough to allow for a meatier baseboard. I cut up a sheet of plywood we had leftover and screwed three sheets together, shimmed these to level and then screwed them into the floor to anchor them.
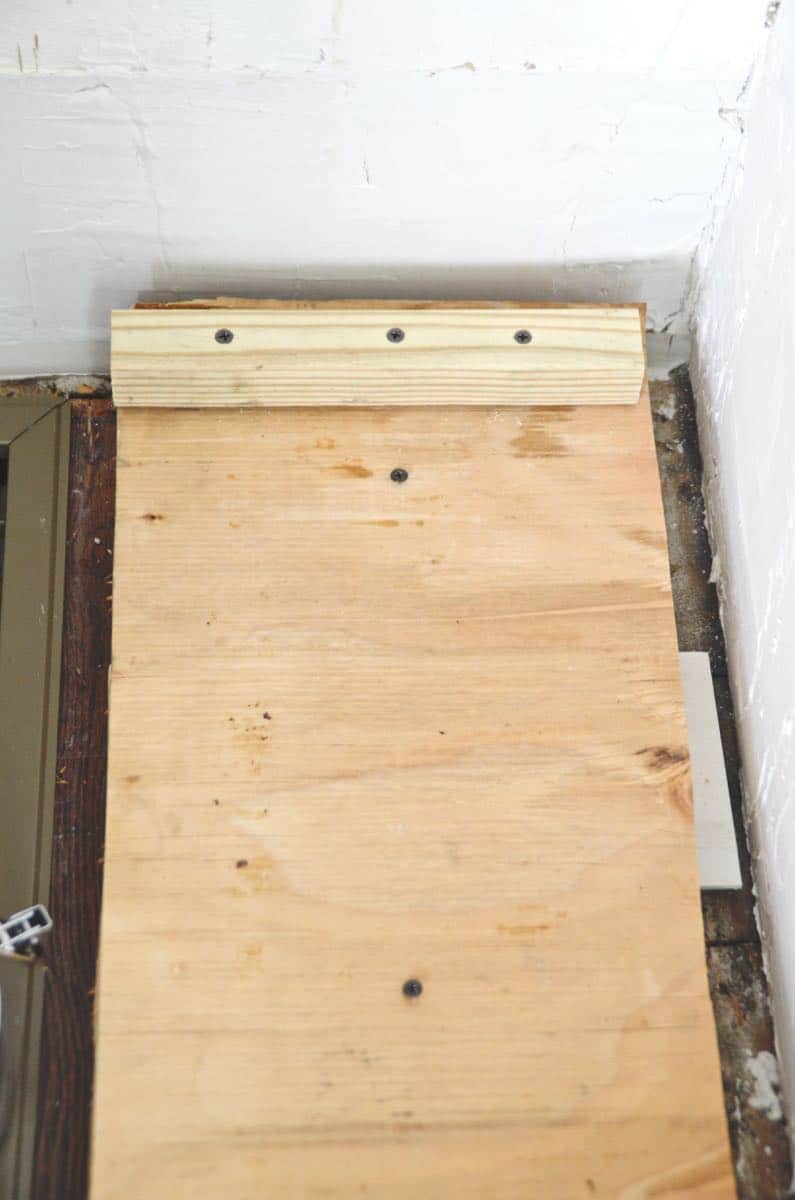
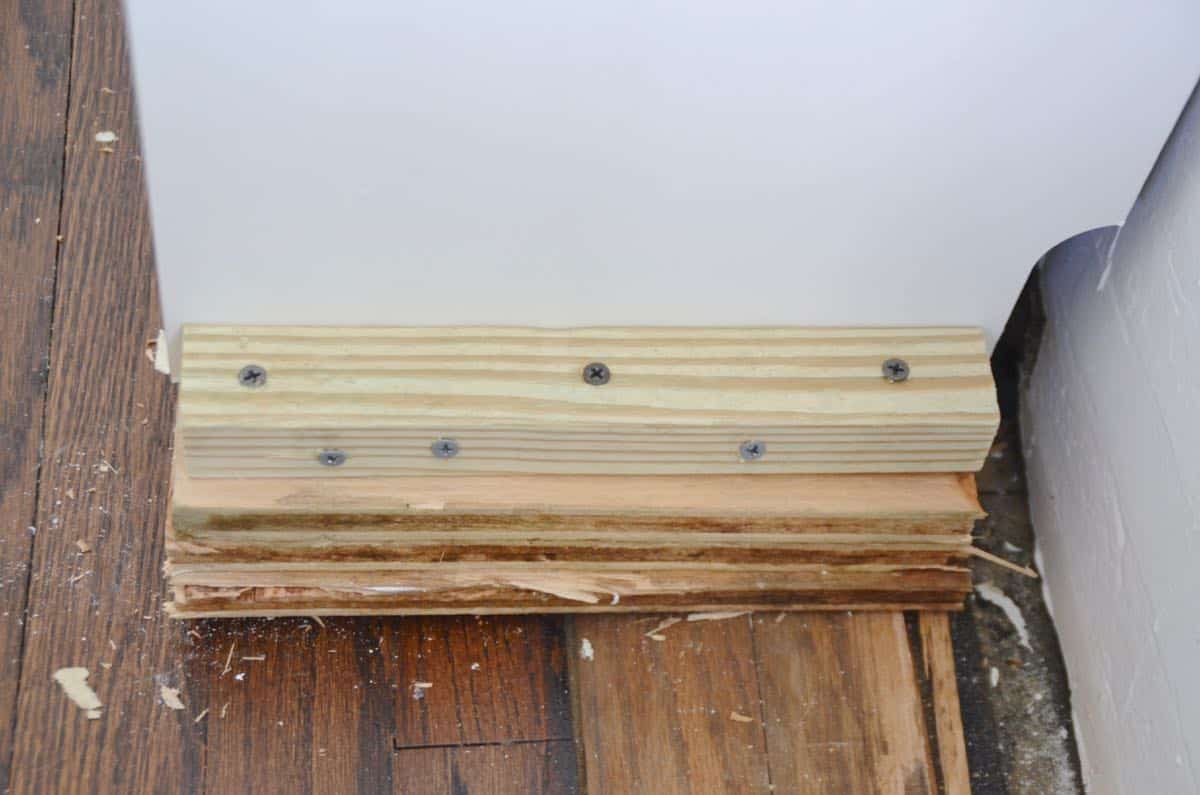
Step 5: Secure Billies to the floor
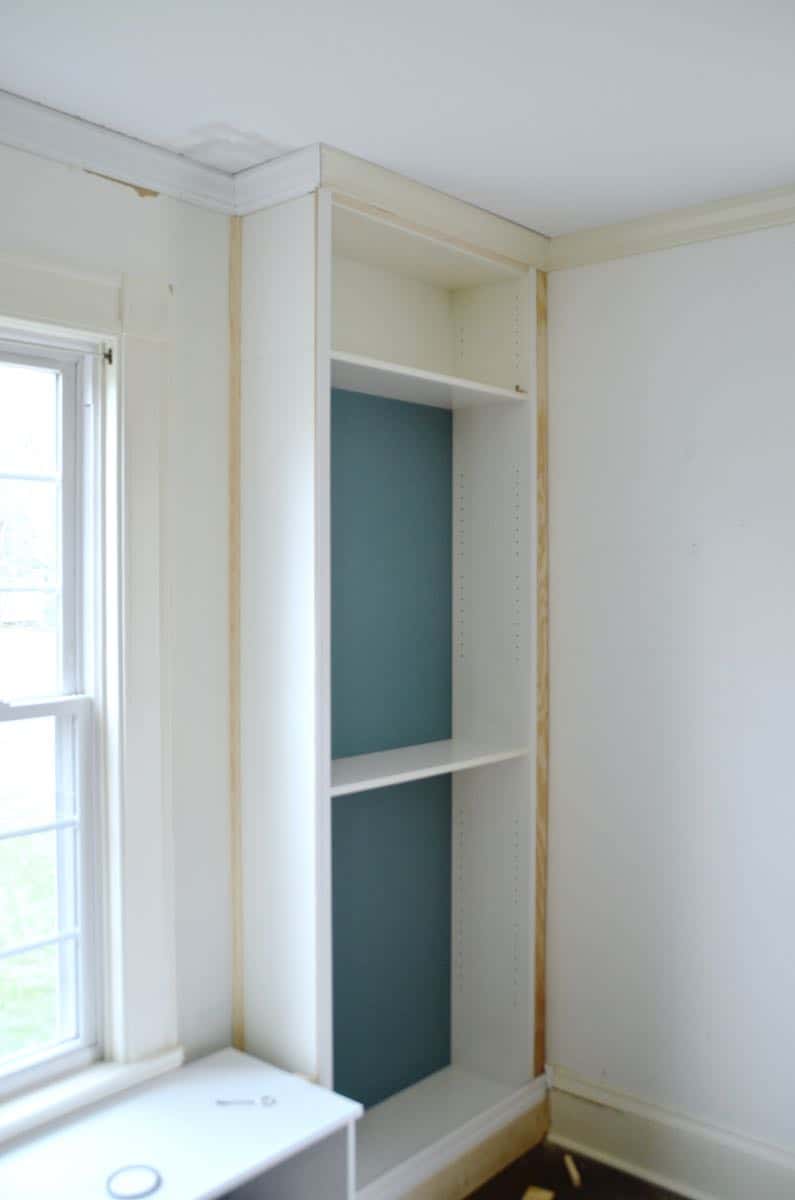
This also brought the shelves high enough that crown moulding/ molding would reach from the top of the shelves to be flush with the ceiling. Our biggest concern with these shelves was that they wouldn’t, like, TIP OVER on someone. Ikea includes an anchor kit, but because these shelves were only 3″ from the ceiling, there wasn’t any room to use it… so I screwed a 1 x 1 into the base on either side, and drilled through the sides of the shelves into the 1 x 1. (The shelves are also screwed into the wall on one side and then finally the crown molding gives them another moderate anchor point.)
Step 6: Add baseboards
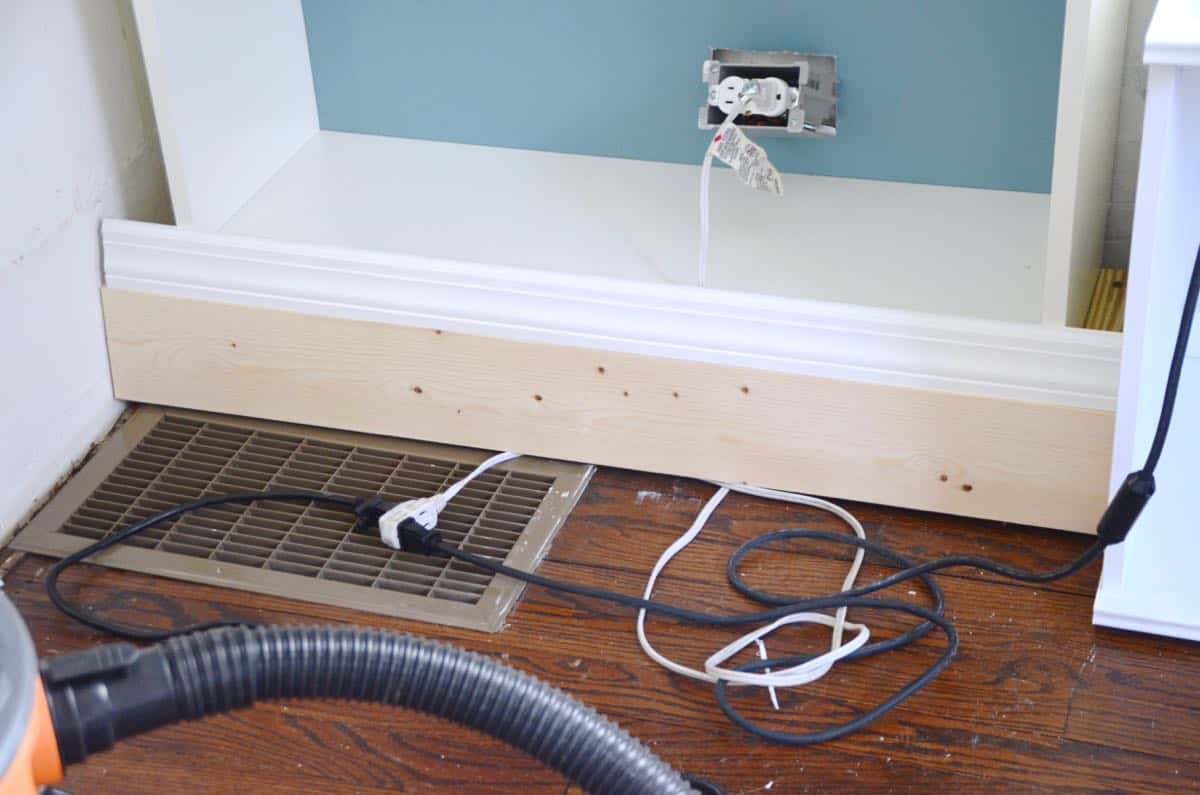
In order to keep this post a few chapters shorter than my favorite, Gone With the Wind, I’ll skim the next few steps, so if you have questions, ask in the comments! In order to get the Billies looking more like built-ins, we needed to 1) add baseboards, 2) add crown molding and 3) add trim to the front. For the baseboards, I paired a 1 x 5 with trim to copy the ones around the rest of the room.
Step 7: Add crown molding
I can’t speak to the crown molding because Mark took care of it, but I will say this… go ahead and watch some YouTube videos. And while you’re at it, grab an extra 8 feet of crown molding. To attach the crown to the Billy’s, I nailed a 1 x 2 across the top of the bookshelf and then nailed the crown into it.
Step 8: Add trim and quarter rounds
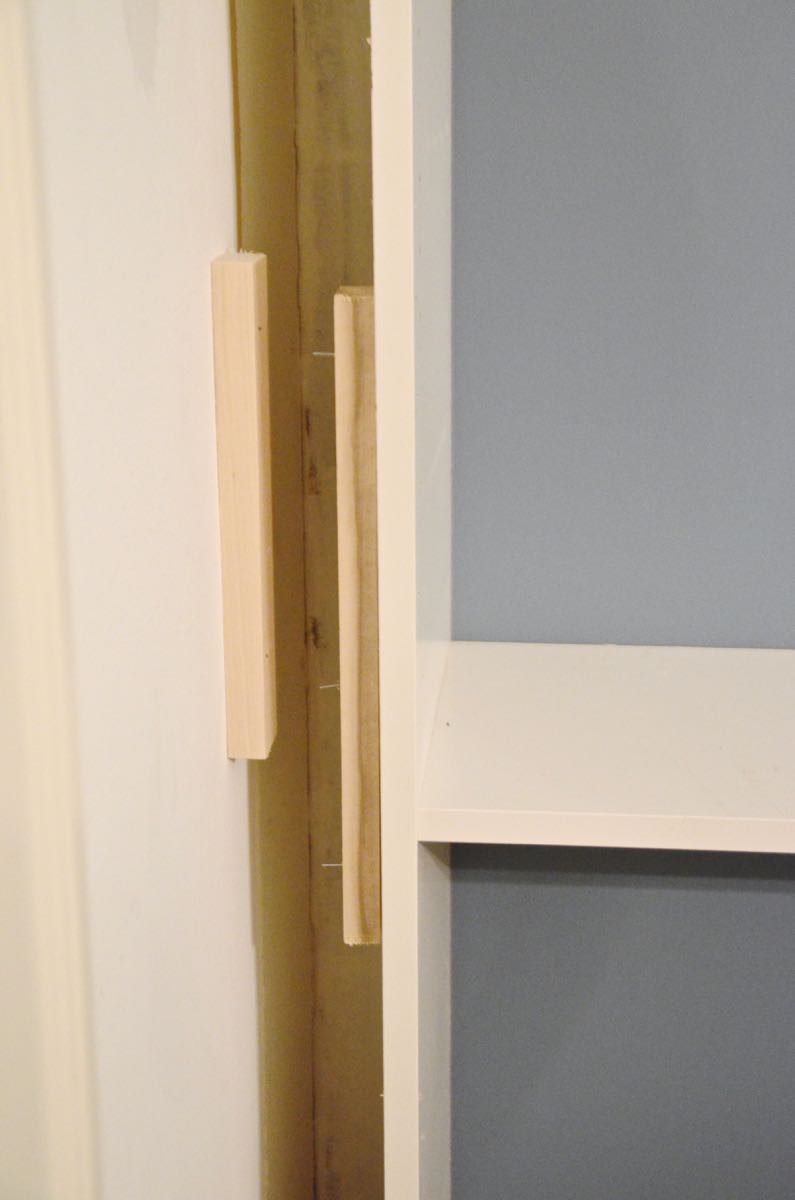
We kind of centered the Billy’s on the wall which meant there was about 3″ of space to fill on either side. I cut down some plywood and then nailed strips of wood into the wall so that the plywood would have something to nail into. Does that make sense? Then I added trim to cover the seams.
Step 9: Add Bench Seat
For the bench seat, I cut a piece of plywood, added some foam and wrapped with this lovely blue linen I had in my stock pile. It’s not drilled into the cabinet, but it fits pretty snug.
Step 10
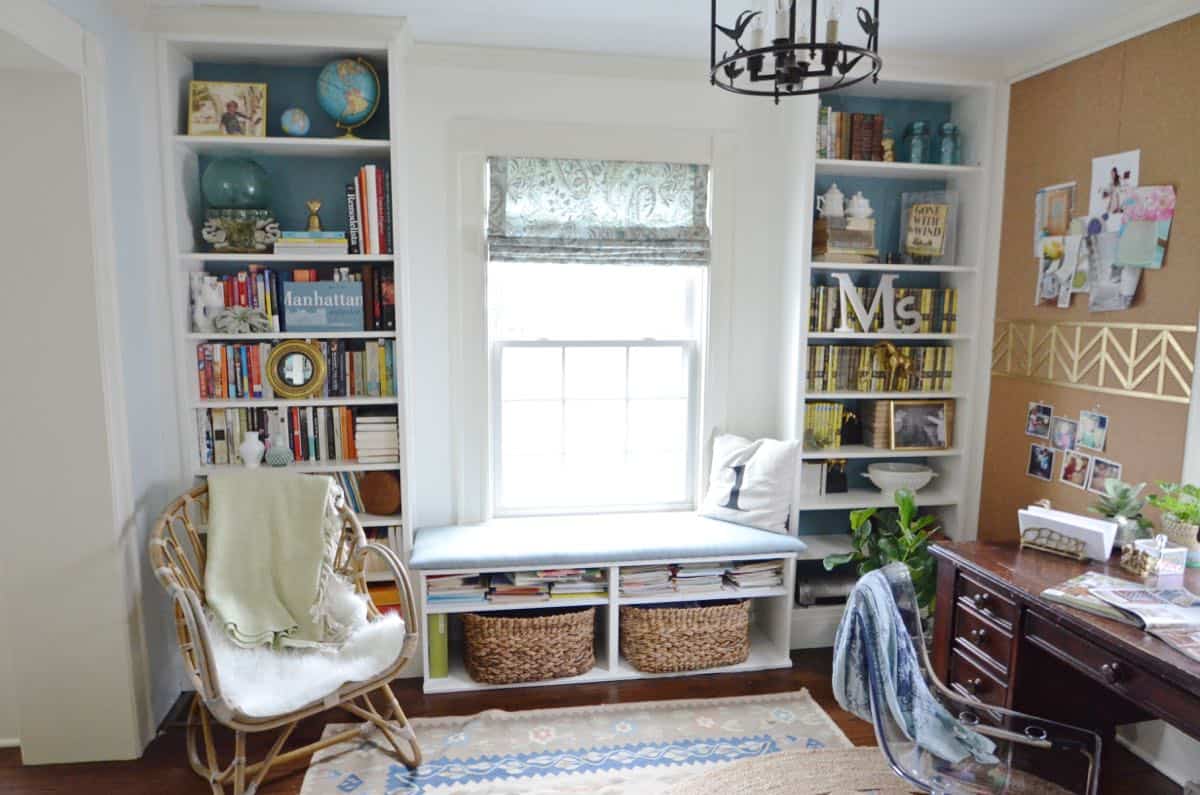
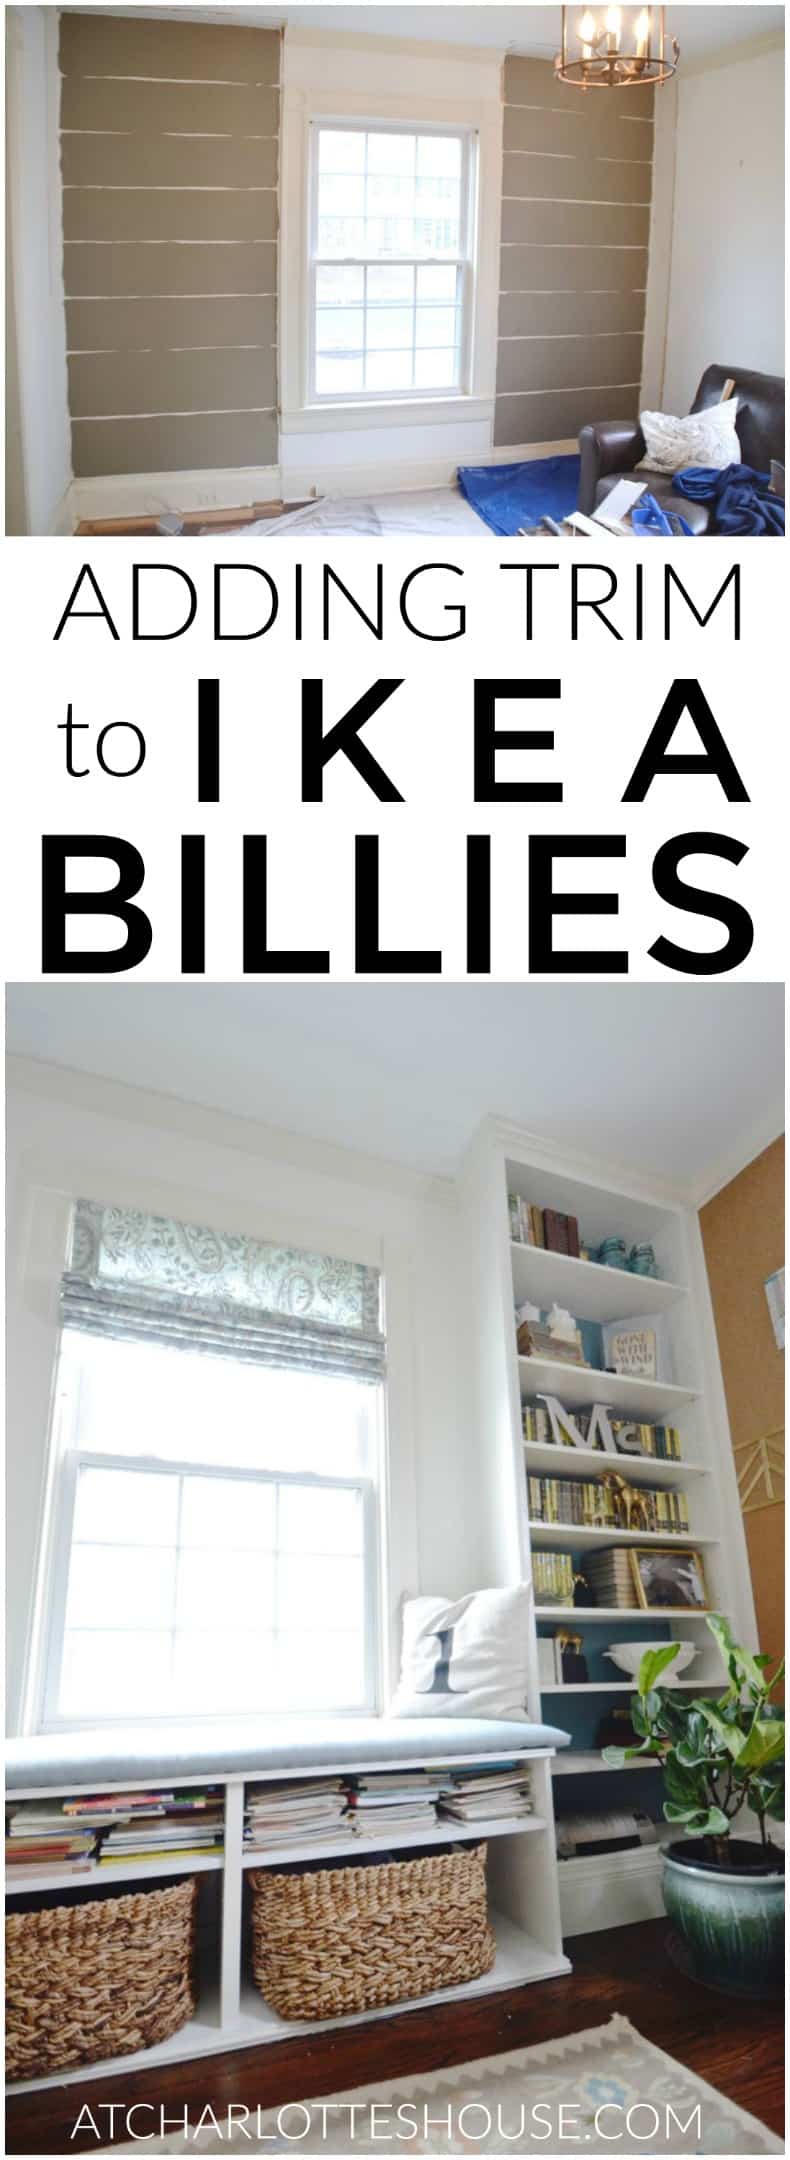
2 hours with a caulk gun, lots of primer, and a few coats of Behr color matched to BM Dove White and BM Spanish White for the crown. Hellllooooo, built-ins!! They make this wall look much more substantial and complete than the prior ‘built-ins’ and for less than $300 I’d say we did pretty well for ourselves!
Again… I’m sure I missed some steps, so please leave any questions in the comments…Once I got the hang of everything, it wasn’t all that complicated, but it definitely took some measuring and fussing and trimming and correcting.
Materials and Tools Needed:
(Affiliates included for your shopping convenience.)
- Crowbar and hammer
- Dremel Multi Max
- compound miter saw
- brad nailer
- drill
- crown molding and trim of your choosing
- caulk/ caulk gun
- paint/ primer
- joint compound
Reminder of before:
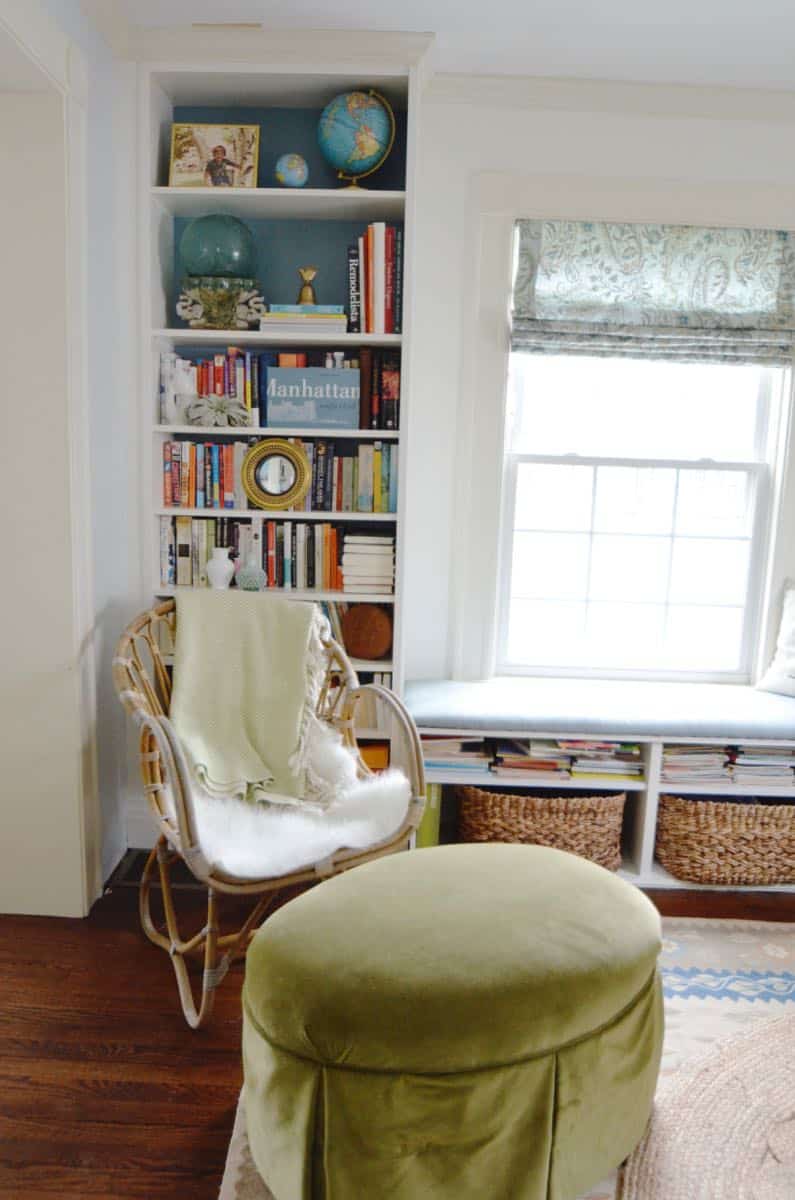
And AFTER!


Absolutely gorgeous!!! Of course I love those globes too. The color you chose for the back is beautiful.
Ha! I know you do, girl. Kindred globe spirits! xx
I’m so glad you posted this! I’m getting ready to add some to one of my rooms!
Sara, Its so satisfying… there are lots of fun trims to choose from and anything’s better than the plain ol’ Billy, right?!
The window seat is fabulous. You made it so much easier than I thought it could be. Great post.
Thanks, Pat! It was one of those projects where the execution was a breeze, but trying to wrap your head around it all was more complicated. 🙂
Awesome project! Bless you for taking out your baseboards. I don’t know if I’d have the heart to do it in my old house! Although I have been thinking of doing some built ins some place. How I have to decide where!
Looks terrific and thank you for the tips and tutorial. Planning to do a built in of my own and this helped a lot.
David
Good luck, David! Was much easier than I expected, but there were a few places we had to noodle over.
I tried bulking up some ClosetMaid cubes in white melamine trying to accomplish the same thing after having seen something similar on another blog. I used a super-duper primer that was supposed to bond to anything. Complete fail. I think the Billy bookshelves have a similar finish. Would you share any specifics of what you did to accomplish a successful finish? (i.e. did you sand, use a specific primer, extra coats, wave a magic wand over them, etc.)
Ugh. I feel your pain. I actually had one failed attempt on the back of these where I went to do something and the ENTIRE COAT OF PAINT peeled off. UGH. I think a really good strong primer is the trick. I know Zinsser 1-2-3 is great. For these, I did what I did for our kitchen island cabinets. Sand… degloss… tack cloth… primer meant for shiny/ laminate/ etc. and pray.