
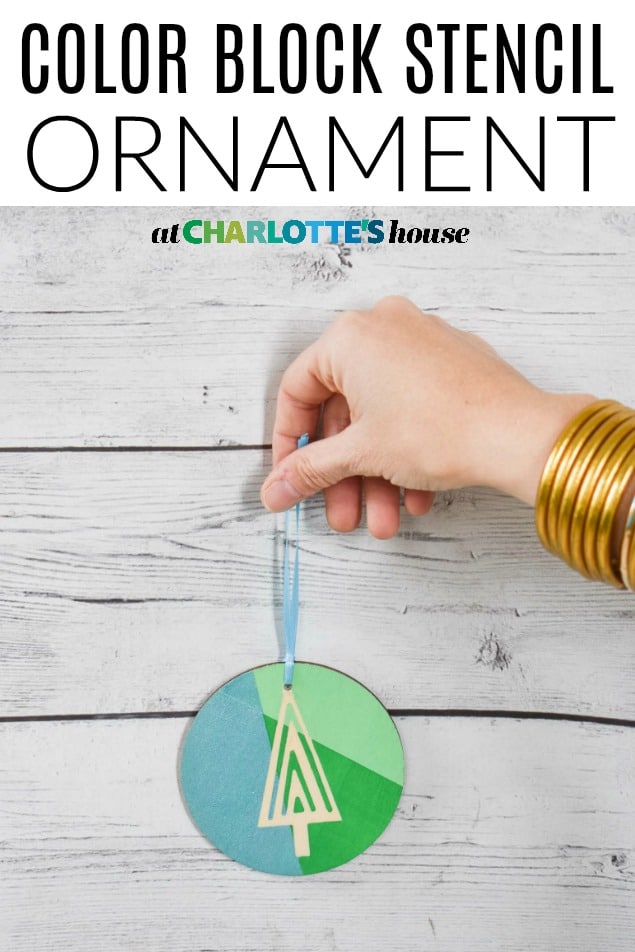
Day 1: Twelve Days of Ornaments- Color Block Stencil Ornament
Psssst… this post *might* contain affiliate links: see my disclosure here.
Day 1: Wooden Stencil Ornament
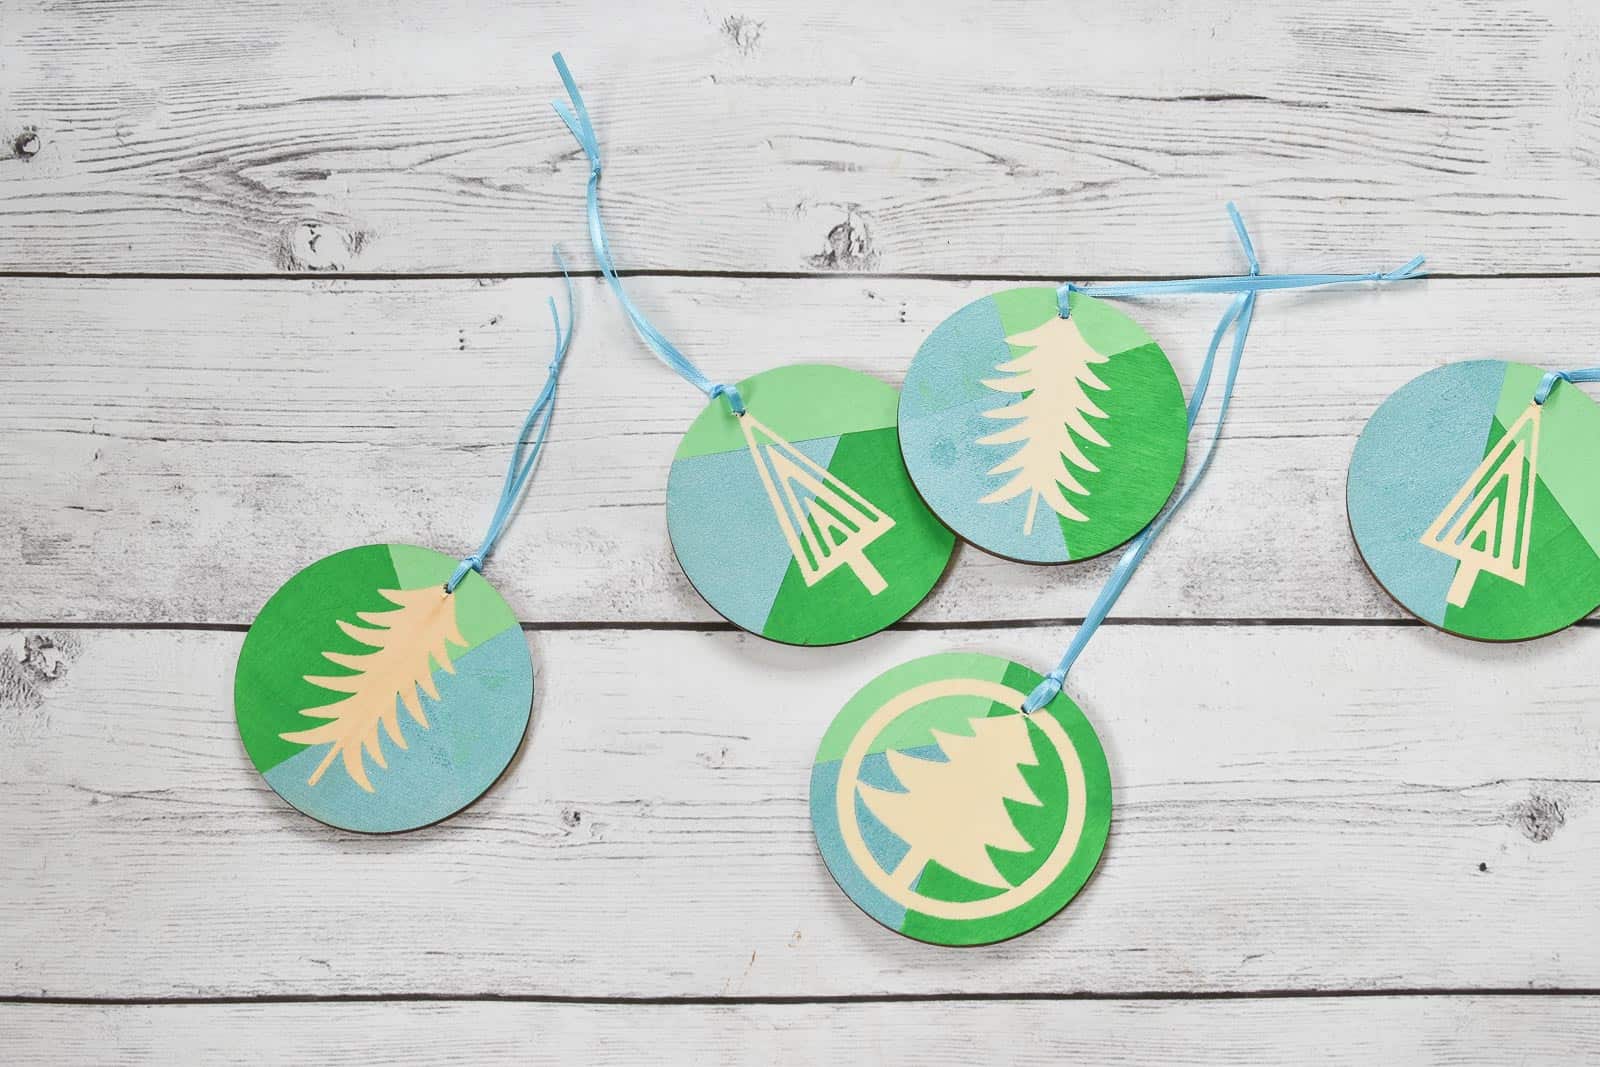
Ladies and gentlemen, welcome to my 12 DAYS OF ORNAMENTS! I am SO excited to have come up with twelve DIY ornaments and I’ll be sharing them each day on the blog! Each ornament will also be over on YouTube, so I’d really love you to hop over and at the very least subscribe (I can’t see if you’ve ever watched on of my videos… don’t worry!) Without further ado, may I present my first ornament tutorial: a graphic wooden tree stencil.
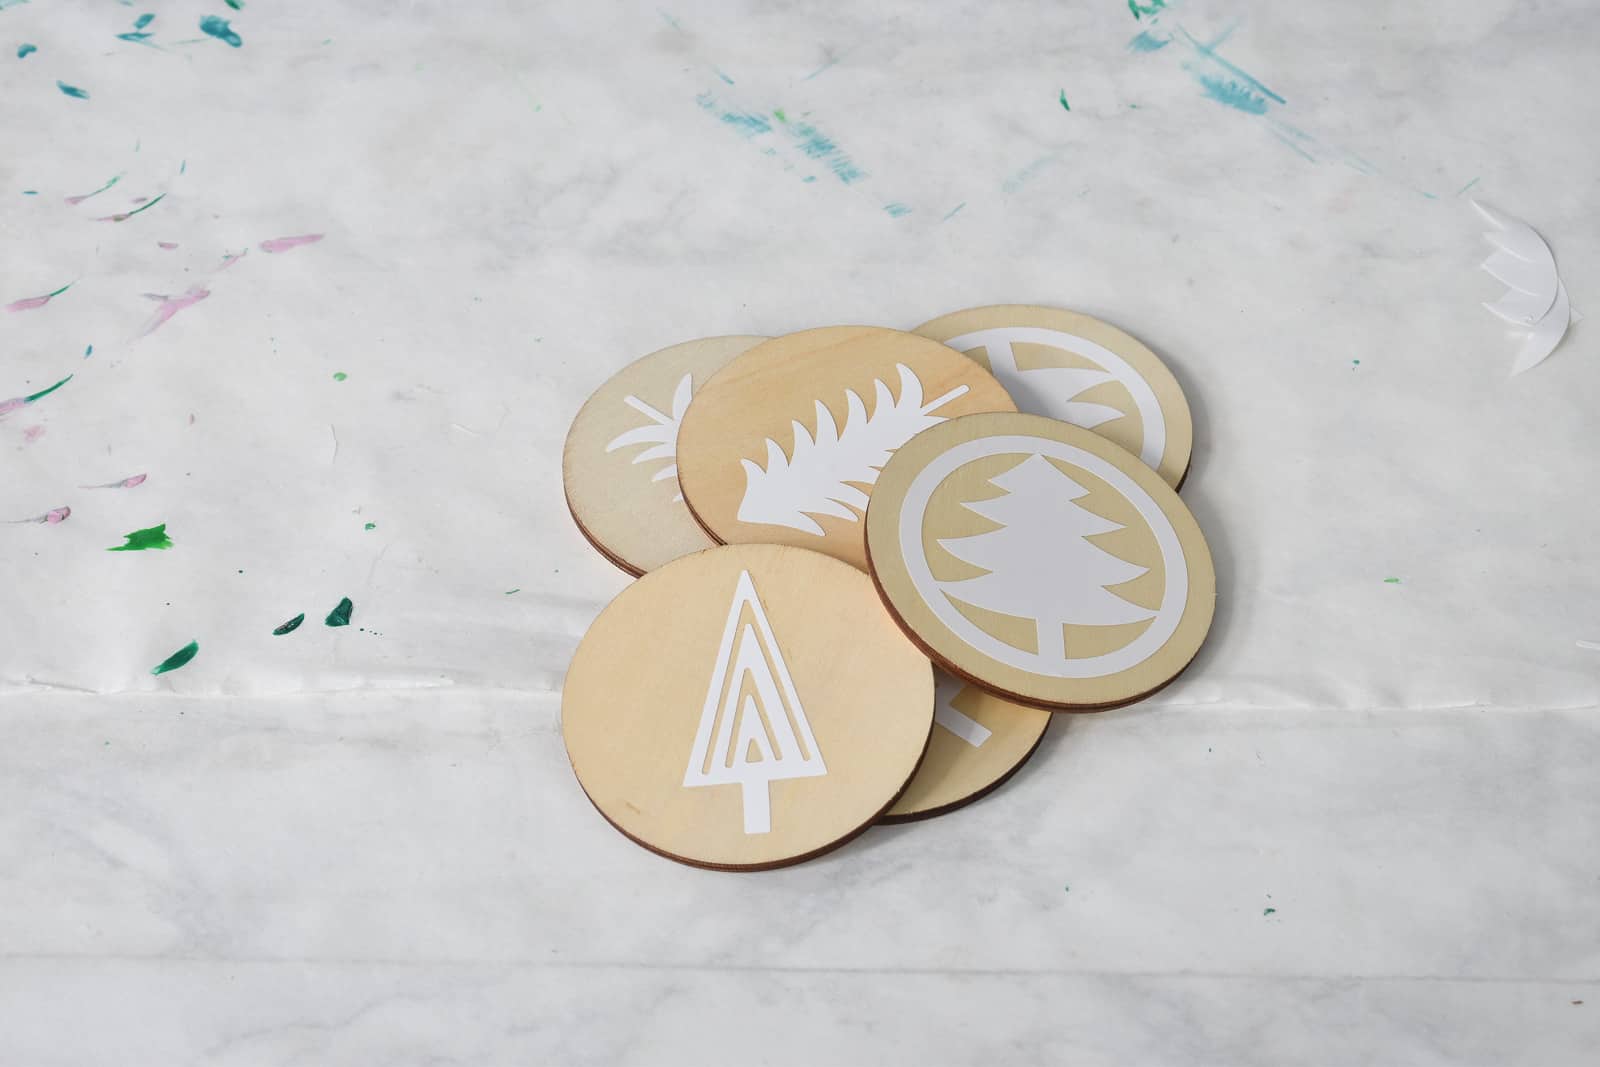
Step 1. Make your stencil
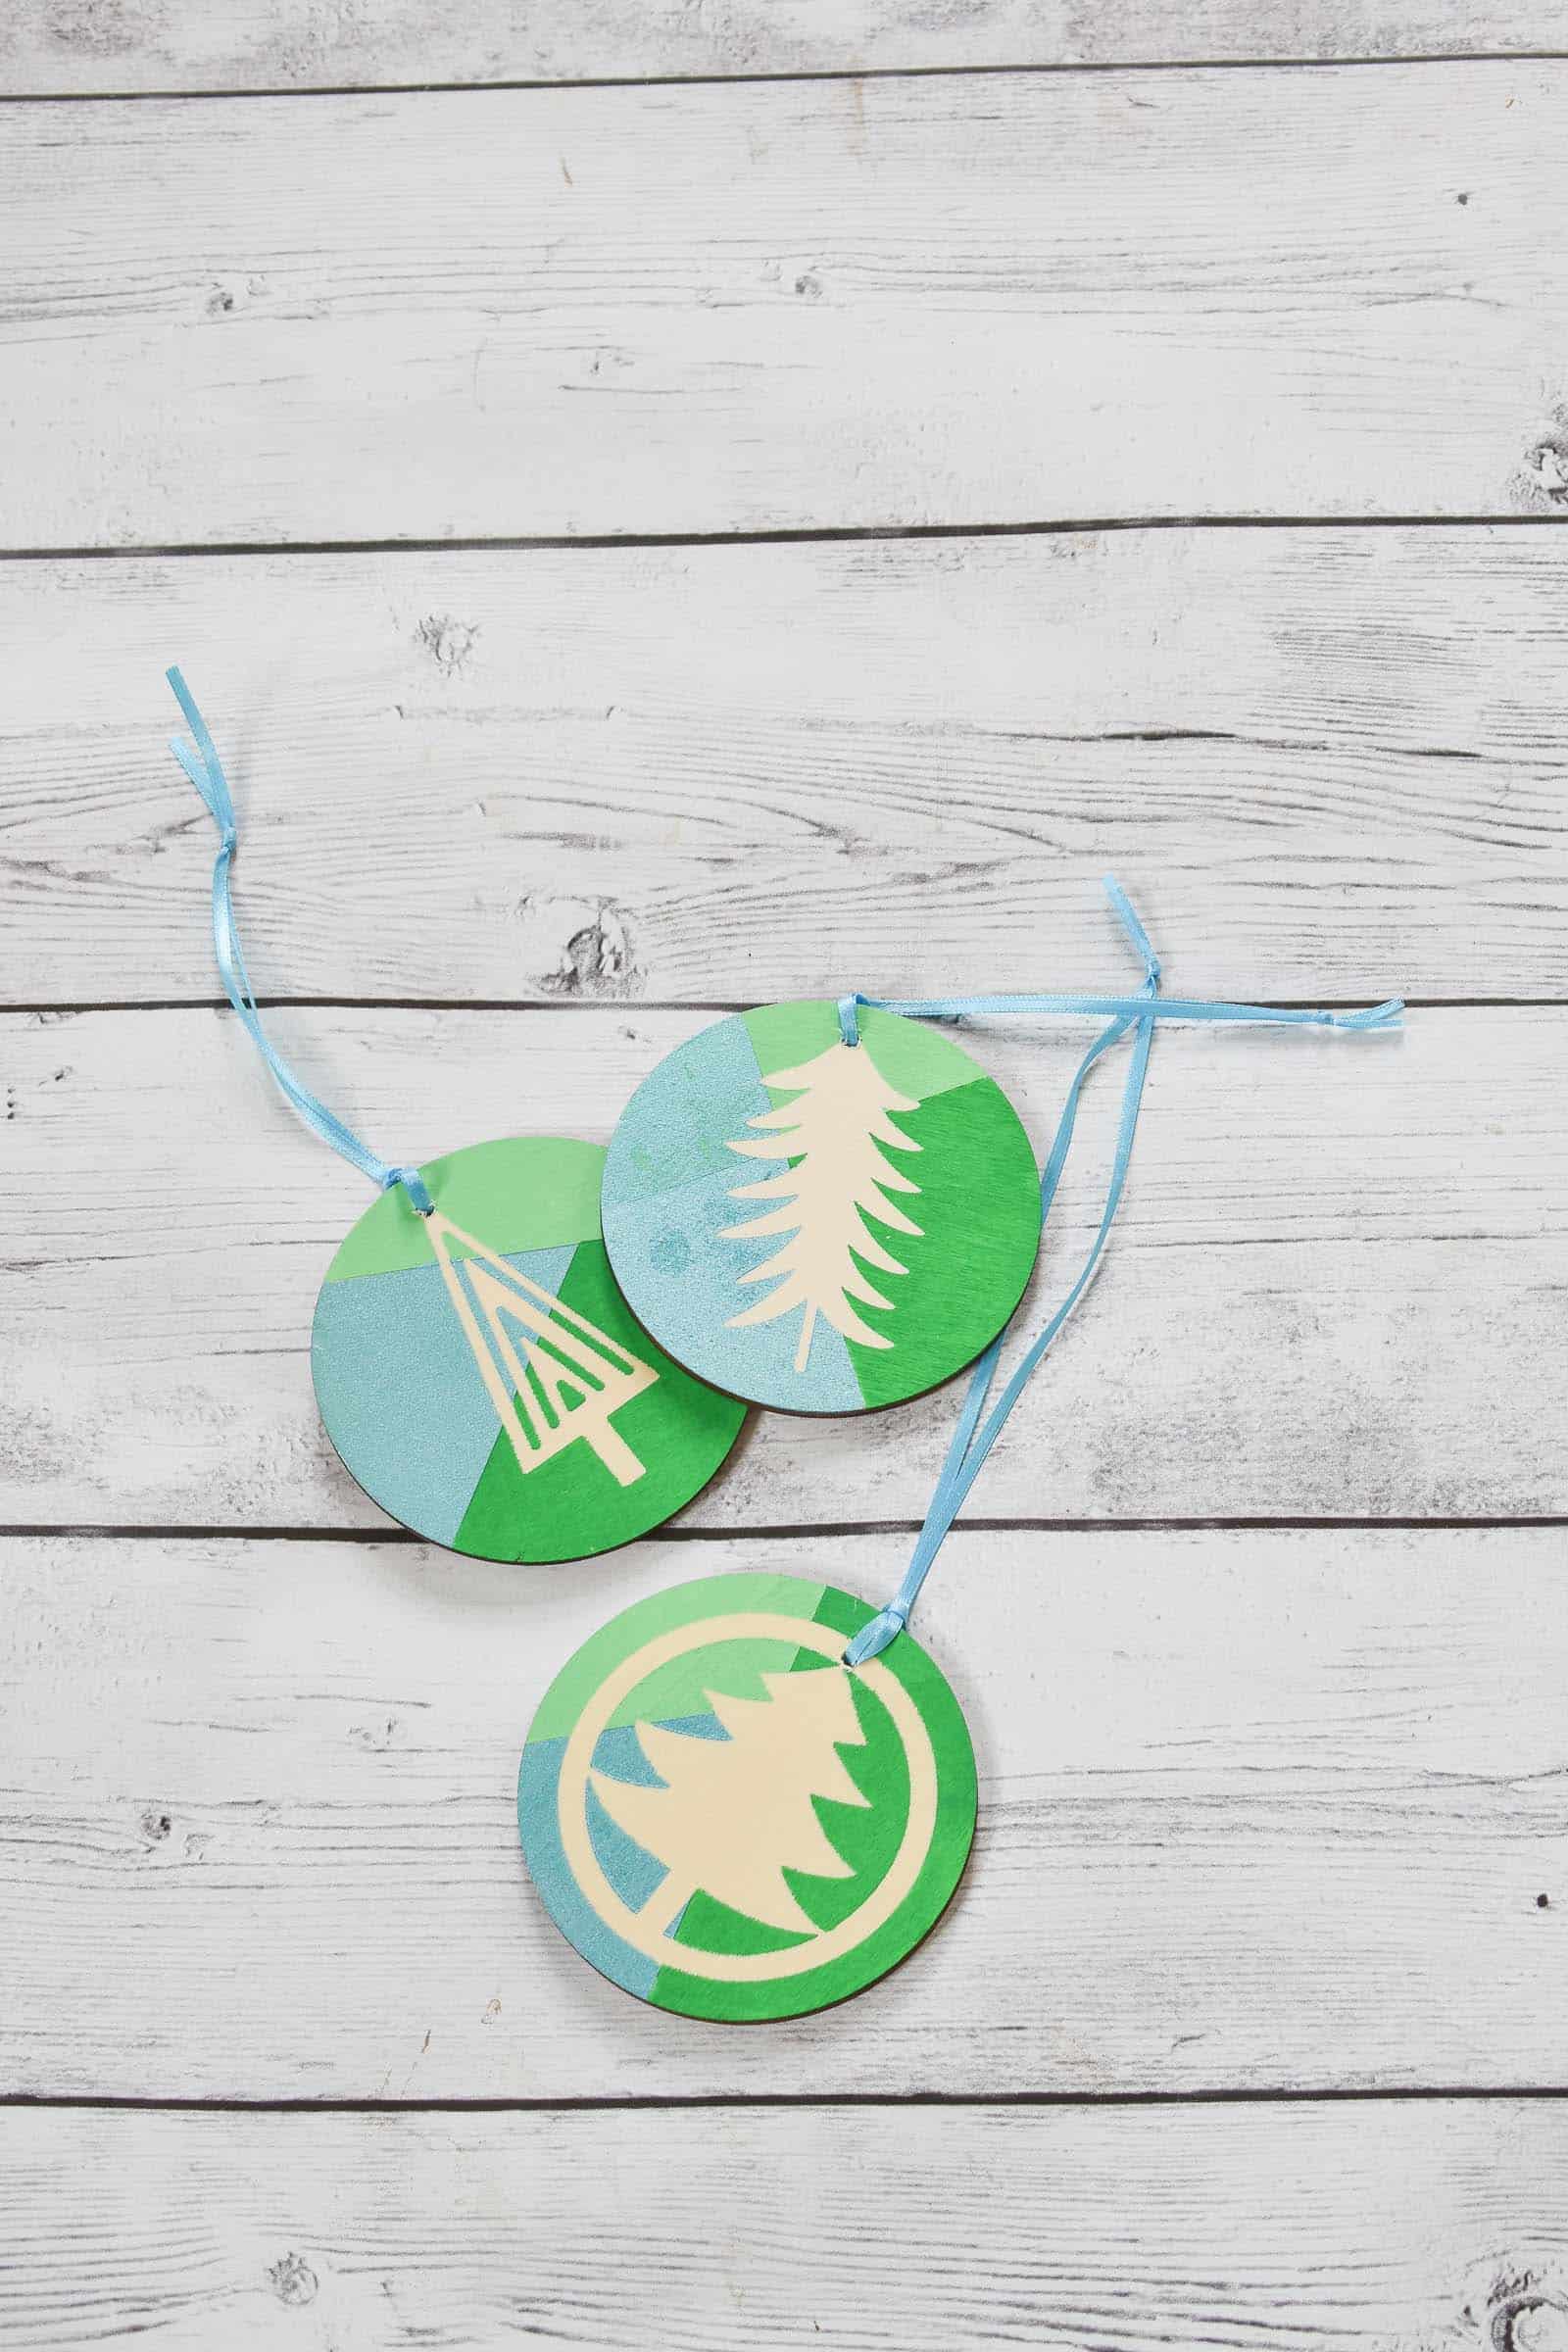
I used my Cricut for this one, but an x-acto knife and adhesive vinyl would work JUST AS WELL! Pinky promise. Find your shape and cut it out. I settled on three fairly simple trees so again, you can totally do this without a Cricut or other vinyl cutter.
Shop my favorites!
Step 2. Adhere your stencil
I’m using these wooden shapes. You can obviously make these on anything, but I loved the wood texture.
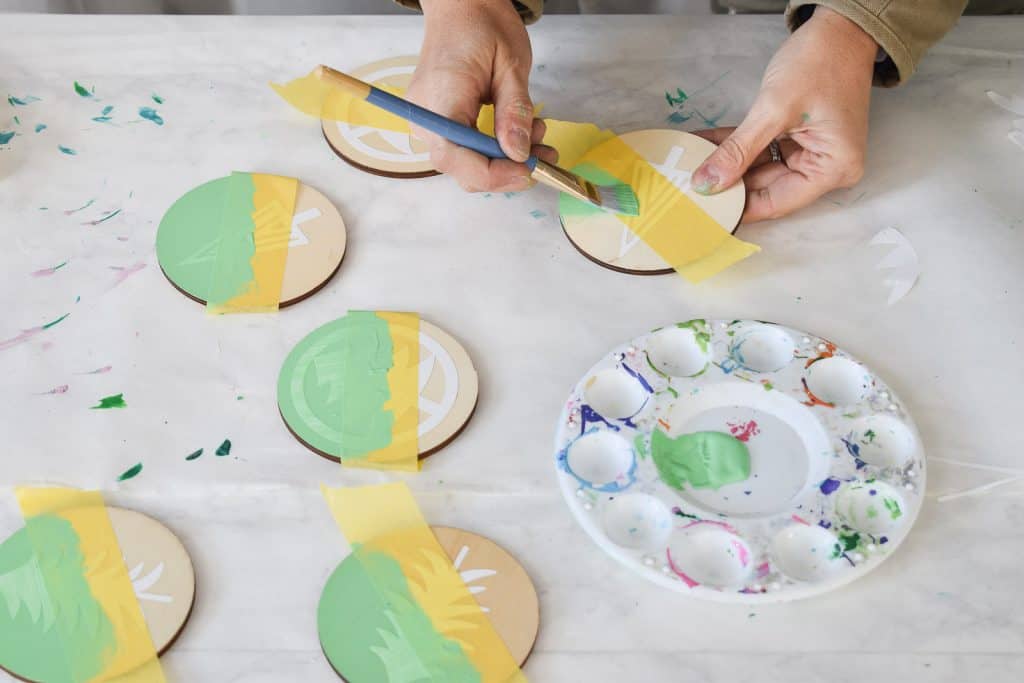
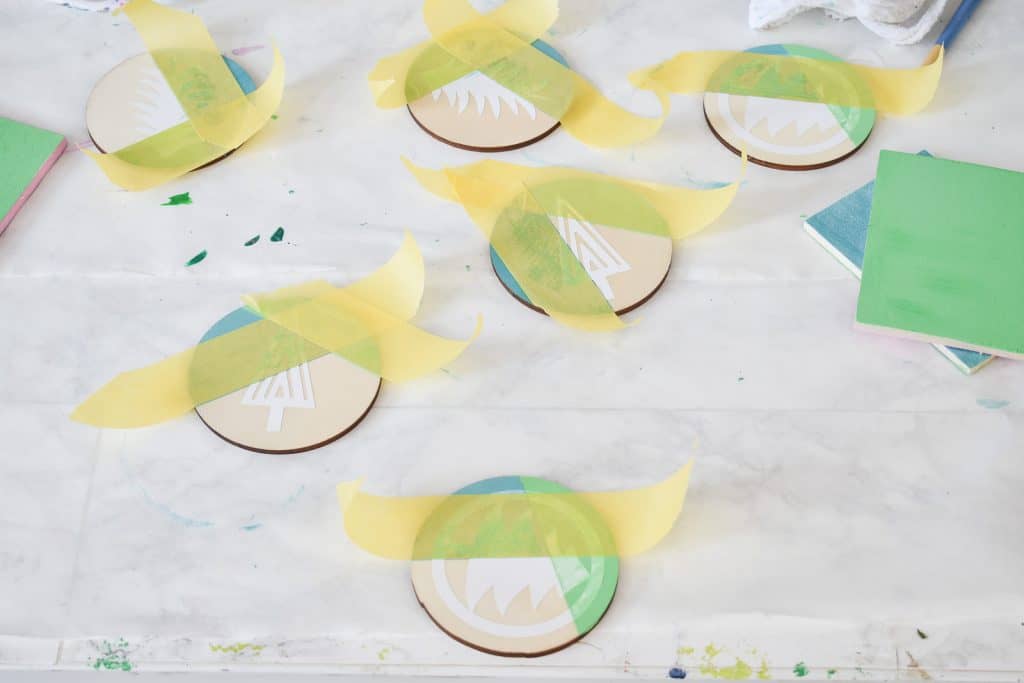
Step 3. Tape and paint section one
Without applying too much pressure, tape off one section of your ornament. Load your brush lightly with paint color #1(whenever you’re stenciling you want to make sure you’re brush isn’t super full with paint so it doesn’t bleed under the stencil). Gently paint over the exposed 1/2 of your ornament.
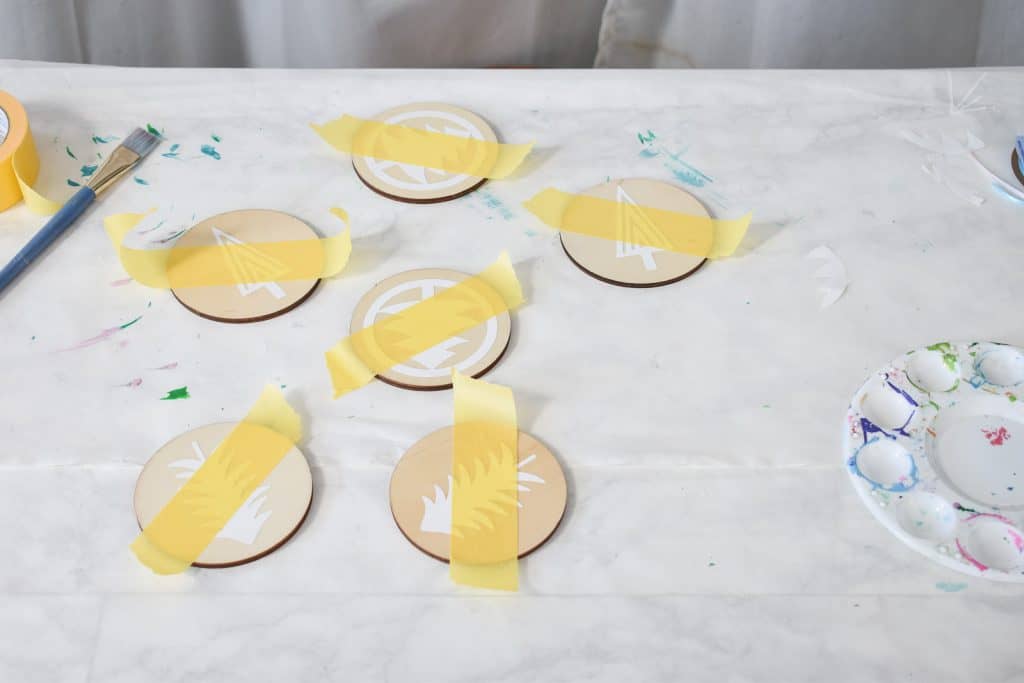
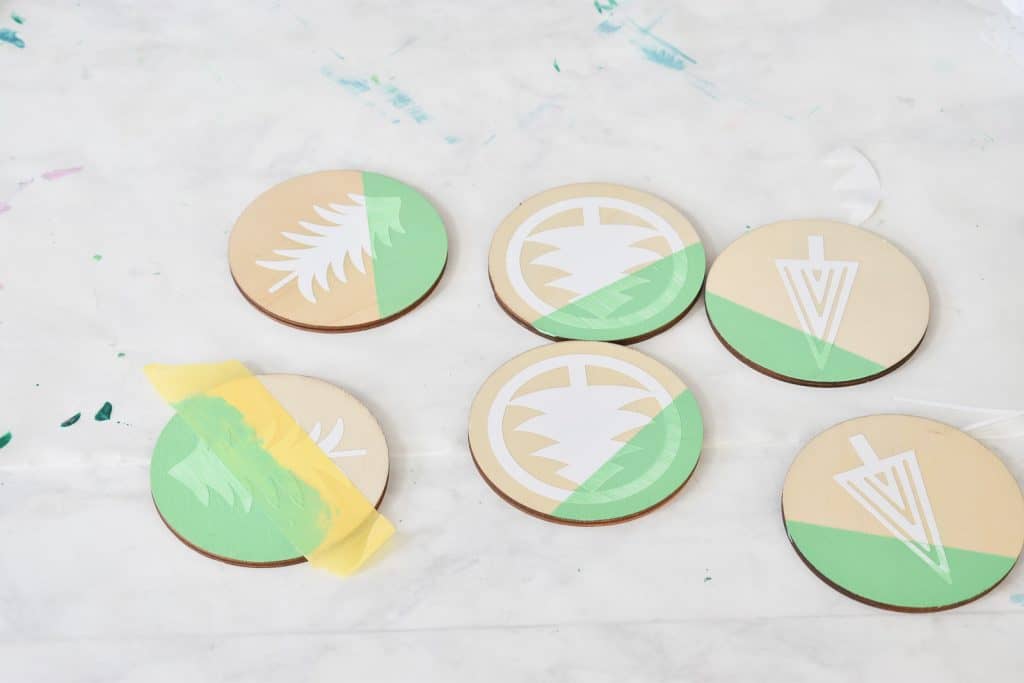
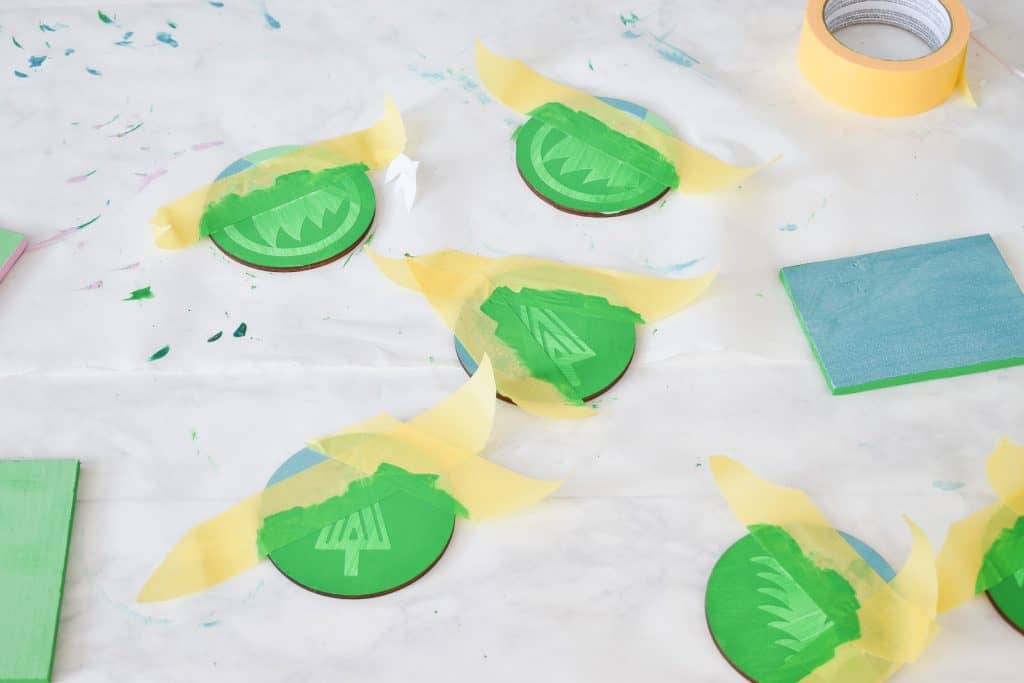
Step 4. Tape and paint section two
Gently remove the tape being careful NOT to remove the tree stencil. Tape off another section and paint the exposed 1/2 of the ornament with paint color #2.
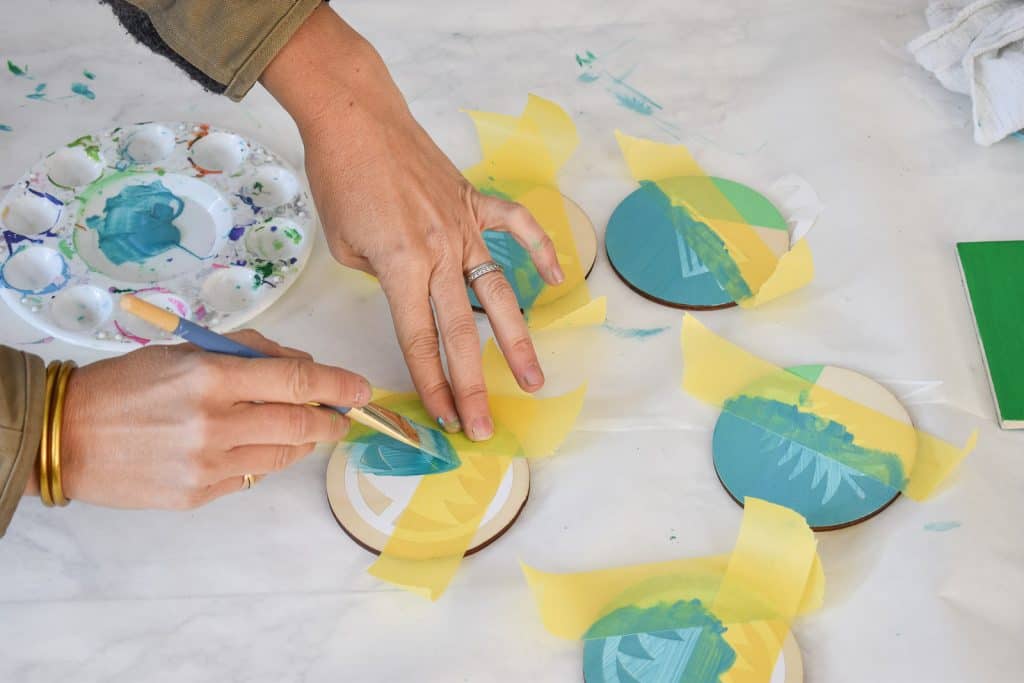
Step 5. Tape and paint section three
Gently remove the tape being careful not to remove the tree stencil. This time you’re going to want to not only tape off a third section, but also protect one section that you’ve already painted. Paint the exposed part of the ornament with paint color #3.
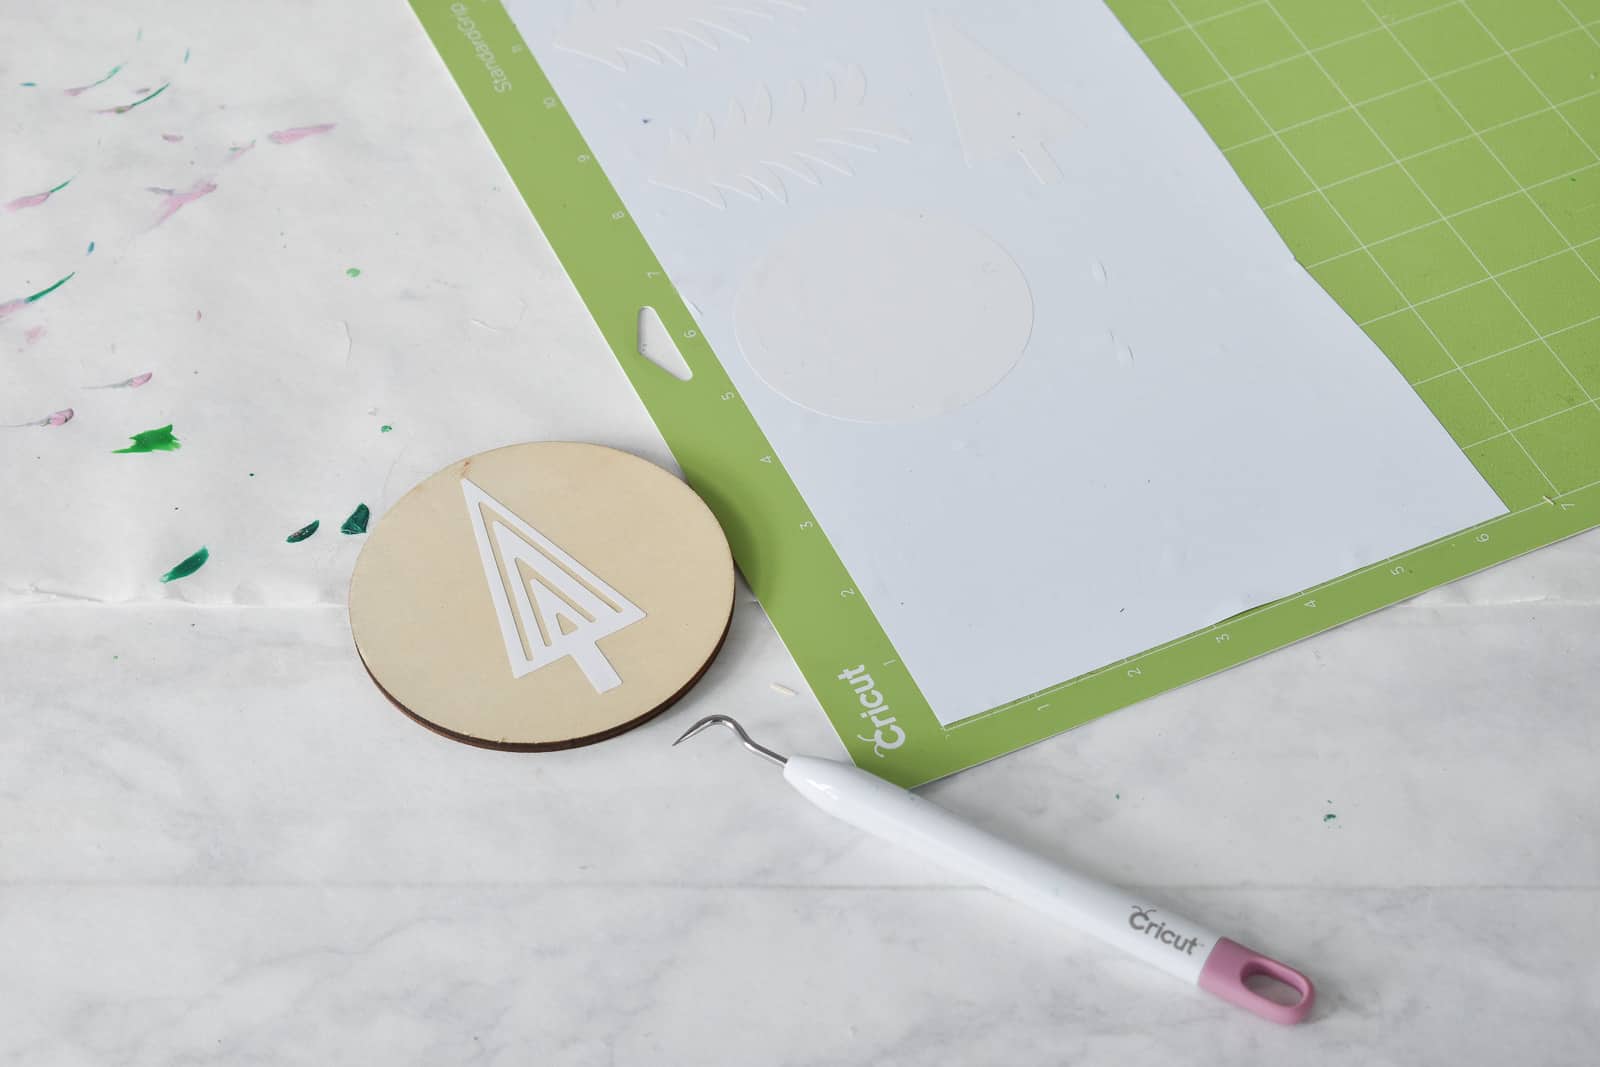
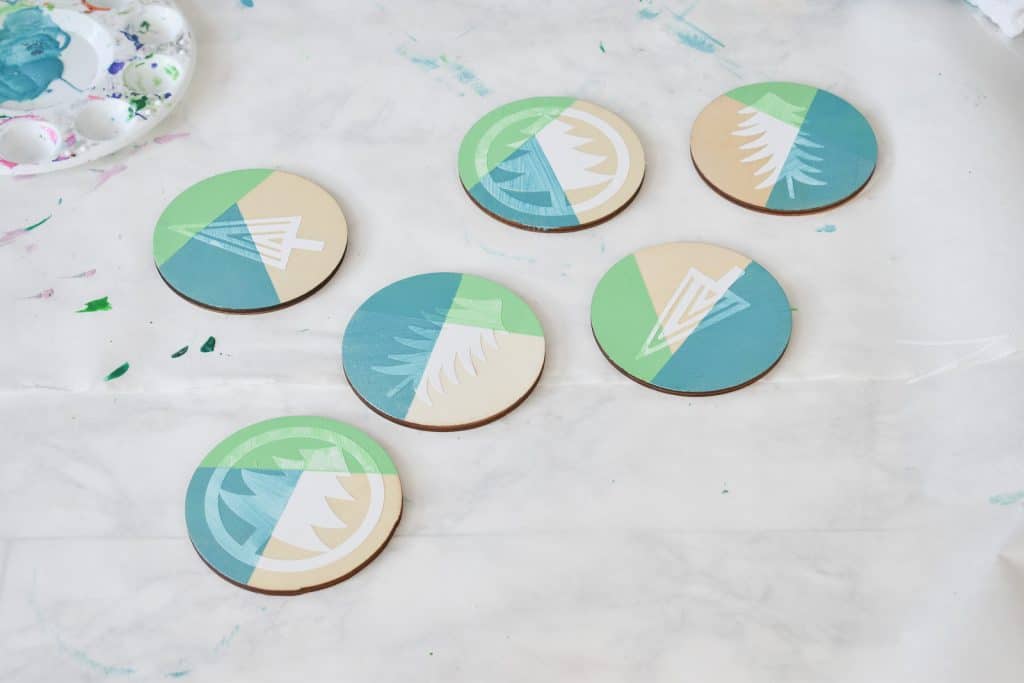
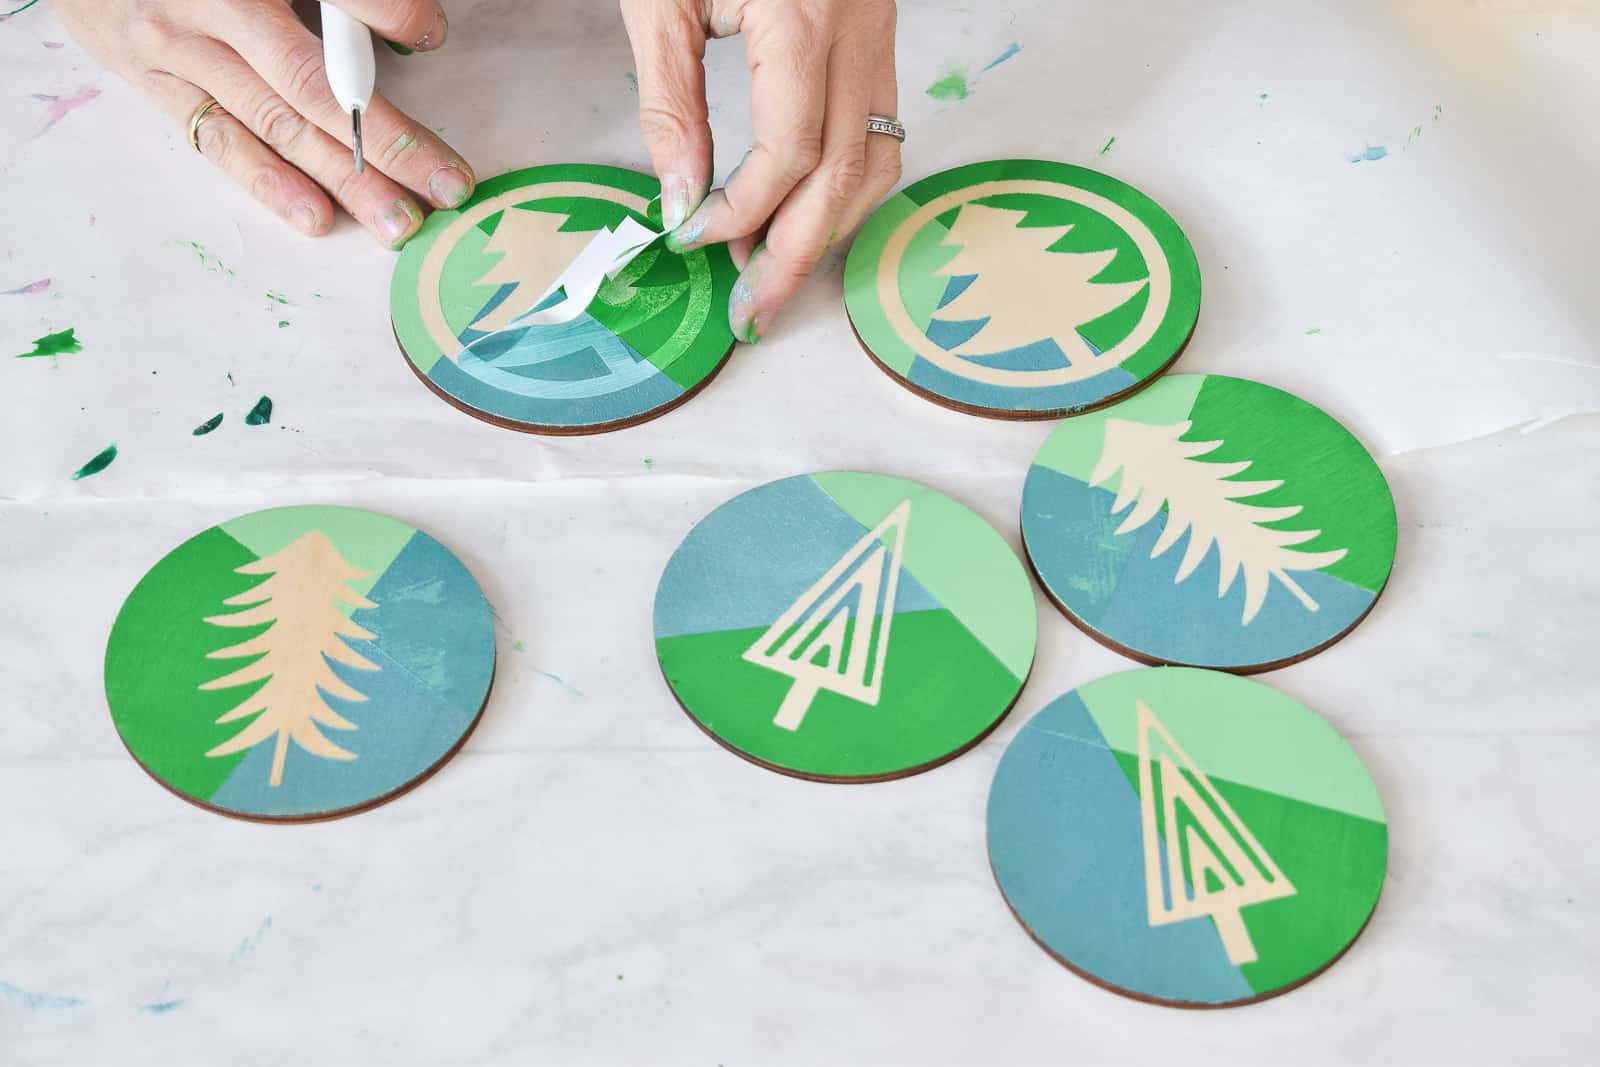
Step 6. Remove the stencil
Remove the tape and then grab the tip of an x-acto knife to peel off the initial vinyl stencil you placed on your ornament.
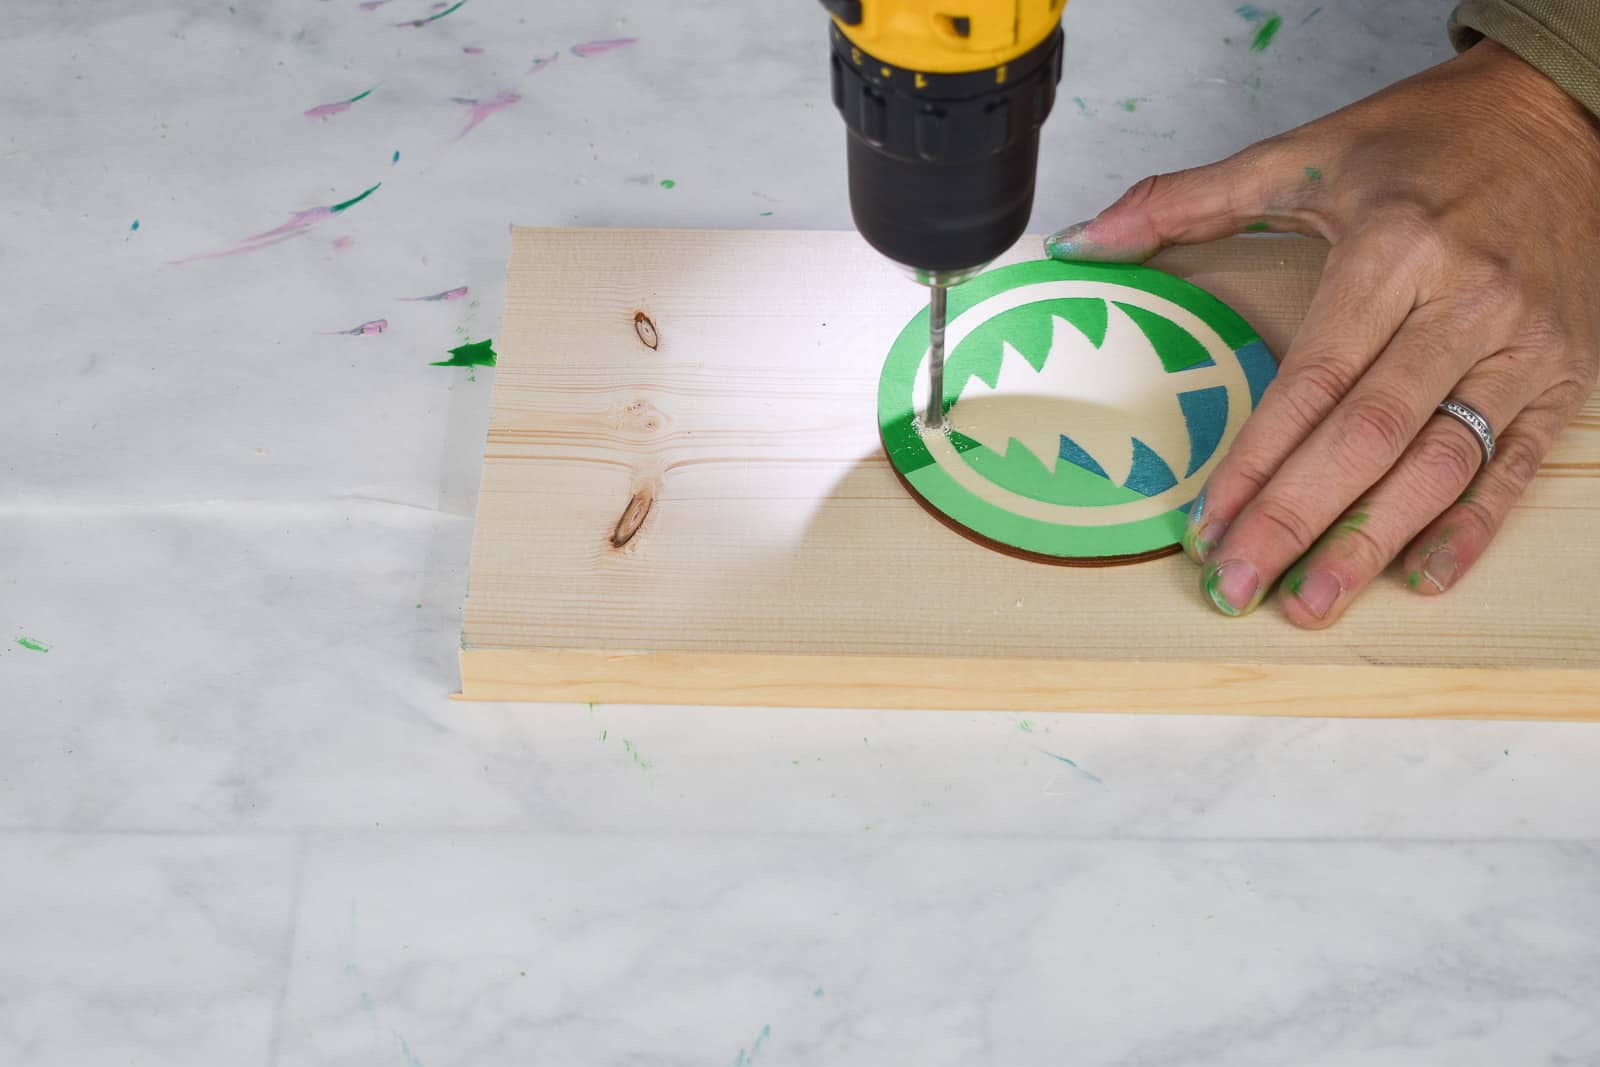
Step 7. Attach a ribbon
You can either drill a hole for your ribbon or simply glue to the back of your ornament.
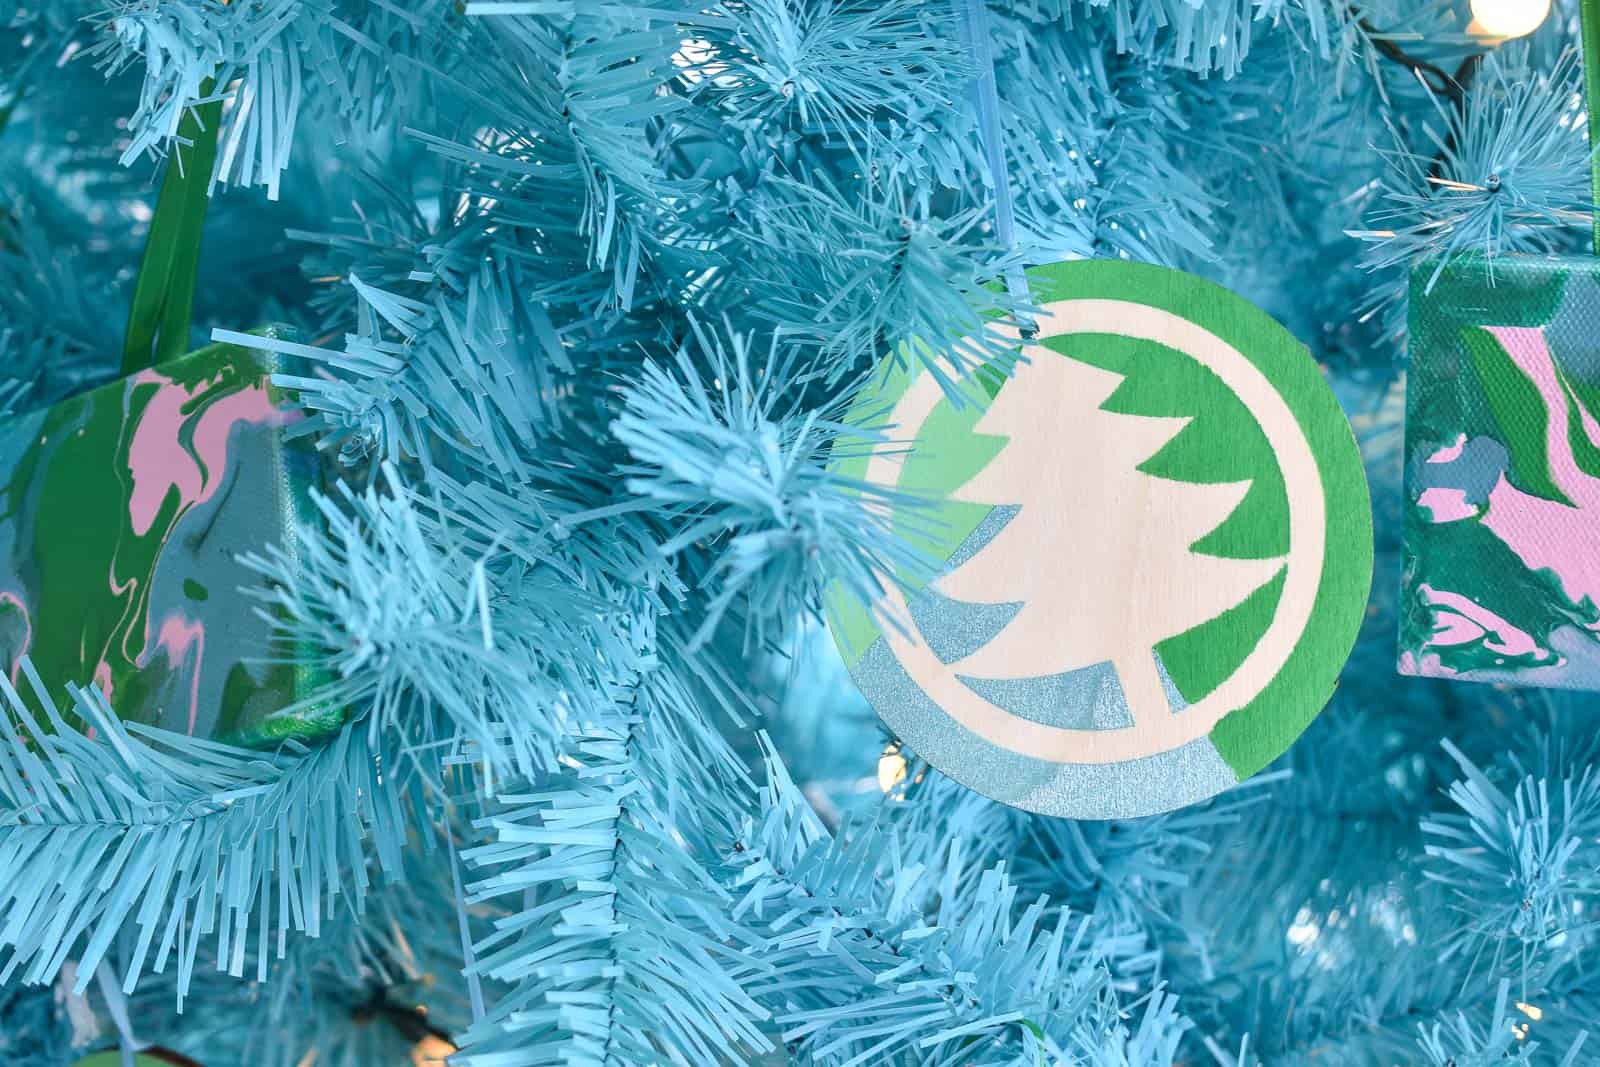
These ornaments were super easy to make and I love how each one’s a little different!
Be sure to check back to see what other ornaments I’ll be sharing in my 12 Days of Ornaments series!


Love it!! ON the edge of my seat waiting for the next posts in the series.
Haha! No pressure. 🙂 I think there are some fun ones coming up!
These are so cute! Definitely something my kids could do, plus they Aren’t breakable. My daughters love to make me ornaments for our ‘big’ tree… usually the ones they make are just a scribble of random colors. These would be great!
Yes!! Very easy and totally something kids could make! Even with scribbles, could look cute with one half taped off!
Very cute!!! Now to find those wood rounds!
I was so happy to find them! Made the project much easier! I linked them in the blog post!