
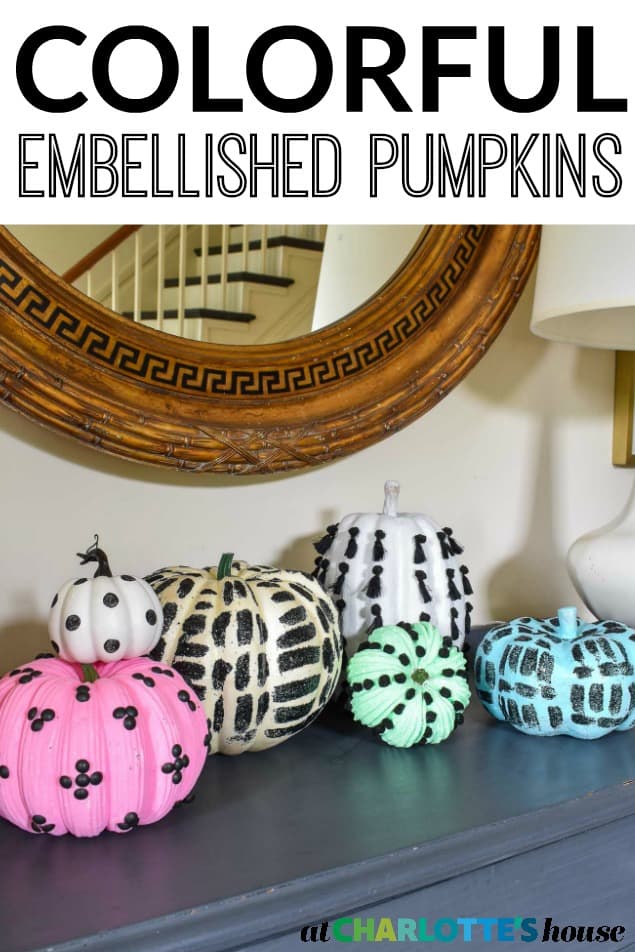
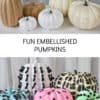
Colorful Embellished Pumpkins
Psssst… this post *might* contain affiliate links: see my disclosure here.
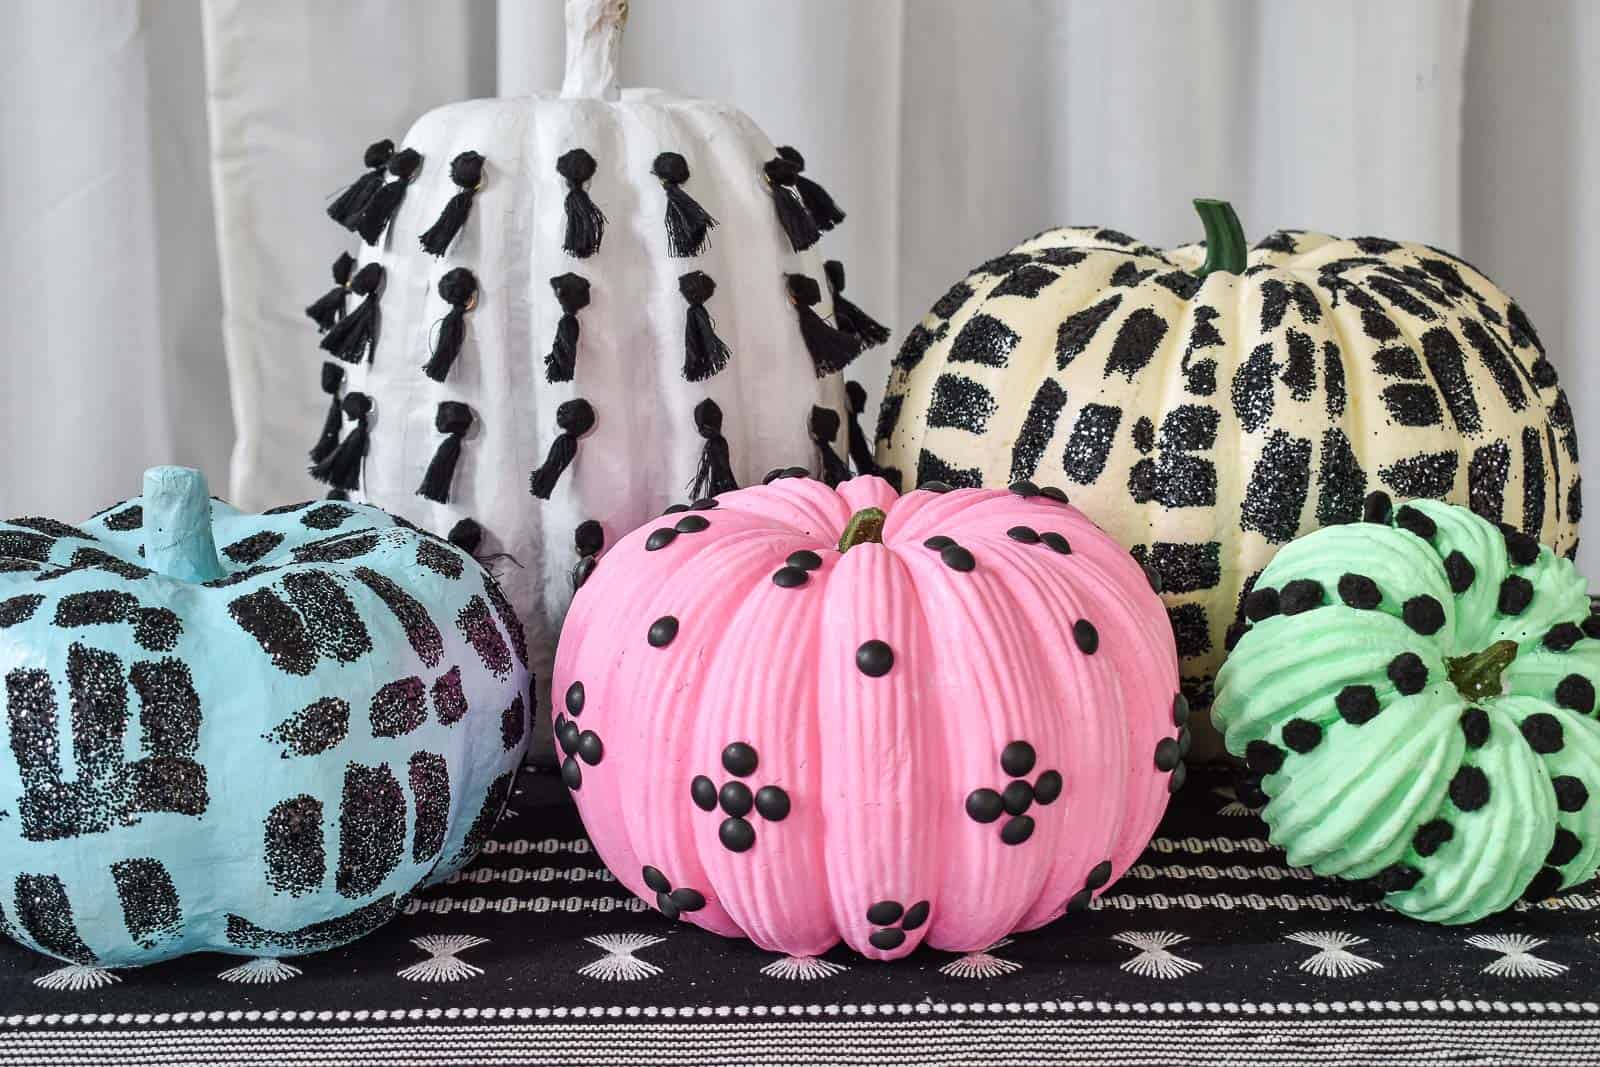
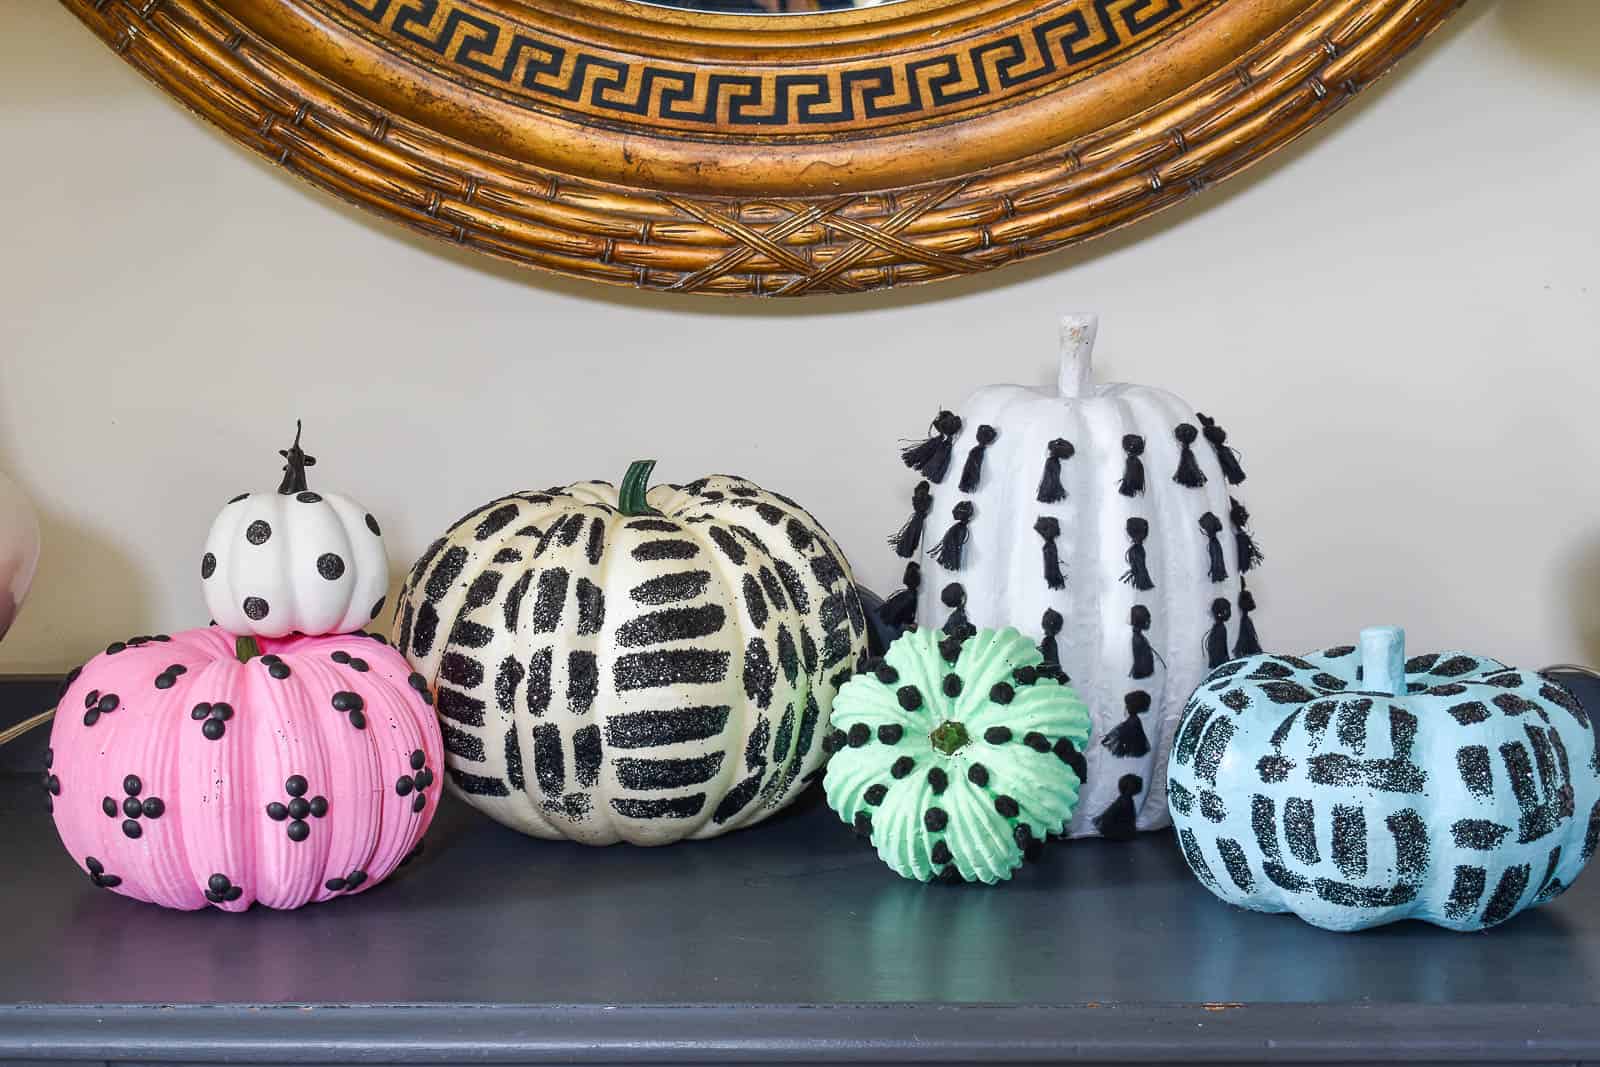
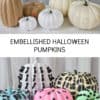
Black Embellished Colorful Pumpkins
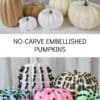
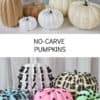
These embellished faux pumpkins are a great way to decorate for fall.
Fall is always a challenge for me decorating-wise. I LOVE the colors and scents and textures going on outside, but none of those things work so well for me INSIDE. Our home doesn’t have any rusts or reds or yellows, so this year… I decided to make fall decorating work for ME! Bring on the colorful embellished pumpkins!
Shop my favorites!
I had the idea of using black embellishments to decorate my colorful pumpkins so I ordered a handful of options. (Full material list at the end of the post!) First step, however was to gather some inexpensive pumpkins and paint them!
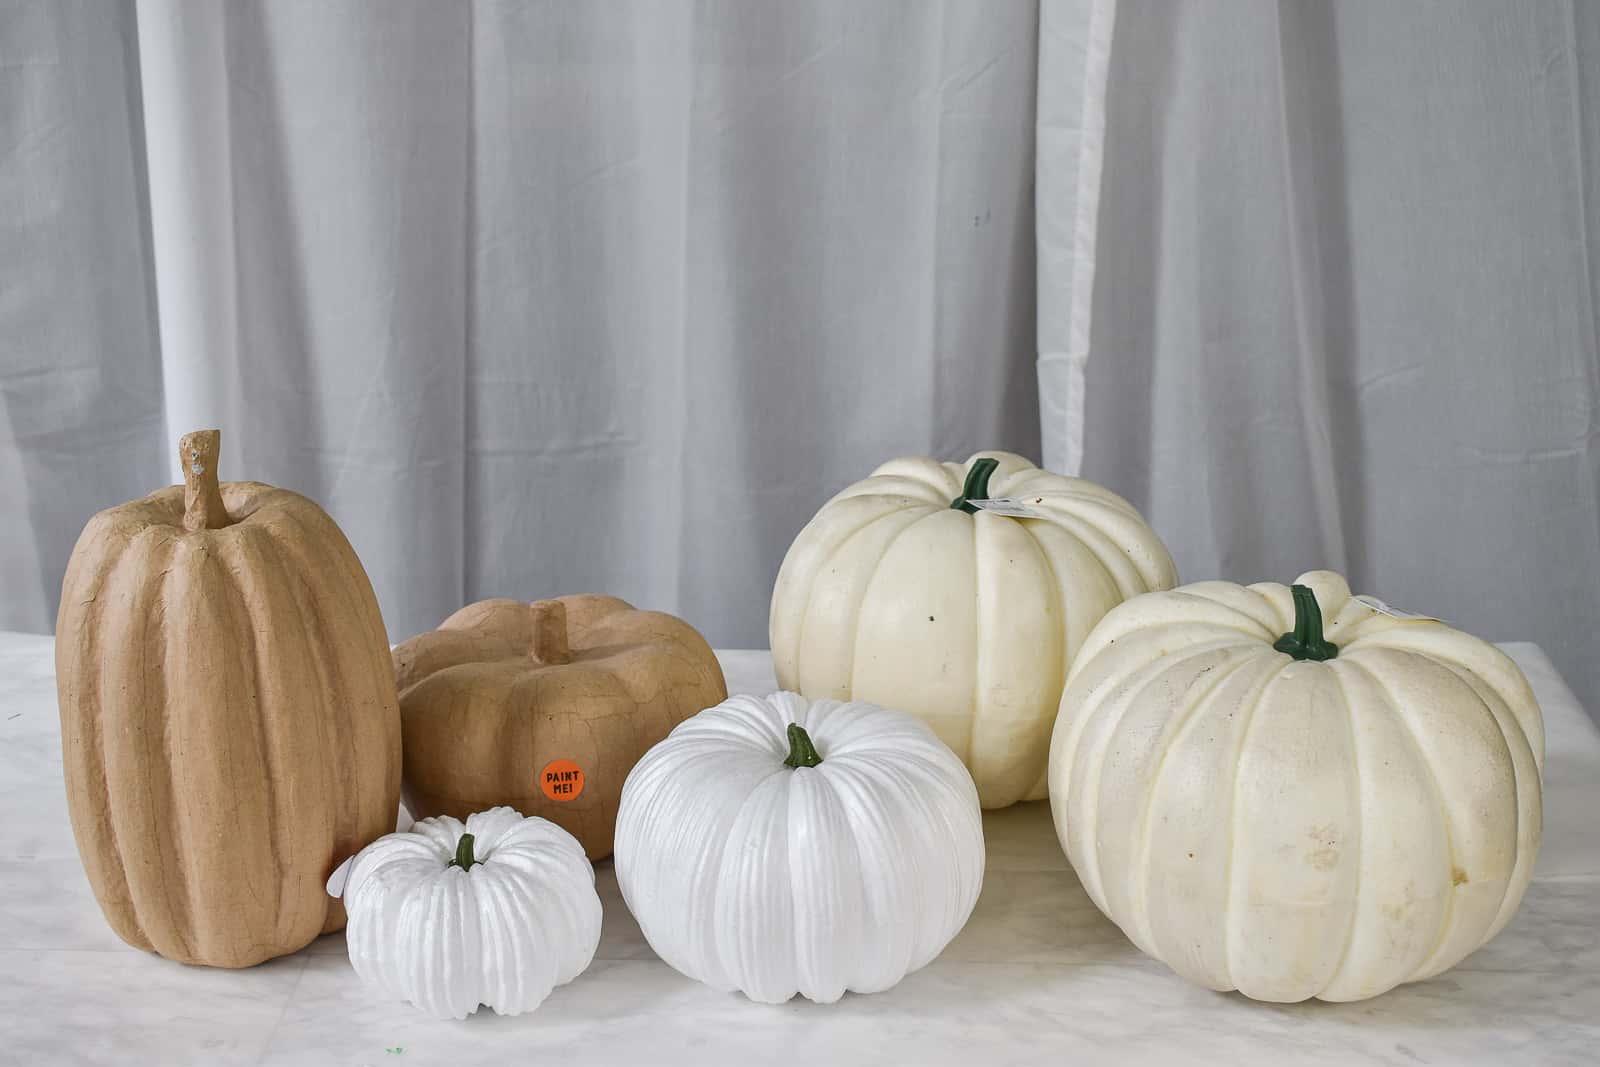
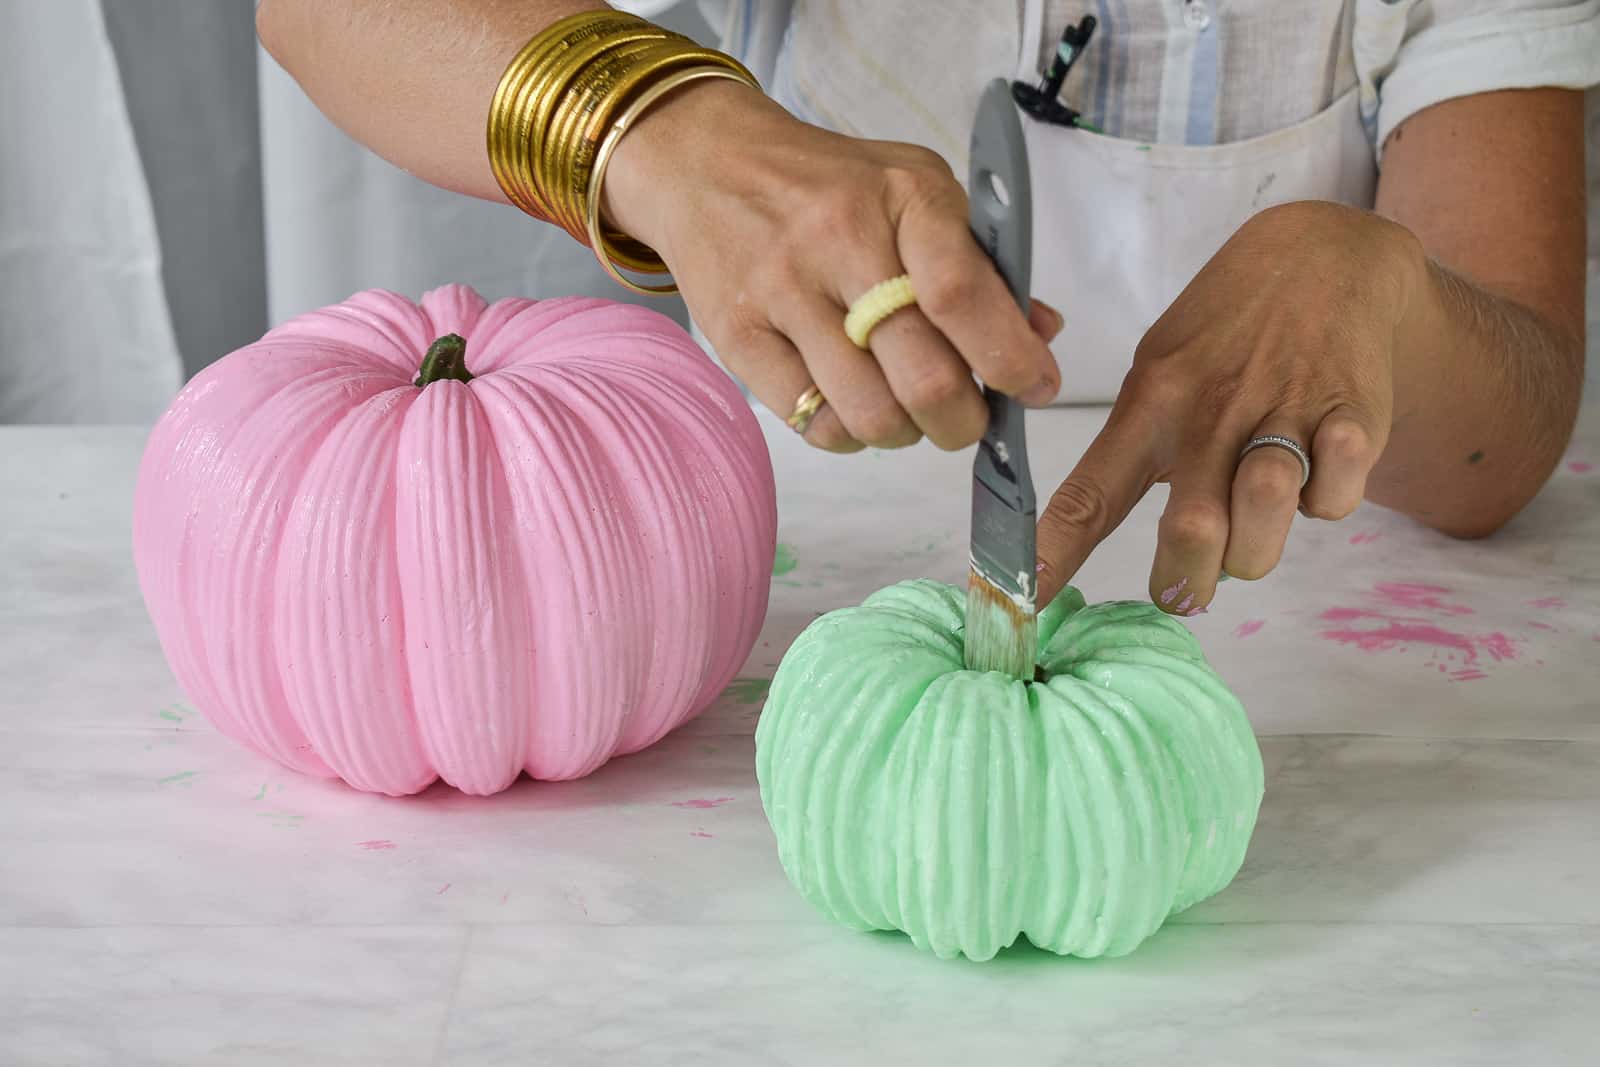
Step 1. Paint Your Pumpkins
I used spray primer for the white pumpkin, and craft paint for the colorful ones. I also sprayed one with chalkboard paint because I love the flat black finish, but that one didn’t make the cut.
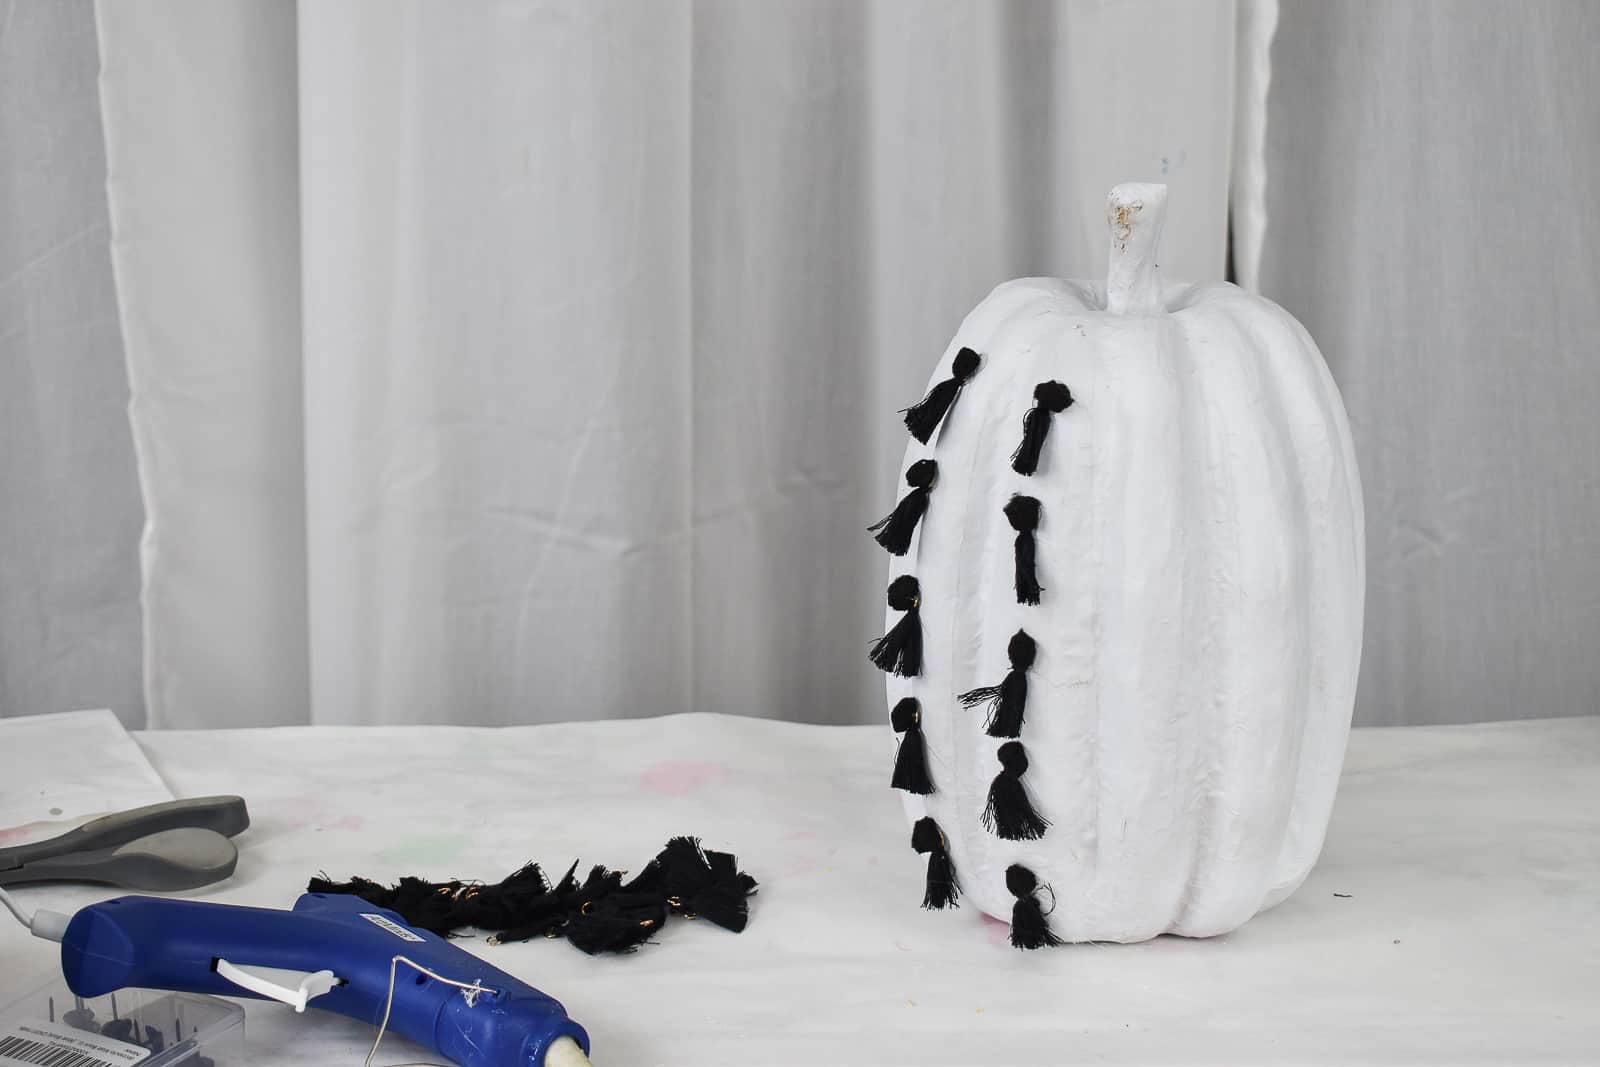
Pumpkin 1. Pom Poms and Tassels
Squeeze a bead of hot glue onto the pumpkin, press the ring of the tassel into the glue and then immediately cover the ring with a pom pom while the glue is still hot. Basically glue the tassel with the pom pom on top. Repeat working your way down each facet of the pumpkin.
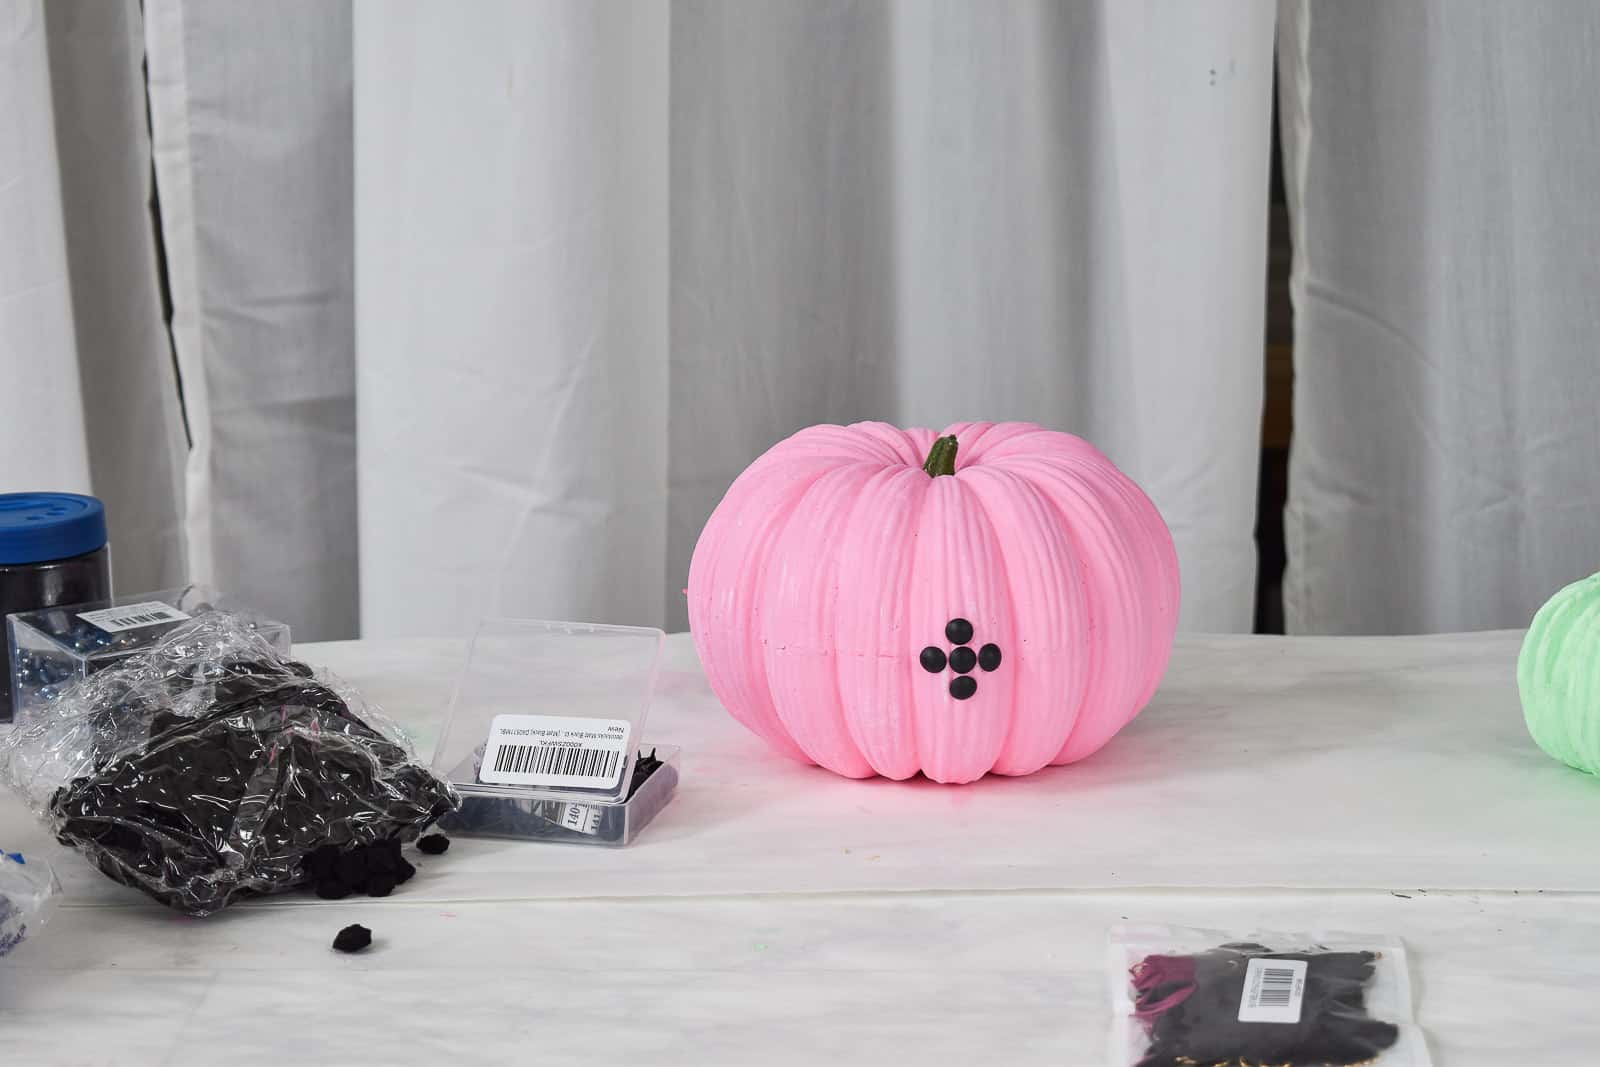
Pumpkin 2. Upholstery Tacks
This will take you maybe 5 minutes. You need a styrofoam or a real pumpkin ideally. You’re welcome to mark the pattern before you start, or just wing it like I did. Stick the tacks into the pumpkin and… that’s it.
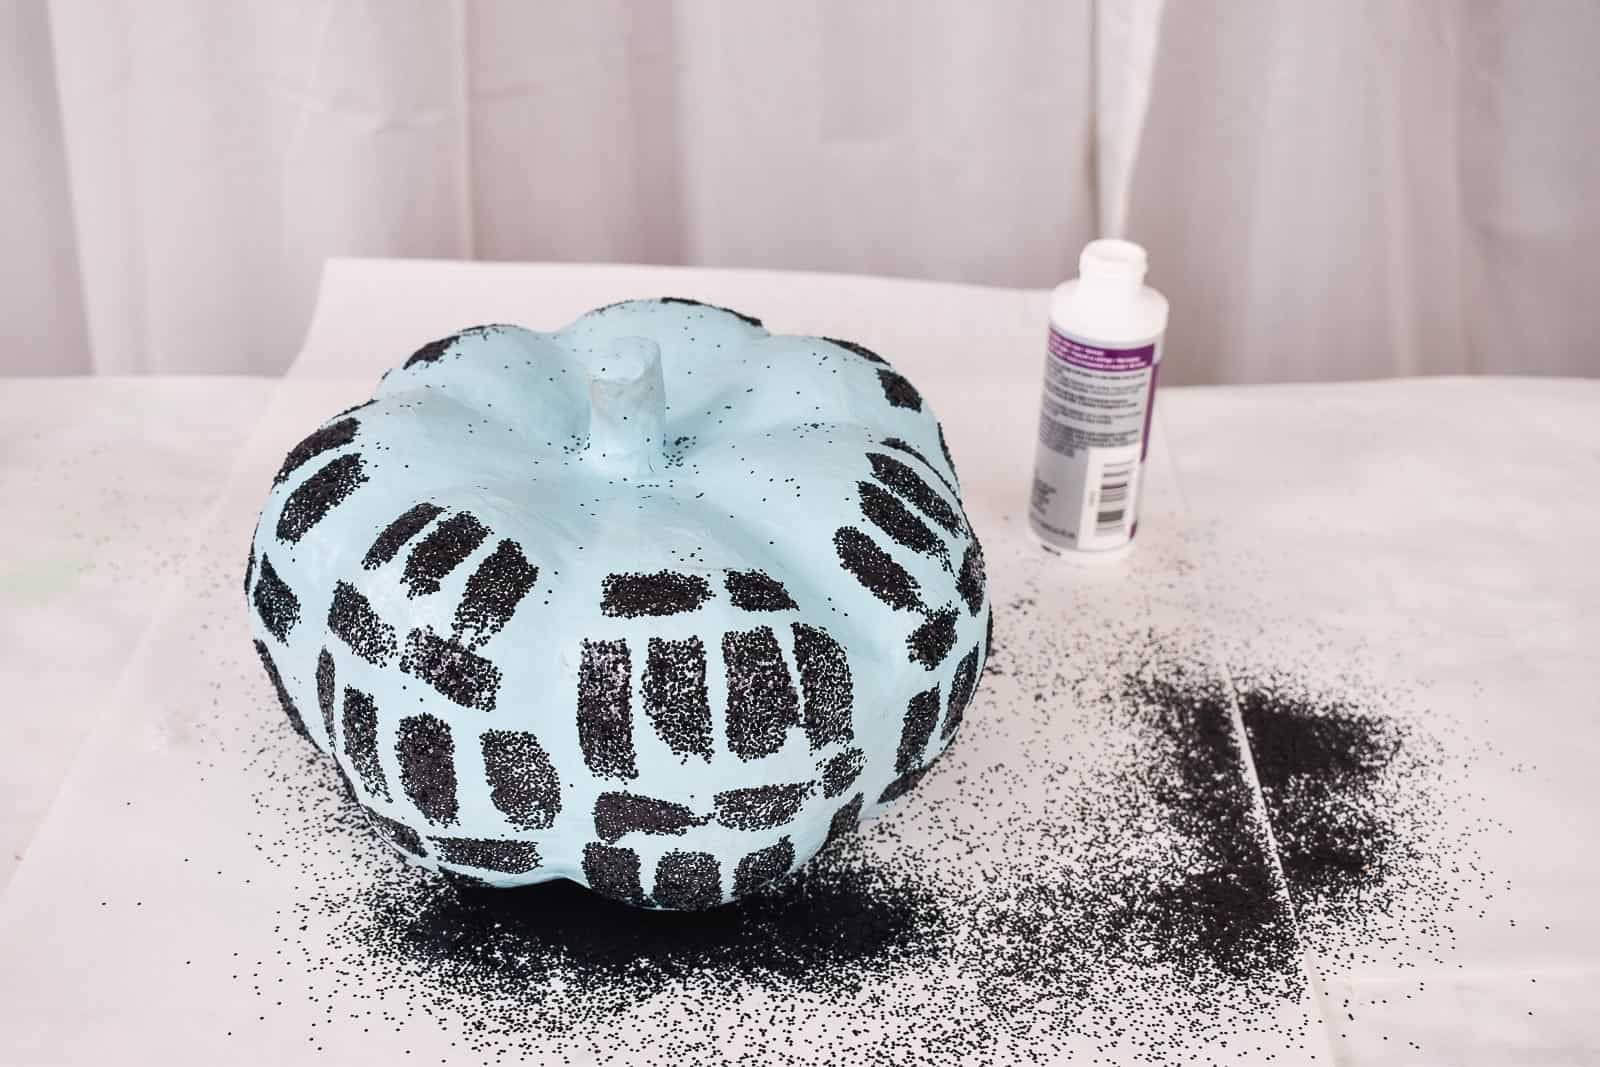
Pumpkin 3. Glitter
This one is my favorite. Using tacky glue and a paint brush, brush your glue design onto the pumpkin. Go over with black glitter (fine glitter works great) and… you’re done. Make sure to soak your brush immediately after or else the glue will dry and the brush will be ruined. You’re also going to want to cover your work surface with paper or a baking tray to collect all the excess glitter.
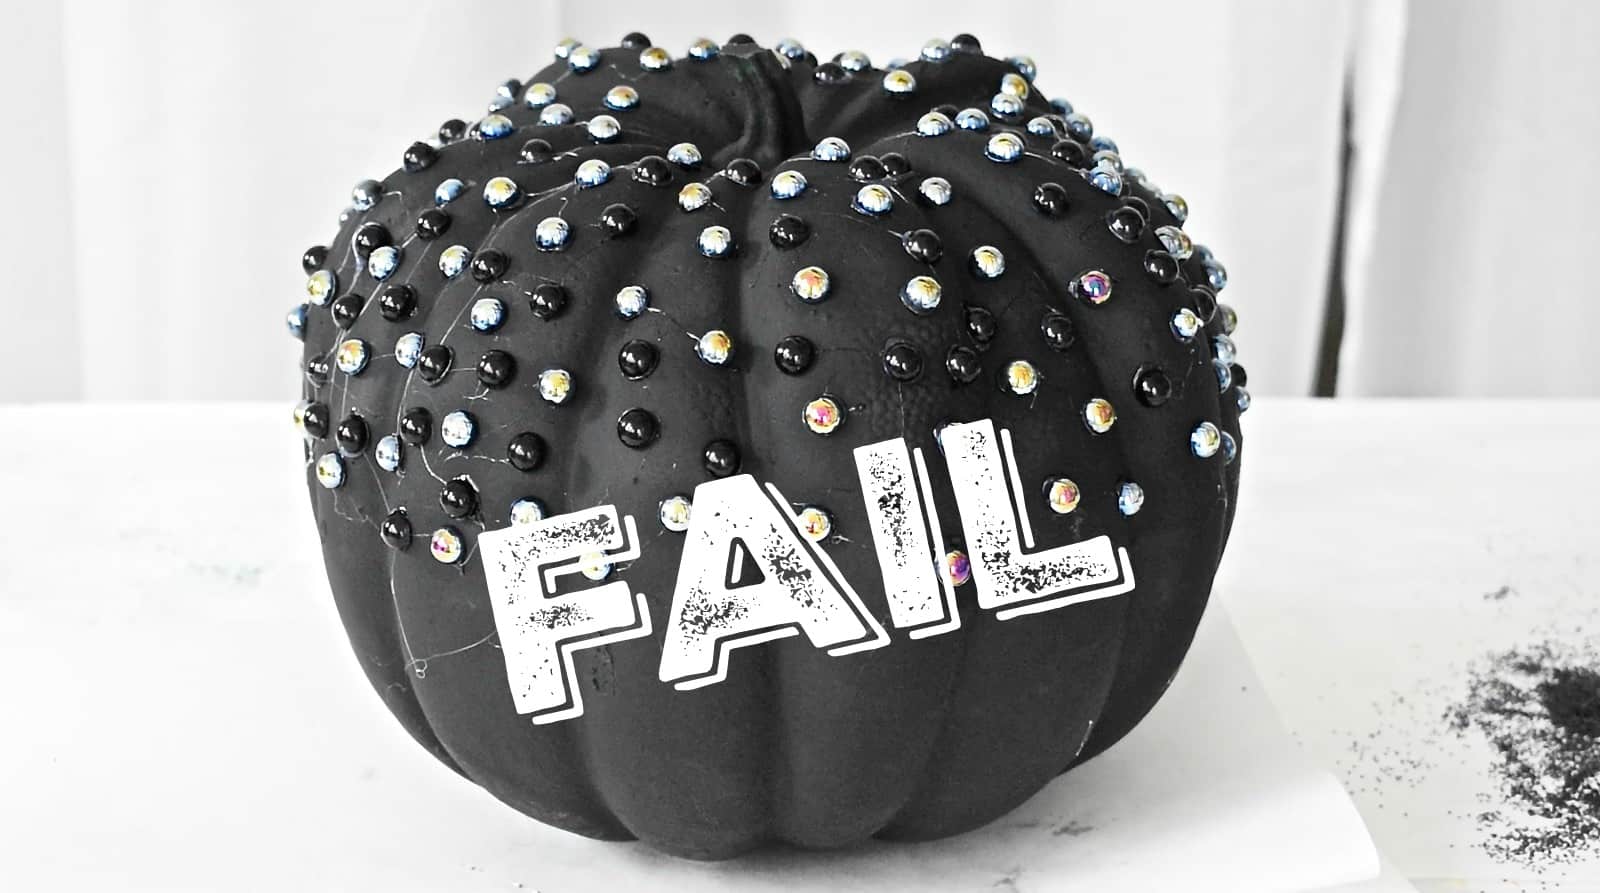
In case you were wondering, I glued iridescent black jewels onto the black pumpkin, but it looked like a toad to me… so big fat fail. No worries, that’s the price of crafting!
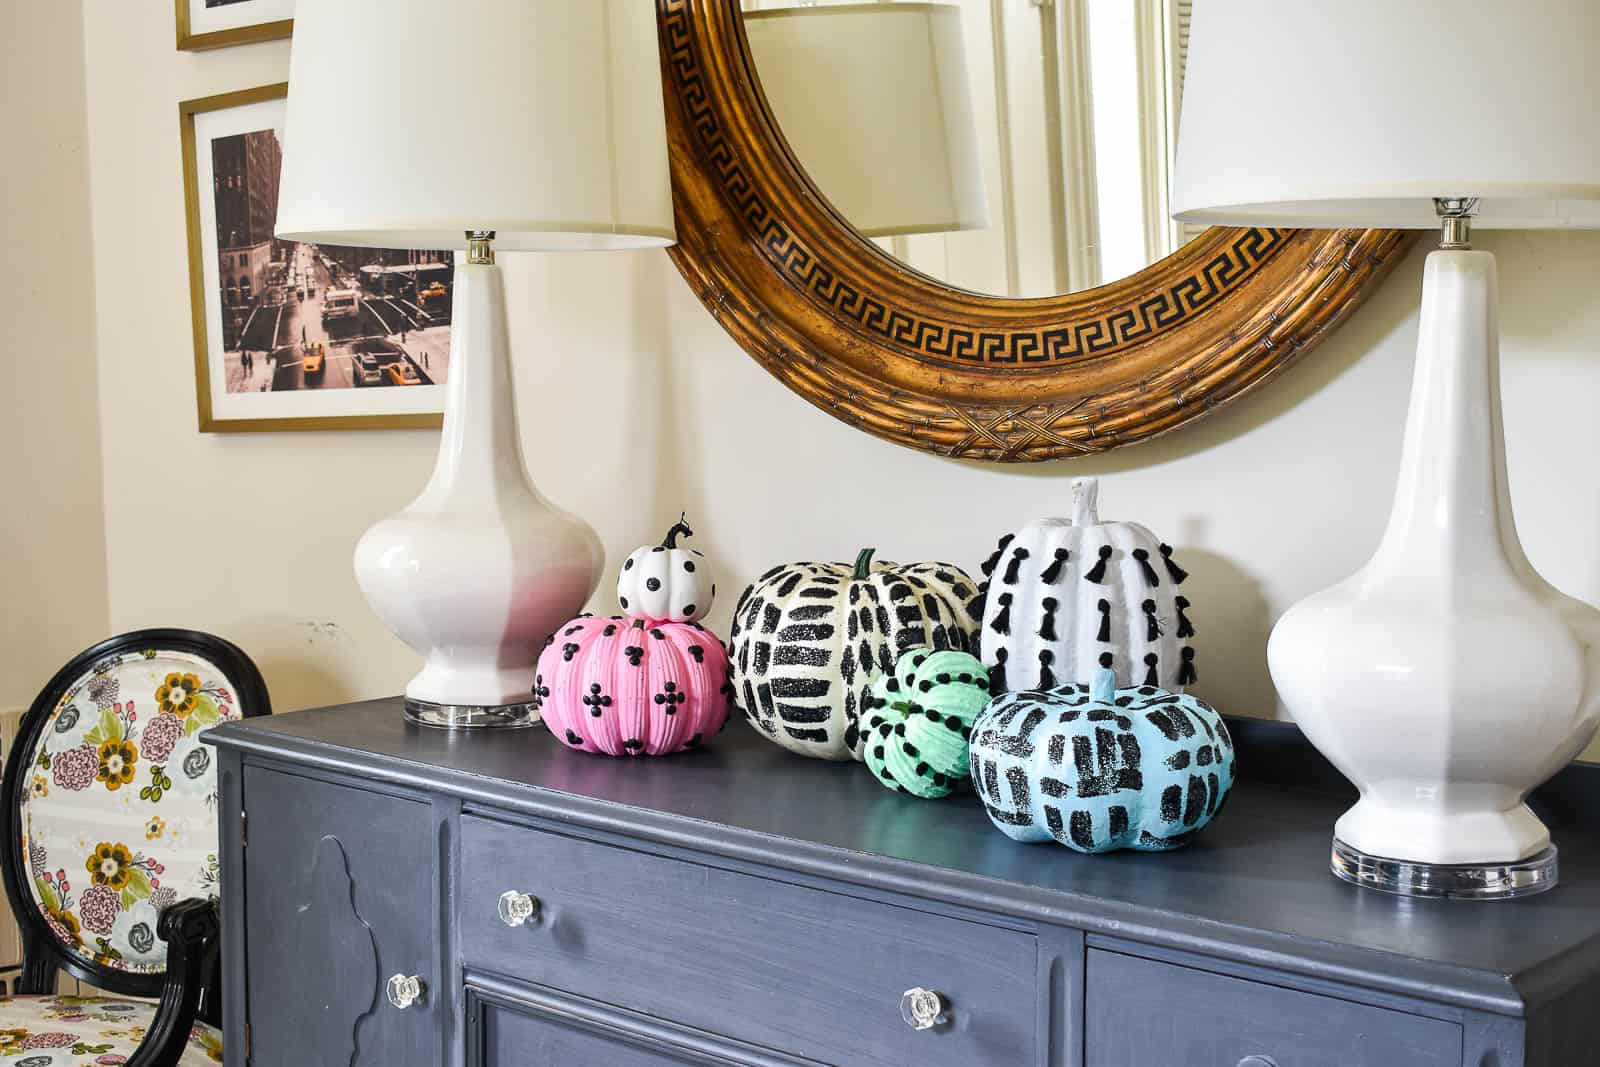
I’m still not so sure of where I’m headed with our fall/ Halloween decor this year, but I’ll tell you what. I love these pumpkins, and I love that they fit into my decor, and I LOVE that I could put them in any room of my house. Are they orange? Nope. Are they typical autumn colors… not a bit! No rules in making folks. No rules.
For a video tutorial, see below… you can see how I made each one if that’s easier!
Materials (affiliate links may be included)


Hello I am so grateful I found your blog, I really found you by
accident, while I was searching on Bing for something else, Nonetheless I am here now and would just like
to say kudos for a tremendous post and a all round thrilling blog (I also love the theme/design),
I don’t have time to read through it all at the minute but I
have bookmarked it and also added your RSS feeds, so when I have time
I will be back to read a great deal more, Please do keep
up the great b.