
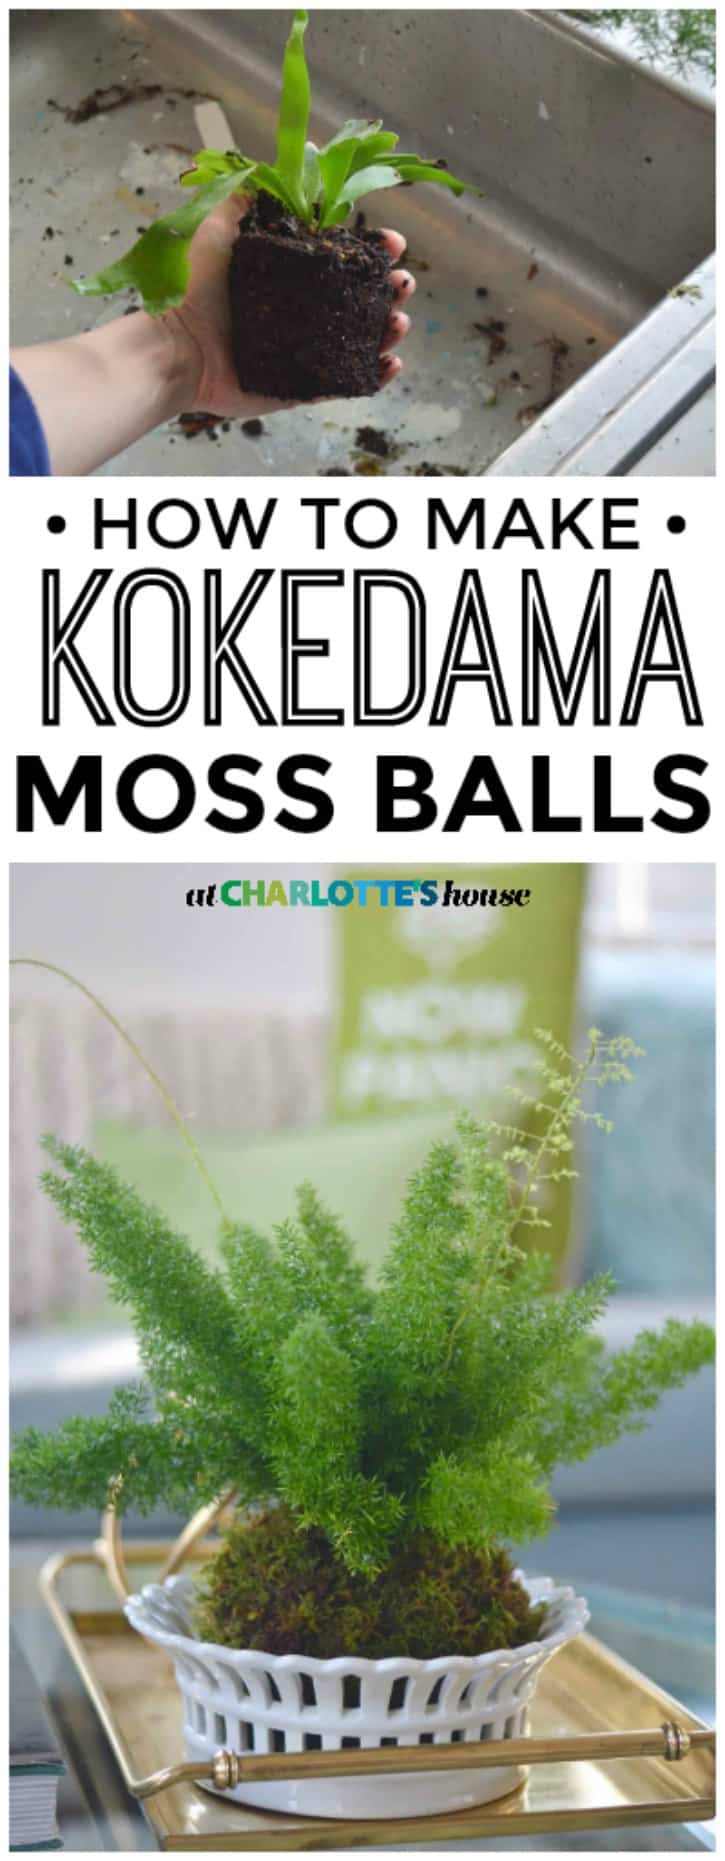
DIY Kokedama Moss Balls
Psssst… this post *might* contain affiliate links: see my disclosure here.
You may have seen these popping up here and there, and I LOVE them: Kokedama moss balls. Kokedama are a form of bonsai and, turns out, they’re mad easy to make! I’m cutting a few corners, but so far… so good- they’re all going strong!

Make your own Kokedama moss balls
I need to preface this entire post by saying, my thumb is nowhere NEAR green. If a plant is more than $10, I skip it because that’s a financial risk I’m not willing to take. All of the moss balls I made were from hearty ferns or spider plants and a couple weeks in… they’re all going strong! (Full materials list at the end of this post.)
Shop my favorites!
I’m on a video ROLL, you guys… Subscribe to my YouTube channel to see them all… here’s my tutorial on these cute moss balls, but all the steps are included below as well!
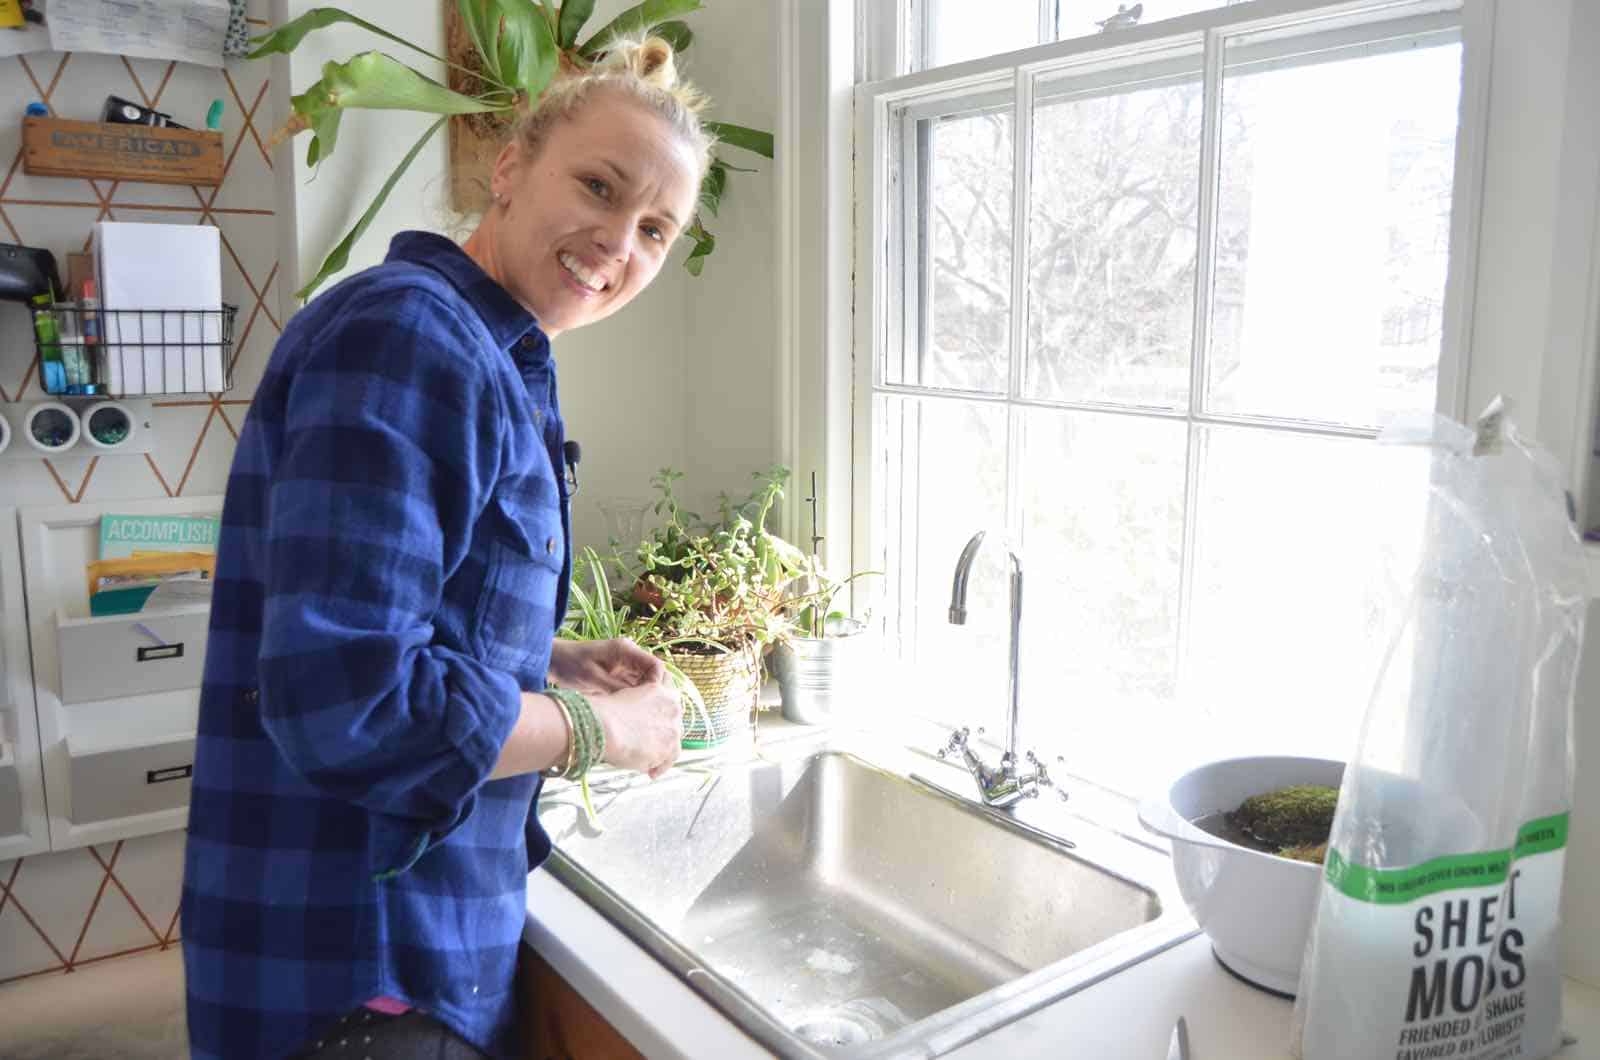
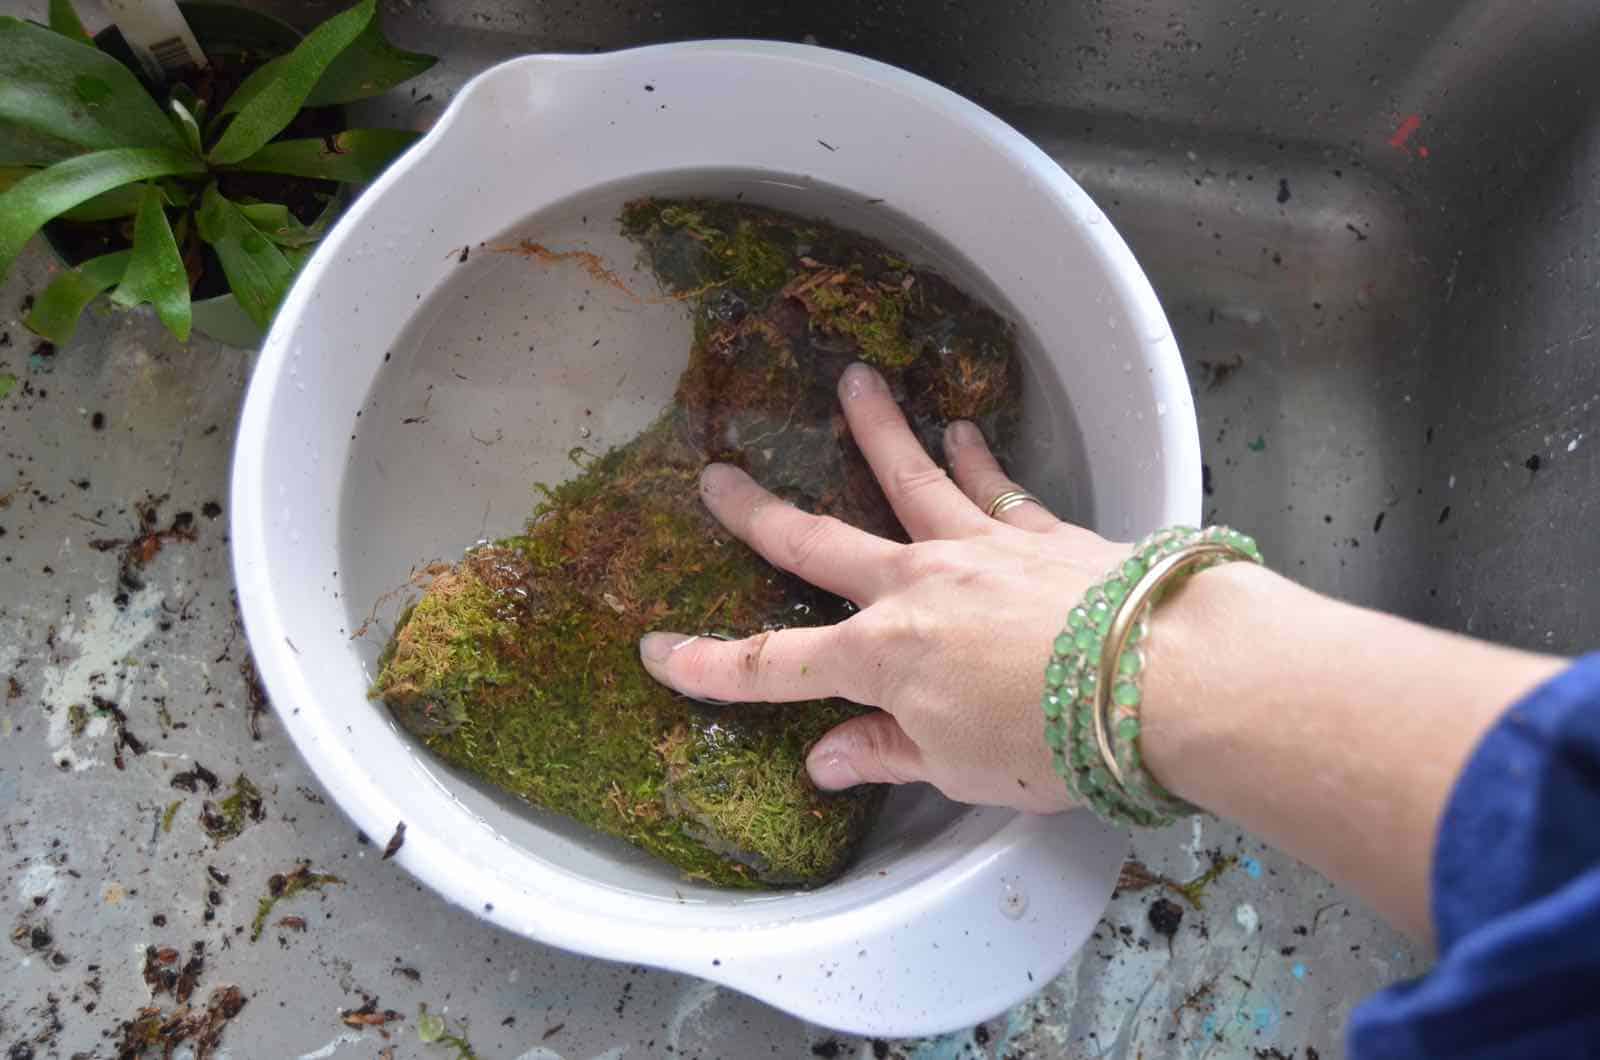
Step 1. Soak your plants and soak your sheet moss
I tried making mine without soaking and you can still do it, but it’s much easier to handle both the sheet moss and the plants if they are nice and moist. (Also? I’ll be writing the word moist a few different times in this post so consider yourself warned… I know that’s top of most people’s least favorite word list!)
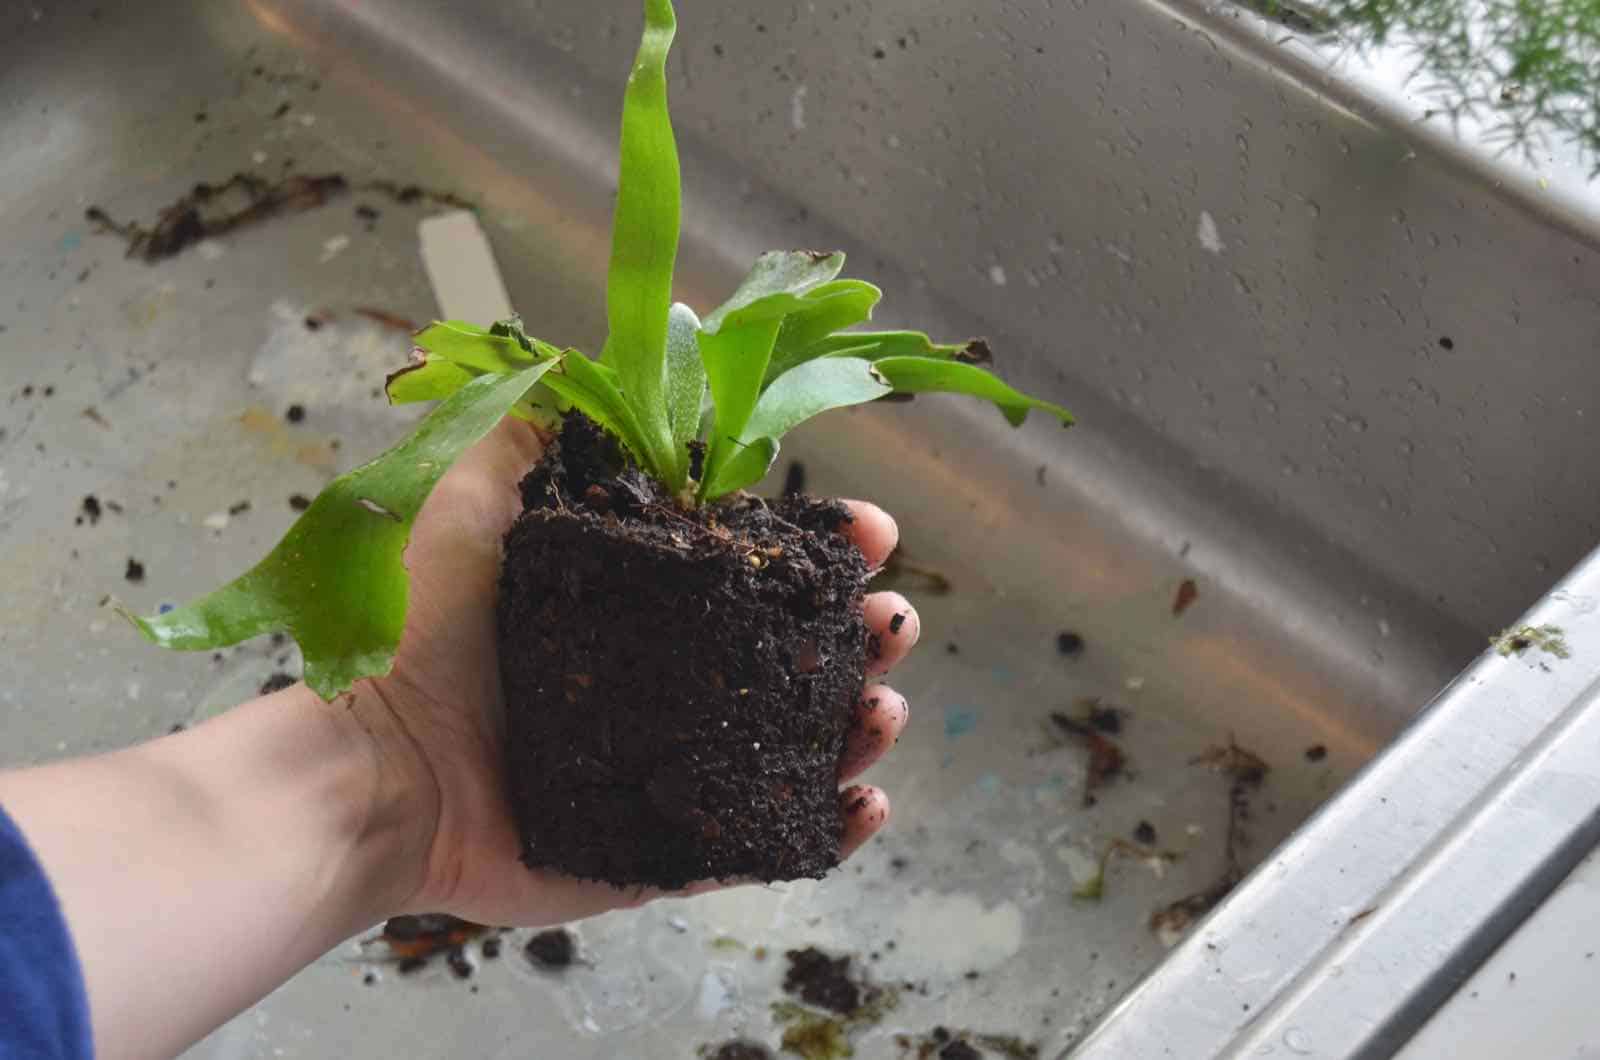
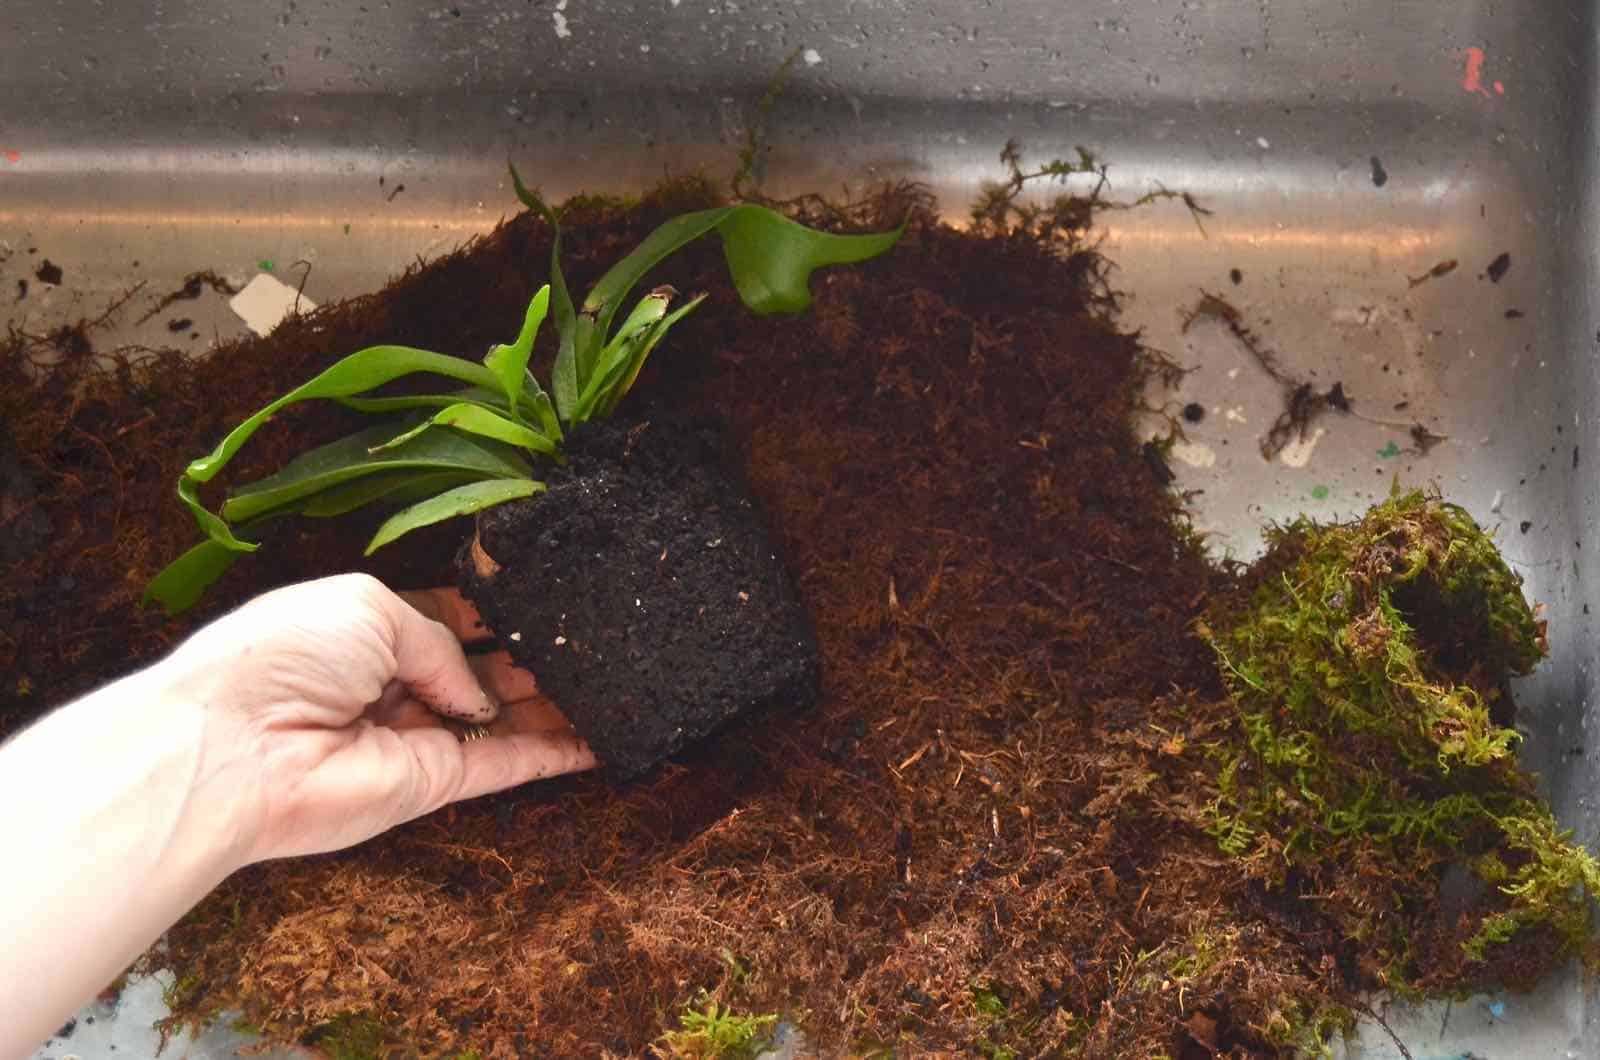
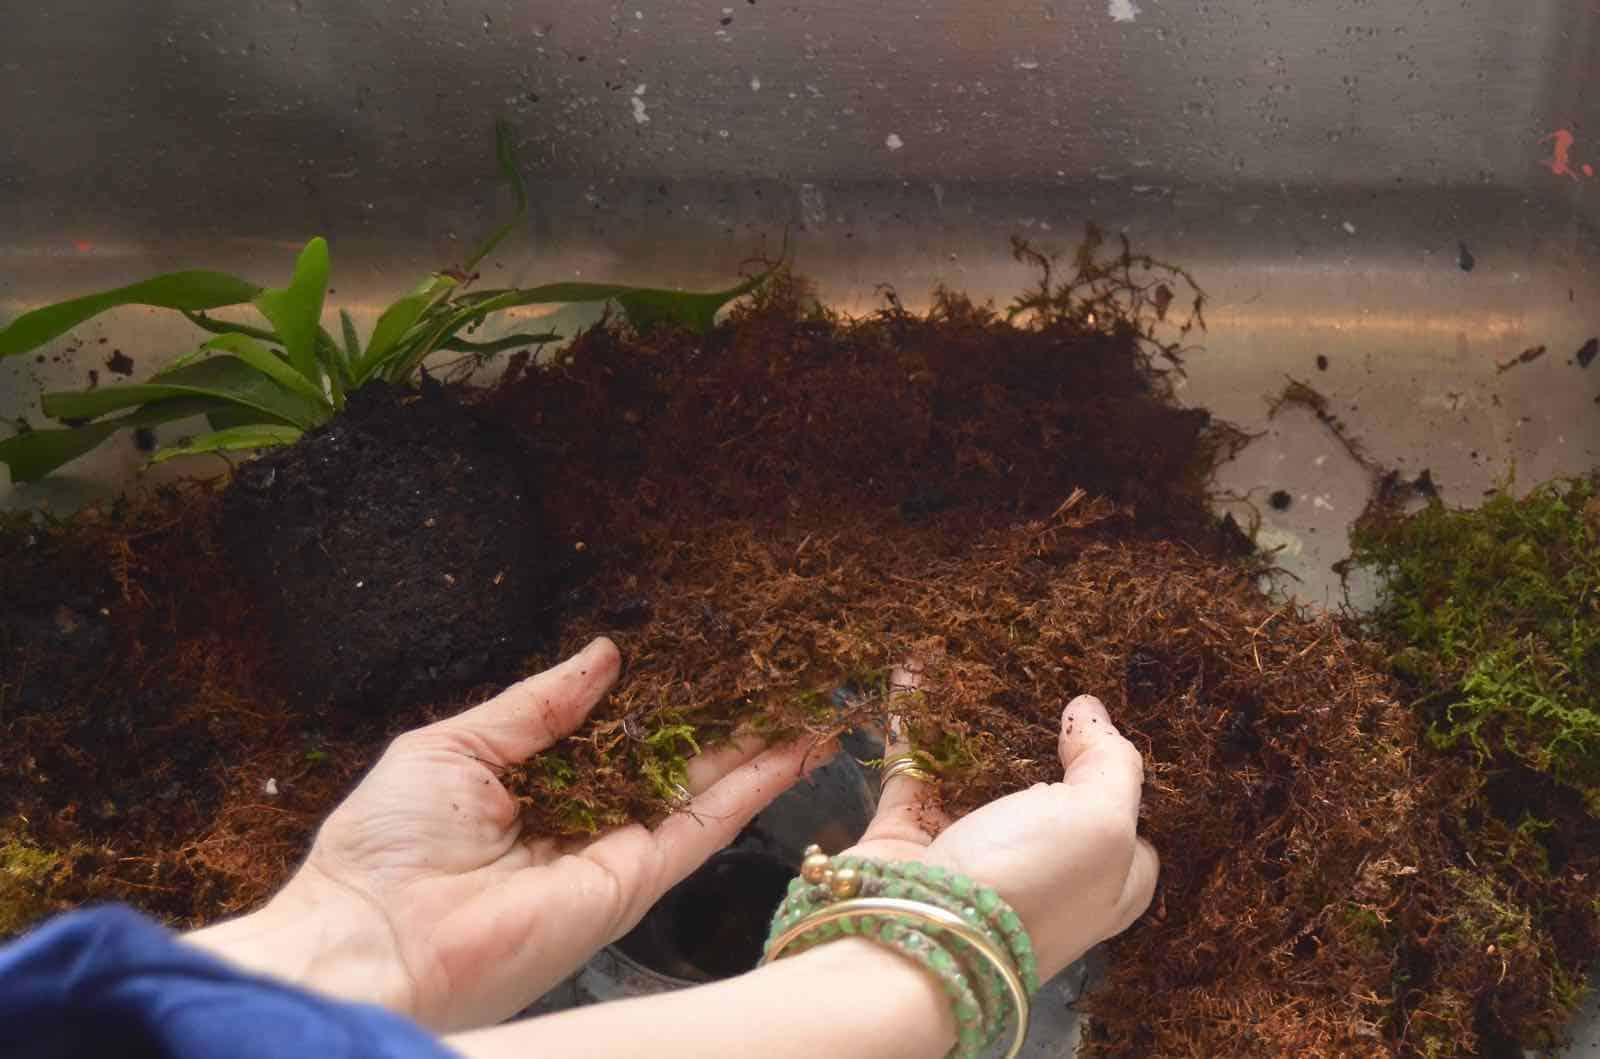
Step 2. Determine how much sheet moss
Remove the plant from it’s pot and lay on top of sheet moss. Make sure you have enough moss to thoroughly wrap around the root ball and rip away any excess.
Step 3. Hold moss in place
With one strand of nylon string, give your ball a belt to hold the moss in place.
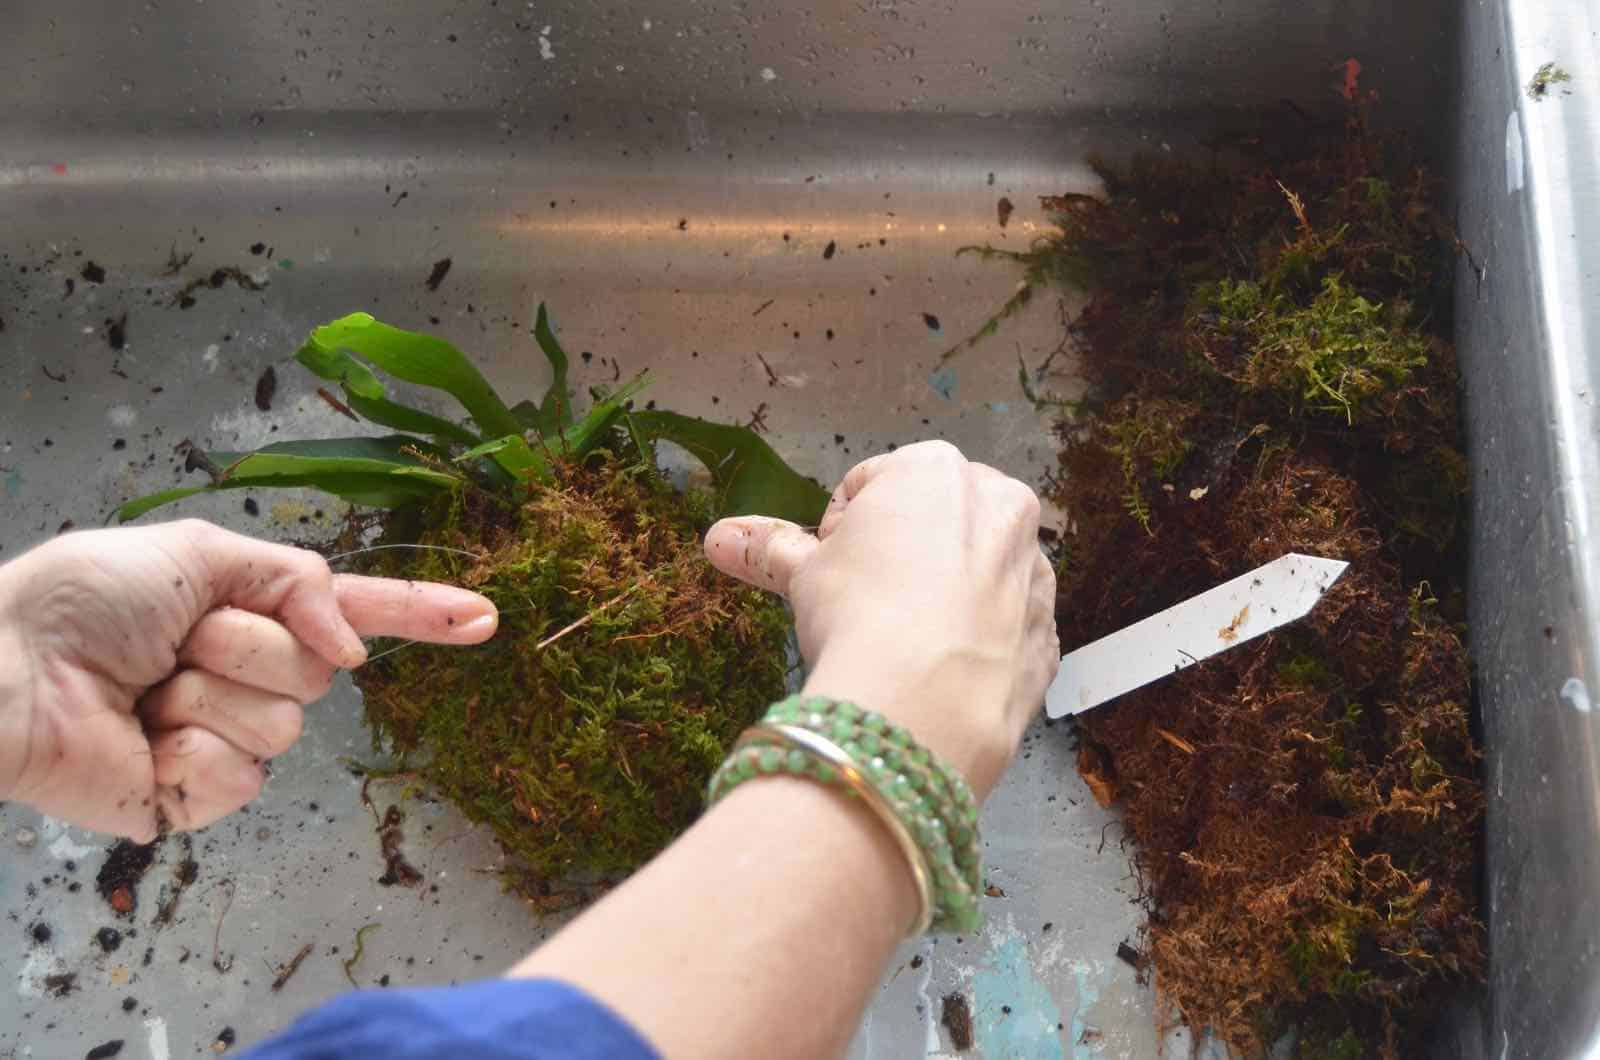
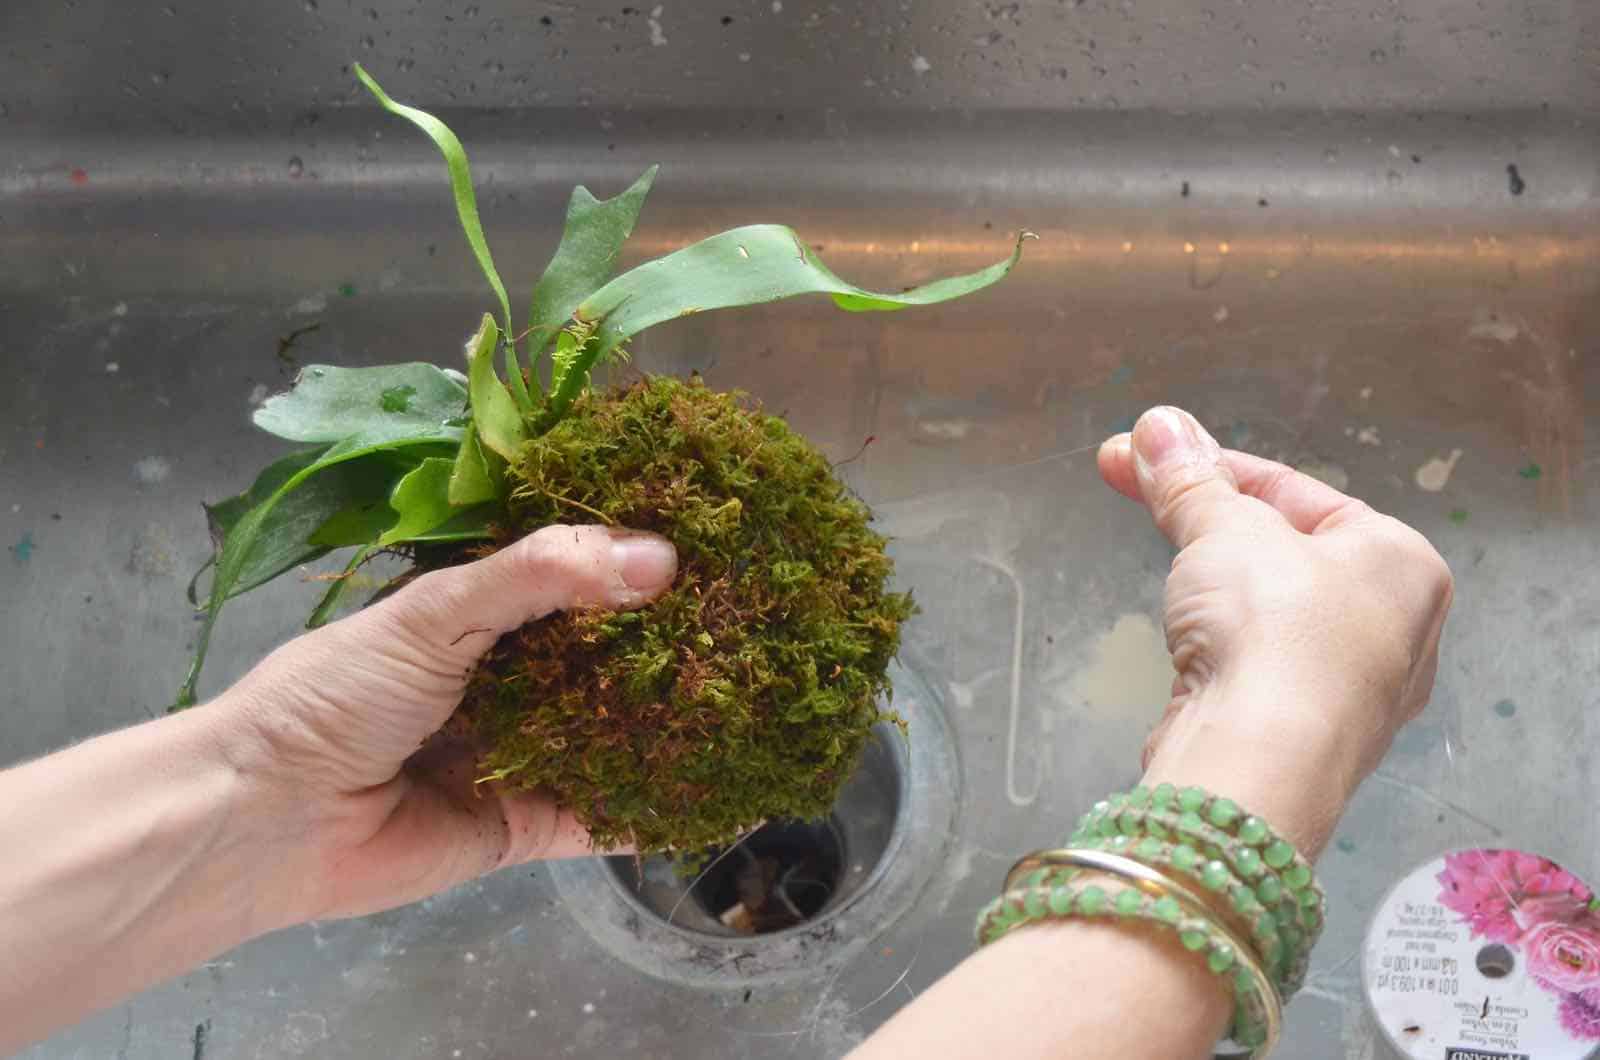
Step 4. Wrap the moss ball
Now that the moss is secure, go around and around the root ball with your nylon thread until the moss is completely secure and the shape of the root ball is round. Squeeze and mold the plant as needed to make it nice and round. The nylon disappears into the moss so there’s no need to be go easy. Wrap as much as you’d like and then secure the ends with a number of knots.
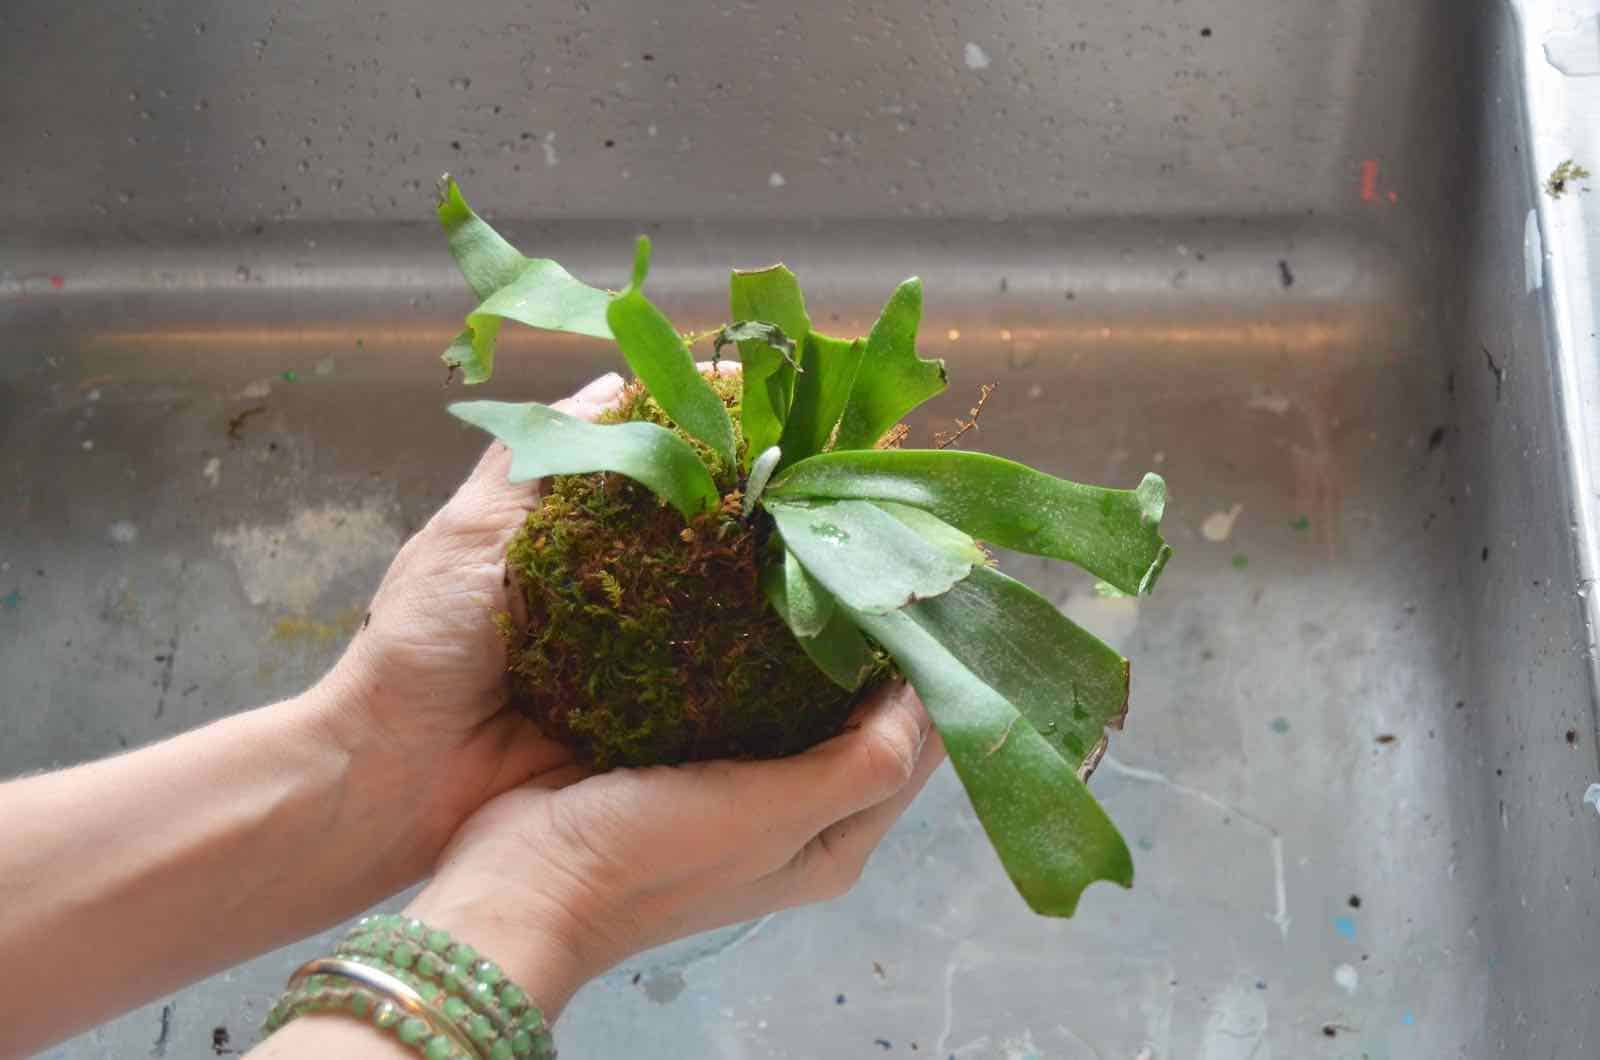
Step 5. Care instructions
I plan to soak my moss balls in water once a week and then periodically give the moss itself a squirt of water throughout the week. The soil should stay moist
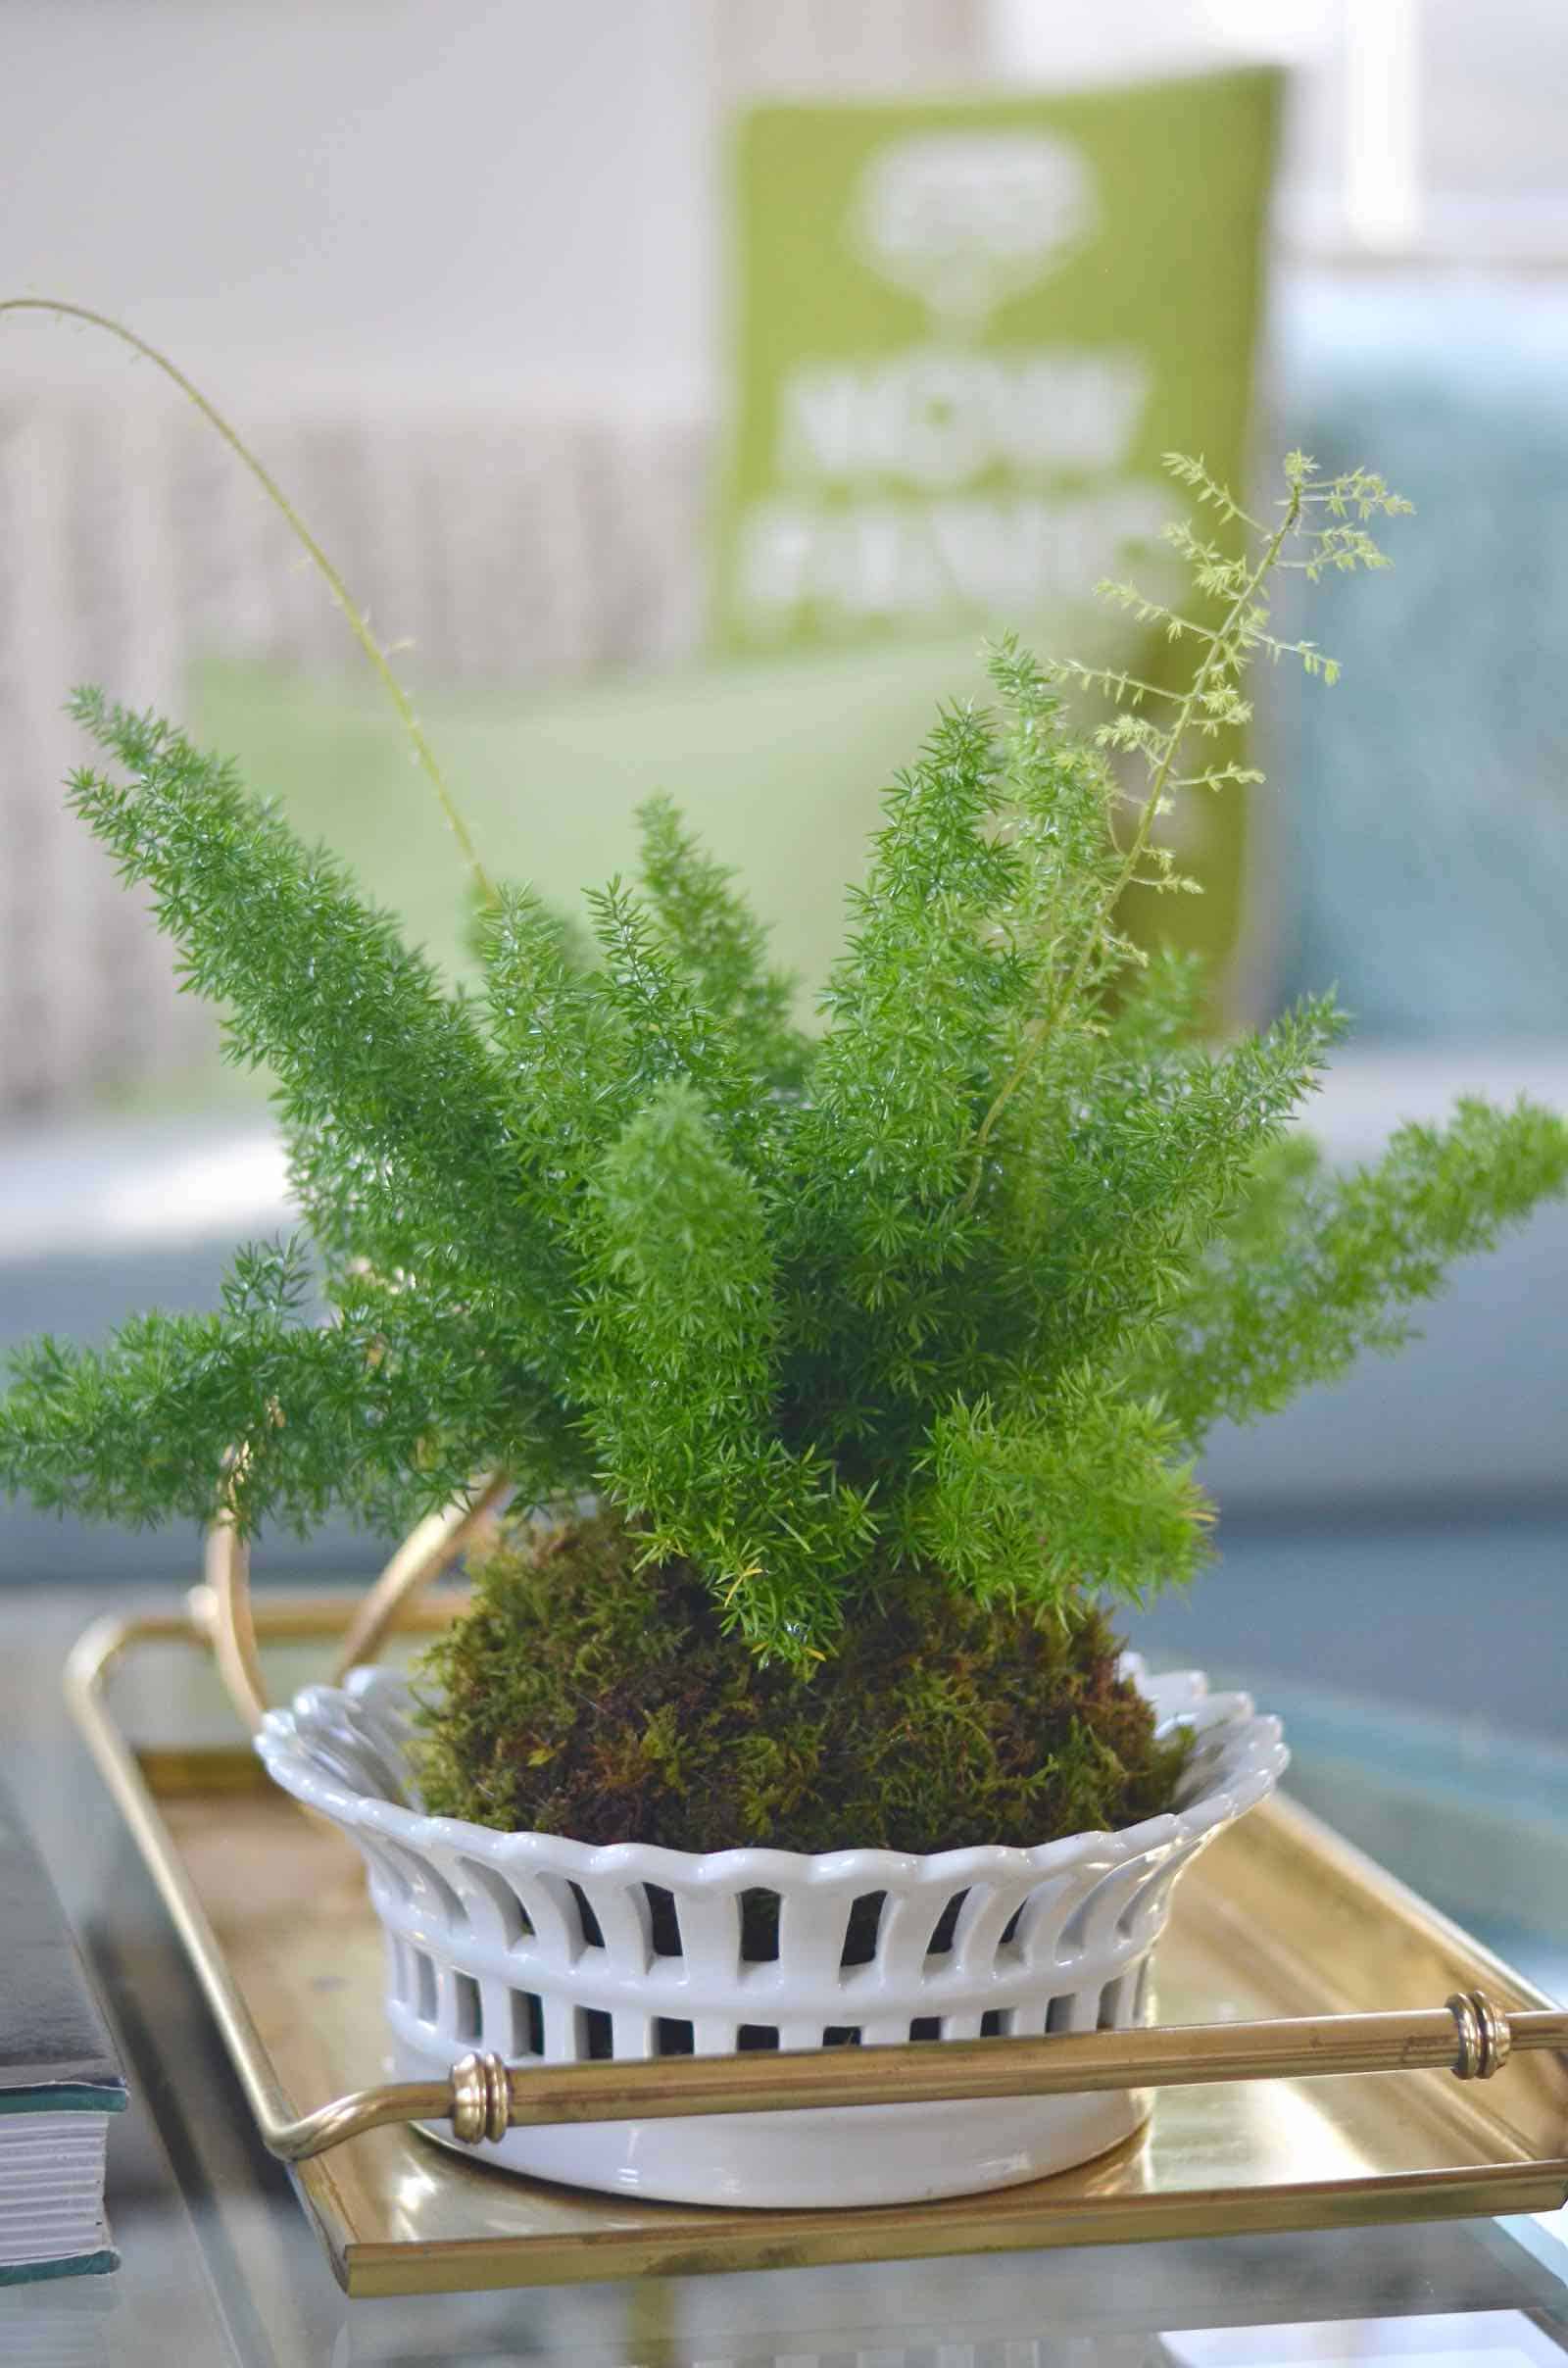
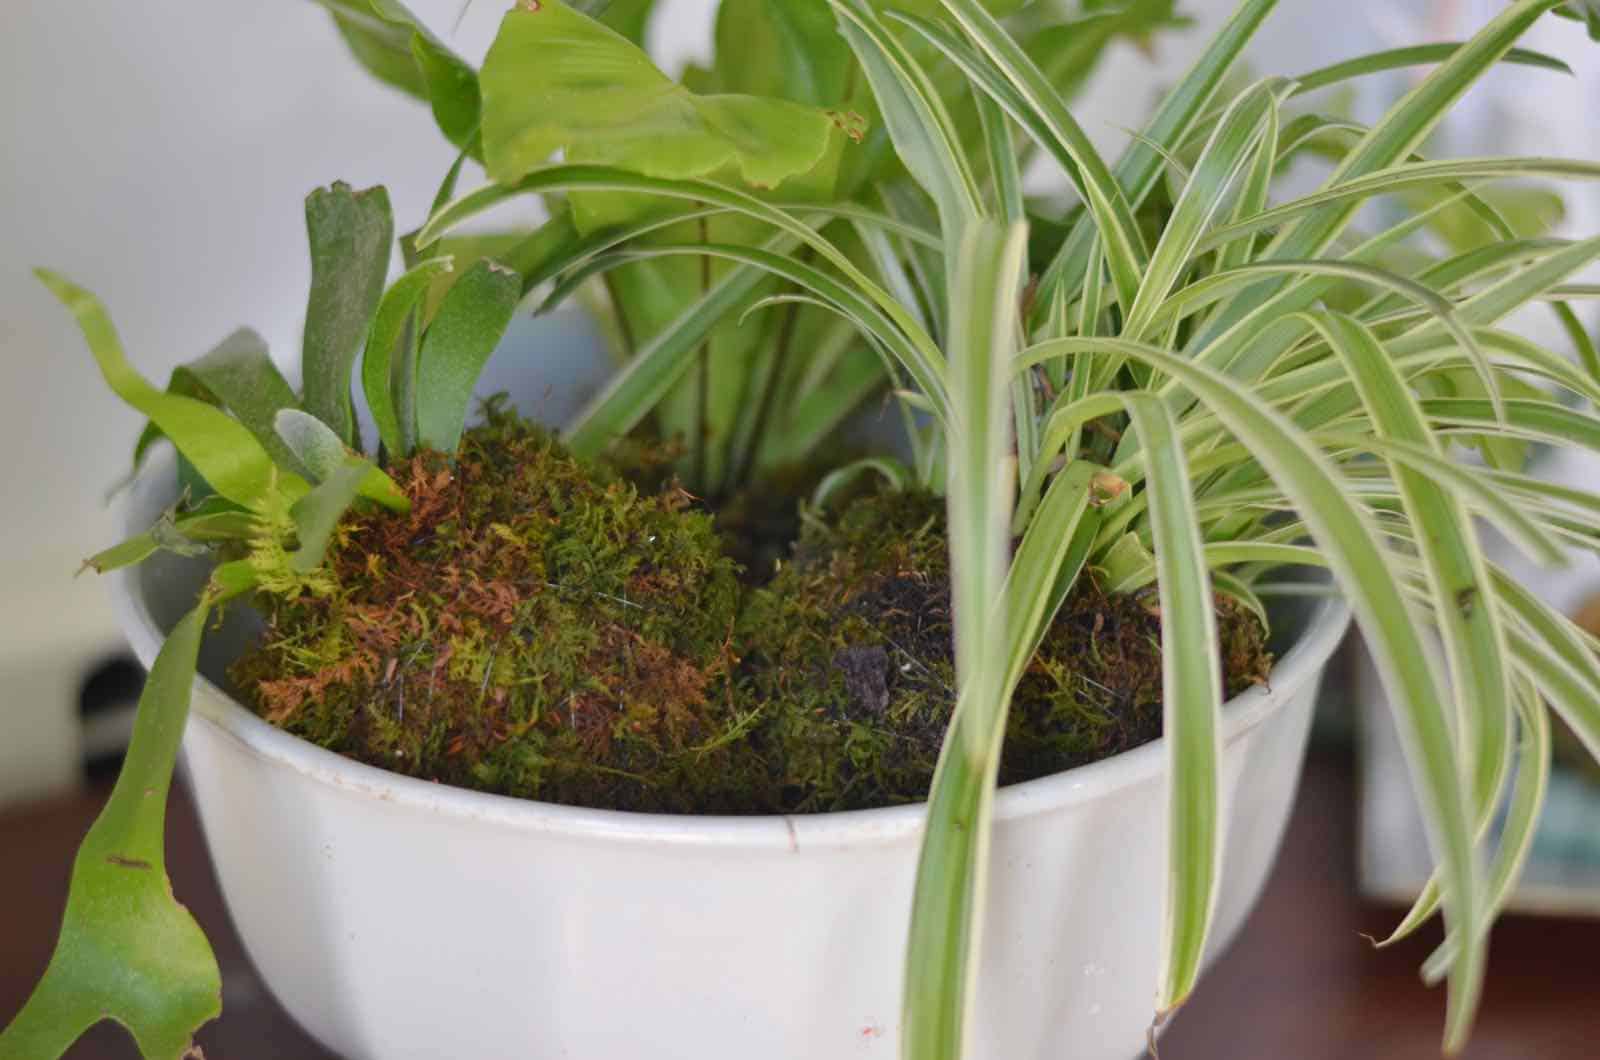
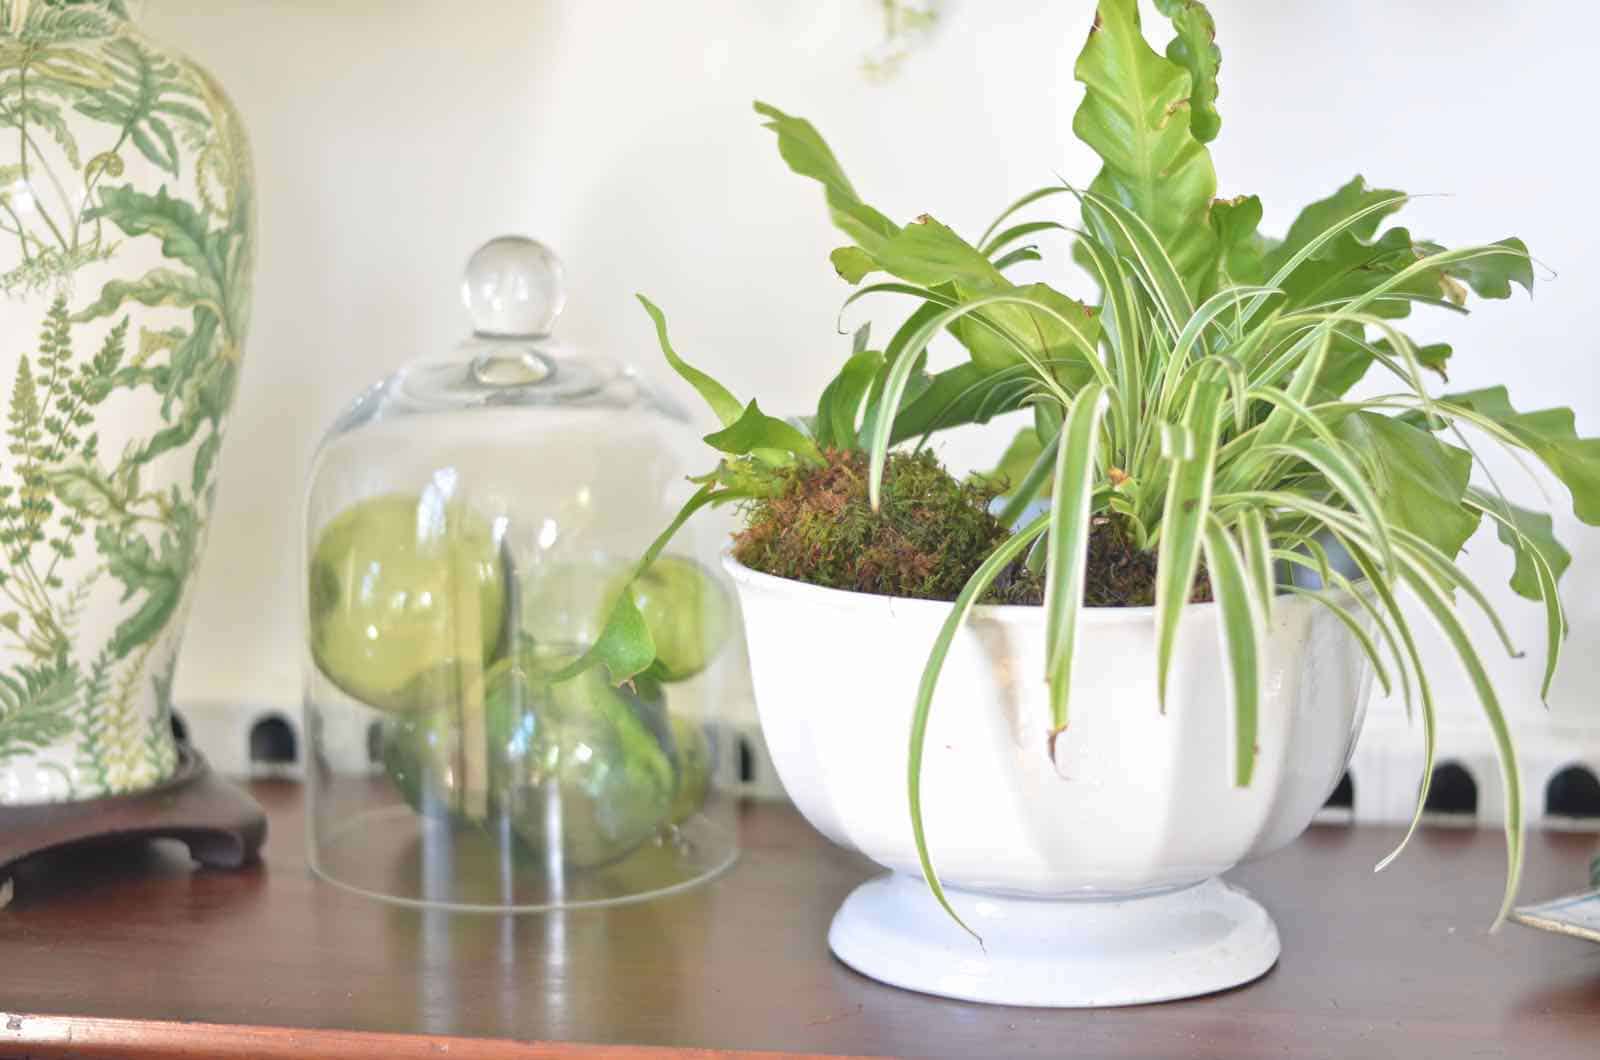
The traditional way to make these is to add peat or clay to help the moss balls not only hold their shape but also retain moisture… I skipped that step and so far so good. These are often seen hung which I LOVE, but I didn’t have any ideal spots for that so gathered in a bowl is where mine live for now. When the weather warms up, they may move out to our back porch, but I haven’t decided yet… would certainly make watering them easier so I’m on the fence!

Materials for Kokedama
(Affiliate links included for your convenience).
• Sheet Moss
• Nylon floral thread
• Hearty plants that do well with damp soil (think ferns, spider plants, ivy)


What a beutiful way to display plants!? I want to tRy this. YOu made it look so easy charlotte.
I was so mesmerized when I saw them and it’s really easy! I wish I had a place to hang them!
Watched you vi very nice the onl thin is you can make them with
Succulents and they last
I find that plants that are grown in soil are easier to manipulate and wrap with the moss because they’re not so sandy… but you’re right. Both could work.