
DIY Retro Christmas Art
Psssst… this post *might* contain affiliate links: see my disclosure here.
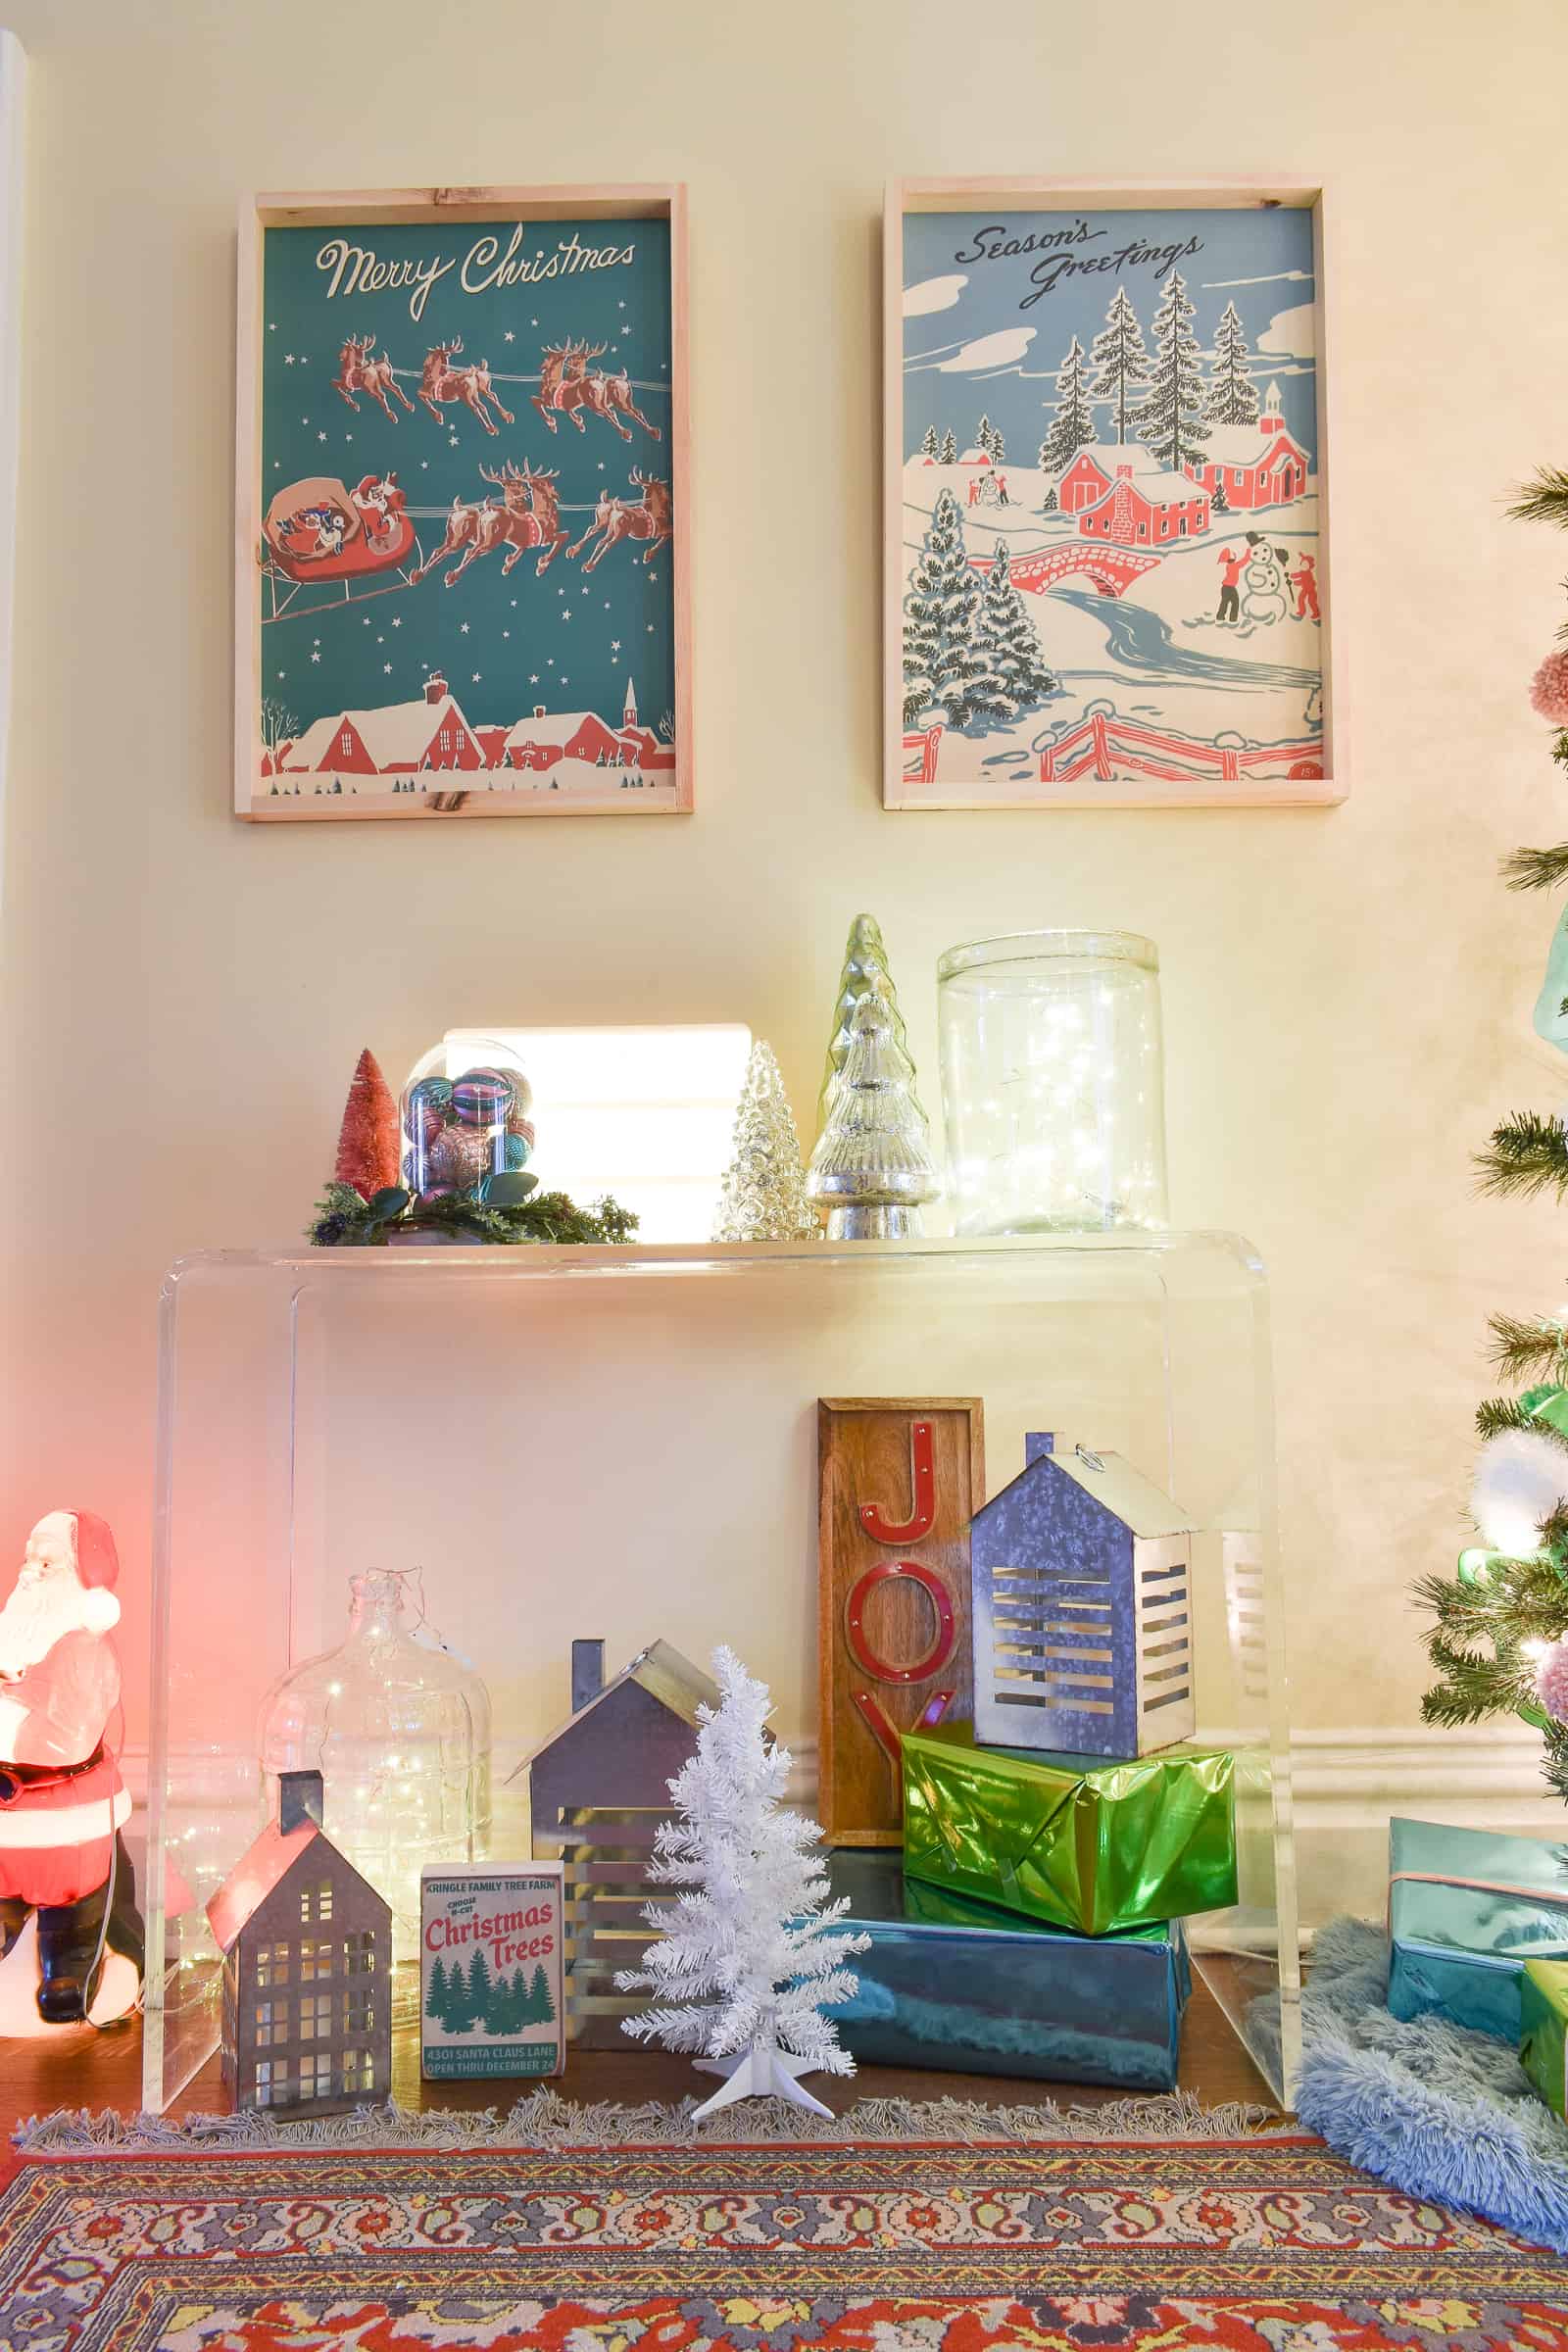
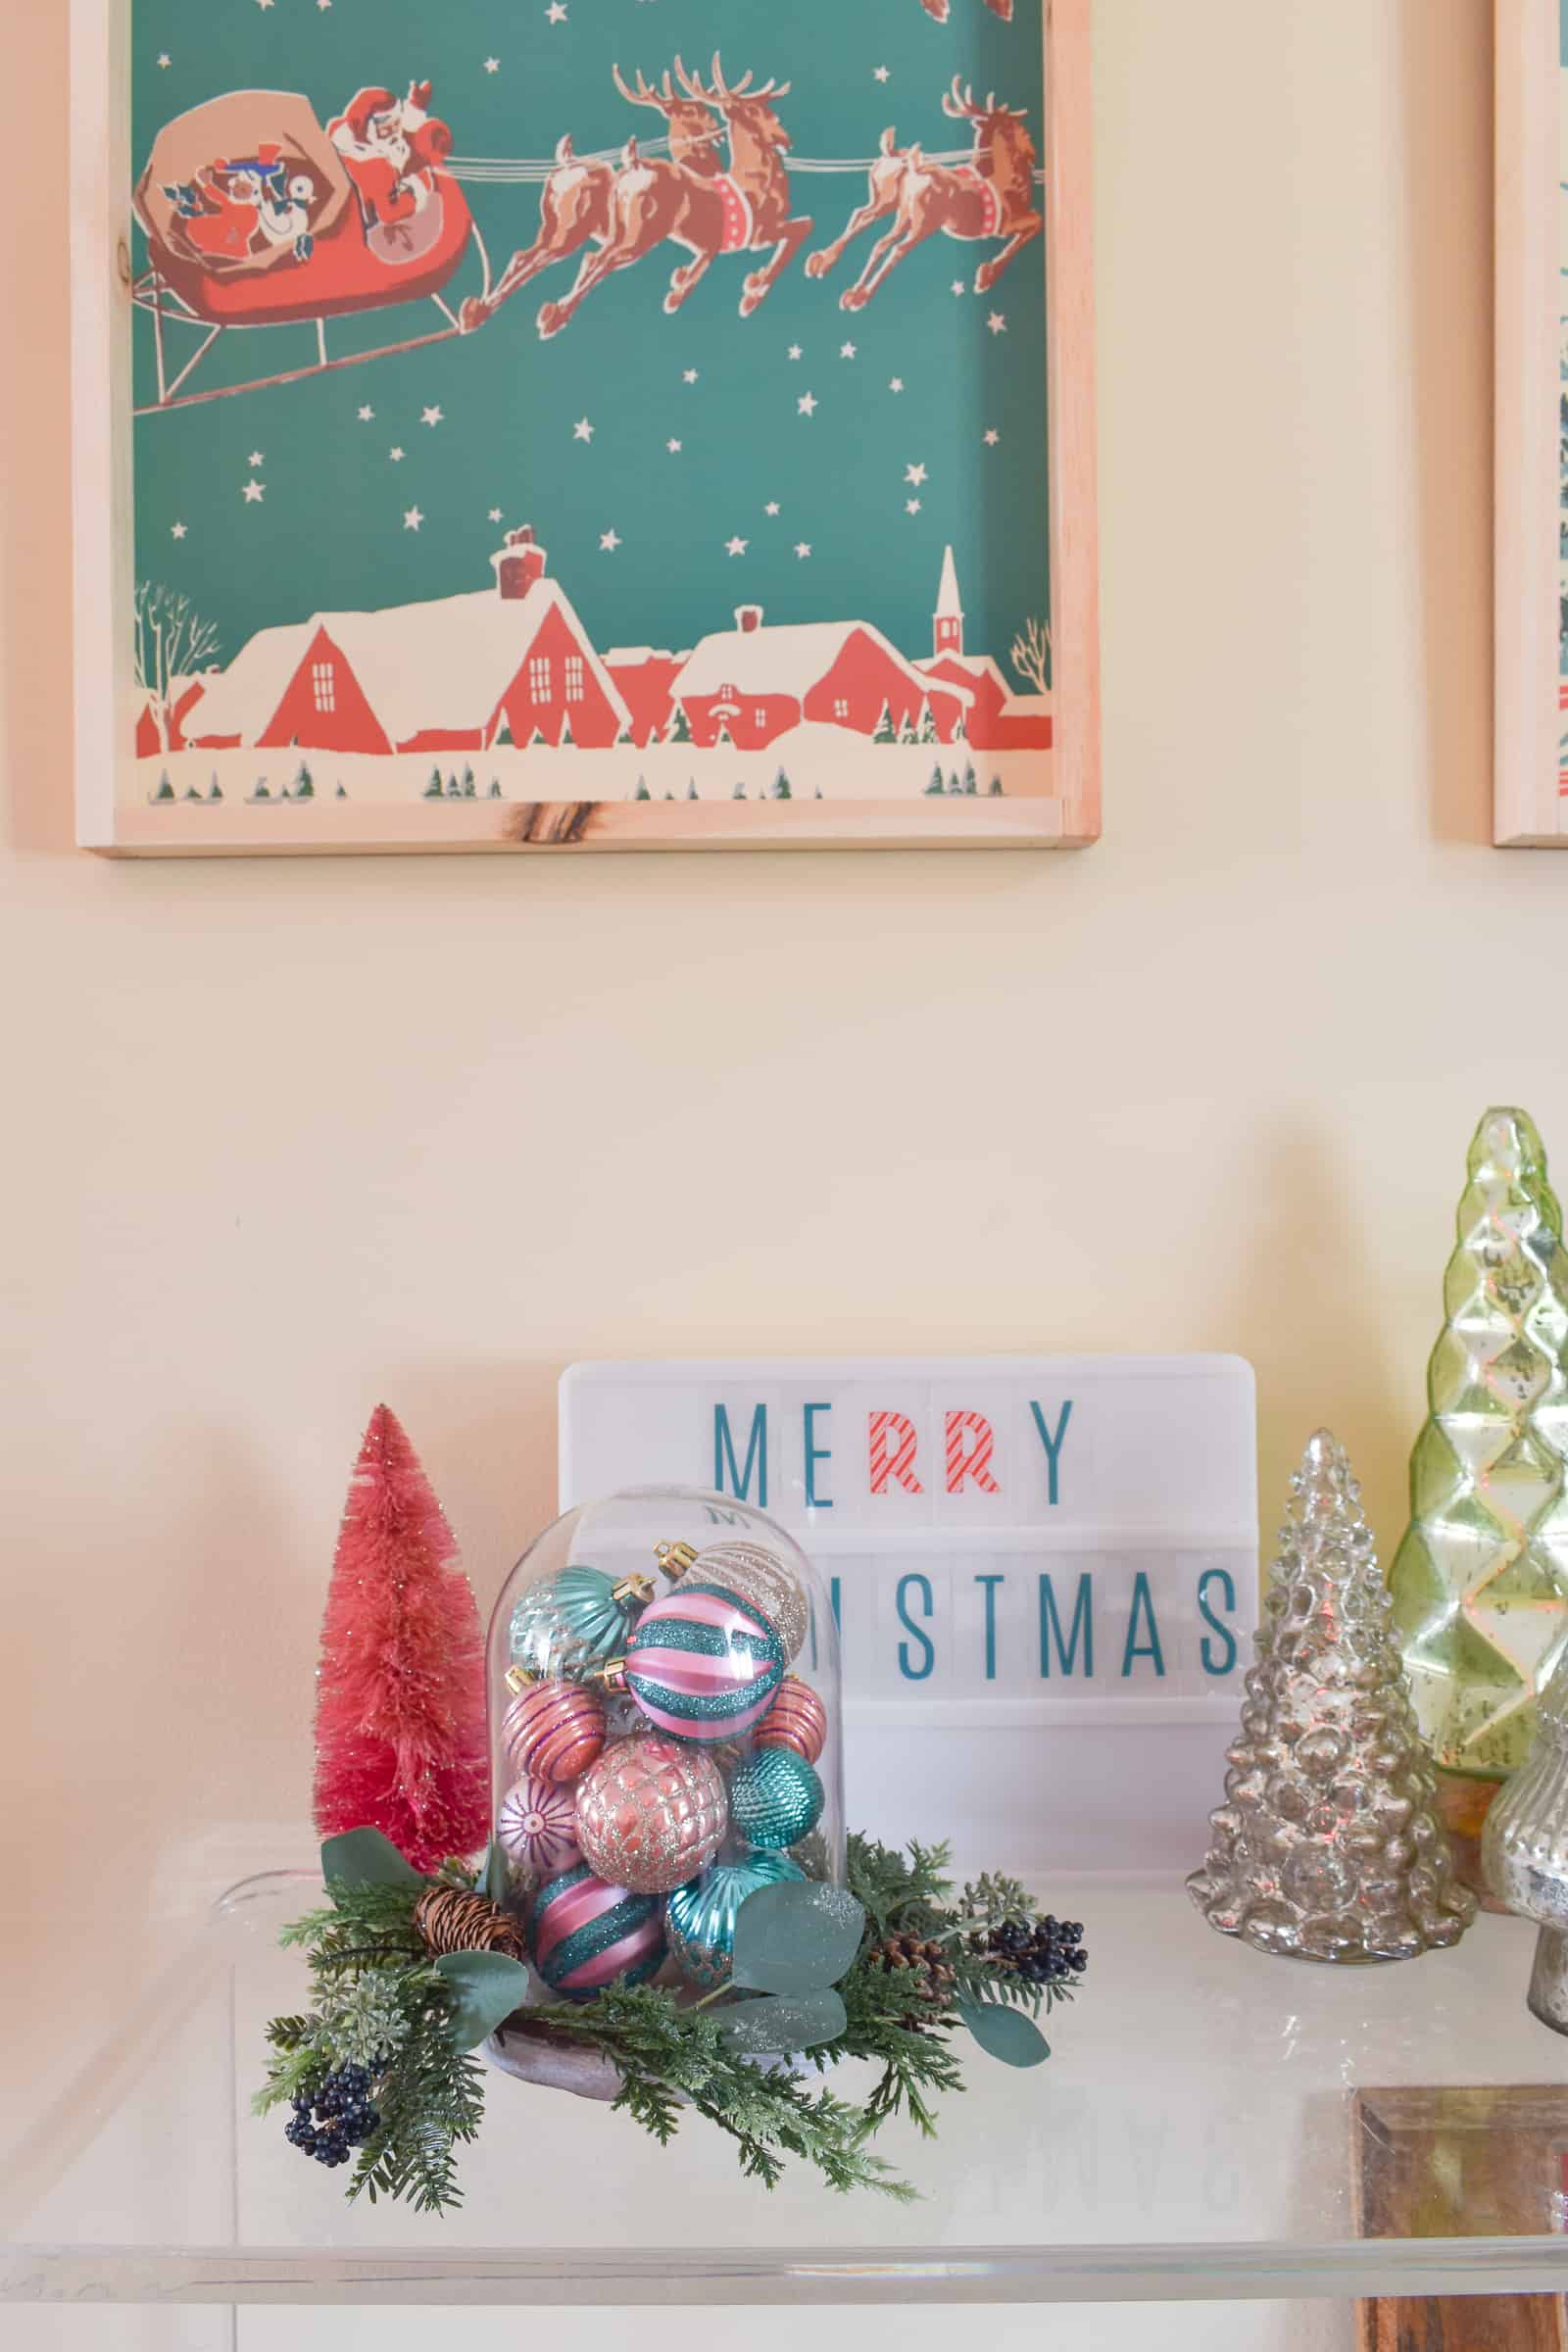
DIY Holiday Wall Art
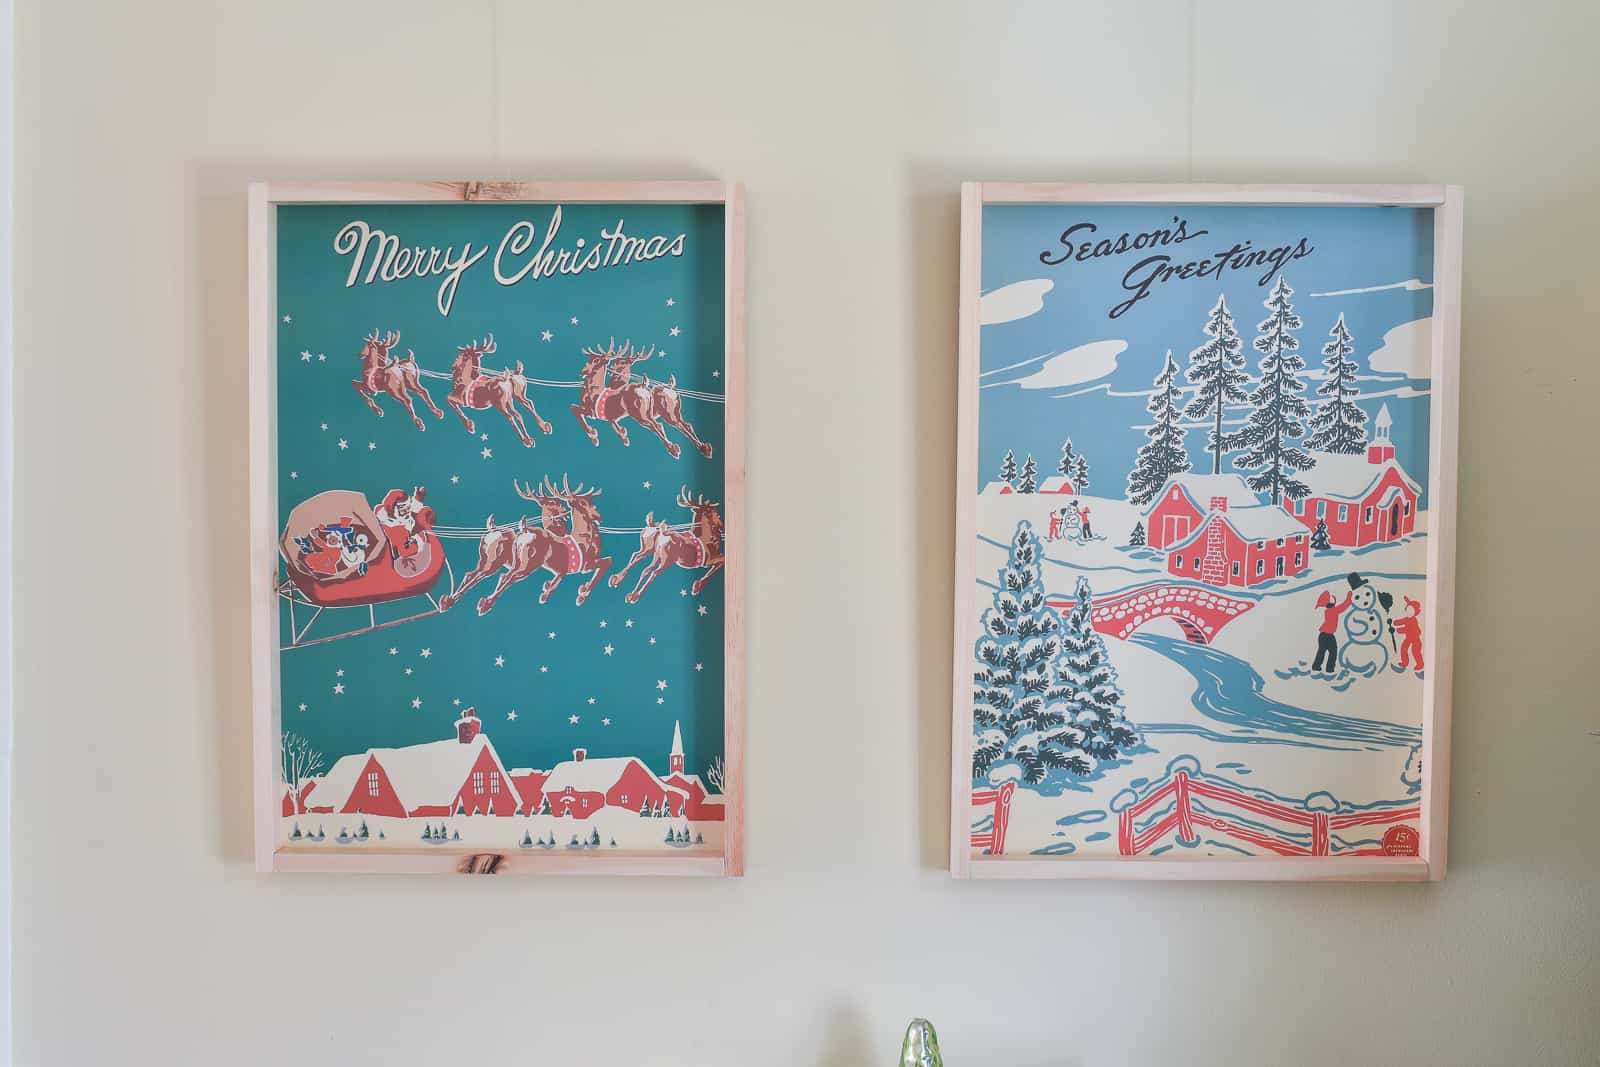
Two weeks ago, I was asked to help decorate a space at a local historic mansion that has a meet and greet with Santa each year. I had a few days to pull something together so my design options were somewhat restricted. We were also limited by how we could install things (i.e. no nails on the wall) so… I needed to DIY something nice and light and festive in order to decorate my walls! These DIY retro Christmas prints are SO easy and ADORABLE! (Materials list at the end of the post!)
Shop my favorites!
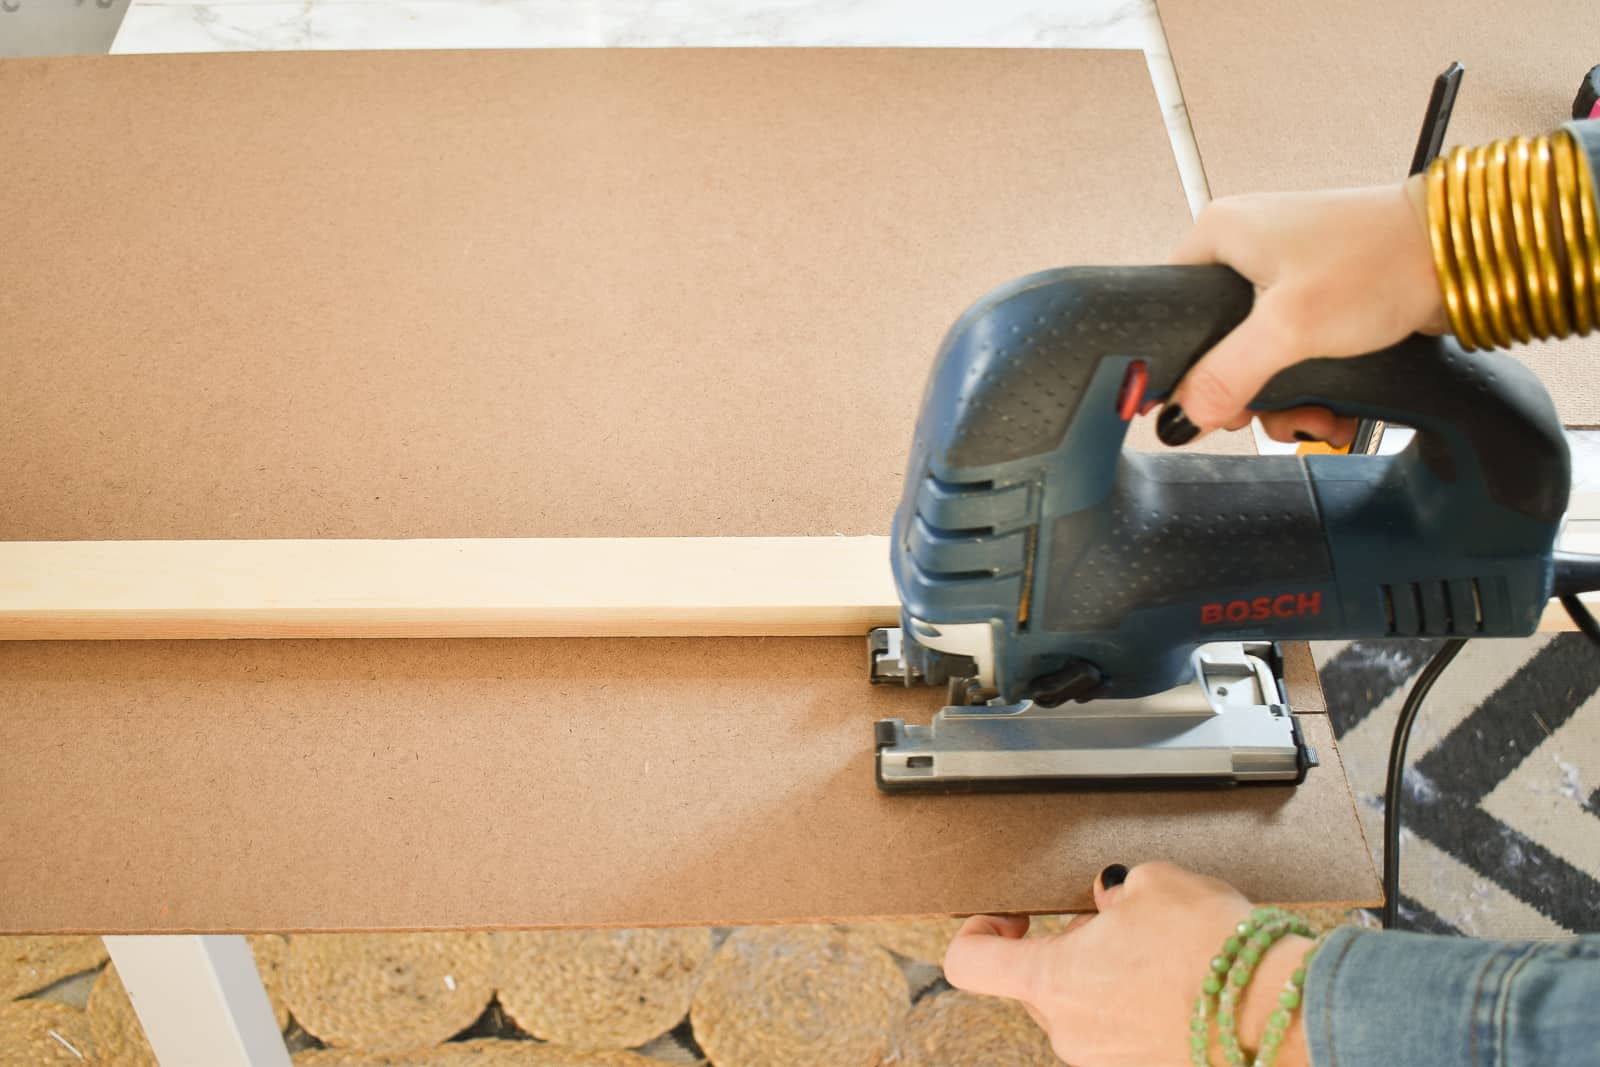
Step 1. Cut masonite/ backing.
I used a 1×2 clamped in place to act as a guide for my jigsaw. A table saw would work just as well!
Step 2. Sand.
Sand the edges with a sanding block to remove and roughness.

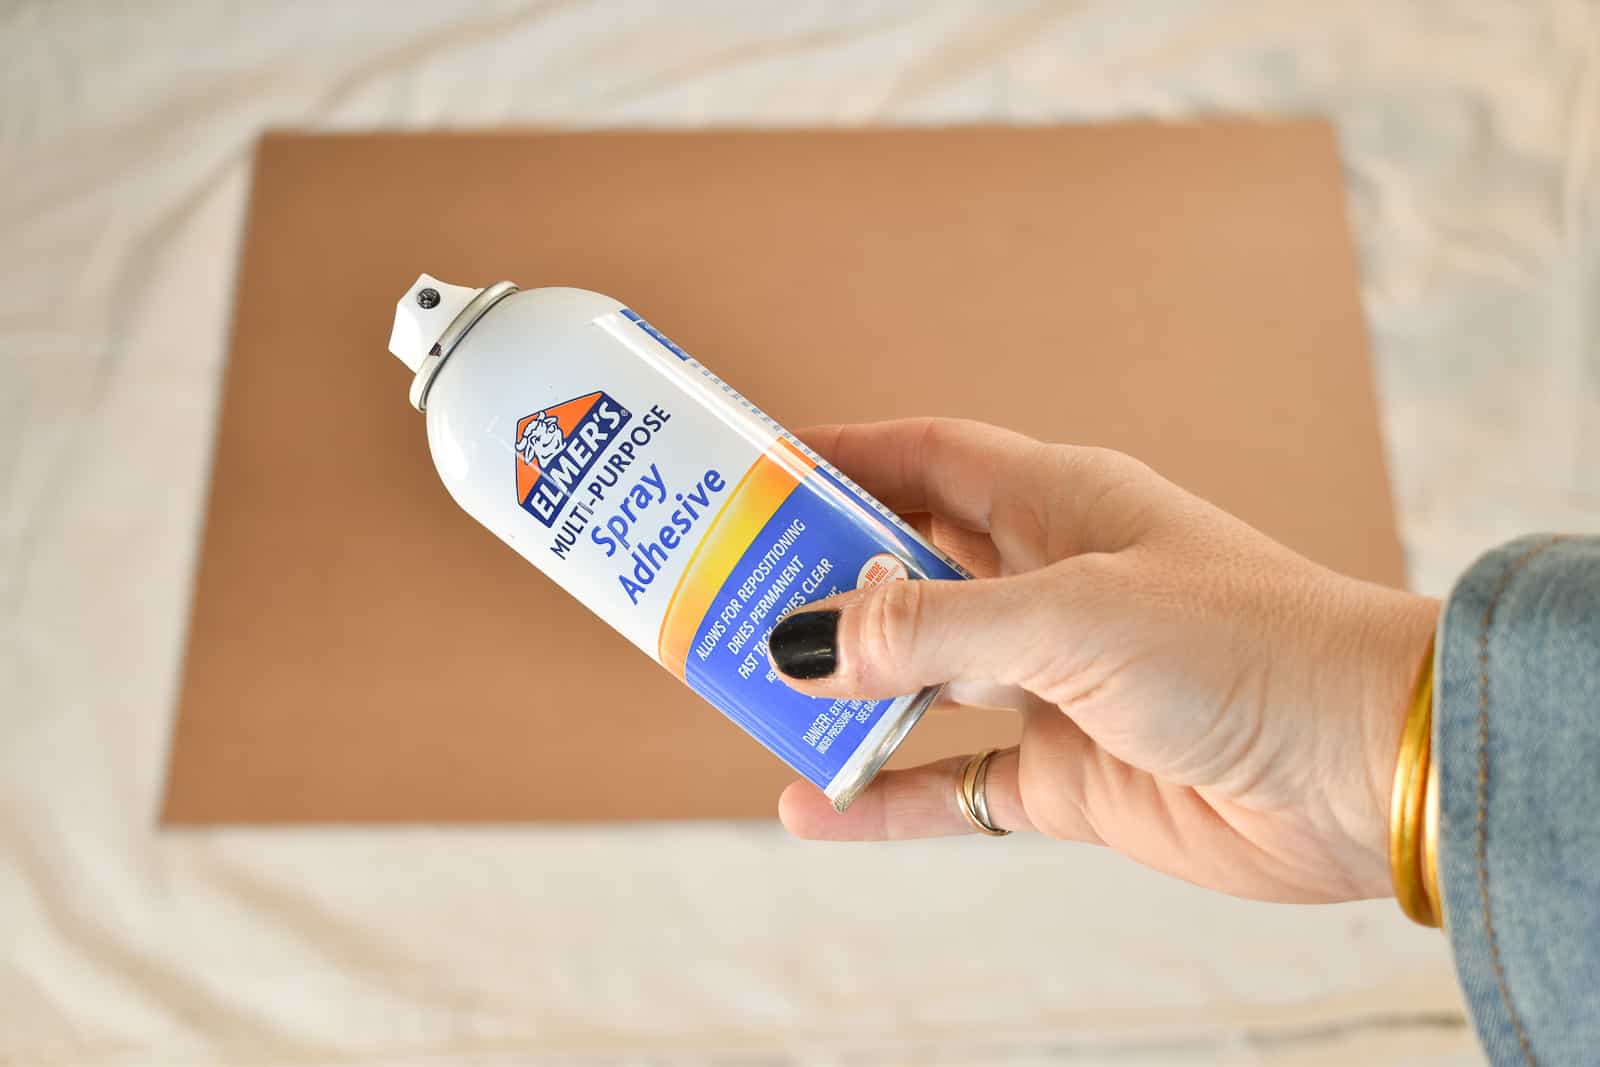
Step 3. Glue.
Place the backing onto a cloth to protect from overspray and follow directions on the spray glue. Typically you shake the glue and spray from a distance of 12-18 inches. Let the glue set for a 5-10 seconds and carefully place the artwork/ poster ontop.
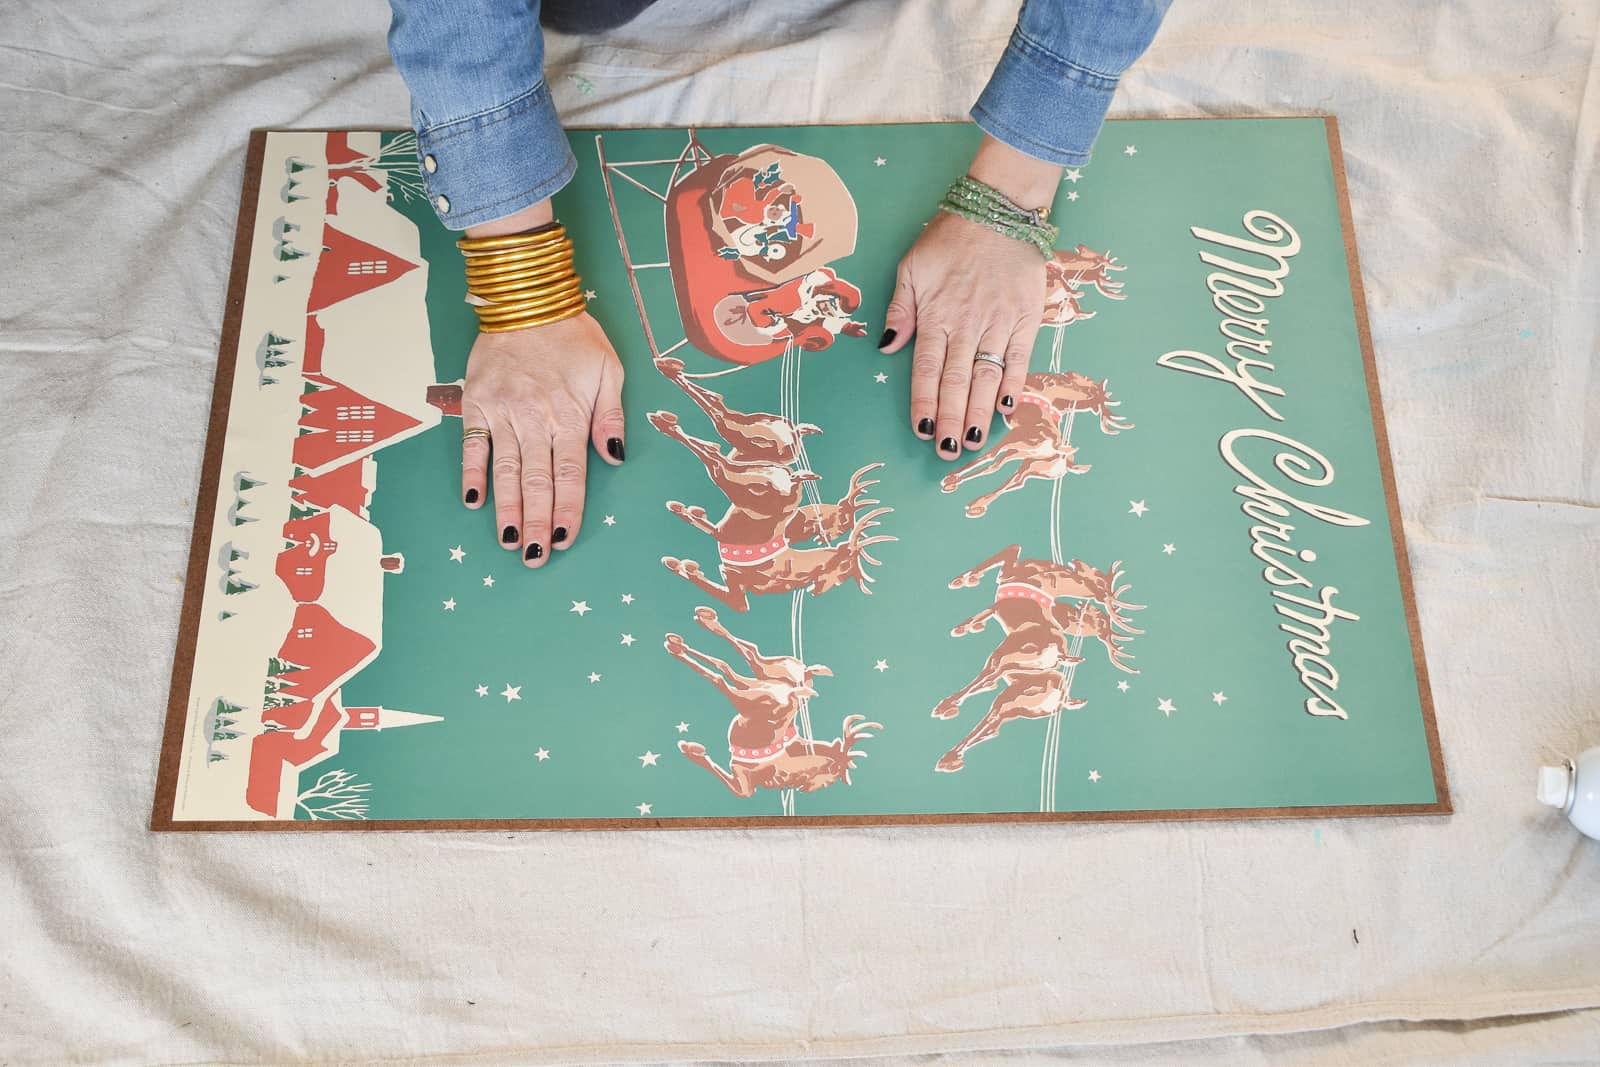
Step 4. Smooth out paper.
I used my hands but a clean foam roller would also work. Gently smooth out any air bubbles in the paper.
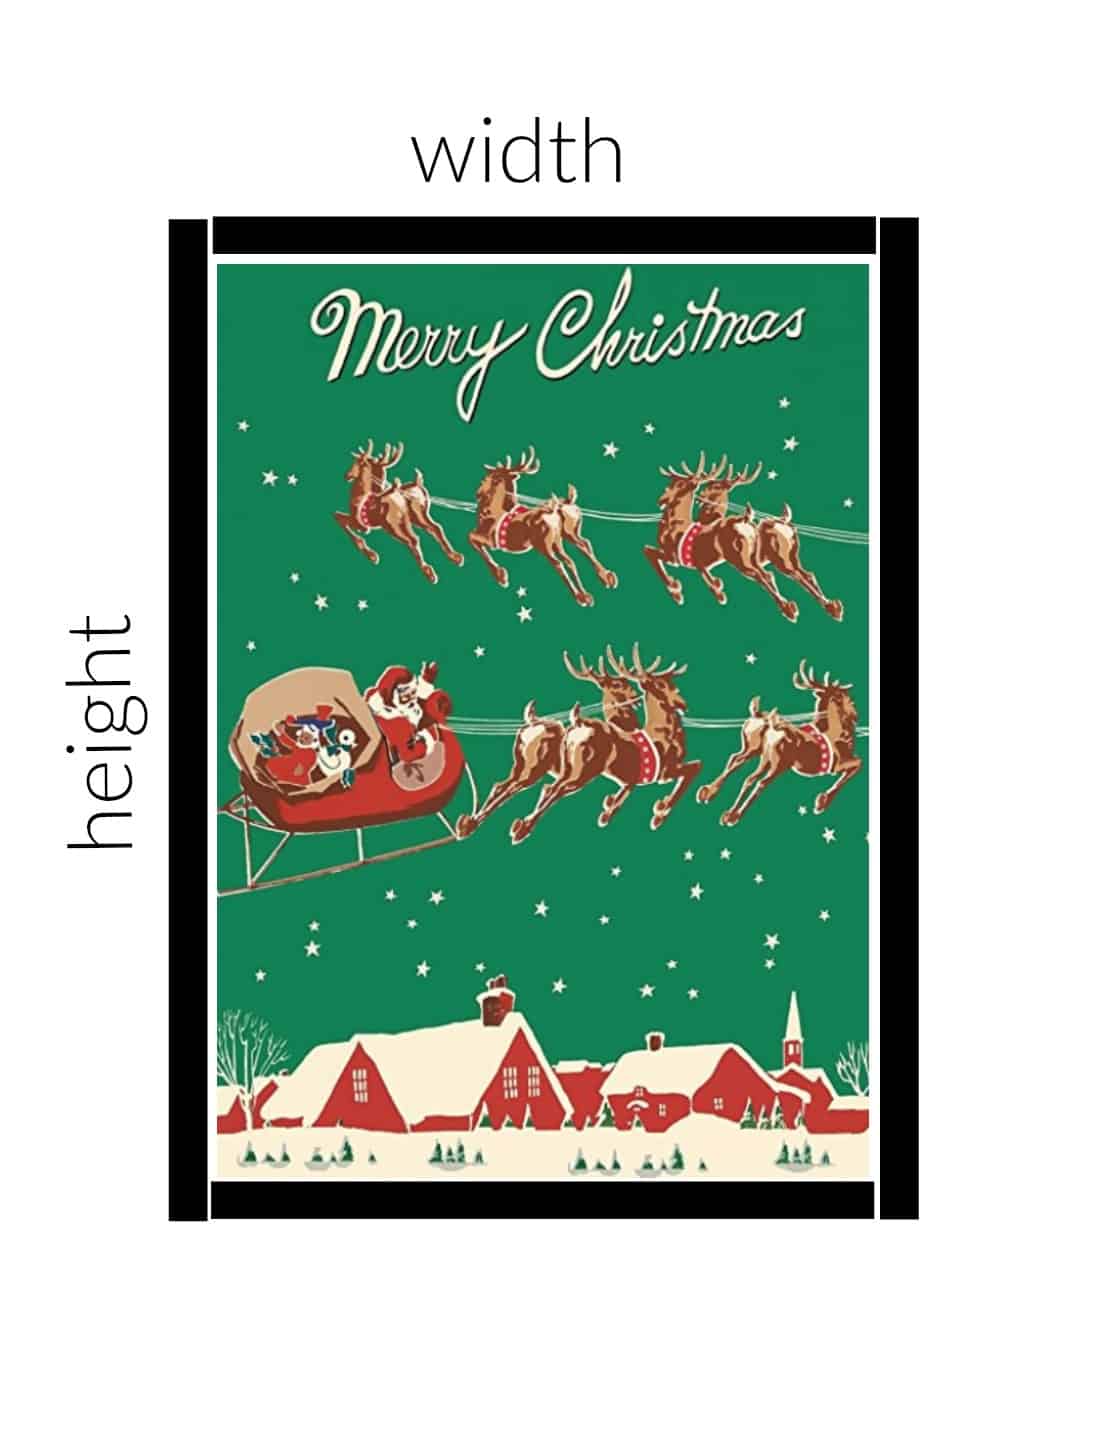
Step 5. Cut frame pieces.
Measure the height of your art. Cut two 1x2s to this length. Measure the width taking into account the the two pieces of wood you’ve already cut. E.g. for 1x2s, subtract 1.5 inches.
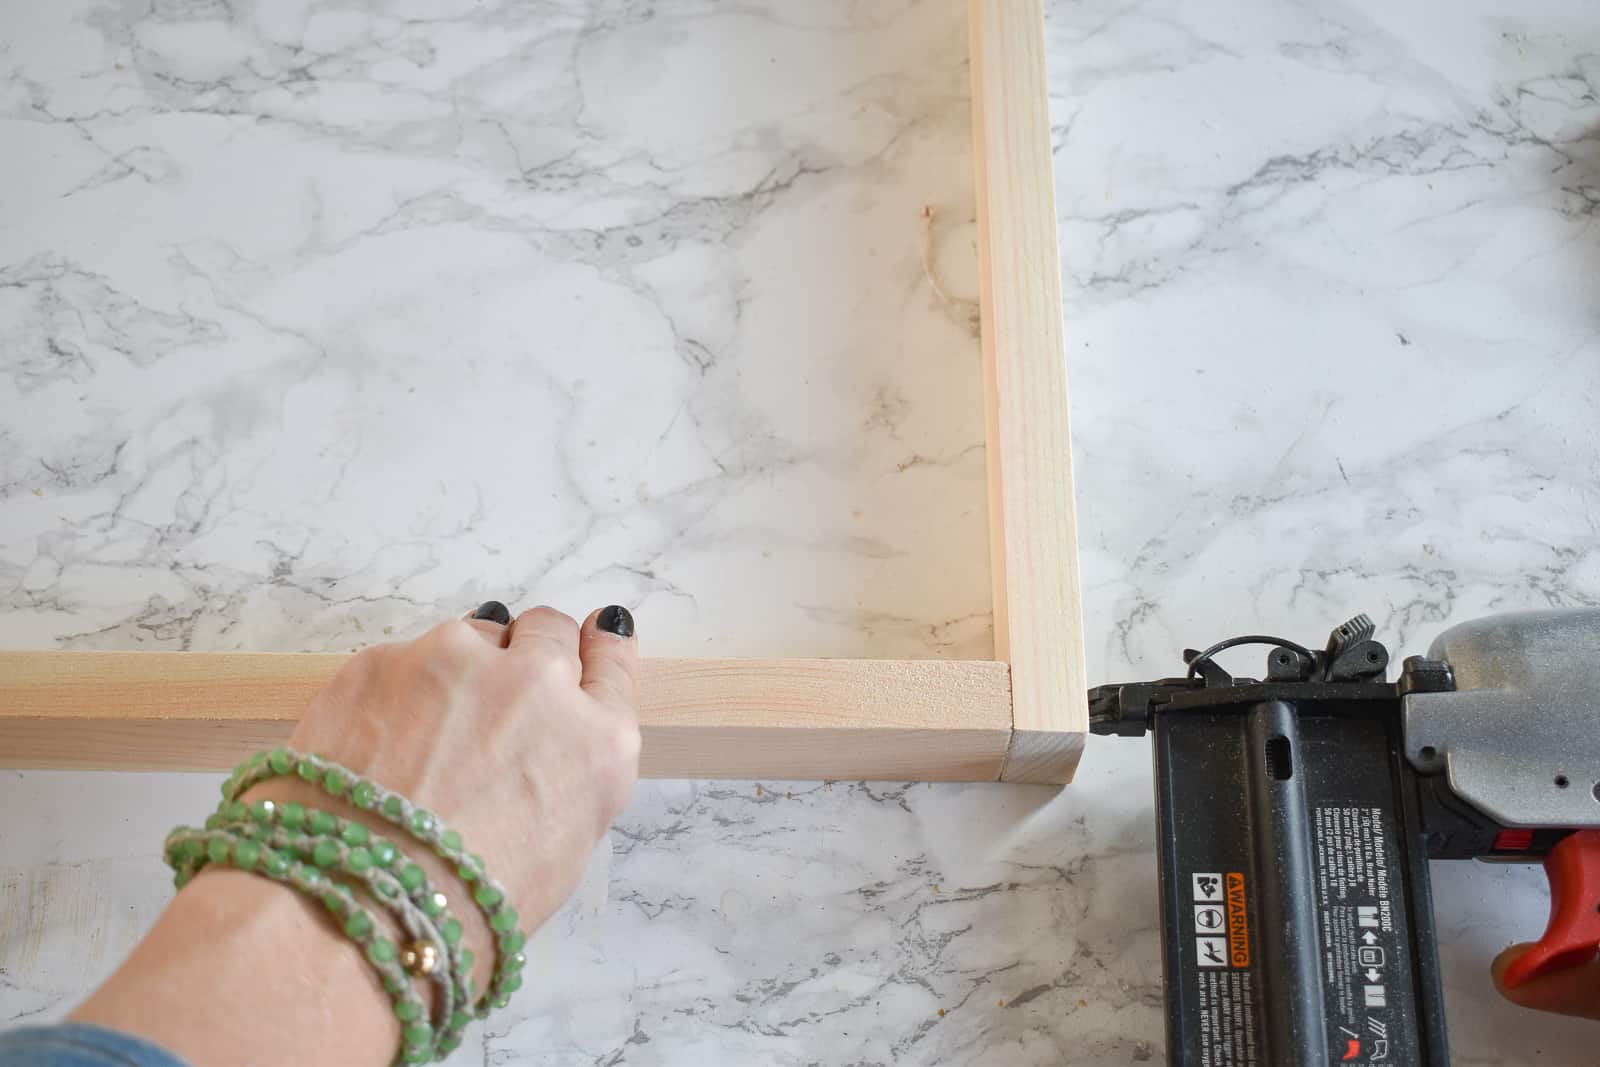
Step 6. Build frame.
Using wood glue, brad nails or a nail gun, attach the four pieces of your frame.
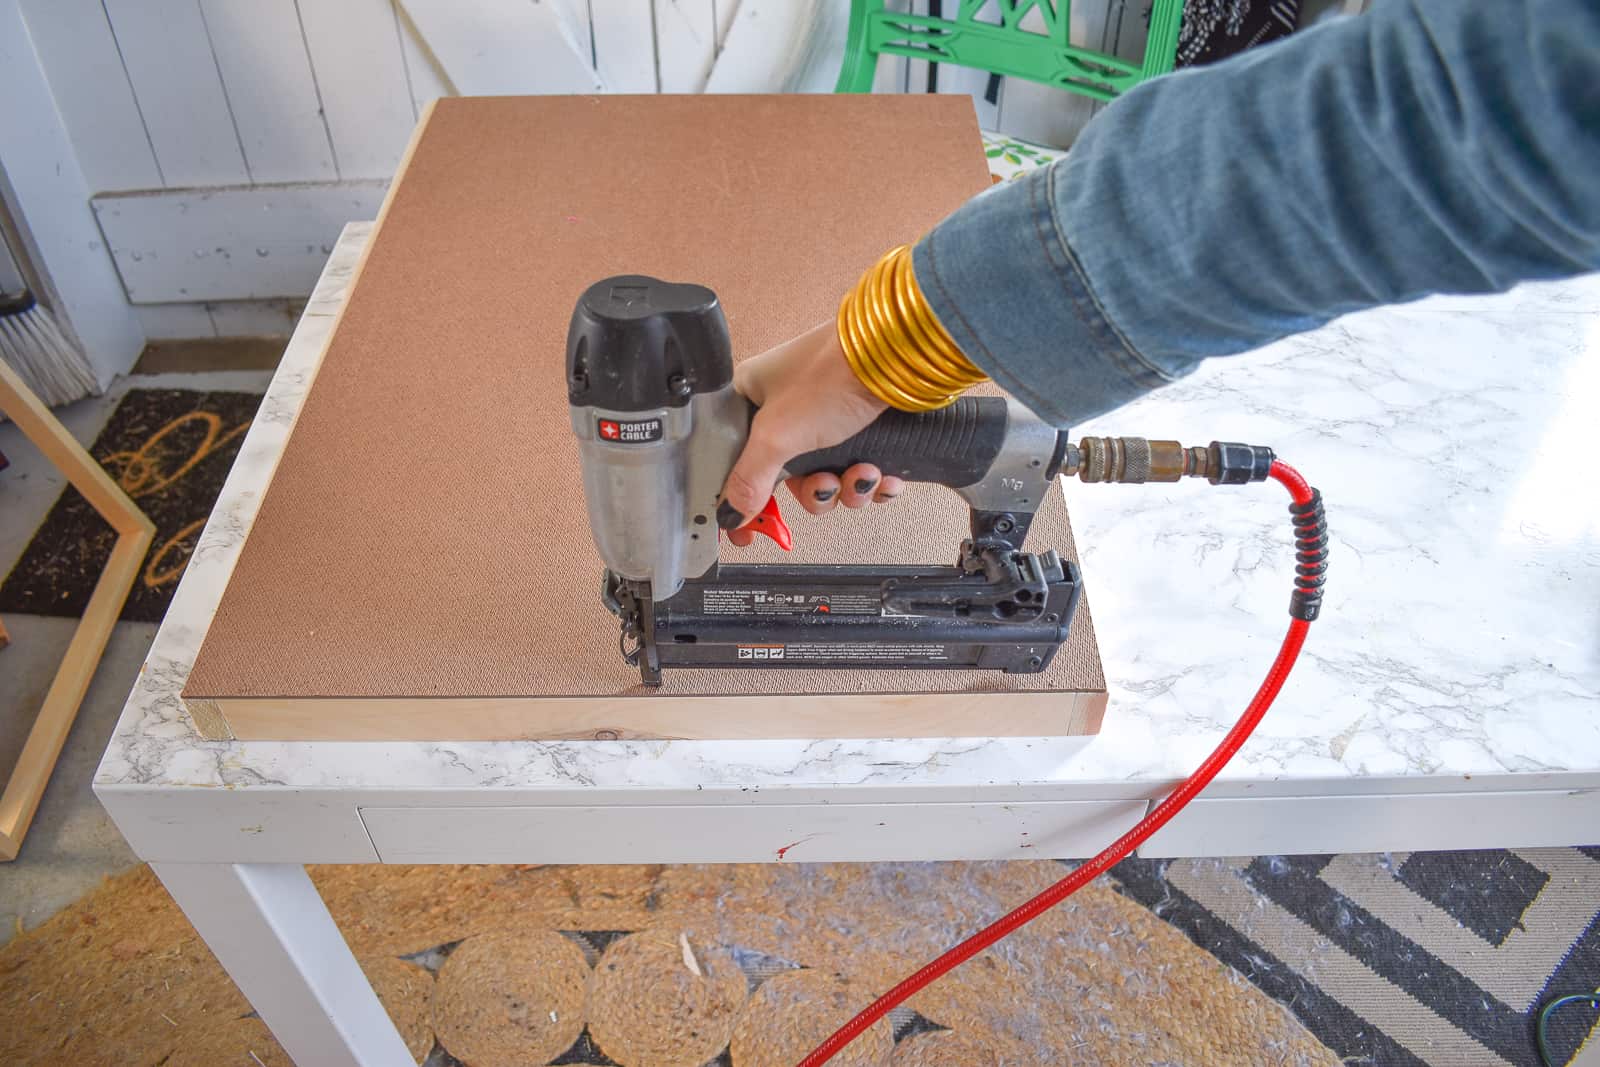
Step 7. Attach frame to artwork.
Place the frame onto a flat surface and lay the artwork face down onto the frame. Making sure edges are all aligned, go around the artwork with small brad nails (using a nail gun or hammer) and attach artwork to frame.
Step 8. Screw in hanging hardware (not pictured)
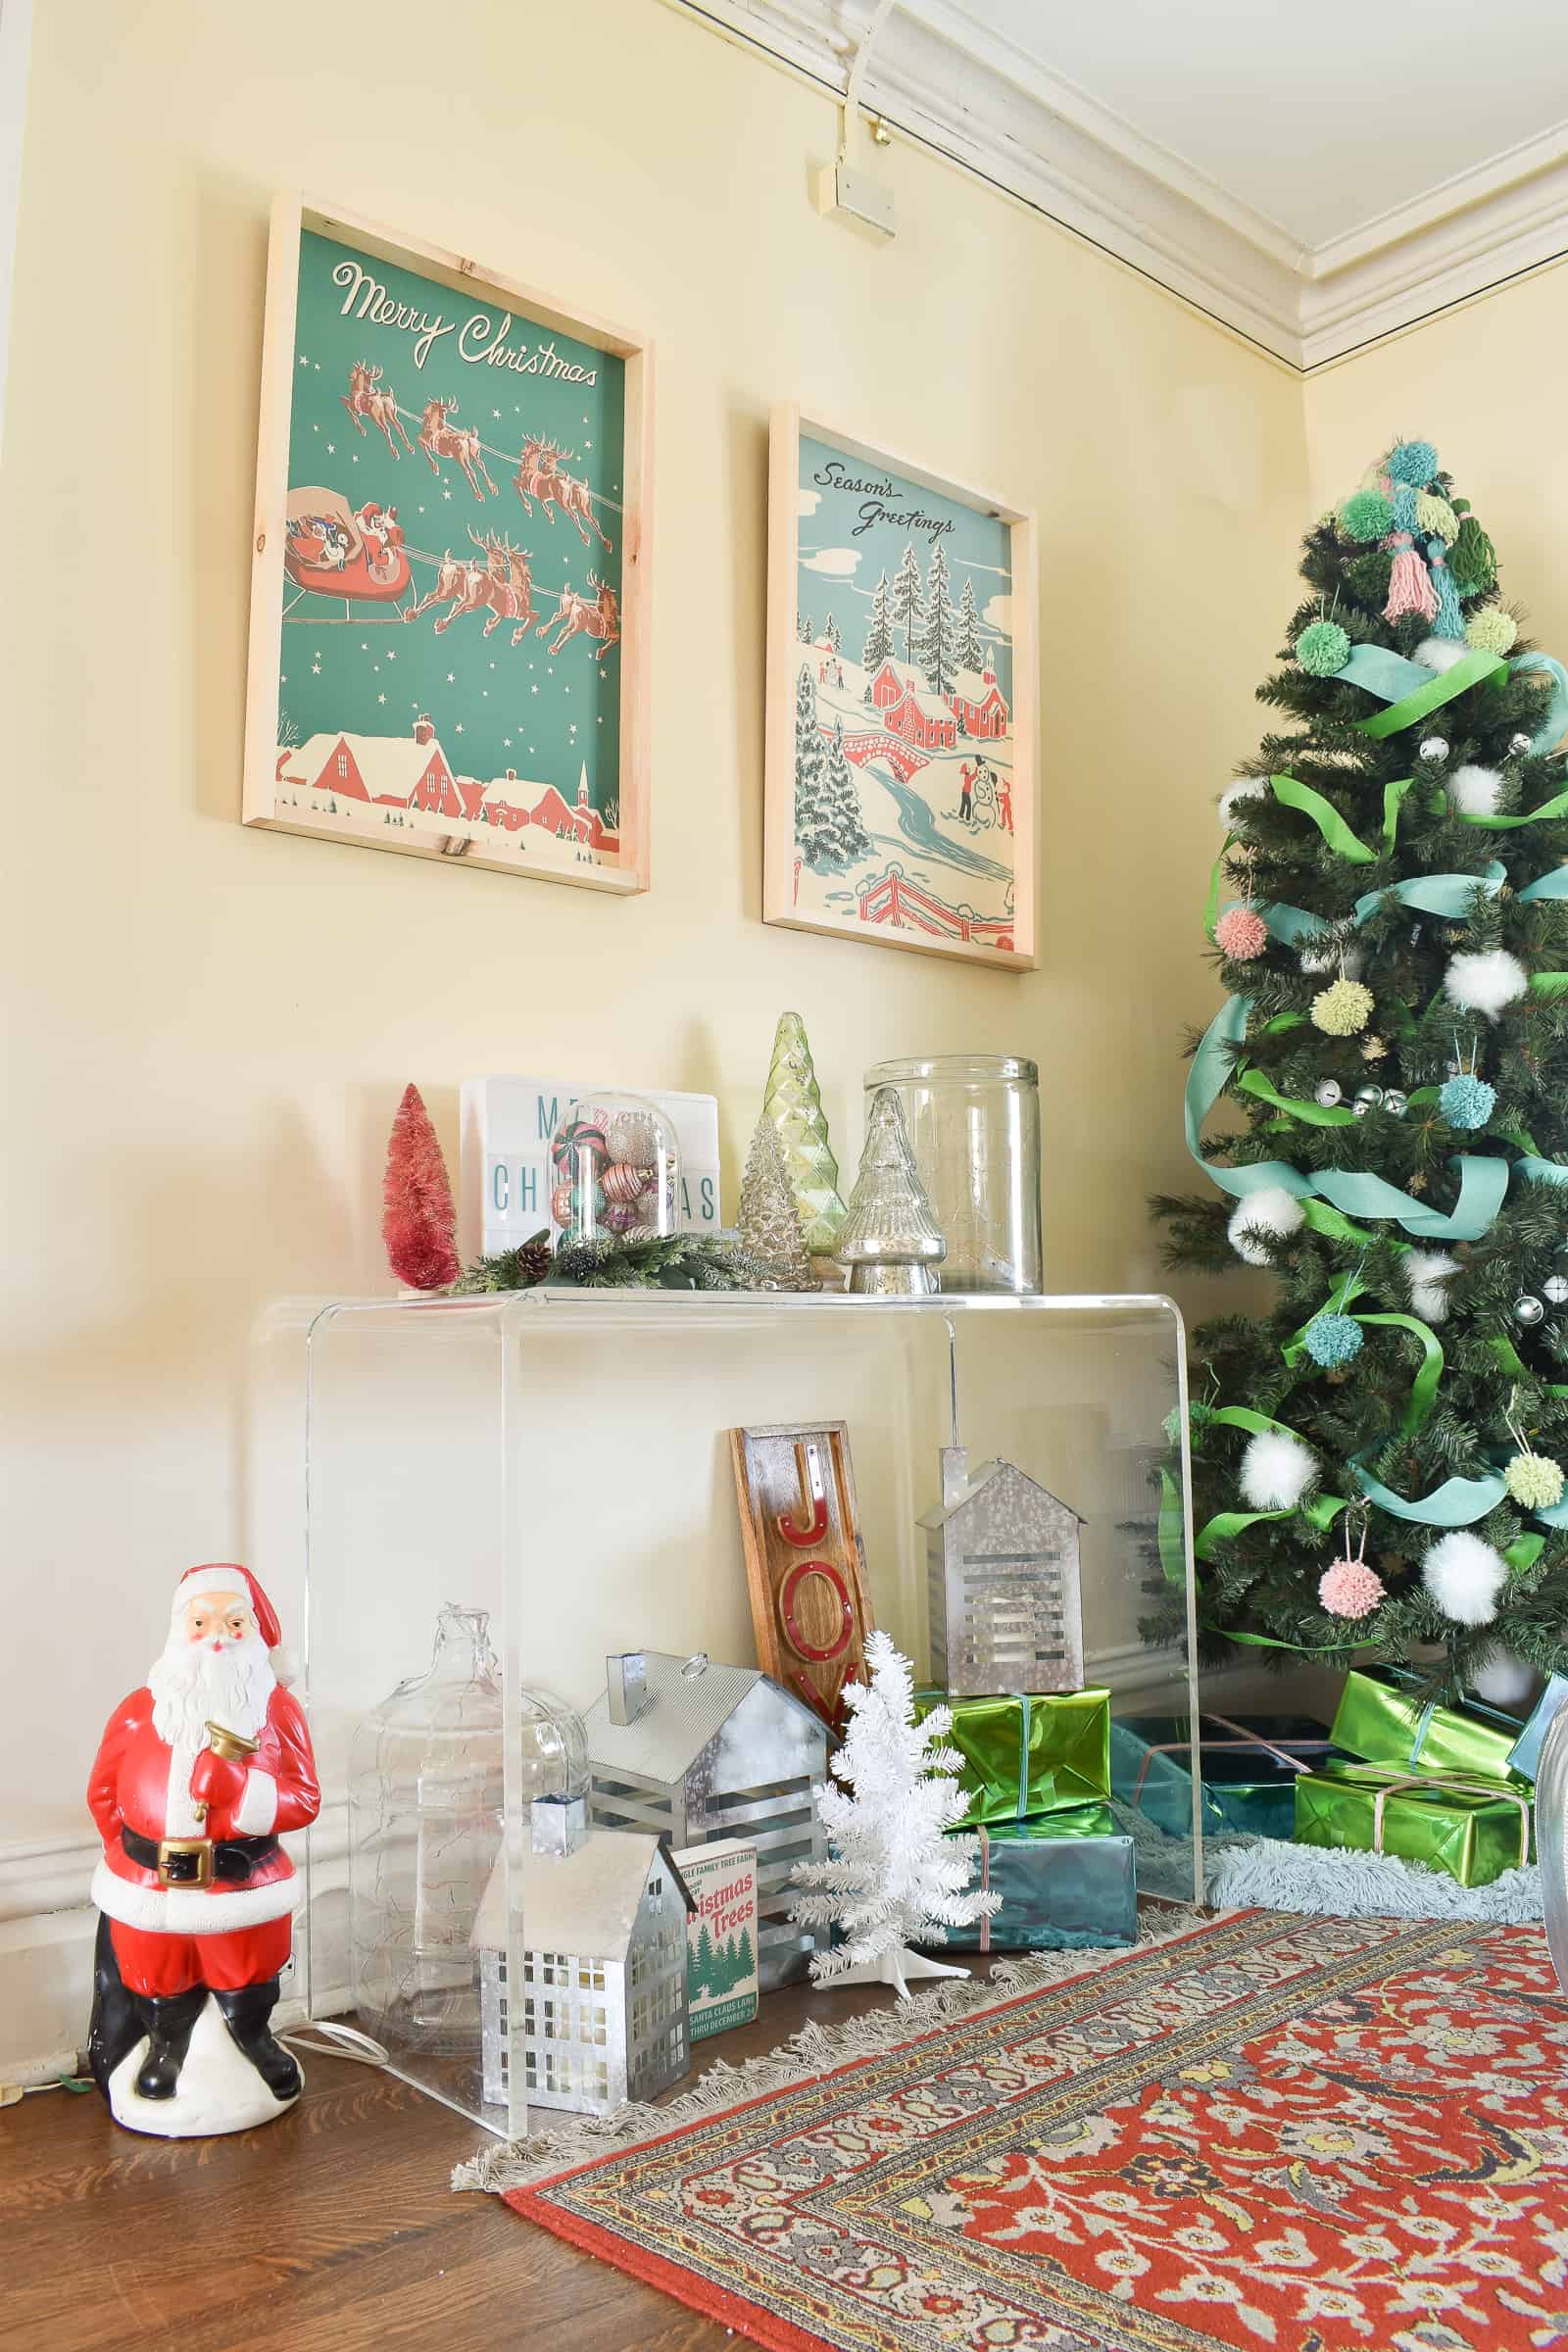
I used D rings on either edge of my frame and picture wire to hang these. To install at Santa’s House, we had to use fishing line onto S-clips from the picture rail at the ceiling, but they’re super light so a simple picture hook would work easily.
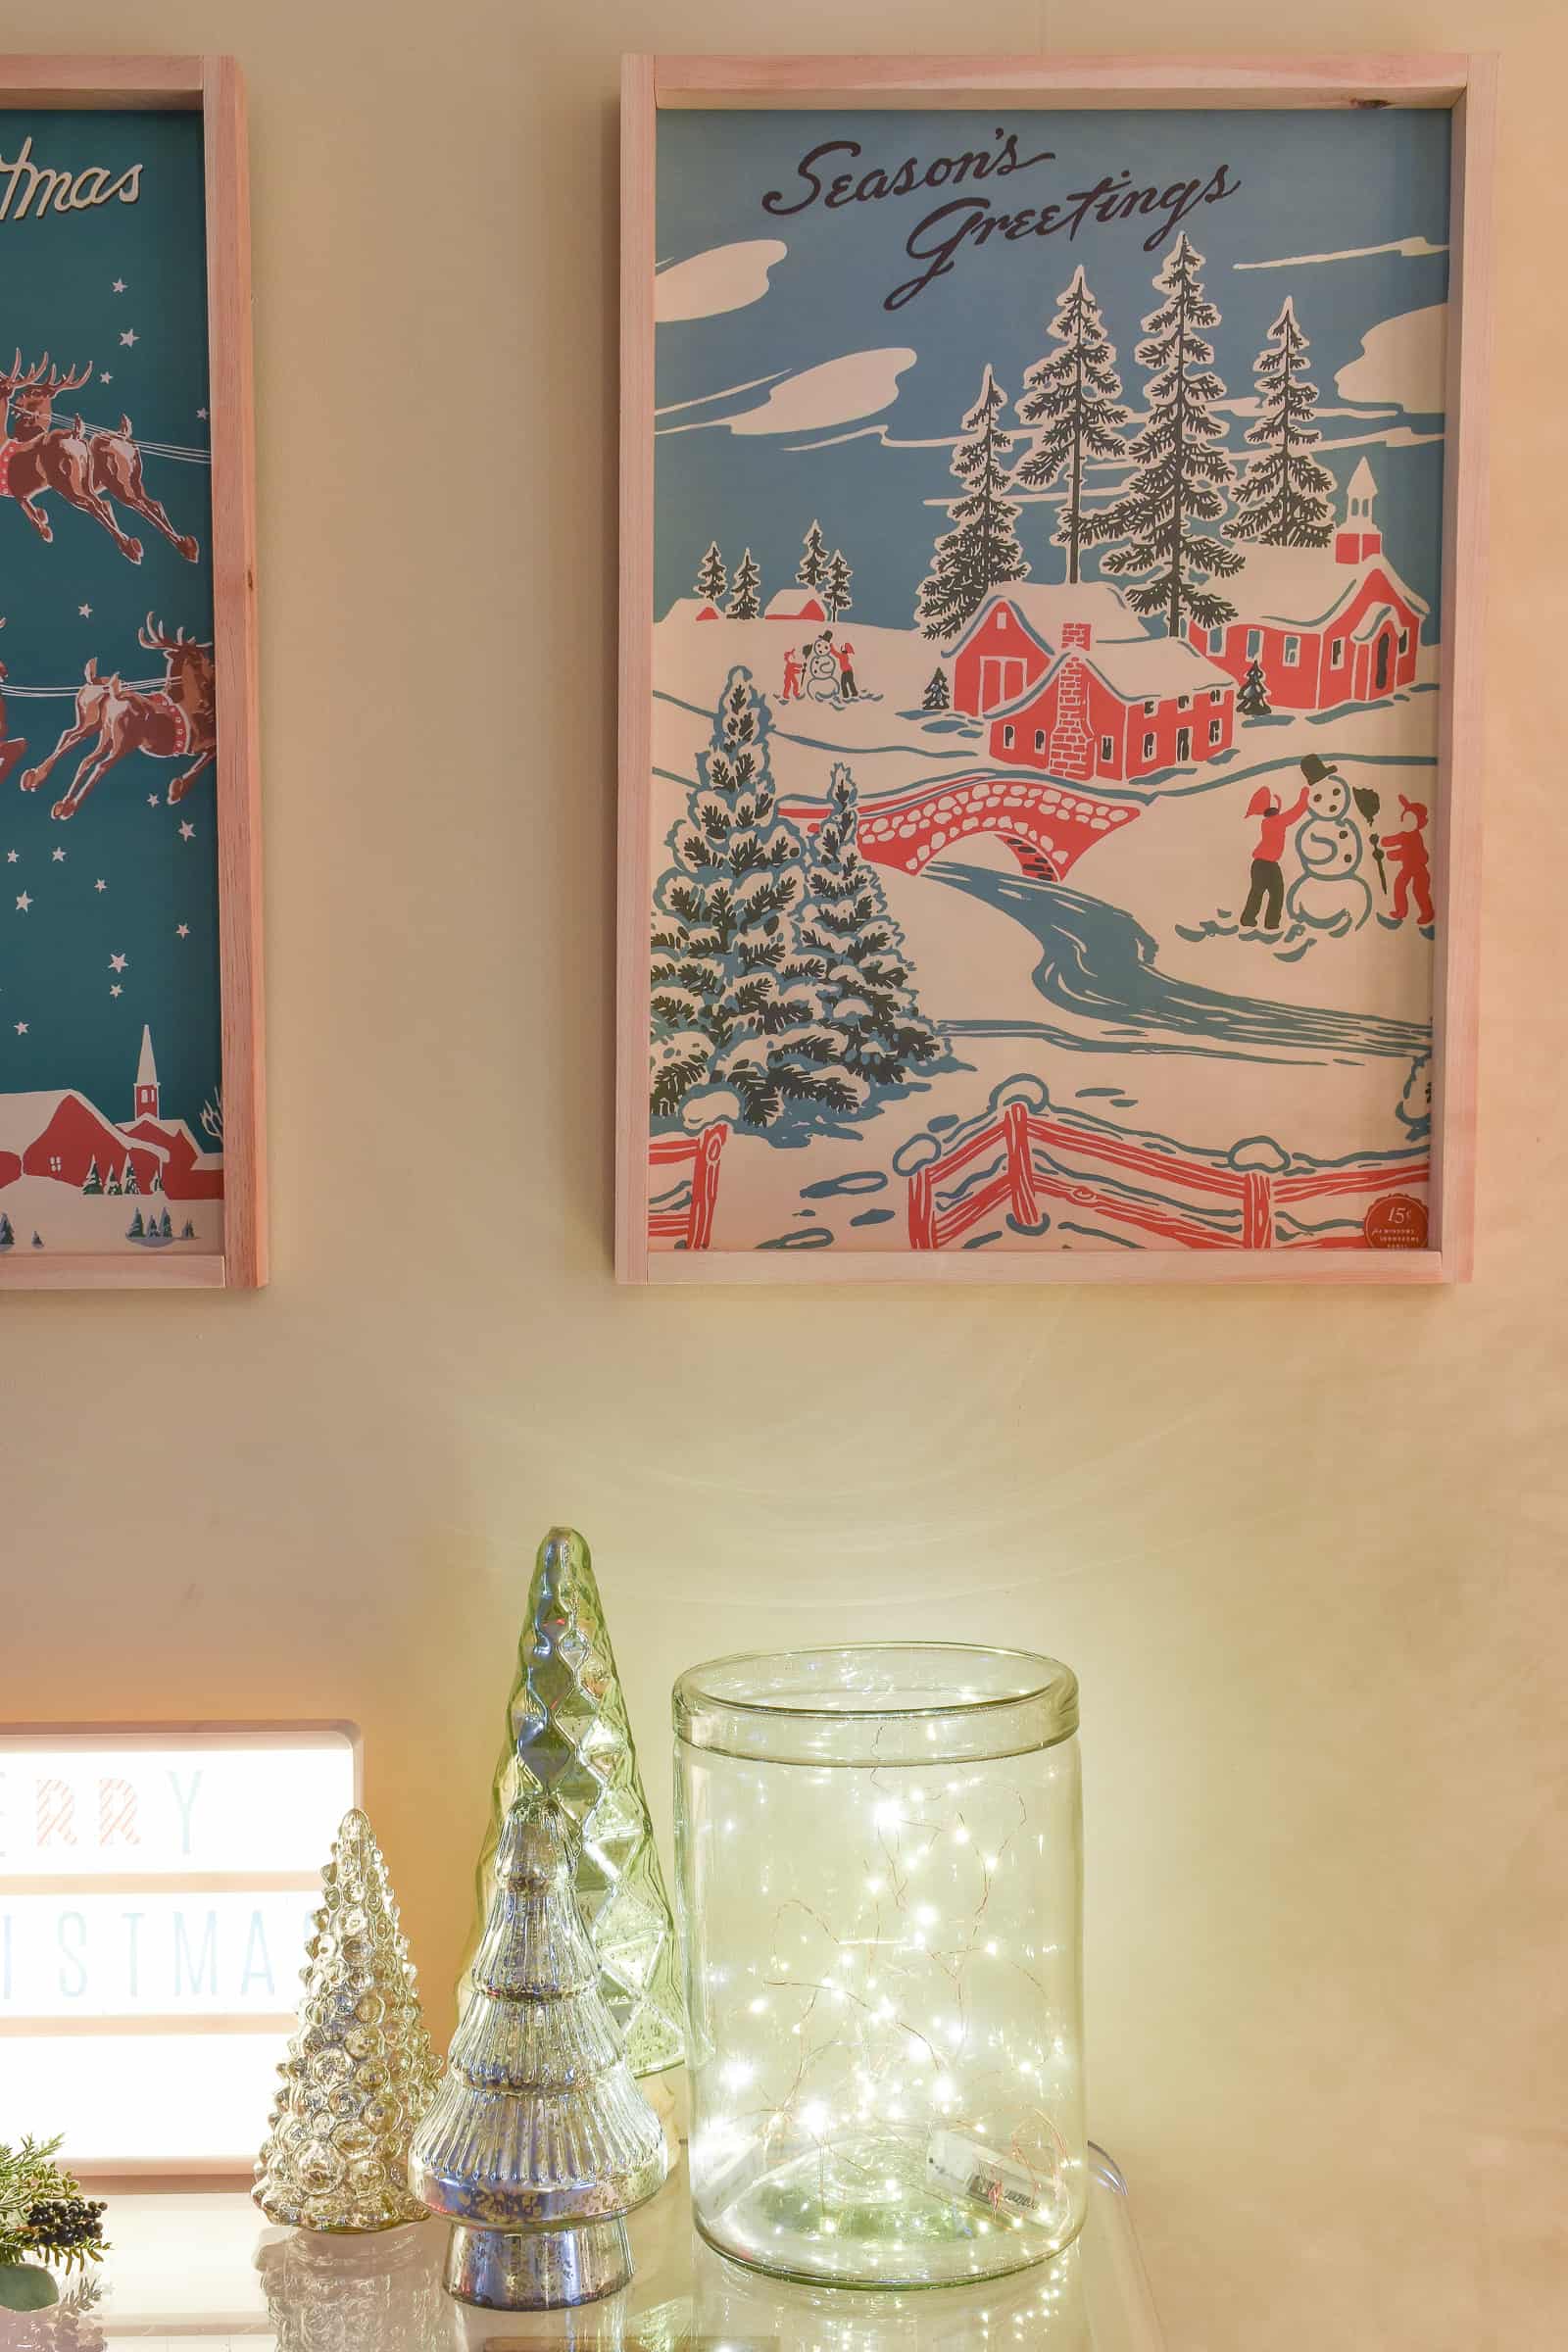
Stay tuned for the full reveal of this space later in the week… it was SUCH a fun project to bring together and gave me a chance to play around with some Christmas Decor that didn’t need to be quite as practical as the ones I put up around our own house!
Materials
(Affiliate links included for your convenience.)
- Retro Christmas Art (I also used this one.)
- 1×2 Pine
- Spray adhesive
- brad nails
- Nail gun (optional… hammer would totally work)
- D-rings/ picture wire
Check out the HOLIDAY page on my blog for lots of other Christmas projects and also take a peek at my TELEVISION page to see some of my latest segments with Christmas DIYs.


ThEse turned out so cute. They would be Really cute in a nursery. Thanks for sharing.
Yes! Such a great idea! Could use any type of poster or large photo too!