
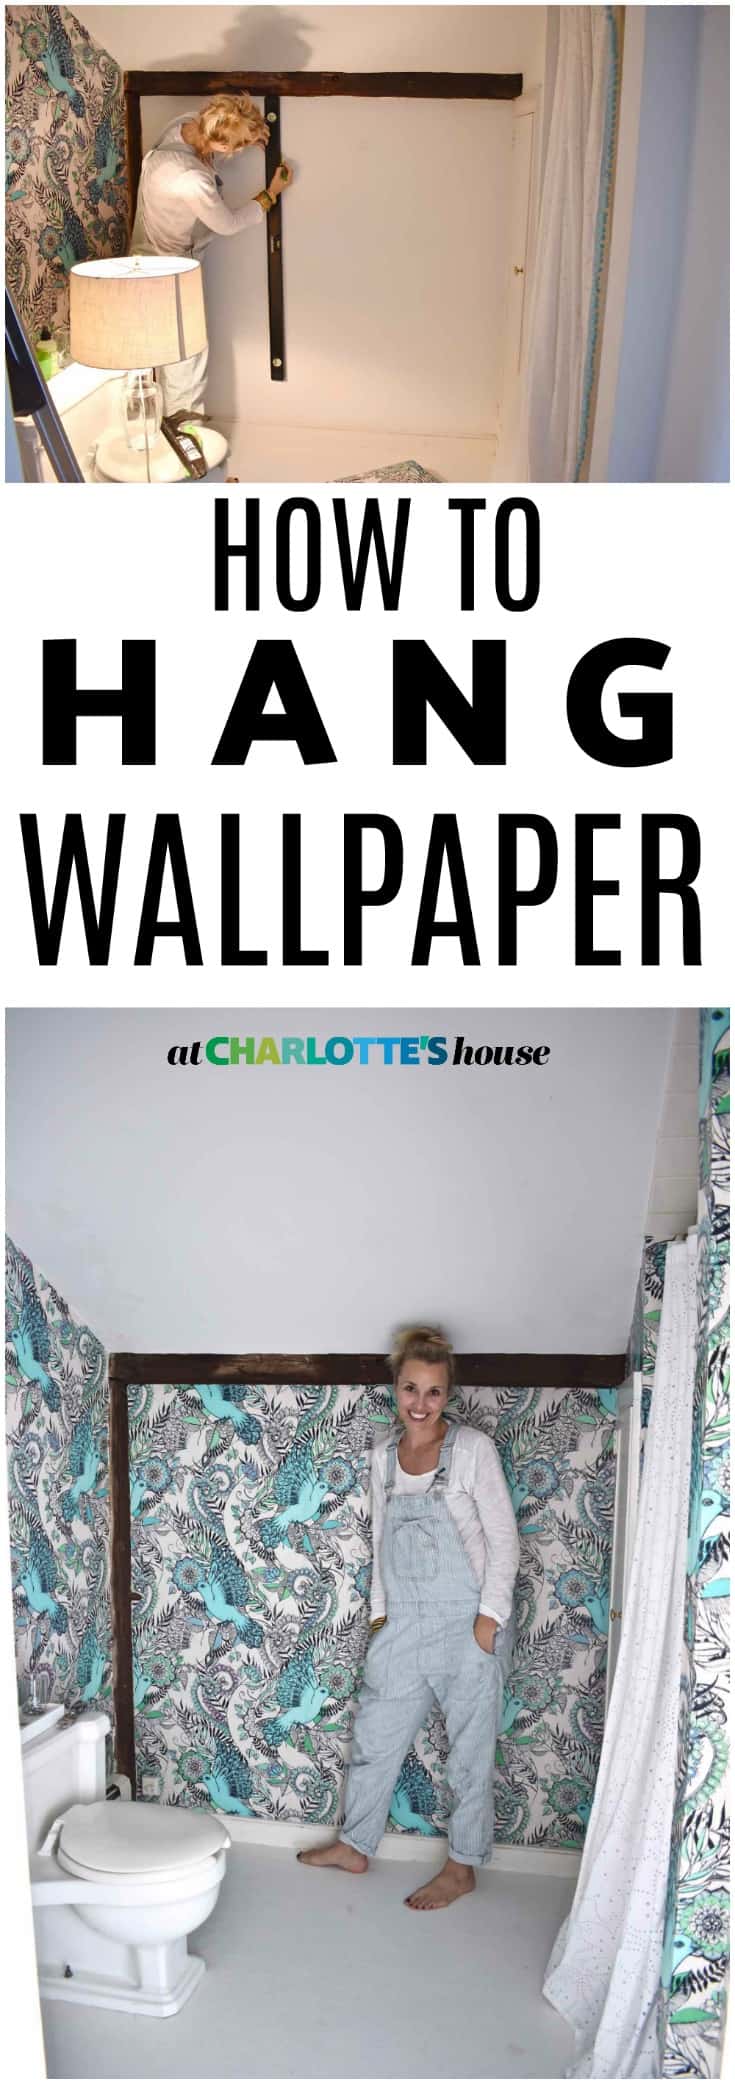
How to Hang Wallpaper- One Room Challenge Week 3
Psssst… this post *might* contain affiliate links: see my disclosure here.
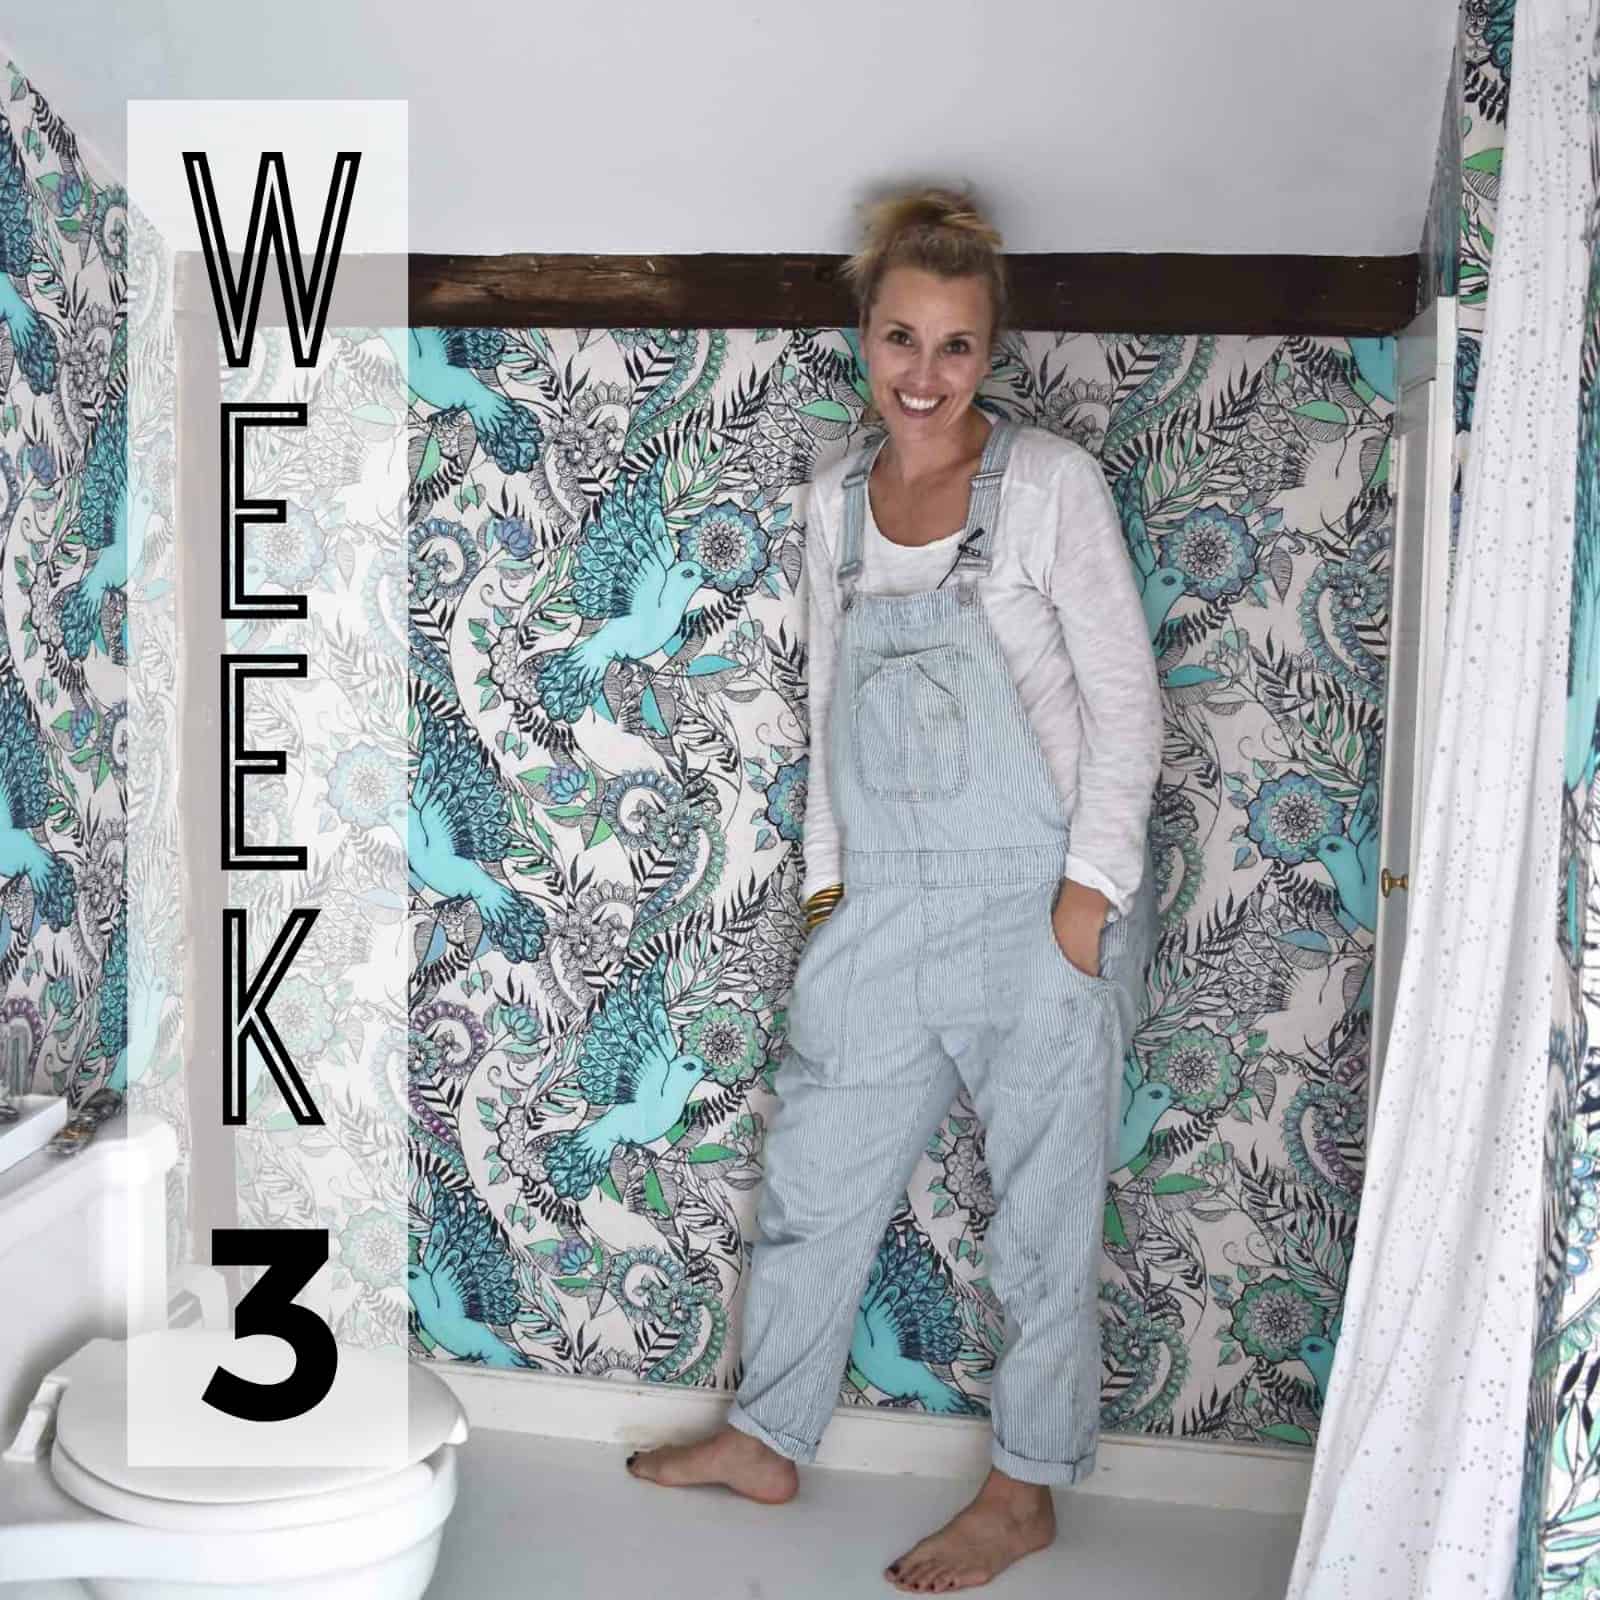
Hanging Wallpaper
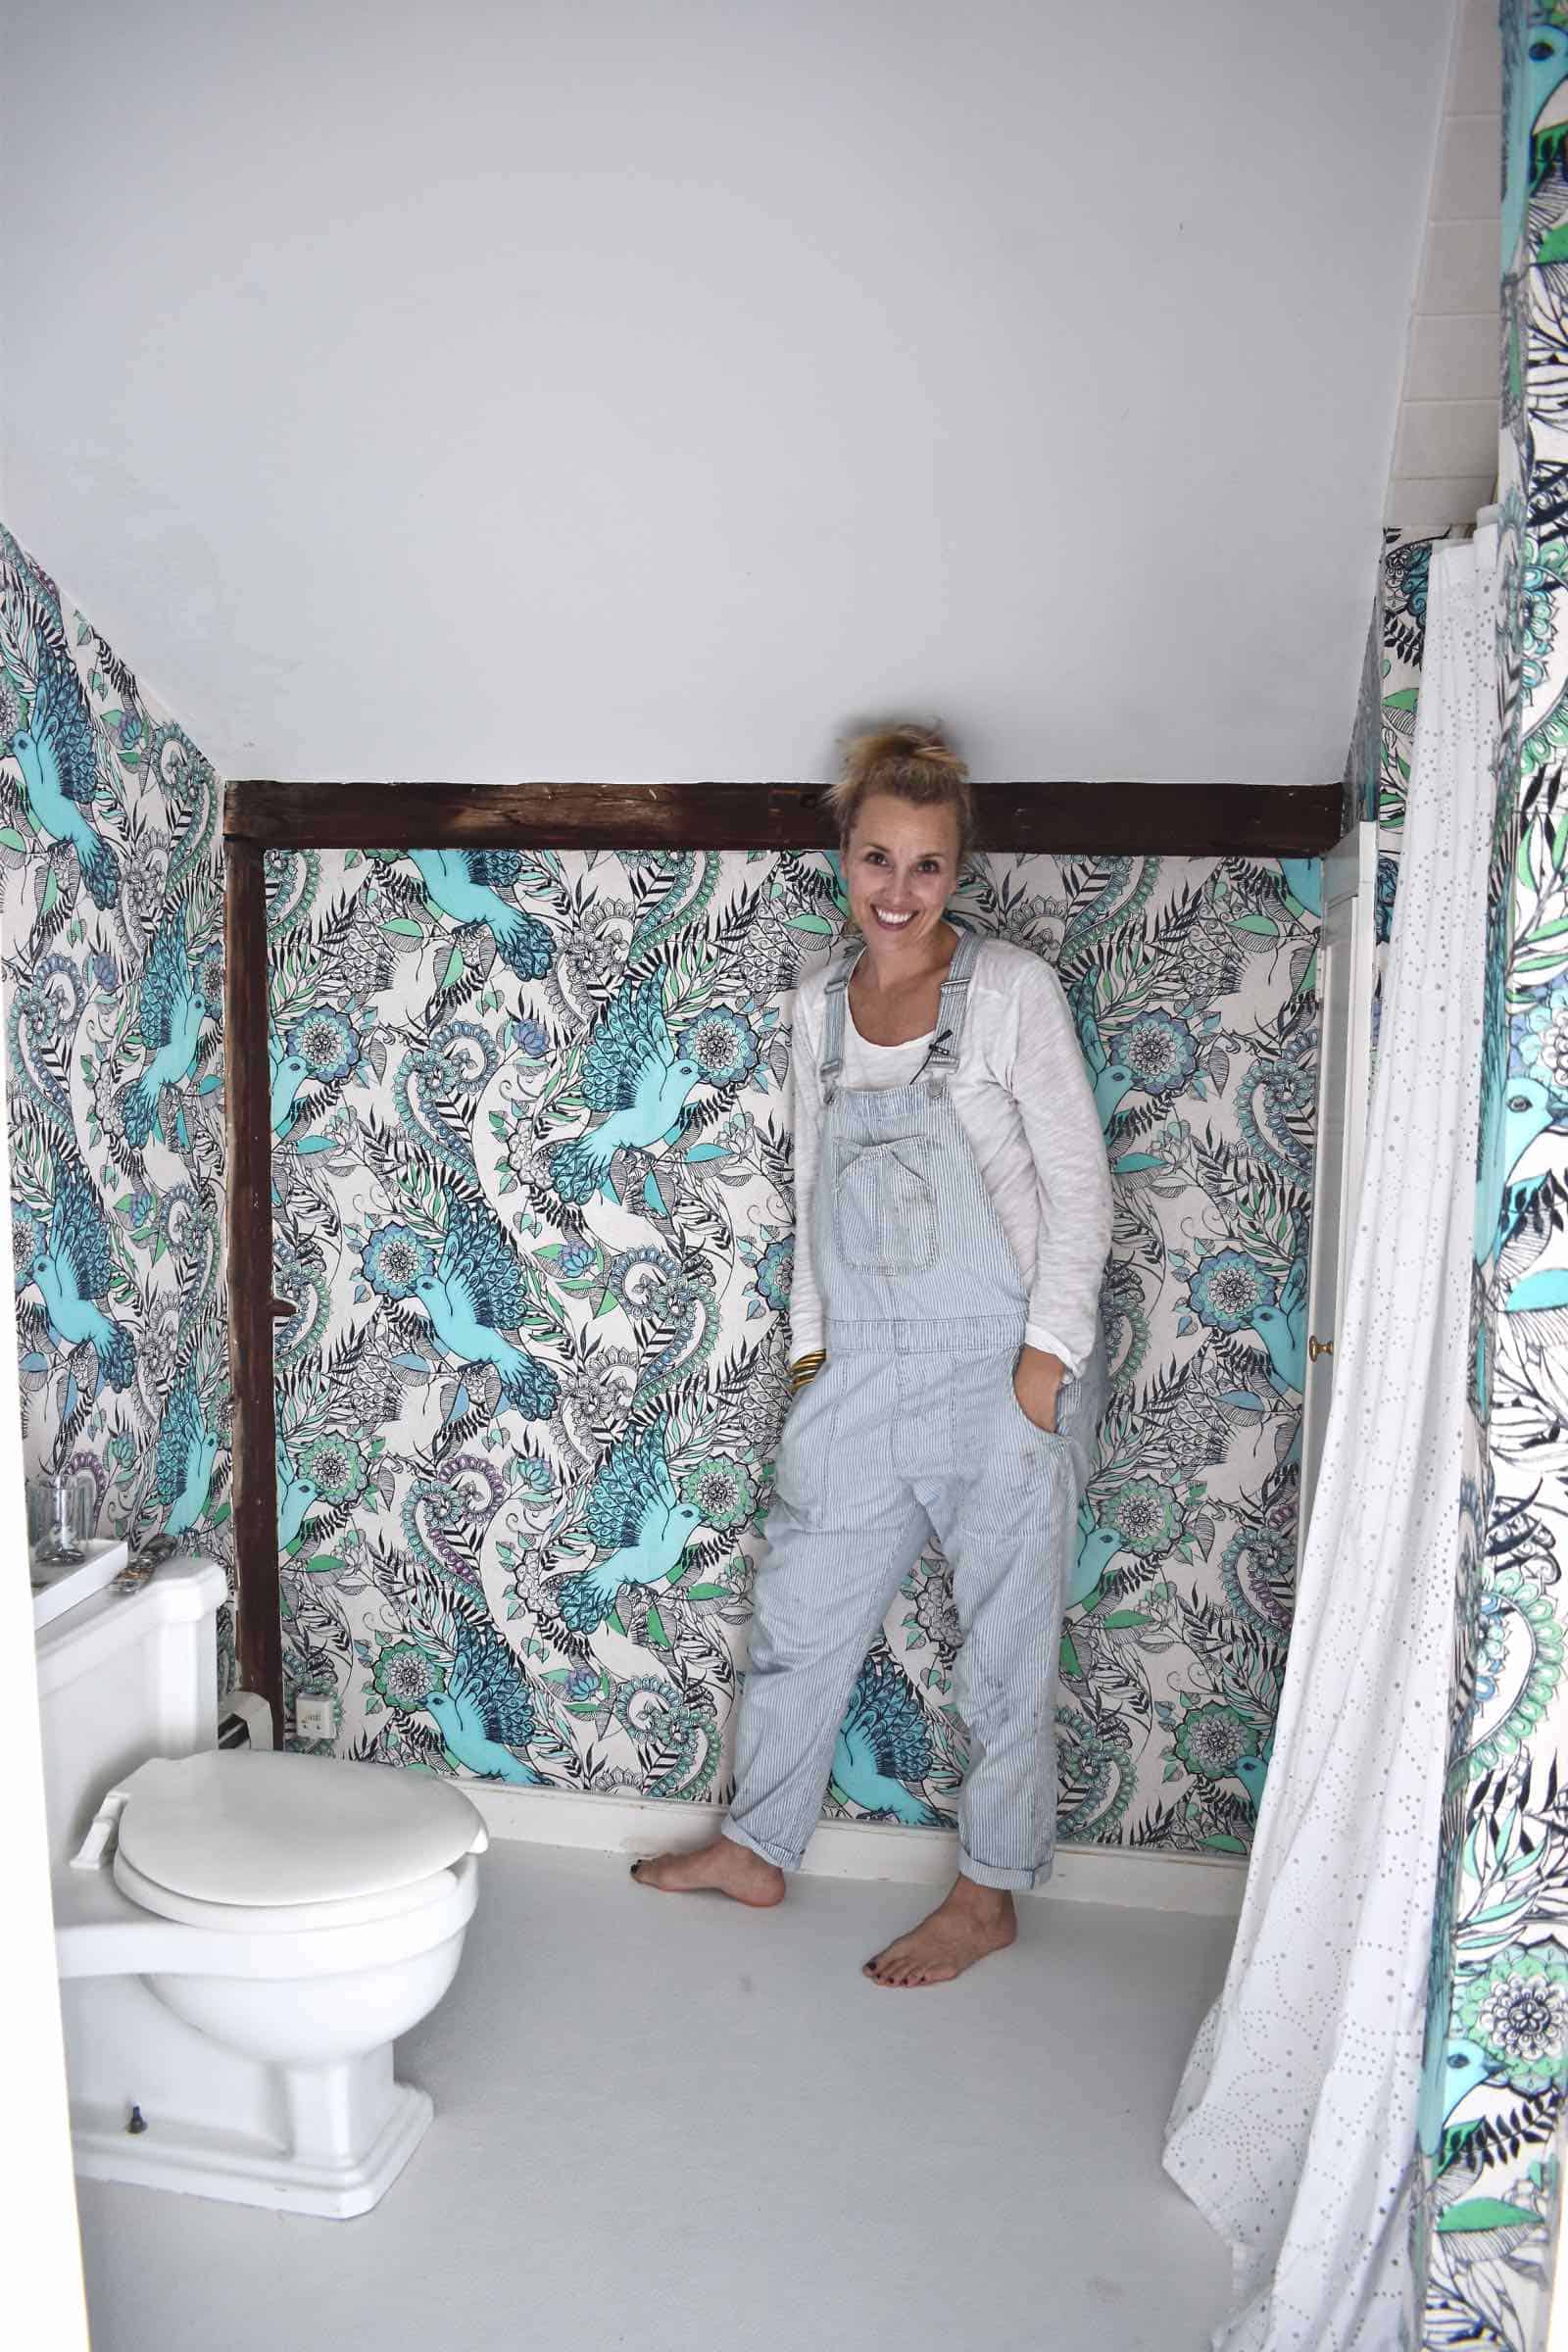
Today’s One Room Challenge update comes with ALL the enthusiasm and heart eyes I have in my arsenal because…. WALLPAPER!
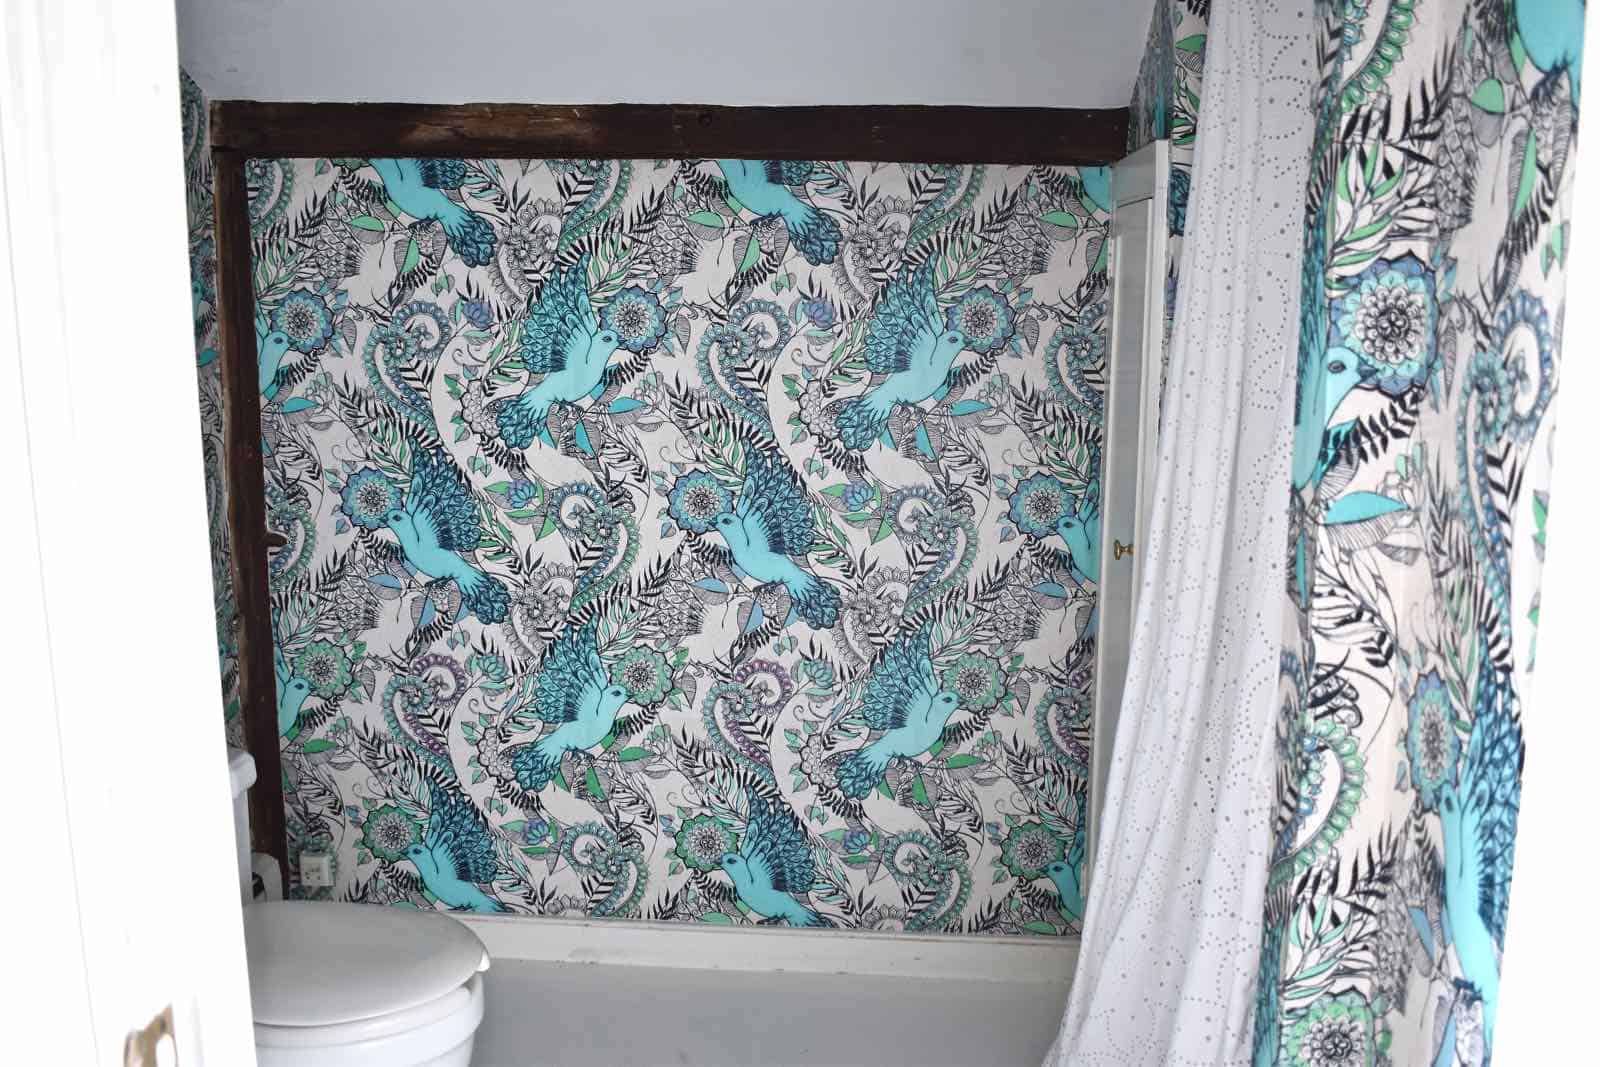
Disclosure: I’m super grateful that Spoonflower sent me the wallpaper I needed to transform this room. I chose the large Flight of Fancy pattern by the artist Micklyn.
Shop my favorites!
I’ve put up wallpaper half a dozen times which means I’m no expert but I have an opinion about installing it! I prefer a pasted wallpaper to adhesive wallpaper because I find it to be more forgiving. I like being able to slide the paper into place when matching the pattern, I think the pasted is easier to maneuver around corners. That said… it’s definitely messier and requires a little bit more to set up.
Step 1. Prep the walls.
Remove towel bars, switch plate covers, etc. Fill any nail holes with spackle. (Note: I’ve never done it, but technically wallpaper is best applied to a fresh coat of paint.)
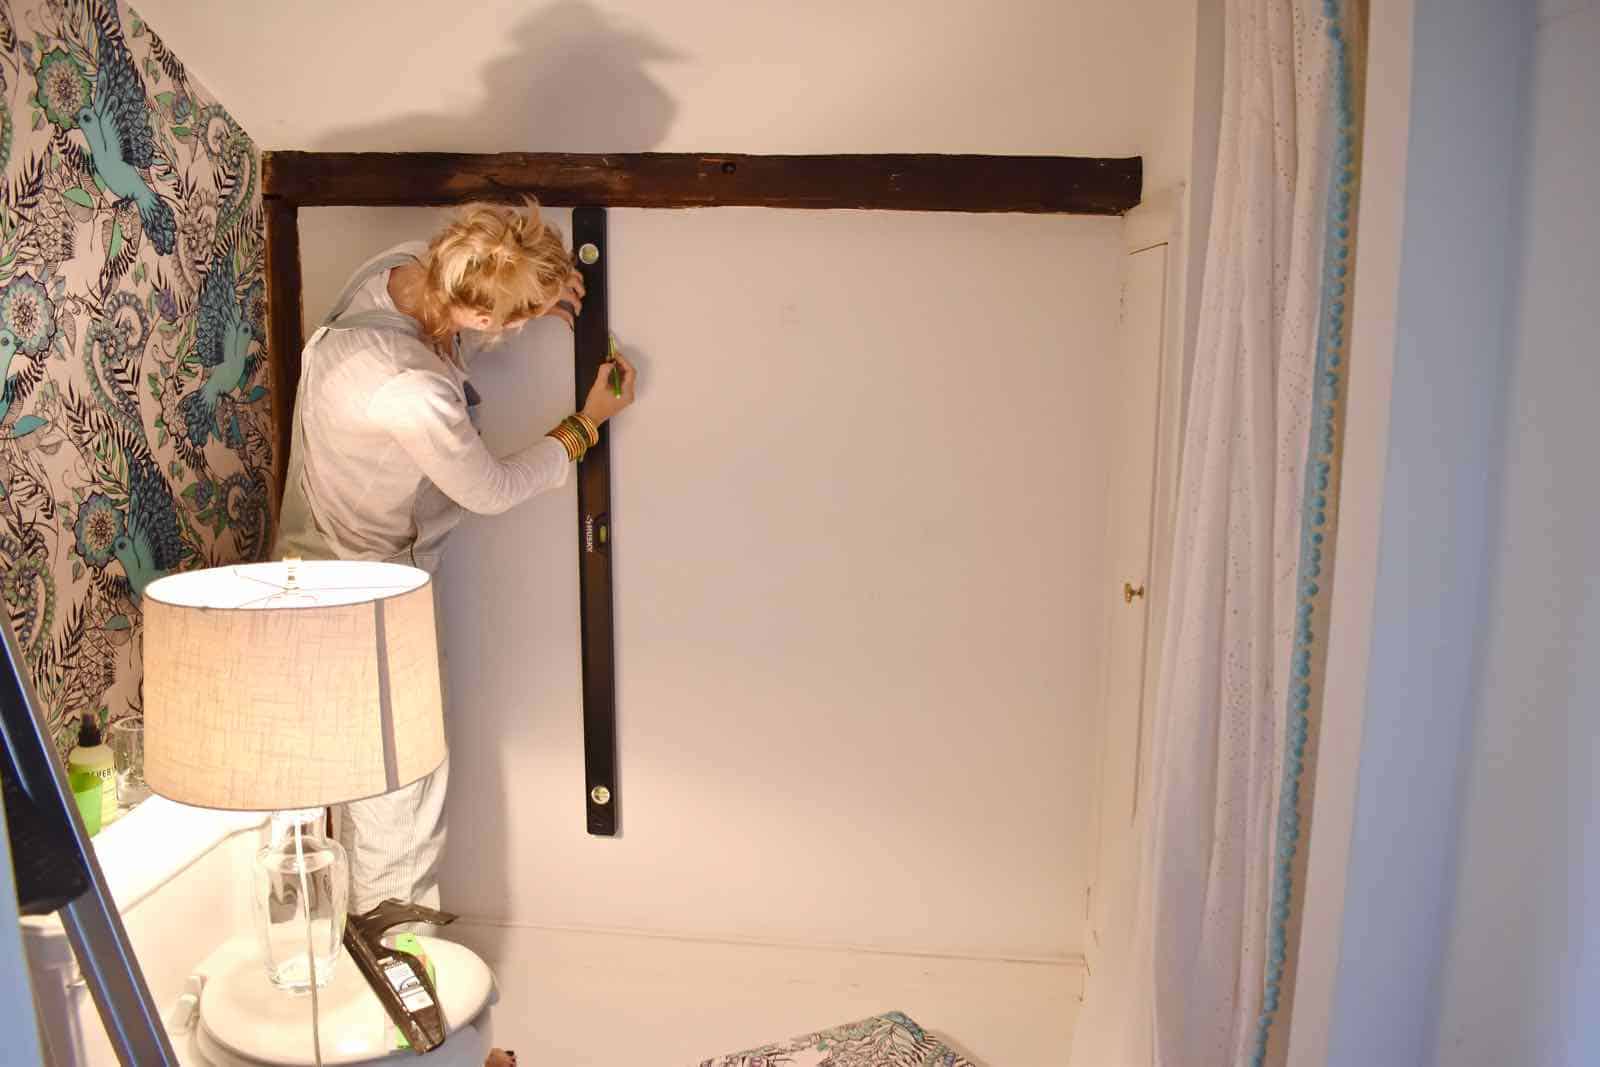
Step 2. Draw a guide line.
Draw a straight line, using a level, to use as a guide for your first strip of wallpaper.
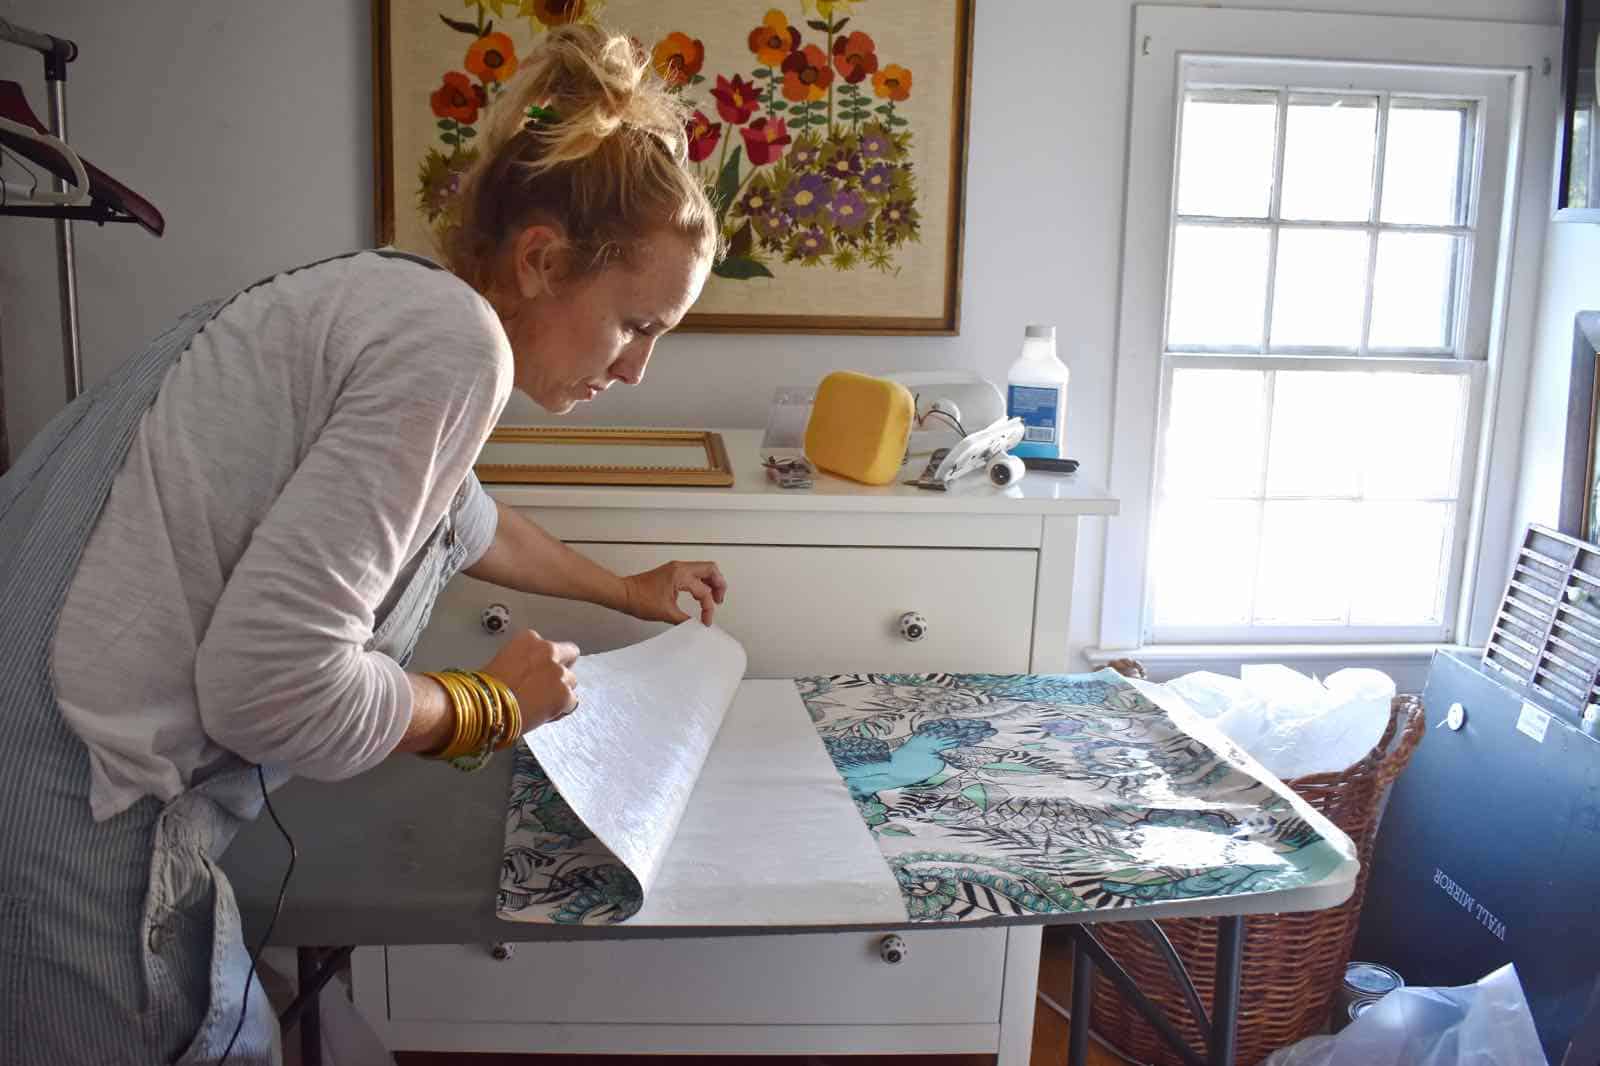
Step 3. Booking.
For prepasted wallpaper, use a sponge to wet or quickly dunk the paper under water to activate the paste. With the pasted side facing up, fold each end towards the middle (pasted sides against each other). This is called booking. Not only does this make it easier to move your long strip of wallpaper, but it also helps the paste to work best.
Step 4. Smooth on wallpaper.
Using the vertical guideline I drew earlier, carefully smooth the first strip onto the wall and use both a sponge and a wallpaper squeegee to smooth out air bubbles. Make sure the paper overlaps the top and the bottom edge of the wall by an inch or so.
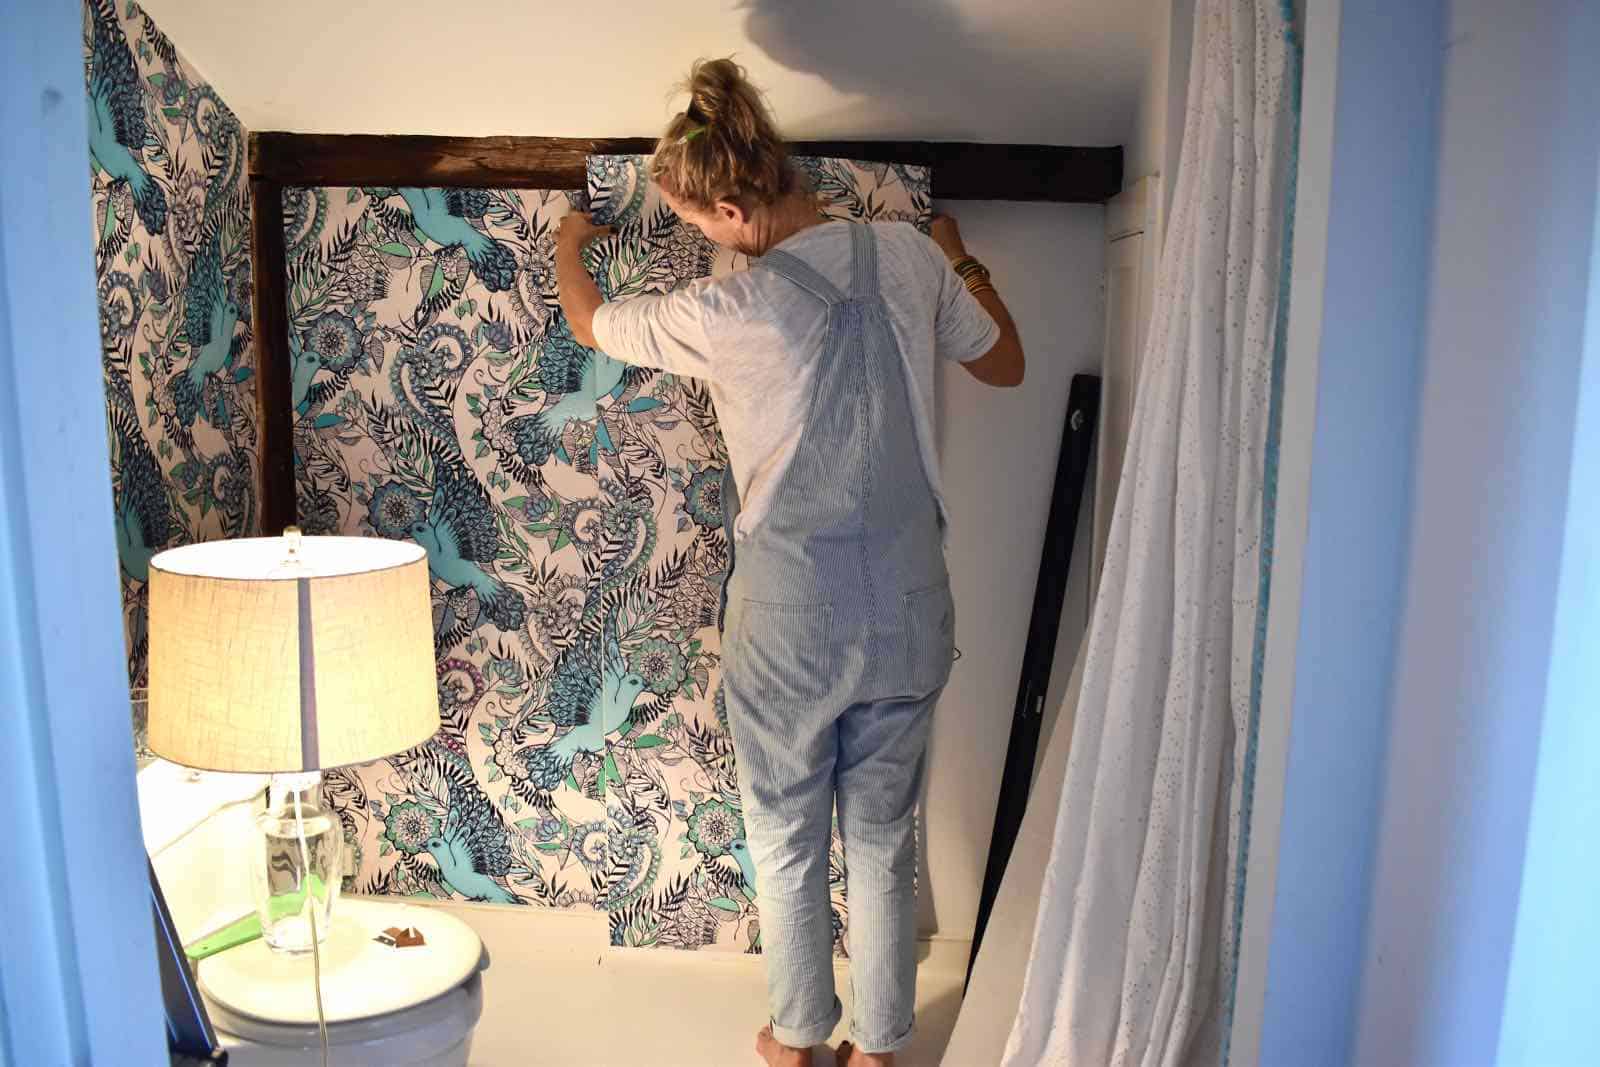
Step 5. Trim edges.
With a brand new razor blade (sharp is KEY), carefully trim the top and bottom edges of the paper. I typically use a straight edge to help guide my cut.
Step 6. Repeat!
Reach for a second strip of wallpaper, activate the paste and align with the pattern of the strip already on the wall.
Materials Used
(Affiliate links included for your convenience.)
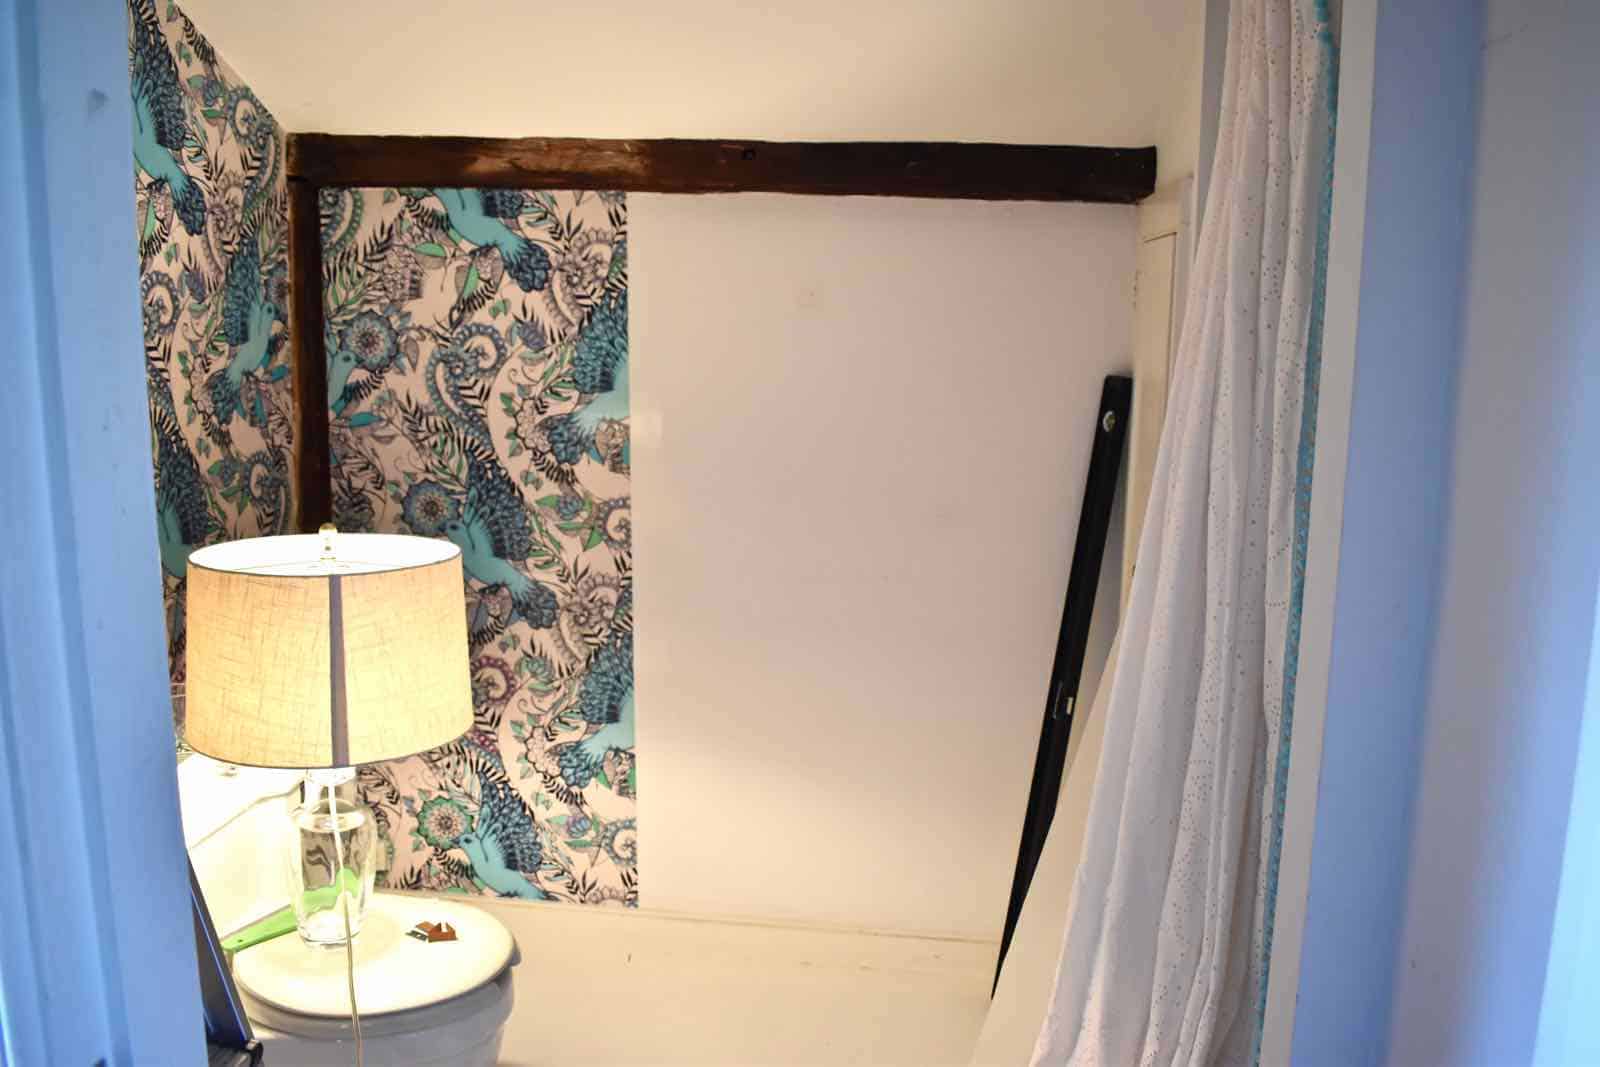
I could not be happier with this pattern and the way it’s brightened and transformed this space! I haven’t set up a LICK of furniture and the room is a bajillion percent better!
If it’s easier to see a little bit of it in action, here’s a short video I made…. (full disclosure, it wasn’t meant to be super short, but then I recorded everything and realized that my microphone battery was dead… microphone FAIL.)
Next week? Floors and accessories! Make sure to head over to Calling It Home to visit all the other amazing rooms linking up to this round of the One Room Challenge!


trooper! I have never attempted to hang wallpaper myself but maybe I will have to try it at my next project! fabulous pattern you have choice … looking forward to seeing it all coming together in 3 weeks!
Thank you! There’s a definitely learning curve but if you have a simple flat wall… SUPER easy! Save yourself some $$$ and give it a whirl! 🙂
Great colors in this wallpaper! It really does make the space come alive.
Thanks! SUCH a difference for a tiny room like that!
That wallpaper is amaze-balls!
This wallPAper is incredible! I love the colors and the bold, fun pattern!
Thanks, Morgan! The pattern is even prettier once I got it up on the walls!
Cute wallpaper, I took the easy way out with peel and stick but I am loving the results! This little room is going to be a jewel box when your done!
🙂 I still haven’t quite mastered the peel and stick! Thanks, Maggie!
Great jo Charlotte! Your wallpaper looks amazing! I am using the peel and stick version but mine does not look as dreamy…lol. Best of luck.
beautiful wallpaper choice! We had wallpaper in our last place and I totally loved it- but I didn’t dare hang it myself. I let my dad mastermind that since he’s hung so much of it over the years.
Gah! I WISH my dad were a wallpaper hanger. I’m getting better at it, but I still have a long way to go!
I looooooooooooooooove this wallpaper! wow!!!
THank you!!!! I’m THRILLED with it!!!!