
Imitation Is the Best Form Of Flattery: Land Of Nod Pouf
Psssst… this post *might* contain affiliate links: see my disclosure here.
Earlier this summer I was invited to participate in the Jo-Ann and Waverly 90th Anniversary Waverize It! contest… I mean, it’s not quite American Ninja Warrior or the Westminster Dog Show, but it’s competitive, people. We’re talking blood, sweat tears. Cardio. Hydration. SEWING! I know… you’d be carbo loading too, right?! 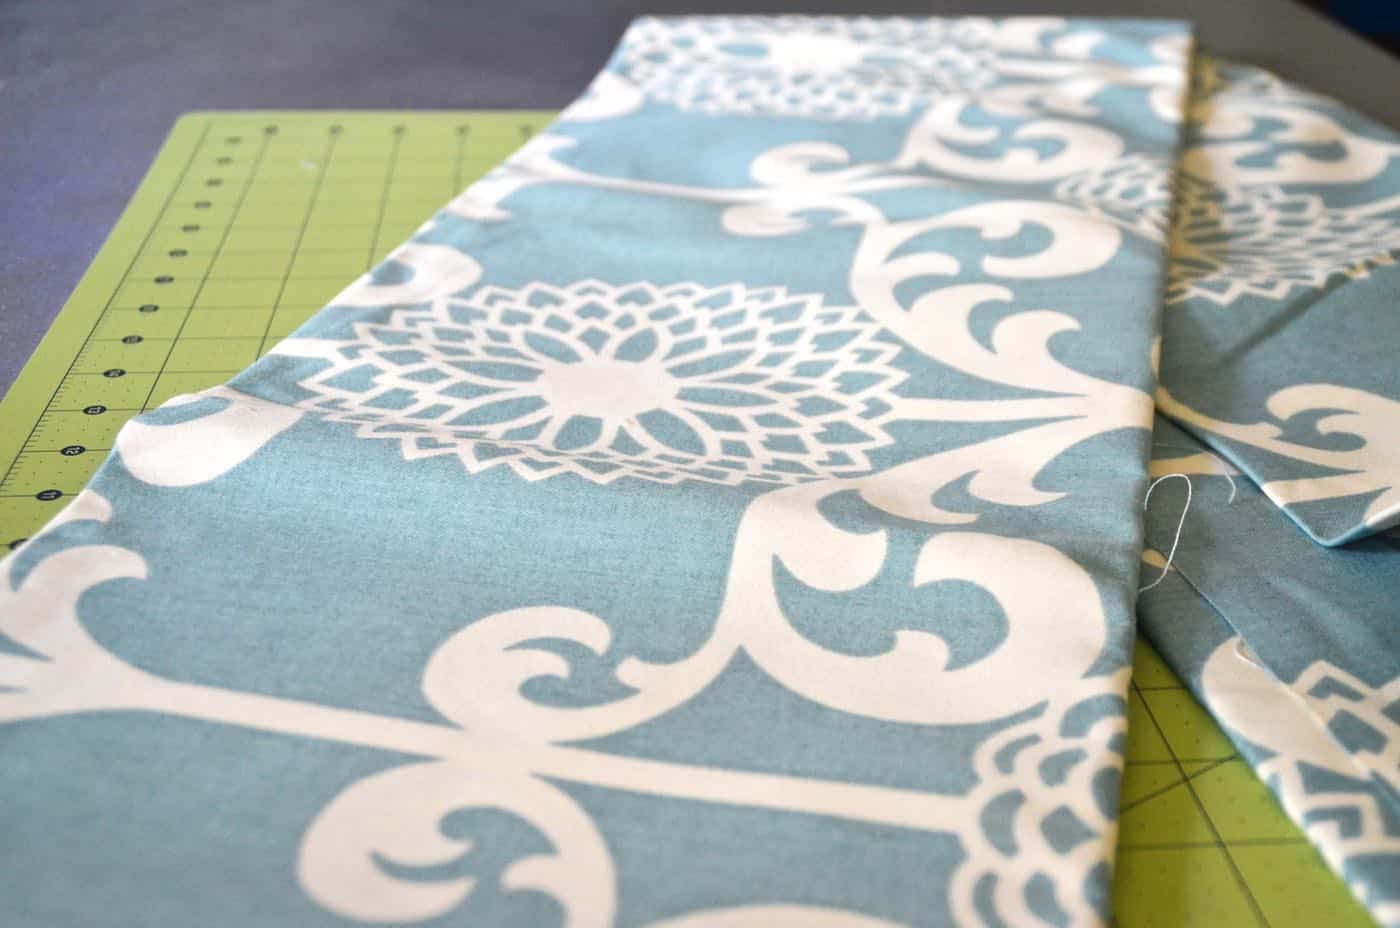 The super specific and detailed rules were to create a sewing project with fabric we were provided with. Again I say: cut throat. Well, I own a sewing machine, and I know how to sew… but I’m no seamstress. But copycat? THAT I can do. In our daily pile of mail, there was a coupon flier for Land Of Nod. And…. lookie here. How cool is that numbered pouf? A perfect little craft for the new baby’s room!
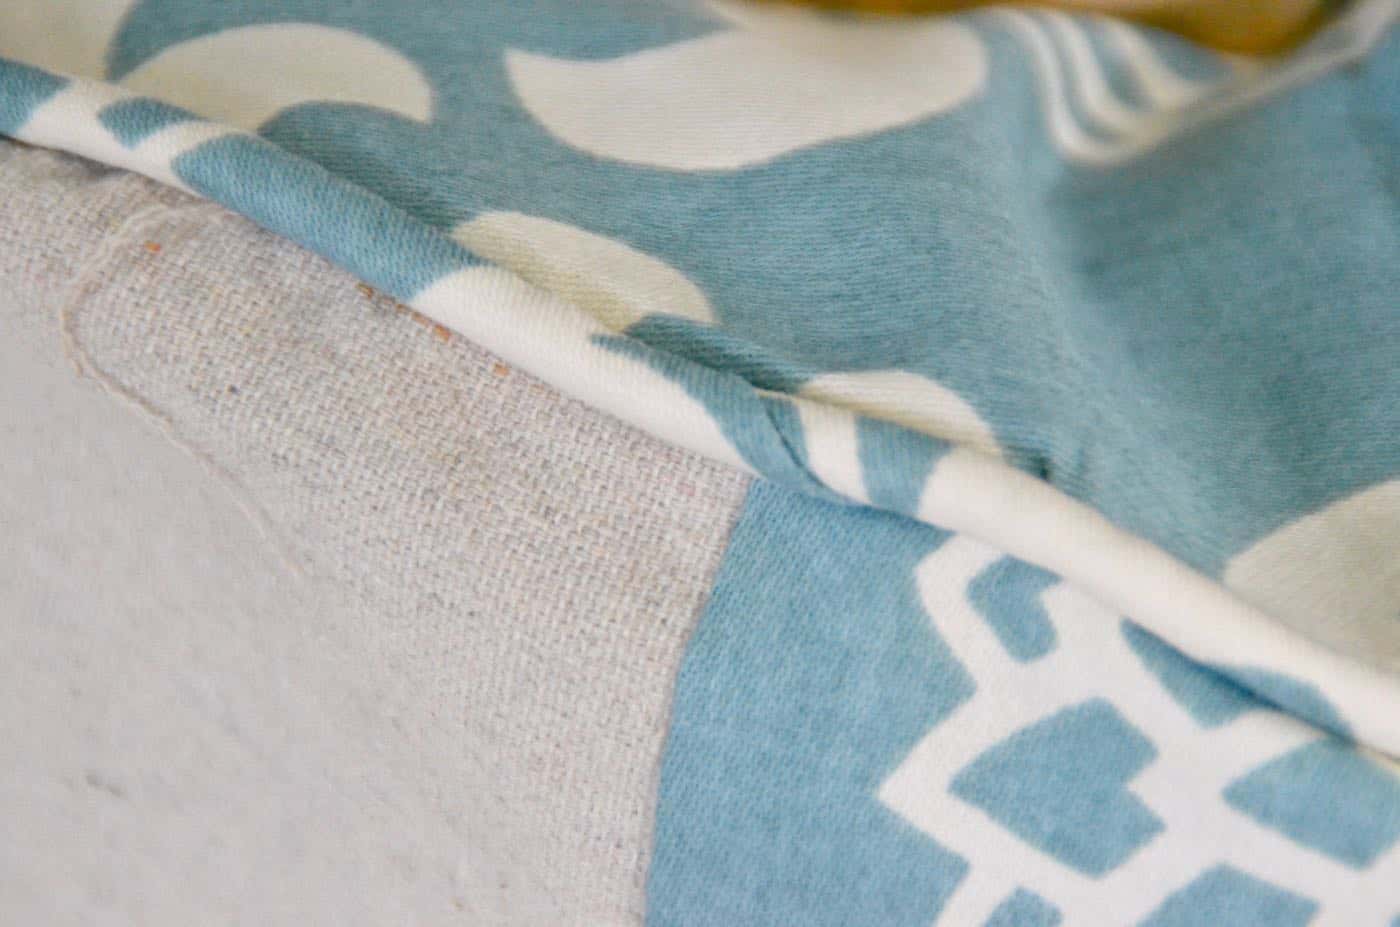
I LOVED the fabric that was sent to me, but I wanted to tie in the graphic numbers from the inspiration piece. I reached for my stash of painters drop cloth. You read that right… painters drop cloth. I adore the neutral color and the drop cloth is often softer than duck cloth and, ahem, way cheaper. I soaked the drop cloth in bleach for a bit to tone it down and bring it closer to the ivory white on my fabric. Now that I had the two fabrics ready, time for math. 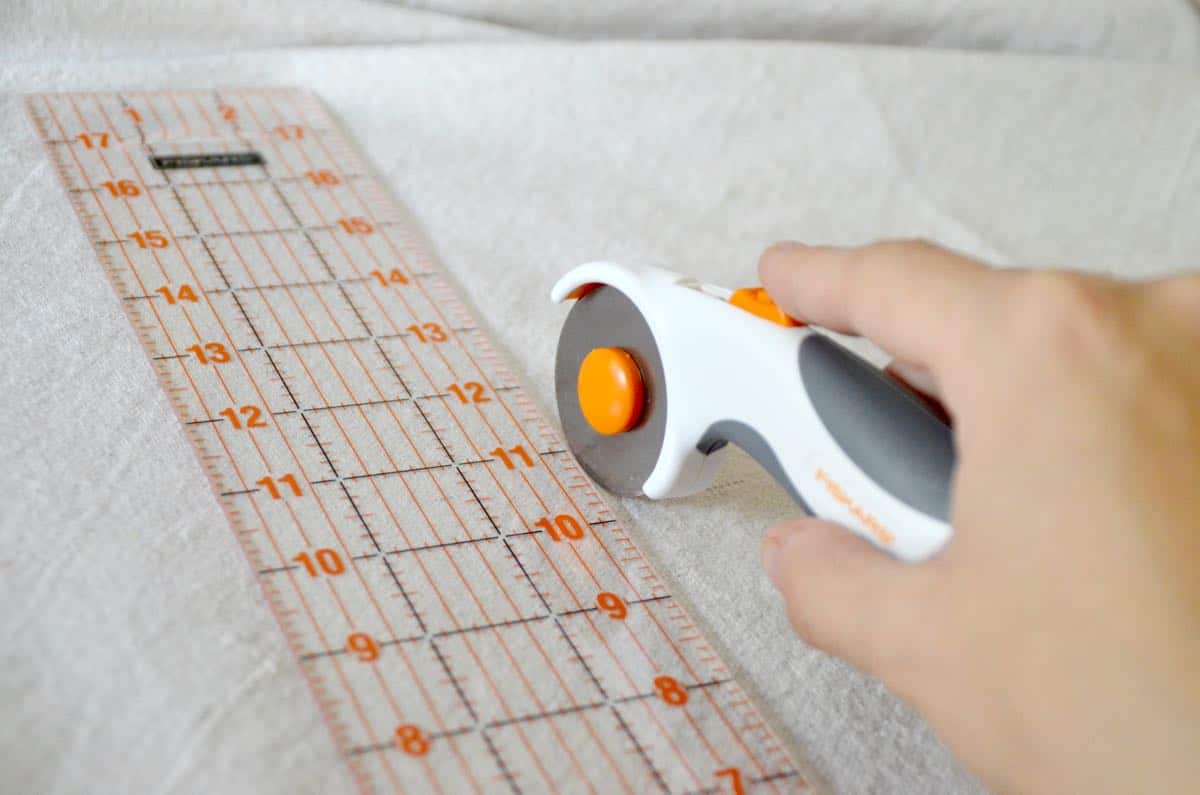
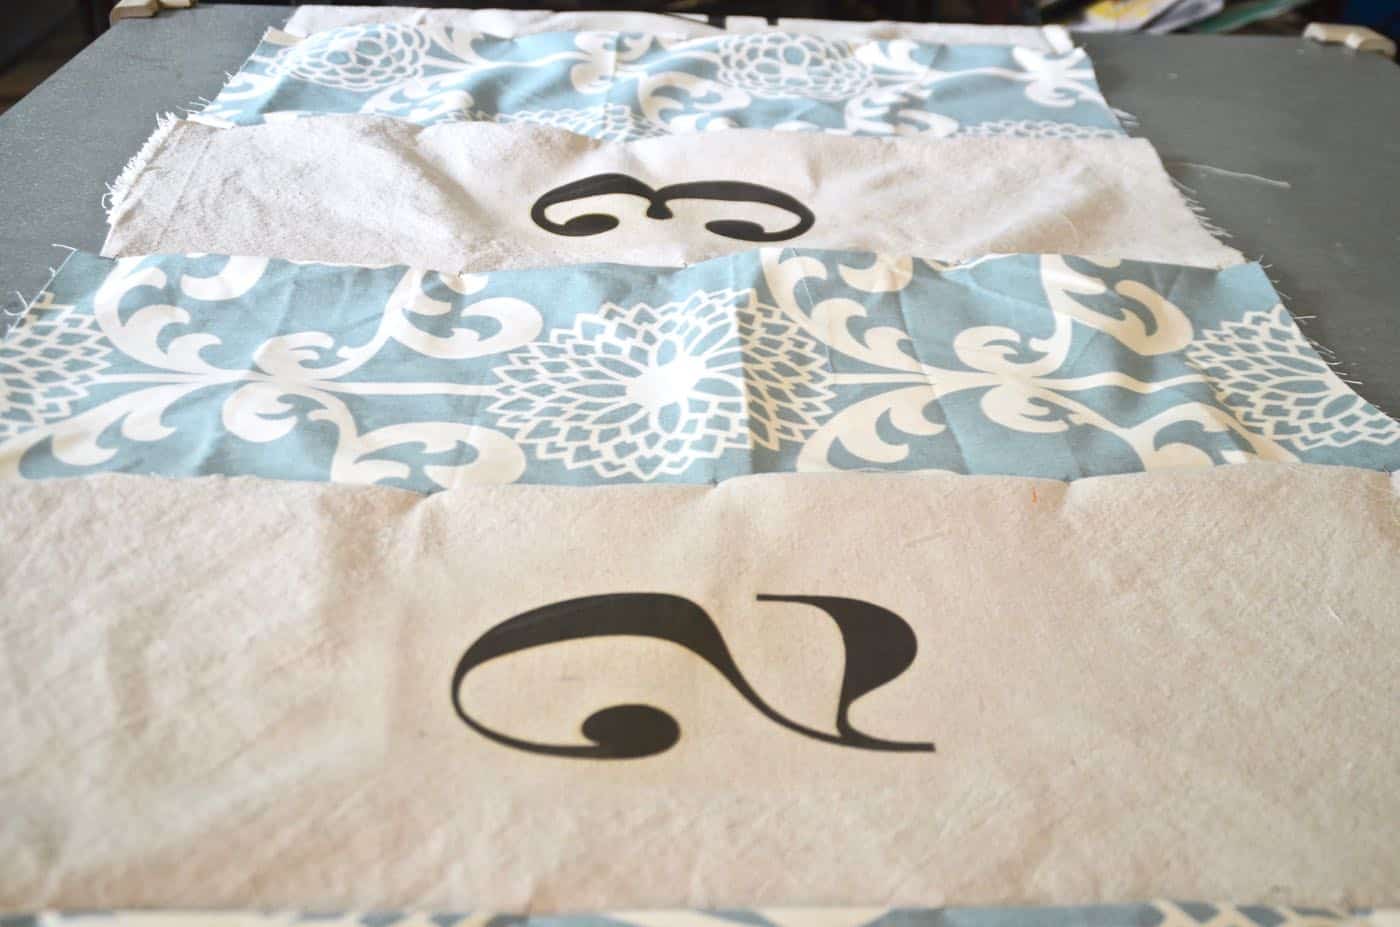
Shout out to my middle school math teacher for instilling in me a firm grasp of geometry. The Land Of Nod pouf is 24″ wide and 24″ tall. Find your trapper keeper and a big ol’ scrunchy and remember 2πR or diameter*3.14. Which means that the circumference of this pouf is approx. 75″ [24″*3.14]. Are you with me? Once I knew the circumference of my pouf, I could begin to figure out how many panels were needed to create the sides. Because the height was going to be 24″ like the inspiration piece, I didn’t want each panel to be too narrow… Ultimately I felt that panels between 8 and 9″ wide were about right. 
To make the top and bottom circle, I started with a square the same size as the radius (14 x 14) and then folded it up. With my ruler, I marked 14″ from the center point… then I cut along this dotted line. 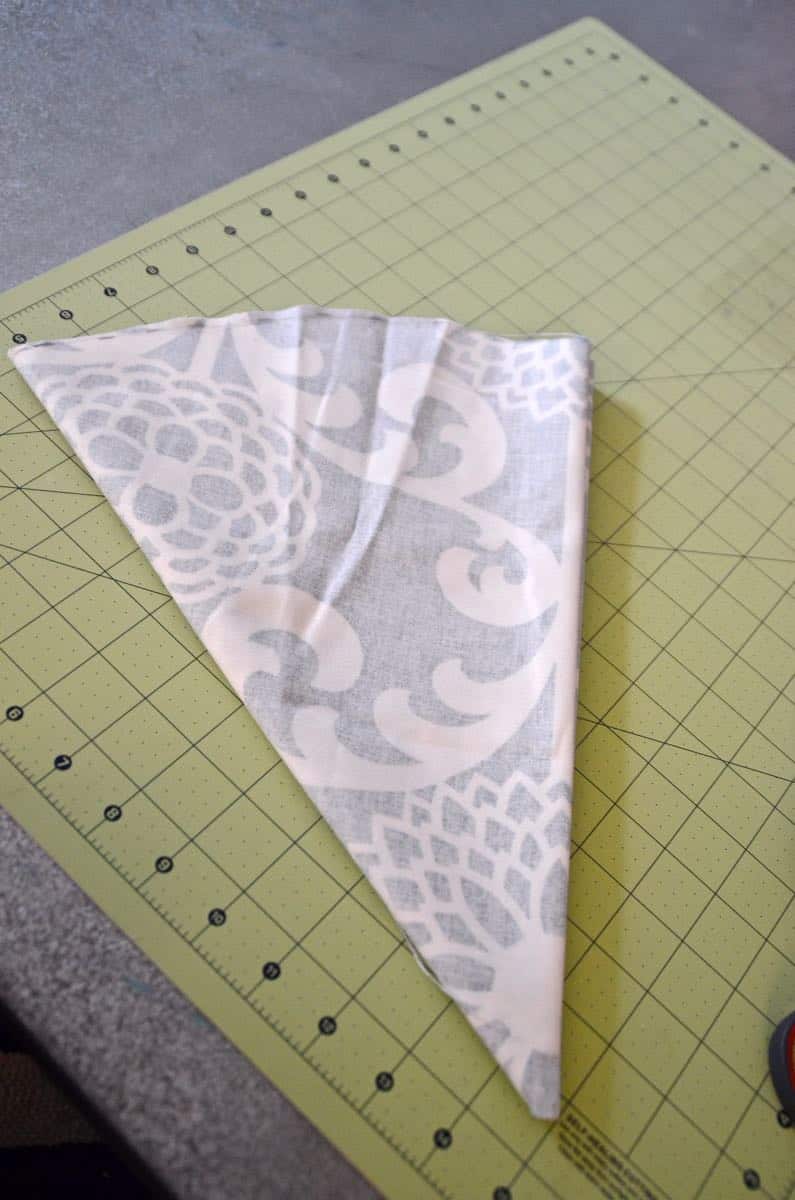
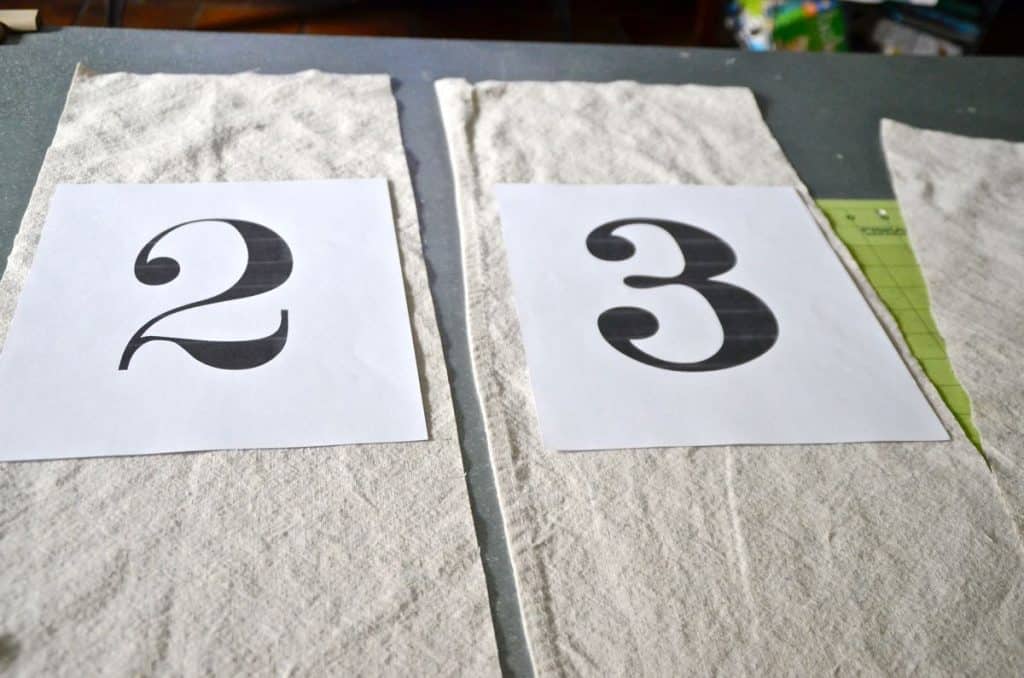
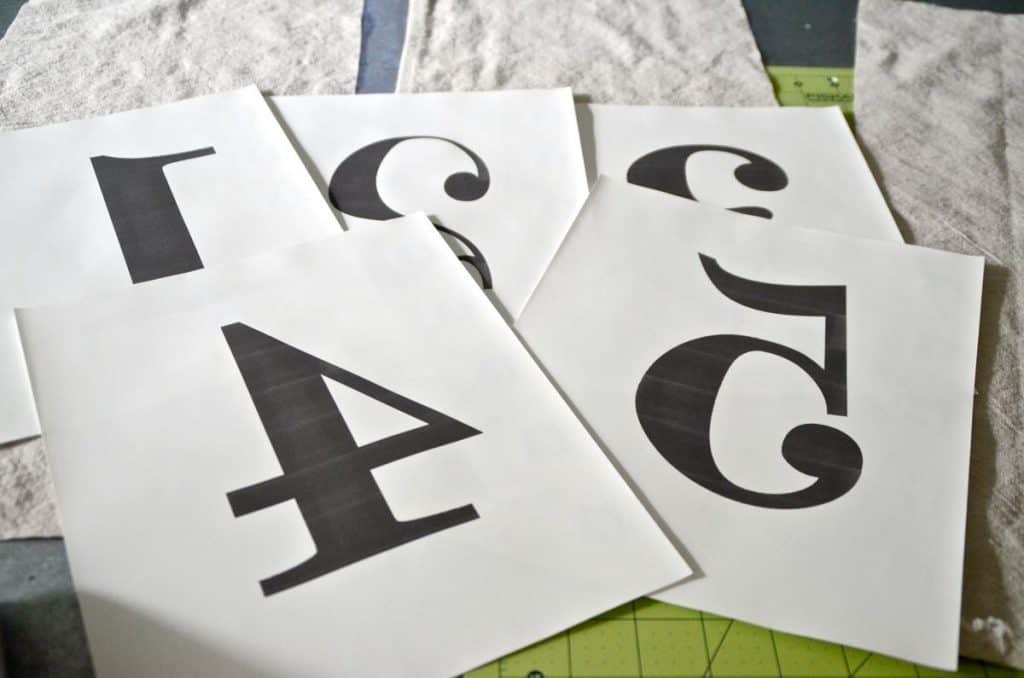
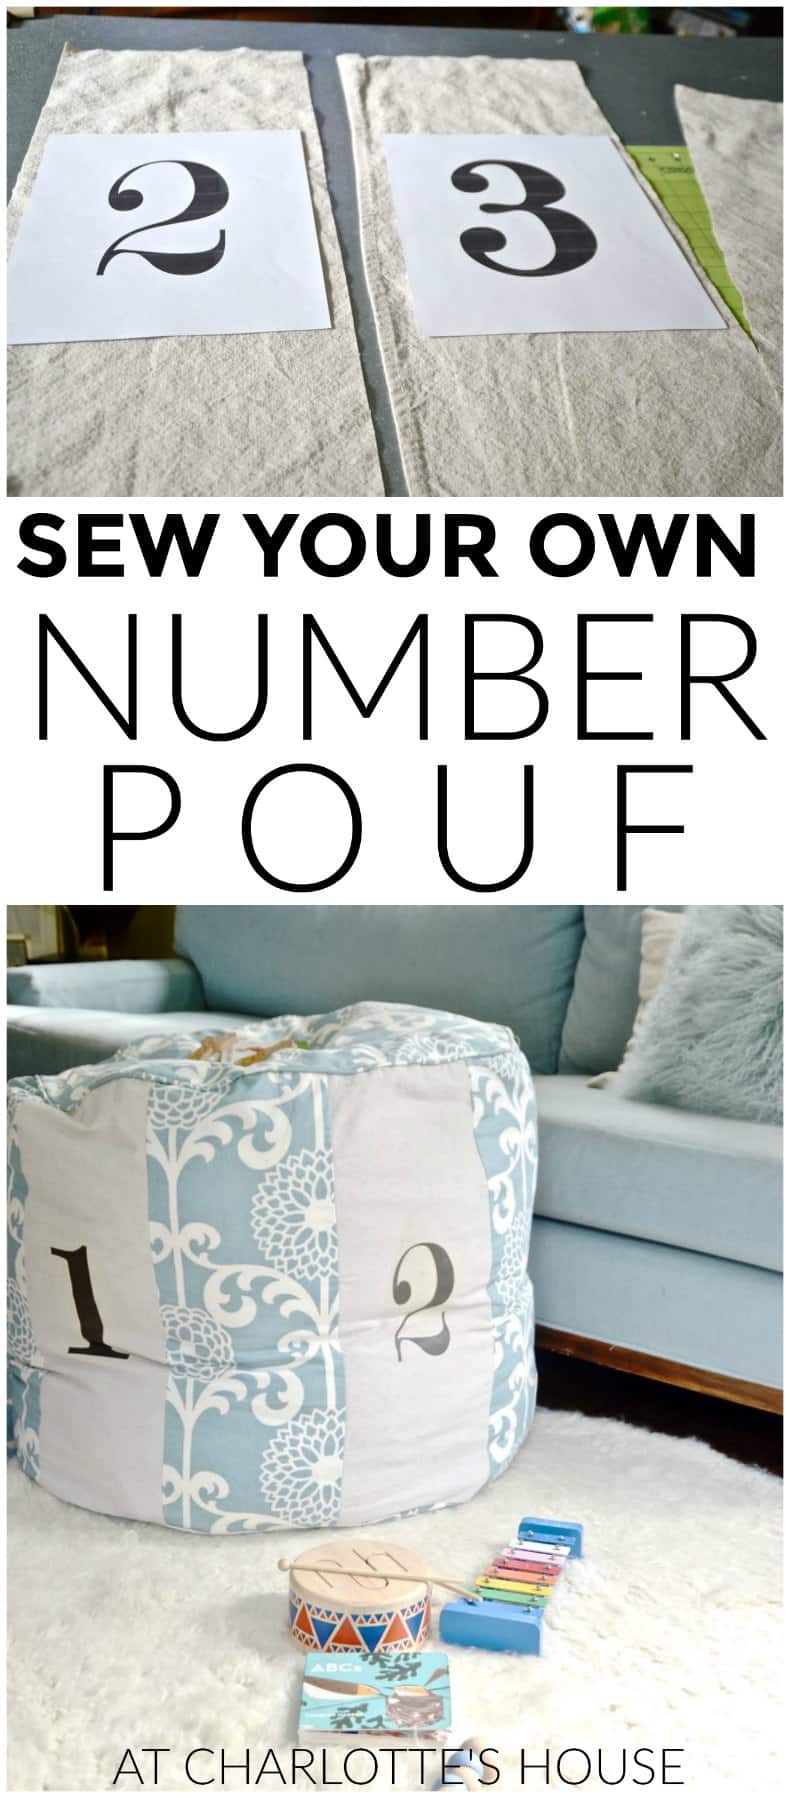
 Once I cut the panels, I reached for my iron on transfer paper (Avery T-shirt Transfers for Inkjet Printers, 8.5 x 11 Inches, Clear, 6 Sheets (03271) affiliate
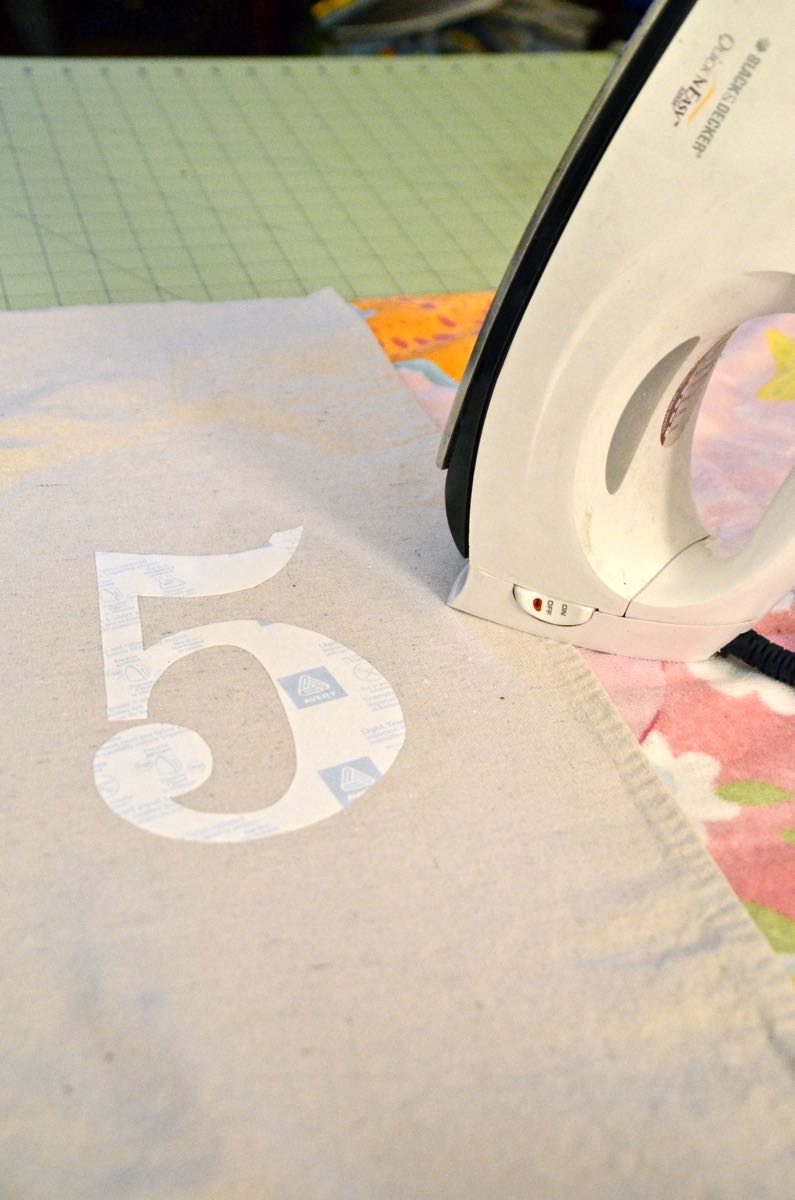
![]() ). A few minutes playing around with fonts and these numbers were ready for some heat. (Iron-on 101: Print your images in reverse… most printers have a “mirror image” setting. Cut out your image, apply heat and remove backing paper.)
). A few minutes playing around with fonts and these numbers were ready for some heat. (Iron-on 101: Print your images in reverse… most printers have a “mirror image” setting. Cut out your image, apply heat and remove backing paper.)
Shop my favorites!
 In a late night sewing frenzy (partly due to a Four Weddings binge on TLC) I finished much of this piece… which also means no pictures. But here’s a step by step graphic for you to get a sense of the construction. (I always defer to this post by Sew Mama Sew to make the necessary bias strips for the piping.)
 Along the bottom edge, I sewed two velcro strips so that whatever was used for stuffing could be accessible.
 For the stuffing, I had a pile of extra pillows from Ikea as well as some old down comforters leftover from our smaller bed in the city. It all came together super easily so my home ec sewing skills were never really challenged. (Phew.) I can’t wait to pop this in our new guest room/ nursery. I’m hoping the teal color will complement the blue in the bedspreads, but it might be a stretch…
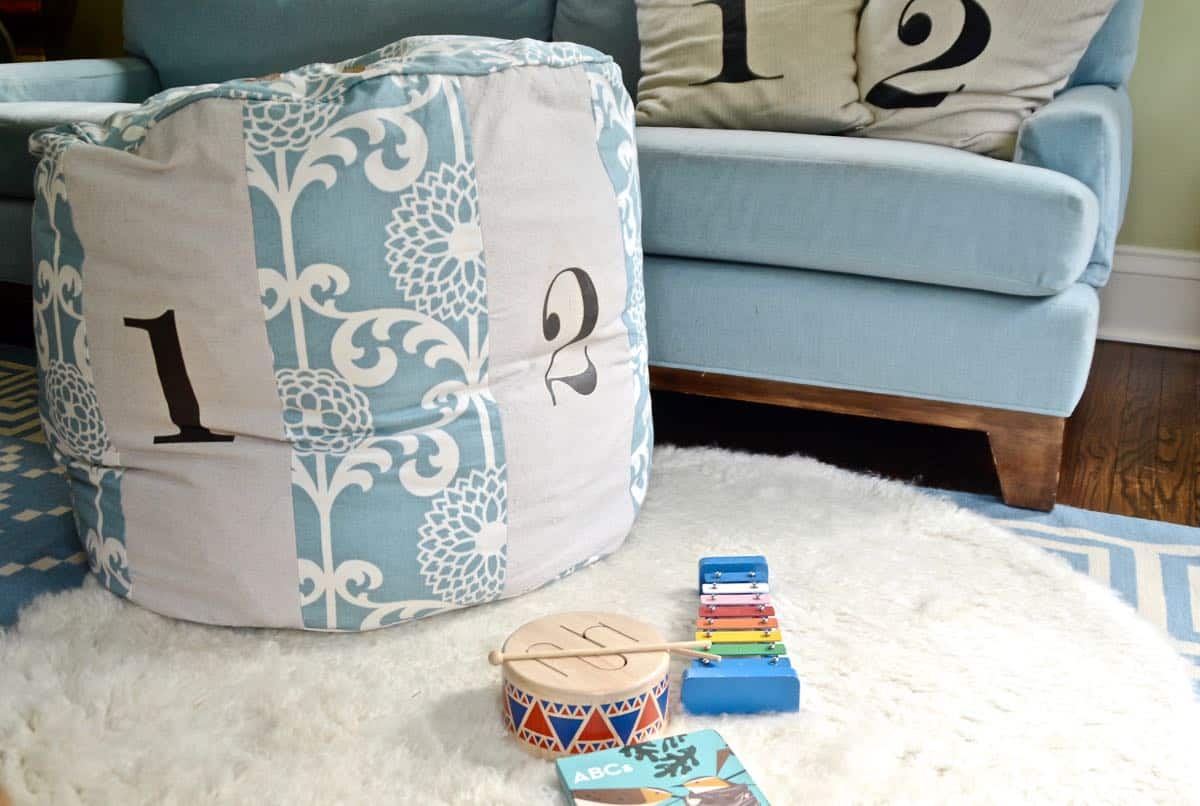

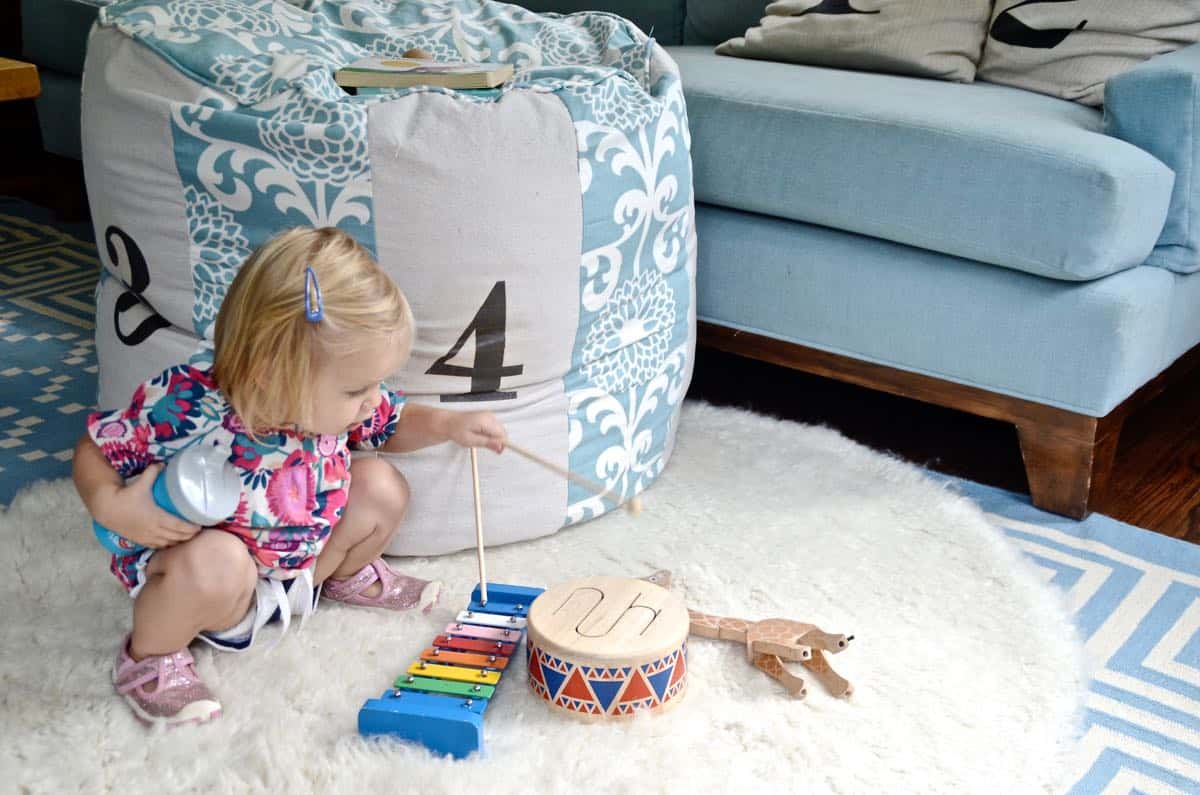
The dimensions are almost the same as the Land of Nod inspiration so it’s not small. But I’m hoping the big kids can use it for a cozy reading spot, or I can use it during some late night feedings as a foot rest. Regardless, I adore the Waverly fabric twist to the plain numbers of Land of Nod’s and am pretty psyched to have this in any room!

In case I wasn’t clear… this is a VERY low sewing degree of difficulty. You can TOTALLY make this!


Cute!
I really like this project.
Ooooooh….so ridiculously adorable! Poof AND kid! So is there contest voting and what not?! If so I’m gonna vote the snot out of your project!
Ha! I don’t think so but I’ll let you know if I need some aggressive voting. 🙂 thanks!!
Love it!!
This is totally darling. I want one of my own!
Thanks, Michelle! I’m a little obsessed myself!
Just saw this on Craft Gawker! Super cute and great tutorial. The the fabric combo your chose
Thanks Marni! I LOVE the fabric too… My favorite color!
WOW~love it!!! I’m crazy busy getting ready for my daughter’s baby shower and sewing bibs and burb rags, etc for my first grandchild, but….when I have time, I’m definitely gonna try one of these! And I love the fabric too!
Sounds like SUCH fun!! I made this too big, but it was otherwise SO simple and fun! Congrats to you and your daughter! xx