
Moss Marquee Letters
Psssst… this post *might* contain affiliate links: see my disclosure here.
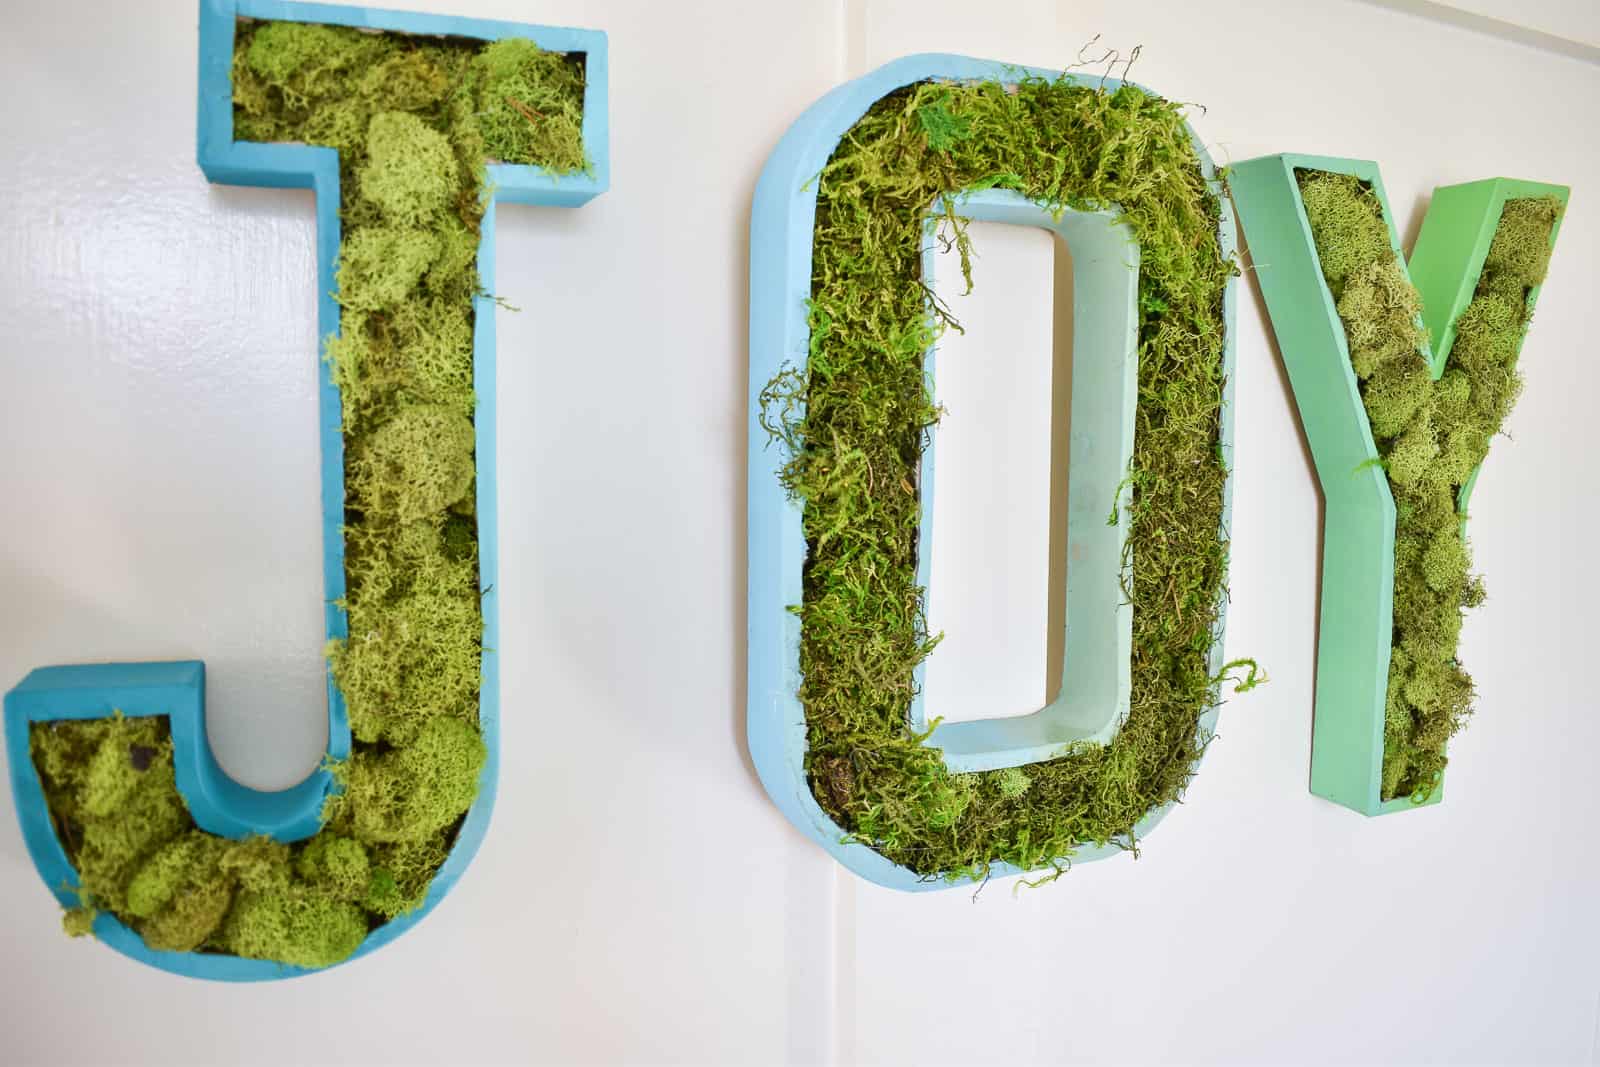
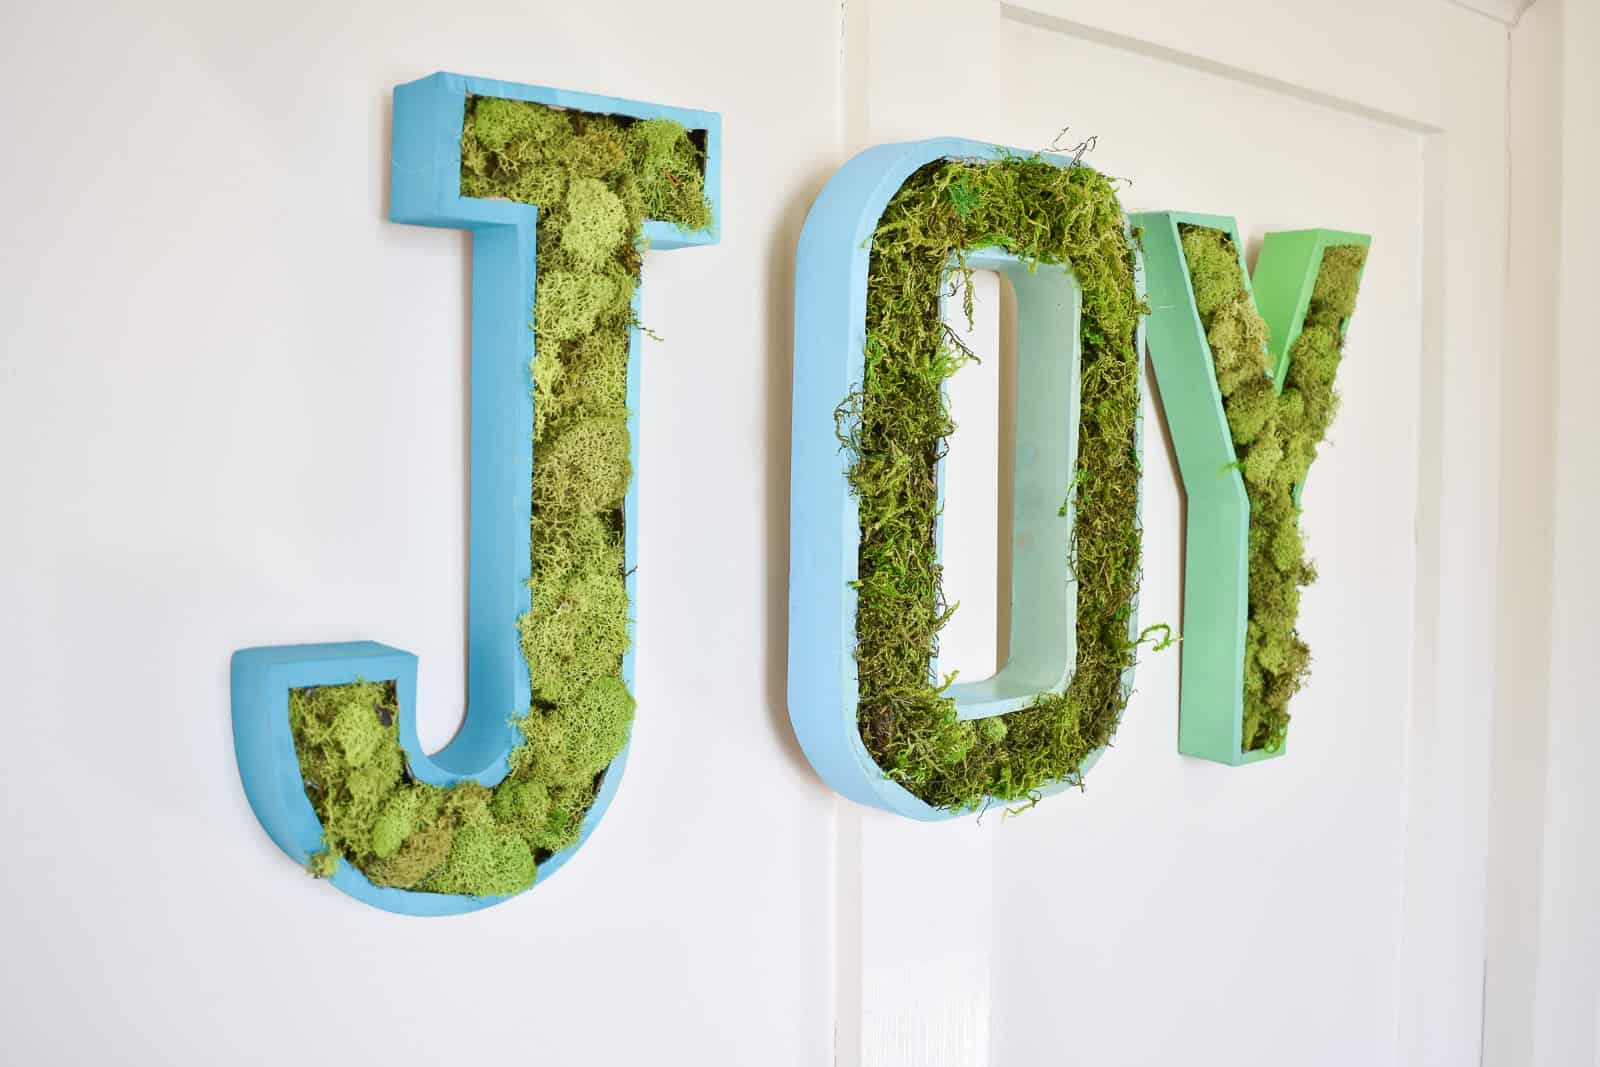
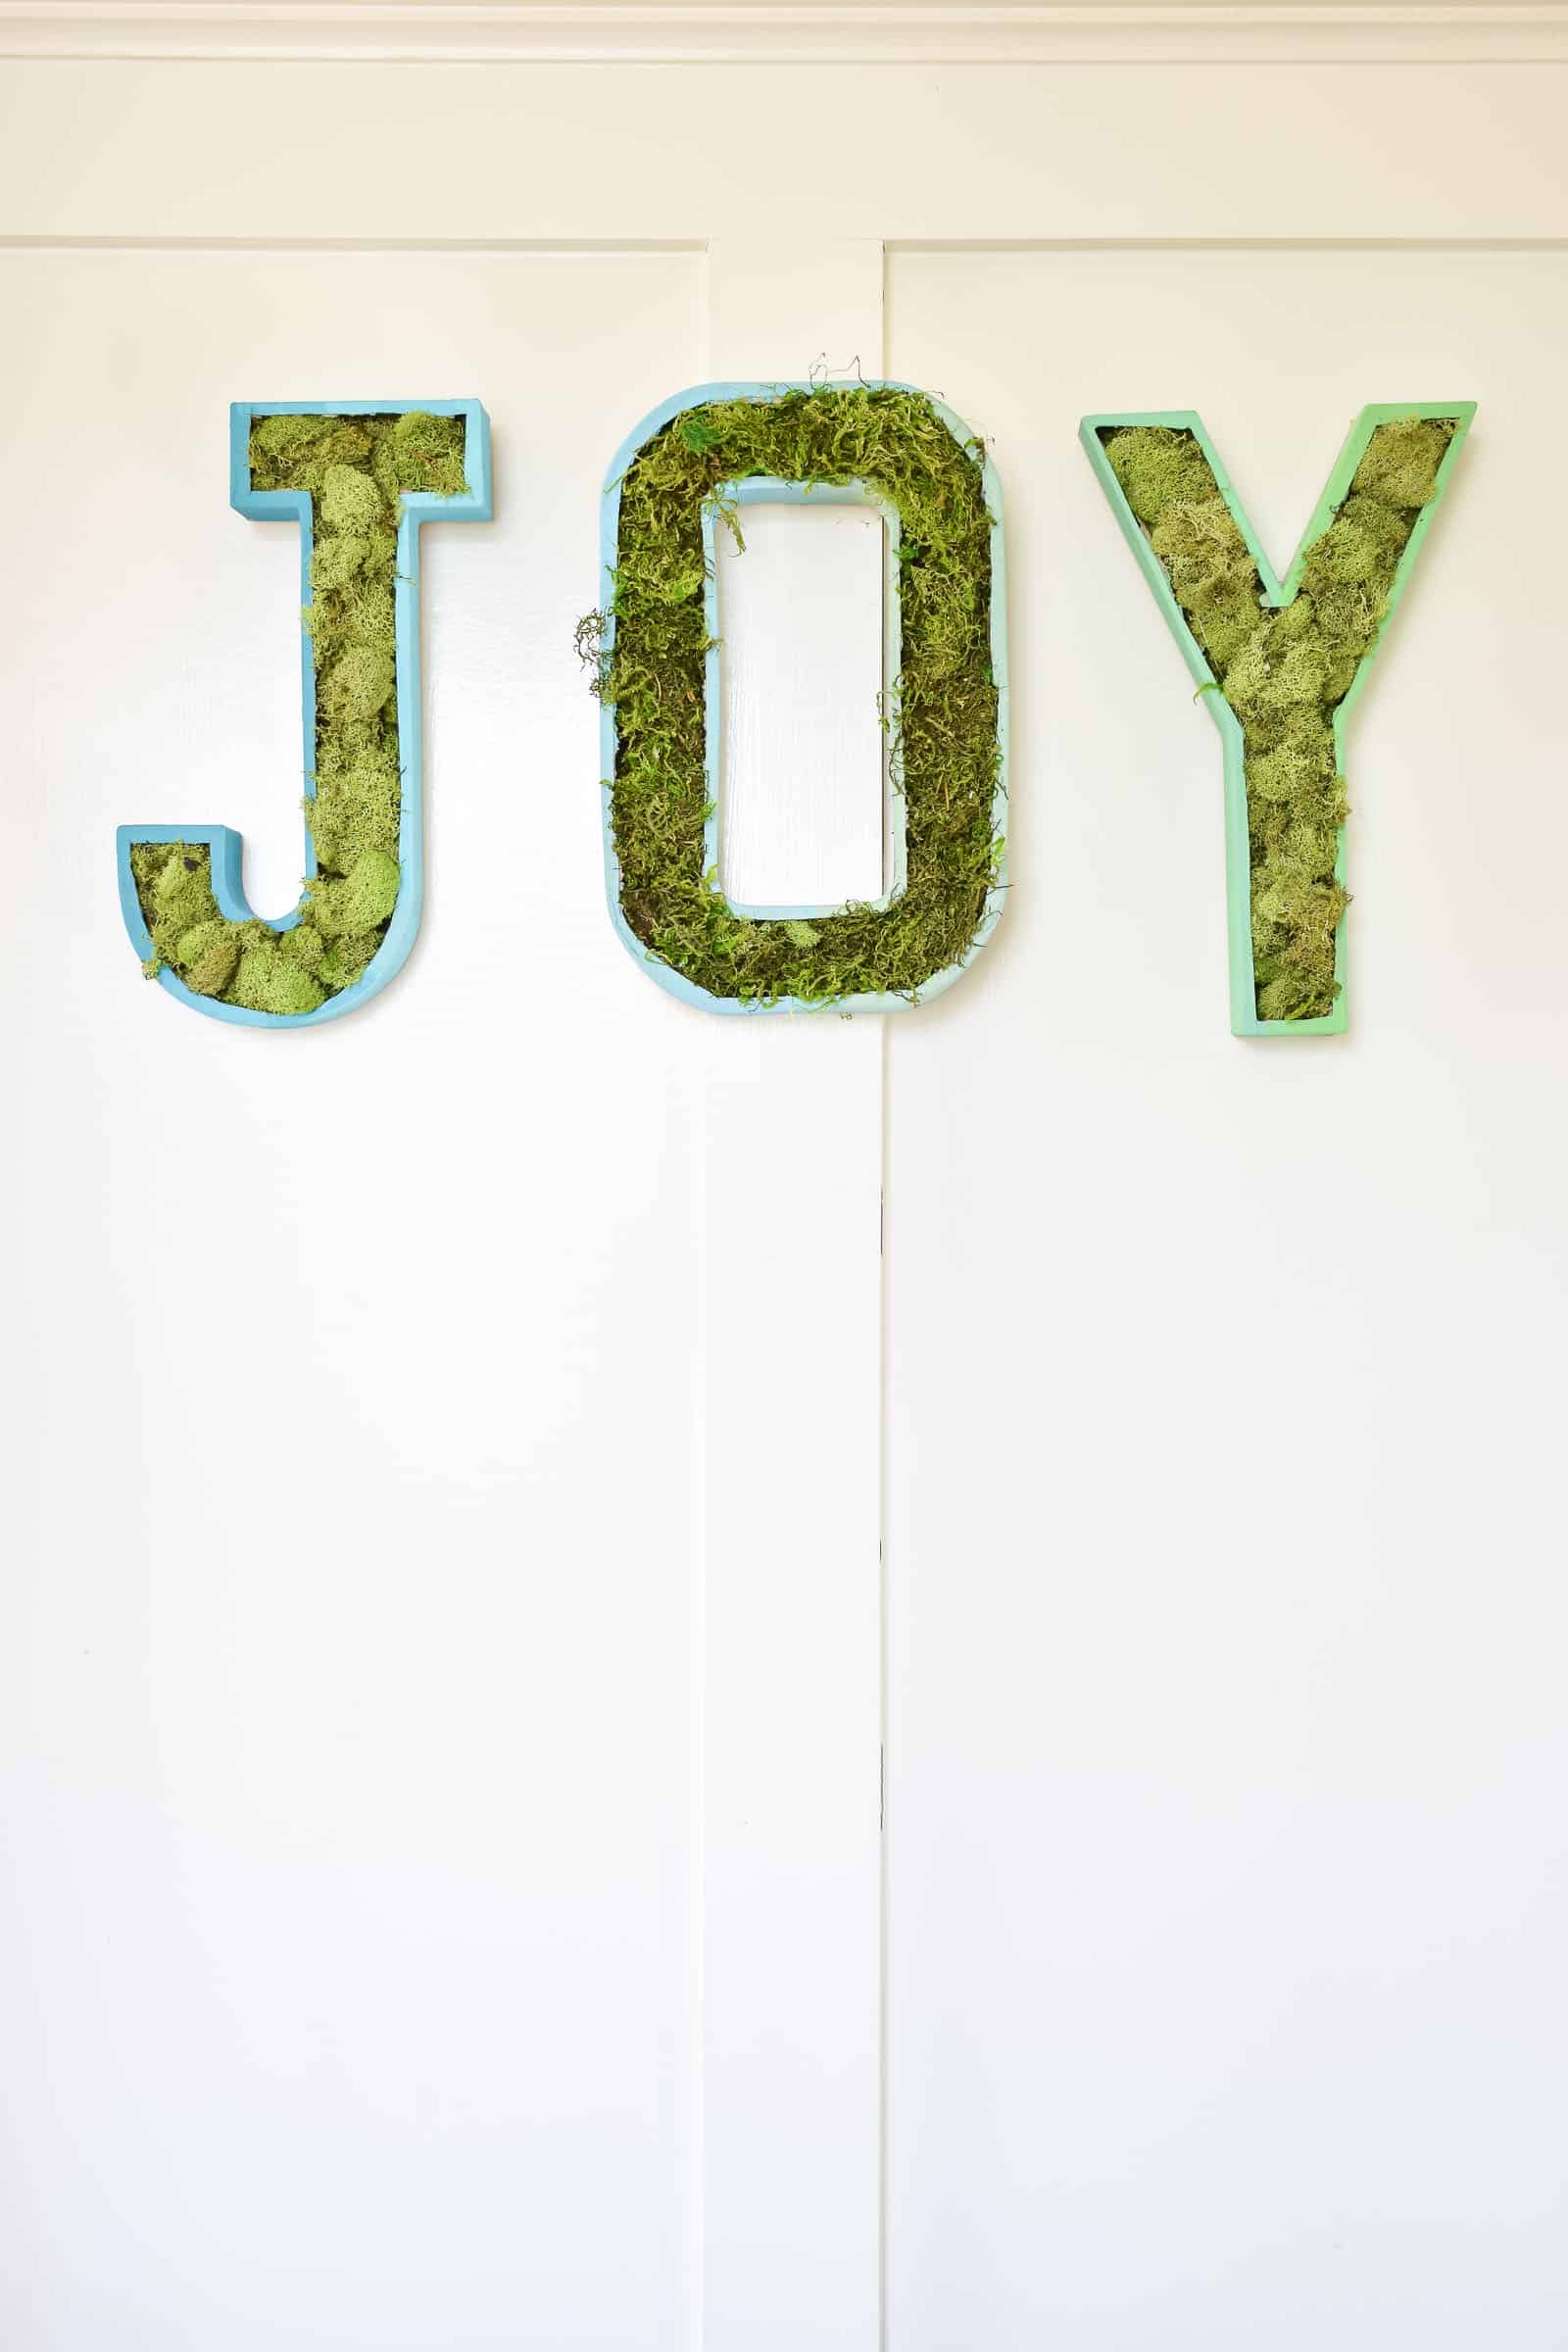
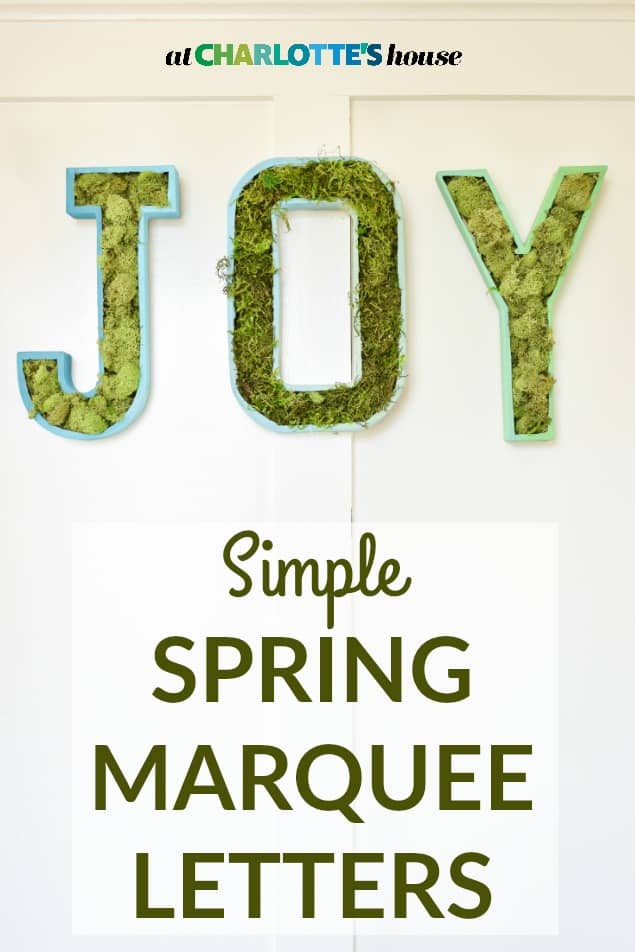
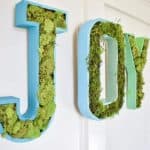
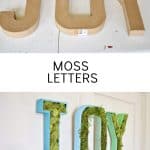
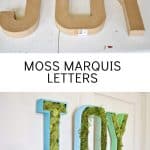
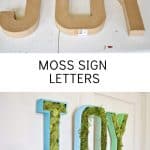
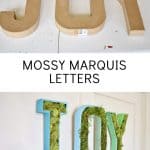
Moss Filled Marquee Letters
These moss filled marquee letters are the perfect DIY for spring… I painted these with ombre blues, but you could customize in lots of ways.
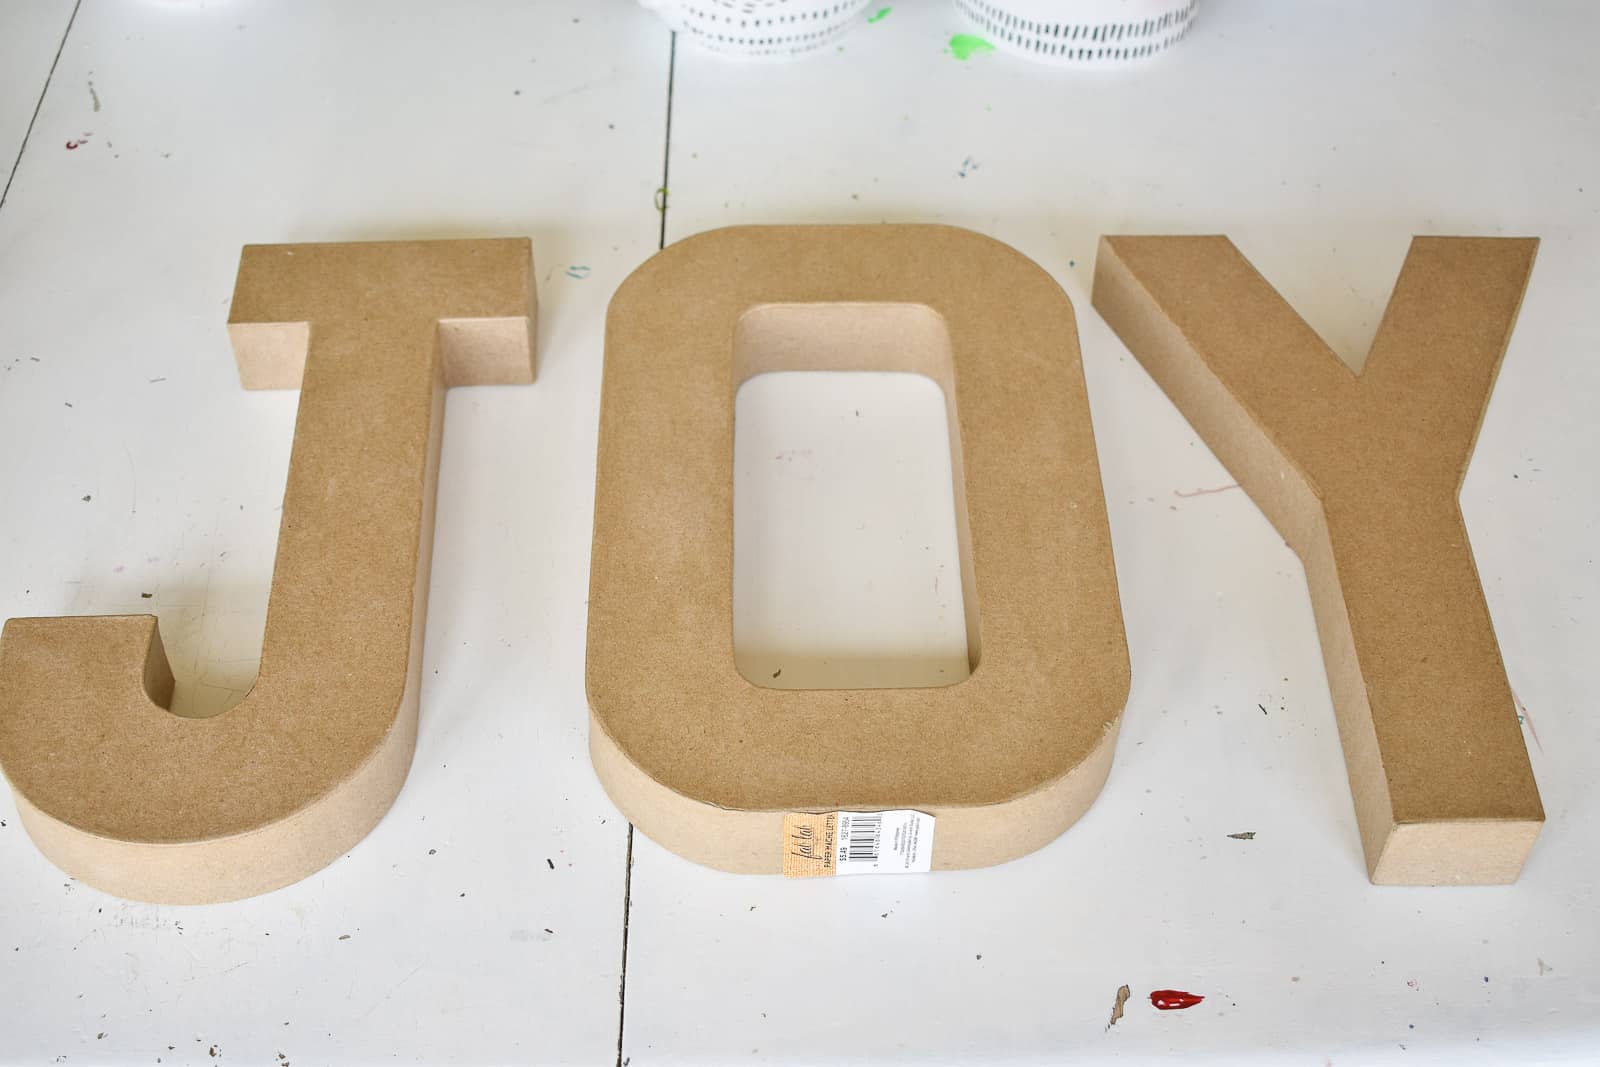
Hi. My name’s Charlotte and I love marquee letters. I found two large industrial ones at the flea market years ago and I’ve been adding to my little collection ever since! Today I’m sharing a fun CRAFT I made with paper mache letters. So easy. So fun. Perfect for spring.
Shop my favorites!
Materials are pretty basic (affiliate links included):
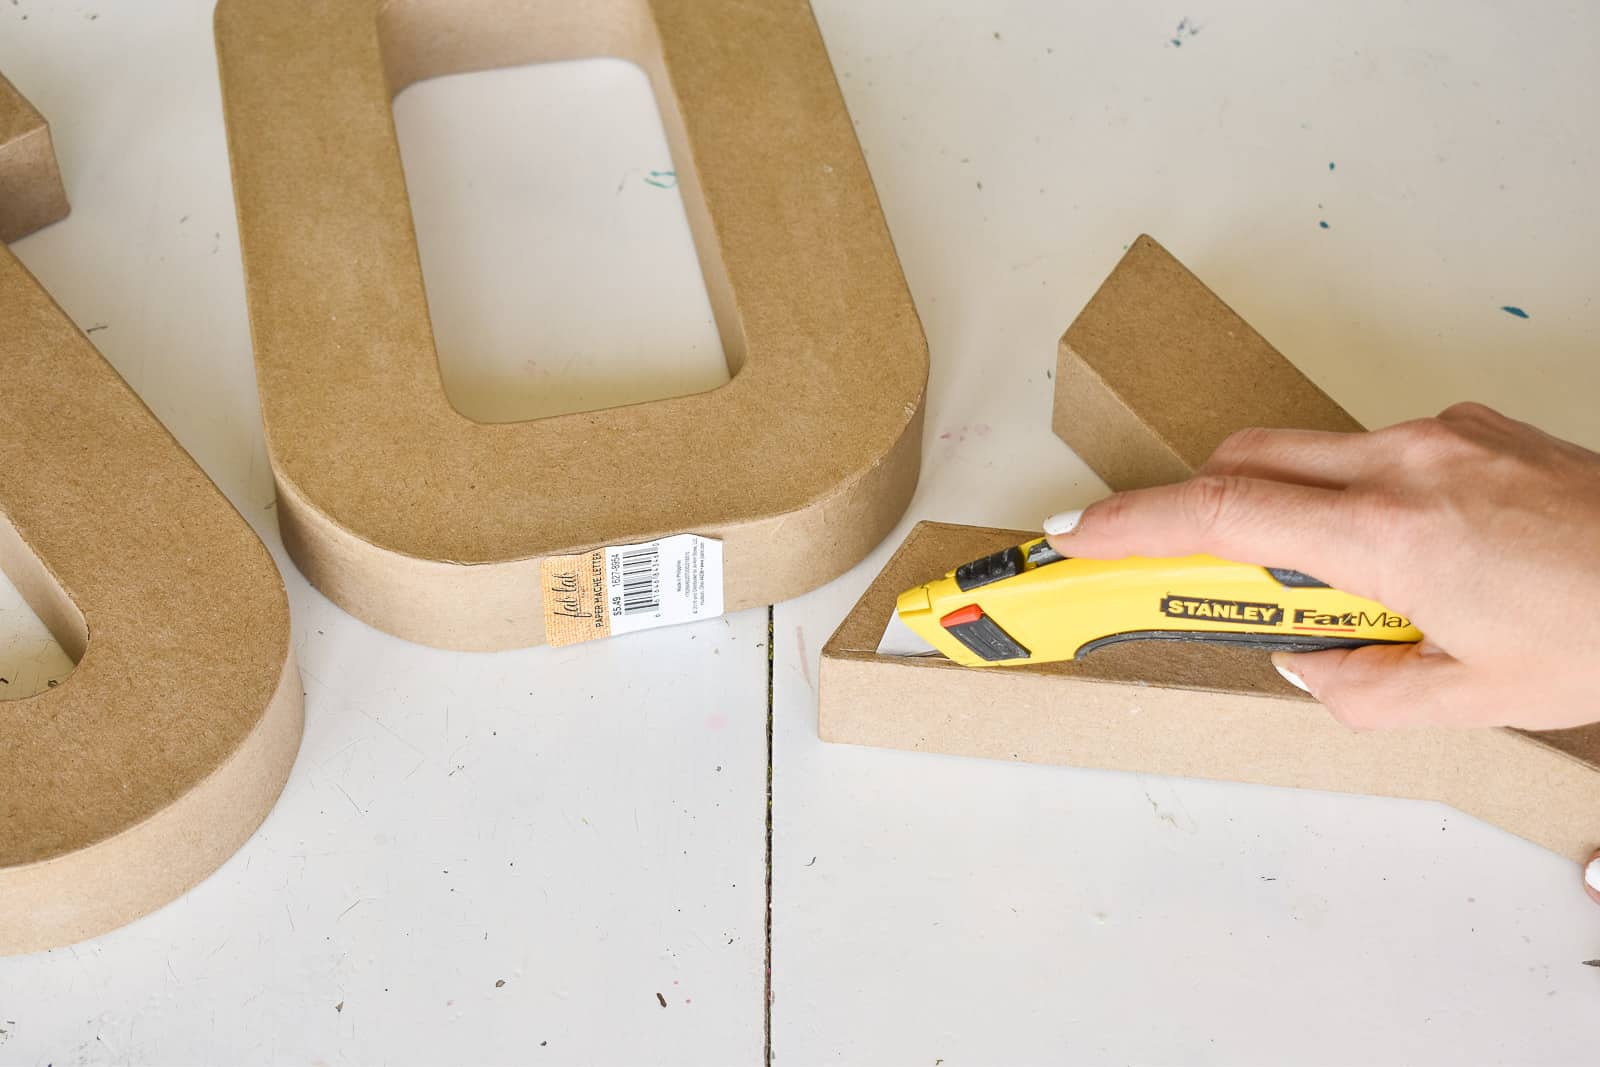
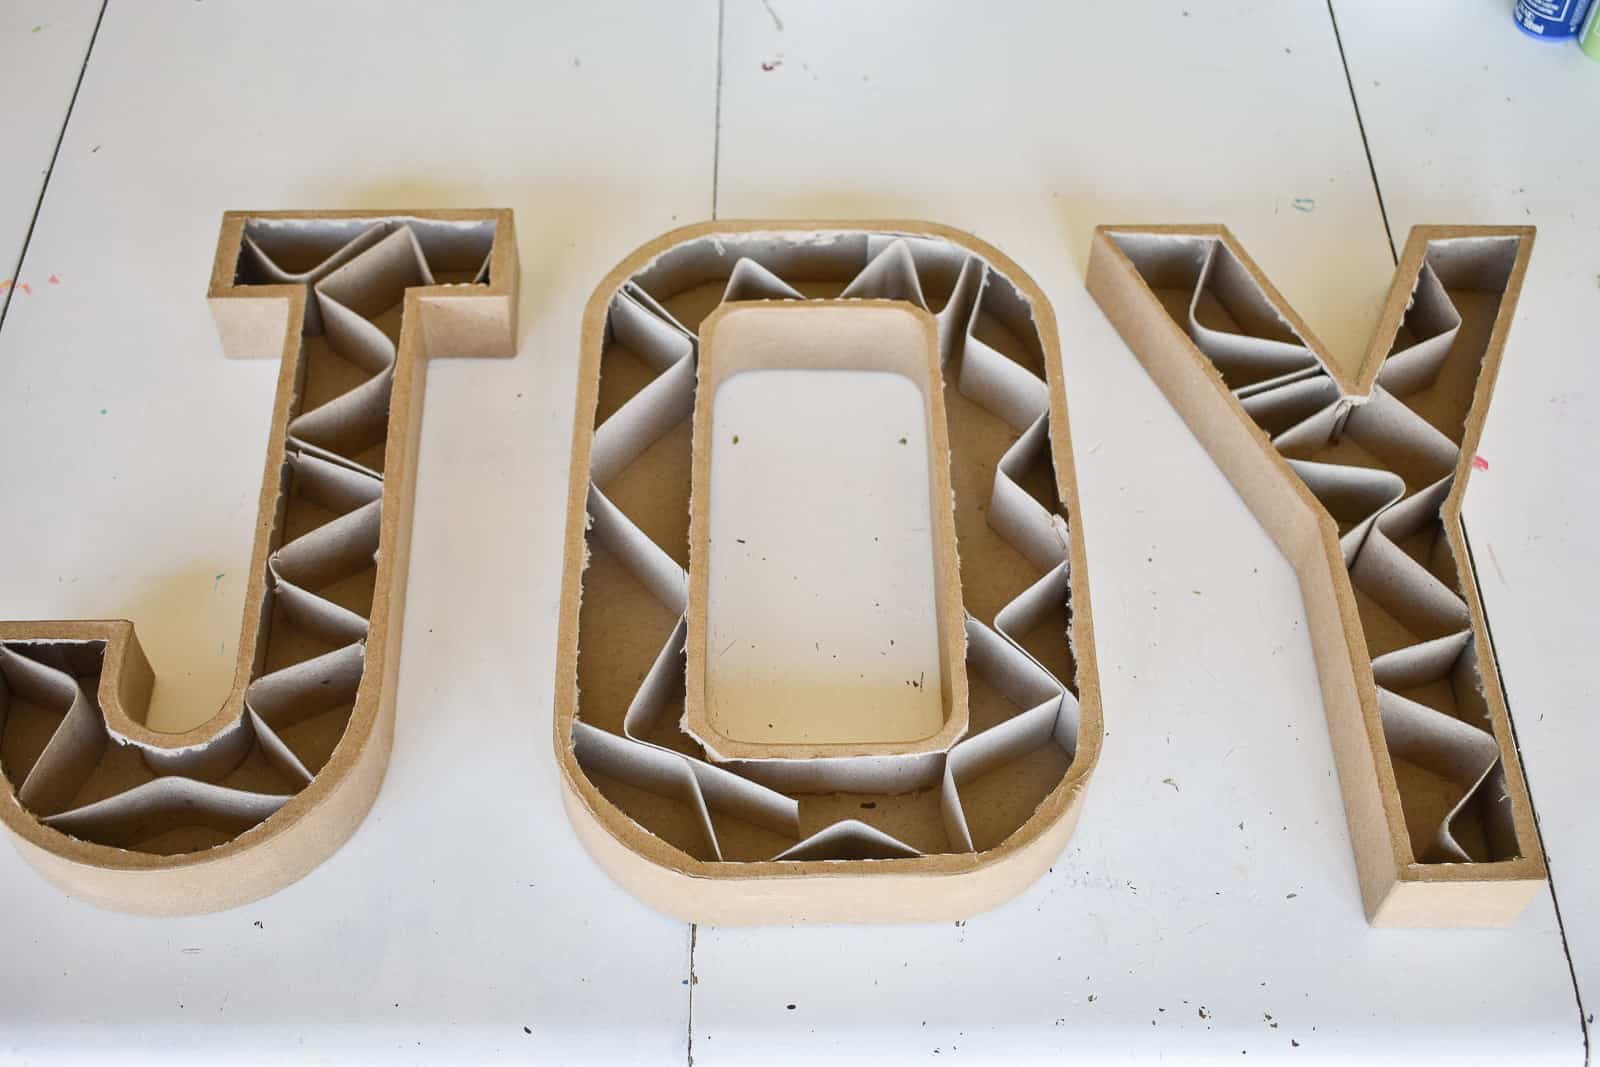
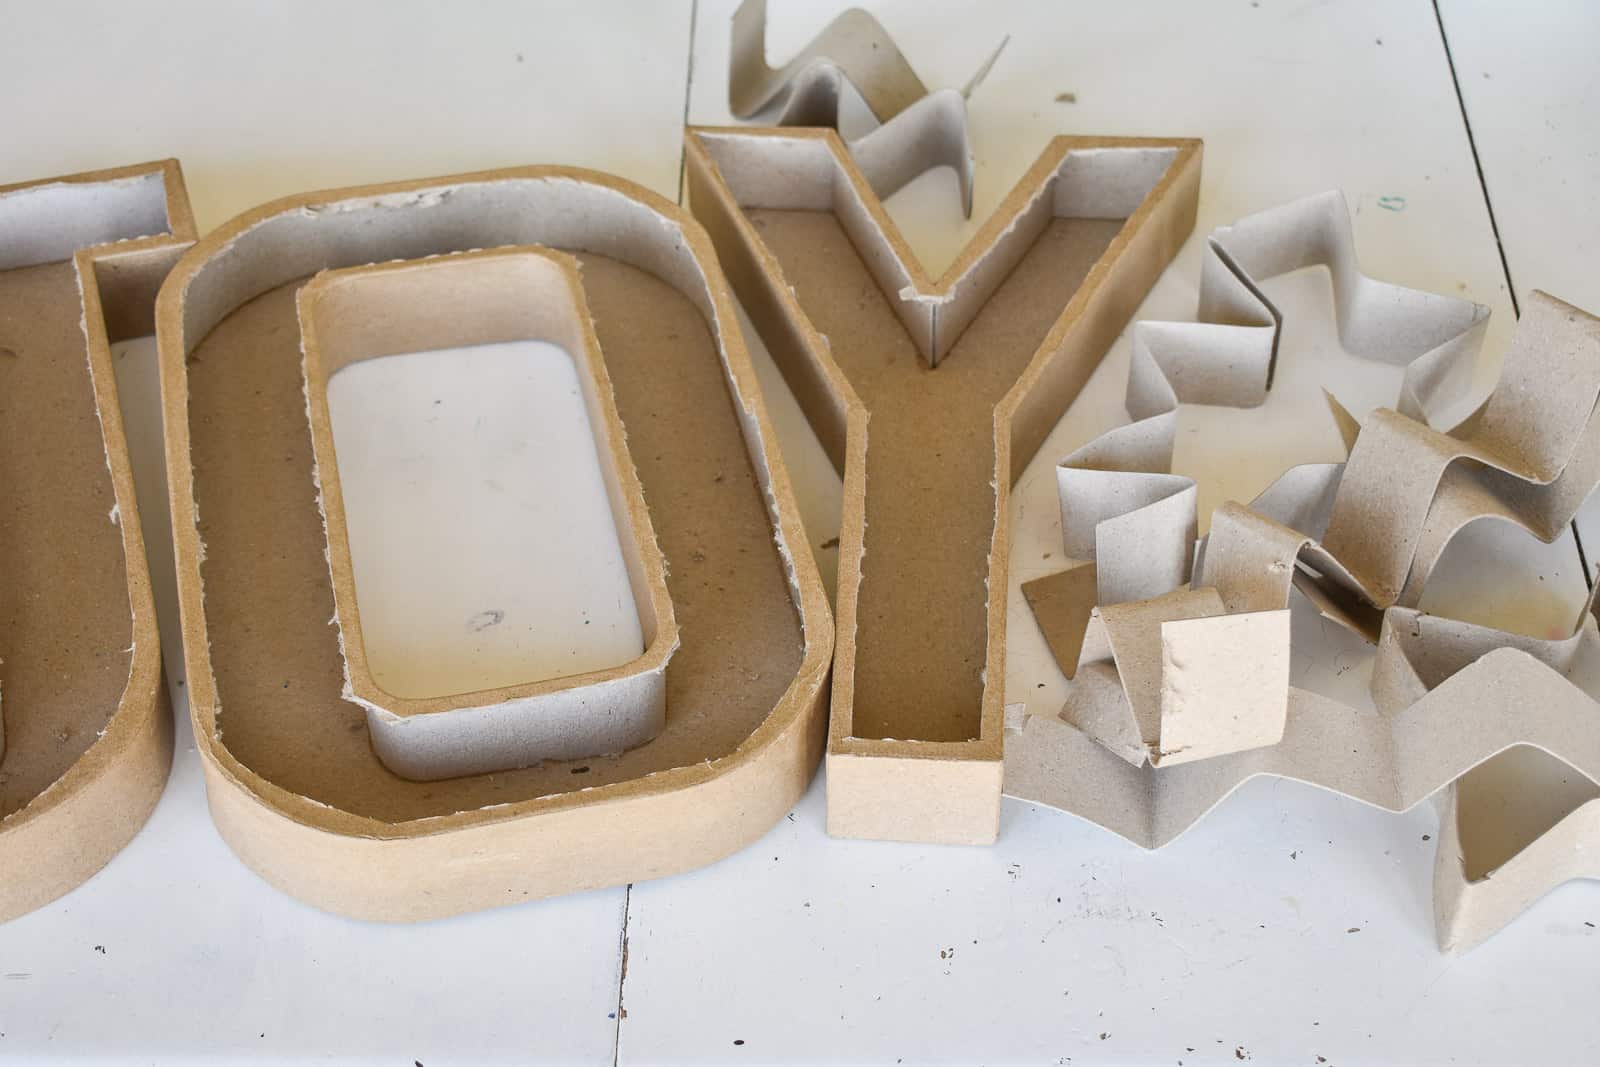
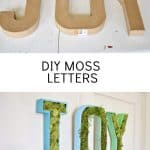
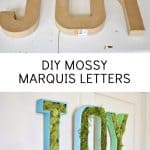
Step 1. Cut open your letters
Using an Xacto knife or another sharp blade, cut open your letters. The ones I bought had little bits of cardboard inside, but they removed really easily to hollow out each letter.
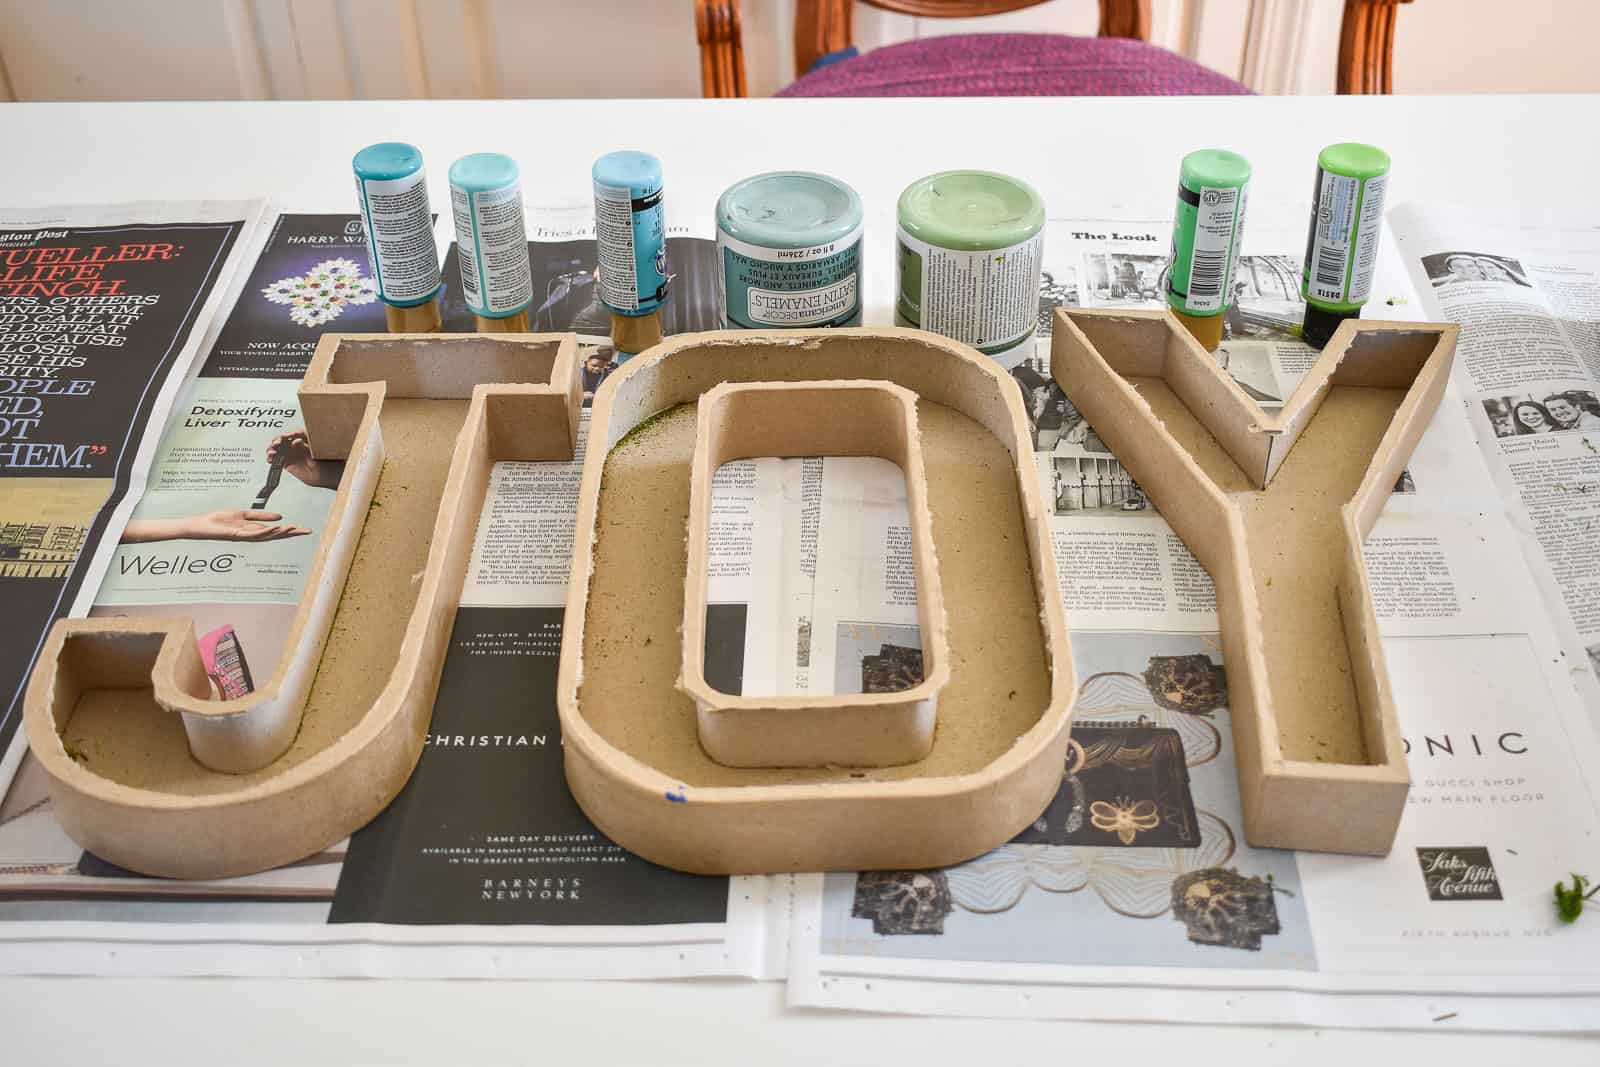
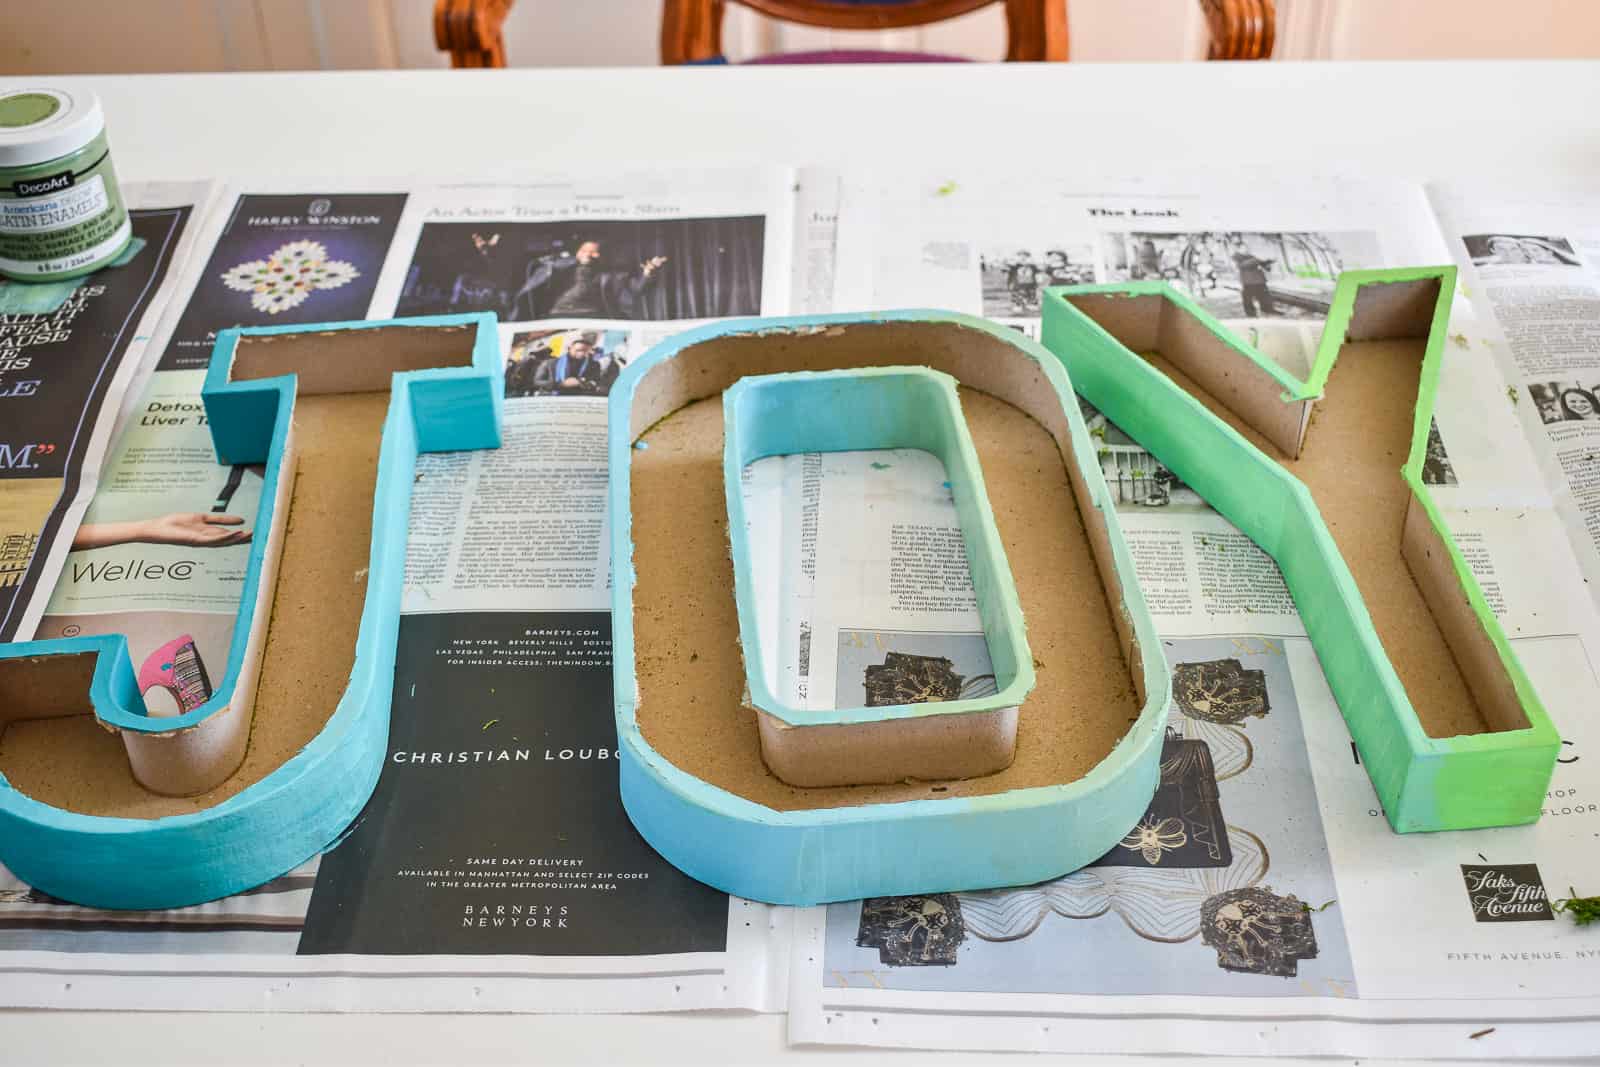
Step 2. Paint the outside
Obviously this is optional if you like the unpainted look, but I wanted to add some fun color. I opted to use a couple of colors on each letter and mixed them together a bit to create an ombre effect. I chose colors that would mix well together so where the two colors met, there was a nice blended gradient.
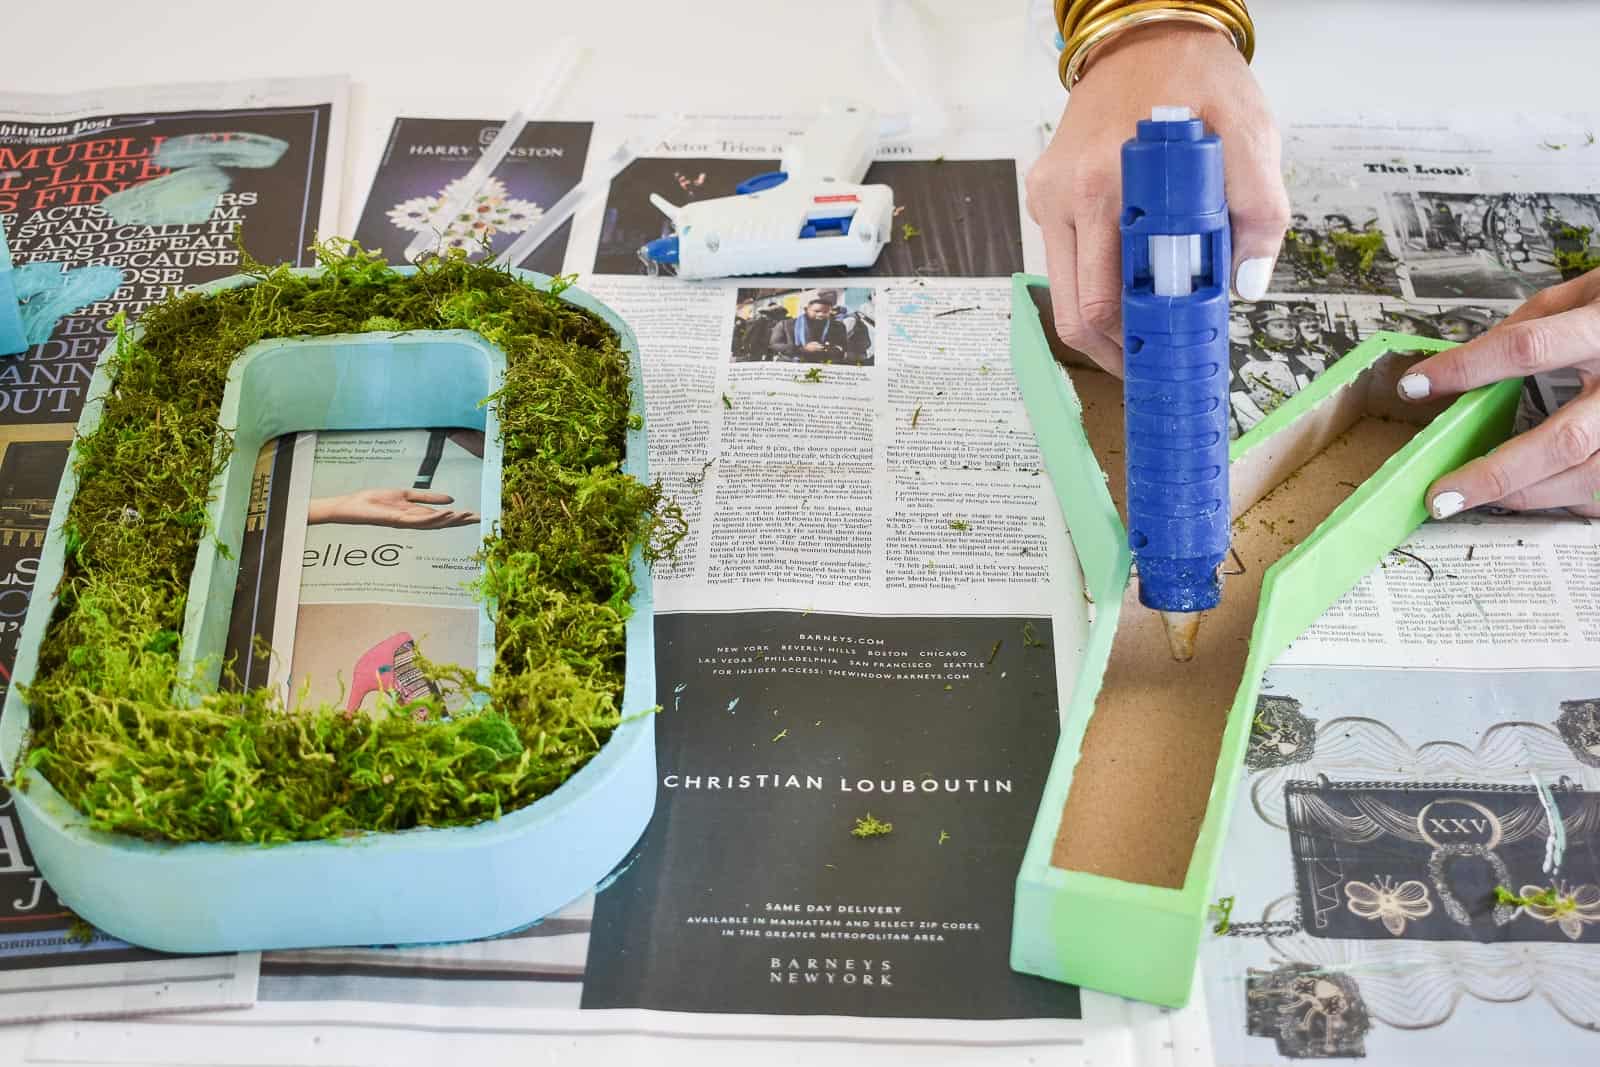
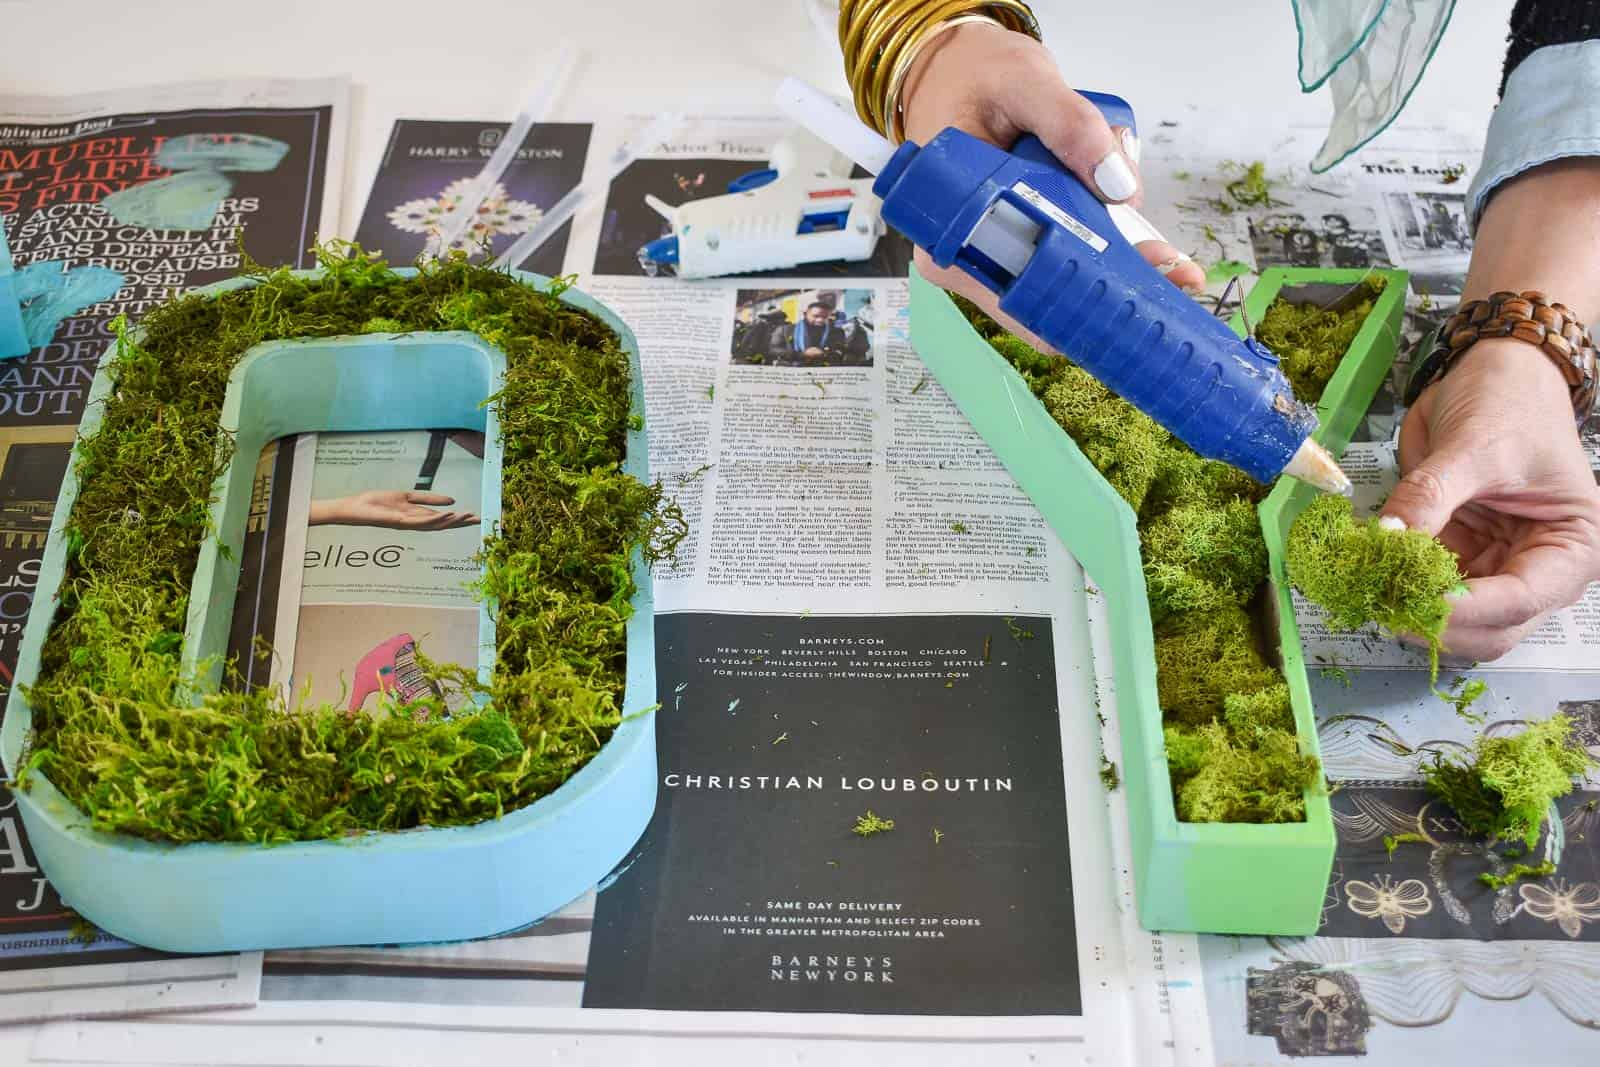
Step 3. Glue moss into letters
The moss actually held in place pretty well without the hot glue, so if you wanted to reuse it… you could probably skip this step. I secured the moss into each letter with hot glue and then added moss on top with some hot glue as well.
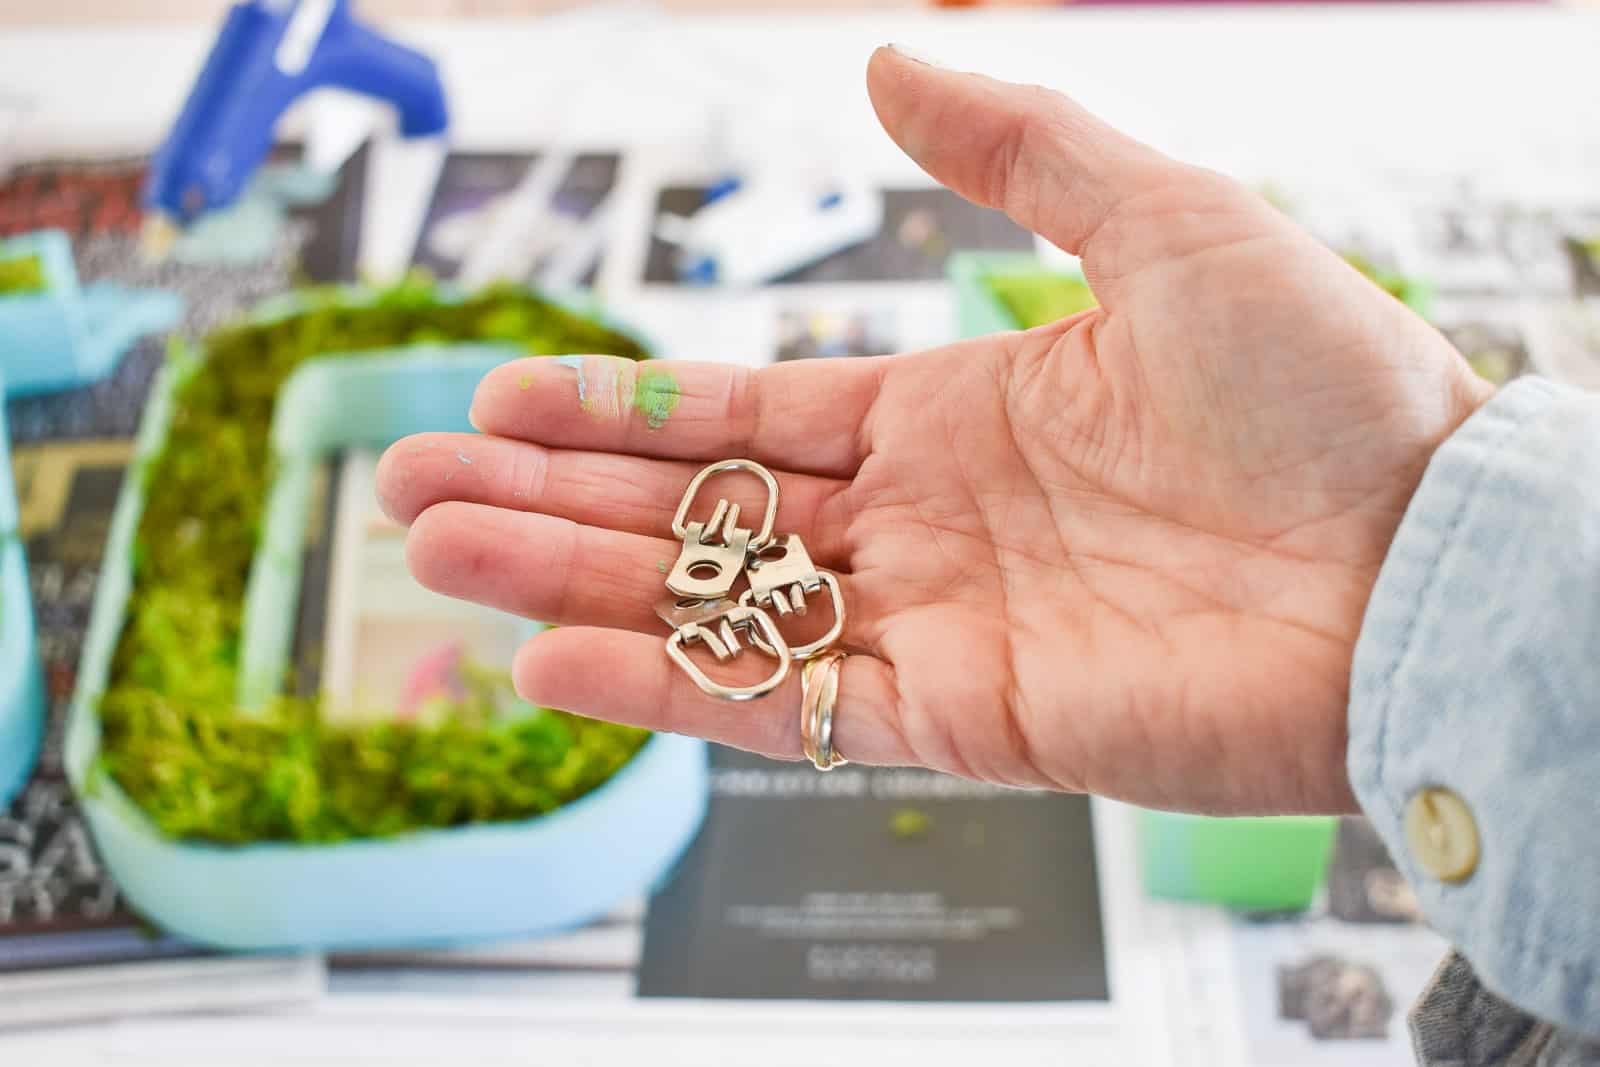
Step 4. Add hanging hardware
I had some D-rings in my tool bench so I used those, but plain paperclips would work as well. Note that certain letters won’t hang straight if the D-ring is centered… for example my J needed a bit of painters tape behind the hook to keep it from tilting.

I haven’t counted the words in this tutorial, but there aren’t many which is usually a pretty good indication of how easy a project is! This would be SO fun to do with kids and… if you don’t want the faux moss, I bet it would look super cute with faux florals or even little bits of crumbled up tissue paper! Honestly the hardest part was figuring out which word I could spell given the letters available at Joann! Ha!


OMG this is such a good idea!!!!! I would have never thought this up myself. Thank you for the inspo!!
Thanks, Ellen! Really easy spring project!
Love this idea! Thanks For sharing.