
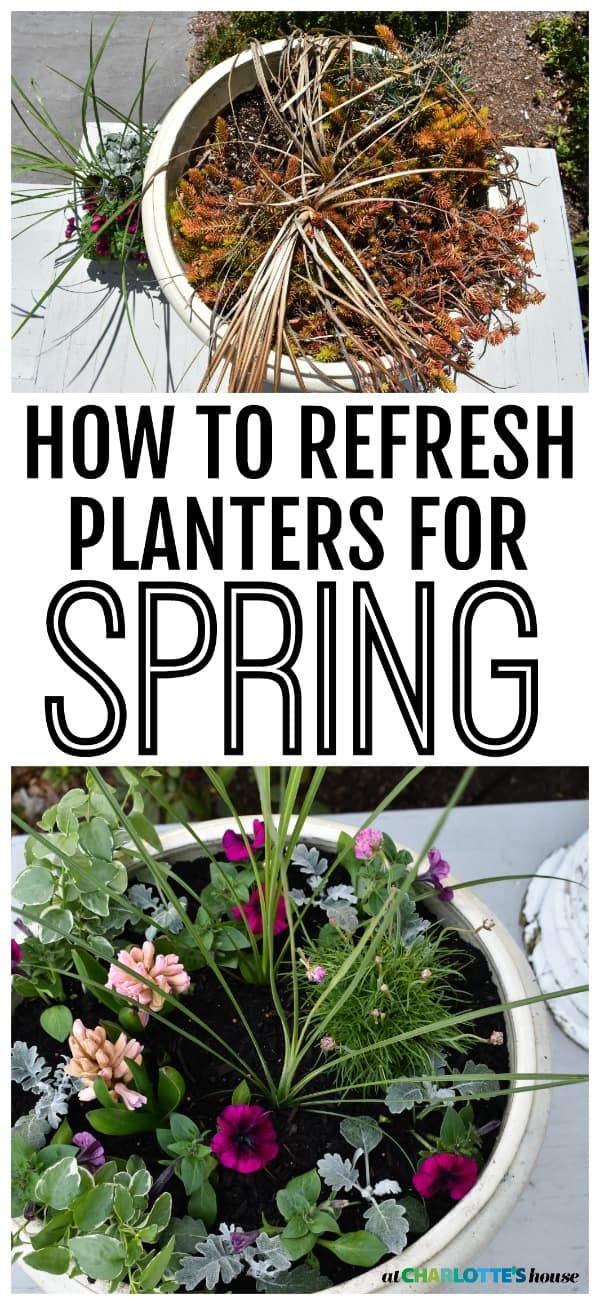
Refreshing Planters for Spring the Lazy Way
Psssst… this post *might* contain affiliate links: see my disclosure here.
Updating our Front Planters for Spring
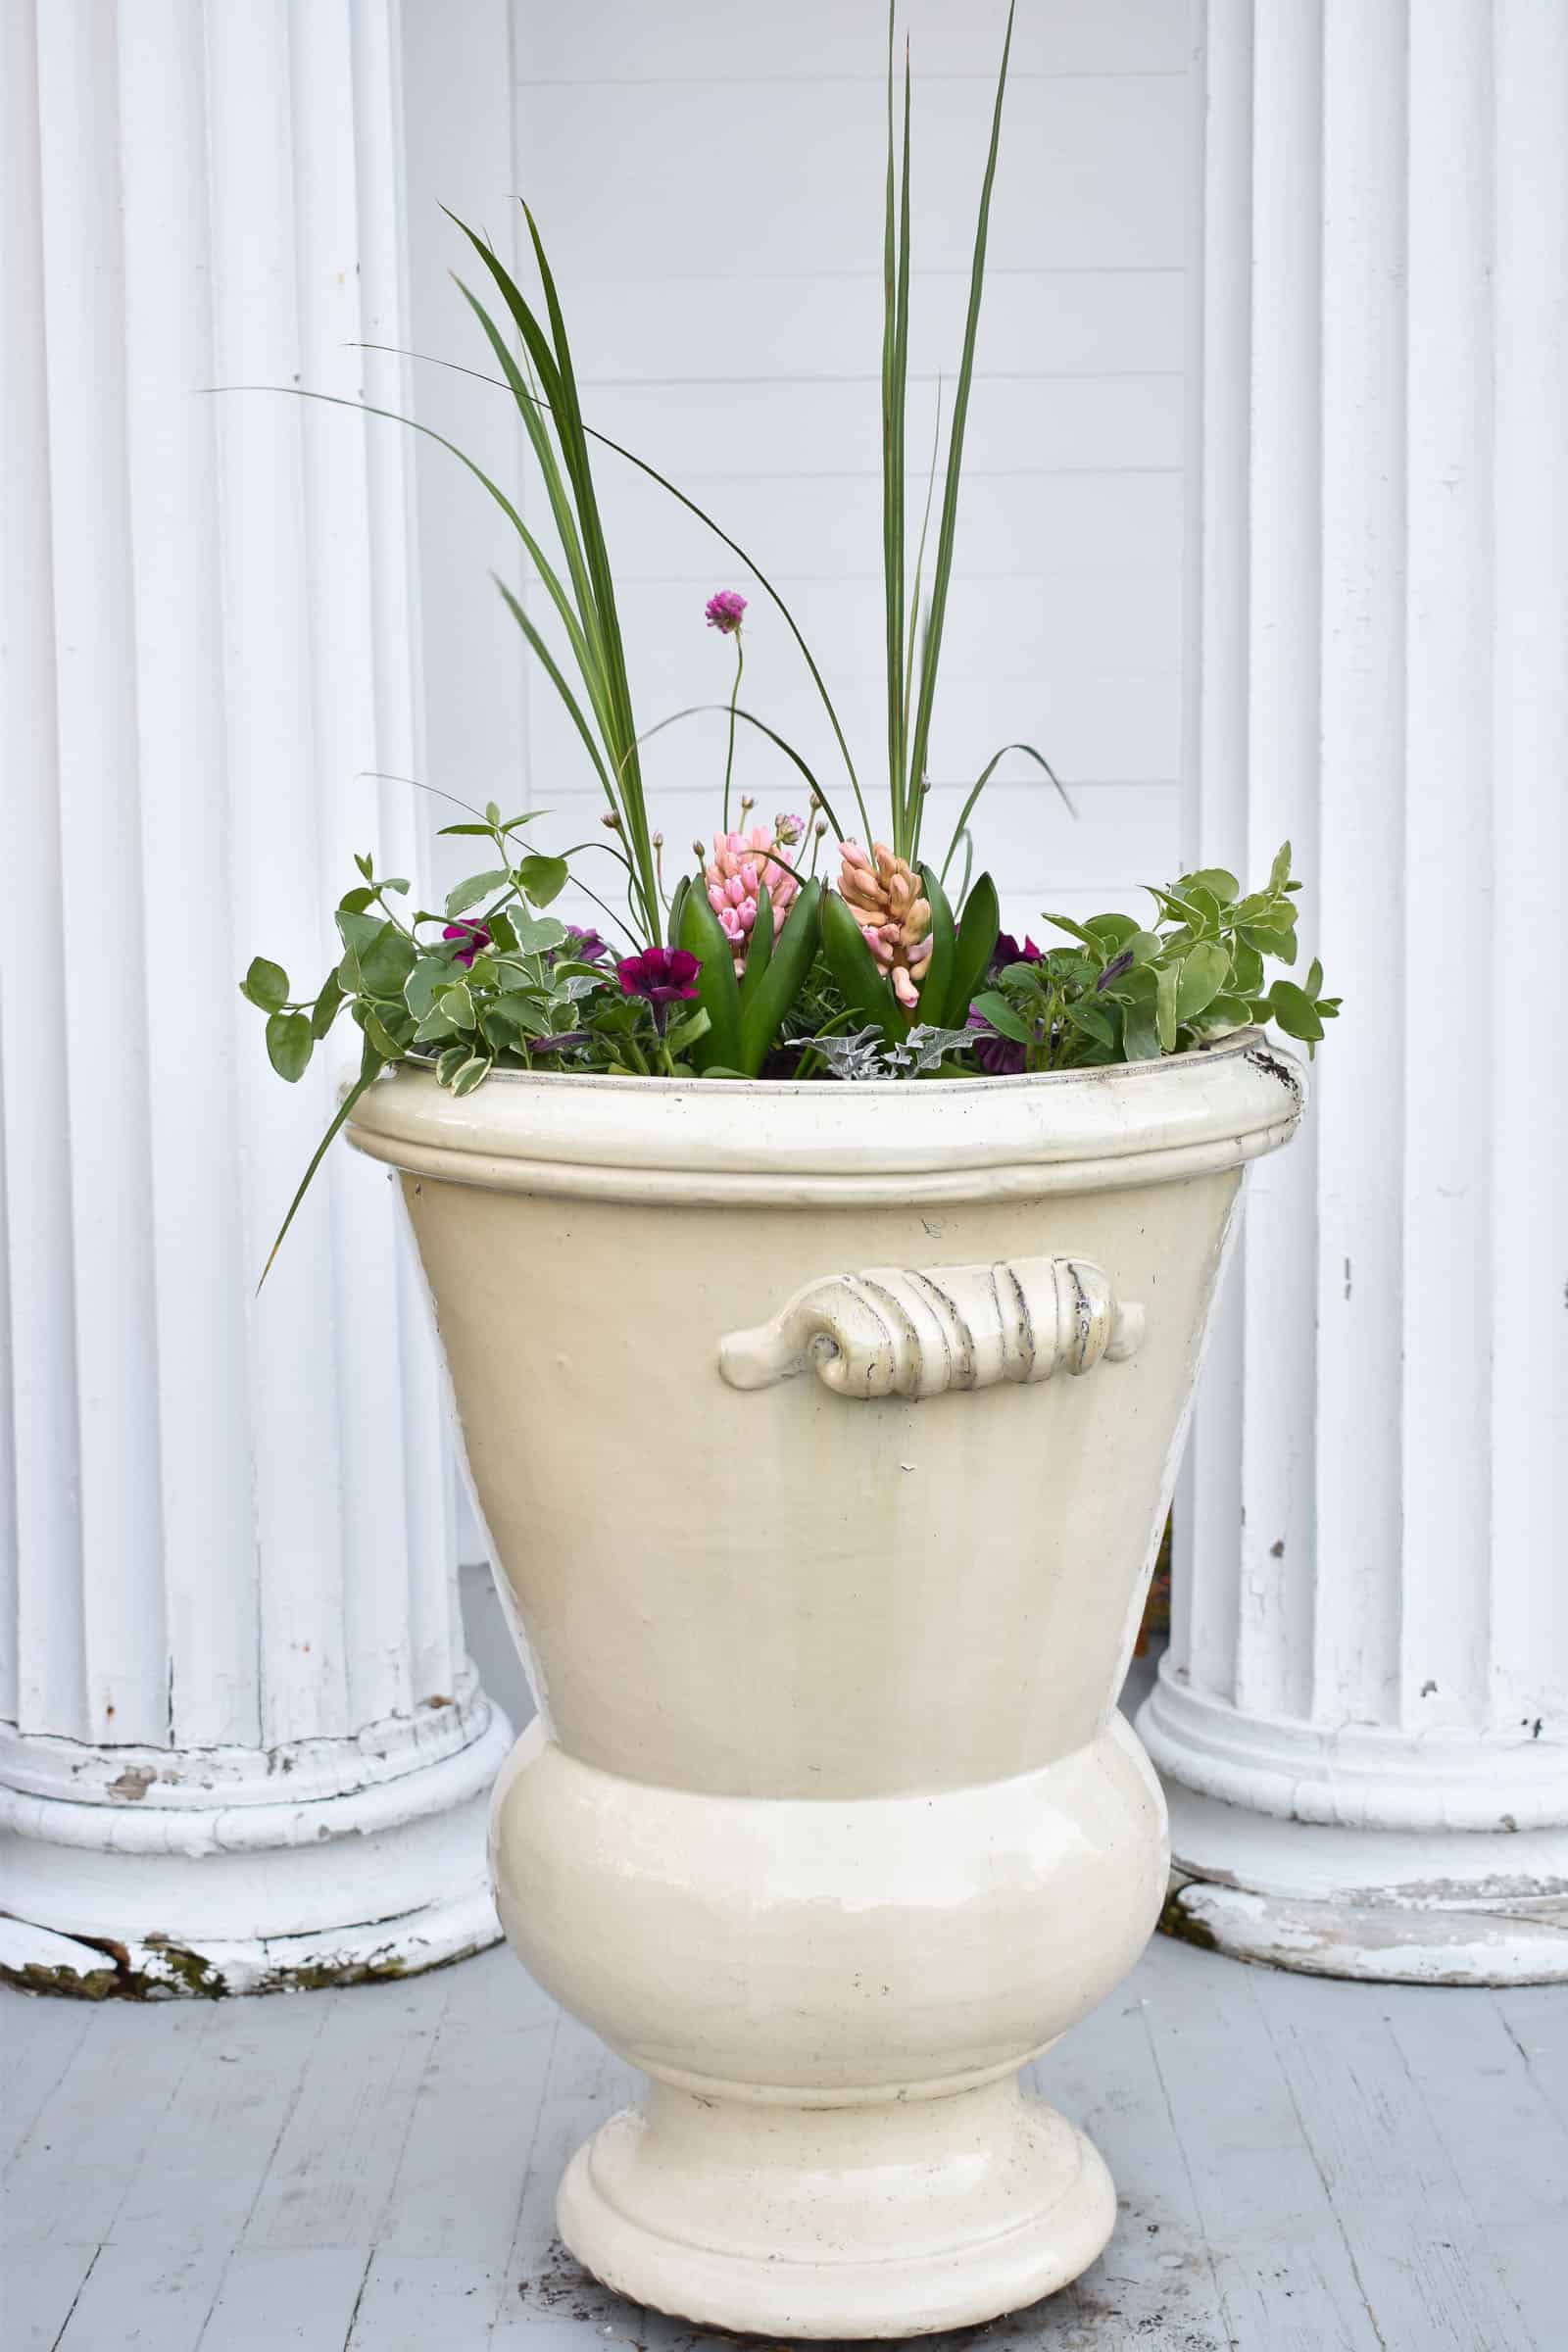
 Our front planters were looking pretty sad after the winter. They’re frost-proof so I leave them out there year-round, but the plants… don’t. I love having bright fresh flowers out front, but… I’m pretty lazy when it comes to doing things the *right* way.

Step 1. Remove dead plants
I mean, this seems obvious, but I had to mention. Pull out any dead plants and try to get as much of their roots as possible. Again, I’m lazy, so I try to give the dead plants a little shake to preserve as much of the potting mix as possible!
Shop my favorites!

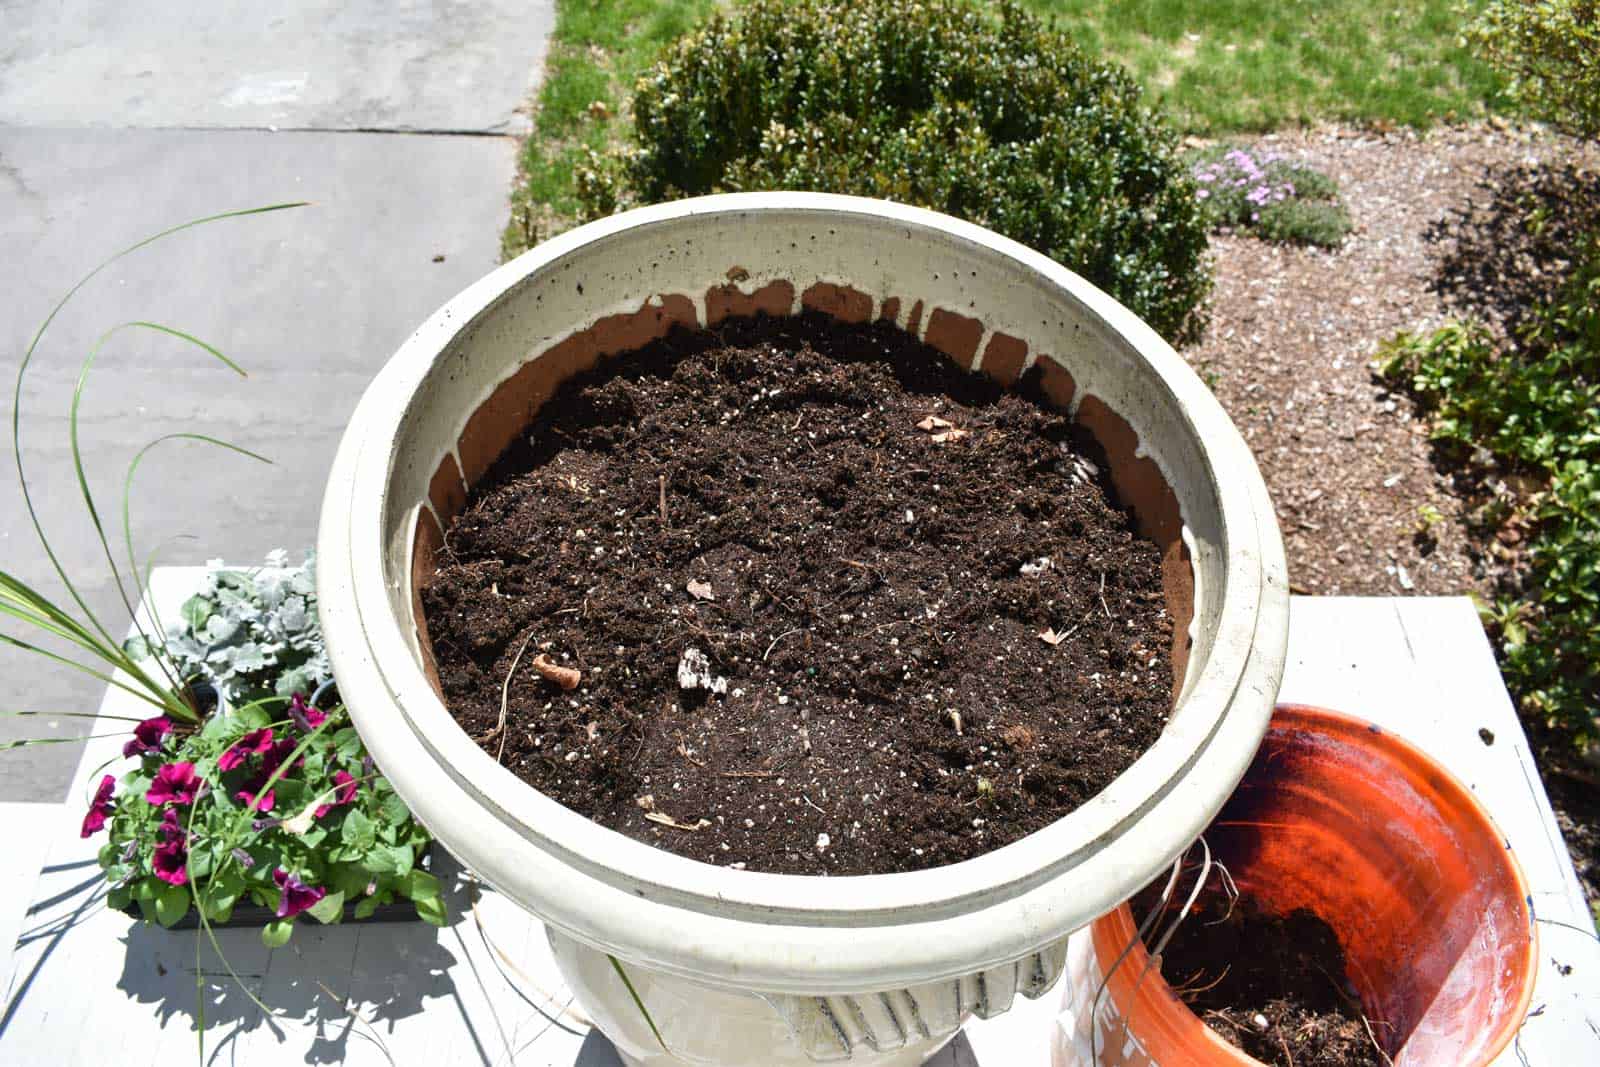
Step 2. Mix up the Potting Mix
That dirt has been sitting there for months, so get in there and loosen it all up. Any dead leaves or twigs, try to pull them out and throw them away. Hint: the roots of most plants will only go down 12 inches, so don’t waste your time filling a planter with soil. I use packing peanuts for the majority of my planter and then top them off with potting soil.
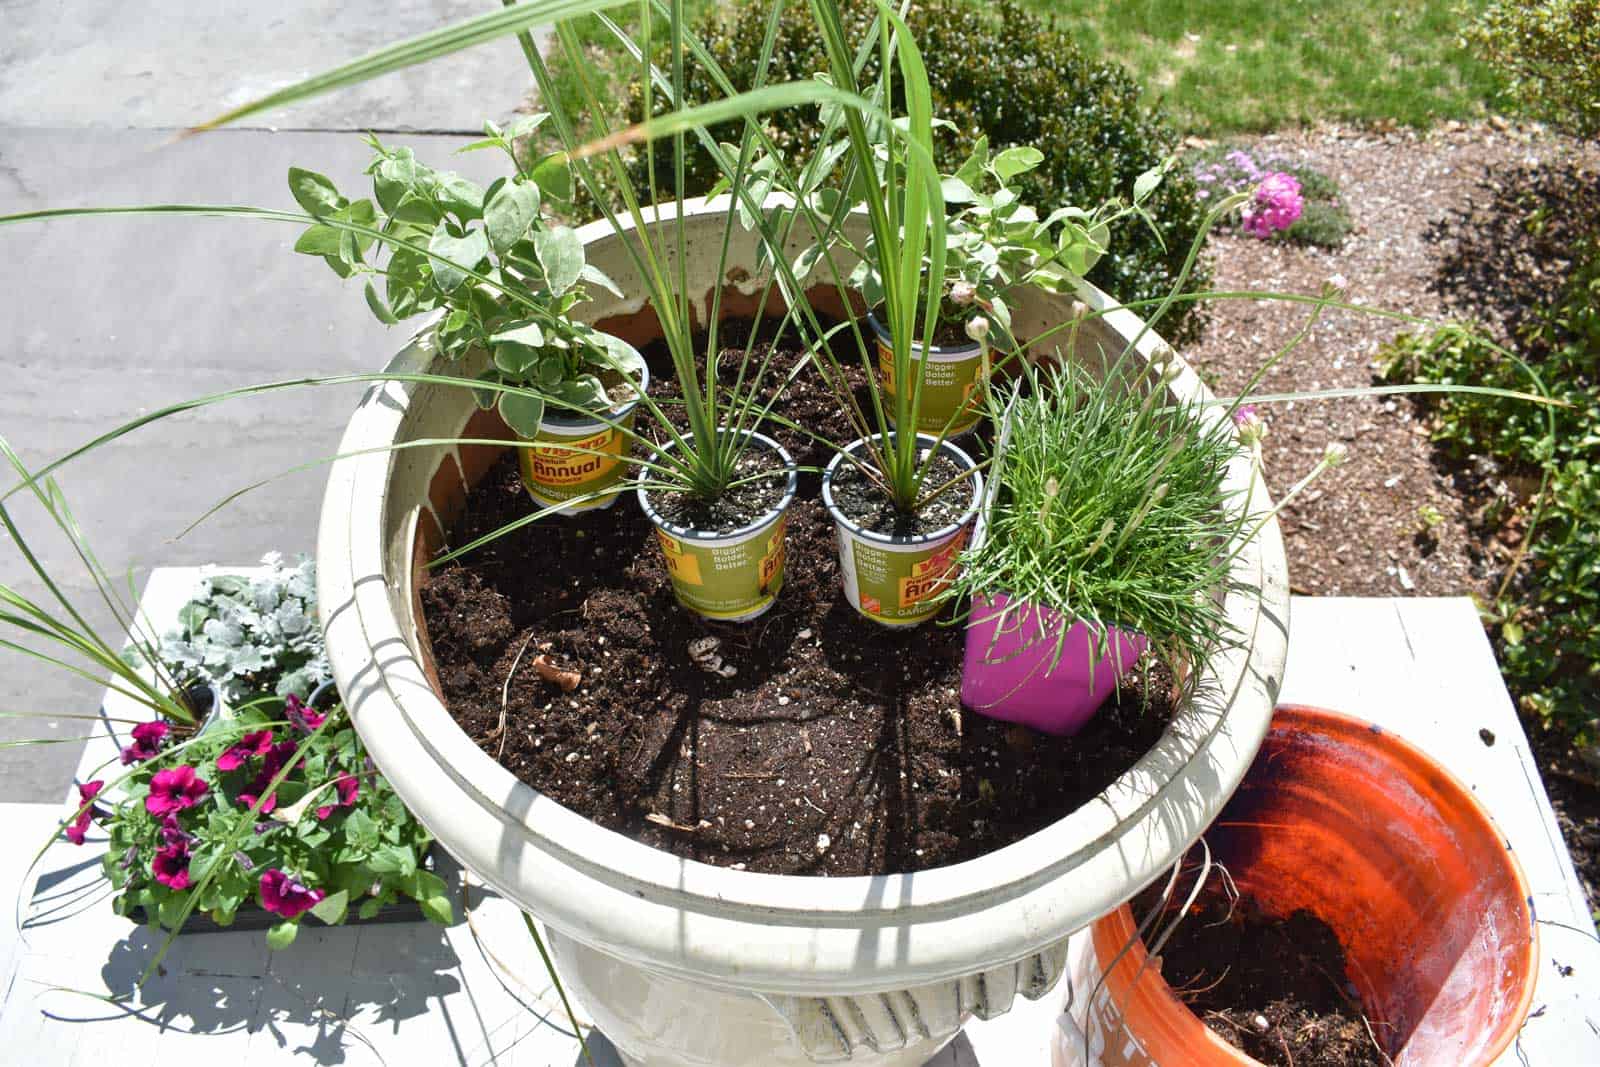
Step 3. Arrange new plants
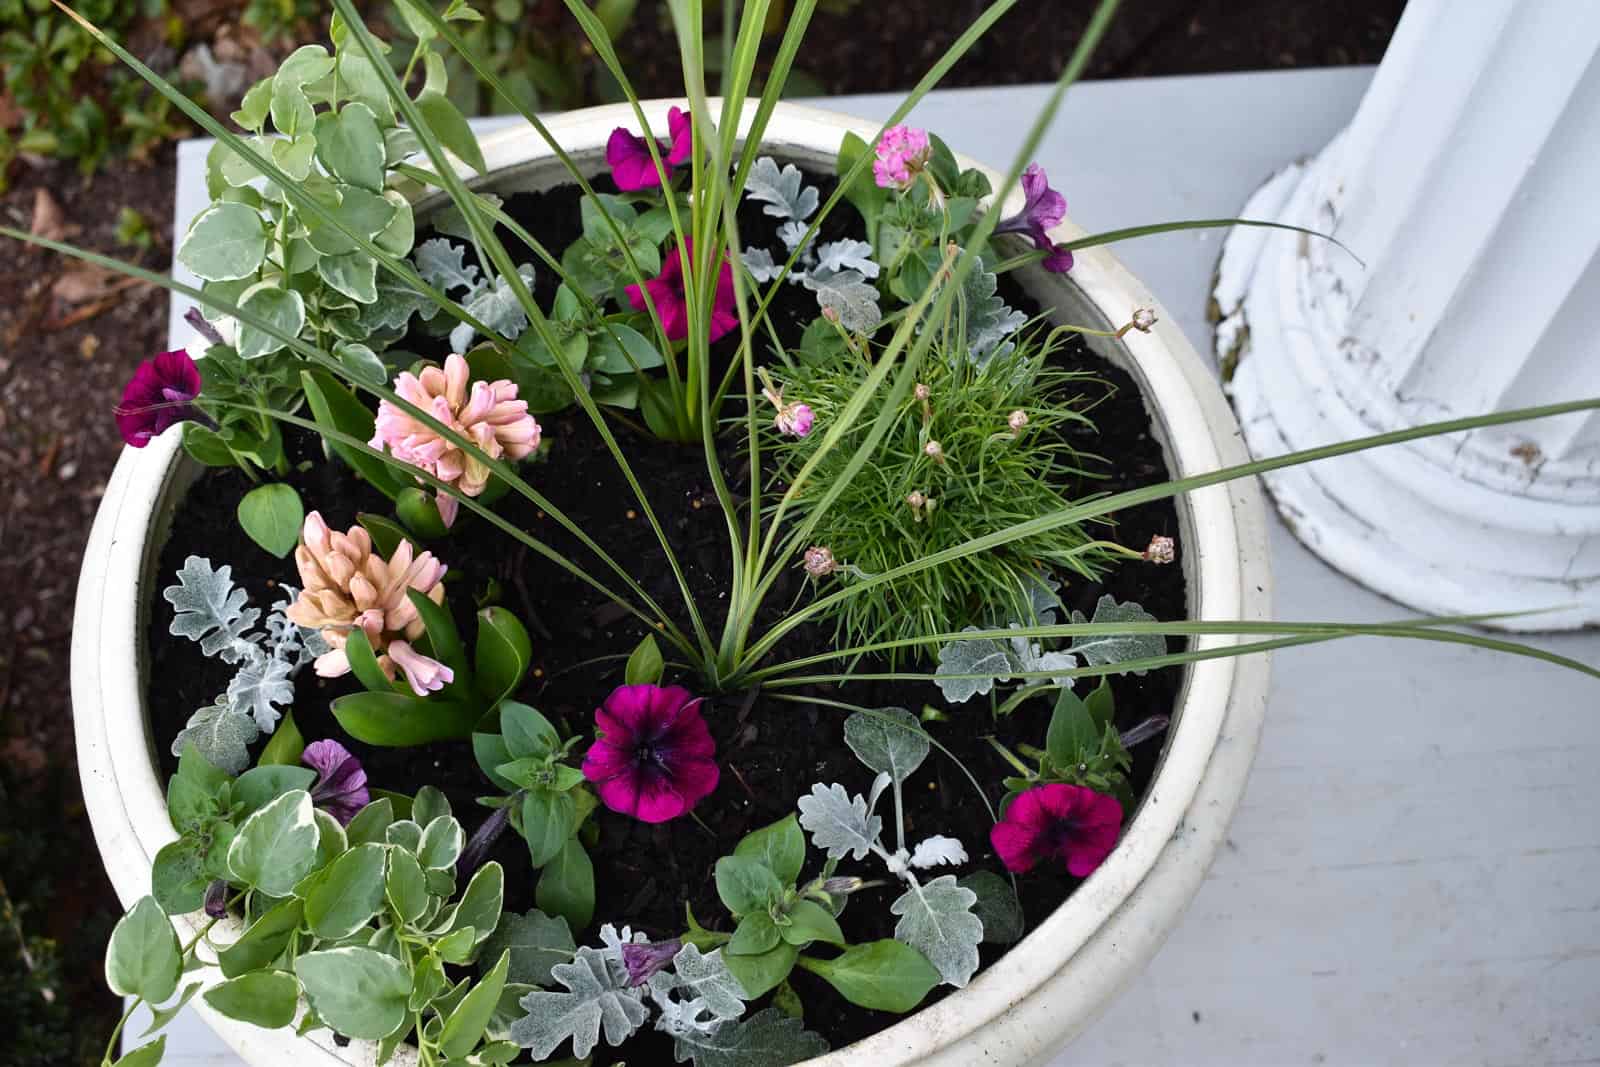
Place the new plants to see where you want them to go in the planter. Make sure you’ve purchased plants that are suitable for the conditions of the planter (full sun, shade, etc.) and keep in mind the size of the plants when full grown. Most plants have this listed on the care instructions tag. When it comes to layout, that’s totally personal preference, but I typically put something taller and upright in the middle, a few medium-sized plants around the center and then vines or another type of plant that will grow and hang over the edge of the planter.
Step 4. Plant your plants
To release the plants from the plastic nursery pots, give the pots a slight squeeze and the plant should slide right out. Try to loosen the root ball a bit and then dig a small hole in the planter soil.
Step 5. Fill in around plants with potting soil
I use fresh potting soil to fill in around my plants. Fill up the planter with soil until a couple of inches below the lip of the planter. Tamp down the soil and water. Remember I said that I’m lazy? Well, the *correct* way to do this is to obviously replace the potting soil. But… since the roots of the plant don’t go down super far, replacing the top 6+ inches with fresh potting soil is better than nothing.
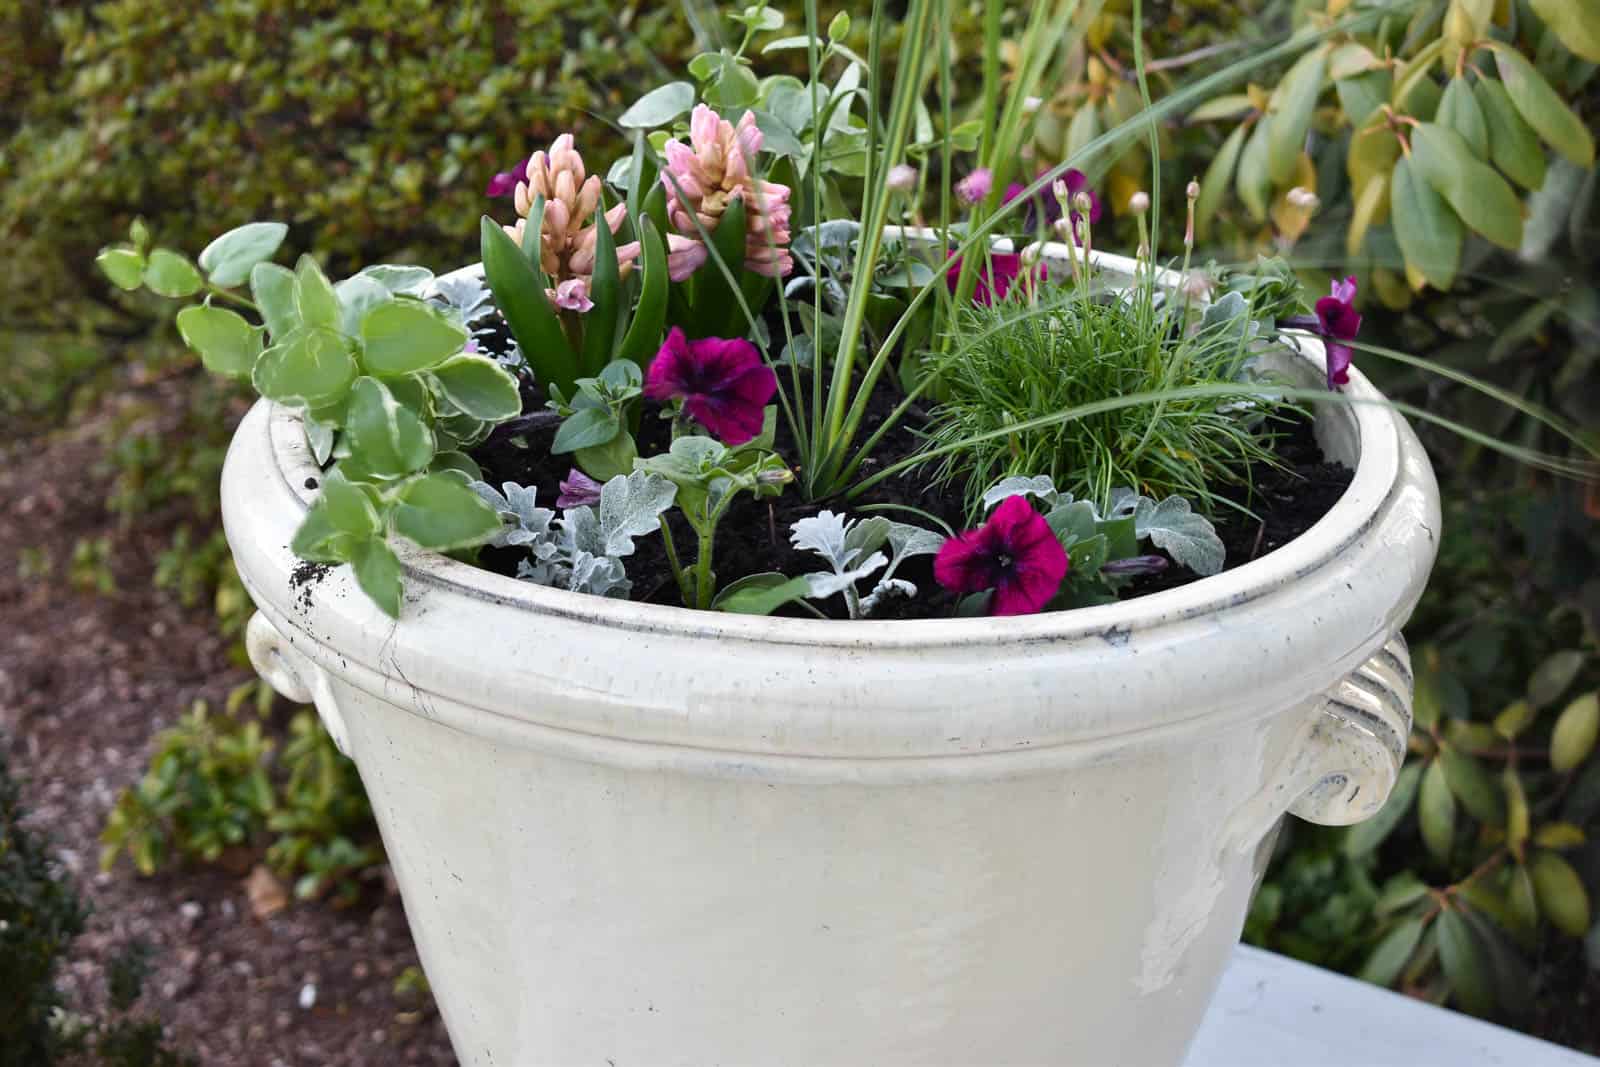
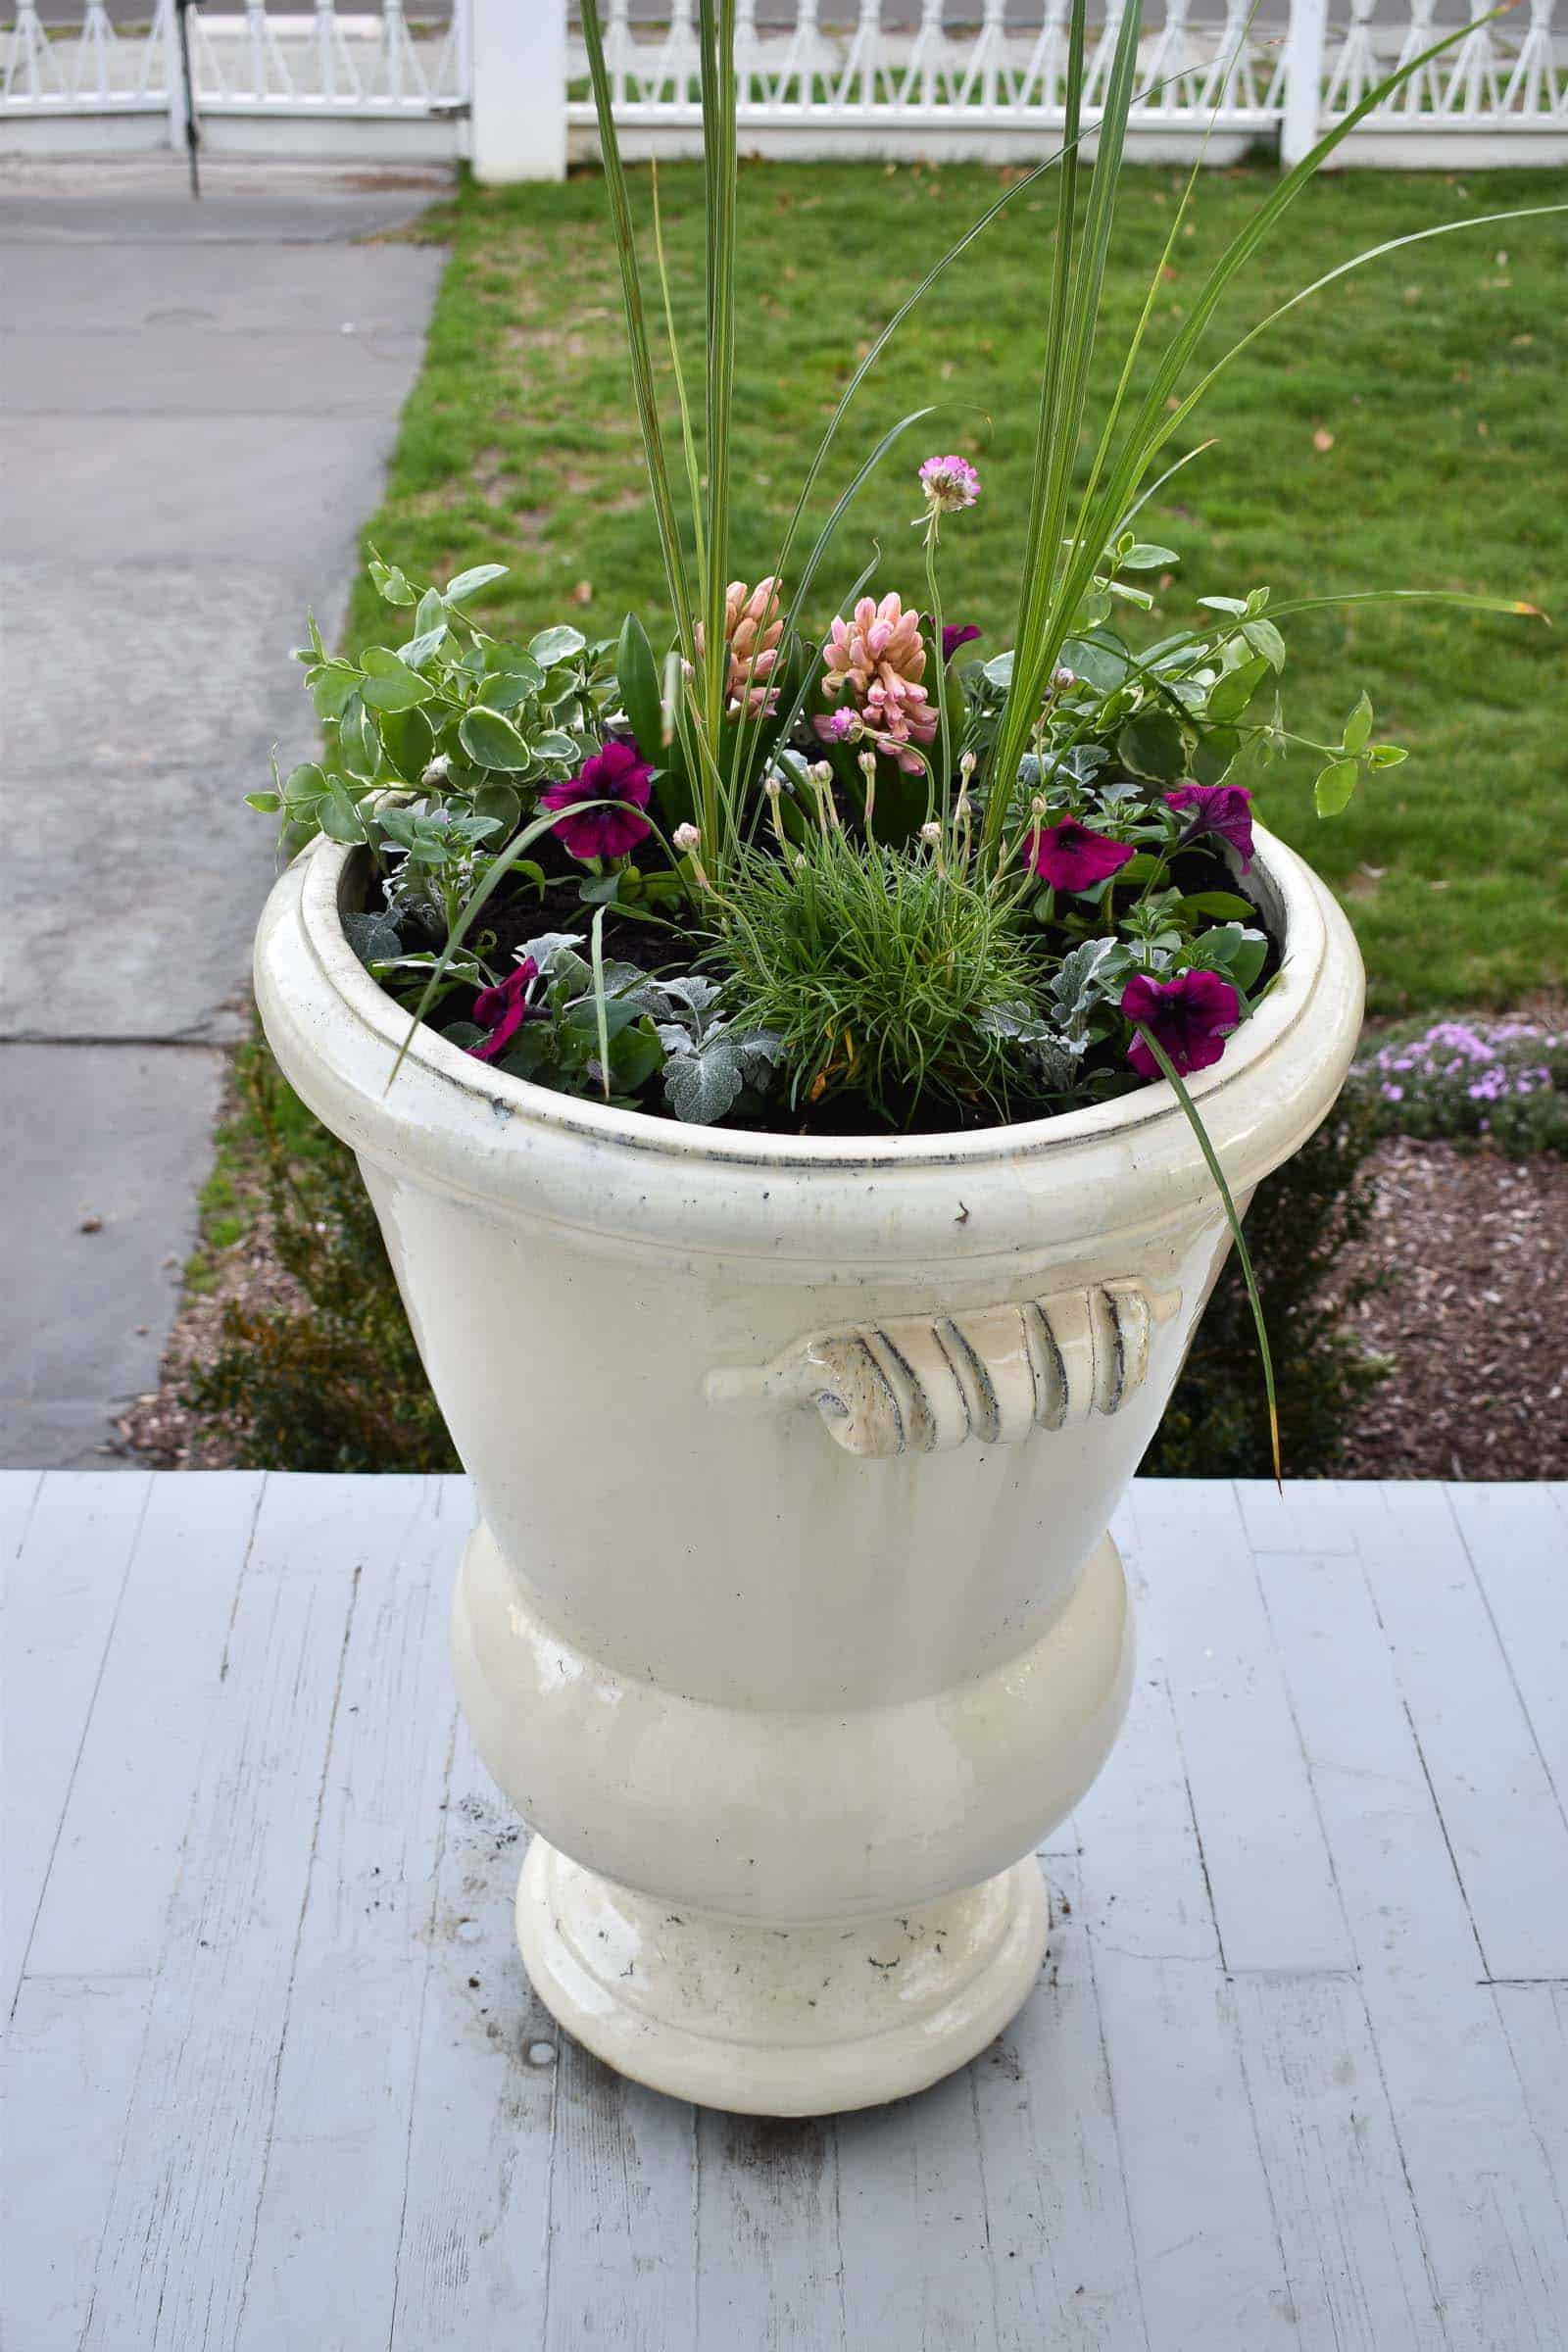
Note: I choose plants that will fill in and basically last all season without too much effort. This year, I started with two bulbs in the middle that needed to be replaced once they’d bloomed and died off, so that required a little motivation to swap them out.
Flower breakdown: For this planter I have 2 smaller wild grass plants in the middle for the height. I used hyacinth bulbs but replaced them with two small geraniums. Around the middle plants, I used petunias and dusty miller (obviously I have no memory for the scientific names of any of these things!) Finally, for my drapy overhanging plants I grabbed vinca. I also love potato vine, but they hit the shelves a little later here in Connecticut.


Years ago i planted vinca in my flower boxes. It grew down to the garden and each year it comes back beautifully as ground cover but never in the flower boxes. the best buy i ever made.