
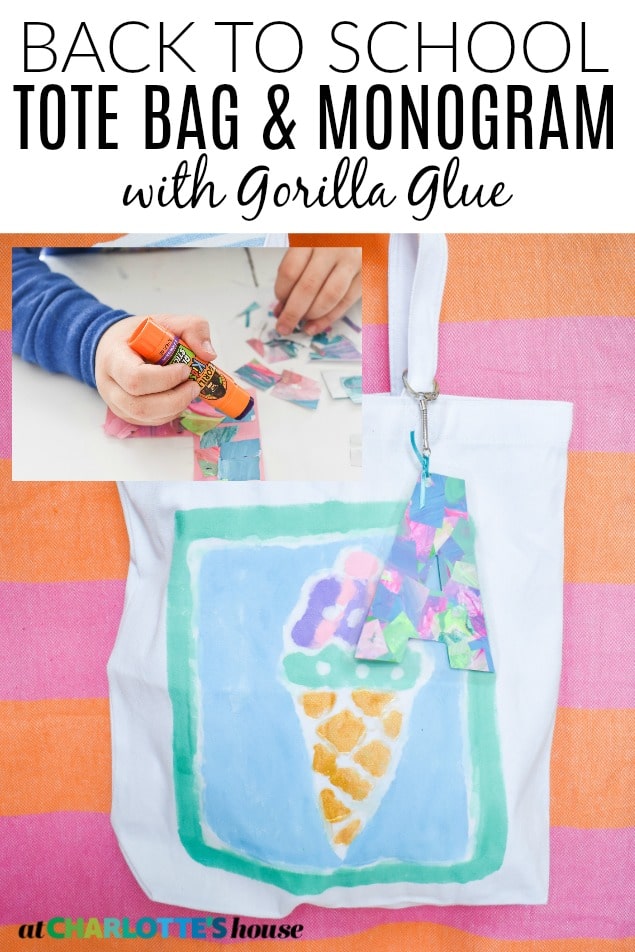
Simple Back to School DIY for Kids
Psssst… this post *might* contain affiliate links: see my disclosure here.
Colorful Back to School Craft for Kids
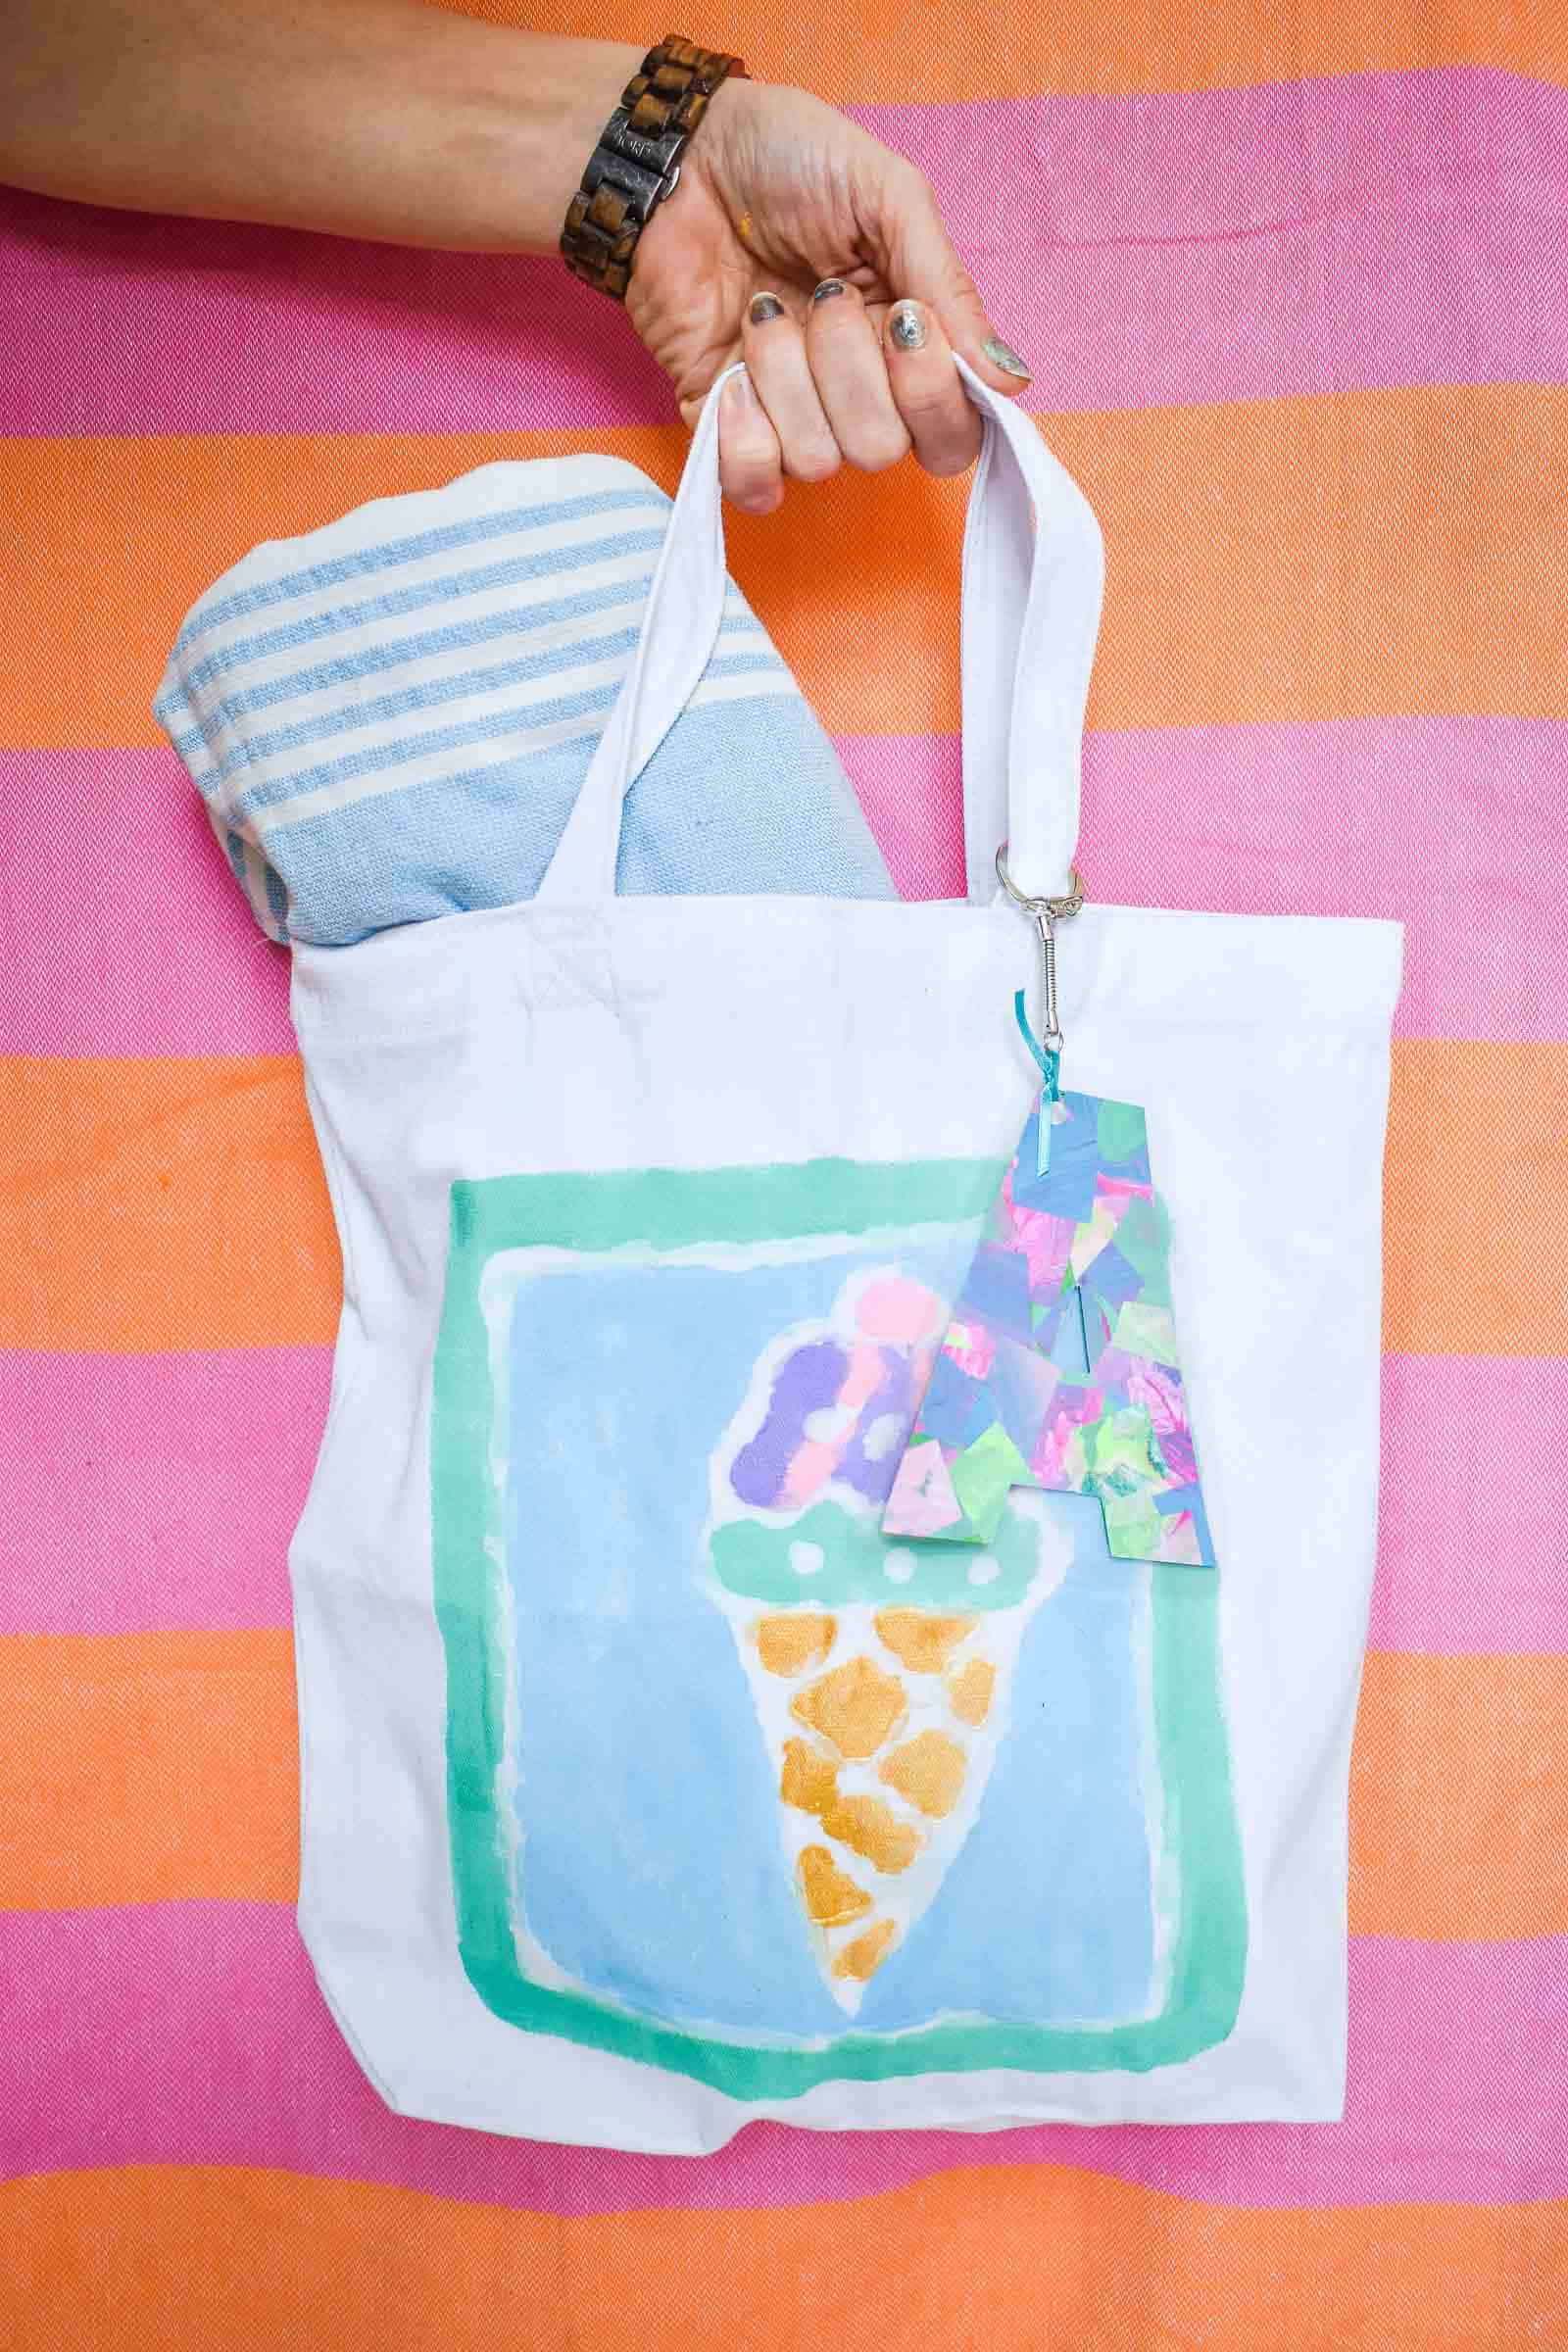
Fun and easy glue resist tote bag and custom monogram bag tags for back to school.
Disclaimer: I partnered with Gorilla Glue to show you some of their new fun line of kids glue!
Shop my favorites!
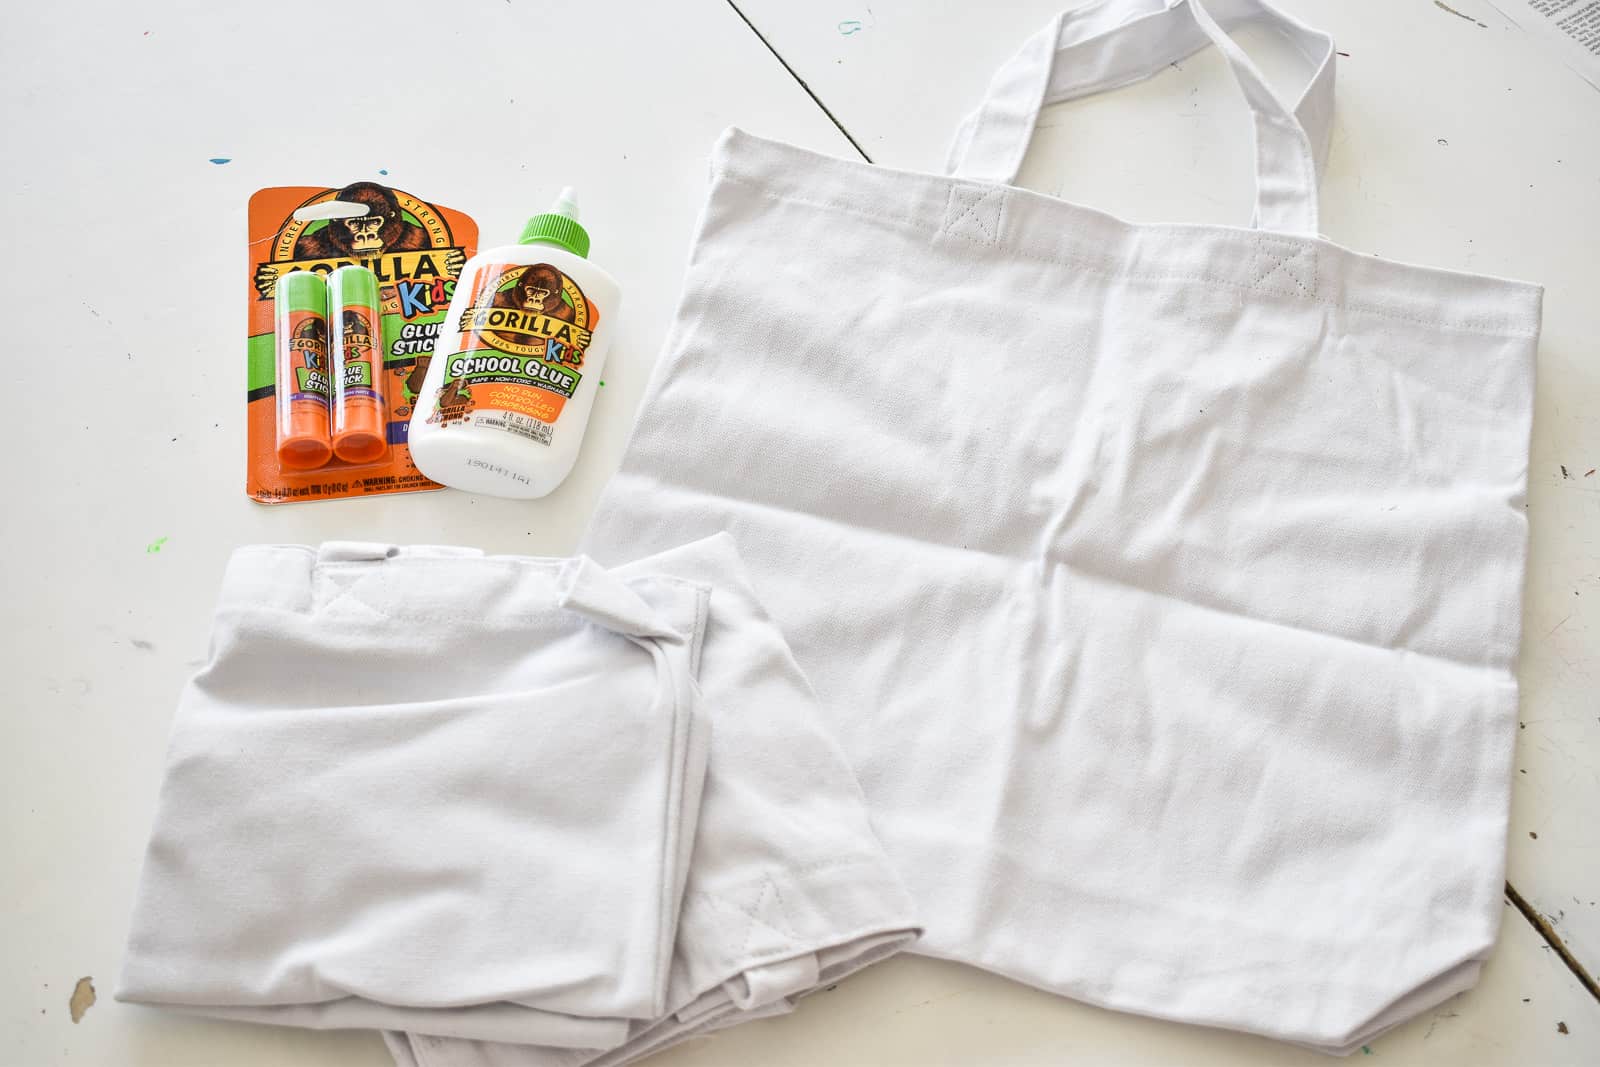
A while back I was sent the new line of kids glue from Gorilla Glue. Yeah… THAT Gorilla Glue- the one I usually use for epoxy or wood! I raided my craft closet and we all sat down and made some back to school craft projects that I wanted to share!
How to: Glue Resist Tote Bag
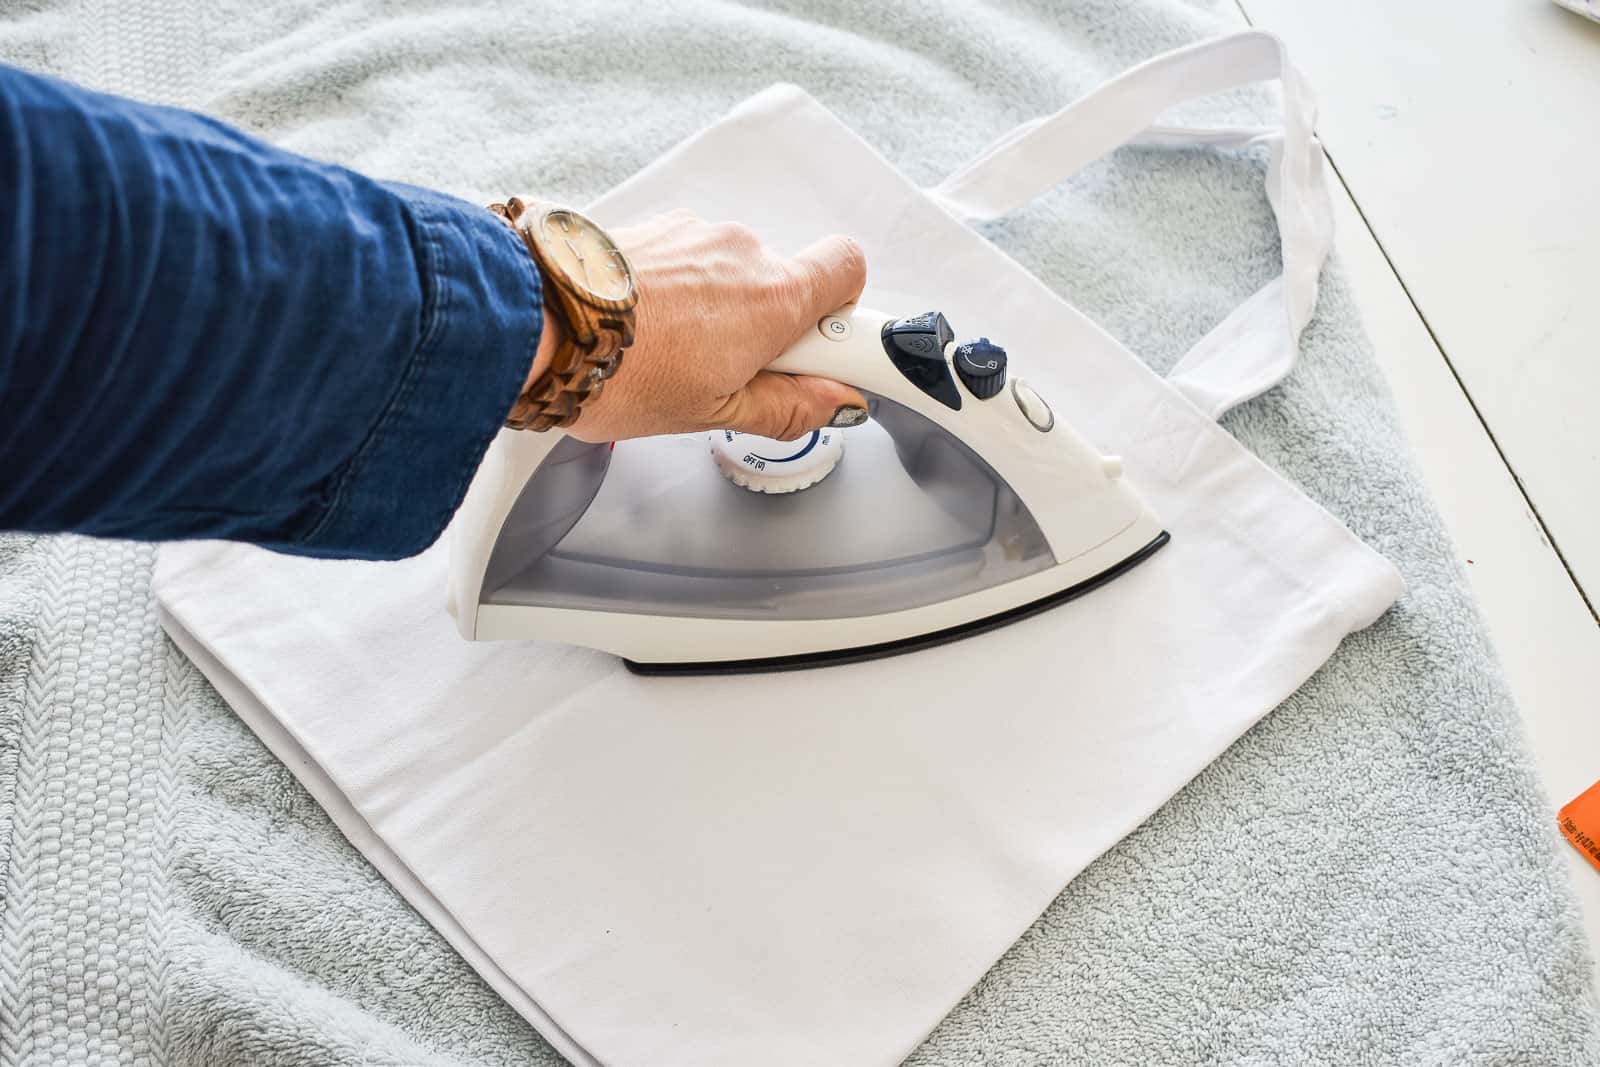
The first project was to take a basic canvas tote bag like this and make it into something a little more fun that can sit by the front door has a drop spot for library books. Given the number of “lost” library books we found in our house this summer, I’m going to say we need a better system… We ironed the tote bag and I put a piece of cardboard inside the bag to protect the glue from bleeding through the top of the bag onto the bottom of the bag.

Next Eleanor simply squeezed the school glue onto the surface of the tote bag. She drew the design first on a piece of paper and then just copied it free-hand onto the tote. There’s no reason you couldn’t very lightly sketch your design with a pencil and then trace over with the glue.
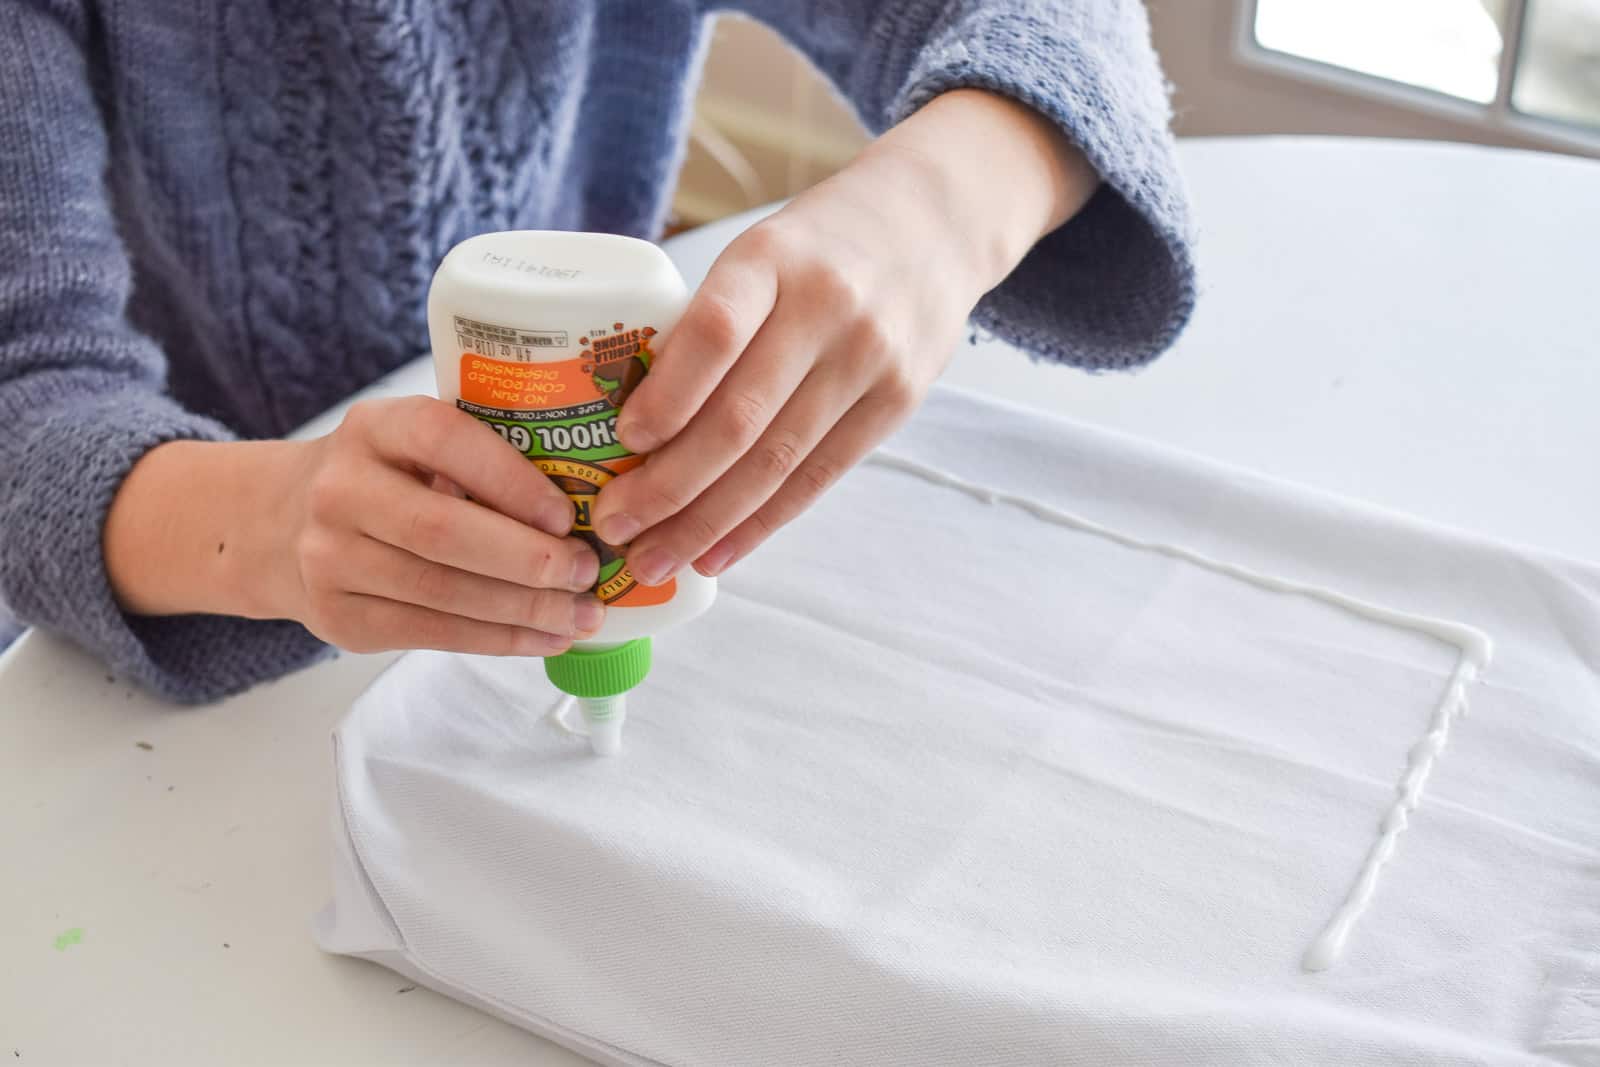
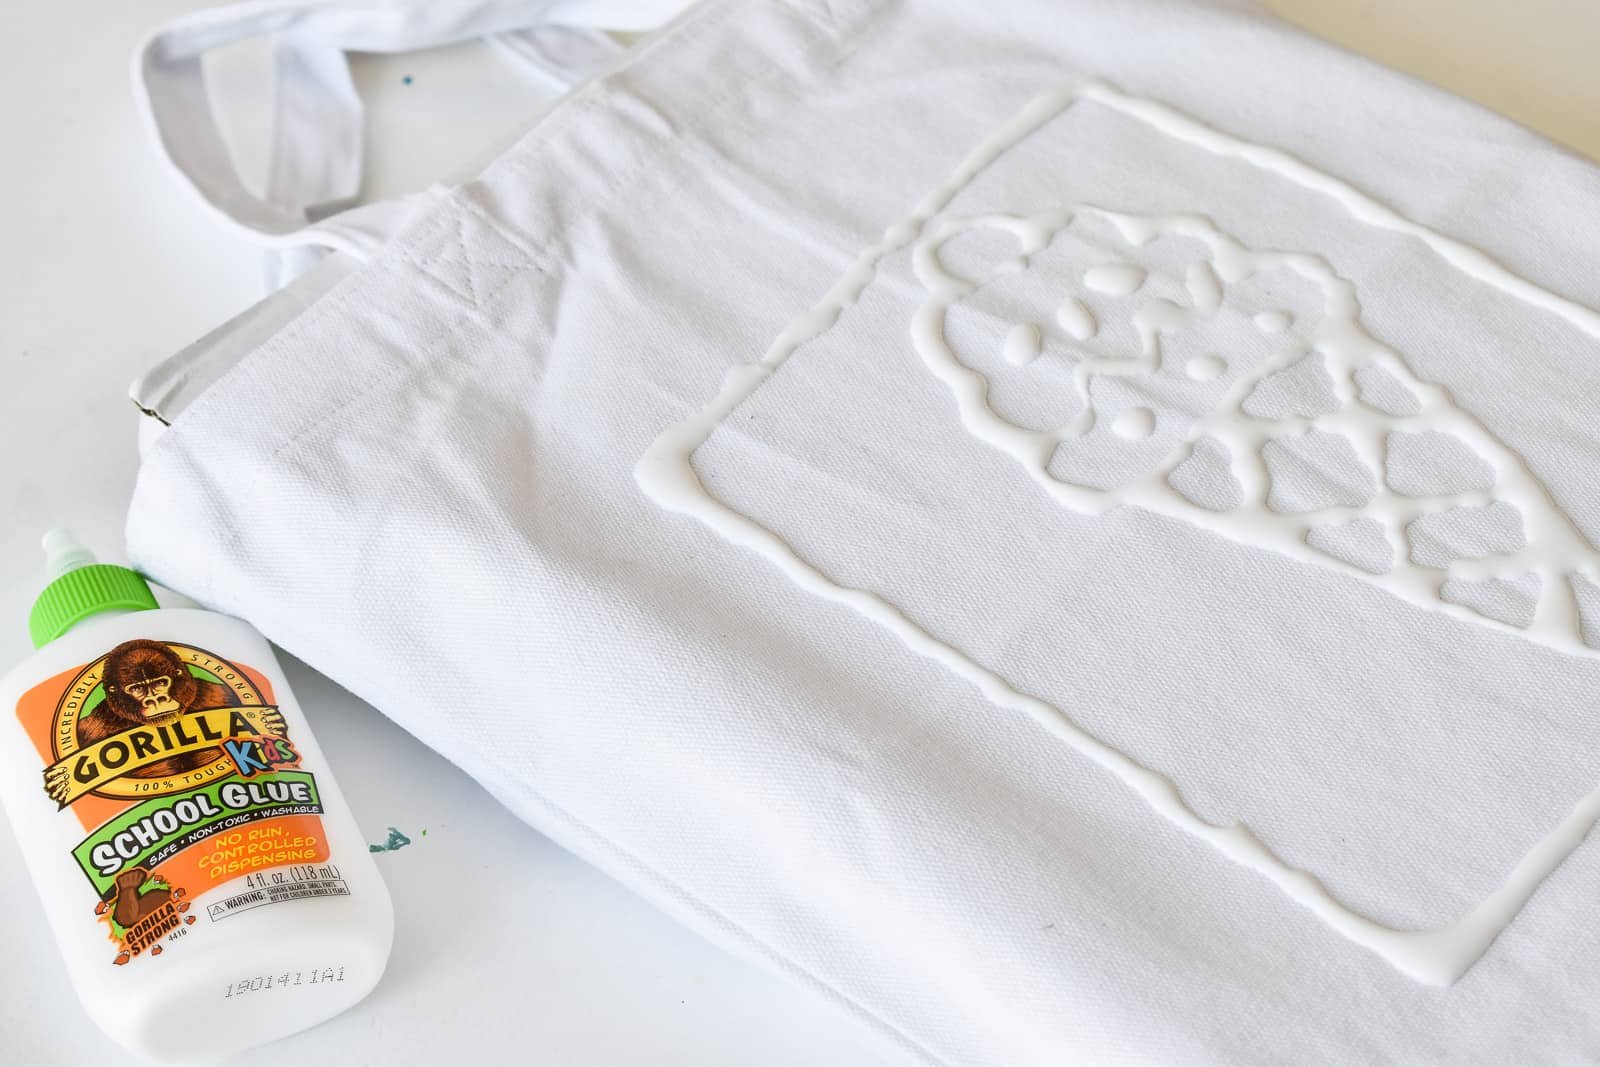
It took a while for the glue to dry because she’d squeezed a pretty heavy line, but the next day she picked out her colors and I mixed in some fabric medium with each one. (I had some on hand, and it helps to make the paint feel more like dye and less like a crispy top coat sitting on top of the fabric.)
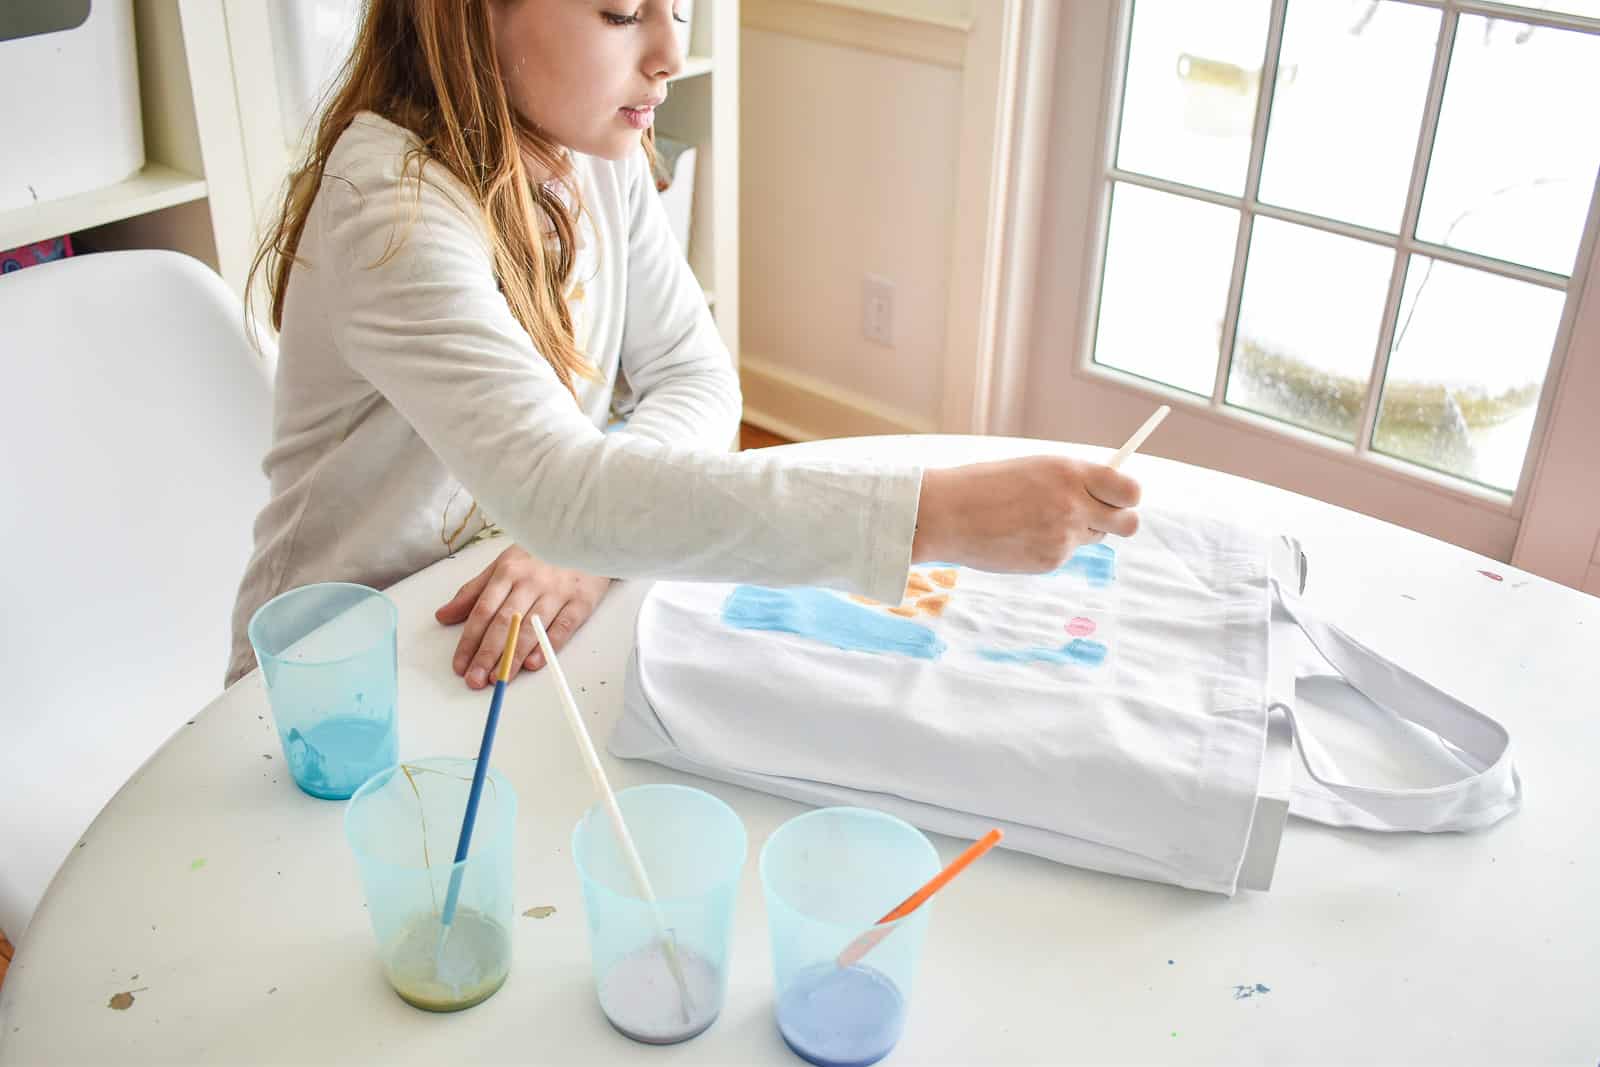
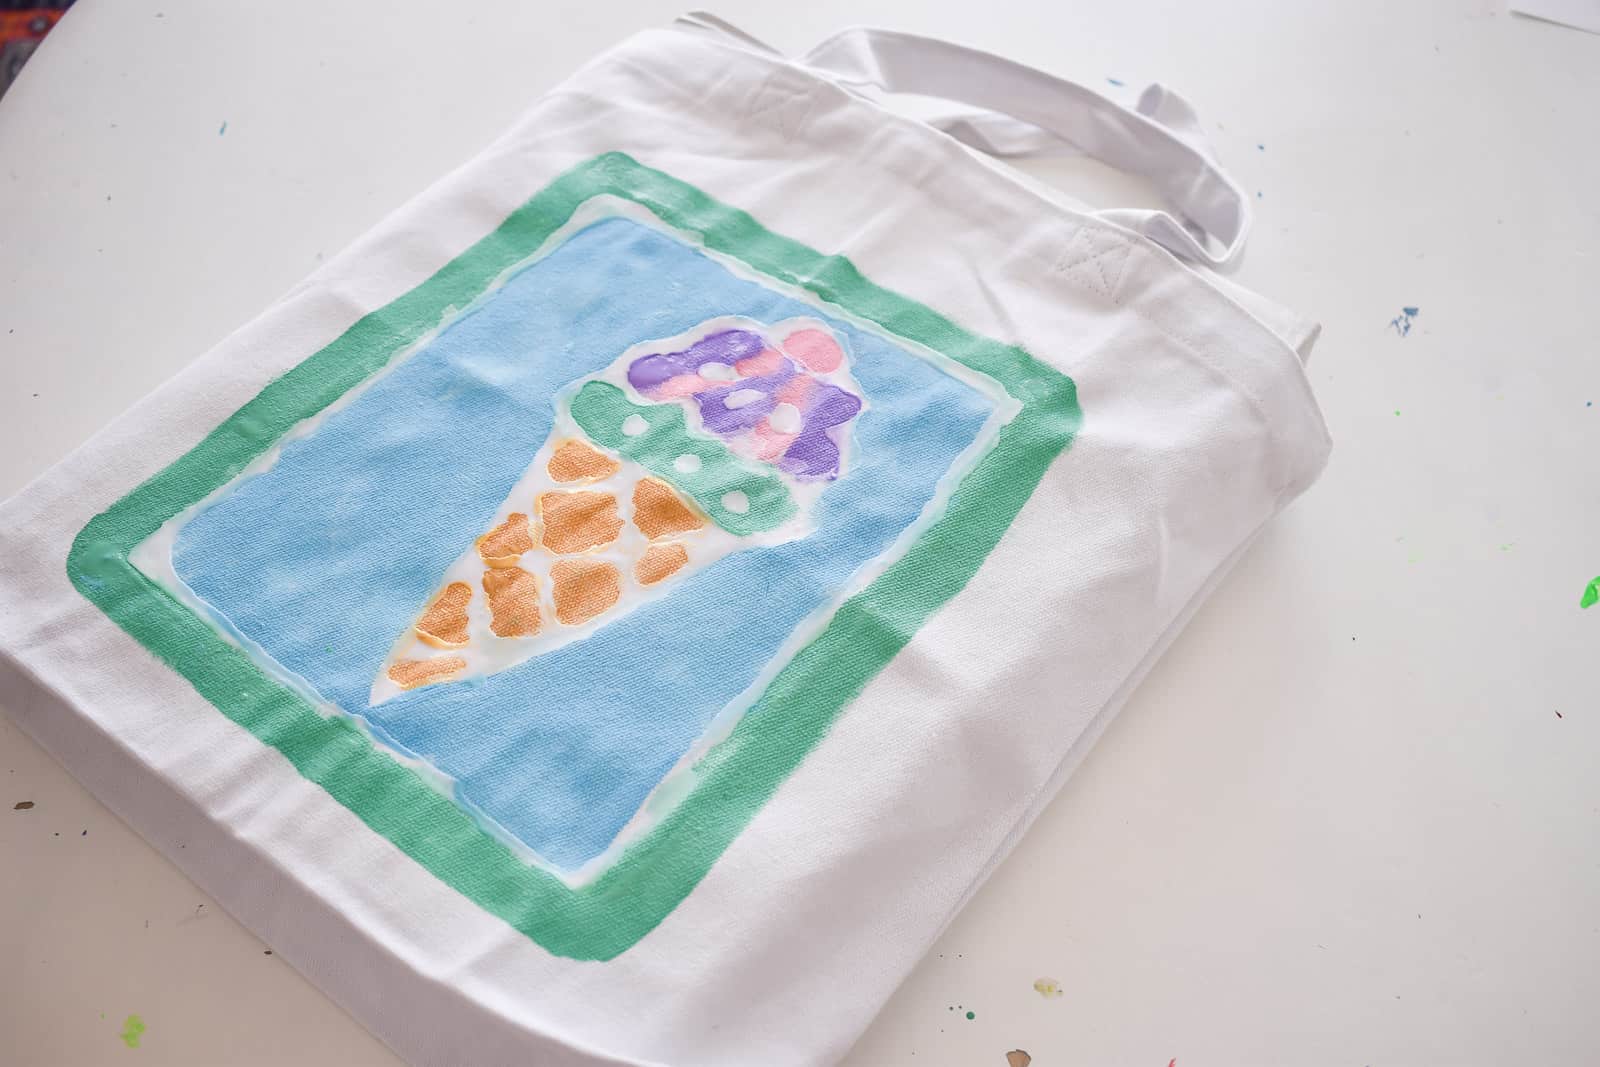
Once I’d mixed the paint, she just painted right onto the tote. Eleanor was pretty good about avoiding her glue line, but the glue was also really easy just to wipe off so it gave the whole thing the look of batik (which I LOVE!).
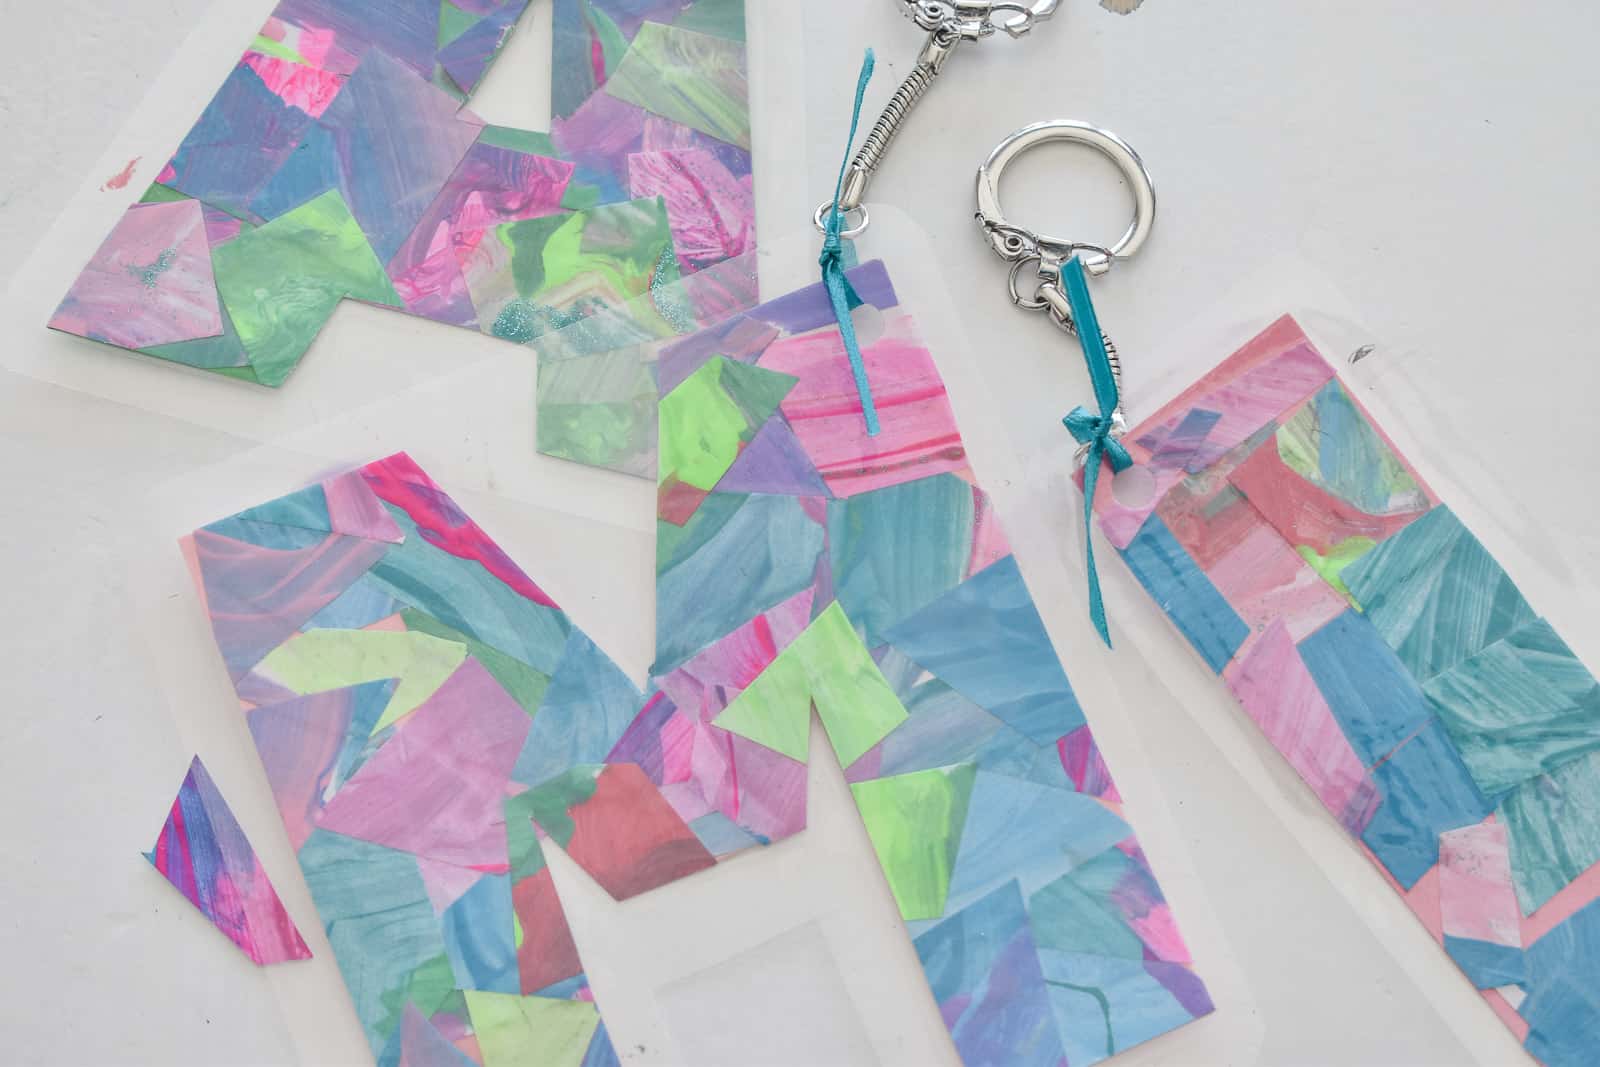
How To: Monogram Key Chains
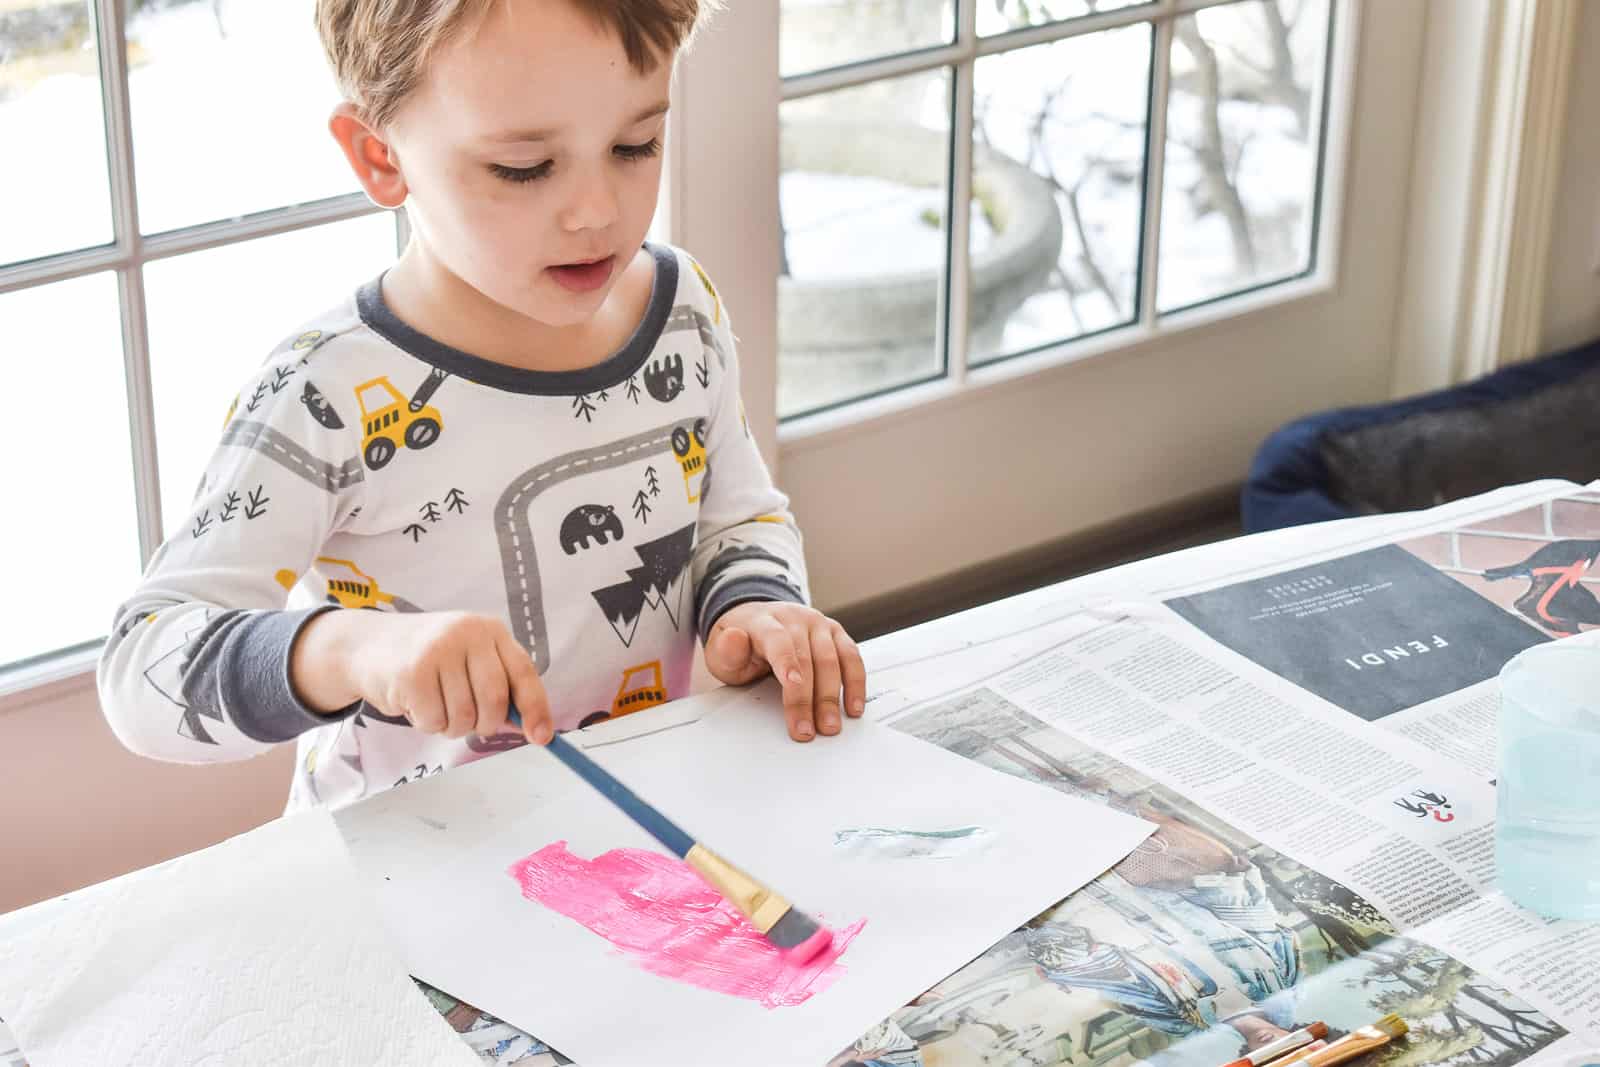
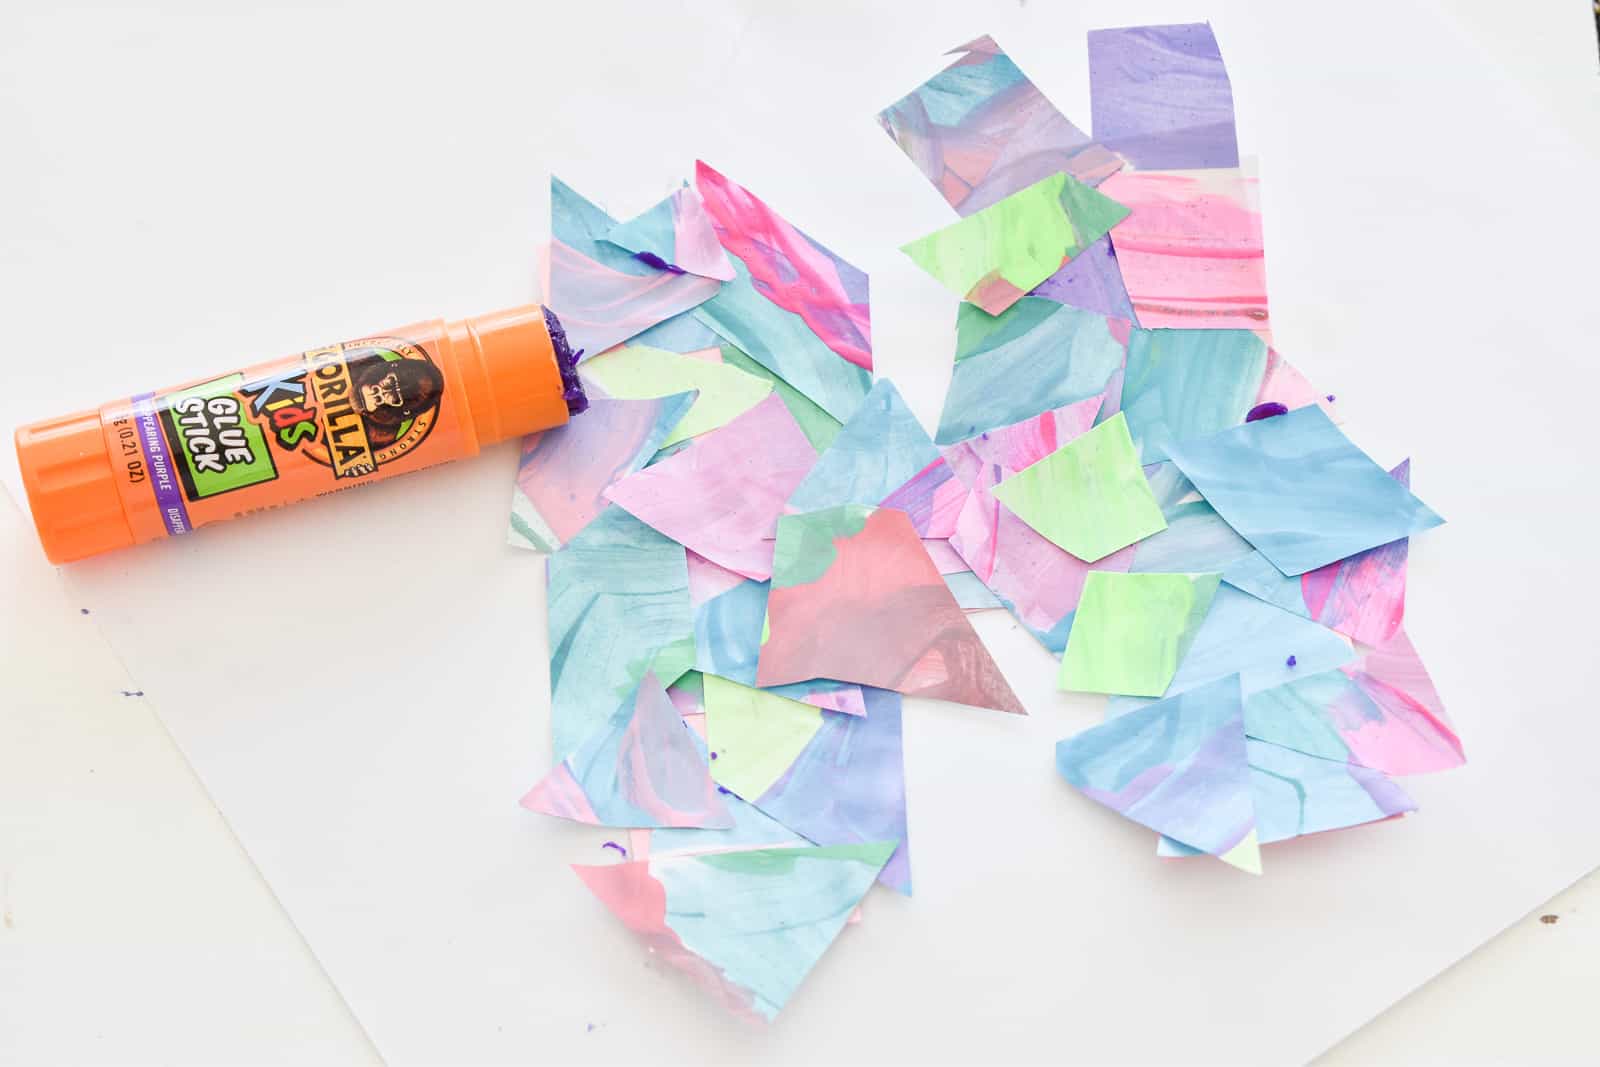
The little kids made really fun monogram key chains. They started by painting with basic craft paint on a piece of paper. I asked them to use colors they liked and over the entire piece of paper.
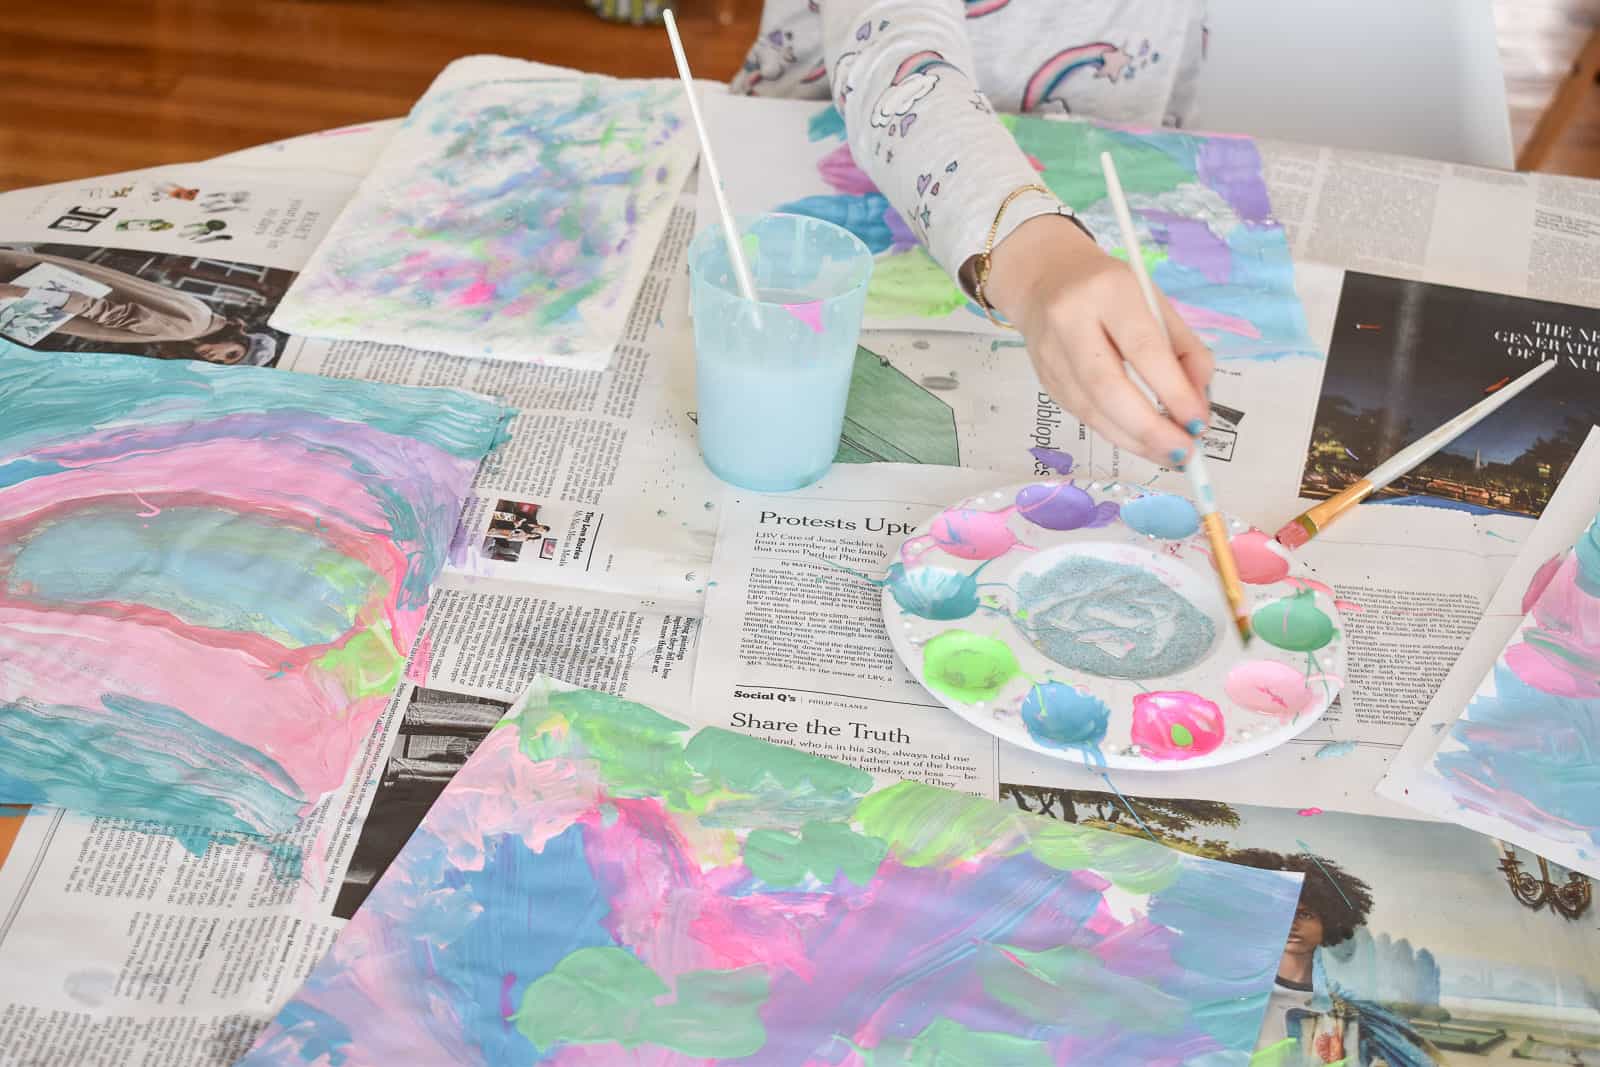
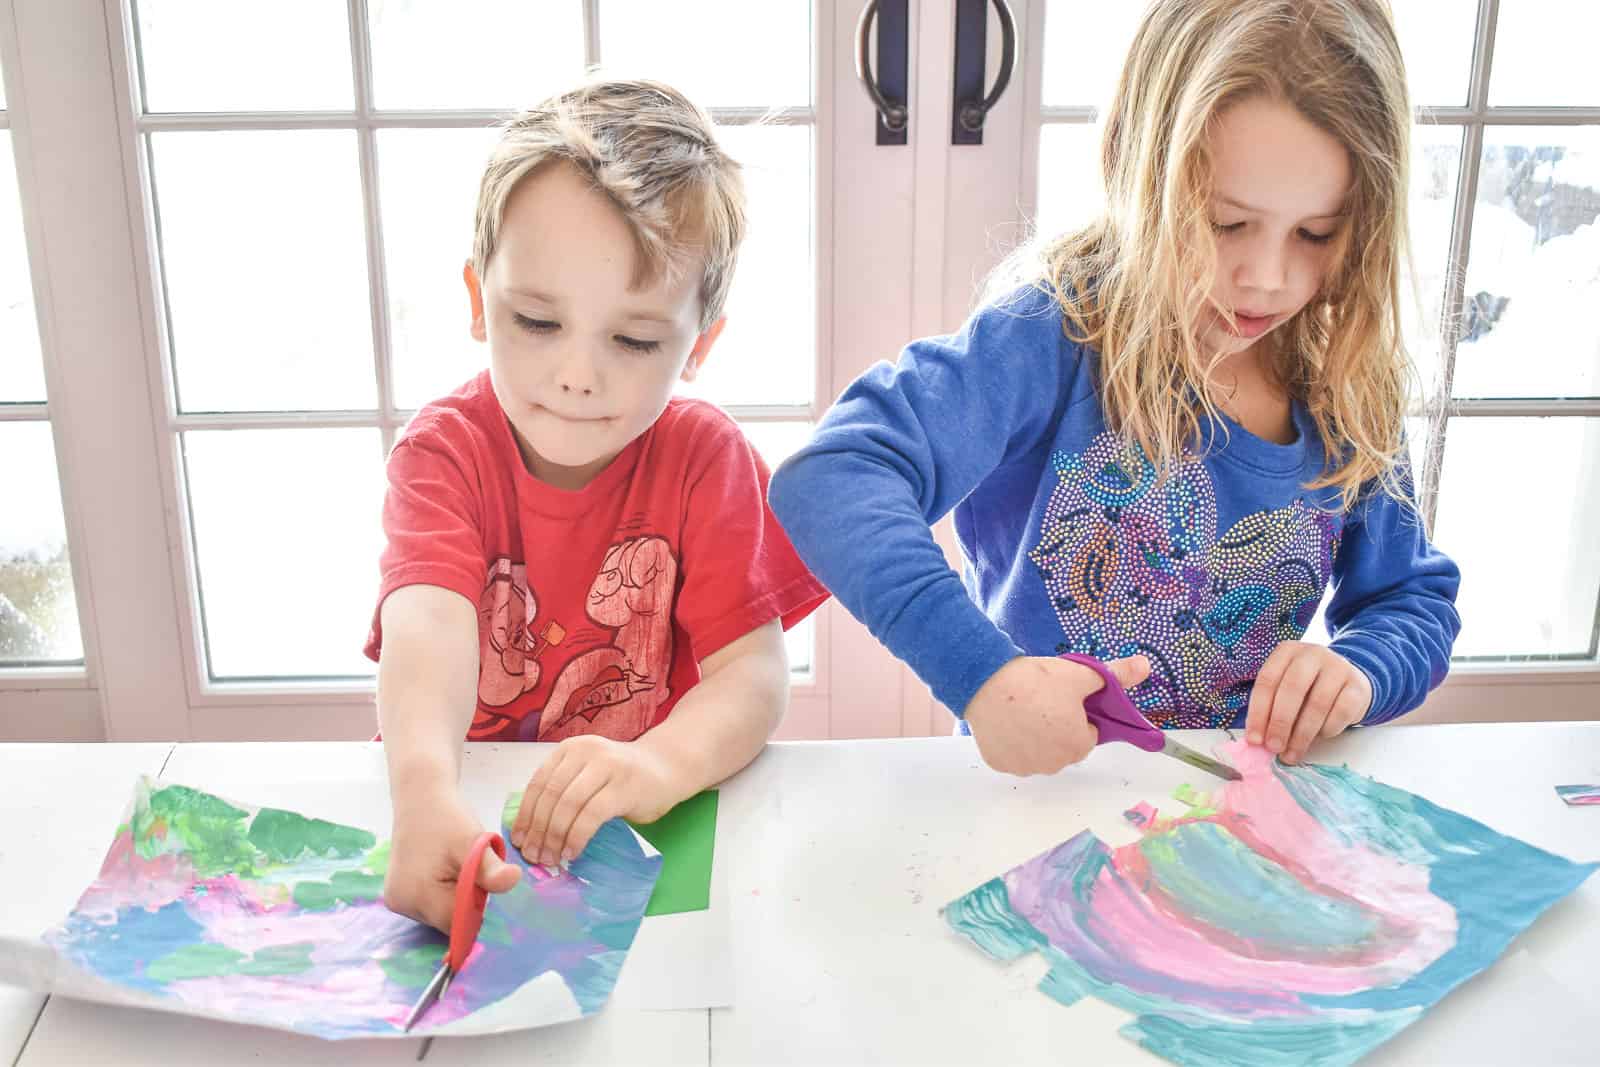
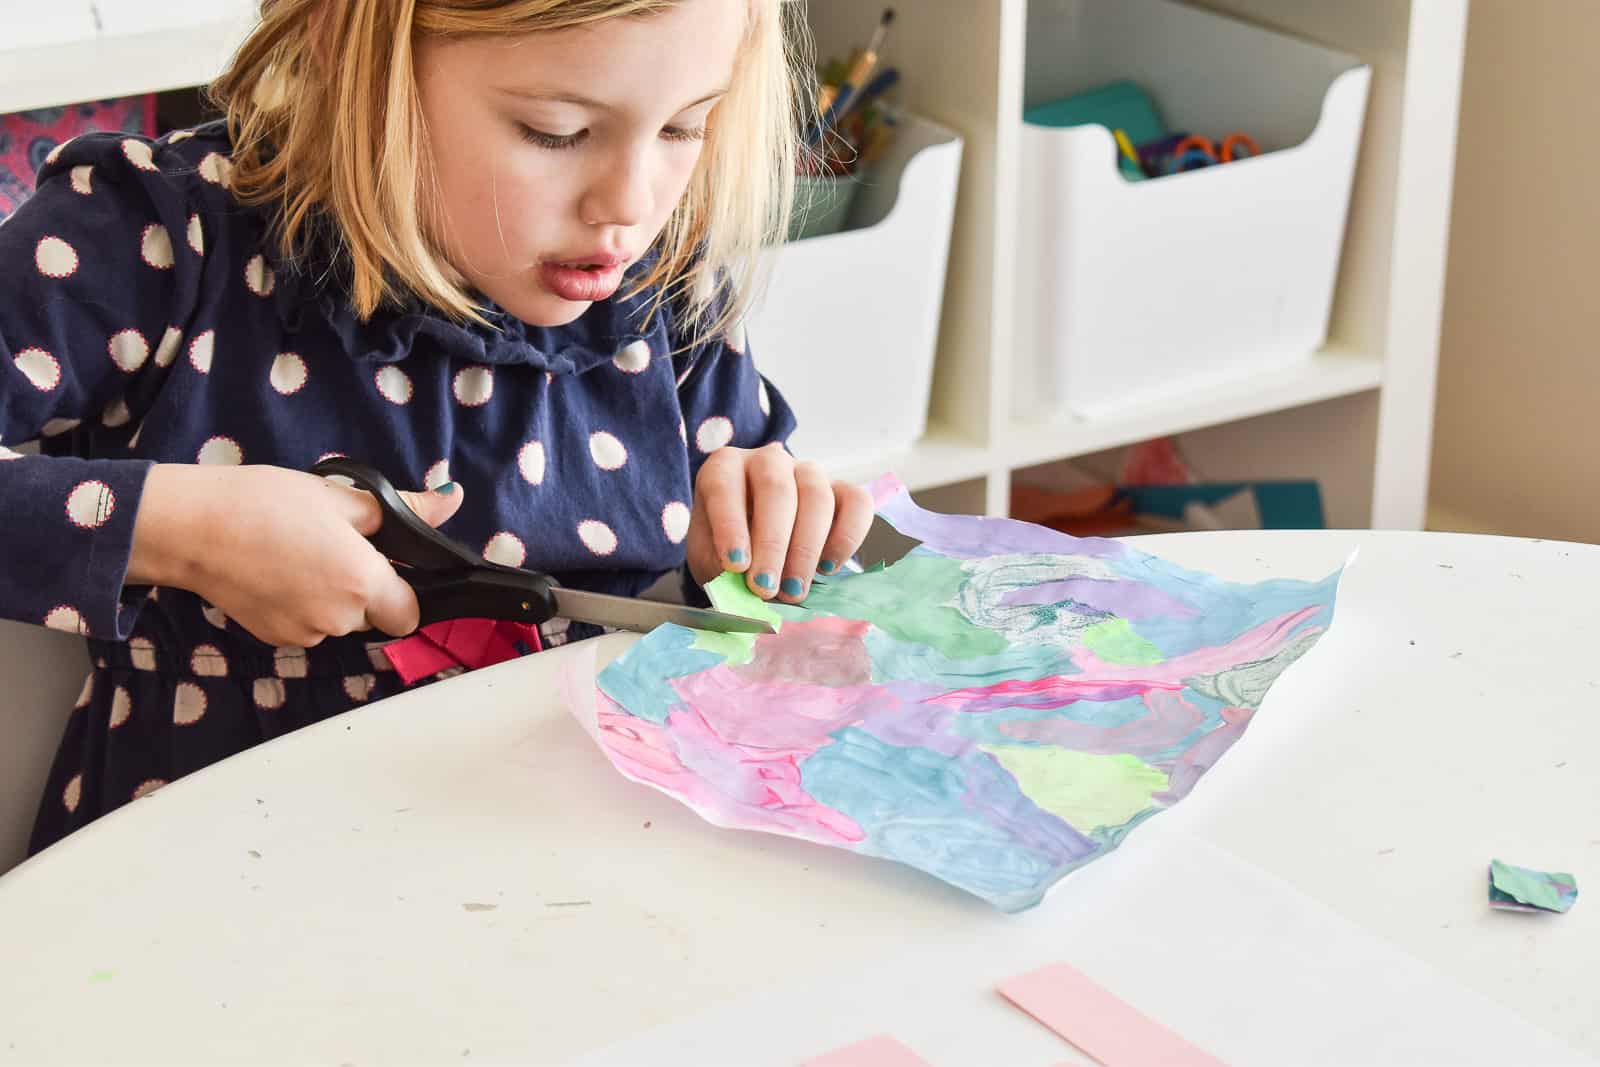
Once the paint had dried, they practiced their cutting skills and cut their paintings into smaller shapes. Side note: there is nothing cuter than a little kid concentrating.
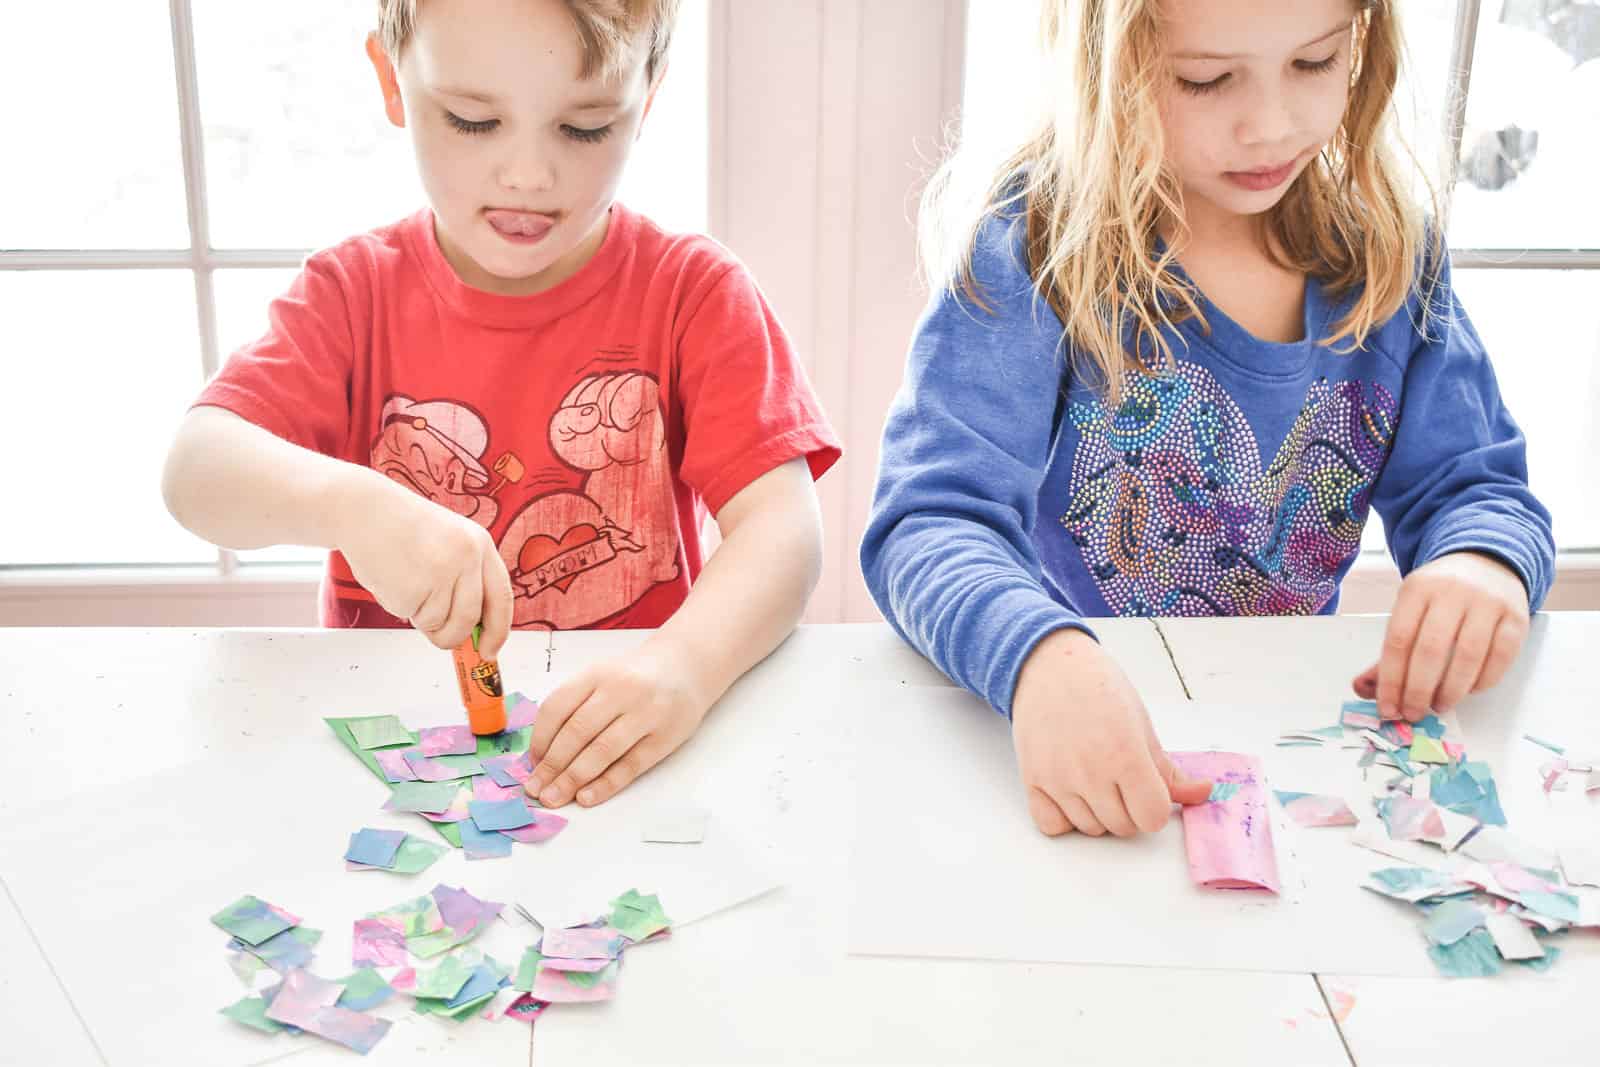
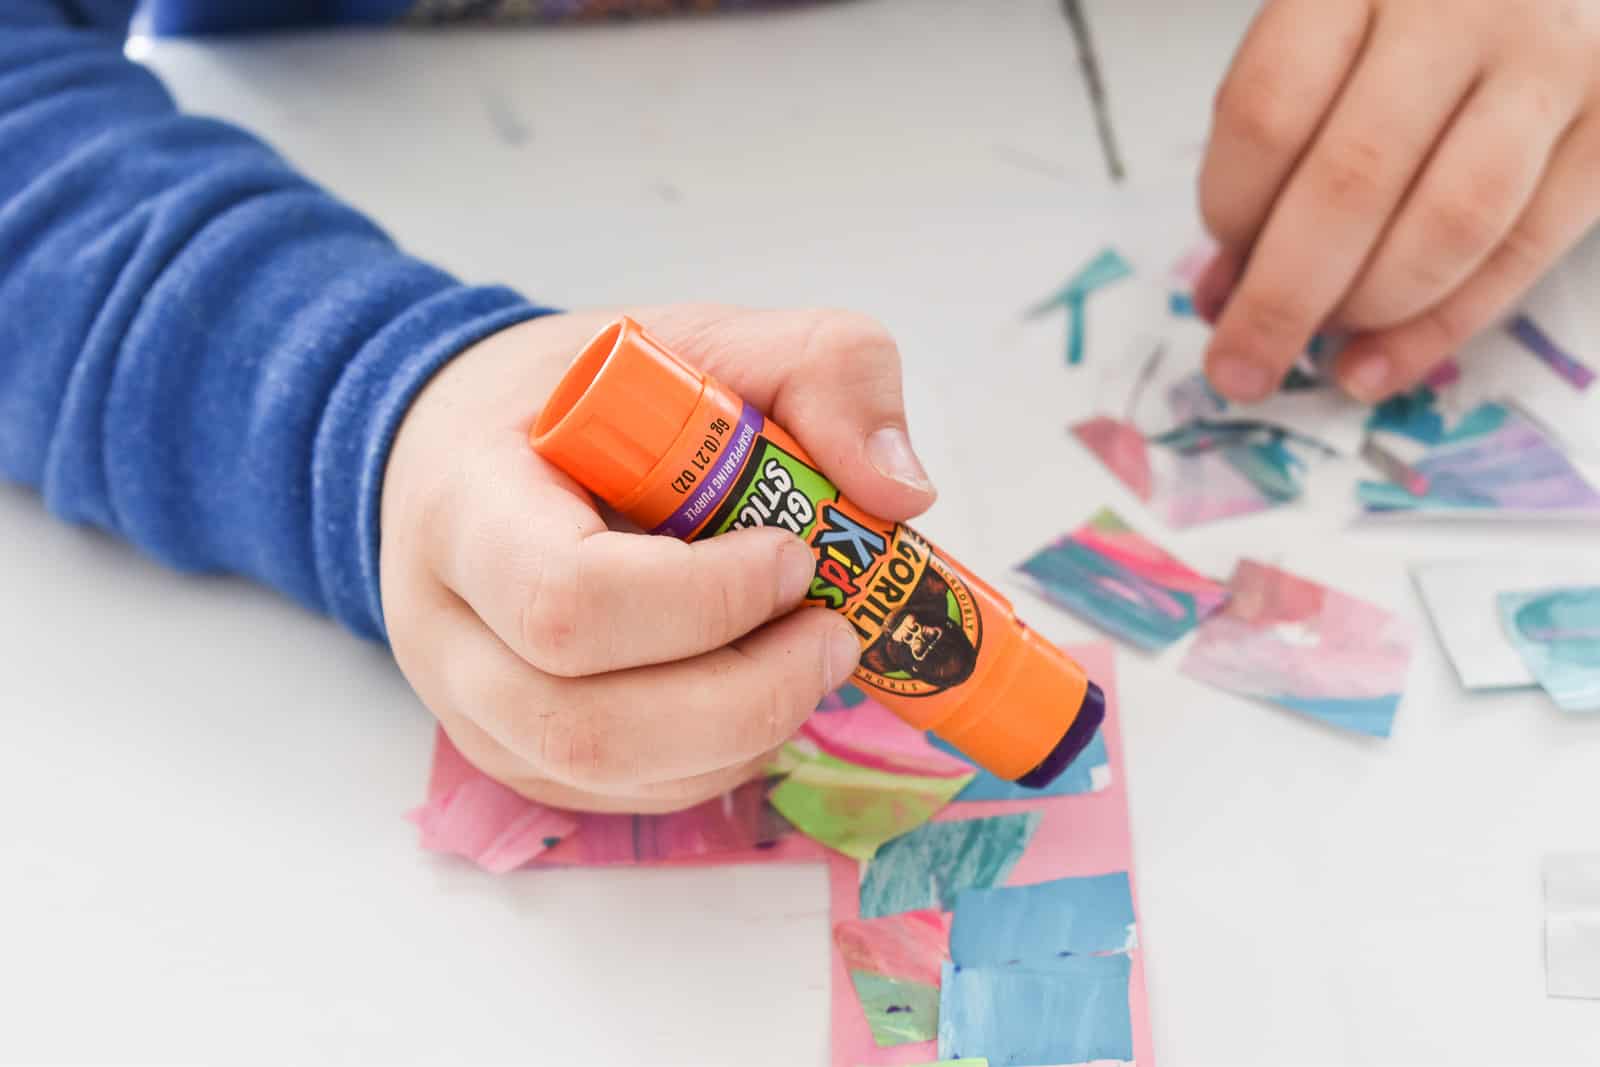
I precut their initials from card stock and then they used the Gorilla Glue stick to glue the smaller cut-out shapes onto the letter.
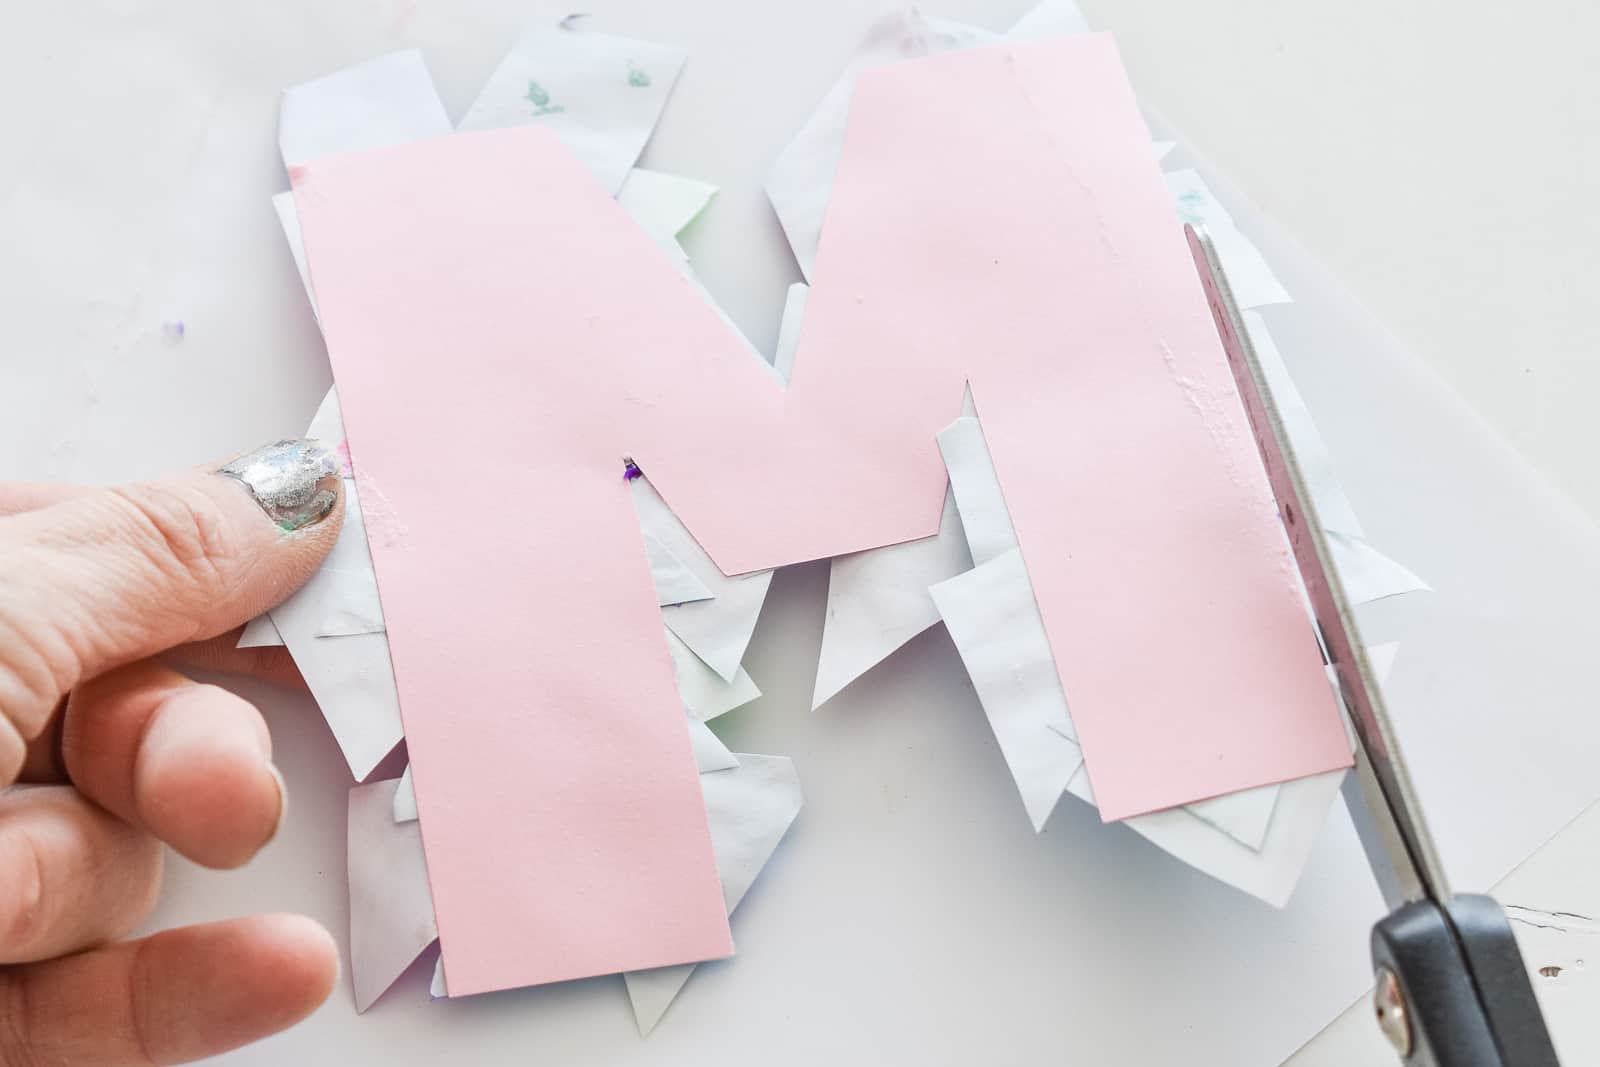
I flipped the letter upside down and trimmed the messy edges. We skipped this step, but you could certainly decorate the back of the letter in the same way.
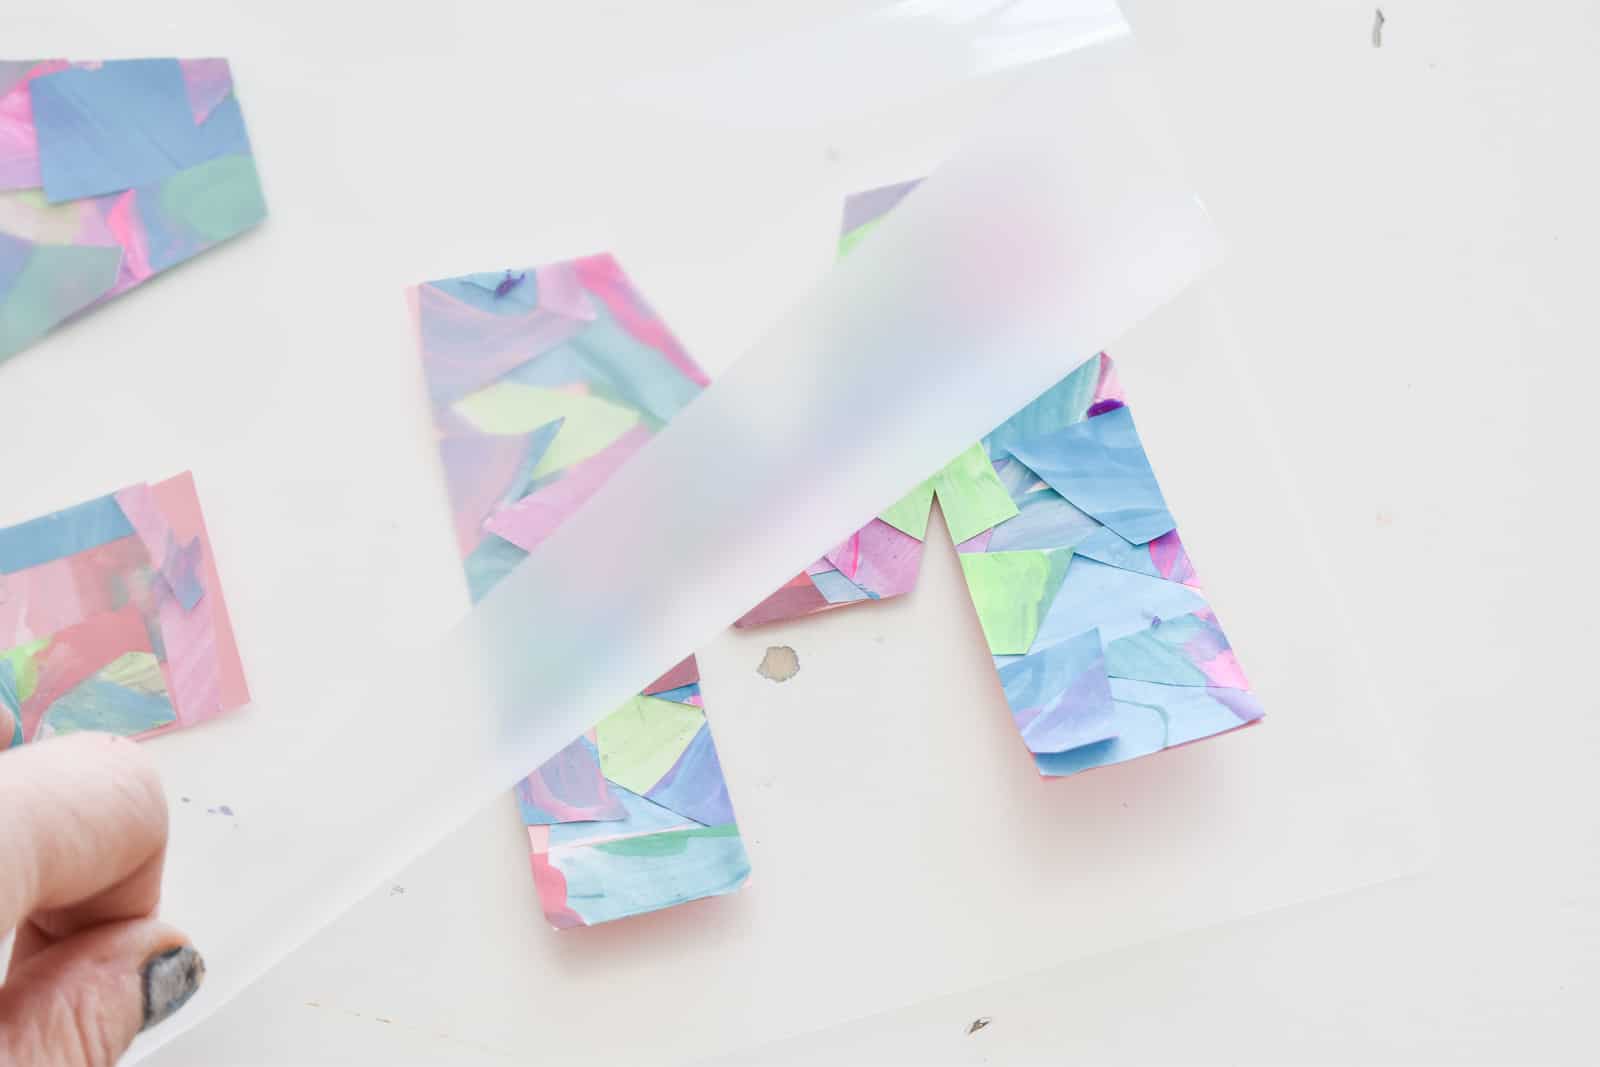
We let the glue dry for a minute and then ran the letters through my laminator. I punched a hole in the top and added one of these key chain rings and onto backpacks they went! Arthur’s lasted most of the year before it got caught on something and fell off so, even though they’re paper, they’re pretty durable because of the lamination.
Back to school always comes with a bit of a frenzy for us, but I love the idea of doing a few FUN projects with the kids to help them shift gears from summer mode into school mode.


I second that little kids concentrating is the cutest! This turned out so well! I’ve used clear shipping tape in place of lamination before. It’s not as pretty, but it helps the project hold up a little longer, too.
Yes! I have too… great reminder!
What good ideas!!!
Thanks, Phoebe!! This was so fun for the kids!