
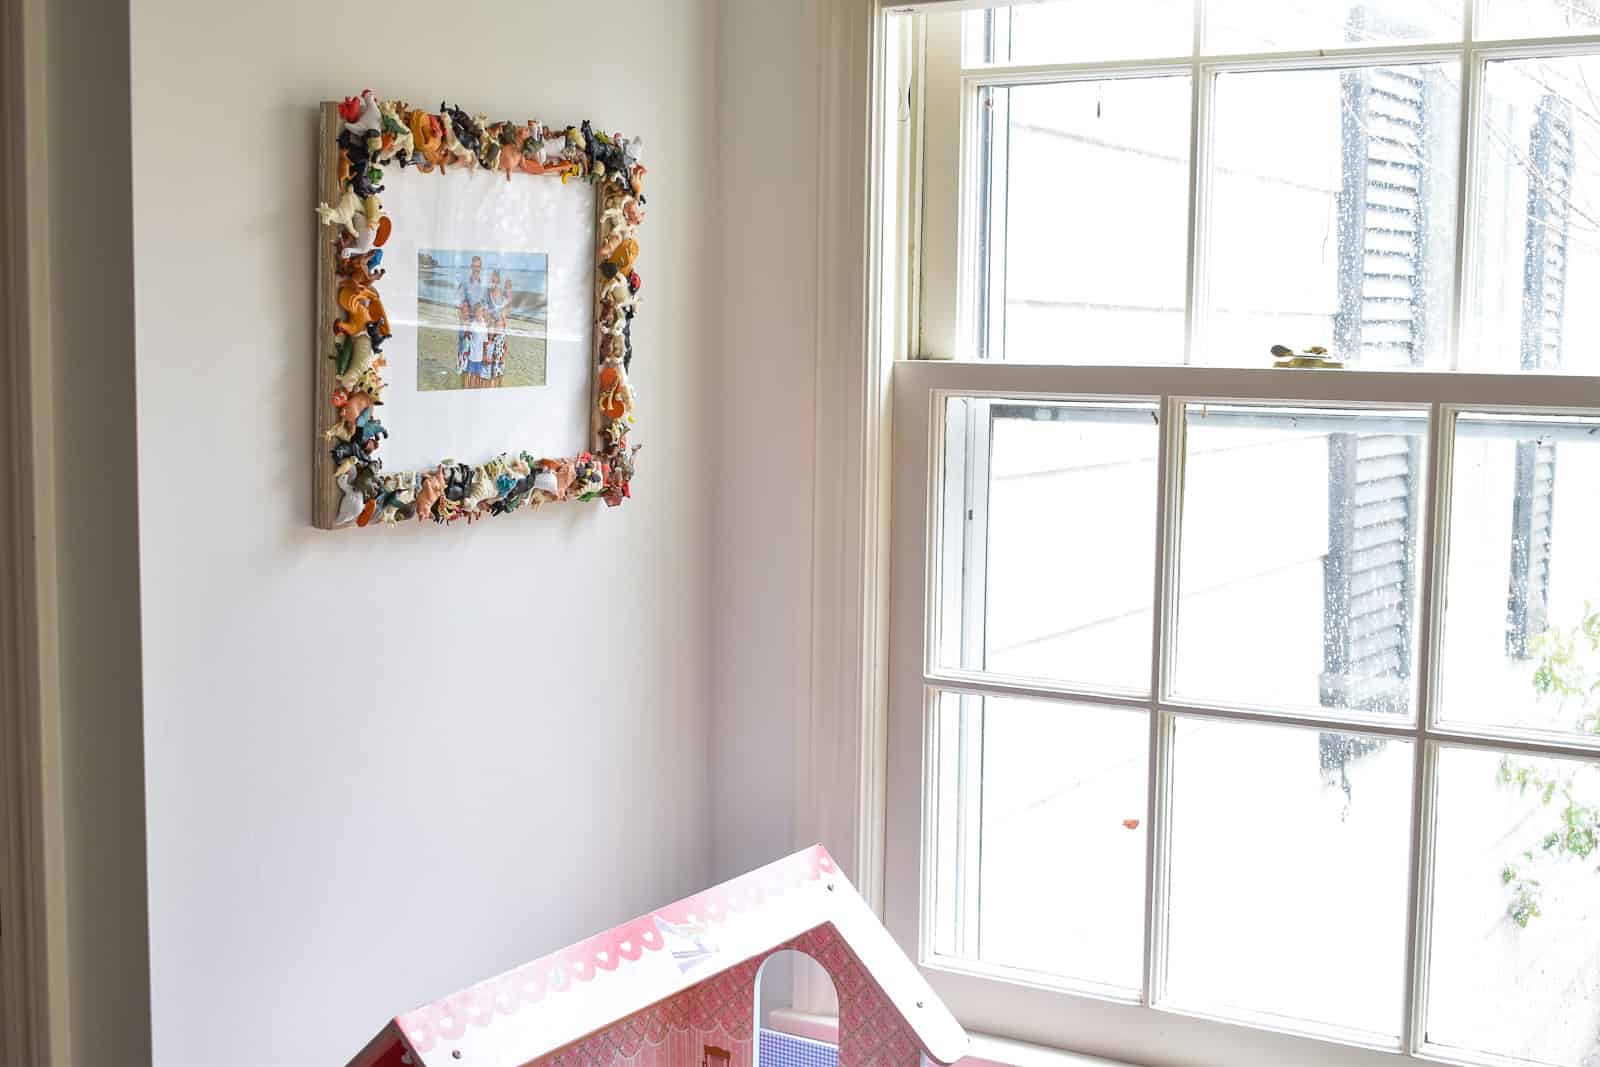
Toy Animal Picture Frame
Psssst… this post *might* contain affiliate links: see my disclosure here.
Safari, Ltd. Toy Animal Craft
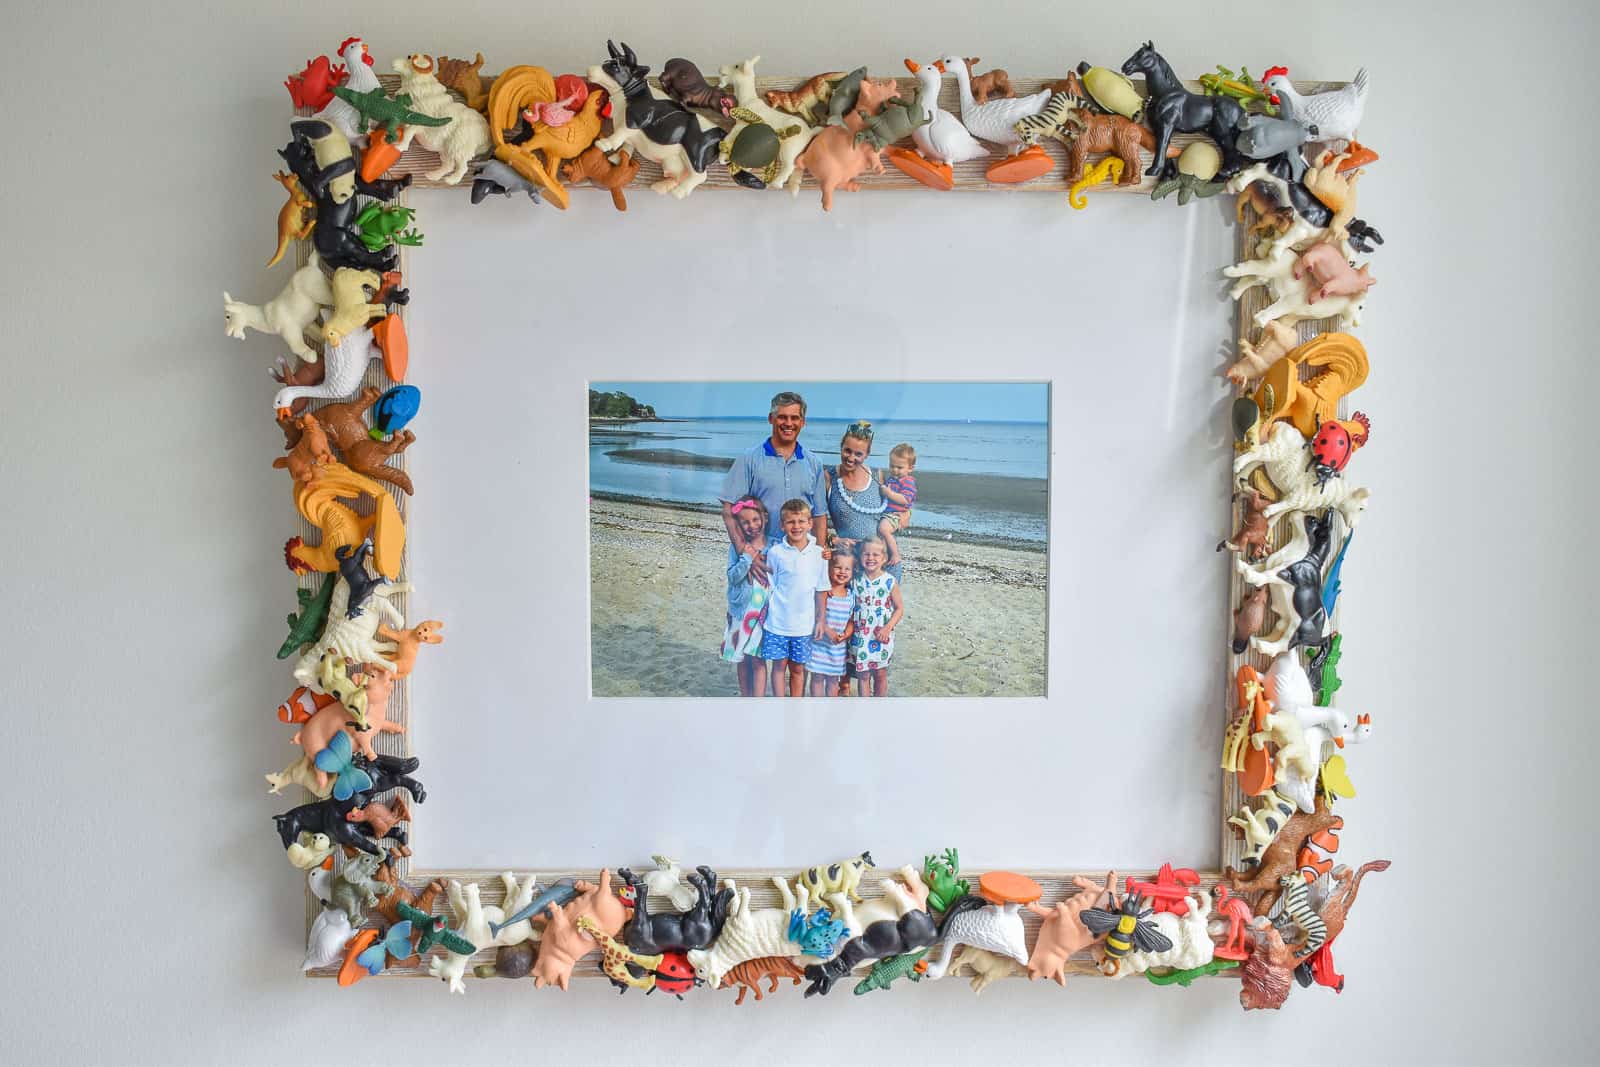
My kids have a few favorite toys: markers and crayons, rubber ducks and… our bin FILLED with little miniature plastic animals and figures. These Safari Toobs are favorites for any event and over the years we’ve acquired a LOT of mini alligators and cows and fairies and astronauts. So many themes. So many tiny plastic creatures to play with. So why not CRAFT with them?!
Disclosure: I’ve partnered with Safari Ltd. to share this fun craft project with you.
Shop my favorites!
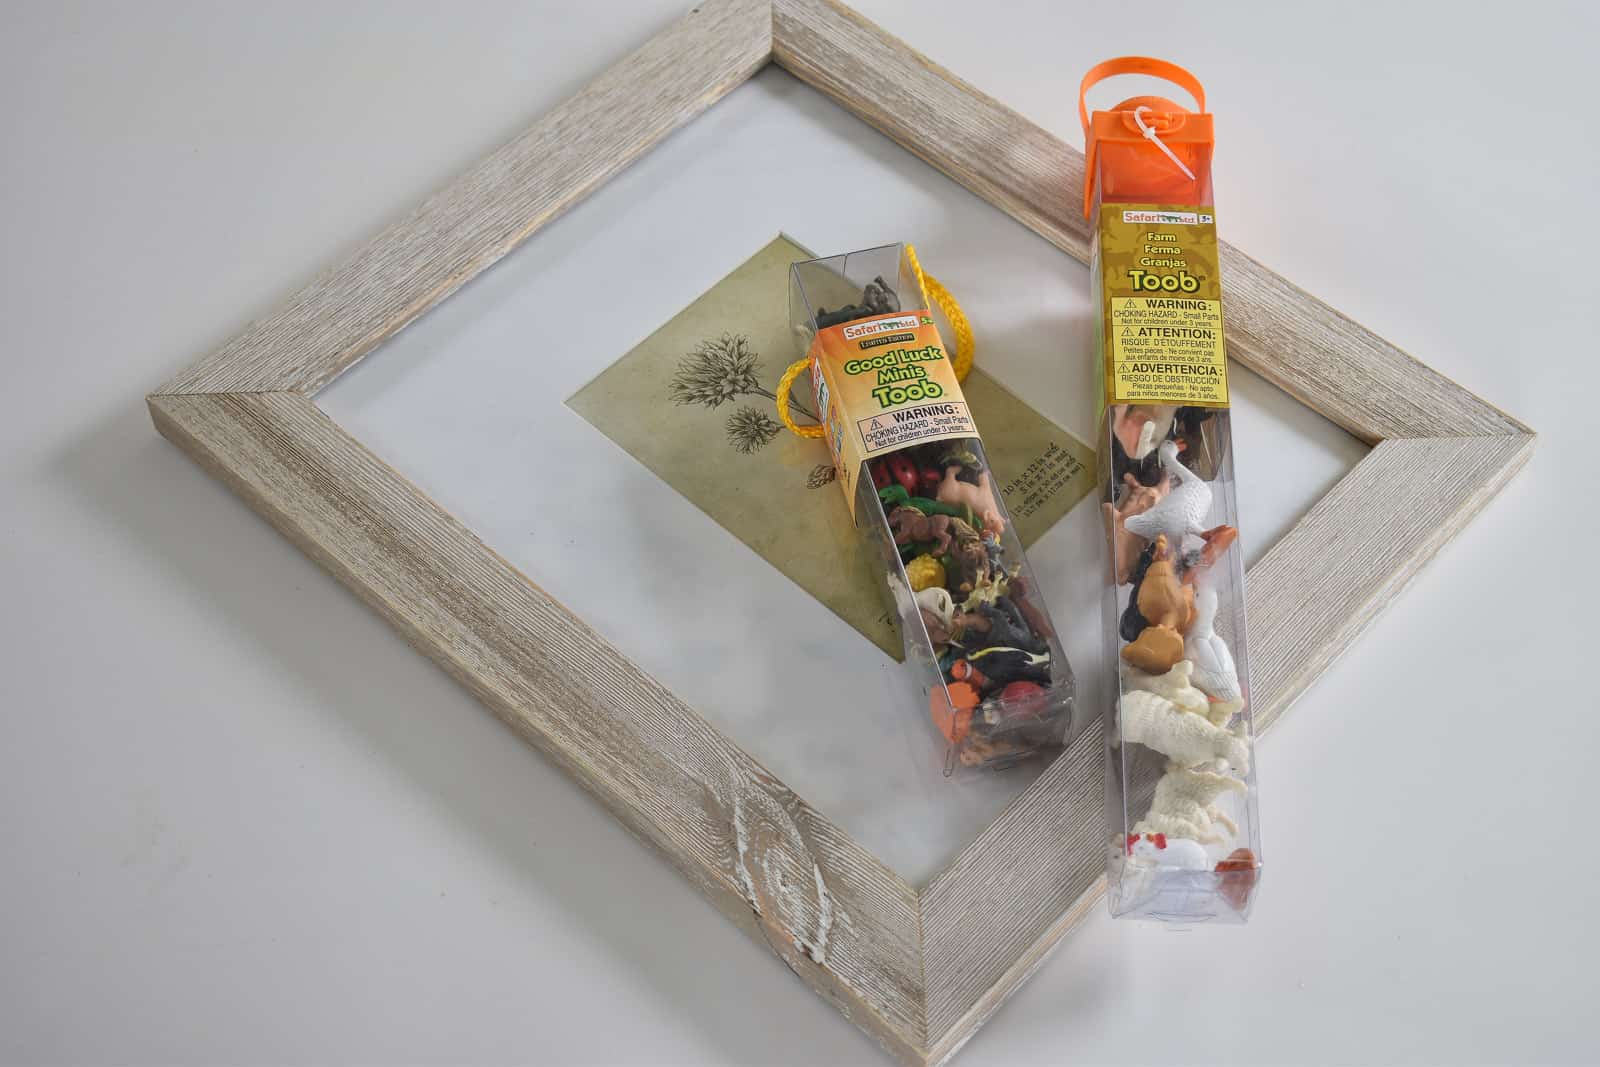
Using these plastic animals for a craft was the perfect project for the kids shared room. The only materials you need for this are:
- Picture (look for a flat frame that’s more than 1.5 inches wide)
- Hot Glue Gun
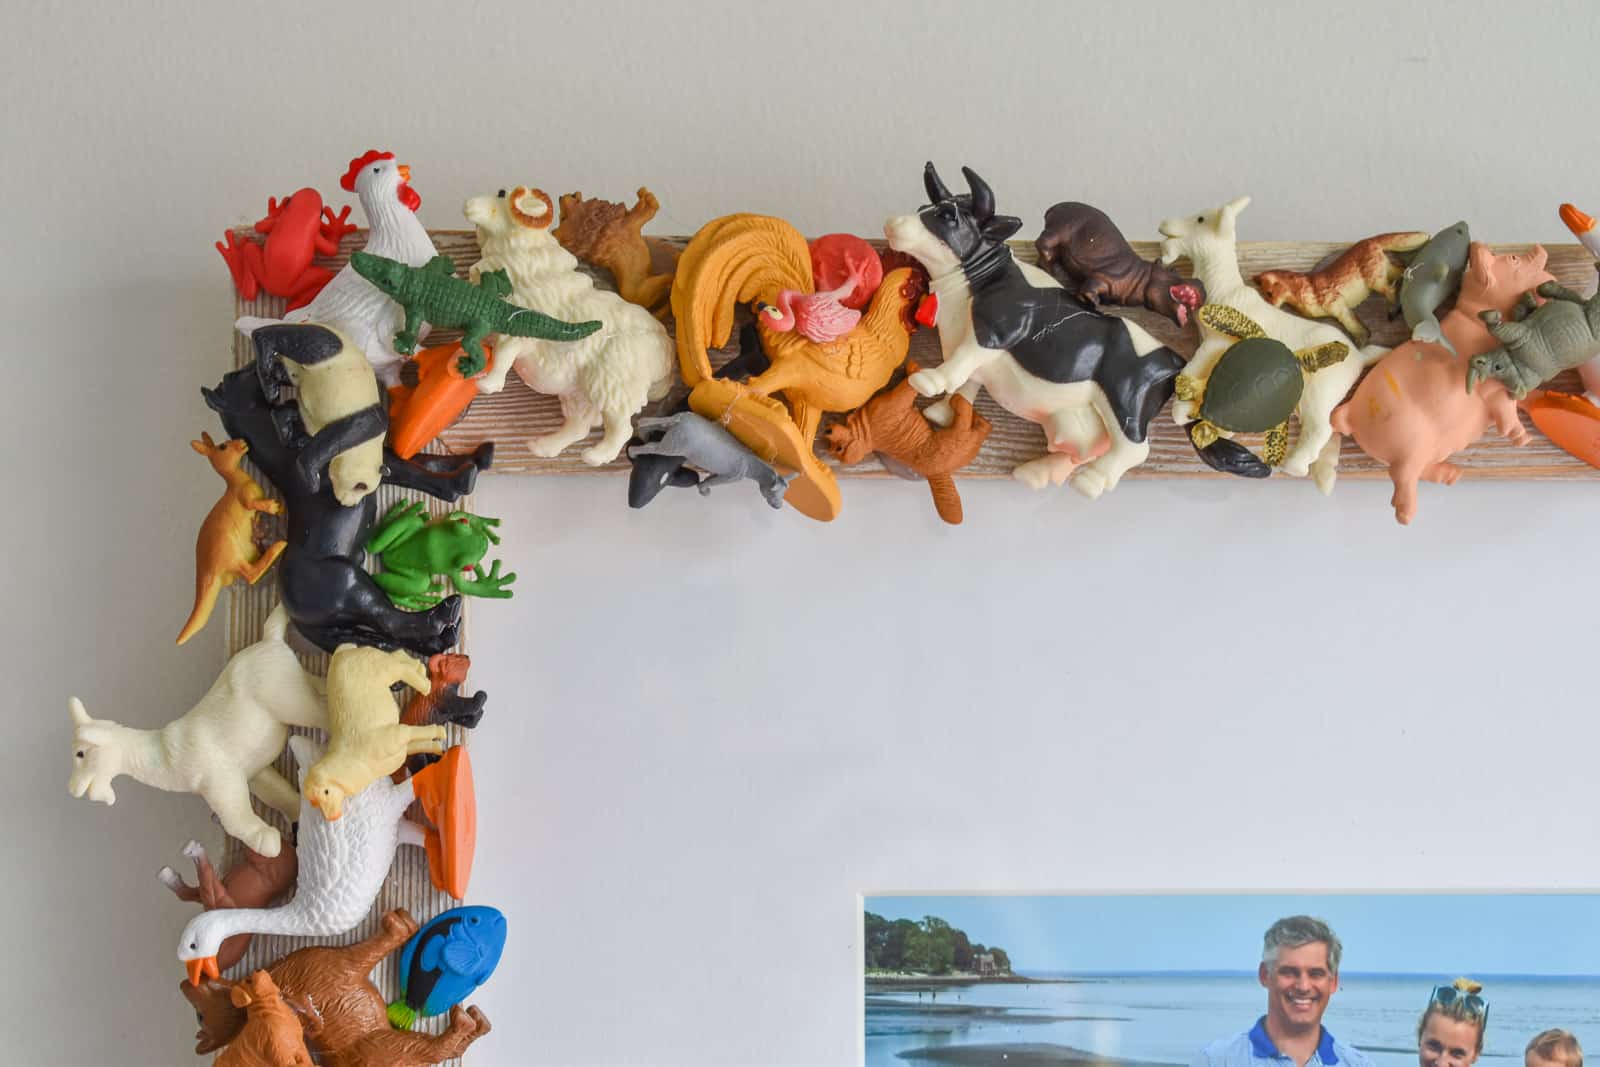
- Safari TOOB (SO many choices… I used farm animals)
- Safari Good Luck Mini (I had sea animals, jungle animals and more!)
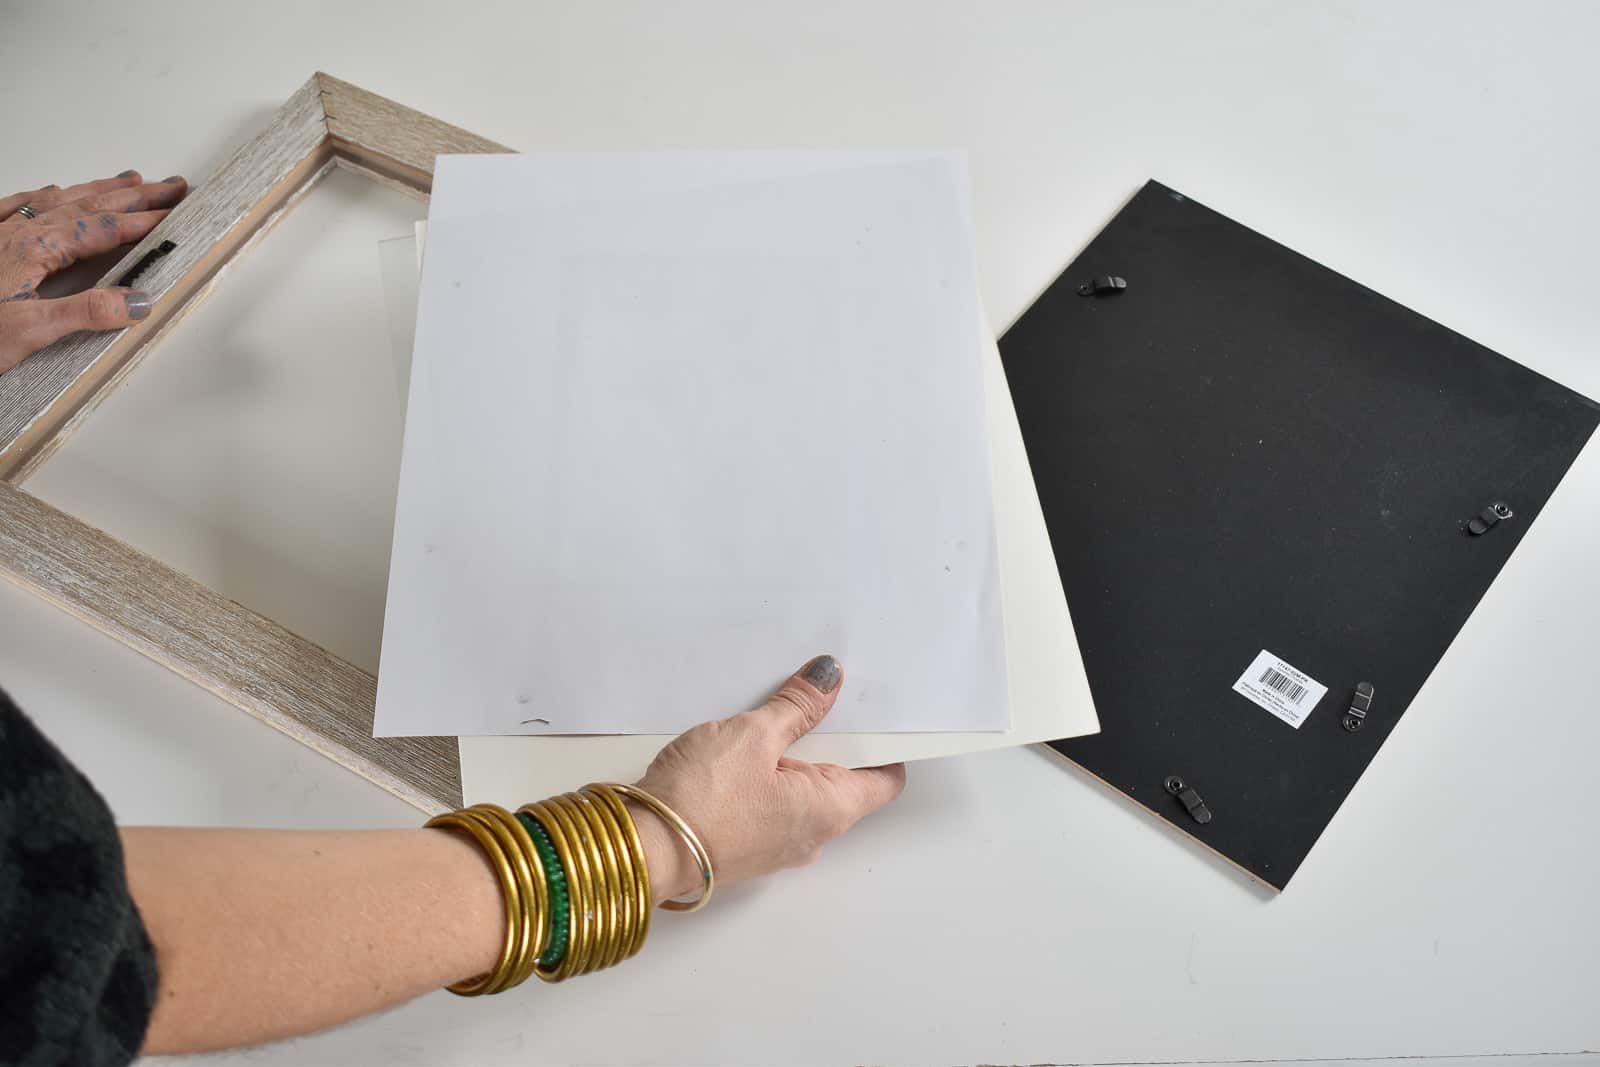
Step 1. Dry Fit Larger Toy Animals on Frame
I removed the glass from my frame and then dry fit the larger plastic animals. I tried to keep them from hanging over the frame too much, but I also wanted to fit them all together as tightly as I could!
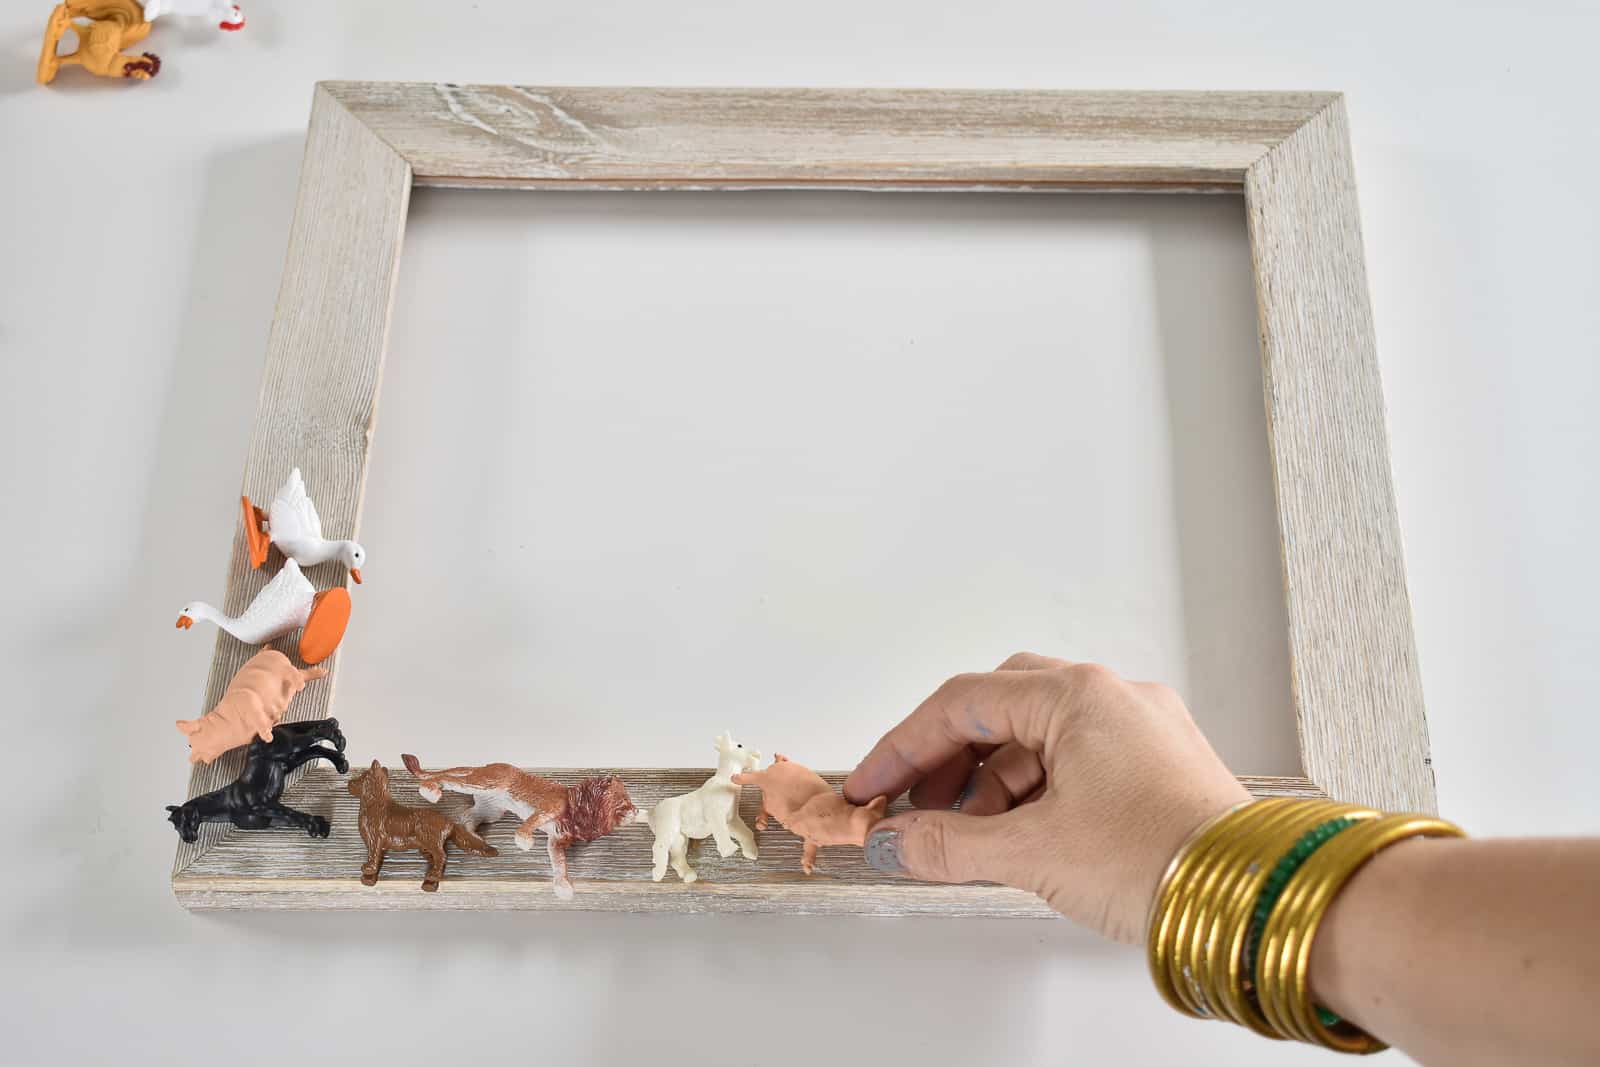
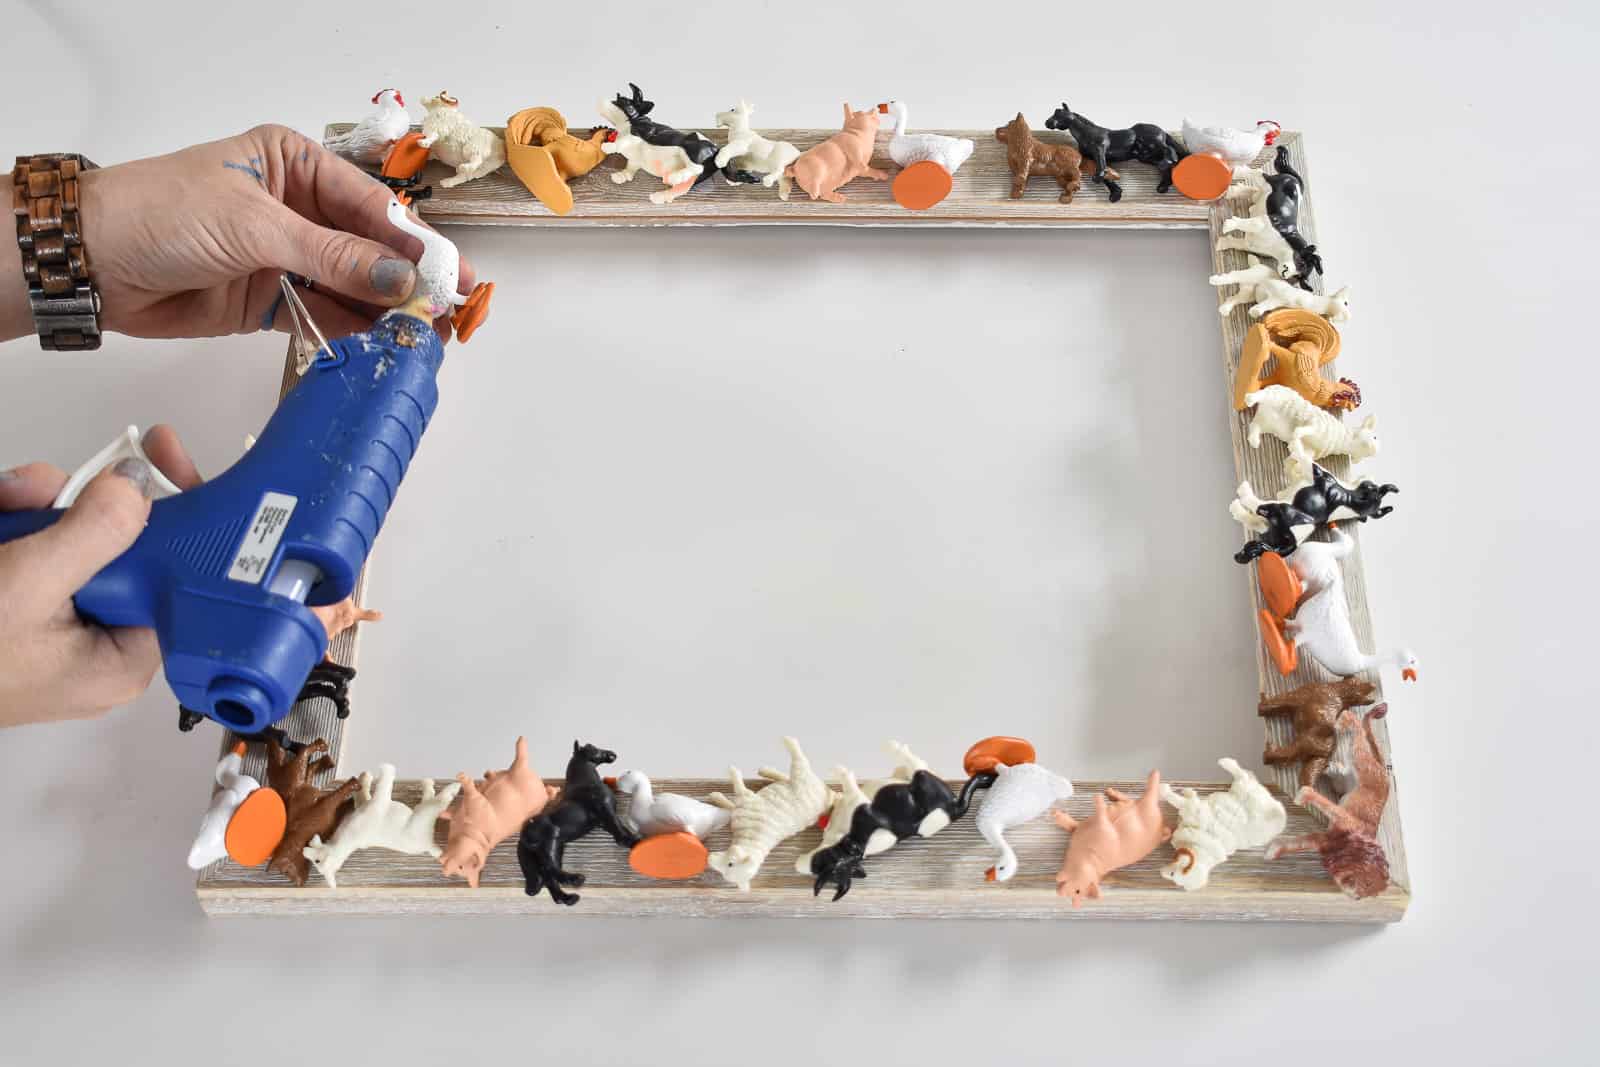
Step 2. Glue Larger Animals onto Frame
Working slowly, place a generous dose of hot glue onto the each animal one at a time. Consider what part of the animal will be touching the frame… this is obviously where you want to apply your hot glue.
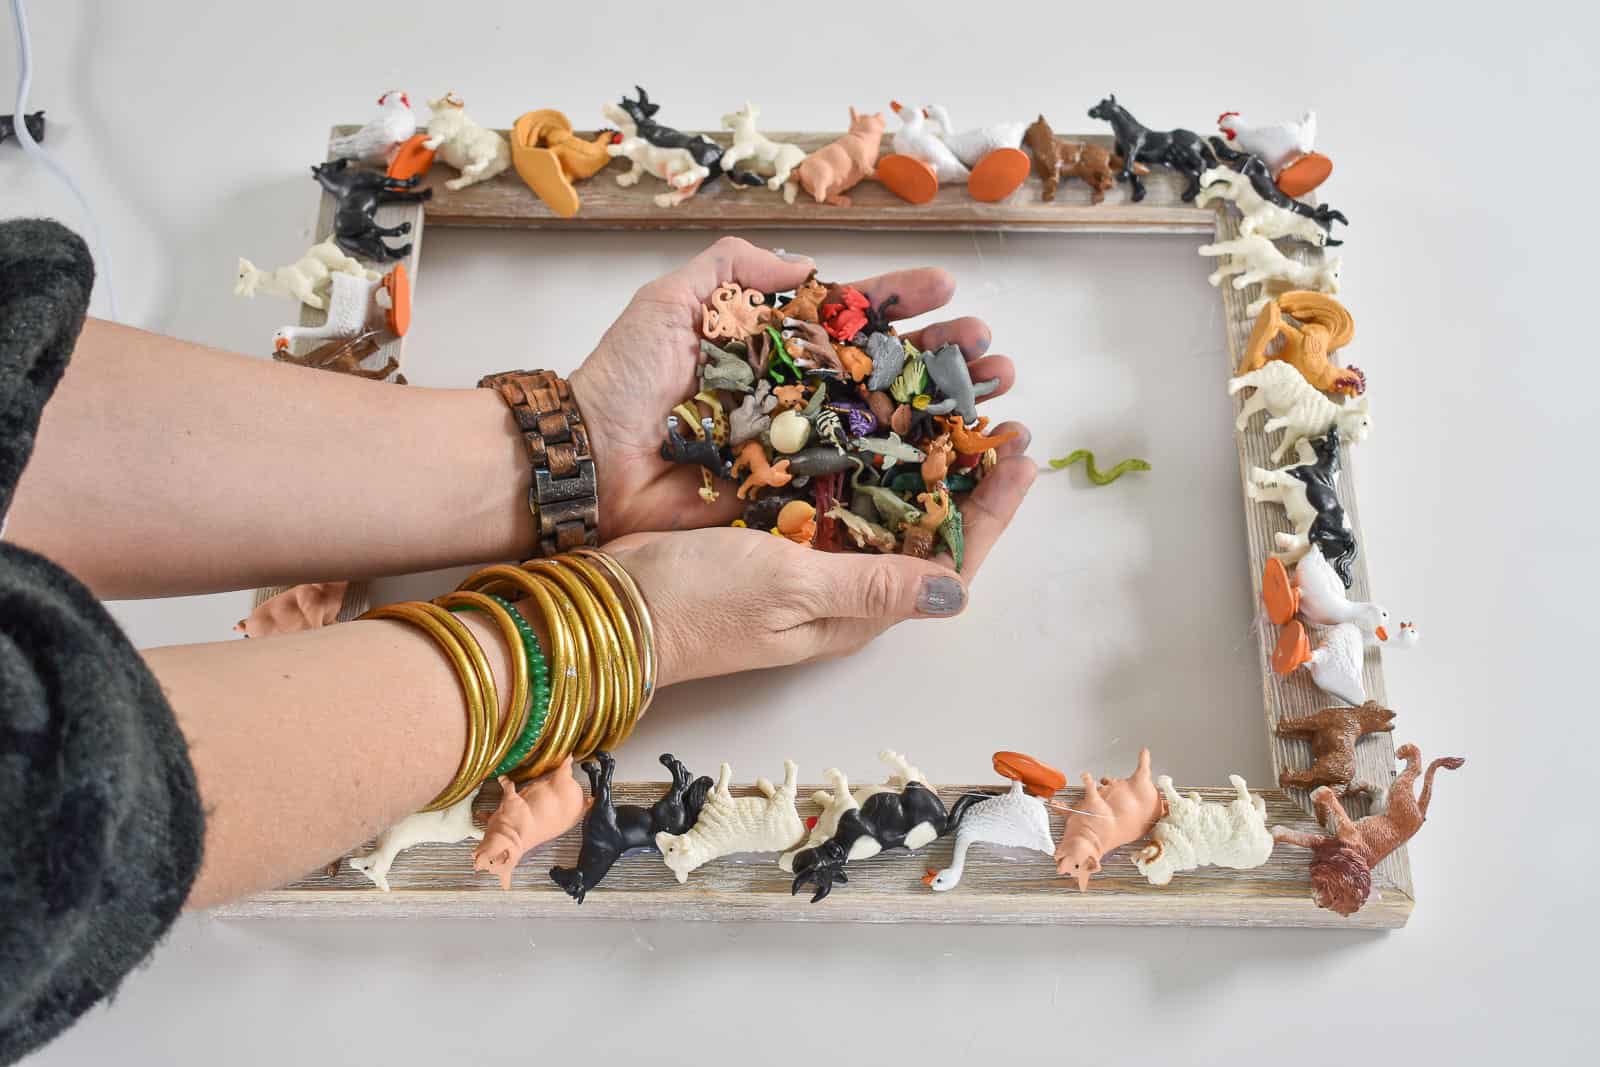
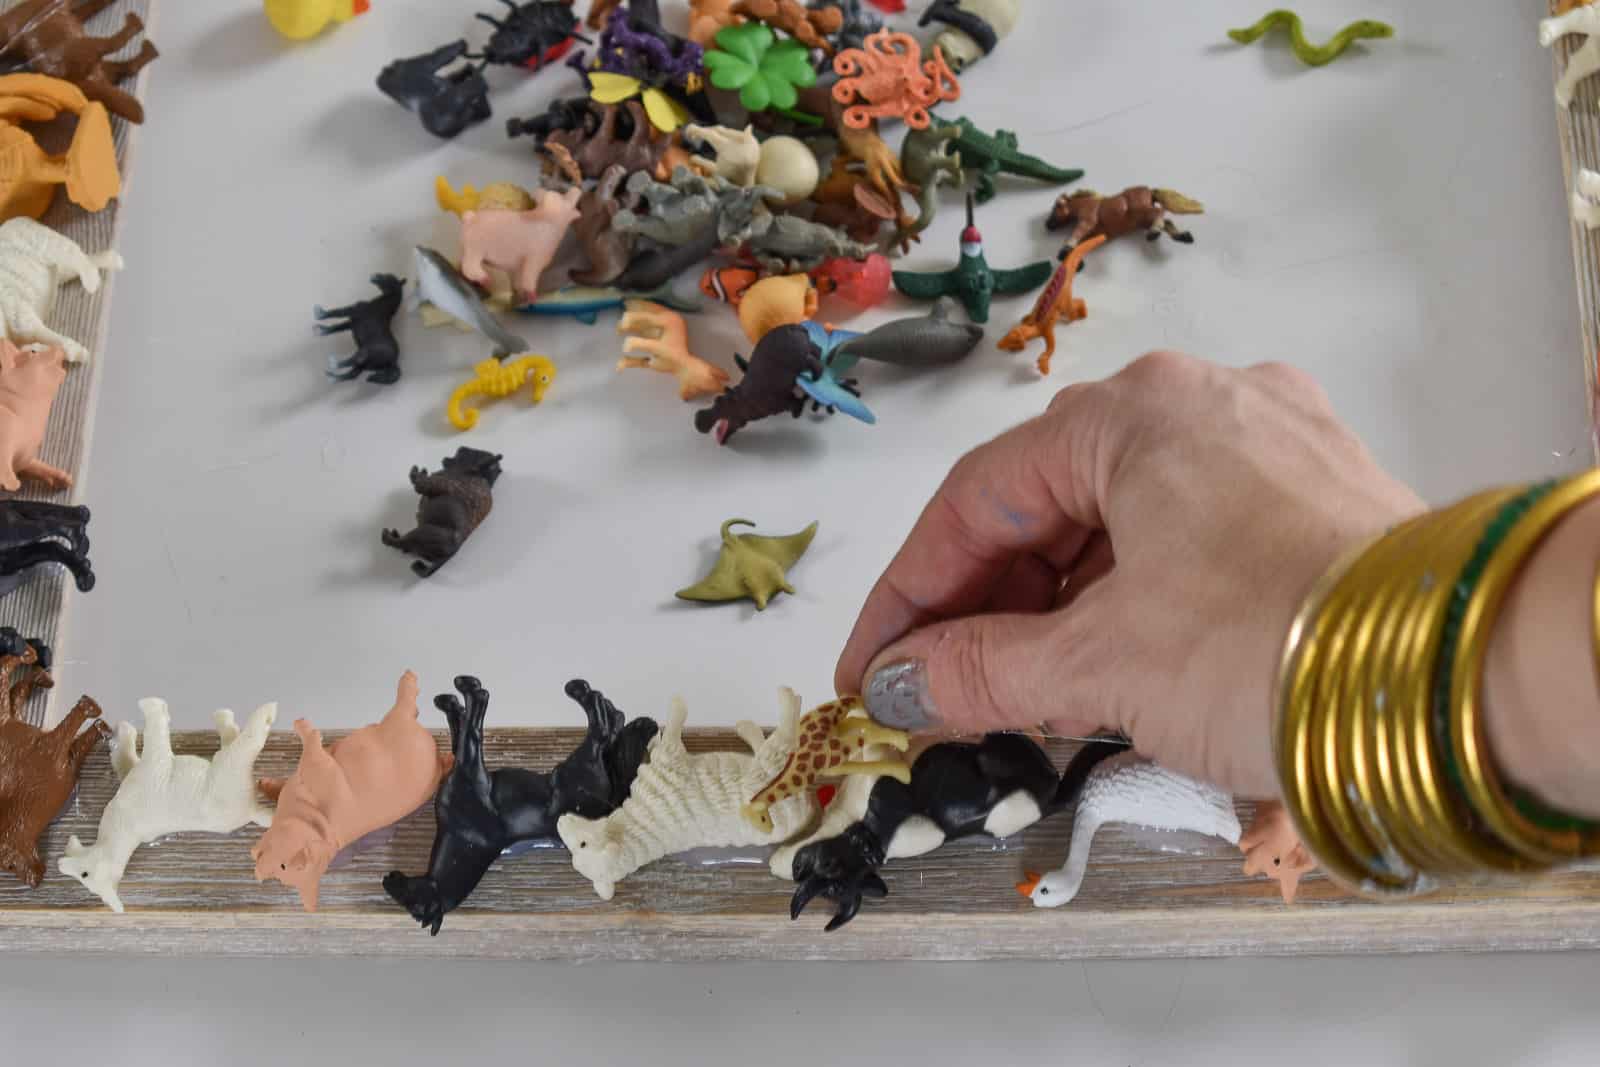
Step 3. Dry Fit the Mini Animals to Fill in the Gaps
Carefully place the Good Luck Minis where any gaps are leftover on the frame. The goal is to completely cover the frame with colorful plastic animals so tuck them under and over the larger animals as needed!
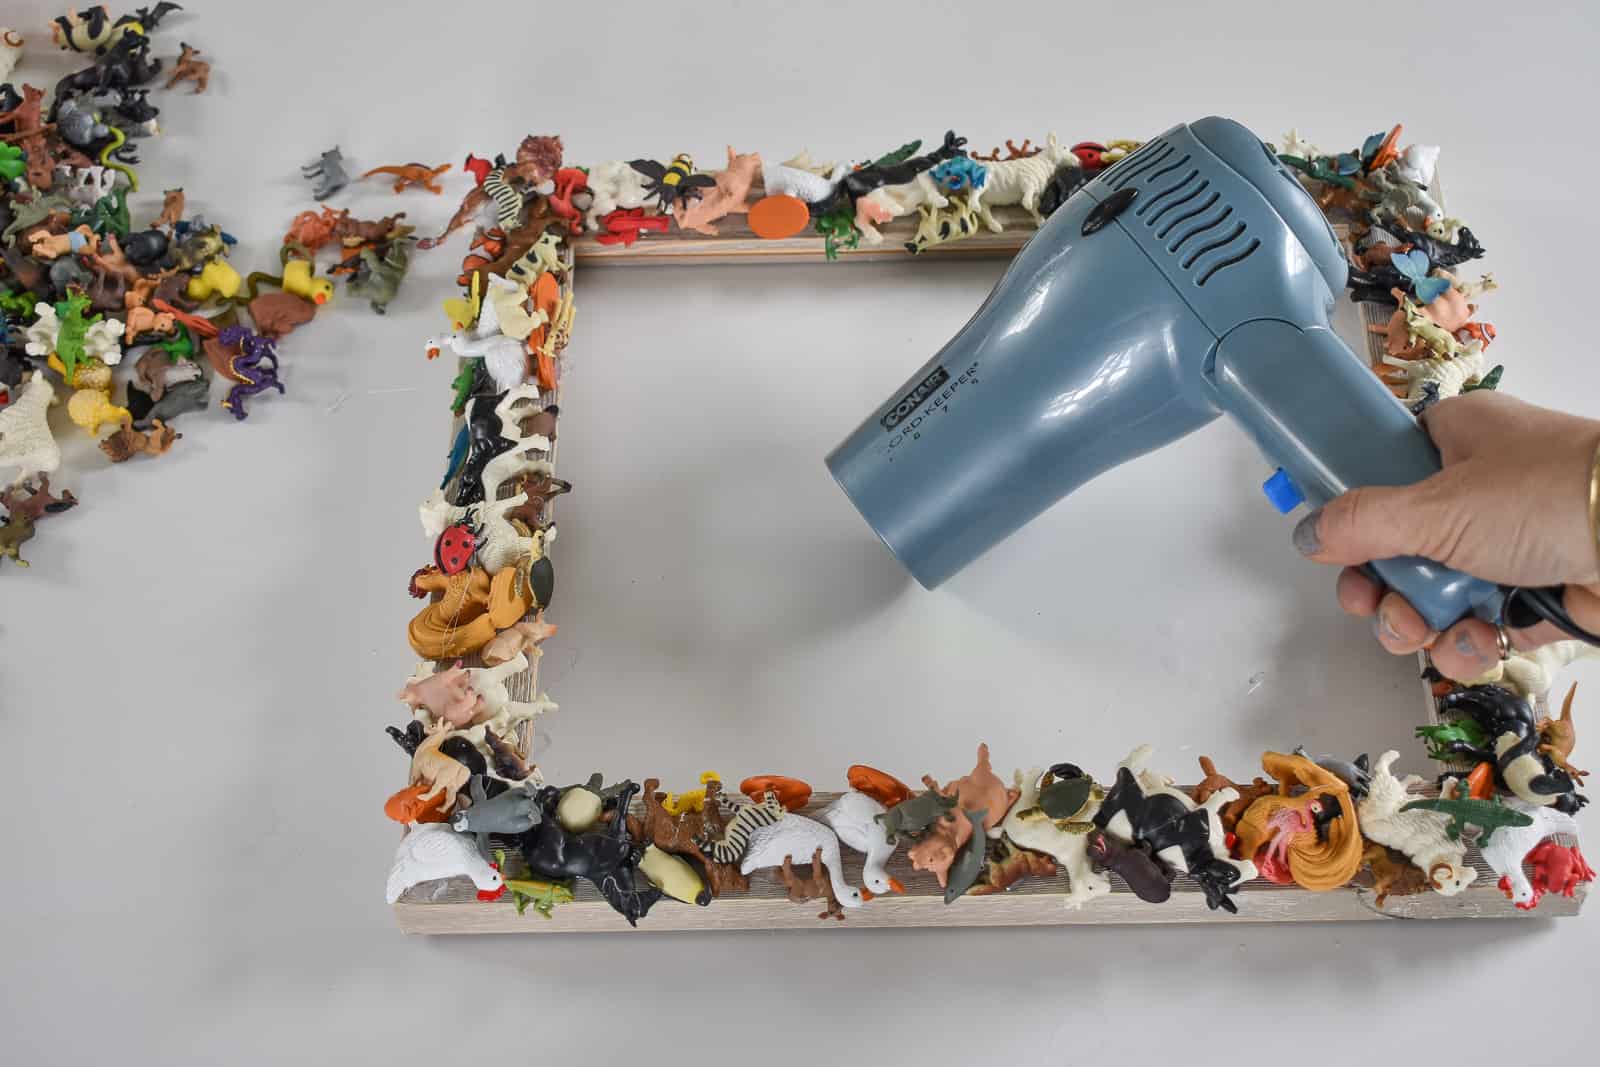
Step 4. Remove Hot Glue Tails
Here’s one of my favorite tips when working with hot glue… grab a hair dryer or a hot glue gun and turn up the heat. Blow it over the glued animals and any little hot glue threads will dissolve in the heat!
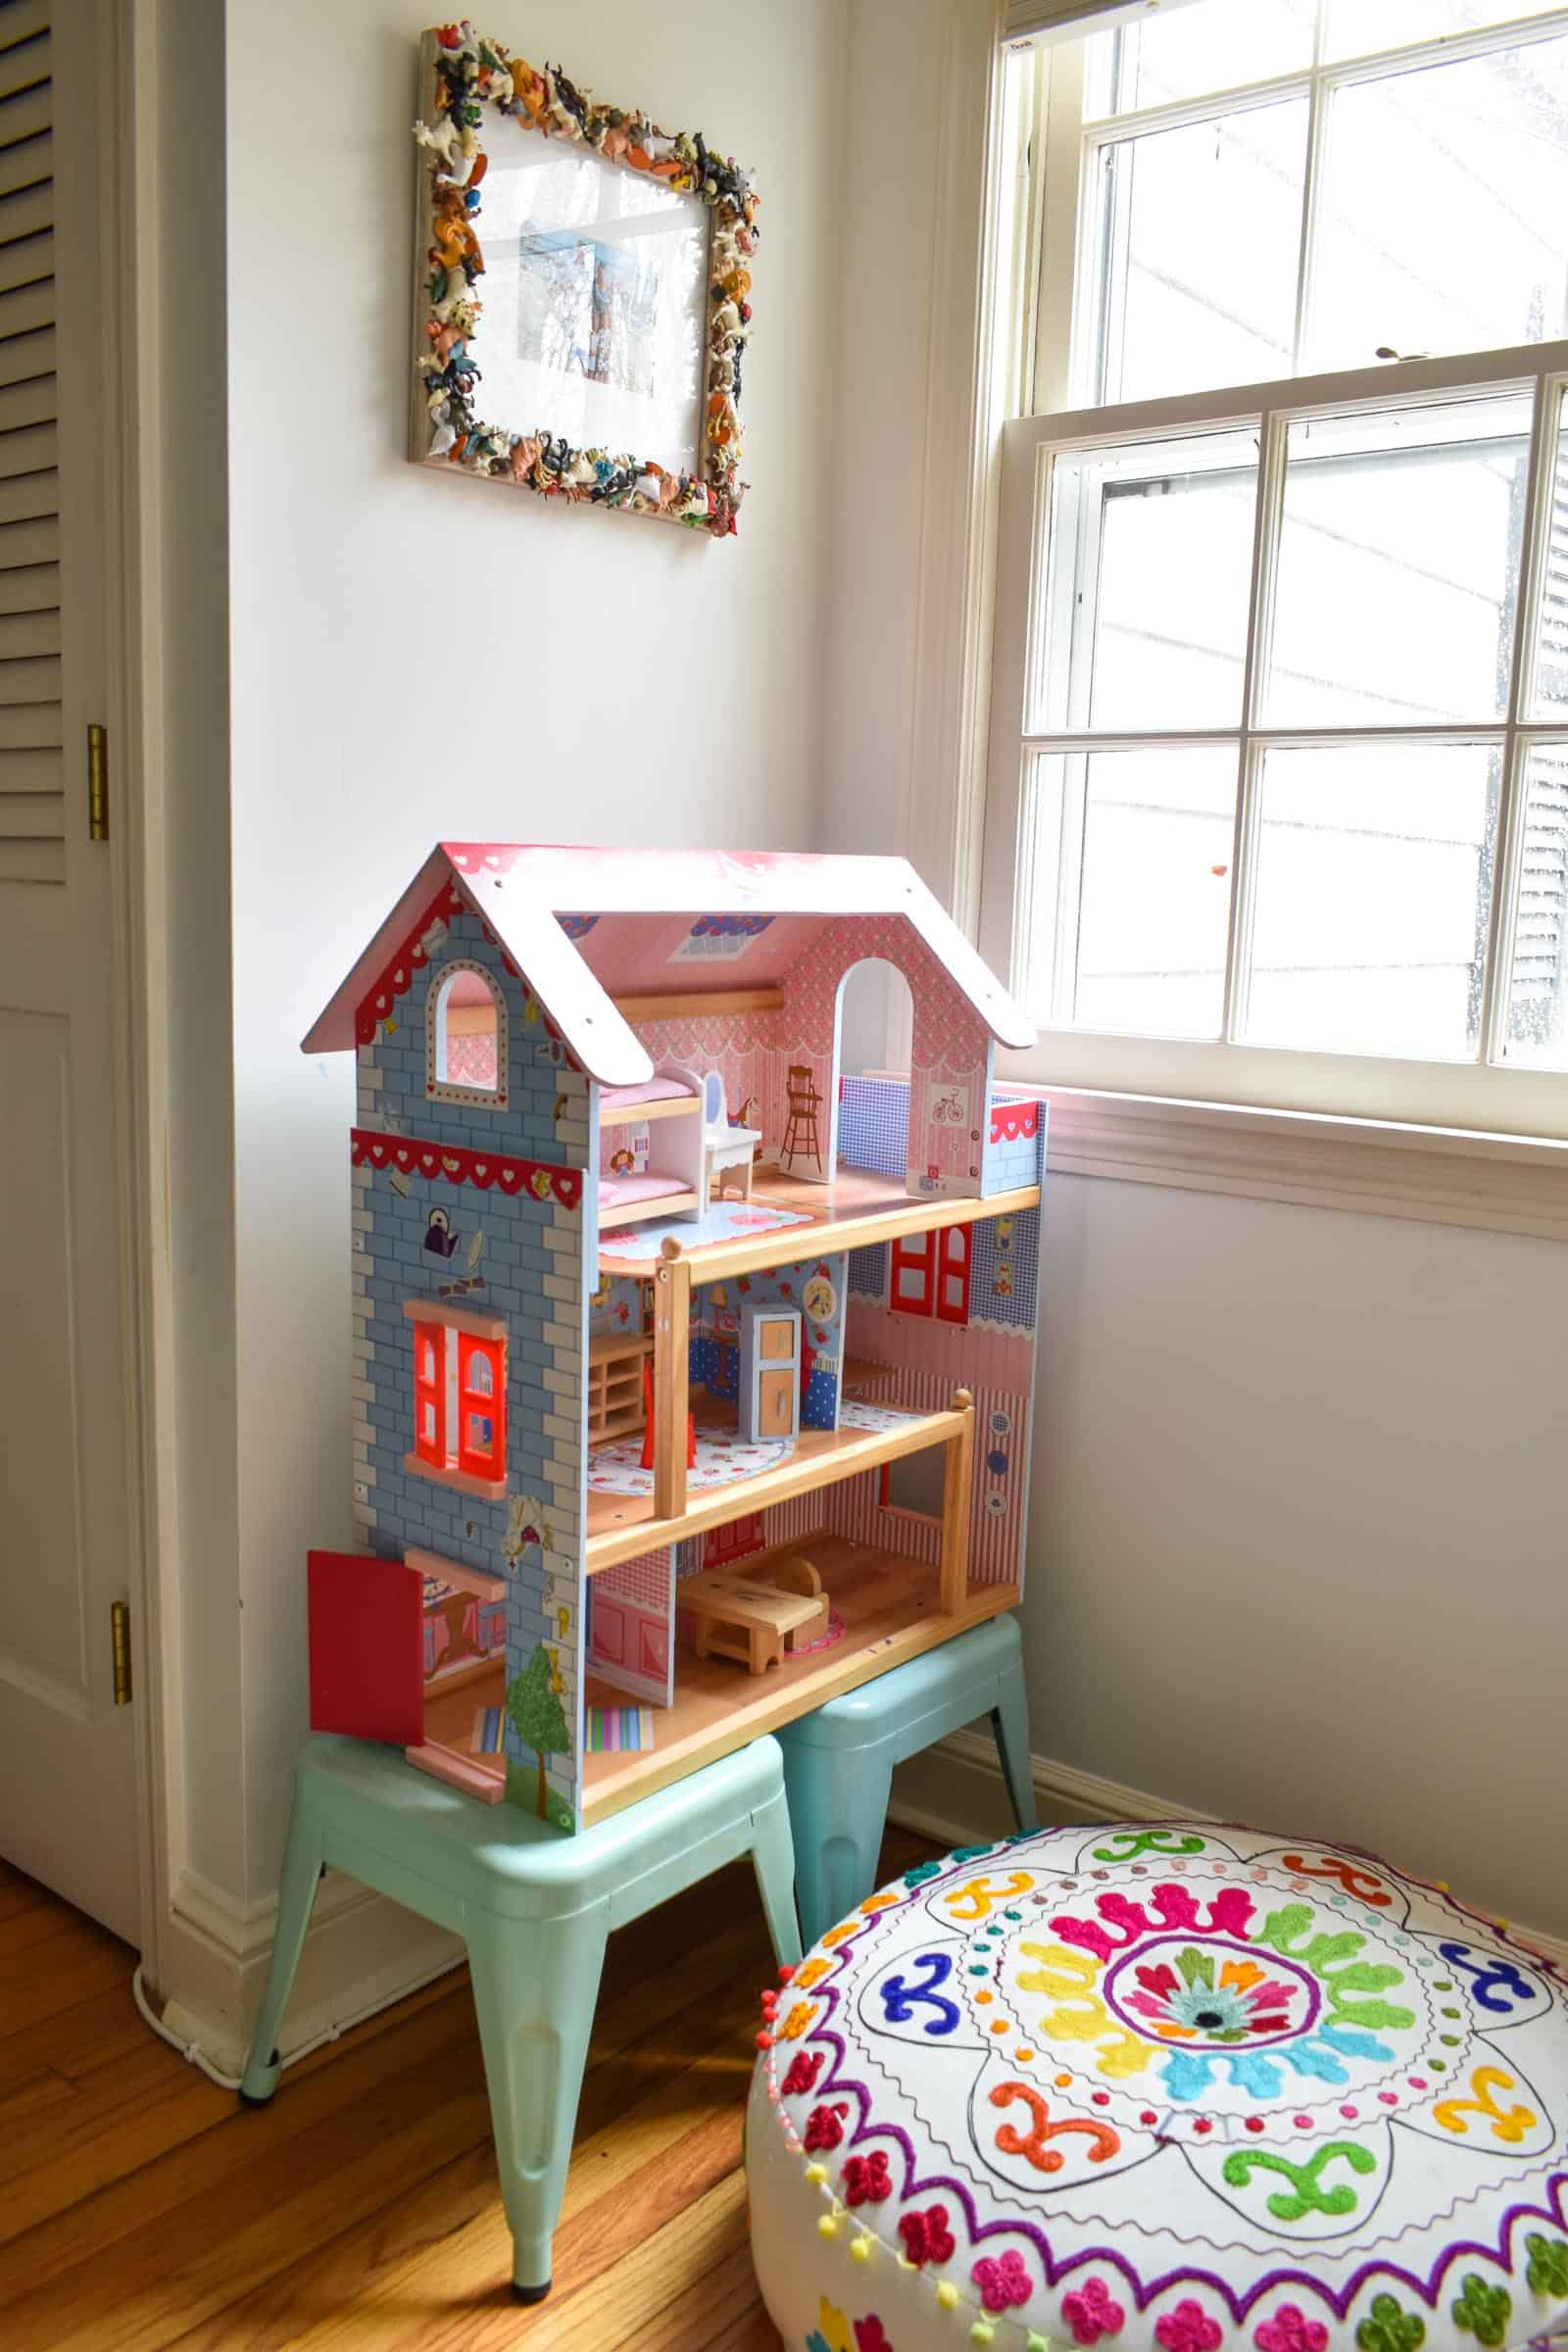
I hung this in a little nook in Arthur and Louisa’s room and they love looking up at it as they play! I love that their favorite toys have now been incorporated into the decor. Also… did I mention it was super easy?
And because Safari, Ltd. is SO awesome… I have a coupon code for you!!! Enter CharlotteS1 and CLICK HERE for 15% your order so you can make your own fun animal creations. Or…. just buy a bunch for your kids because they will LOVE them!!!


I love this project!!!! I know what i’m going to do next!! Thanks for the inspiration! 🙂 This is such a good idea! Where’d you come up with it???
Thanks Phoebe! I’ve covered pictured frames in fun things before so this seemed like the only logical way to make something fun with those plastic animals! 🙂
I didnt think it was possible to learn anything new about glue guns – until you go and mention the blow dryer hack! MIND.BLOWN.
THE FRAME IS SUPER CUTE – WE HAVE A FEW SHADOW BOXES FILLED WITH GOLD SPRAY PAINTED MAMA-BABY ANIMALS THAT I SAVED FROM MY SAFARI THEMED BABY SHOWER. IT’S SUCH GREAT ARTWORK FOR KID AREAS!
Haha! Yeah… it’s a life saver! And those shadow boxes sound adorable!!