
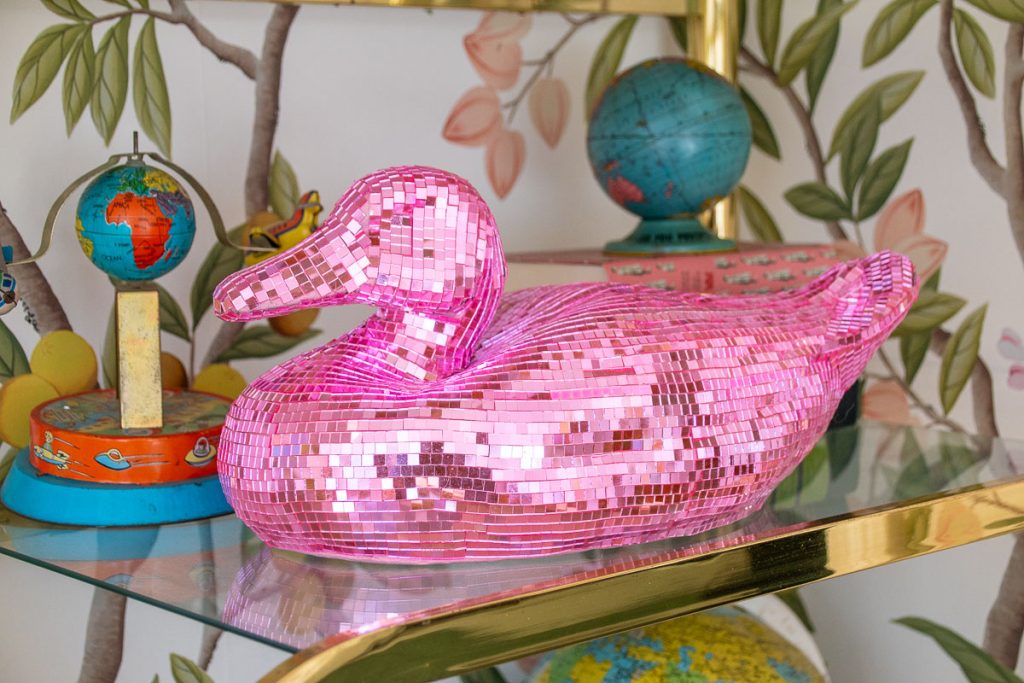
Disco Duck… AKA Fun with Mirror Squares
Psssst… this post *might* contain affiliate links: see my disclosure here.
I saw something silly on TikTok and had to try it myself… find a random object and cover it with disco ball mirrored squares. My random object? A duck decoy.
Story Time:
Whenever I go to a flea market or a thrift store, I’m always looking for that one super weird and quirky thing that might be a centerpiece of a space. Maybe it’s a carnival figure in the corner, a Plinko game on the wall or a giant light up sign hanging from the ceiling. This search for oddities is truly one of my design priorities so when I saw a TikTok about two guys who covered a found virgin Mary statue with mirrored disco squares, I knew I had to find something random to disco-fy.
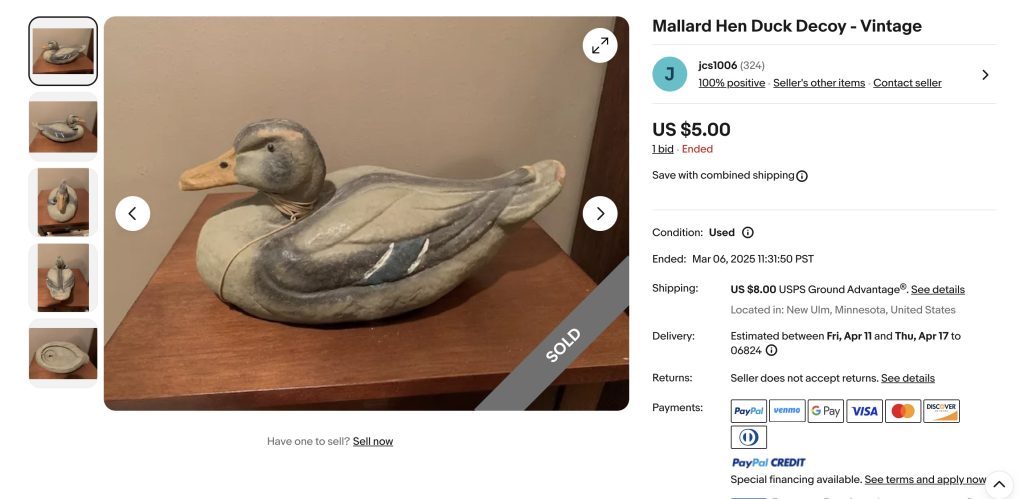
Step 1. Find the Object
I looked at my local antique market, Facebook Marketplace and Goodwill before taking to the internet for something to transform. At some point in my search, I decided a duck decoy might be an inexpensive, readily available and shapely object to work on and thankfully eBay did not disappoint.
Shop my favorites!
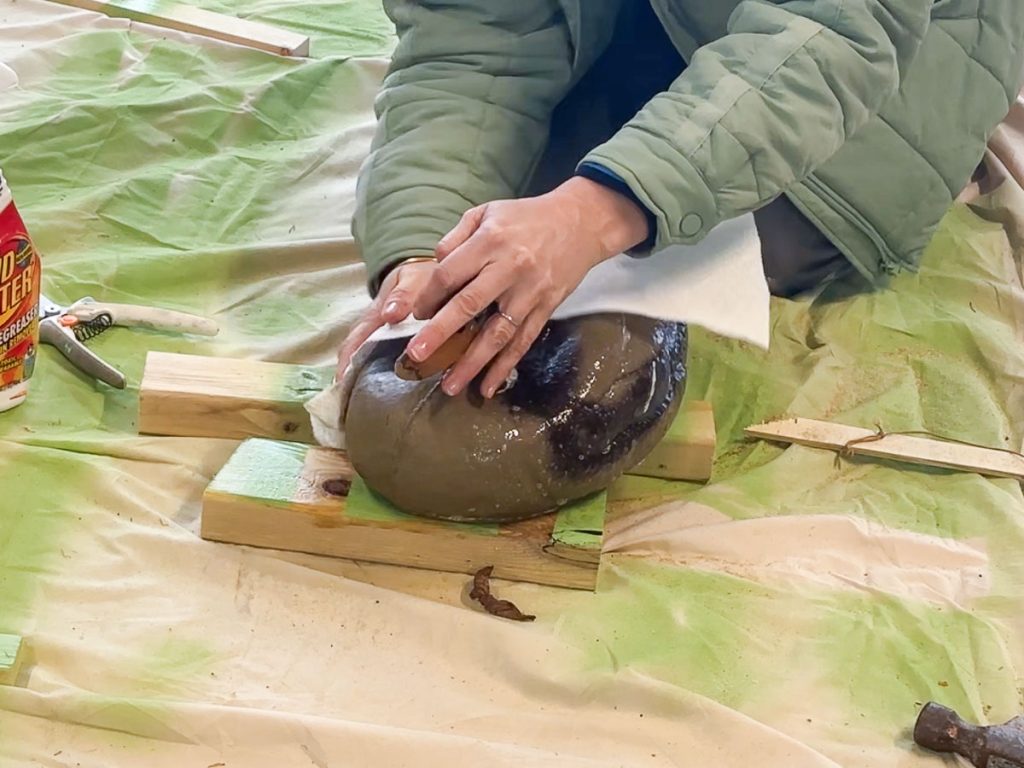
Step 2. Prep the Object
If at all possible, clean your object as much as you can before doing any work… I used Krud Kutter and a paper towel to wipe my duck clean. My only tip here is to use a cleaner that won’t leave behind any residue and to use a cloth or towel that won’t leave behind any fibers.
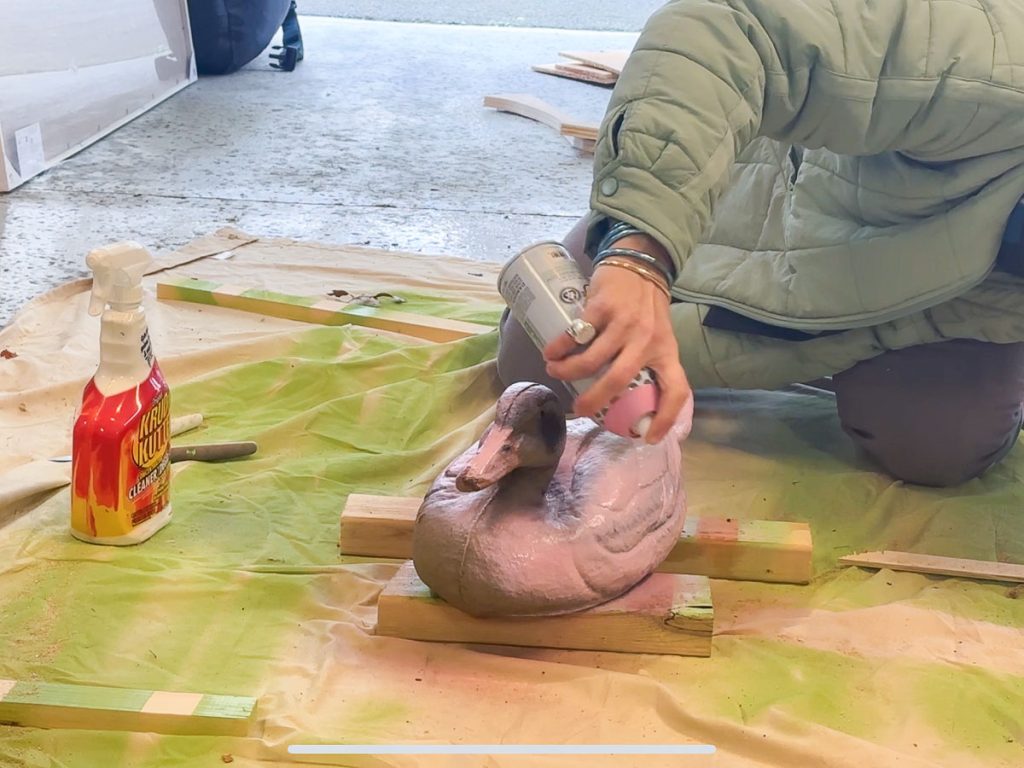
Step 3. Base Coat
I was planning on using THESE super fun pink mirror squares so for my duck, the base coat was pink. I used a spray paint from my stash so the color won’t be perfect, but it was pretty close. The only thing I would suggest is choosing a spray paint that isn’t too shiny so that the sticky mirror tiles will adhere!
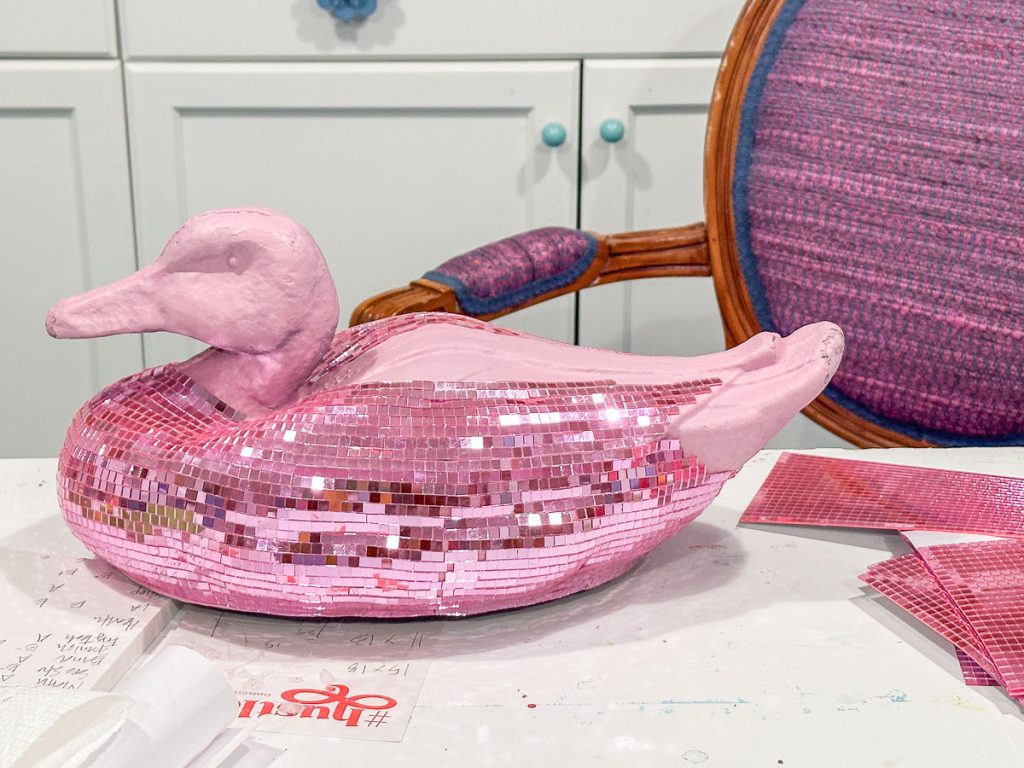
Step 4. Apply the Mirror Disco Squares
I was a little worried this step of the project would take an eternity. I was SUPER pleasantly surprised that it didn’t take that long at all! Two things occurred that made this step not awful: thankfully the sticky squares actually stuck to the duck. I was worried the adhesive wouldn’t stay in place and I’d have to use my glue gun which would have added a whole other step.
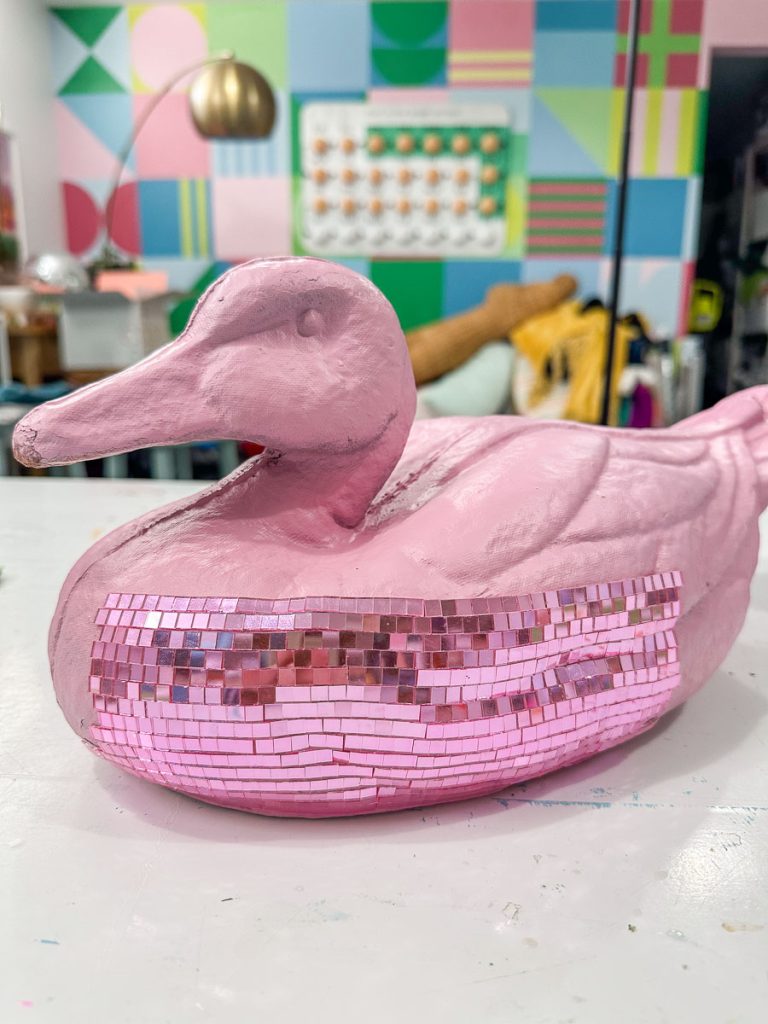
The second thing I did that helped my cause was to apply the mirror squares in a whole row. In other words, when I removed them from the backing paper, I removed them as an entire row versus one at a time. This made it easier to cover more territory AND to line them up neatly so there was minimal gaps between my disco squares.
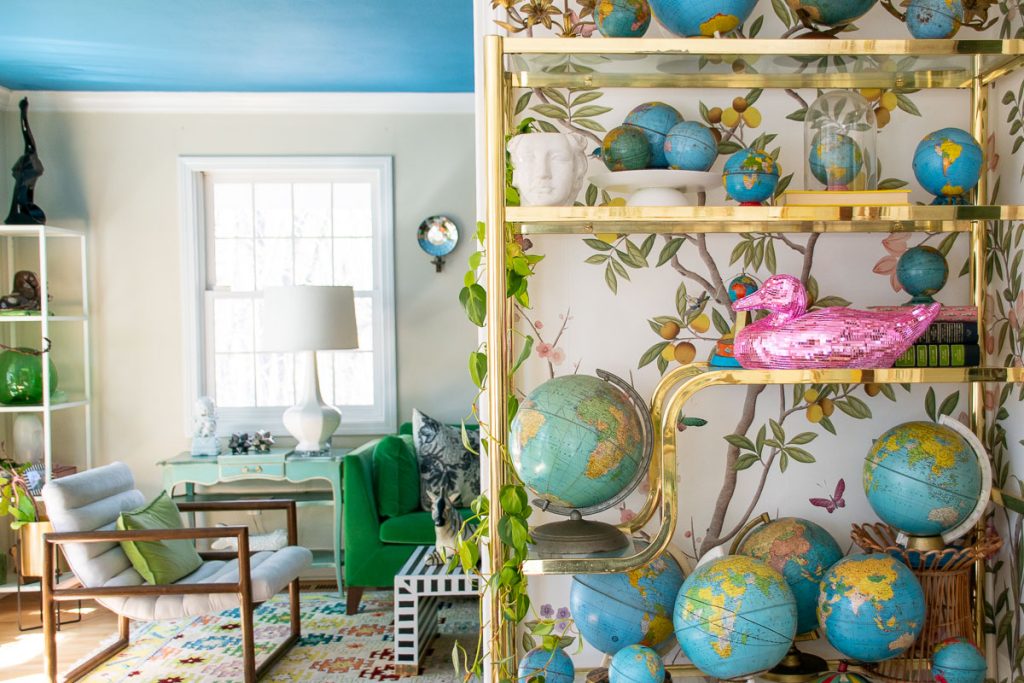
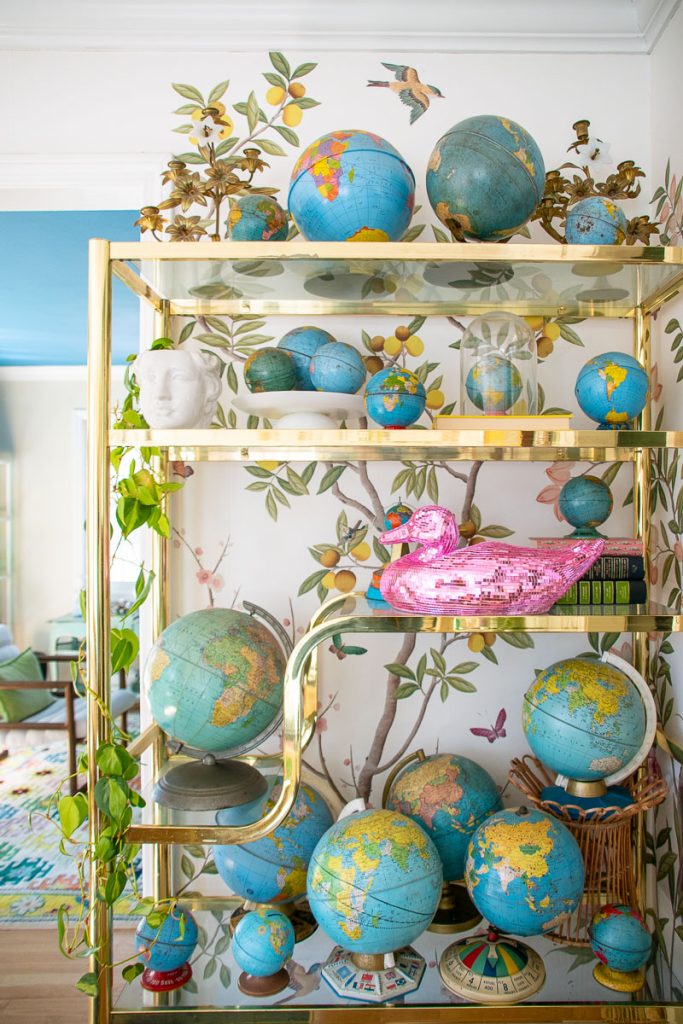
And… that’s it! I watched a few episodes of Succession. I hid downstairs in my office. It was a nice little brain break and now I have this bedazzled disco duck! She lives in my dining room because ya know… fancy. And I love her. There are a couple tiles that have come loose along the bottom edge where they weren’t touching the duck enough but those can be easily re-secured with hot glue. And because I gave her a base coat of pink spray paint, you can’t really tell where there are any gaps between the mirrors so she really does look like a disco ball!


Don’t Miss Out
Become An Insider!
Signup for exclusive tips, and tricks from Charlotte’s House!
Let’s chat!
I love comments from you, so feel free to leave your thoughts and ideas below! And don’t forget to follow me on Instagram for even more!