
DIY Menu Board Tutorial: How to Use a Glowforge Aura and a Cricut to Make a Cute Scalloped Meal Planner
Psssst… this post *might* contain affiliate links: see my disclosure here.
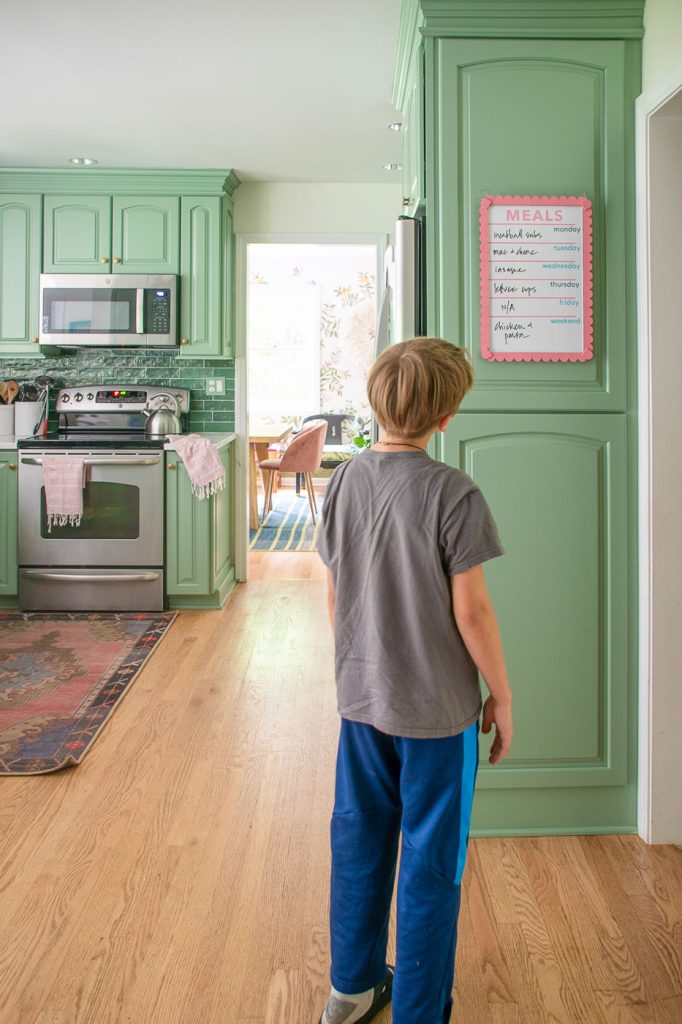
Meal time around here was free-for-all so I decided to get more organized by making this DIY menu board.
Step 1: Gather Your Materials
First things first, let’s gather all the materials you’ll need:
– whiteboard (I used this one)
Shop my favorites!
– Glowforge laser cutter (for creating scalloped cutouts)
– CRICUT cutting machine for adding text (I used this one)
– Cricut vinyl
– Cricut transfer tape
– thin wood (for the scalloped cutouts)
– Whiteboard markers
– Glue gun
– Painter’s tape
– Measuring tape
– Scissors
– acrylic paint and brushes for customization
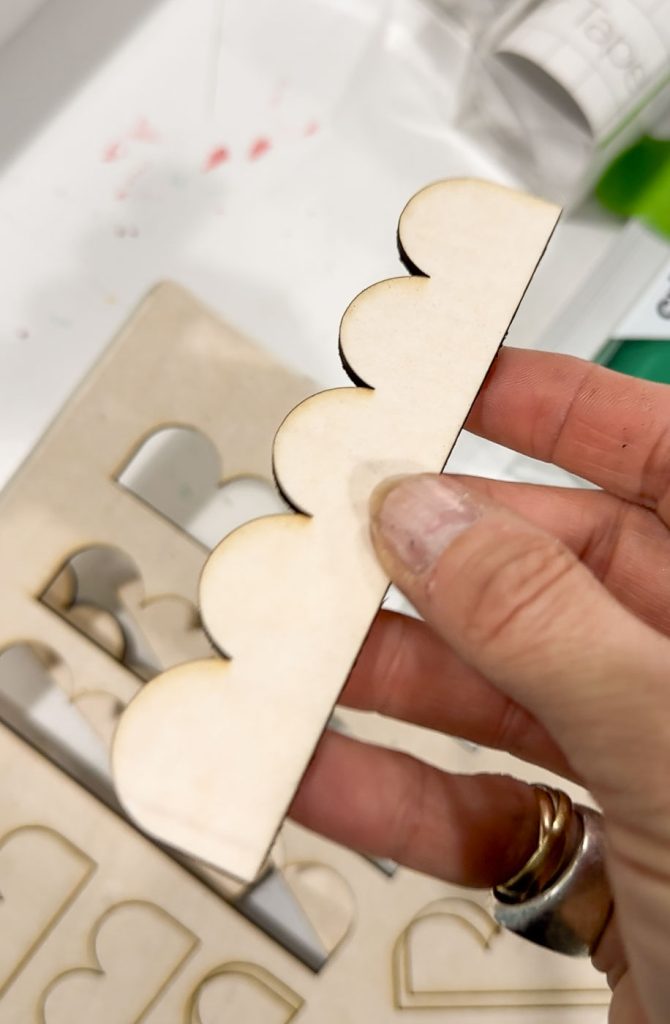
Step 2: Design and Cut Your Scallops
Using your Glowforge, design and cut out scalloped shapes from your chosen material (mine was a thin soft wood). If you’re new to Glowforge, join the club. I don’t find it wildly intuitive but I have been able to figure things out with the help of google. I should have made these scallops a bit longer to avoid as many seams, but you don’t really notice unless you’re close up and I’m still learning!
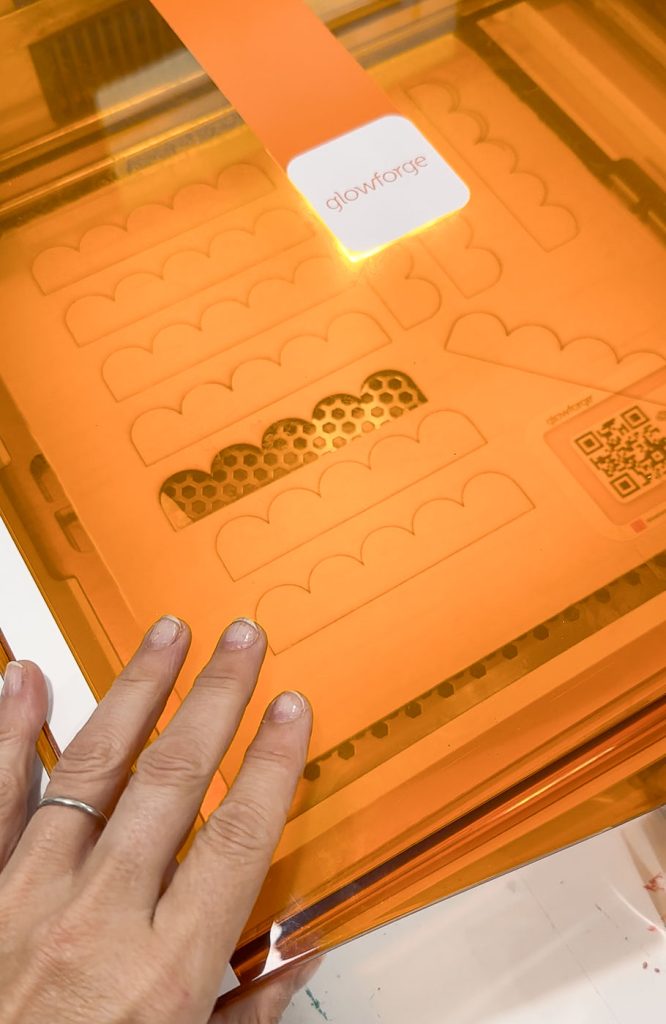
I should mention, a glow forge is a MAJOR purchase. You definitely do *not* need one in order to finish this project. The Cricut can cut out thin wood like balsa easily or you could probably cut away by just hand cutting heavy card stock!
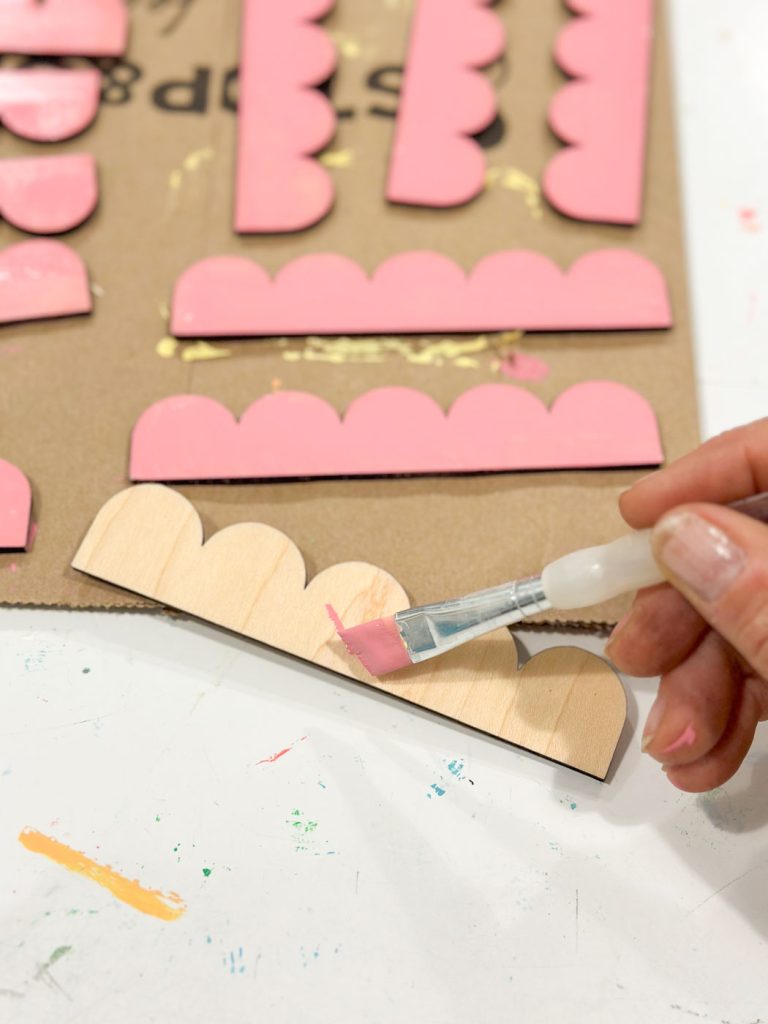
Step 3: Paint the Scallops
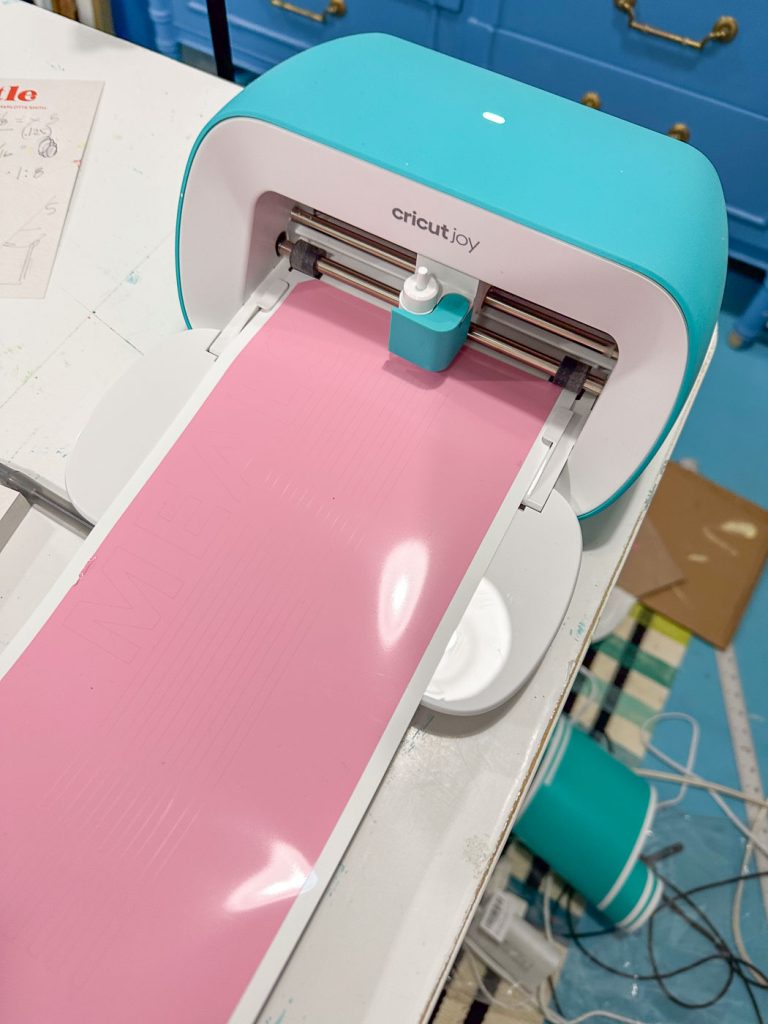
Step 4: Cutting and Applying Text with CRICUT Joy
Fire up your CRICUT Joy and create the words or labels you want to apply to your menu board. Whether it’s “Monday Dinner” or “Weekly Specials,” CRICUT Joy makes it easy to cut out precise letters and shapes from a variety of materials. I’m using the Smart Vinyl here so no need for a cutting mat which is really nice.
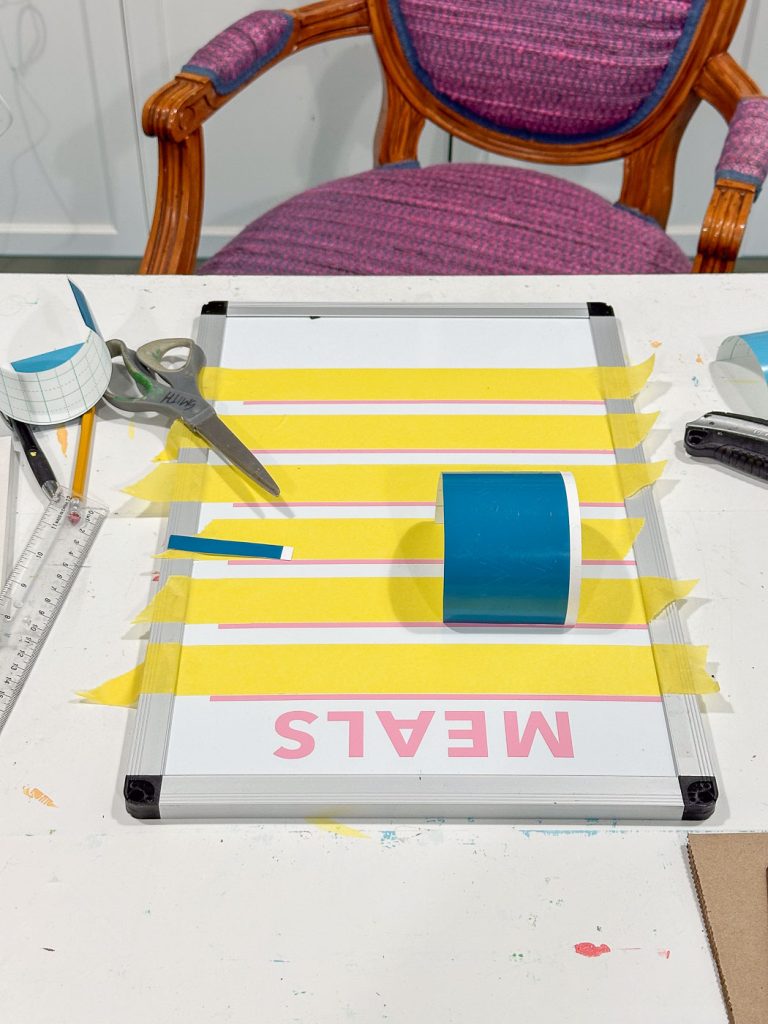
To help line up the Cricut vinyl labels, I measured and tape off the sections with painter’s tape.
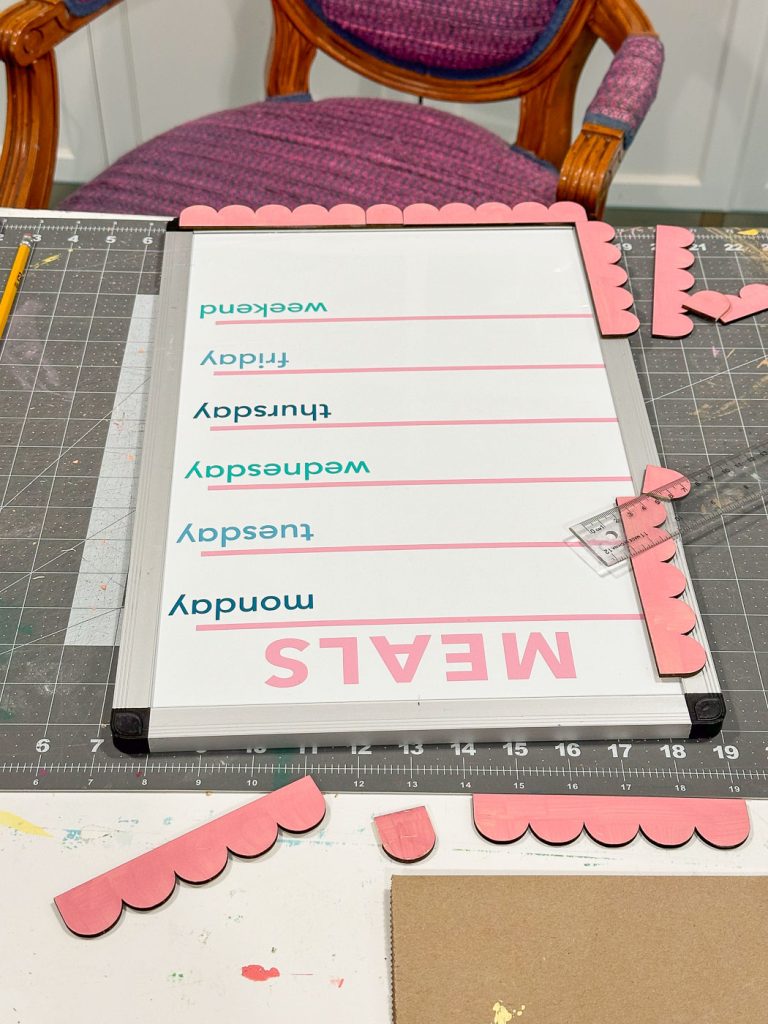
Step 5: Applying the Scalloped Cutouts
With a hot glue gun, attach each scalloped piece to the white board frame. Mine didn’t line up perfectly on the corners so I used shorter sections of the scallop cut outs to cover this seam. (A smarter crafter than I would have measured and sized the scallops to perfectly line up at each corner!)
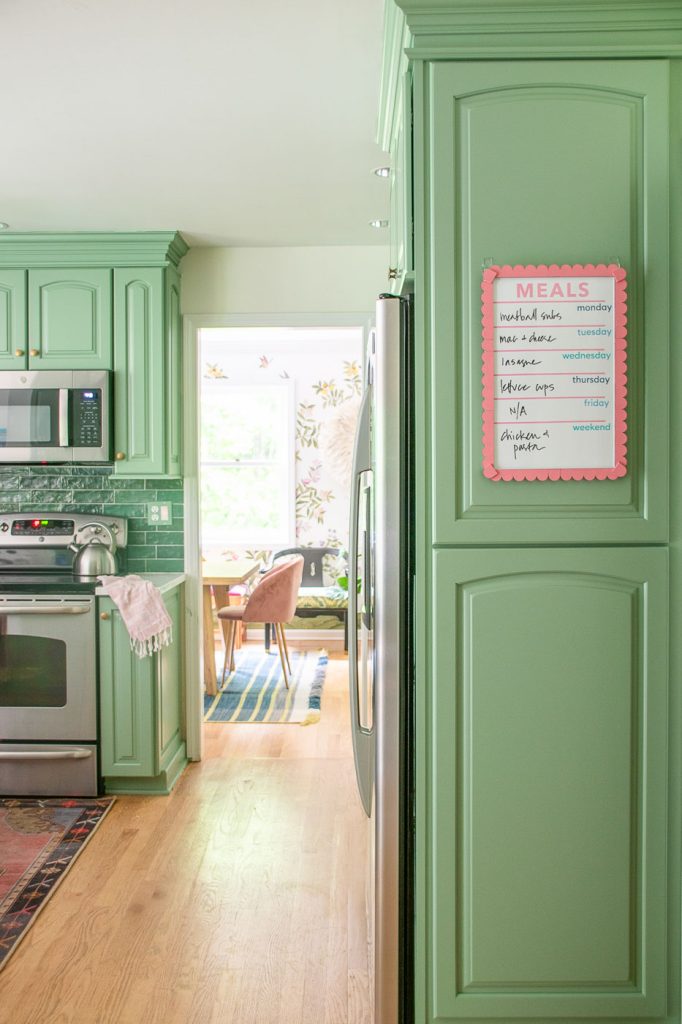
Step 6: Mounting Hardware
In order to mount this white board onto the side of our kitchen cabinets, I took two paper clips, bent them slightly, and glued them onto the back of the white board. Then I mounted two command hooks onto the cabinet and hooked the paperclips on.
Finally, find the perfect spot to display your new DIY menu board. Whether it’s in the kitchen for meal planning or in your home office for jotting down weekly goals, your personalized creation is sure to be a stylish and functional addition to your space.
This board has been up for a couple of months and it has been a GAME CHANGER! Each week I ask the kids what meals they’d like for the week and I shop accordingly. I try not to have the same schedule every week, but they have their favorites and it’s nice to have them discuss and request what they’d like!

I rarely (never) comment on blogs, but your aesthetic is so like mine that I want to move in with you and learn tips and tricks. Your sense of fun, color, and understated elegance are perfectly harmonized! Lovely!
Awww thank you!!! xx