How to Build a Picture Frame for Thrifted Art
Psssst… this post *might* contain affiliate links: see my disclosure here.
I’m always grabbing unframed art from thrift stores and flea markets and here is one way I add a simple skinny frame.
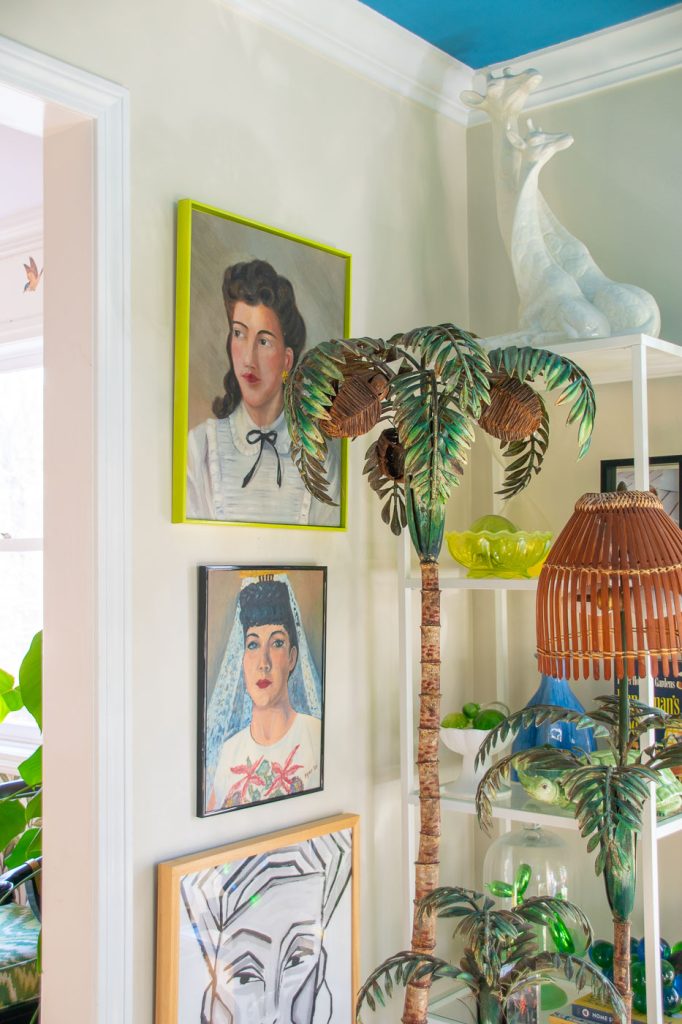
Story Time: I have a storage room filled with random thrifted art. I love it. There’s nothing more beautiful to me than a boldly painted piece by someone in a college art class, for example. Early artist sketches? Amazing. Most of the time, the pieces I’m drawn to are in some pile I have to pick through and they are rarely framed. I’ve perfected a few different ways to frame these thrifted pieces and today I’m sharing one of the easiest techniques.
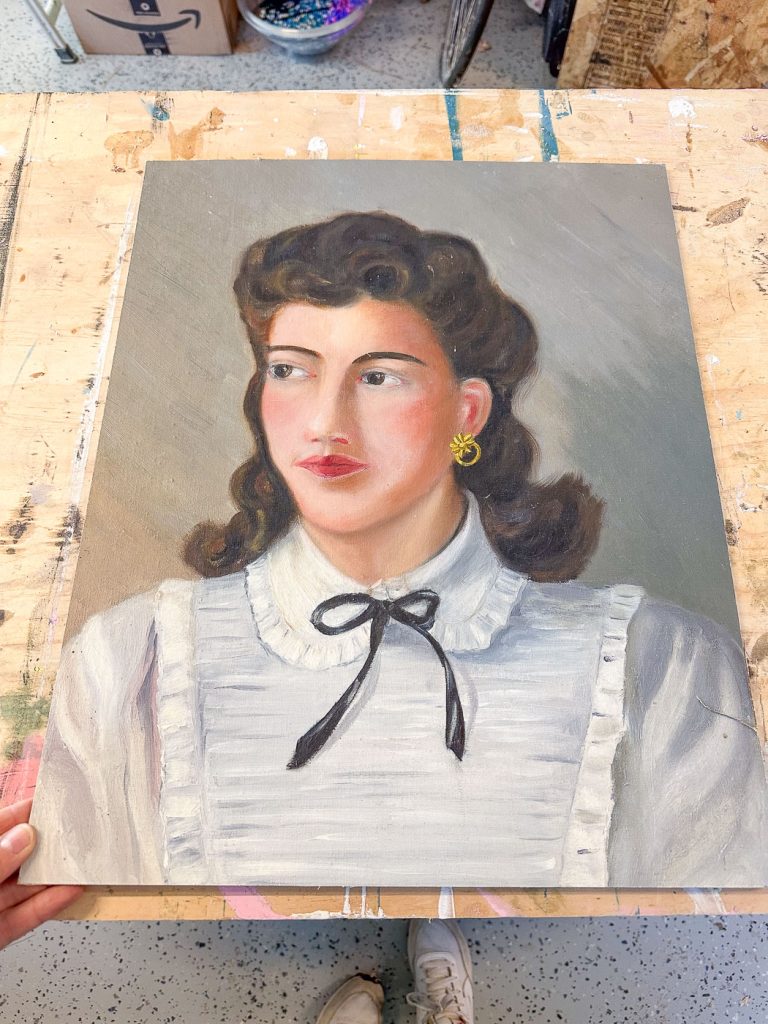
The painting above is AMAZING, but you can see it’s on a skinny canvas board. Sure, I could take this to get mounted and framed and it would look lovely, but probably cost a couple hundred dollars. Until I have that kicking around, I’m going to add a simple skinny frame to tide me over!
Shop my favorites!
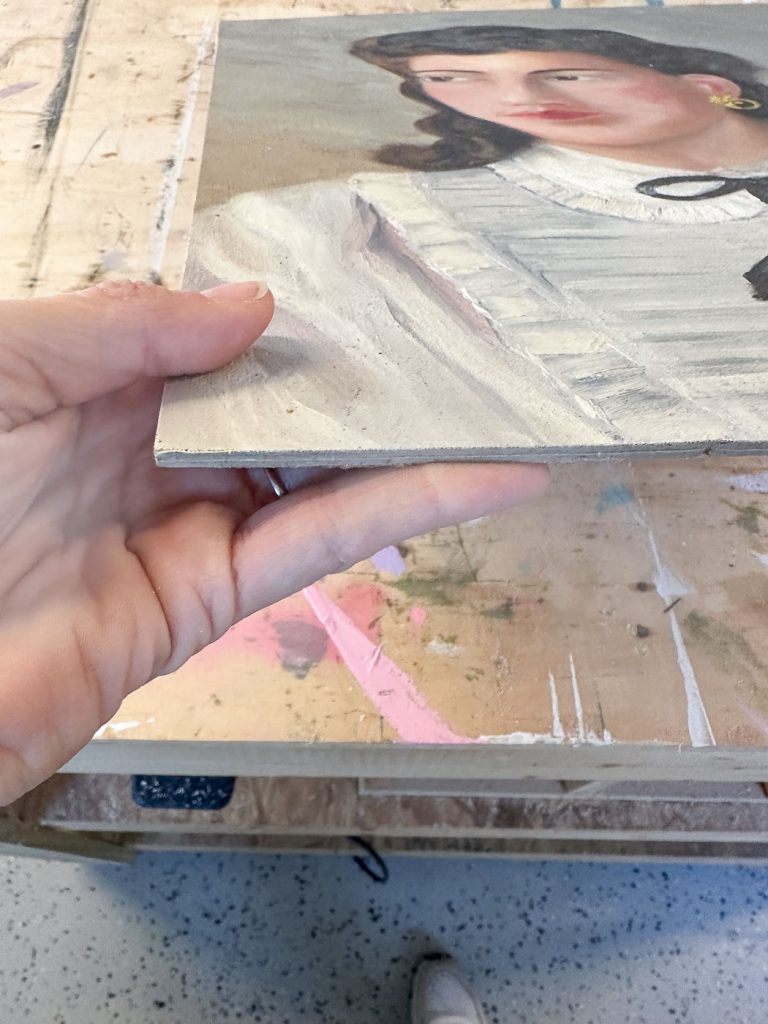
Often, when I make frames, I attach the frame directly to the artwork. With something as skinny as this, obviously that’s not an option with this painting. THIS material is my secret weapon.
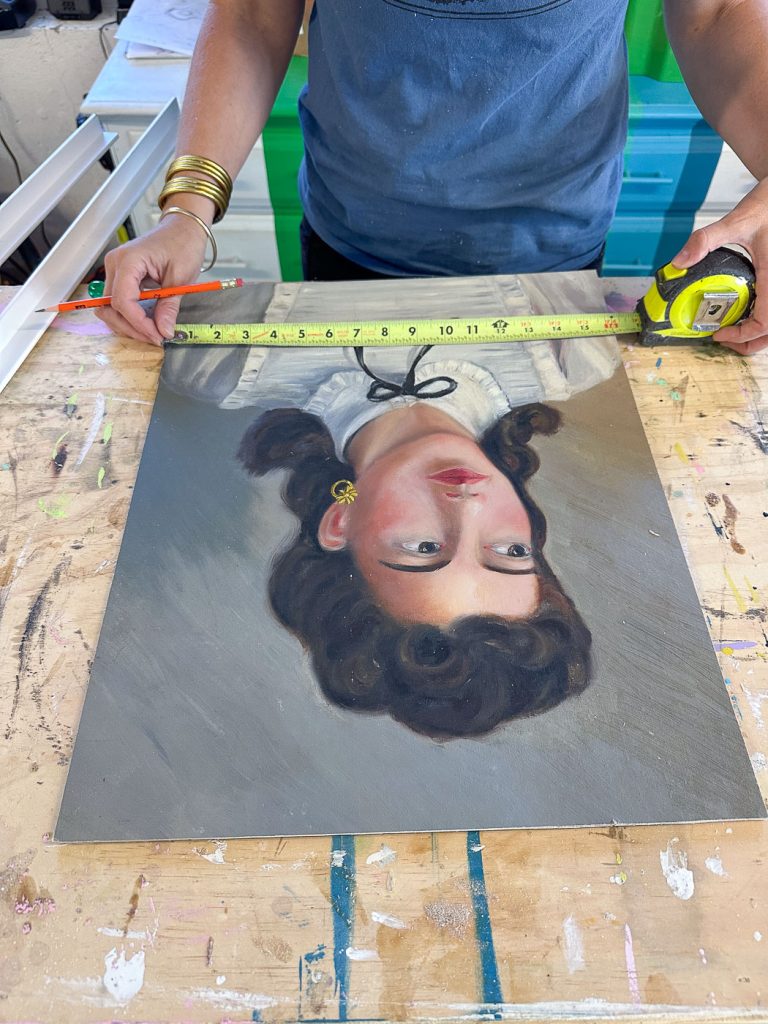
Step 1. Measure for Frame
I wanted the art to ‘float’ ever so slightly within this frame and honestly I probably could have added 1/8″ to my frame. Measure the INSIDE length and width of you corner molding and make sure it will fit your artwork.
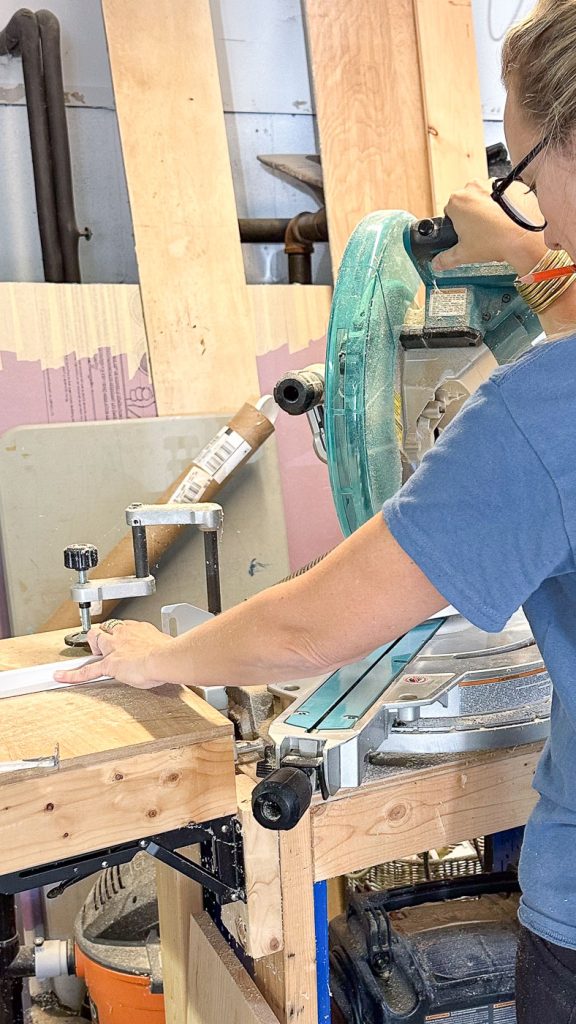
Step 2. Cut the Frame with Mitered Edges
A clean mitered edge is *key* to making your frame look elevated and polished. Be warned, this is easier said than done and I still screw it up 50% of the time. Mistakes I make most frequently when trying to make a clean mitered edge: not checking my miter saw… if the blade is even slightly off, the corner will be slightly off. Check that your blade is cutting at 90-degrees to the table and then make sure you’ve rotated it exactly 45-degrees for the cut.
Step 3. Assemble Frame
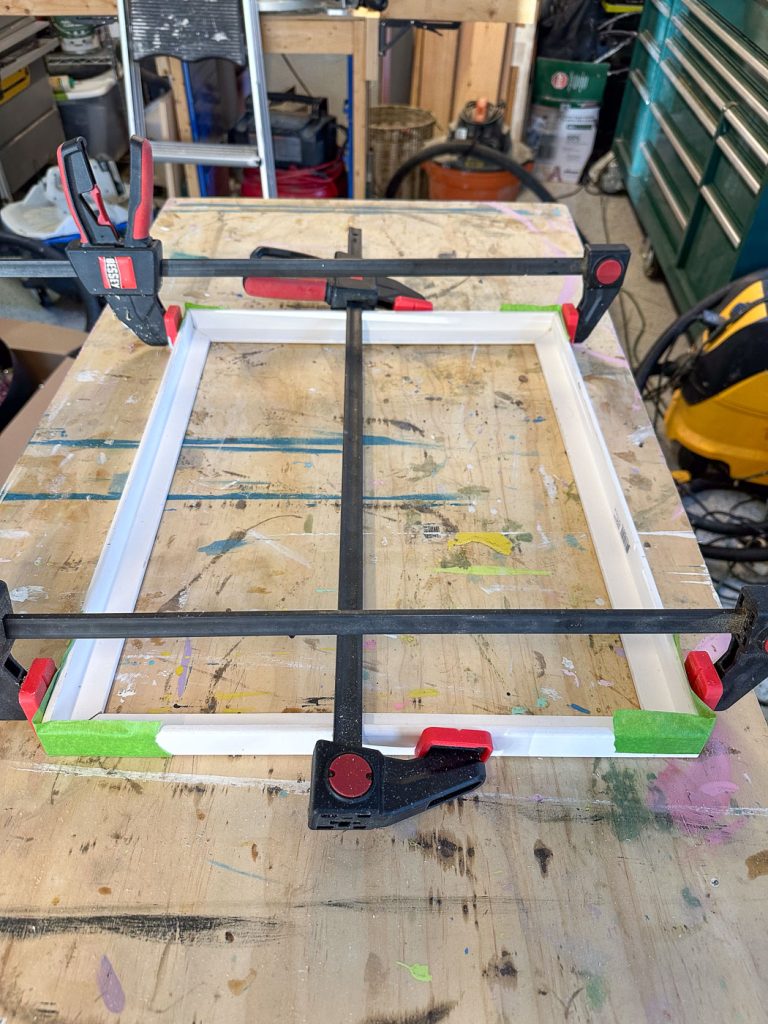
Because this trim is so skinny, I glued the corners. I used a small bead of wood glue on each corner and laid them all out on my work table making sure that each corner was square at 90-degrees. I used a speed square for this and then double checked by measuring diagonally corner to corner…. if everything is square, both diagonals will be the same length. You can see I used both clamps and some painters tape to secure everything will the glue dried.
Step 4. Paint the Frame
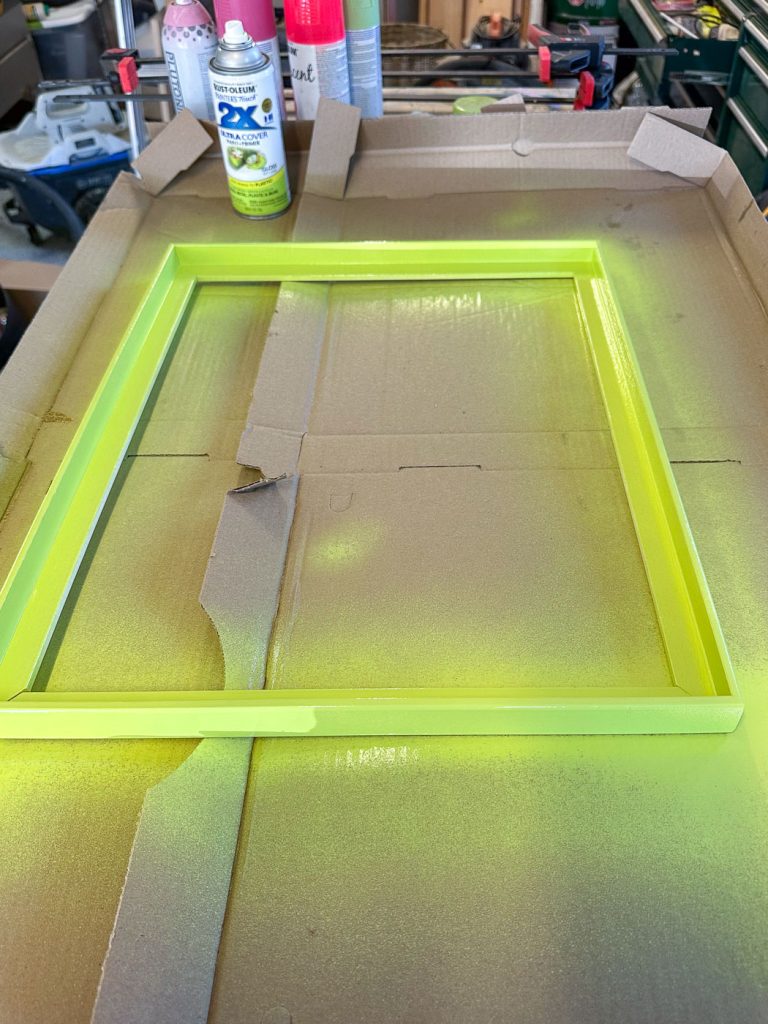
They make this molding in unpainted pine, but I’m using primed pine so intend to paint. I lightly sanded the edges and then gave it a coat of spray paint.
Step 5. Add Art to Frame
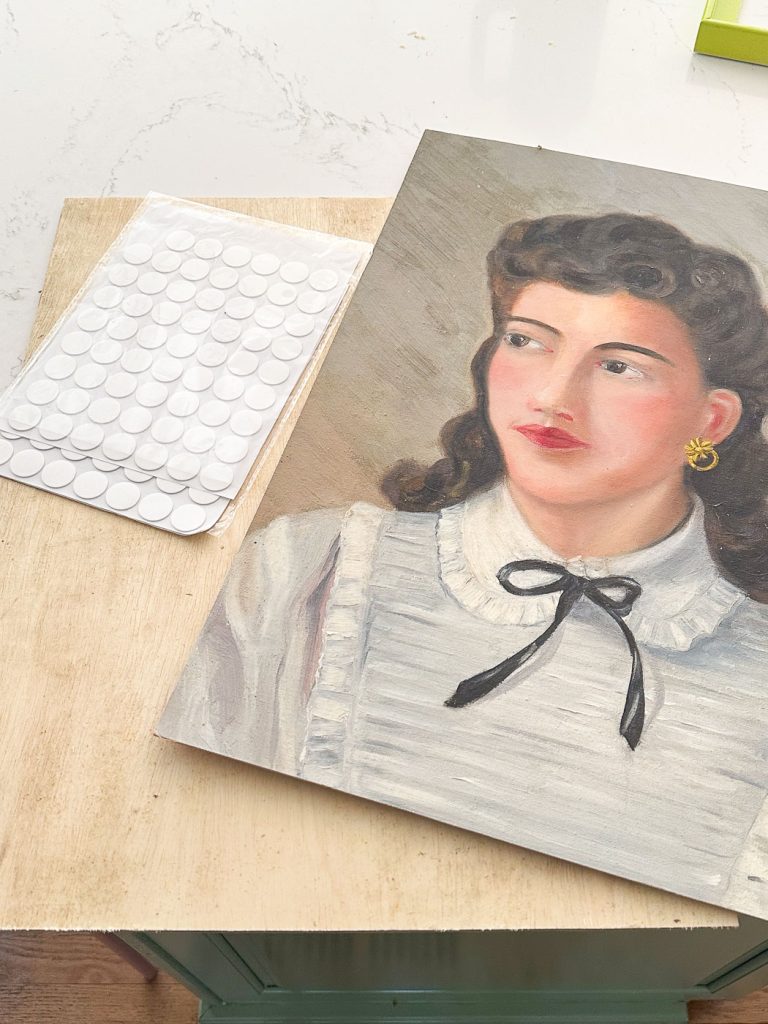
I opted to add my artwork to a thin piece of scrap 1/4″ plywood I had on hand just to give it a bit more heft. If you don’t have scrap wood lying around, you can add a strip of thick tape underneath your artwork to bring it forward in the frame a bit OR… just mount as is. All options will work, it’s just a personal preference! I used these removable museum dots to secure both my painting to the plywood and the plywood to the frame. If I ever change my mind and want to get this painting professionally framed, I can easily remove it from the plywood with no damage to the canvas board.


Don’t Miss Out
Become An Insider!
Signup for exclusive tips, and tricks from Charlotte’s House!
Let’s chat!
I love comments from you, so feel free to leave your thoughts and ideas below! And don’t forget to follow me on Instagram for even more!