
How to Build an Outdoor Bench
Psssst… this post *might* contain affiliate links: see my disclosure here.
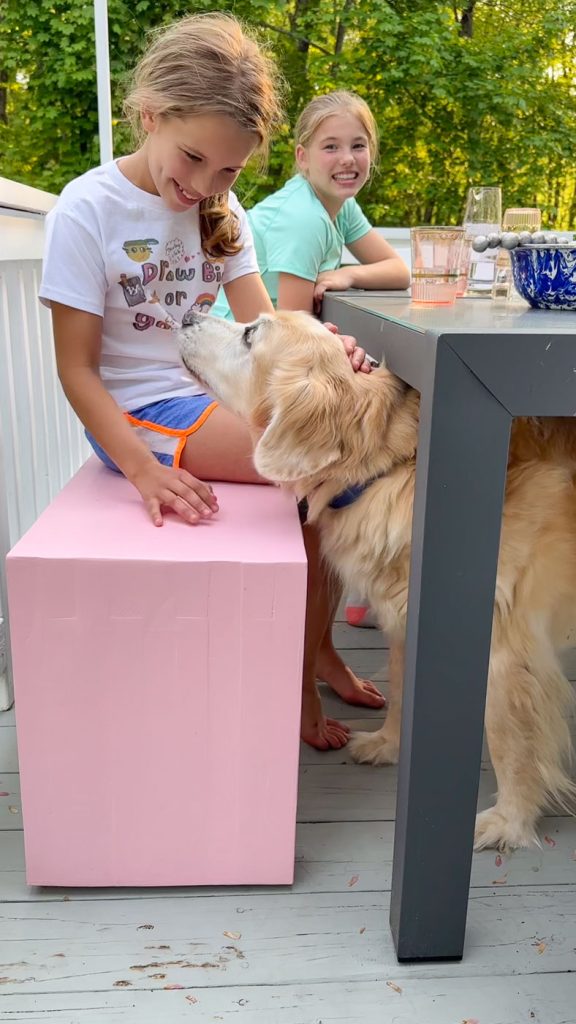
I made this outdoor bench out of budget 2x4s and it’s the perfect simple, yet chic, piece of furniture for our back deck.
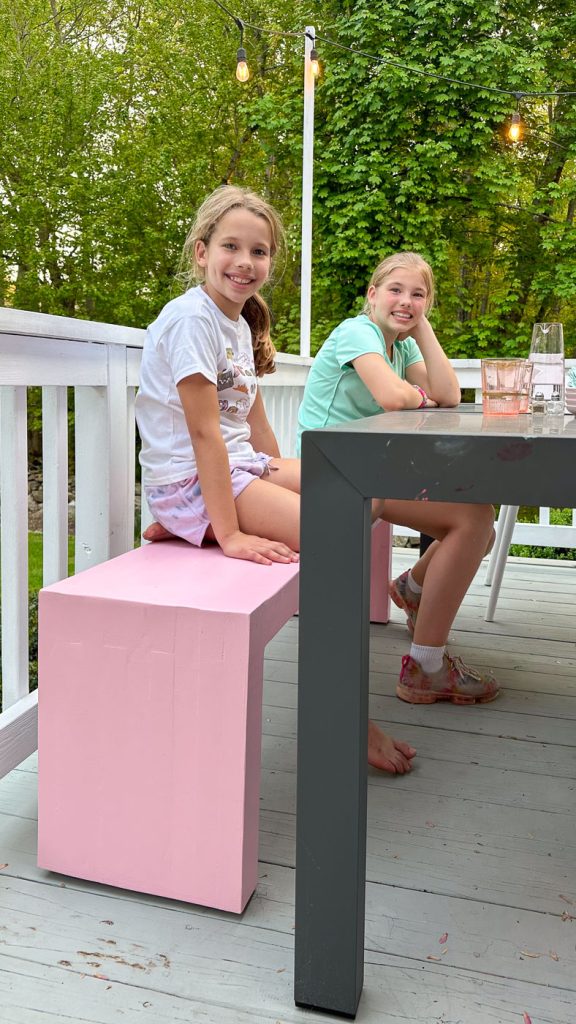
I built this bench last year and shared the process on Instagram, but… never got around to posting on my blog. I confess that these images are screen grabs from the videos I took but I think it’s worth sharing since I’ve had lots if questions about building a basic bench so here it is in writing! This lives on our back deck which is a little tight but still a great spot to send the kids when they’re eating or doing something messy! The bench means three people can easily sit on that side of that side of the table therefore allowing our whole clan to sit around the table if necessary!
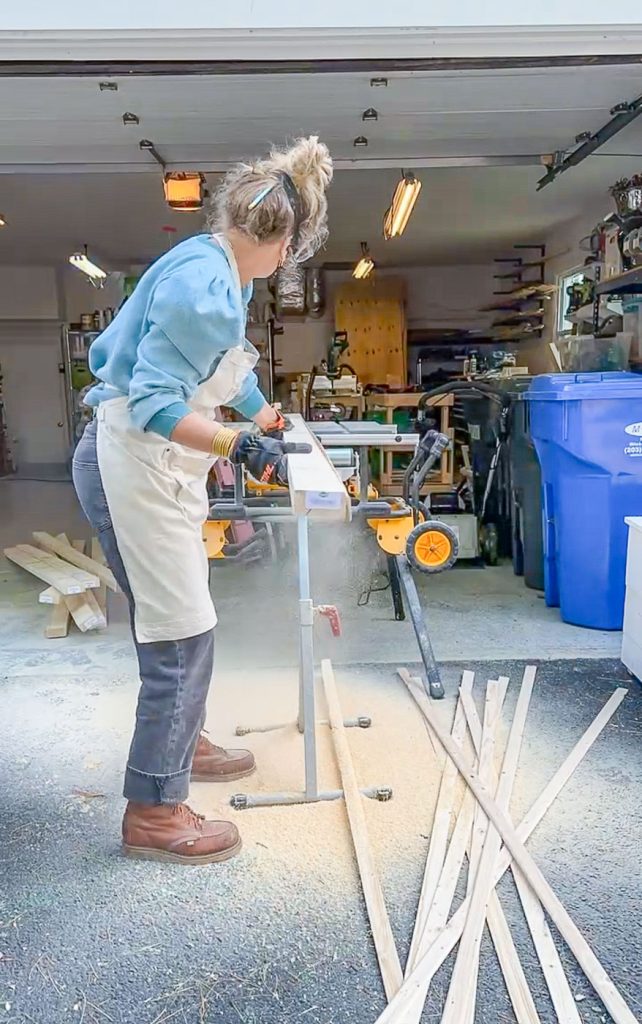
Step 1: Trim Edges off 2x4s
The first step isn’t technically necessary BUT… if you have a table saw this is really what’s going to make the difference between a home made looking bench and something a little more polished. When you buy 2x4s from the hardware store, they have rounded uneven edges. By running each board through my table saw, I trimmed off 1/4″ rough edge and left behind a clean straight edge.
Shop my favorites!
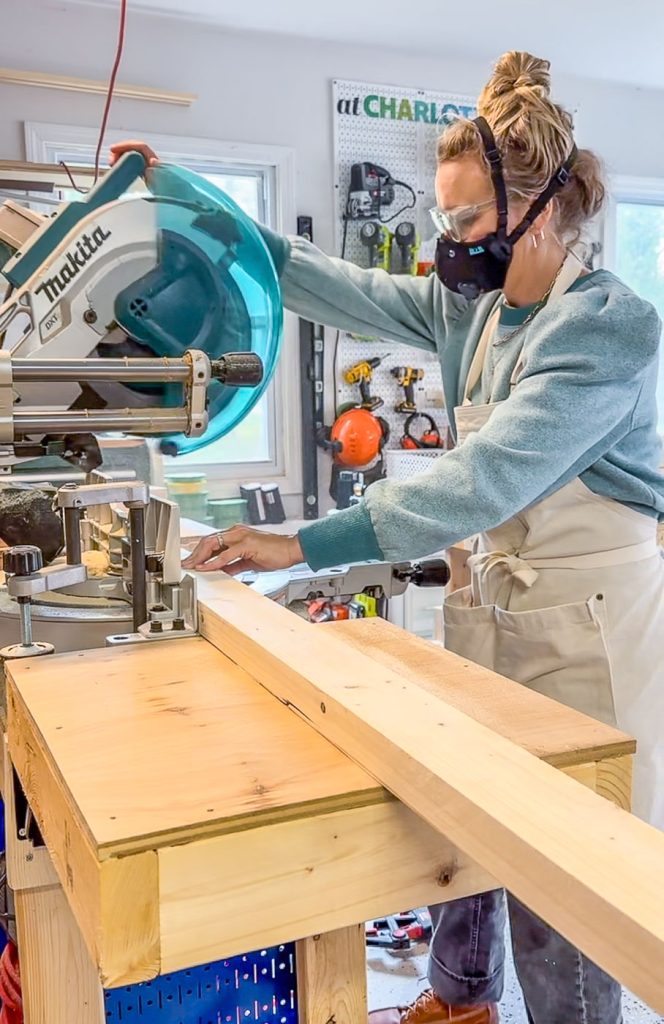
Step 2: Cut the Boards to Size
After trimming, your board should be 1 1/2″ x 3″. I outlined the pattern of this bench below in Step 3, but for a bench 18″ tall and 40″ wide, you’ll need to cut the boards as follows:
- 40″ (5)
- 34″ (4)
- 18″ (8)
- 15″ (10)
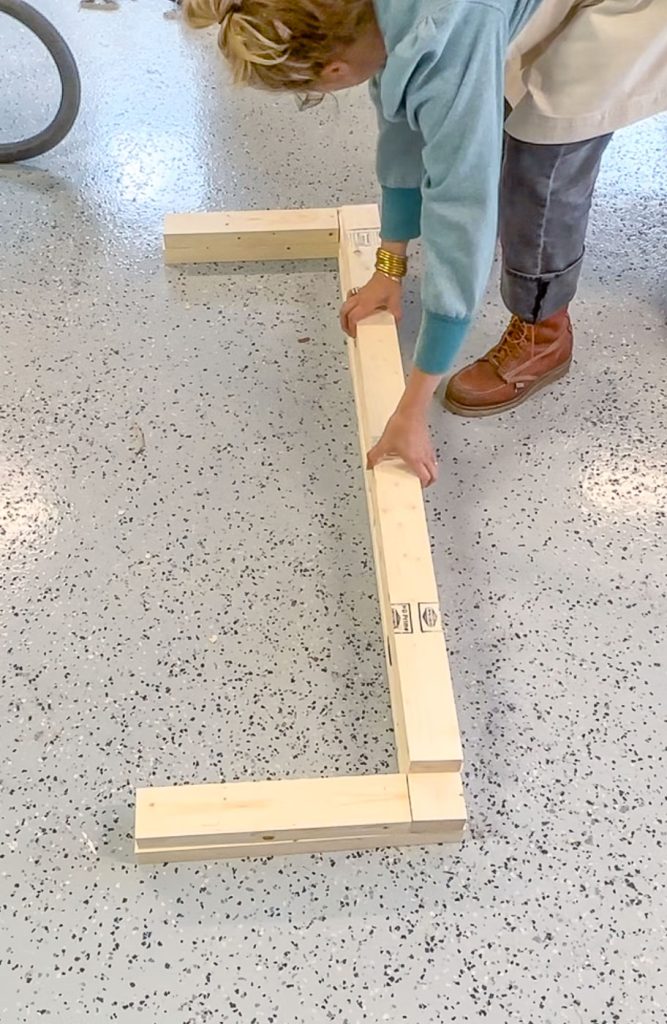
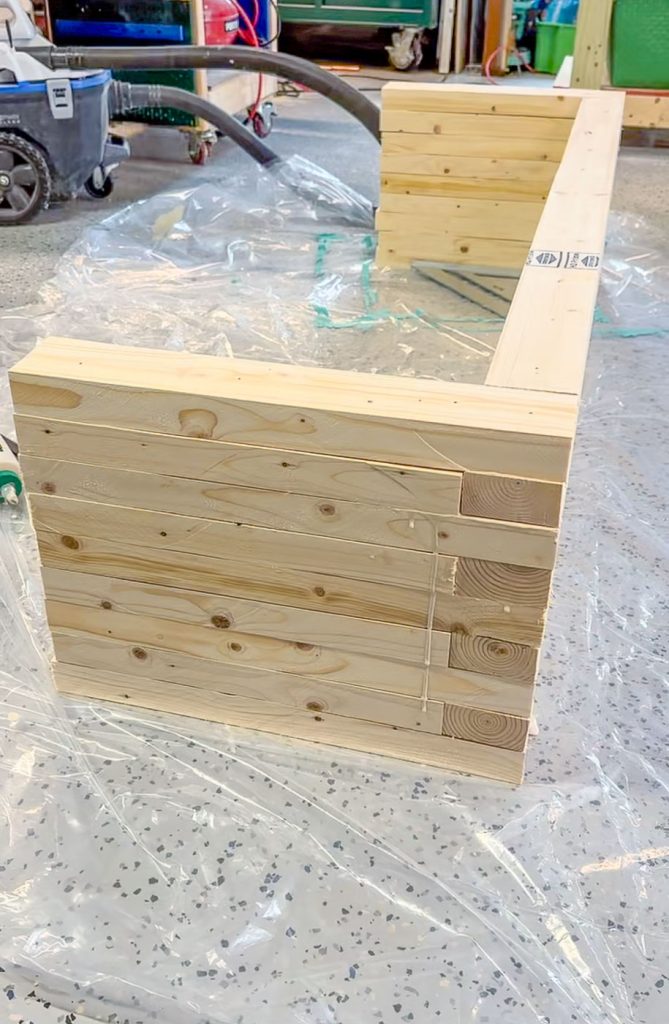
Step 3. Dry Fit the Boards
To make sure you understand the pattern of this build, dry fit the boards before you start assembling in earnest. Trust me… this is very (very) helpful. You can see what the pattern is below; my bench is 18″ high and 40″ long so I’ll show those dimensions. The strength of this build comes from essentially sistering each board to the one next to it with a combination of wood glue and brad nails. I’m never great at posting actual plans (sorry!) but the gist of this pattern is as follows building the bench on the floor sideways:
Layer 1: legs each 15″, cross bar 40″
Layer 2: legs each 18″, cross bar 34″
Repeat these two layers four more times and then end with one final Layer 1 for a total of 9 layers.
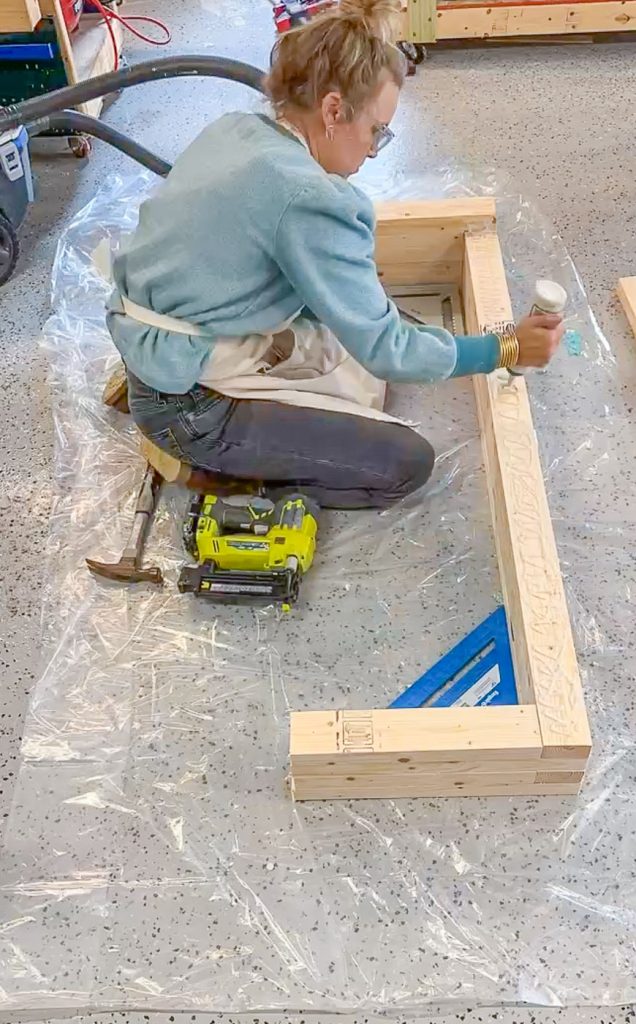
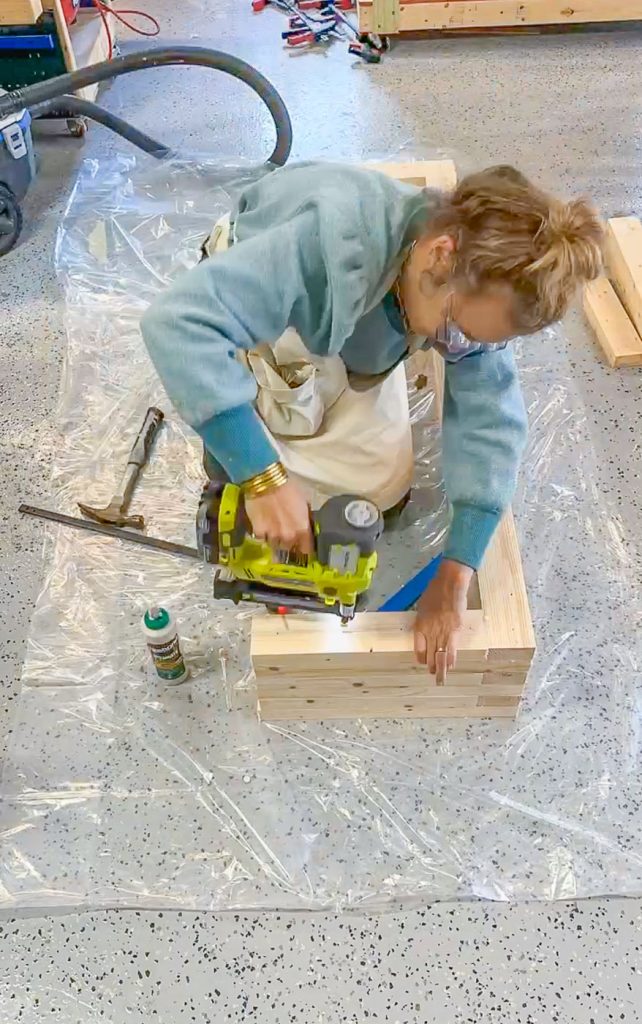
Step 4. Assemble the Bench
Following the pattern you laid out in Step 2, begin assembling the bench. Wood glue is the main structural adhesive here, but I gave each row a once over with 2 1/2″ brad nails just to keep it all held together.
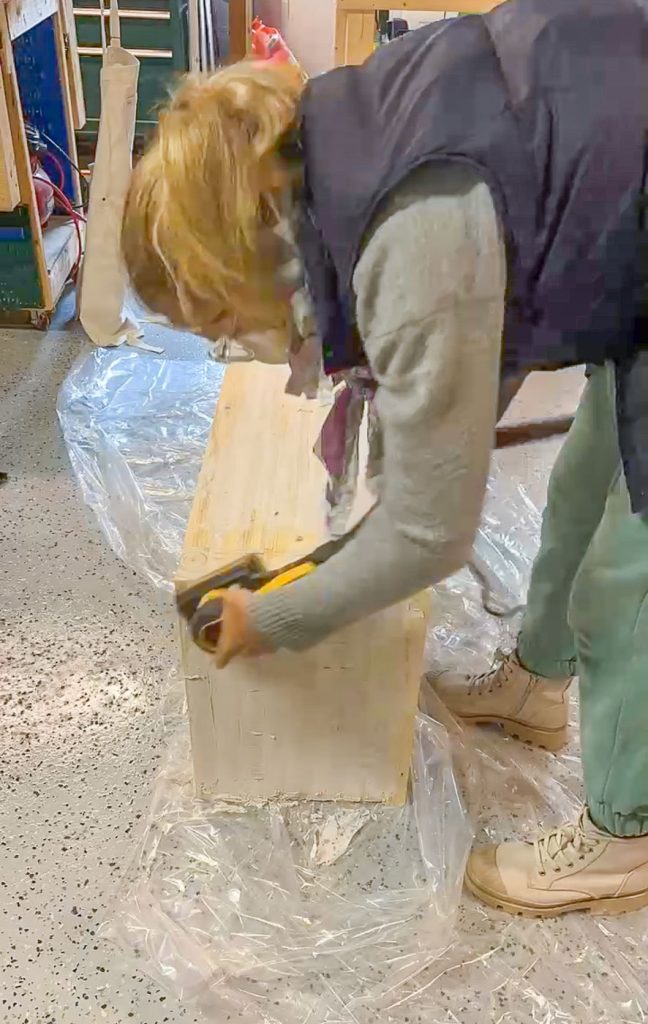
Step 5. Fill the Cracks
I’m sure a better wood worker than me might set up this bench perfectly so no fill would be necessary, but I found there were a handful of very small cracks and gaps along the whole surface of the bench. For a smooth finish, I tried my best to fill these in with wood fill.
Step 6. Sand. And When You Think You’re Done, Sand Some More.
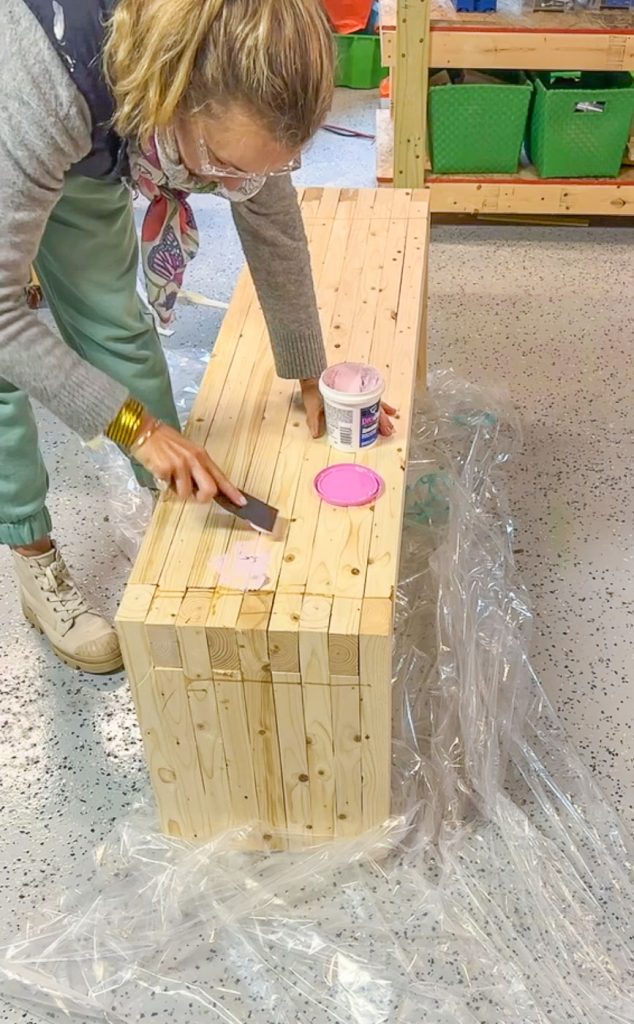
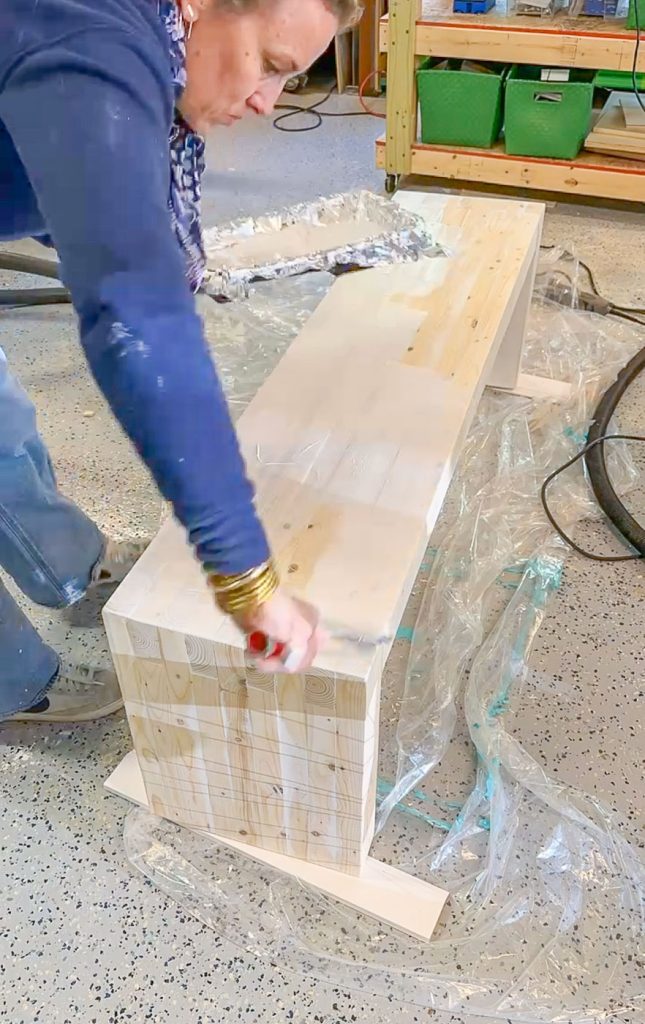
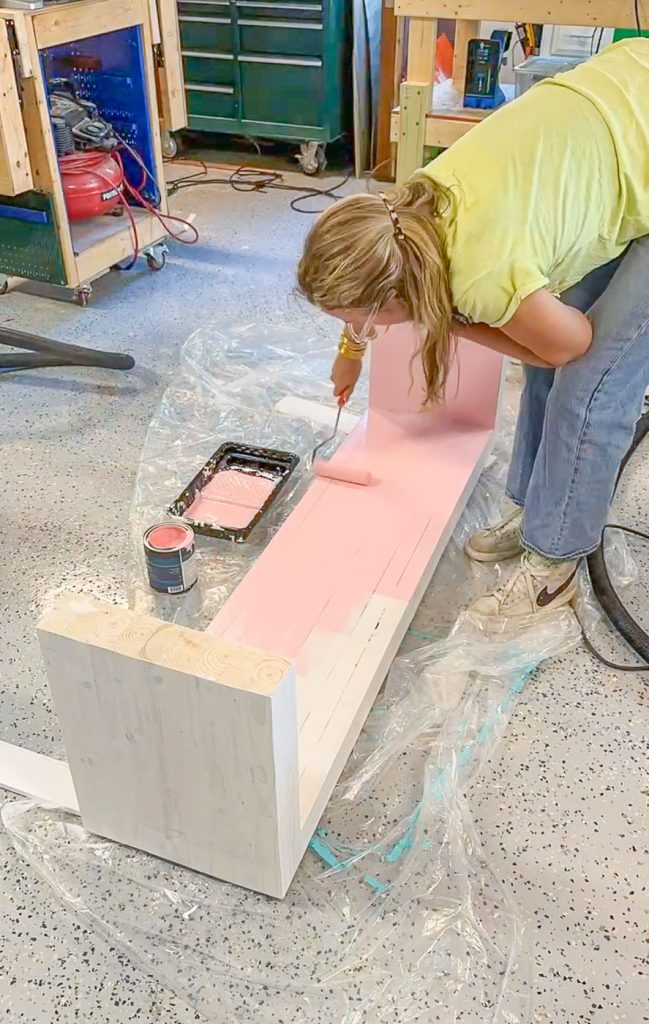
Step 7. Prime and Paint
Make sure the bench is totally dust free and then give it a coat of exterior grade primer. Once primer has set up, paint with exterior paint. I matched the pink to our chairs right inside in the sunroom and… she’s a beauty!
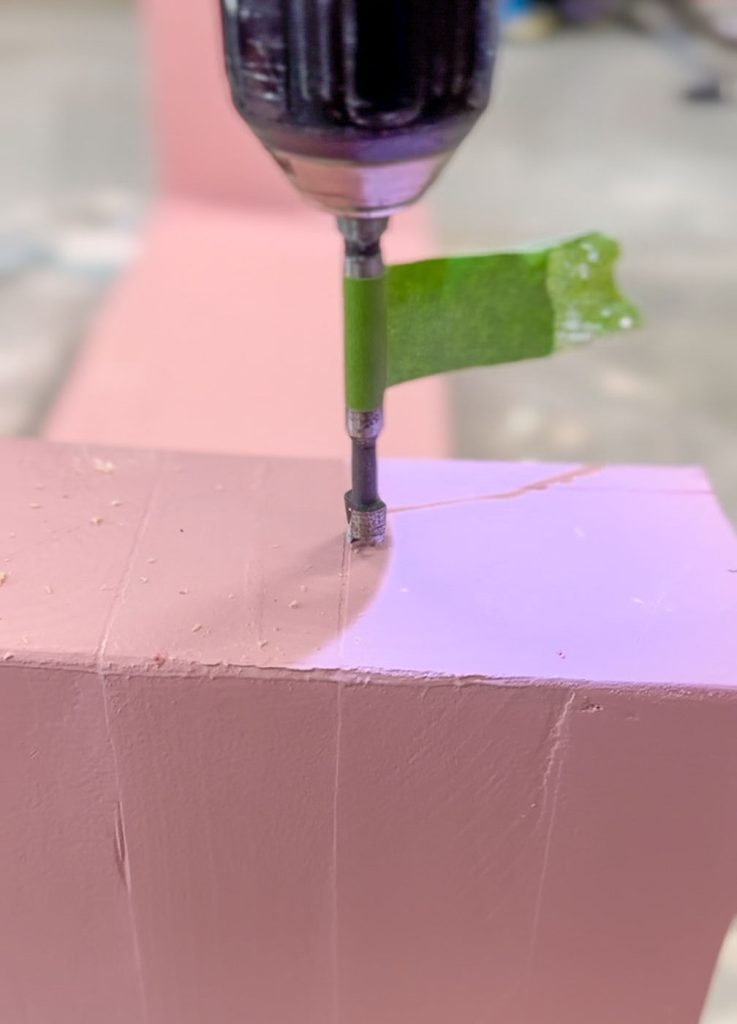
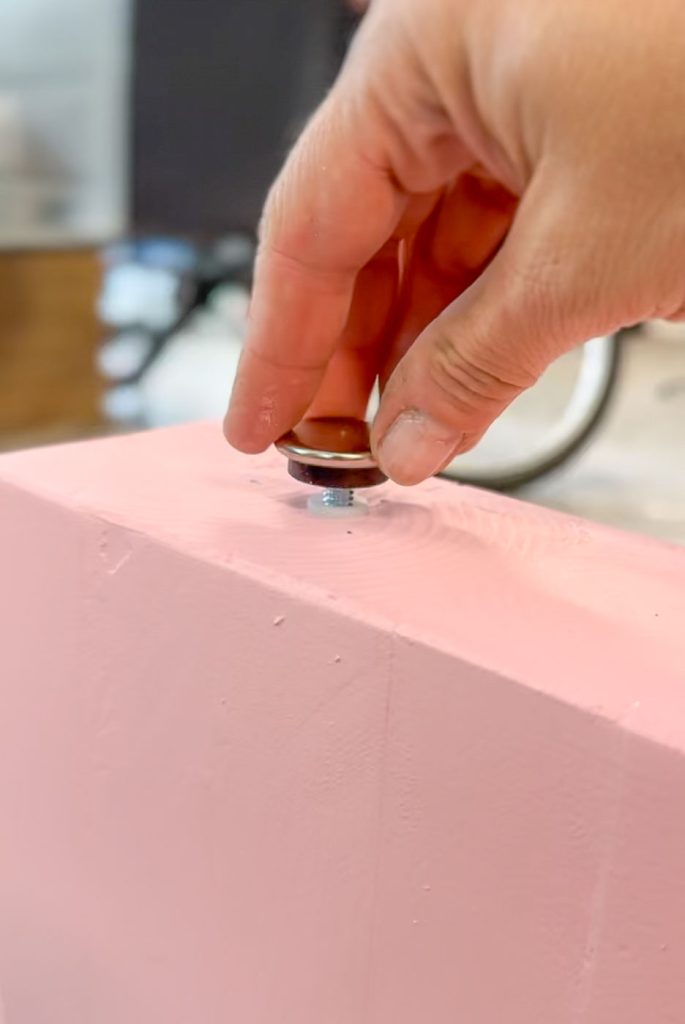
Step 8. Trim Legs (Optional) and Add Adjustable Feet
To best preserve the bench, I wanted to raise it off from the deck a fraction so I added these adjustable feet. The feet are simple to install… just drill a hole and tap the feet in place. The bottom edge of your bench will probably be a bit uneven… I trimmed it a bit with my circular saw and then the Dremel to take off the last little bit that the circ saw couldn’t reach.
And there you have it! I can’t remember how much a 2×4 was when I built this bench but my guess is this project was under $40 to build and took me a day or two! It’s been out in the elements for a year and there are a few places I need to touch up, but for the most part it’s in great shape.

watched your home tour!! love it…all that great color! wahoo!! look forward to some great ideas
Aww yay! Thanks for watching!