How to Give Old Trophies a Makeover
Psssst… this post *might* contain affiliate links: see my disclosure here.
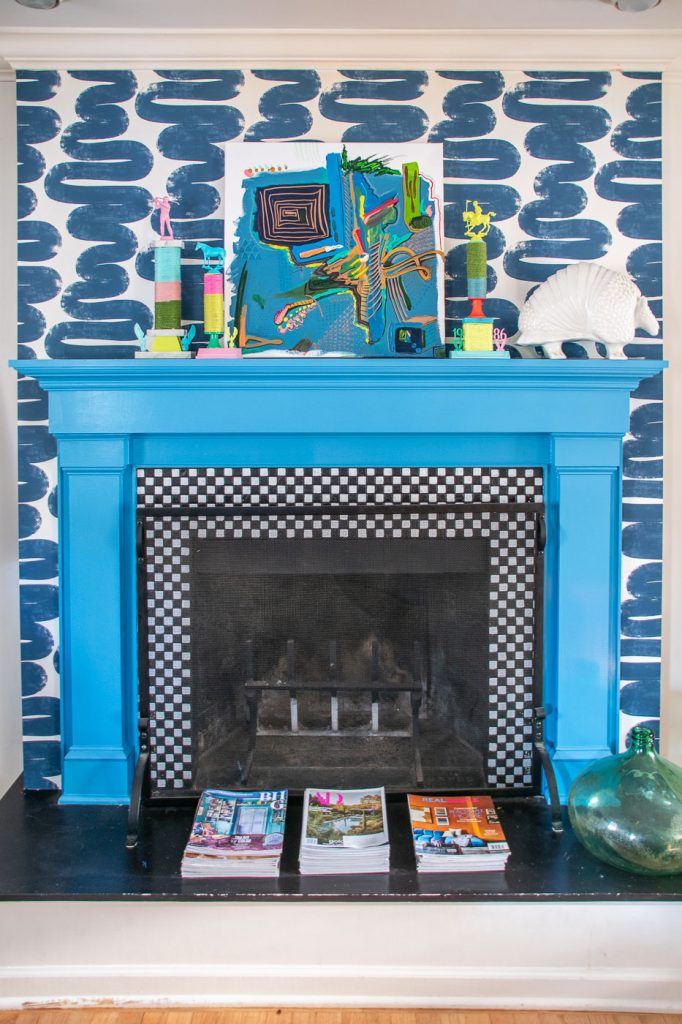
If your house is anything like *my* house then you might just have a few 5th place old trophies lying around… I wanted to make these old trophies look cute!
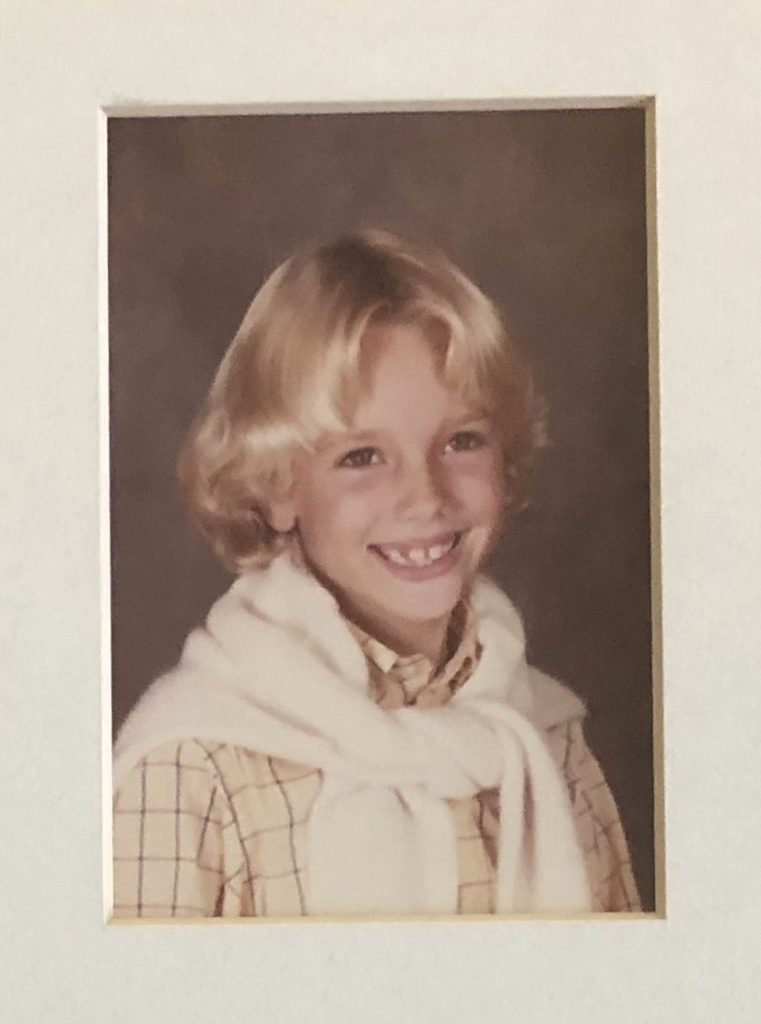
Story Time: I LOVE trophies. It’s probably the 1970s oldest child in me because in my day and age they were not handed out readily. I think we got one for soccer but otherwise, you had to actually do or win something to get one. UNTIL…. I was in junior high school at my grandparent’s house for the summer and it came time for the club tennis tournament. (And yes… it was as waspy and cringey as you’re imagining- tennis white, clay courts, the occasional bucket hat… it was also my entire world that summer!) For this particular tennis tournament they had age divisions and various events which meant young Charlotte could sign up to play singles, doubles *and* mixed doubles in her age group as well as the age group above. I don’t recall there being dozens of kids at this particular club, which ultimately meant that, when the dust settled, I had managed to either win or land as runner up in about 7 different events, and THIS meant- you guessed it- SEVEN TROPHIES. Huzzah. World trophy domination.
All this to say… I love a trophy and every time I see one in the wild, I want to buy it and do something with it. I wasn’t sure what I could do… until now. See how I gave these thrift store trophies a colorful glow up which of course means I’m on the hunt for more!
Shop my favorites!
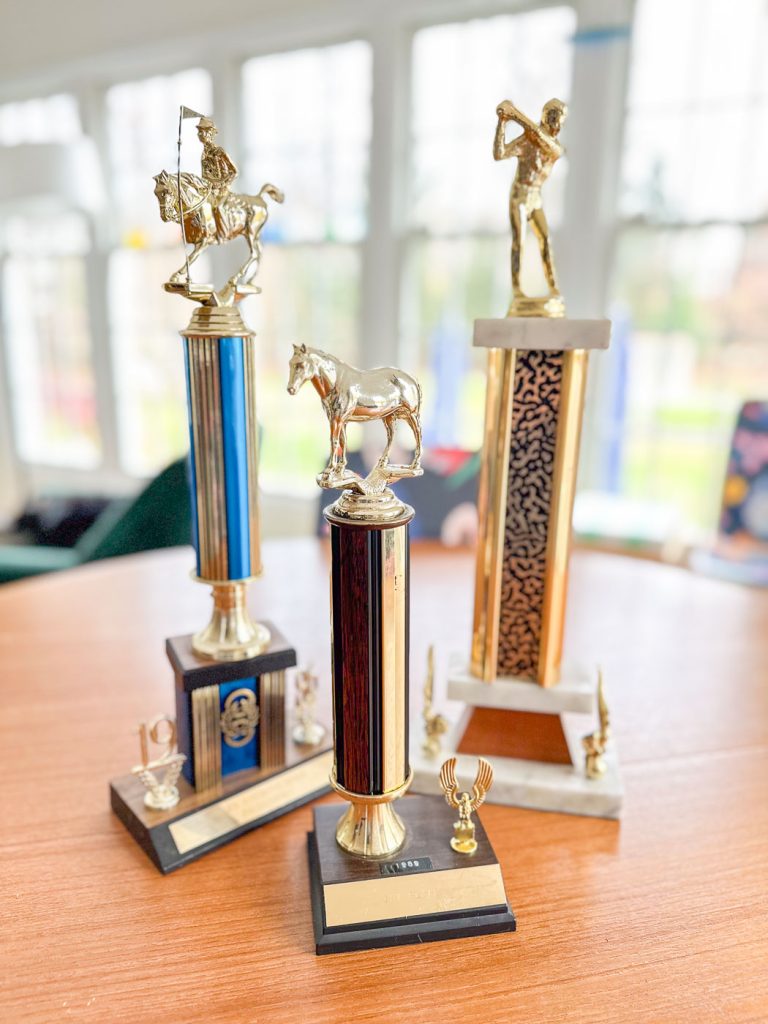
Step 1: Take apart the trophy
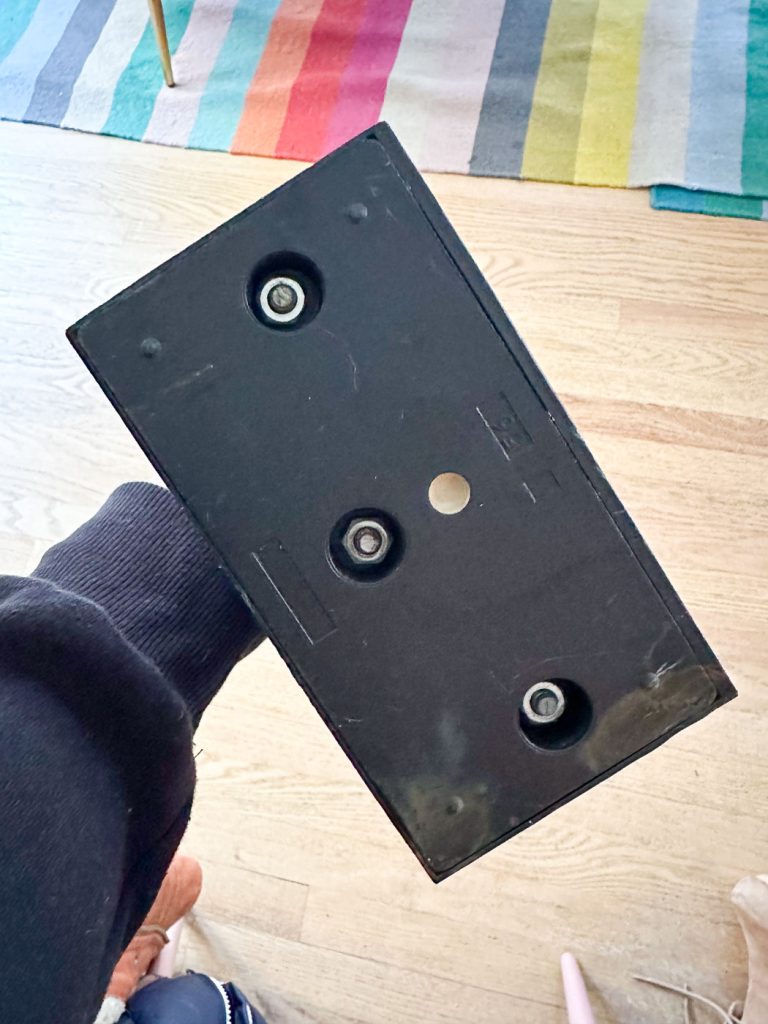
Granted all trophies are probably a little different, but… the three I had were all very easily dismantled. All three had a hex nuts underneath the base (one required me to cut apart the felt pad glue underneath). I held the nut in place with my finger and was able to unscrew the figure on the top of the trophy to disconnect everything from the central threaded rod.
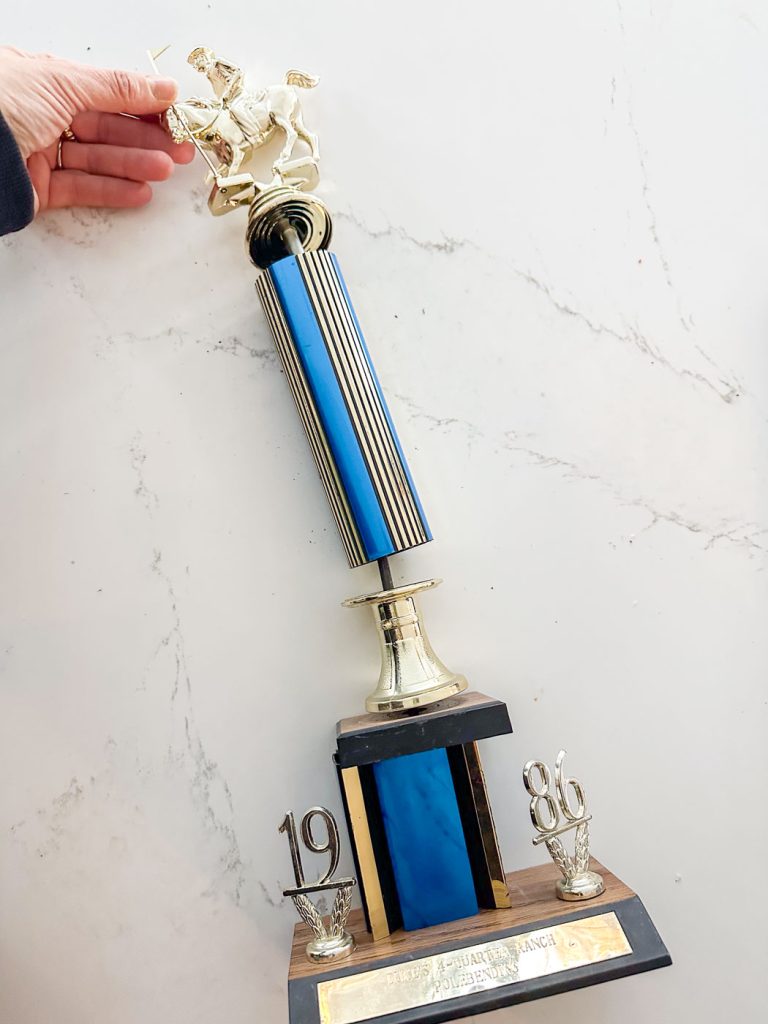
Pro tip… take a picture of how the trophy looks before you take it apart AND keep all the little pieces organized in a ziplock bag.
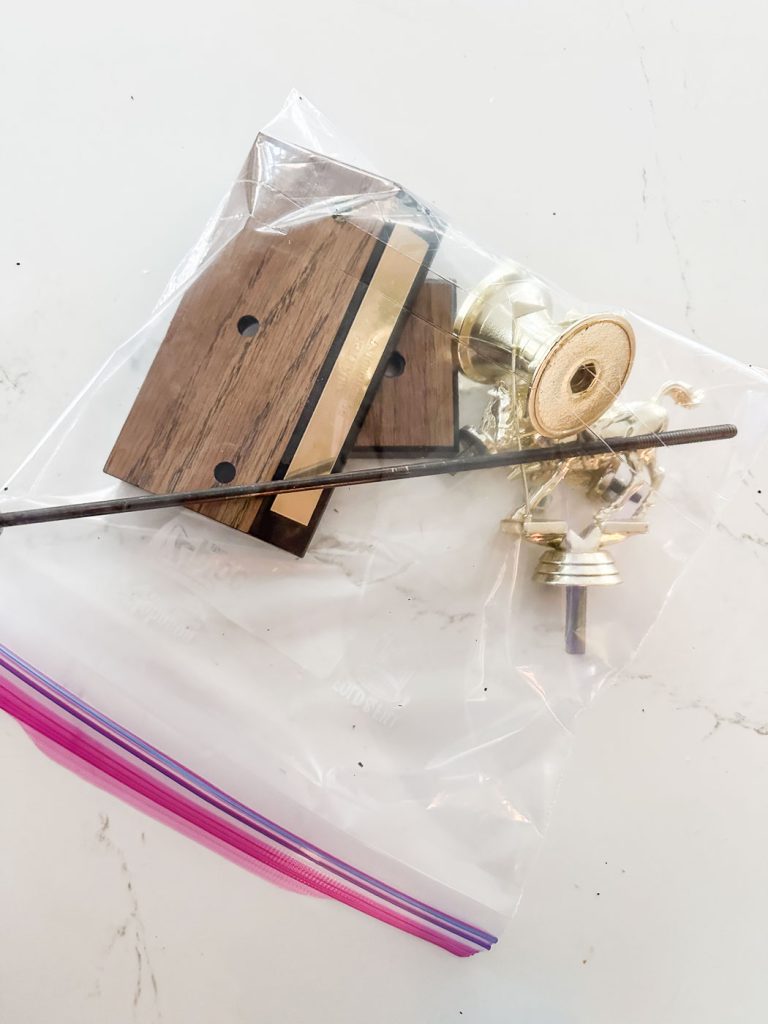
Step 2. Wrap the central post
Grab whatever yarn you want to use and secure the end of one strand with a bead of hot glue onto the end of the trophy pedestal. I glued my yarn in place in a few places around the pedestal as I carefully wrapped it around paying attention to keep the yarn neat and straight. I wrapped the thick yarn around the pedestal once, but for the skinner yarns, I went back over with a second layer just to fully cover the pedestal.
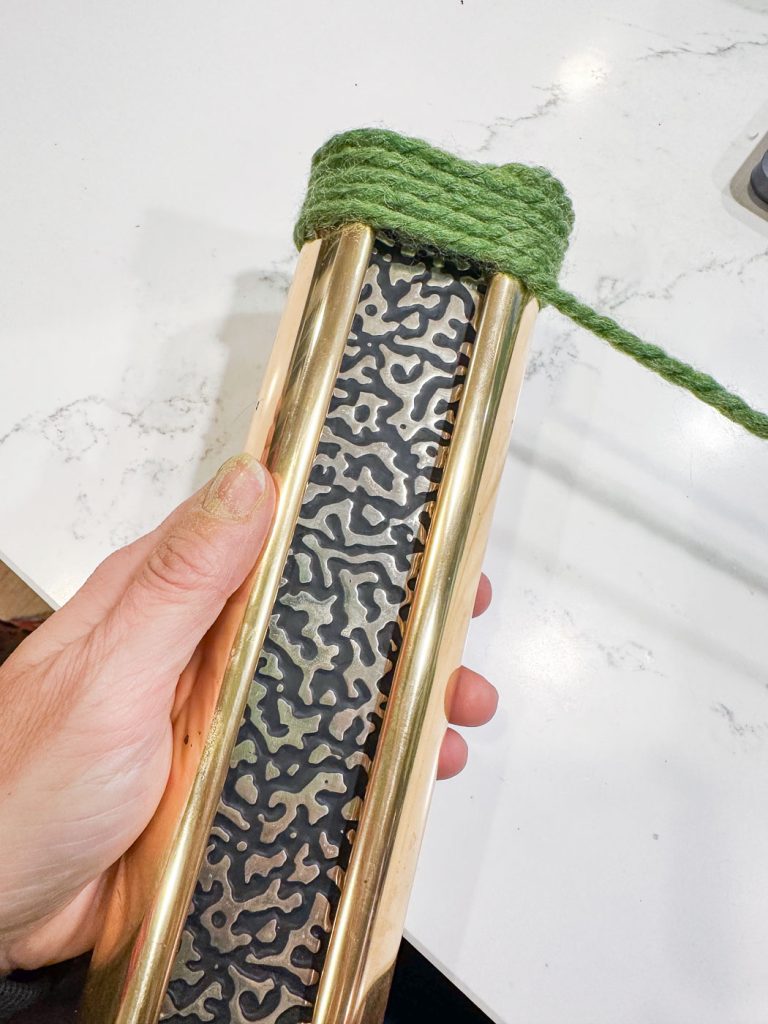
Step 3. Paint the other parts of the trophy
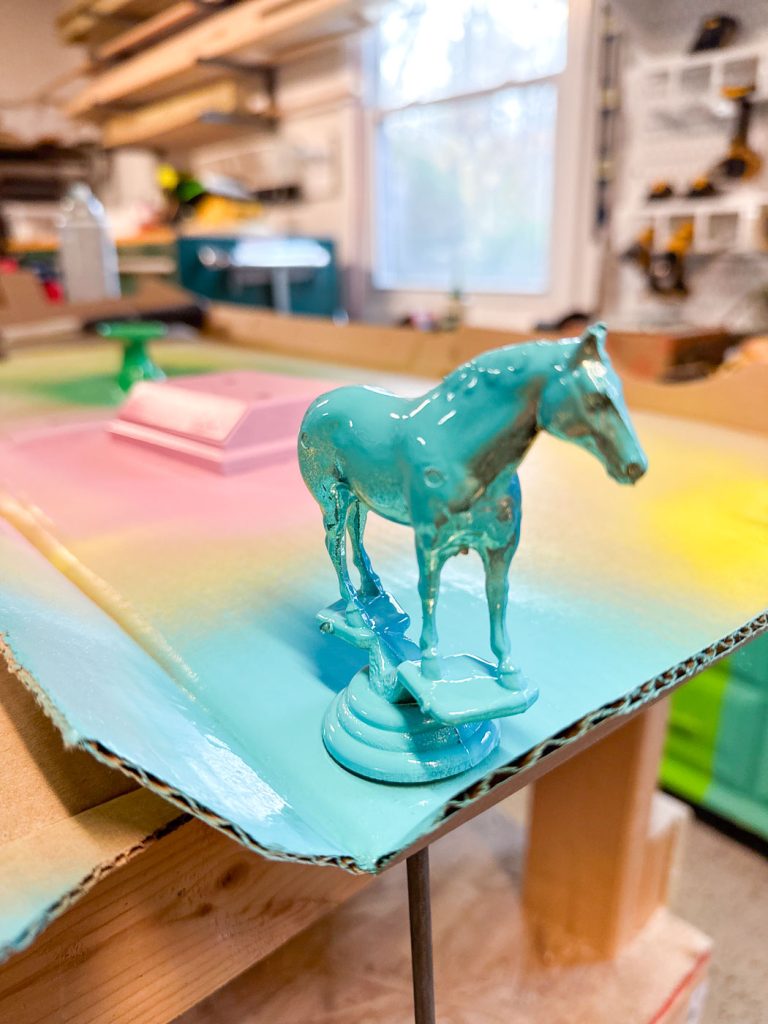
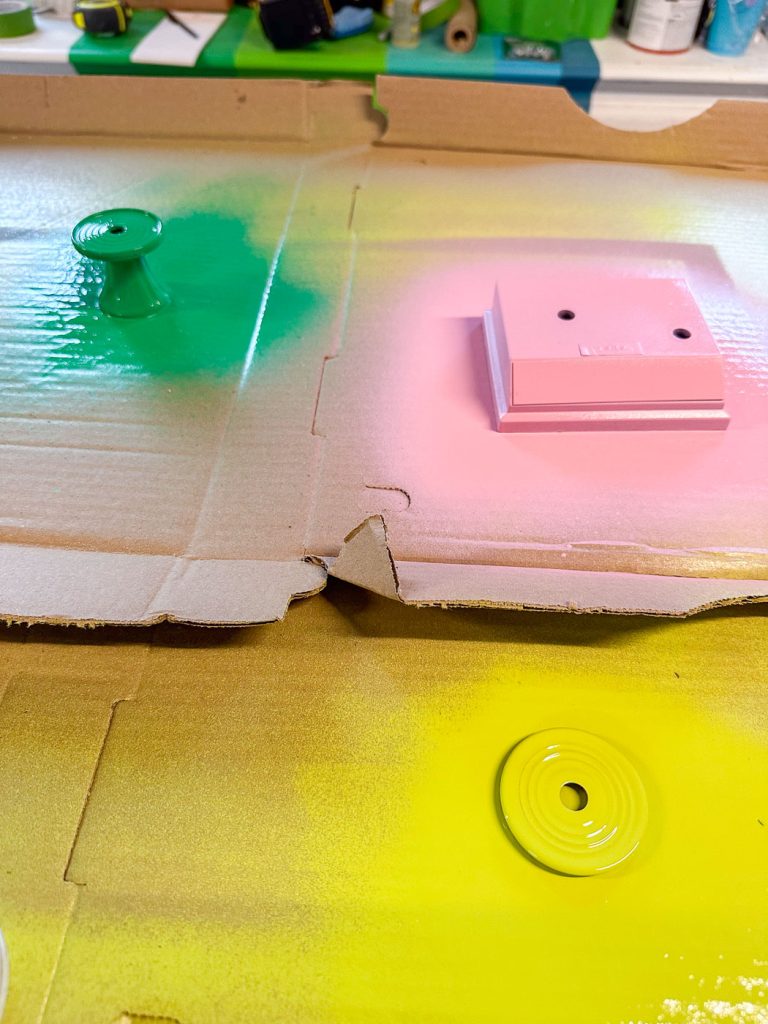
I spray painted all the other parts of each trophy with two exceptions: the marble blocks on the golf trophy. I could have painted these too, but the marble was pretty and I didn’t mind the texture/ color.
Step 4. Reassamble the Trophy
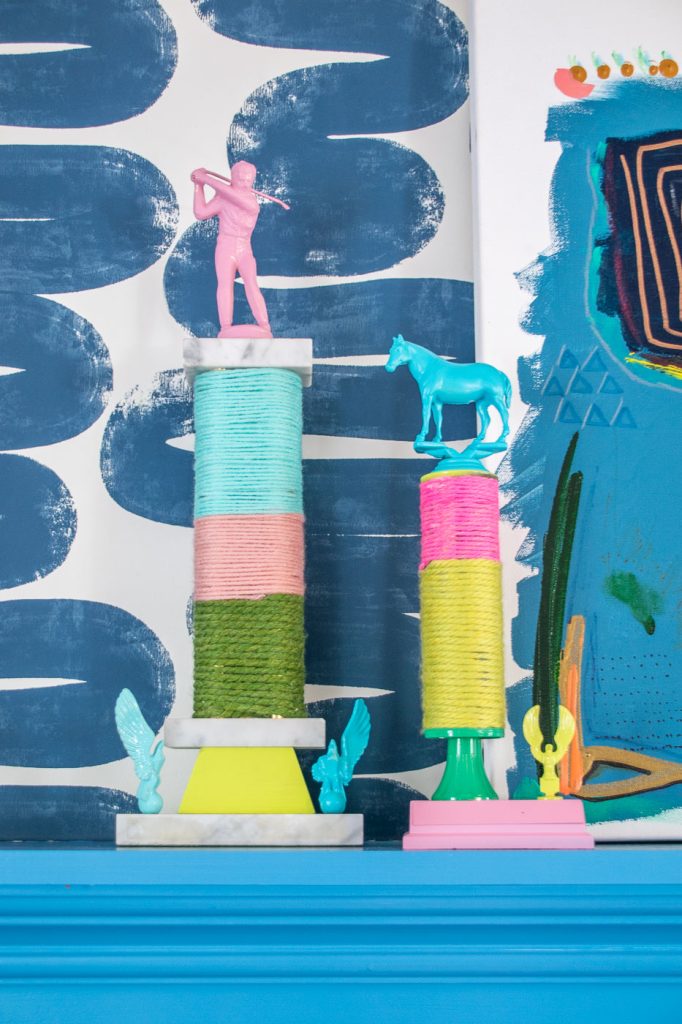
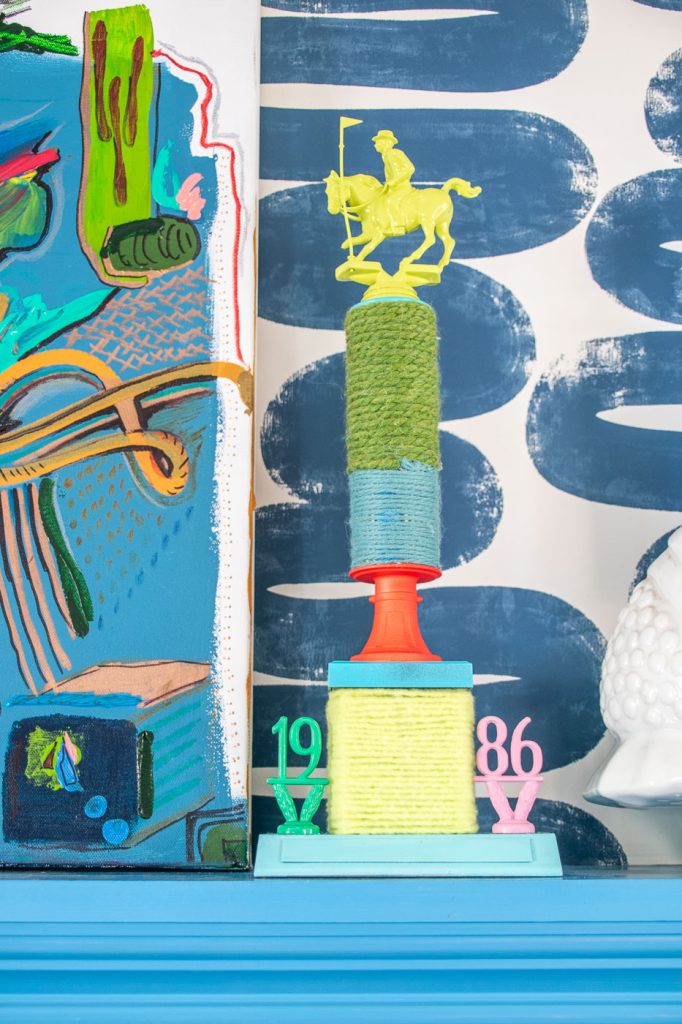
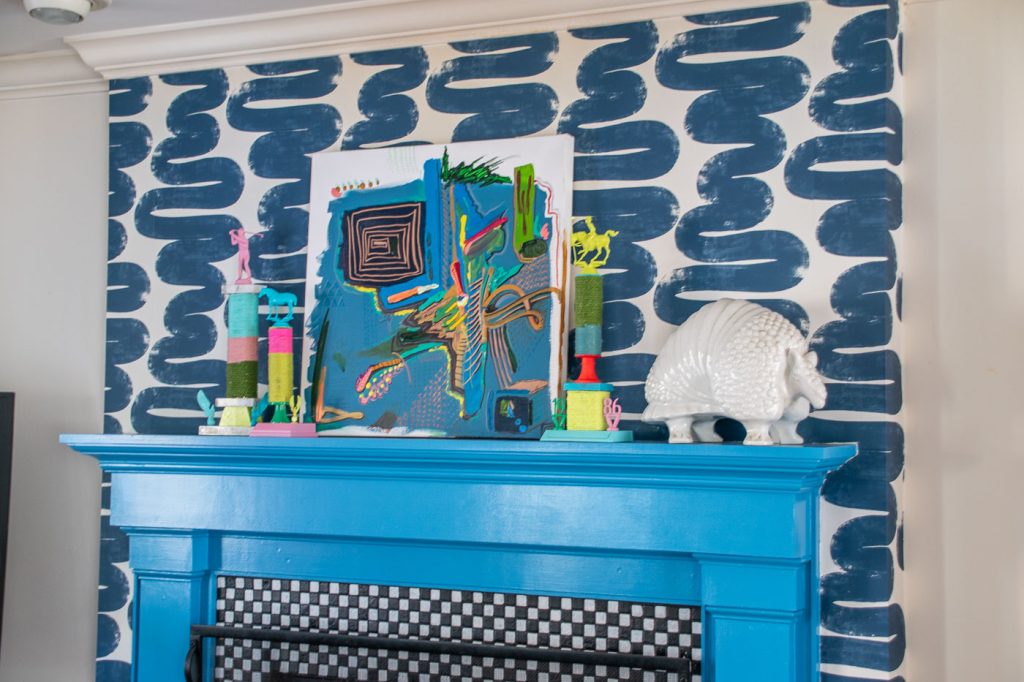
Reassembling each trophy was pretty easy… I had to look back at the before photos for one of them, but it was just a matter of threading the central bar back through all the trophy parts.


Don’t Miss Out
Become An Insider!
Signup for exclusive tips, and tricks from Charlotte’s House!
Let’s chat!
I love comments from you, so feel free to leave your thoughts and ideas below! And don’t forget to follow me on Instagram for even more!