How to Make a Designer Inspired Sheep
Psssst… this post *might* contain affiliate links: see my disclosure here.
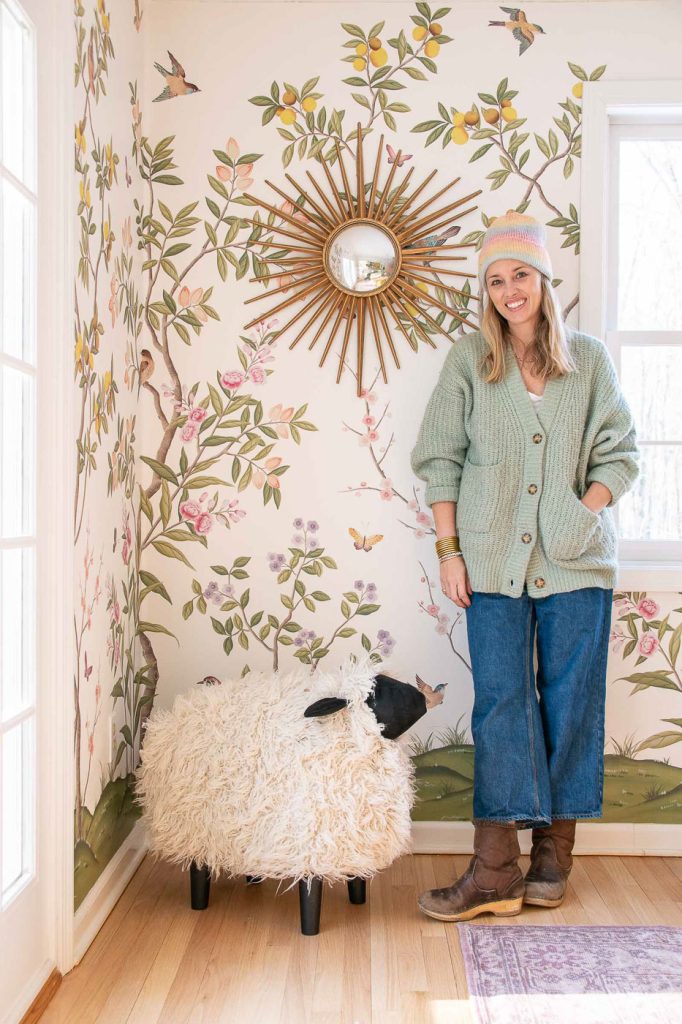
I love these cute sheep figures but not so much the price tag… why not make my own?
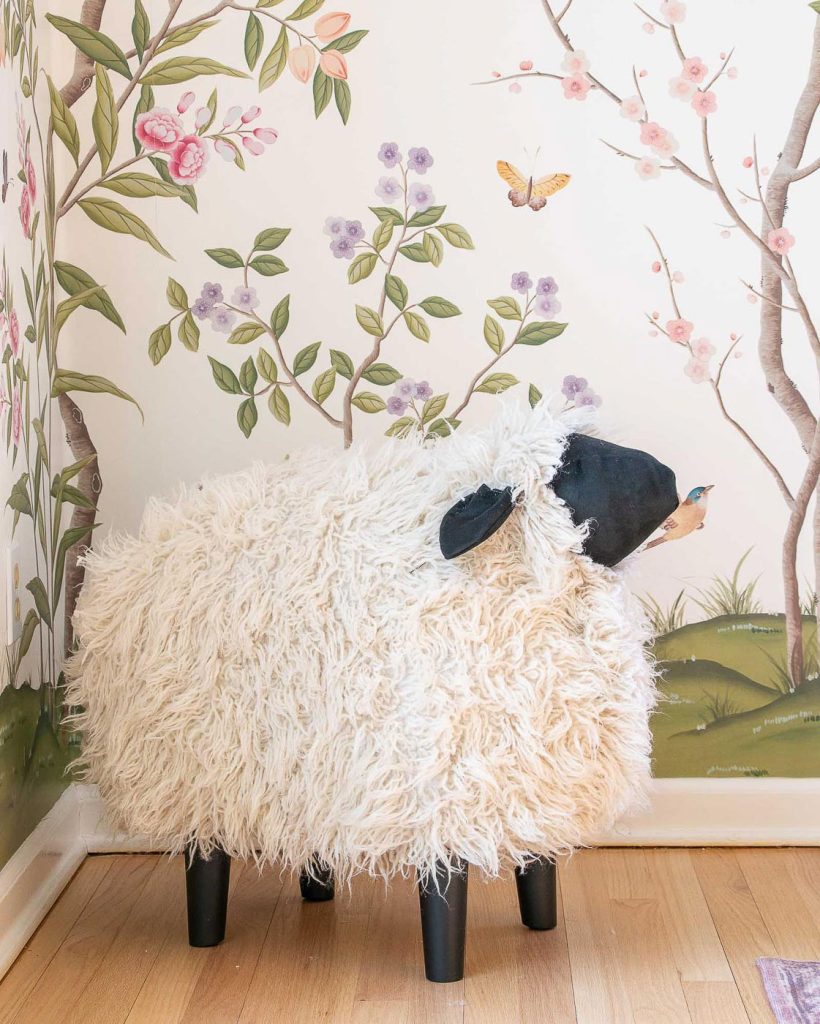
Story time: I LOVE quirky unexpected objects as decor but finding ones are easier said than done. A few years ago, I noticed cute fluffy pretty much life sized sheep popping up in interiors and I immediately knew I wanted one. Alas, these sheep were hundreds if not thousands of dollars which is not in the budget over here. I saw one sheep that felt kind of basic in its shape and thought that it was *maybe* something I could make with scrap wood and a few clever embellishments!
Step 1. Make the Body
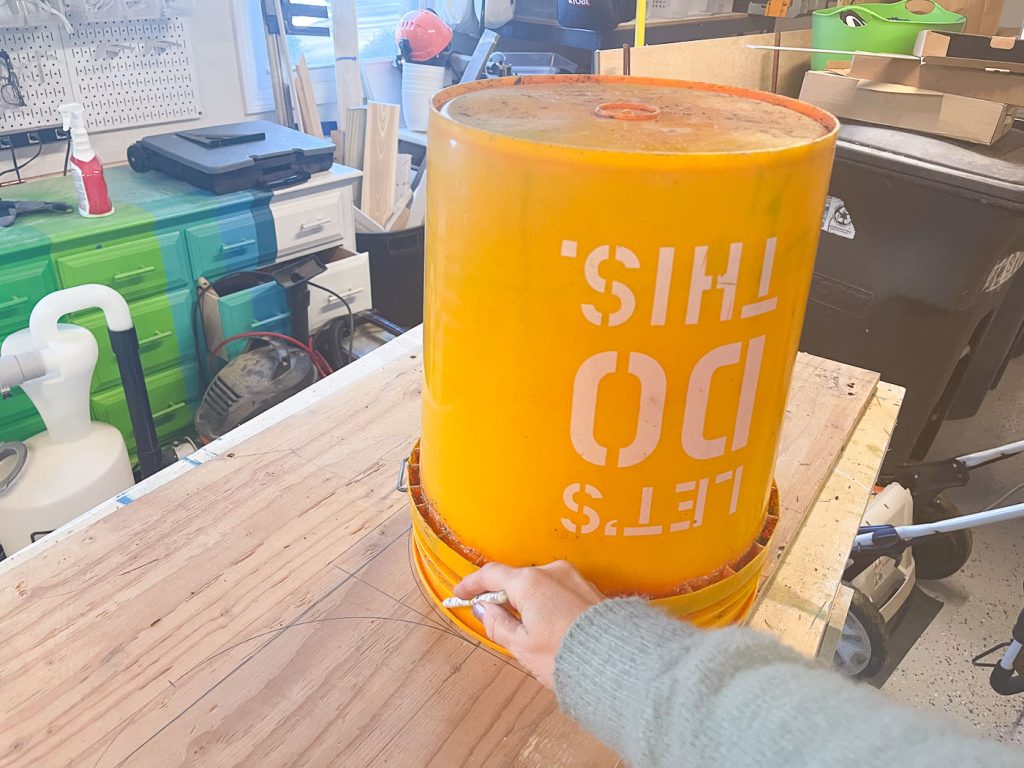
I knew my kids would climb on this thing so the shape of the body had to be sturdy enough for a person to sit on…. I used a bucket to create a basic arch that I then cut out from leftover plywood.
Shop my favorites!
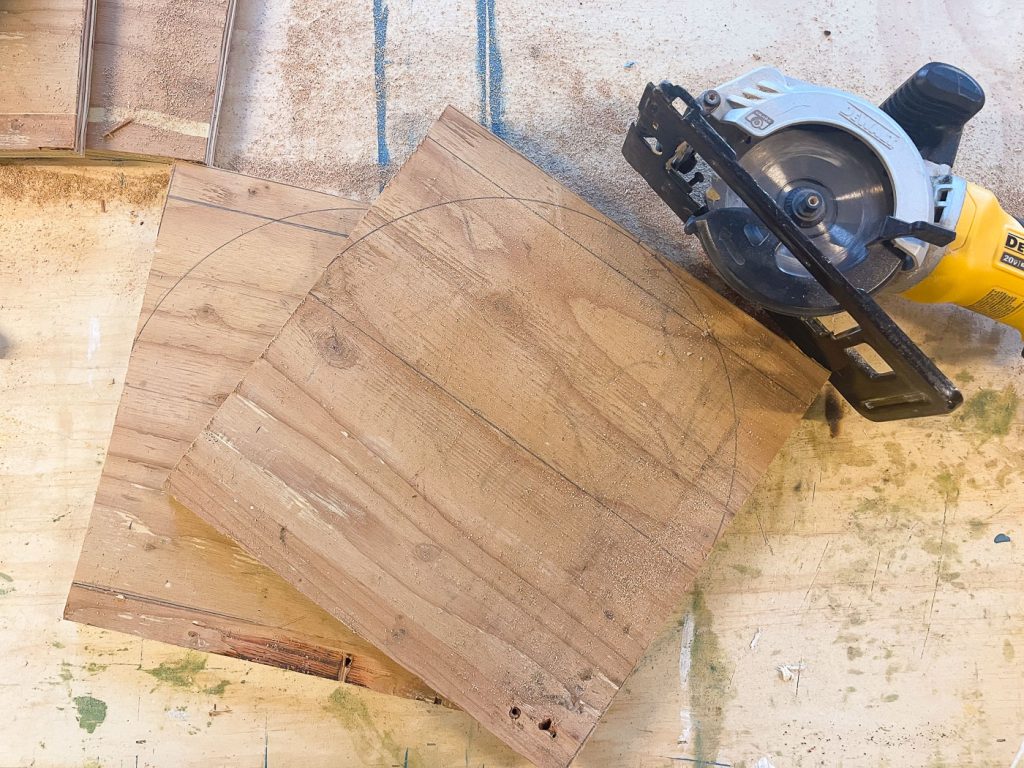
In order to layer these to look like a sheep’s body, I used pieces of 2×4 glued and screwed in place to essentially create spacers.
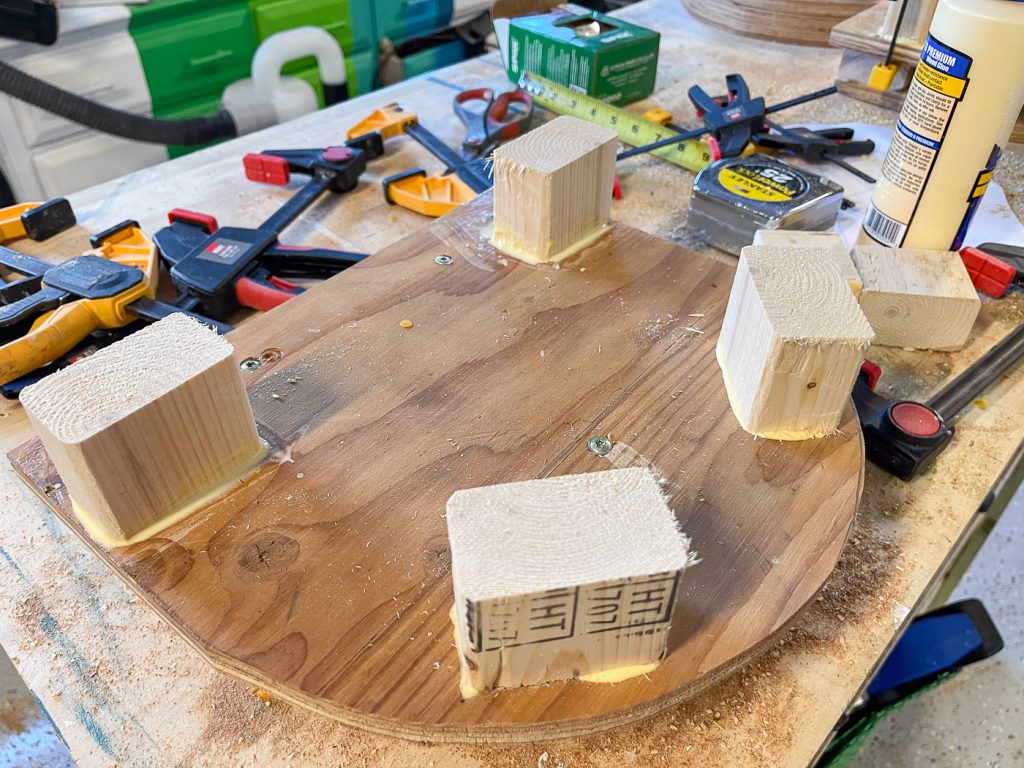
Once each ‘slice’ of the sheep was assembled, I put them all together to make the body. I made the pieces at either end a bit smaller to create the rounded backend and front end of the sheep.
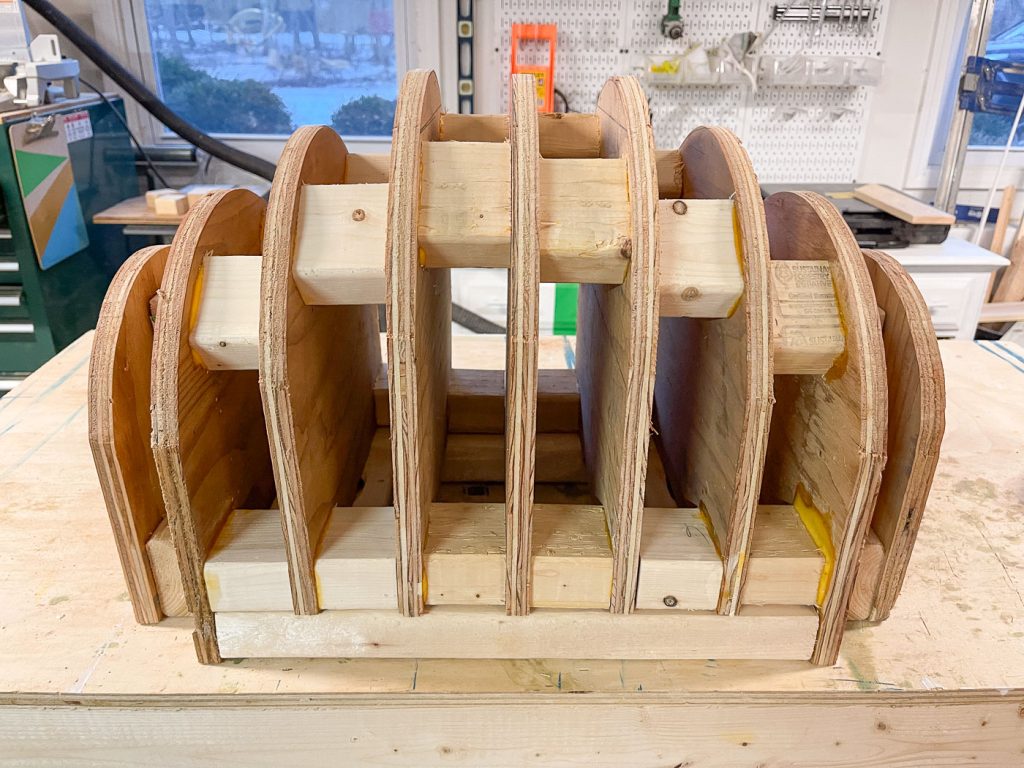
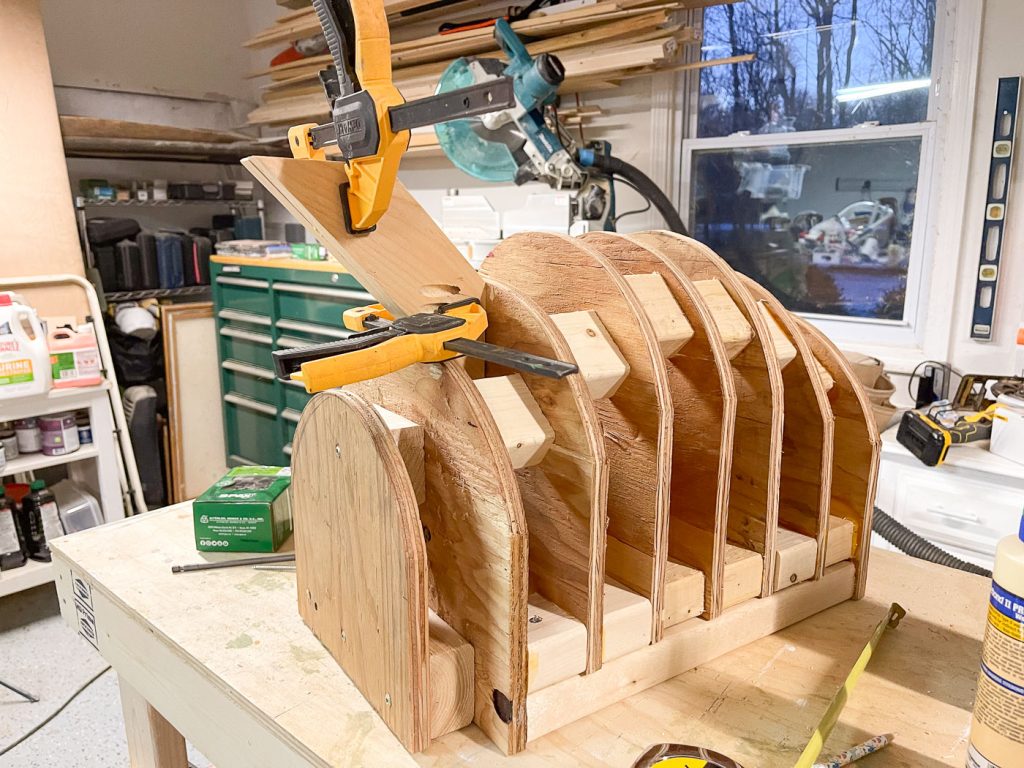
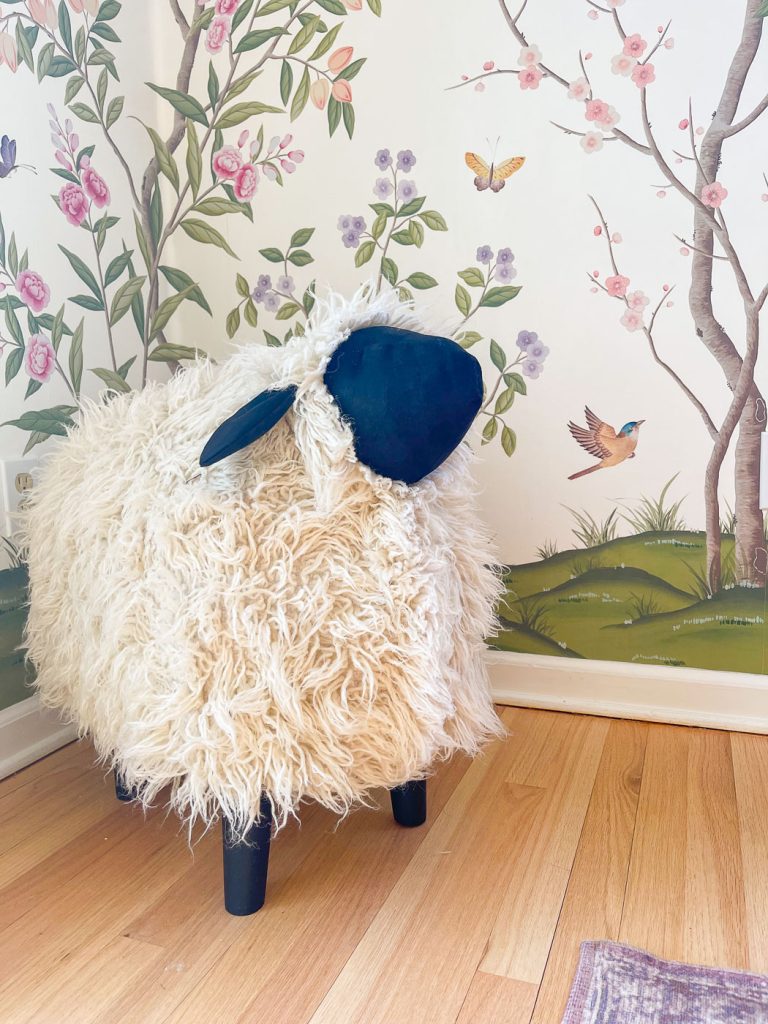
Last step for the body was to add a pair of 1x4s that I cut at an angle to be the head and neck. Stay with me… once these shape is padded and upholstered, it will be more sheep like. At least that’s what I told myself because at this point of the project I wasn’t sure what I had gotten myself into!
Step 2: Padding and Upholstery
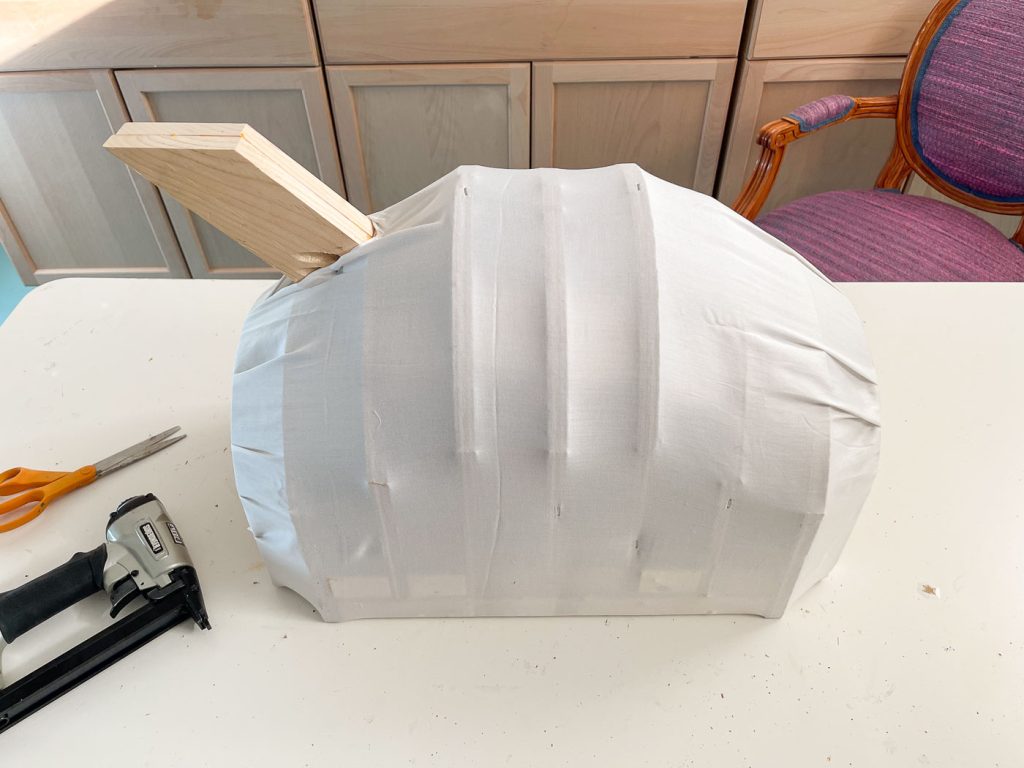
First thing I did was wrap the body with a leftover cotton sheet I had in my stash. This doesnt need to be need or clean AT ALL because it’s going to be covered with foam and fabric.
Next I used some leftover upholstery foam to wrap the sheep’s body. I stapled it in place underneath as shown below.
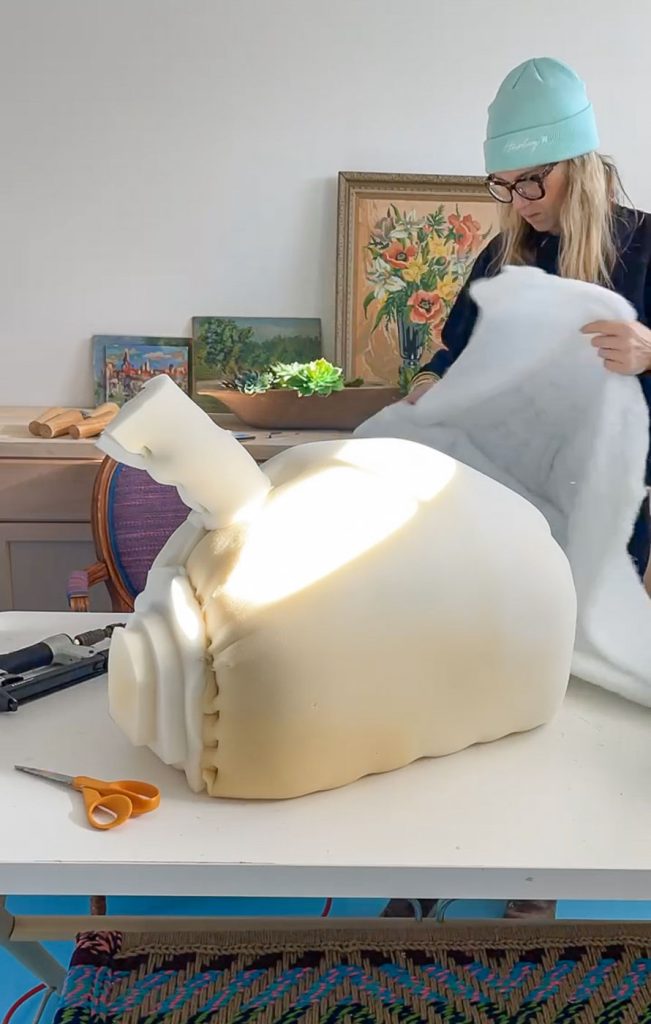
The last layer that you can see me starting to add above is some batting. I also started to play around with the rough shape of the head… I made a prototype out of paper to get the right proportions and then I transferred that pattern to the black fabric.
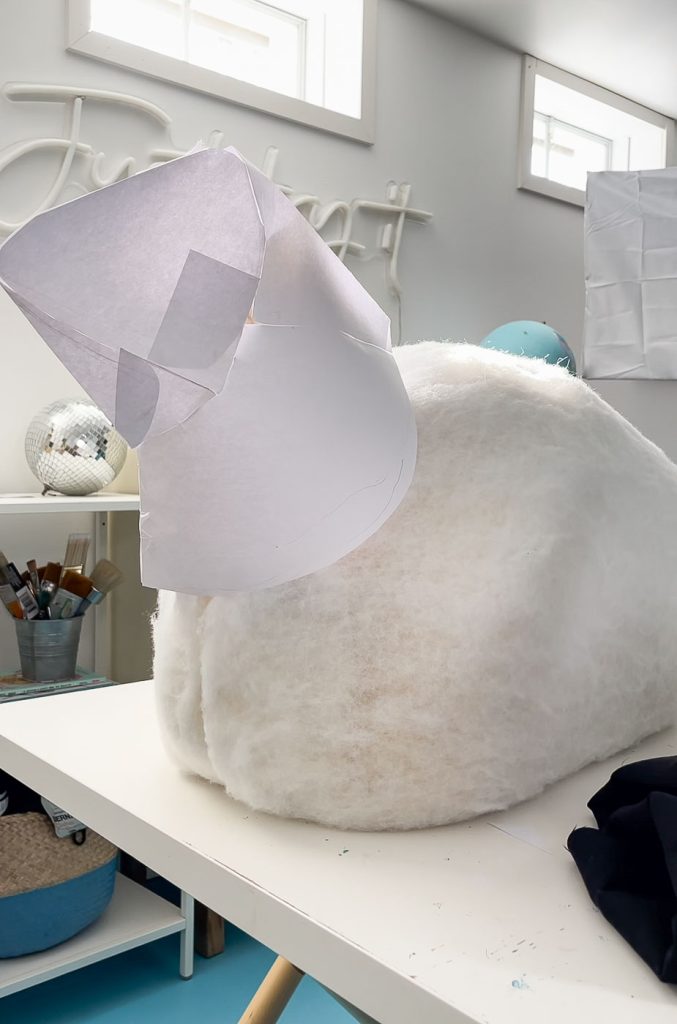
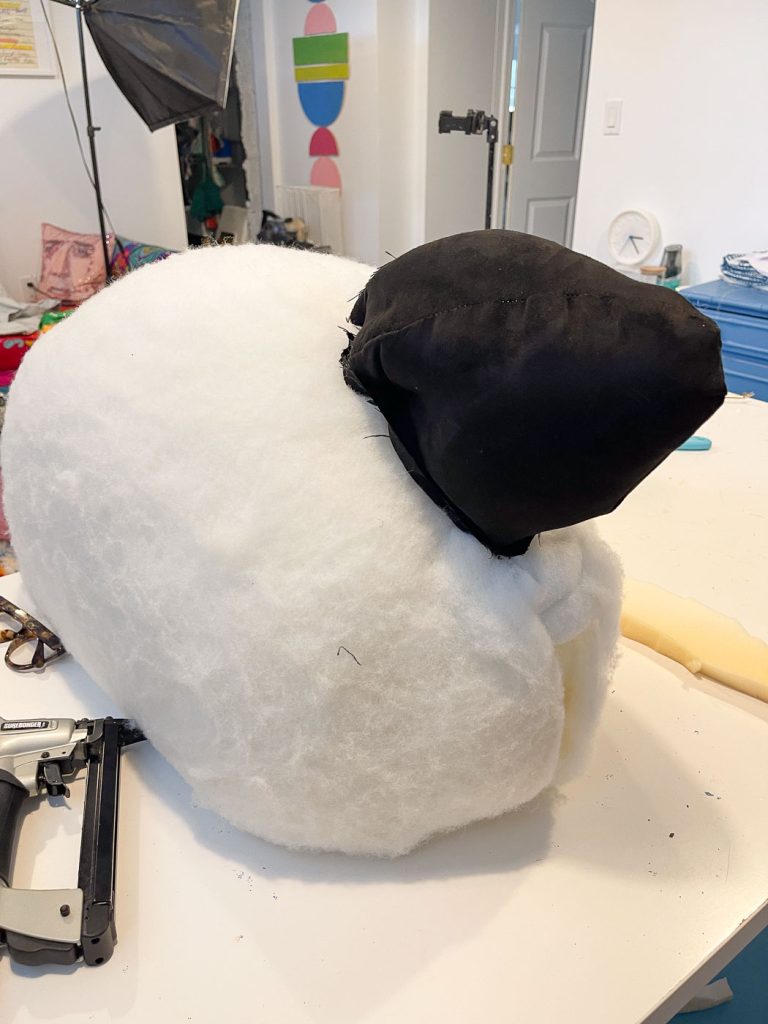
I looked around for the right material to use for the sheep’s wool and ultimately landed on an old flokati rug we weren’t using anymore. It ended up being perfect because it had a woven base layer (rather than rubber or something thicker) so it was easy to sew in place with an upholstery needle.
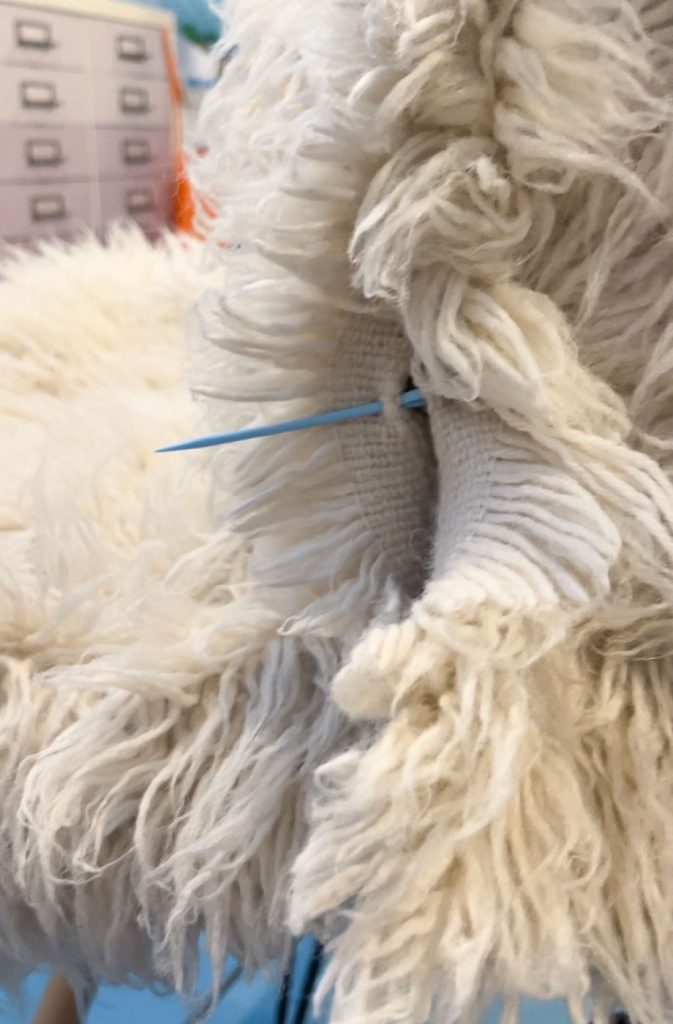
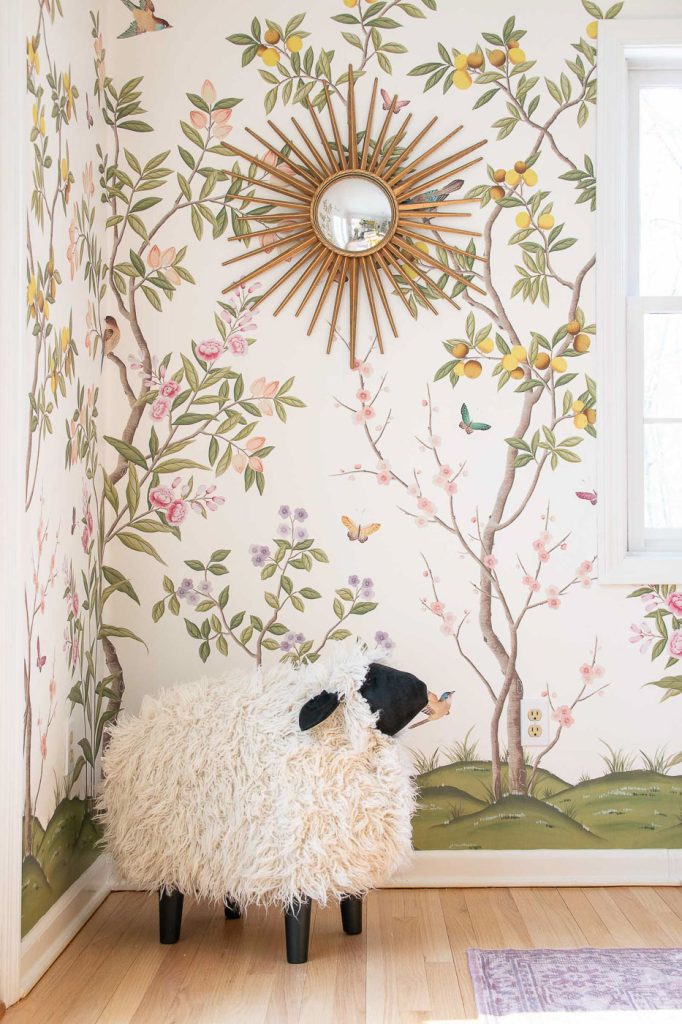
The finishing touch was to give my sheep some legs. I found these ones on Amazon and painted them black. Because the underside of the sheep’s body is solid plywood, these were easy to screw in place.


I loved it when you made it and I love it even more now … simply marvellous!!!!
I loved it, it reminded me of the little prince… draw a sheep…🙂 question: how would you make the face with an Egyptian artistic drawing like the god Amon (creator of the world)?
Oh boy… maybe just draw that onto a piece of canvas and then cut out around the drawing?
It looks professional and just beautiful, I love it ♥️
I’ve been wanting to make one too!
Awww thanks!
You are ( AWESOME ) Sooooooo SWEET!!!
Thank you!!!