How to Make an Arch Legged Coffee Table
Psssst… this post *might* contain affiliate links: see my disclosure here.
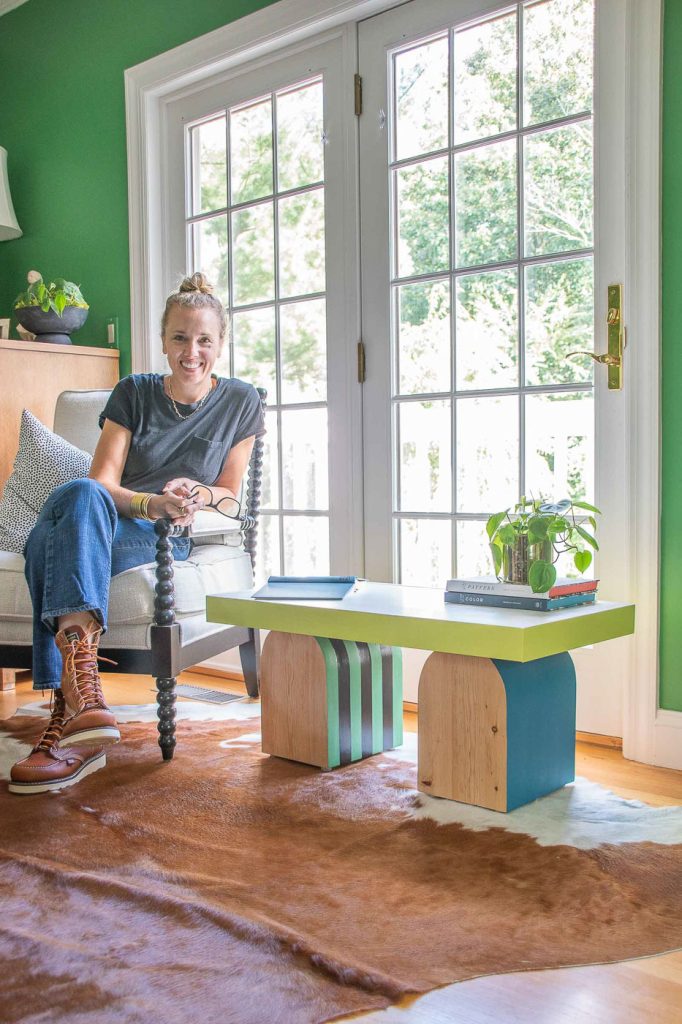
Technically this was a furniture flip, but the reality is that I built most of this arch legged coffee table from scratch.
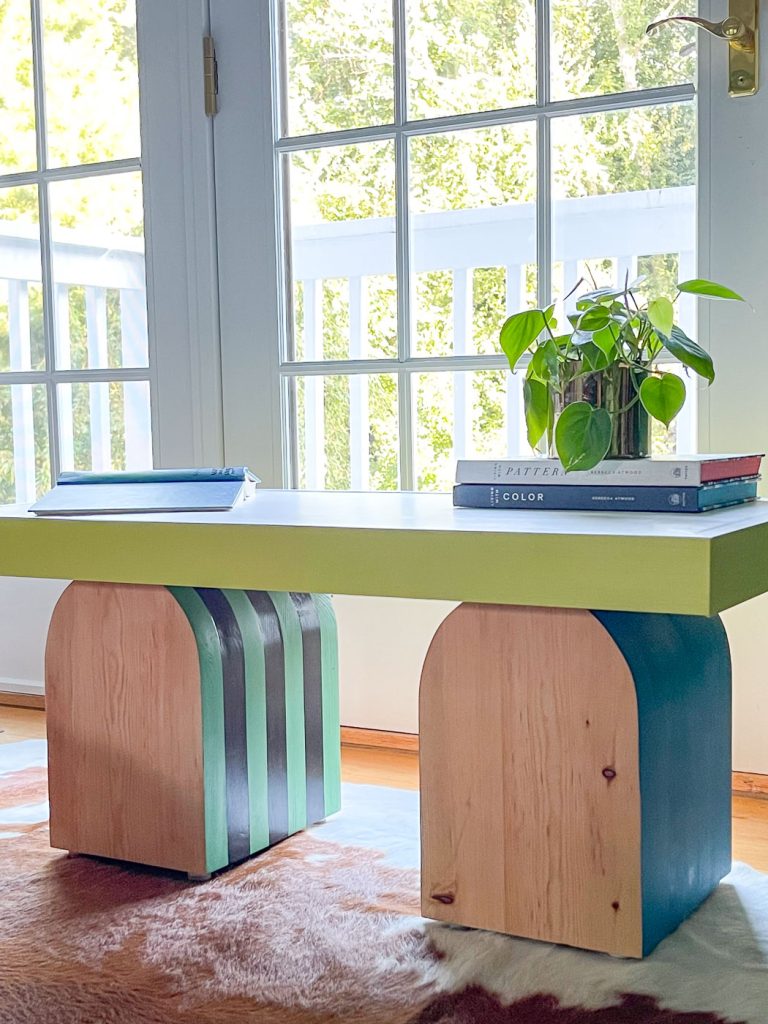
Story time: This table started out like the one I’ll show below. I was asked to be a co-host for a social media competition called the Furniture Flip Challenge and this coffee table felt like it had potential. Separately, I’d seen an inspo table with these chunky arched legs so figured maybe I could flip my table to look like my inspo. (And yes… that did end up meaning I mostly built a table from scratch, but we’ll ignore that detail.)
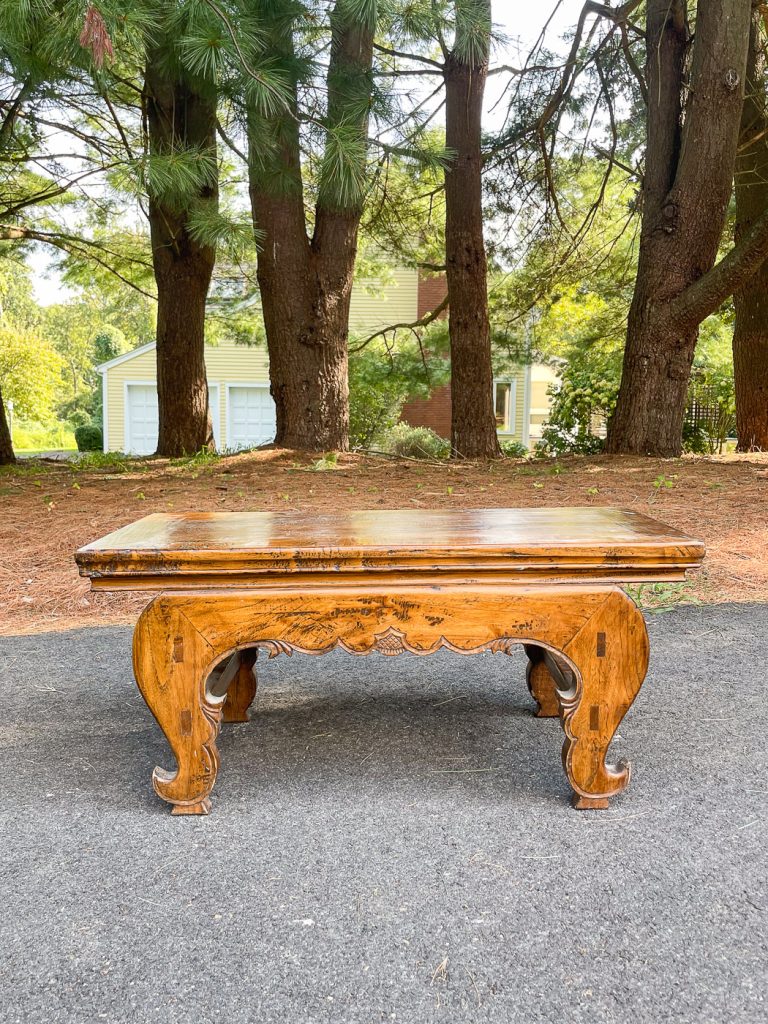
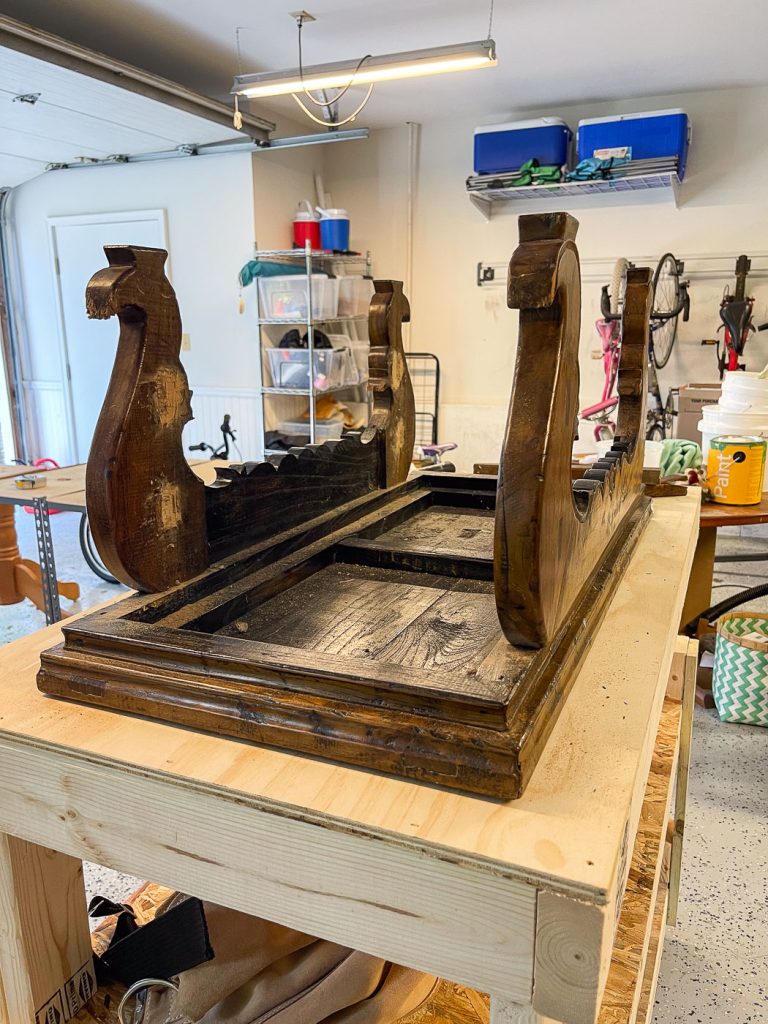
Step 1. Take the Top Off the Original Coffee Table
Typically the top of tables is screwed into the legs from underneath, so flip the piece over and look for these screws!
Shop my favorites!
Step 2. Build the Legs
I grabbed the widest boards I could find- 2x12s And cut them into 14-inch sections.
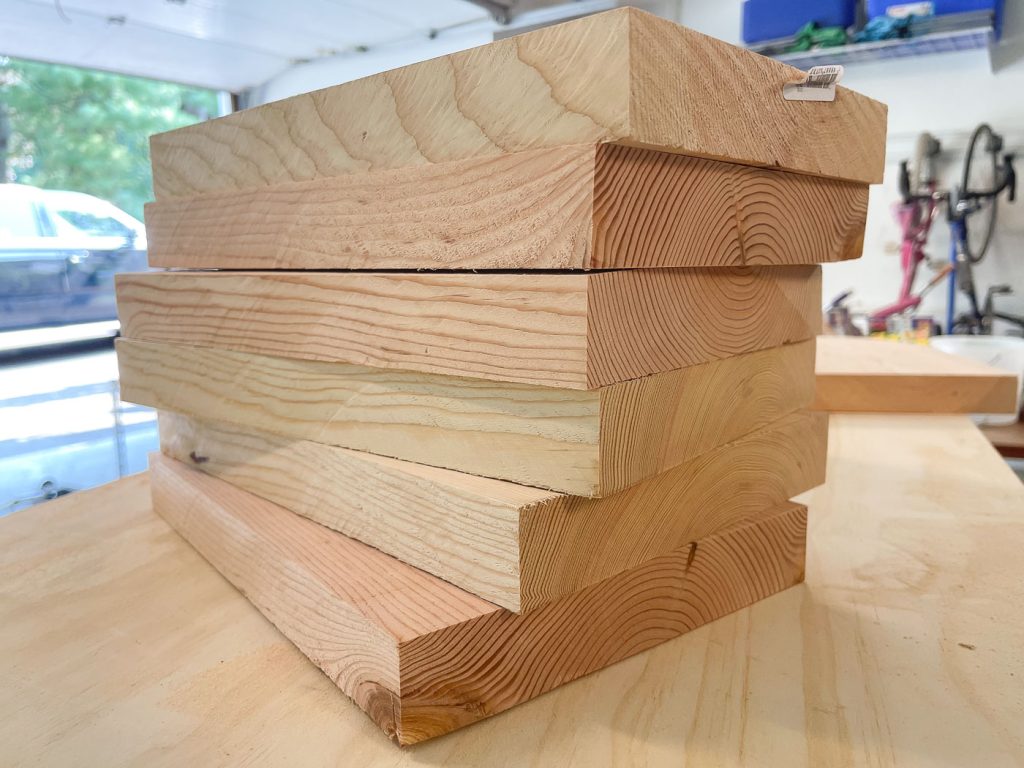
Once I had each section, I traced out an arch on the top end of each section and used my jigsaw to cut these out. A scroll saw might have been a better option or, better yet, a jig to ensure that each arch was identical.
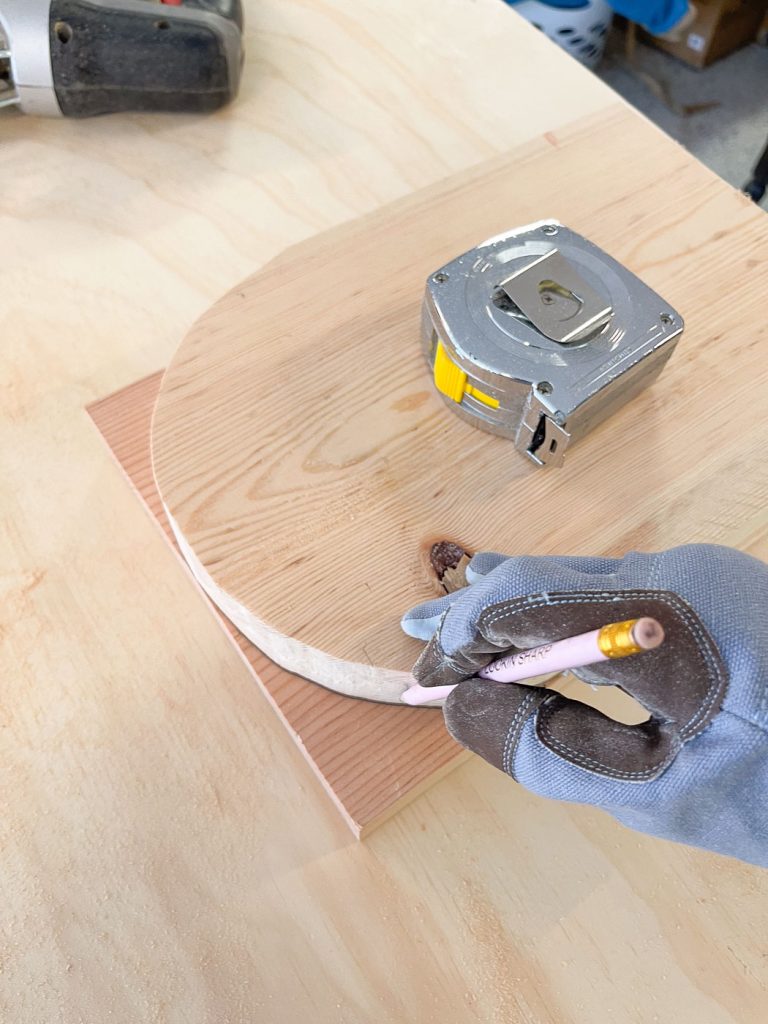
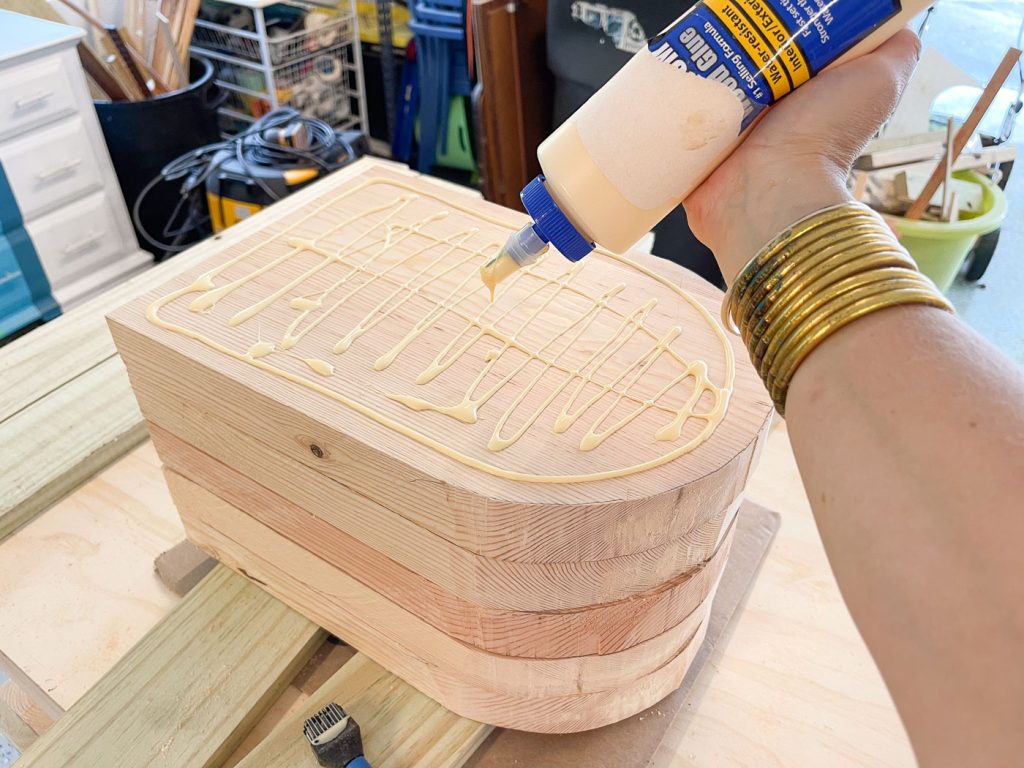
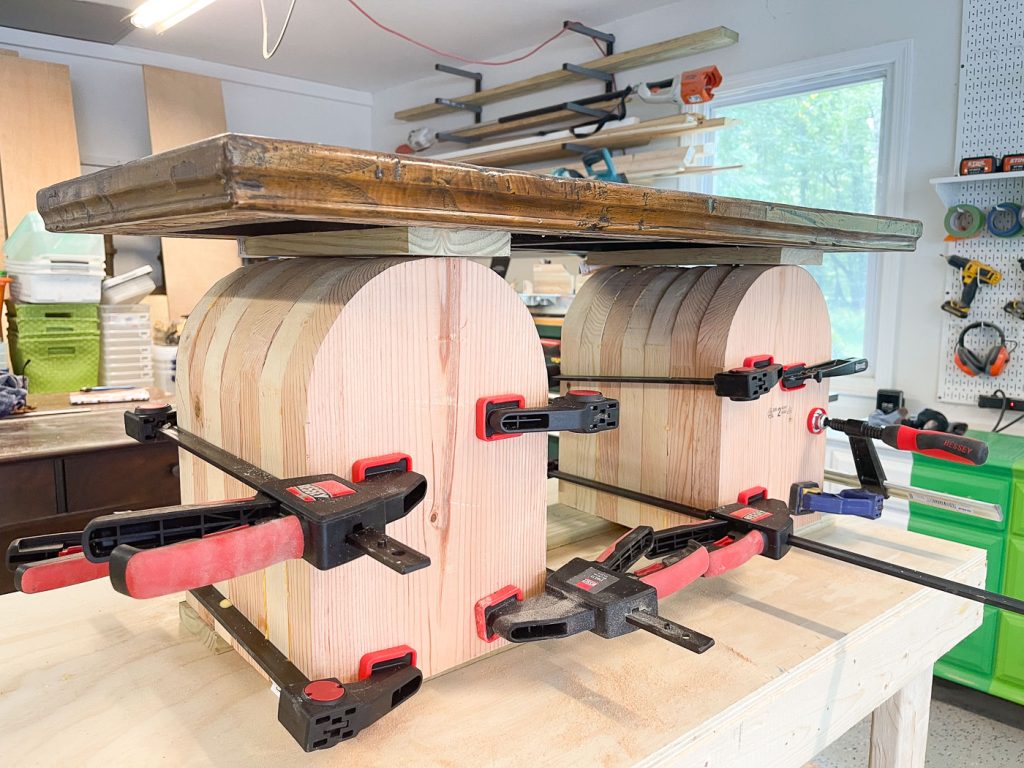
I used seven arches for each ‘leg’ and simply used wood glue and clamps to hold them all together.
Step 3. Prep the Legs
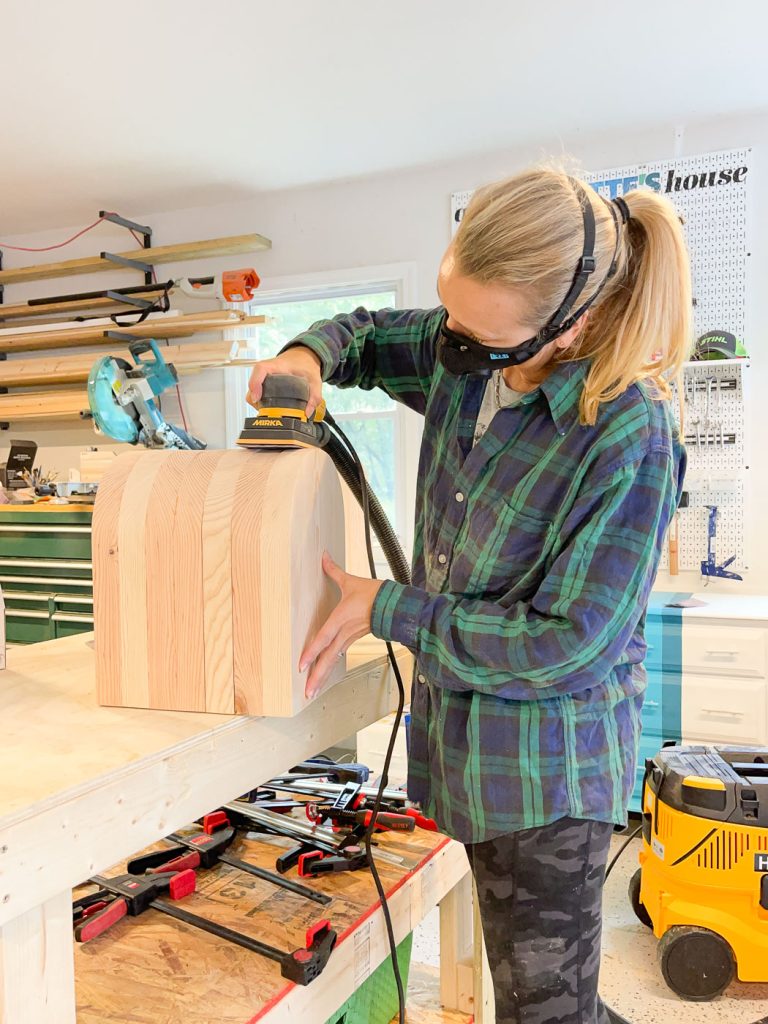
The most time consuming part of this project was the sanding of the legs… I used wood fill in a few places where there were obvious gaps between the arches and then sanded, sanded and sanded some more.
Step 4. Paint the legs
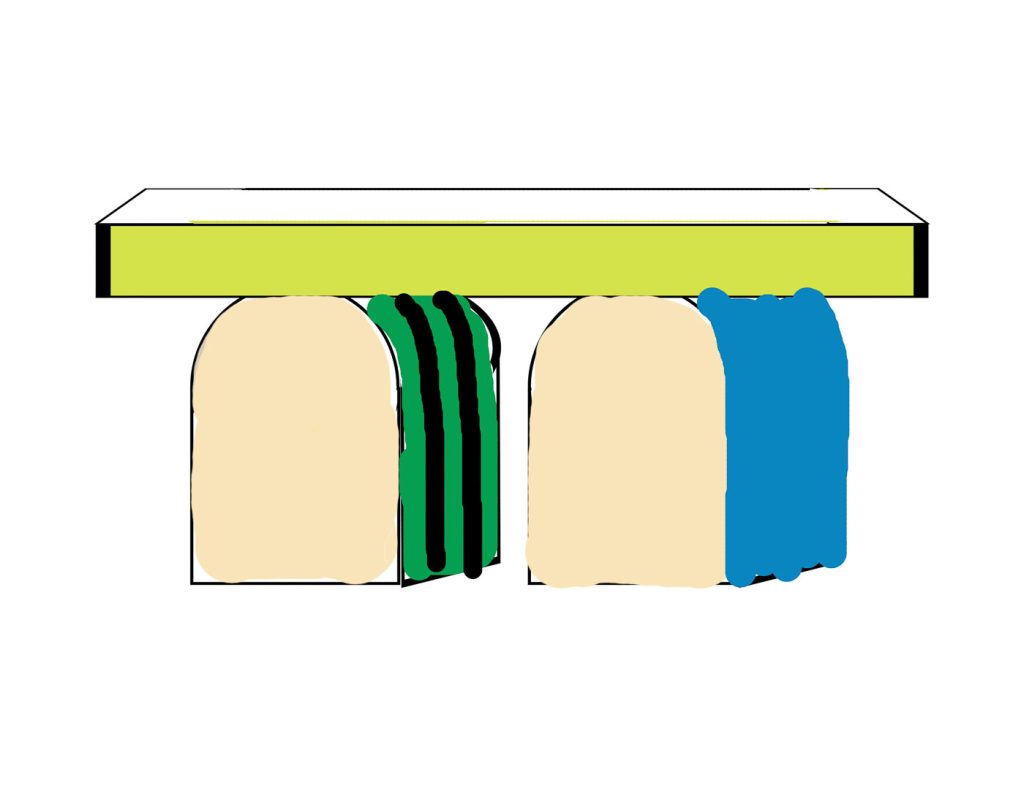
Y’all know that I’m gonna use color and pattern if given the choice, right? I taped off some stripes and decided to have fun with these table legs. I didn’t take any pictures of me painting, but you know what looks like. What I will share is my kindergarten sketch of the color scheme for the bench using my not-so-super technical design software: Pic Monkey.
Step 5. Build the Table Top
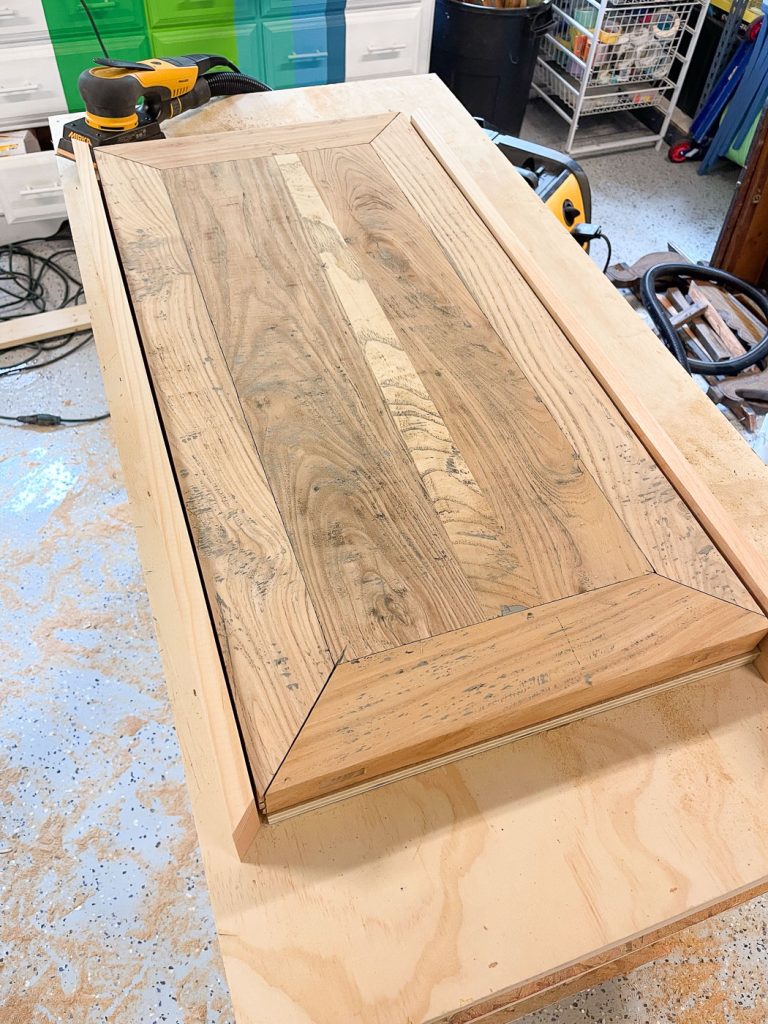
I decided to add some side rails to the table top so that it would be better proportioned AND cover the boards I used to mount the legs to the table top. You can see I sanded off the stain as best I could to prep the top for primer and paint.
Step 6. Attach the Table Top
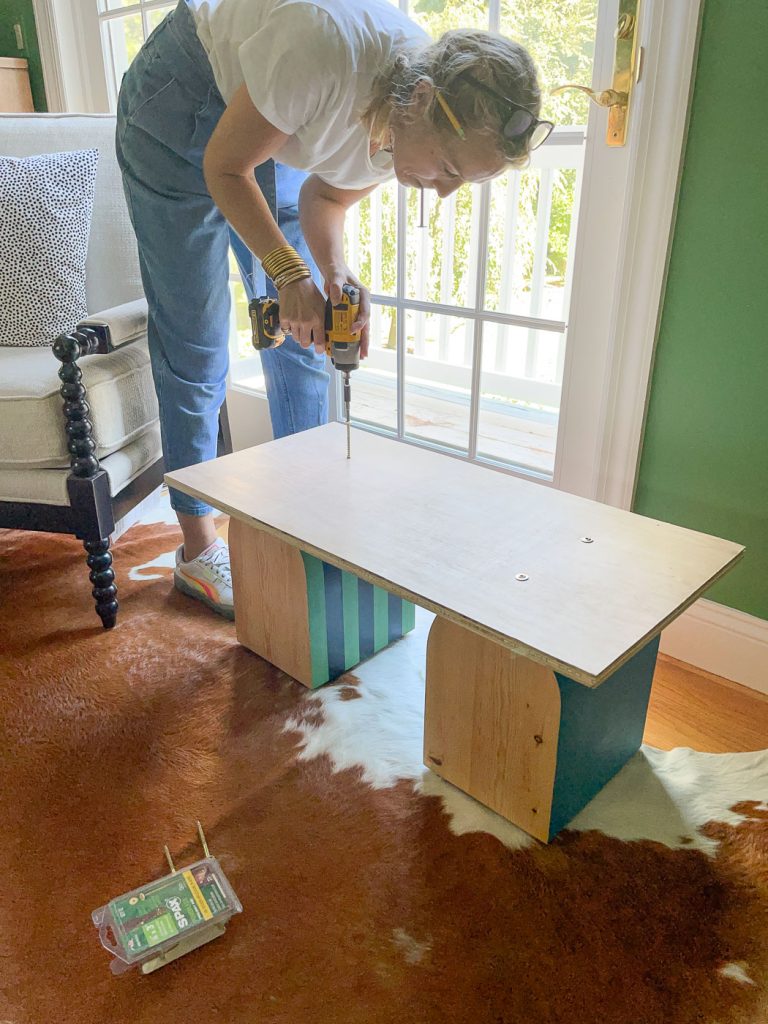
I used heavy duty Spax screws to attach a piece of plywood to the legs and then the table top will just sit on top of that. I didn’t want the screws to be visible on the top of the coffee table so this felt like the best solution to that problem.
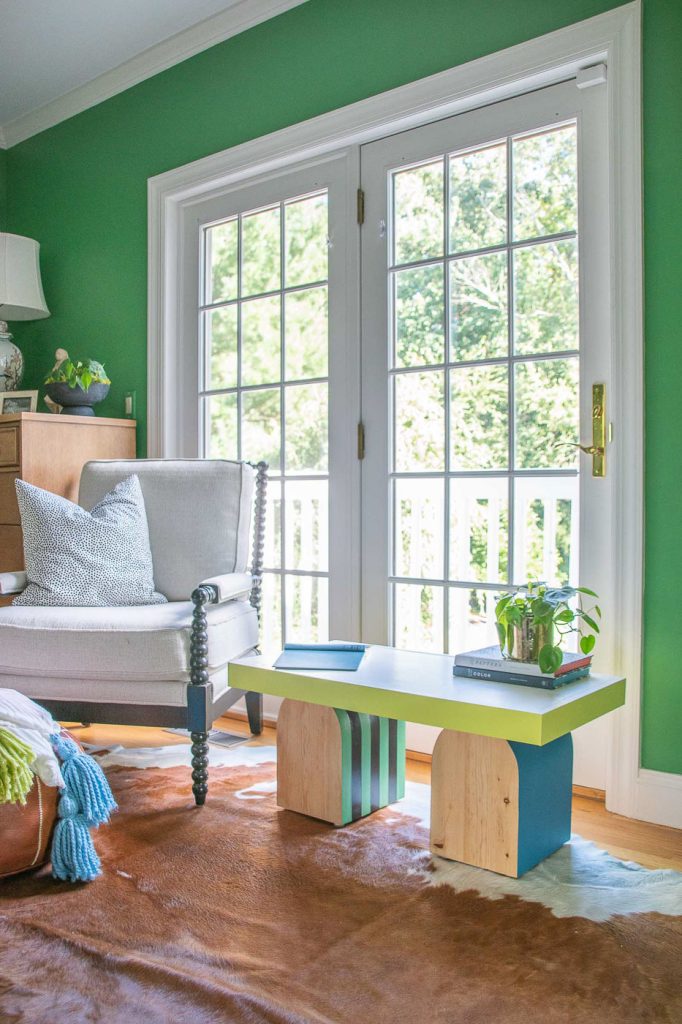
And… here it is! Yes… I technically only used the top part of the original table, but I still think it’s a fun build and it ended up being relatively simple and DEFINITELY budget friendly. I think the whole thing cost me $40?


Don’t Miss Out
Become An Insider!
Signup for exclusive tips, and tricks from Charlotte’s House!
Let’s chat!
I love comments from you, so feel free to leave your thoughts and ideas below! And don’t forget to follow me on Instagram for even more!