
How to Make An Upholstered Cornice Board
Psssst… this post *might* contain affiliate links: see my disclosure here.
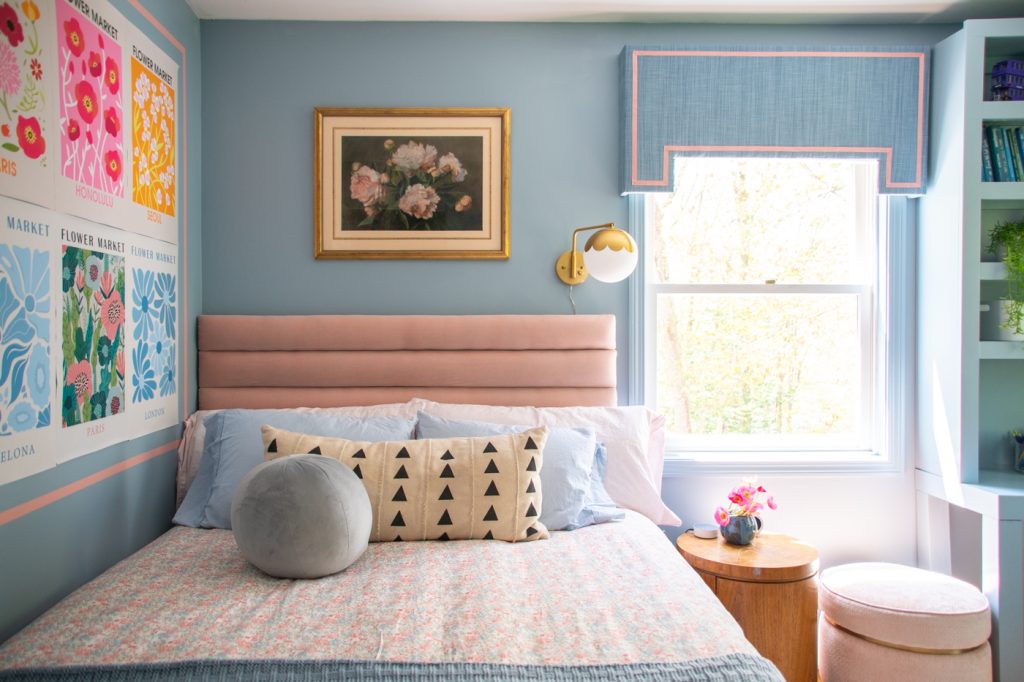
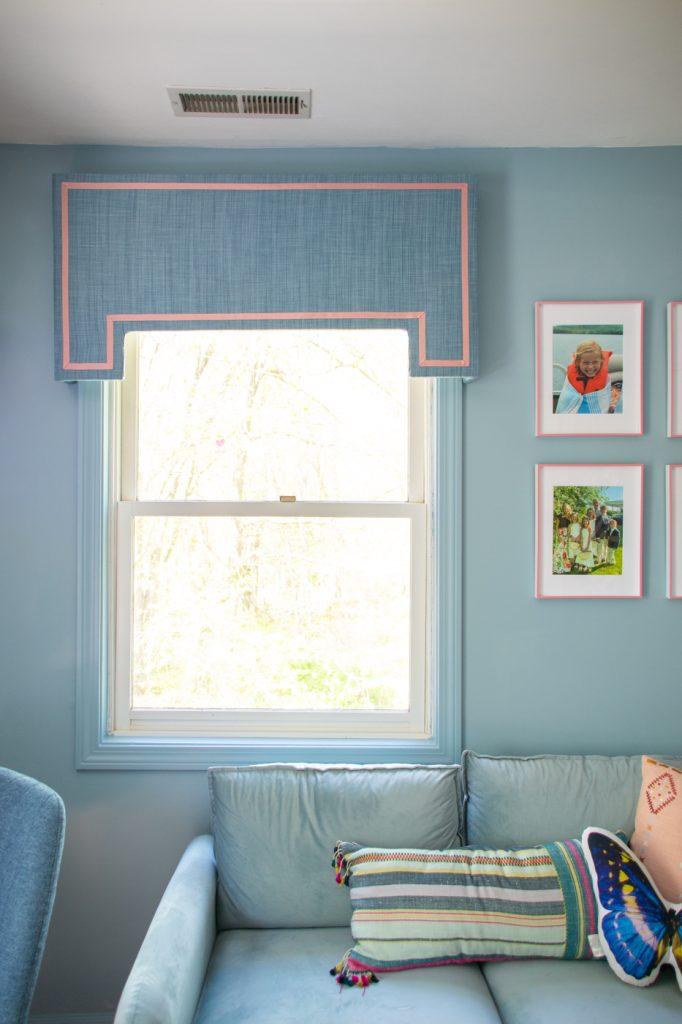
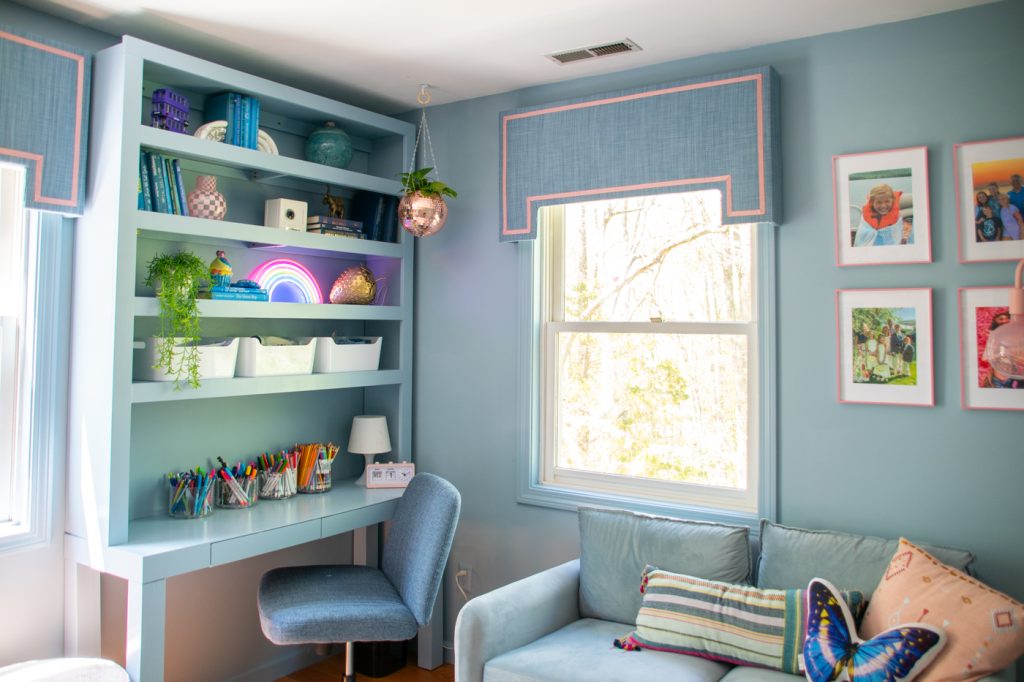
When I was midway through the makeover for my girls’ kinda shared bedroom, my oldest saw the windows and said they seemed plain. With furniture in front of both window, curtains weren’t an option but… a cornice board was! A cornice board, also known as a pelmet, is a decorative window treatment made of a solid upholstered box. The box can have infinite profiles and obviously any fabric or decorative detail you can dream up. These are often used to conceal drapery or window blind hardware.

Step 1. Design the Cornice Board
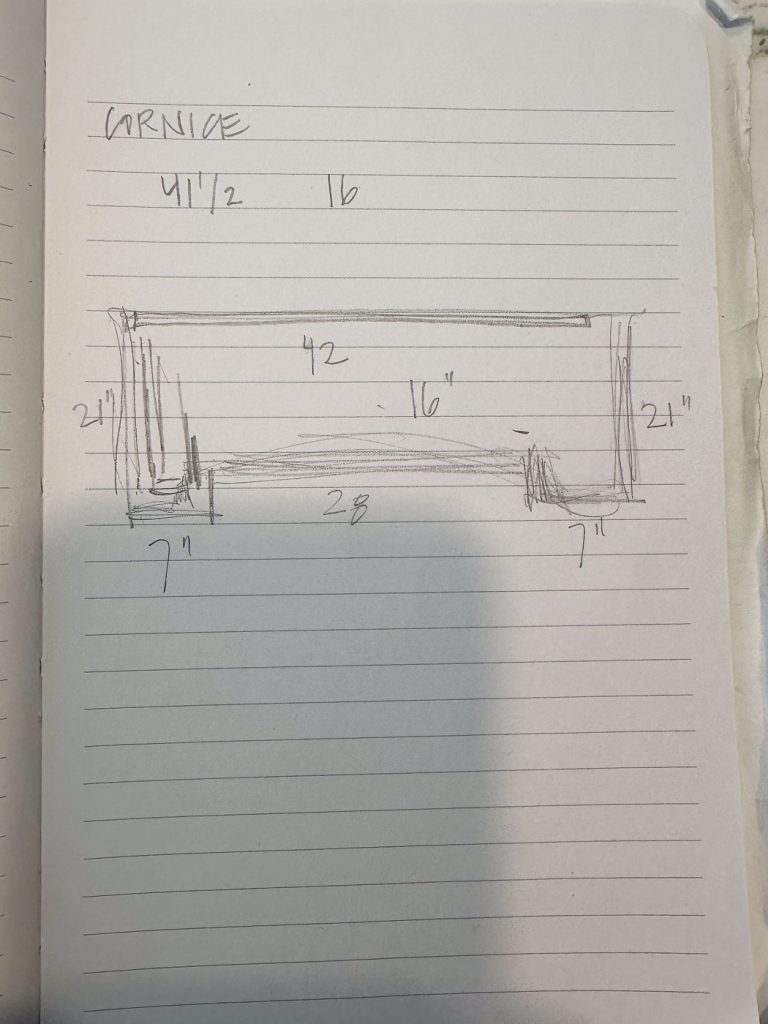
My upholstery skills are far below my carpentry skills so I worked backwards to figure out what kind of cornice board shape would be easiest to upholster and decided that a simple one step might be the best option. I wanted it to cover the top and side trim of the windows and come down about 6 inches over the black out Roman shades. The cornice board should stick out from the wall about 4″ or enough to allow room for your drill for installation. See my fancy sketch below…
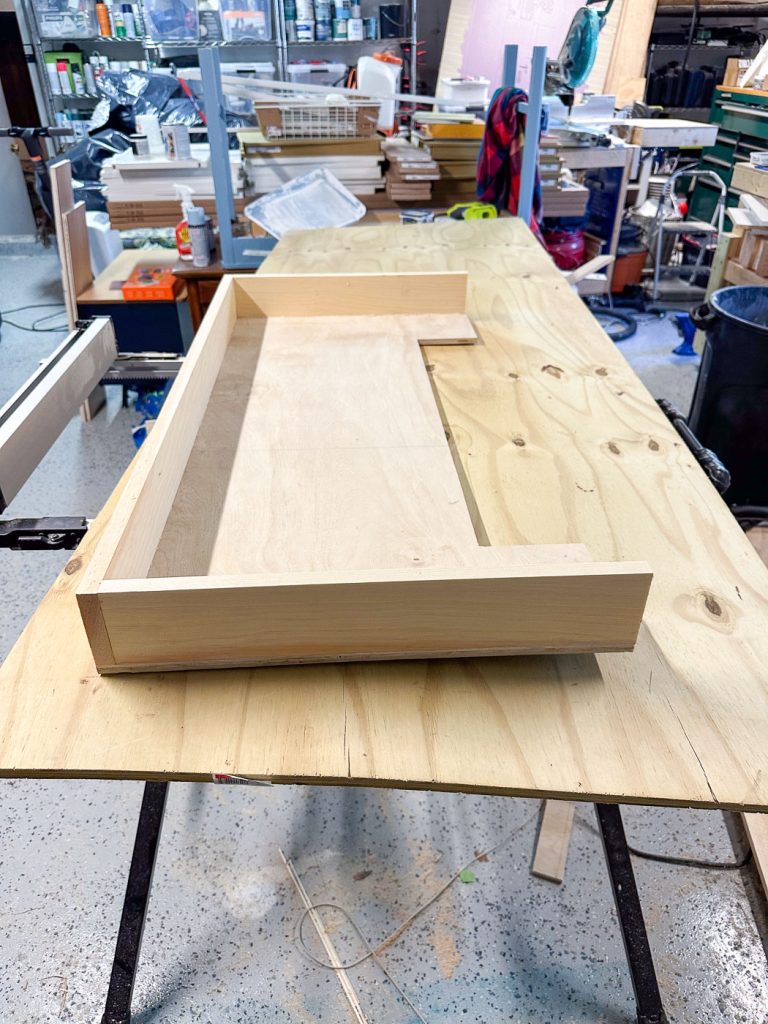
Step 2. Build the Cornice Board Frame
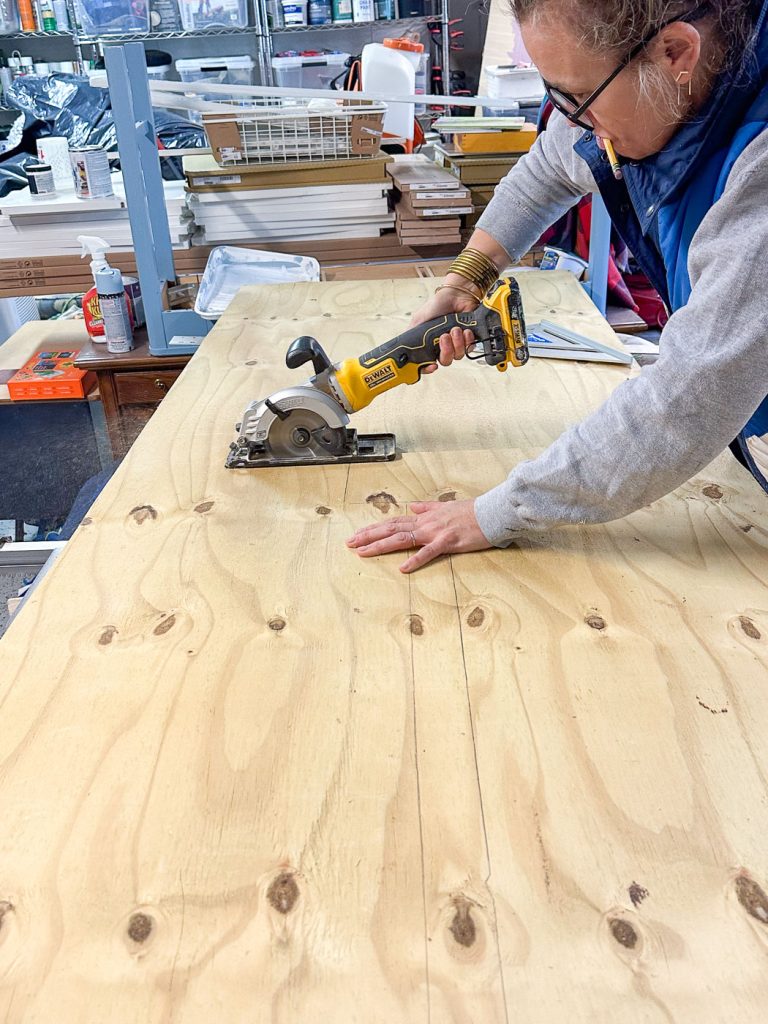
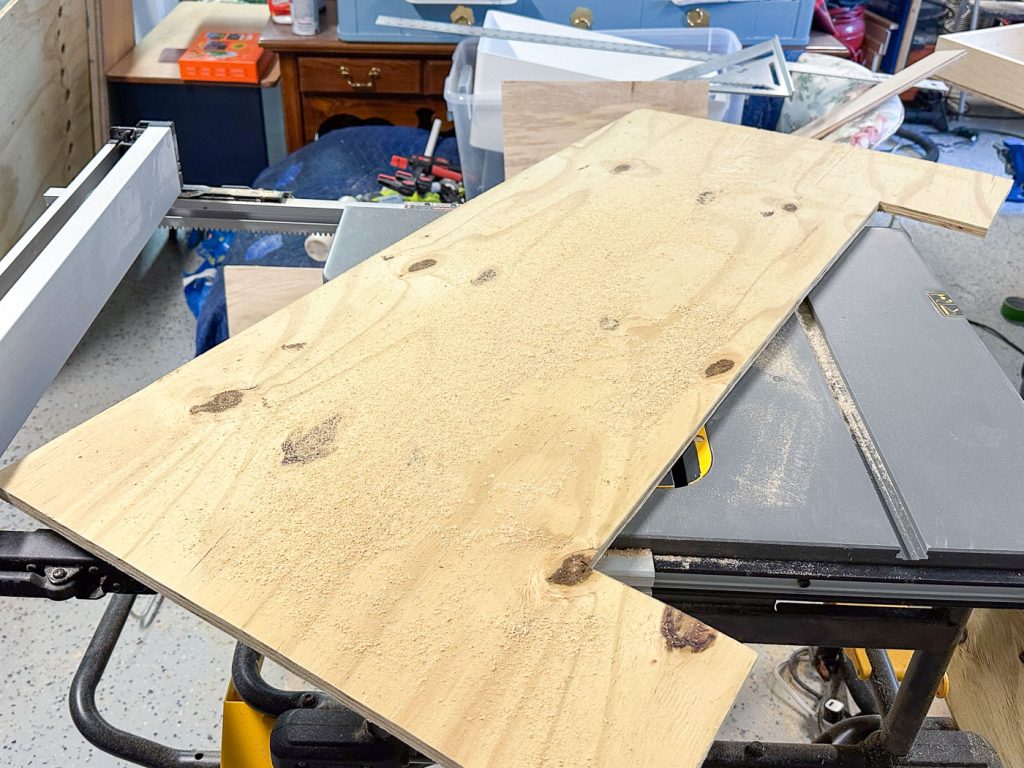
I’m using 1/2″ plywood for this and started by cutting out the front of the cornice board using my favorite 4″ circular saw.
Shop my favorites!
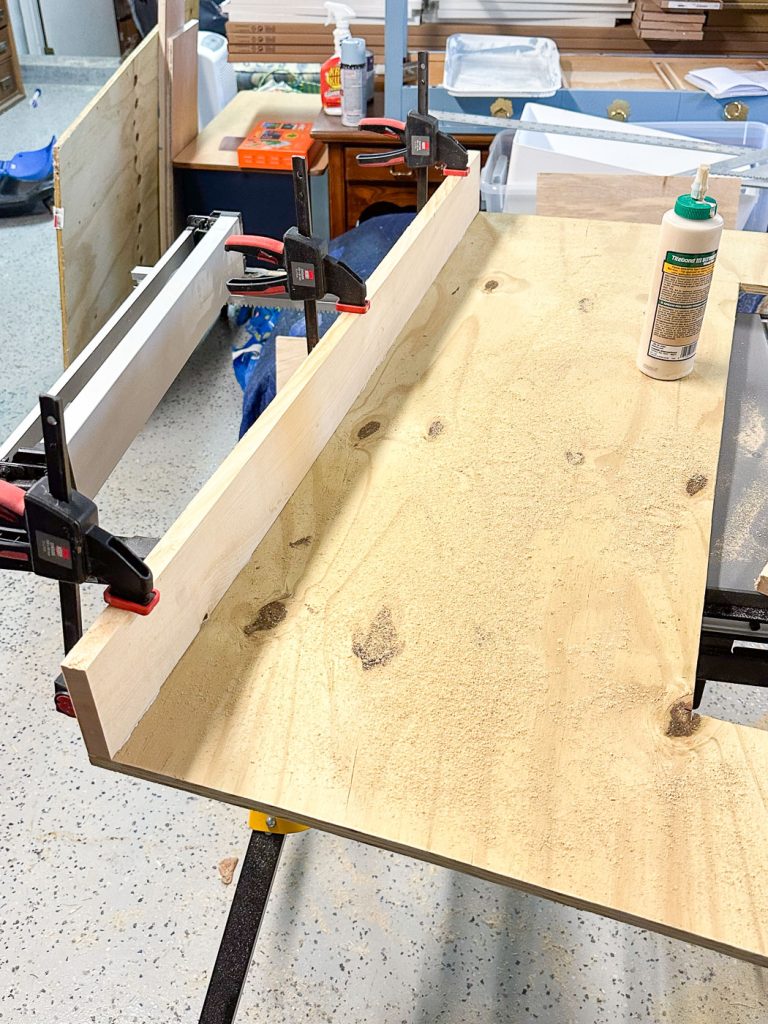
To create the set back, I simply glued and used brad nails to attach 1x4s to the sides and the top of the cornice board.
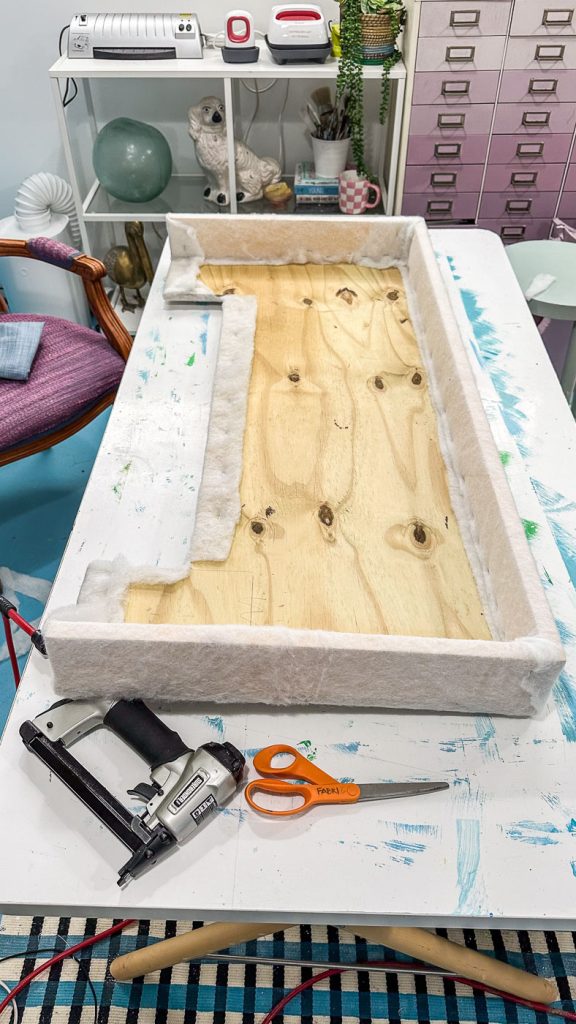
Step 3. Upholstering the Cornice Board
Listen, upholstery is an art and a skill that I do not possess. Sure, I can make do- which is exactly what I’ve done here- but I can’t pretend that this is a lesson in *good* upholstery. I started by wrapping the cornice board in batting.
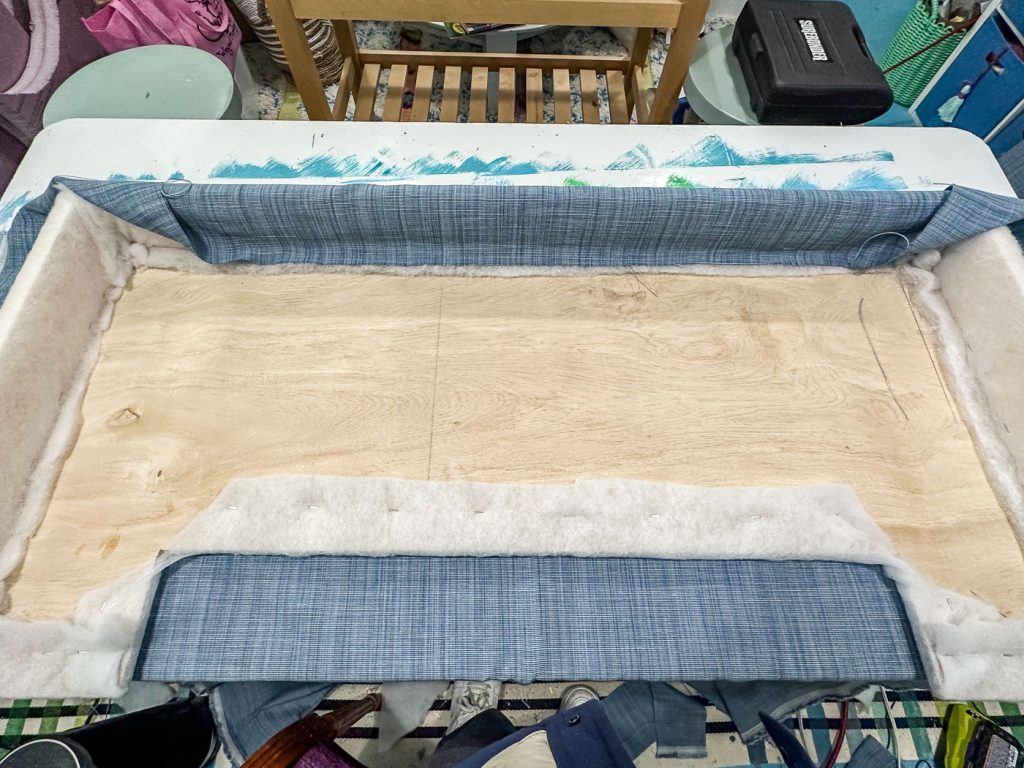
Next step was to wrap the cornice board with my fabric. This is fairly self explanatory other than the two inside corners which gave me a lot of issues and aren’t great and I’m still trying to figure out how to do these correctly.
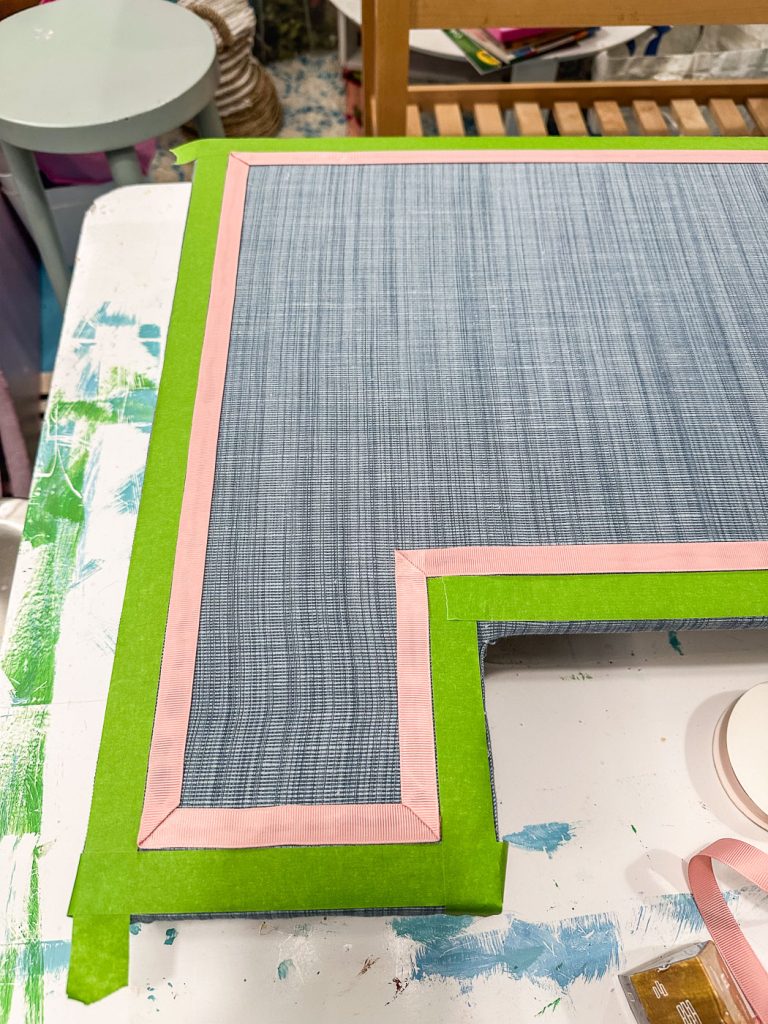
Because these cornice boards are going on upstairs windows, I’m not too worried about anyone being able to see the back of them through the windows. If I were… I would have covered this ugly backside with fabric. Instead of jazzing up the back, I decided to add a little color the front by adding a grosgrain ribbon trim. I used Frogtape to mark off the distance from the edge and then just hot glued the ribbon in place. (You can see my sub par upholstery skills in action below where the fabric pulls out of line a bit towards the bottom.)
Step 4. Installing the Cornice Board
You’ll have to use your imagination for this step because I was too eager to install them and forgot to take pictures. Thankfully, it was very simple because these are fairly lightweight. I’m using two L brackets like this for each cornice board. I screwed the L brackets into the studs on either side of the window with the ‘arm’ of the L facing down. Then I rested the cornice board on top of the L bracket and used short screws up through the L bracket into the cornice board. (This is where you need to be able to reach your drill up into the back of the cornice board.)

Where did you get the fabric?! It’s so gorgeous
Sadly I dug that out of the basement overstock selection of a local upholstery place, Leonards.