How to Mount a Staghorn Fern
Psssst… this post *might* contain affiliate links: see my disclosure here.
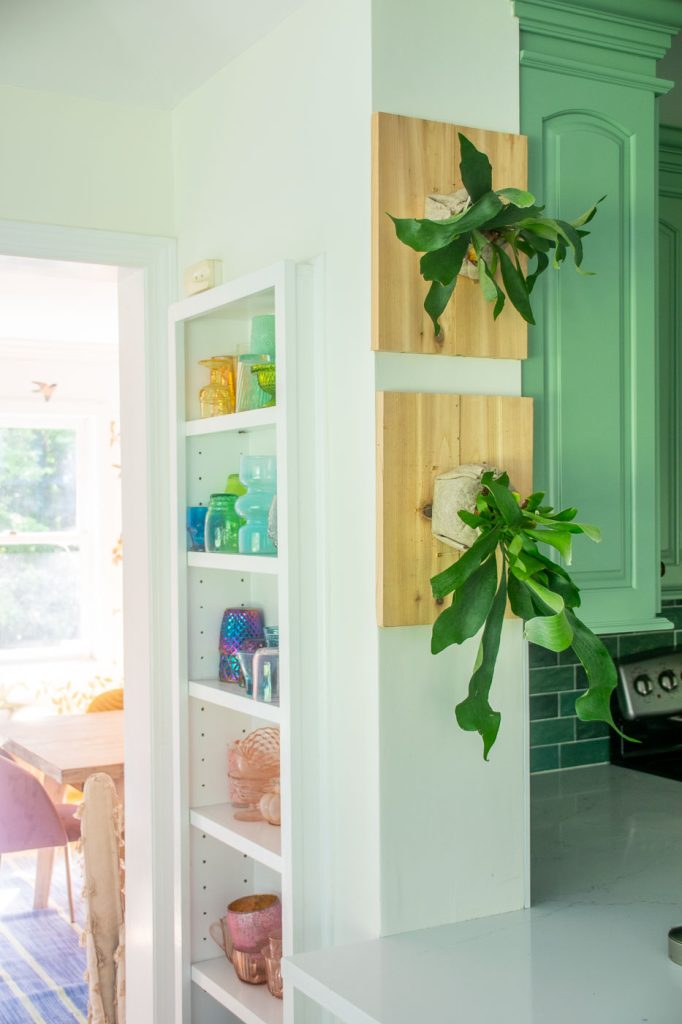
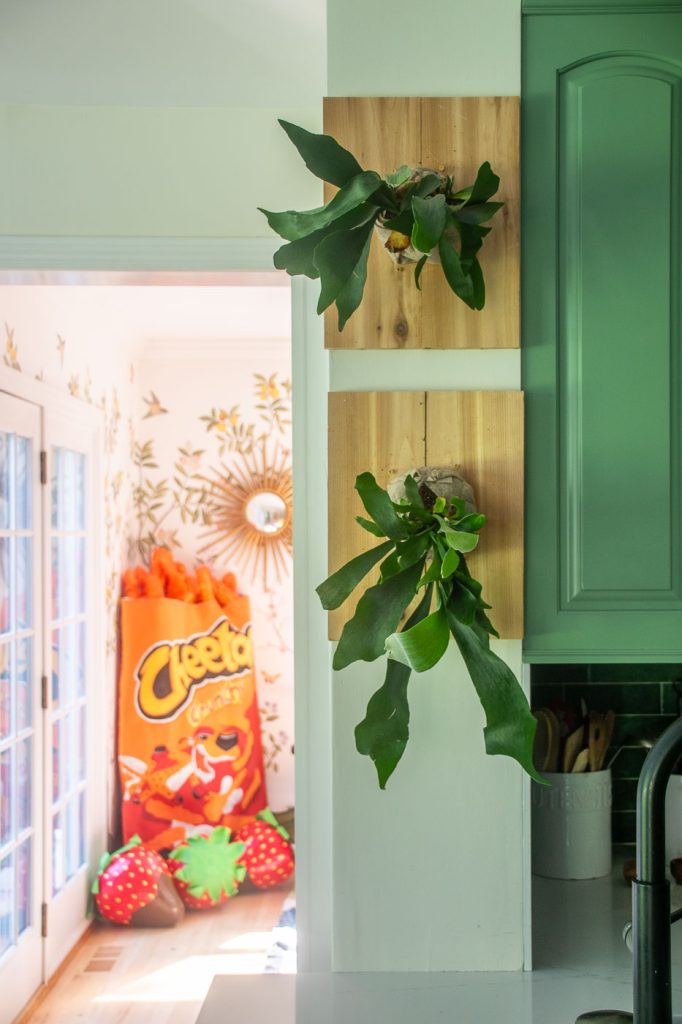
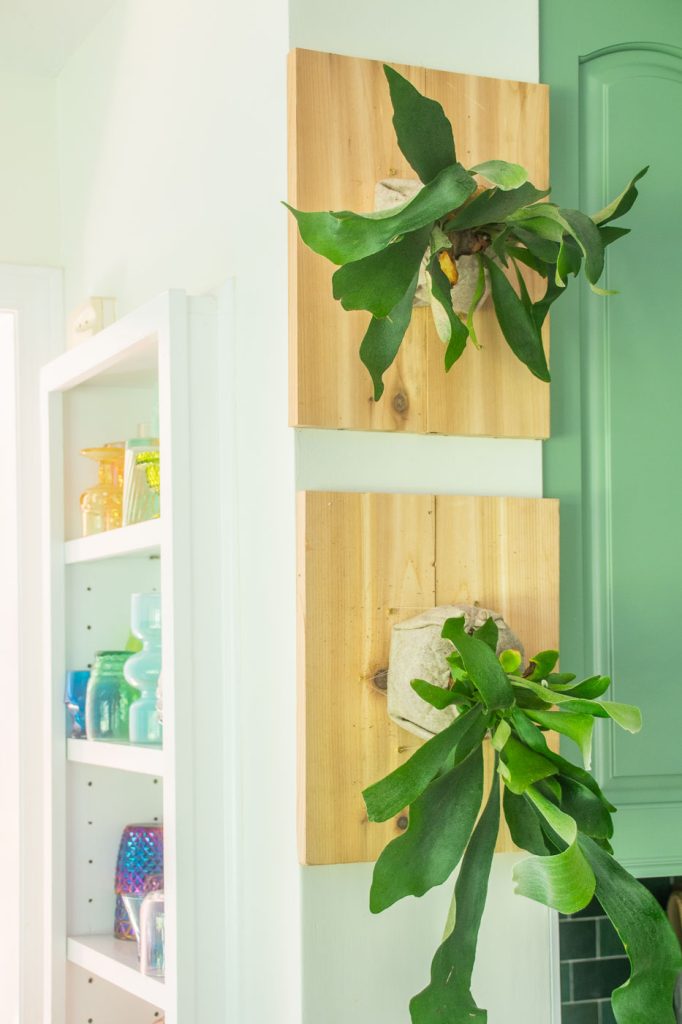
I mounted these staghorn ferns onto cedar boards to hang in our kitchen.
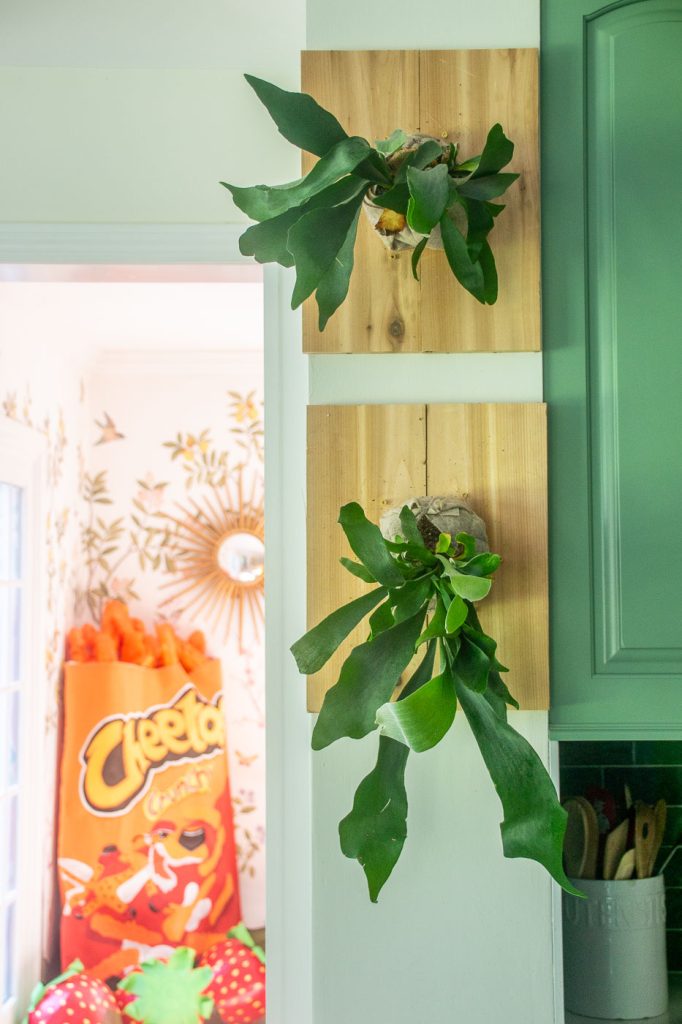
I’ve always loved a mounted staghorn fern. Why? I have fuzzy memories of one my mother had in our home growing up so maybe this is part of it. I also just love the idea of bringing a plant up off of my counter and onto the wall… I mean what’s not to like about that? I grabbed these two staghorn ferns at our local nursery but keep your eyes peeled at big box stores because they sometimes have them too!
Step 1. Make your Base
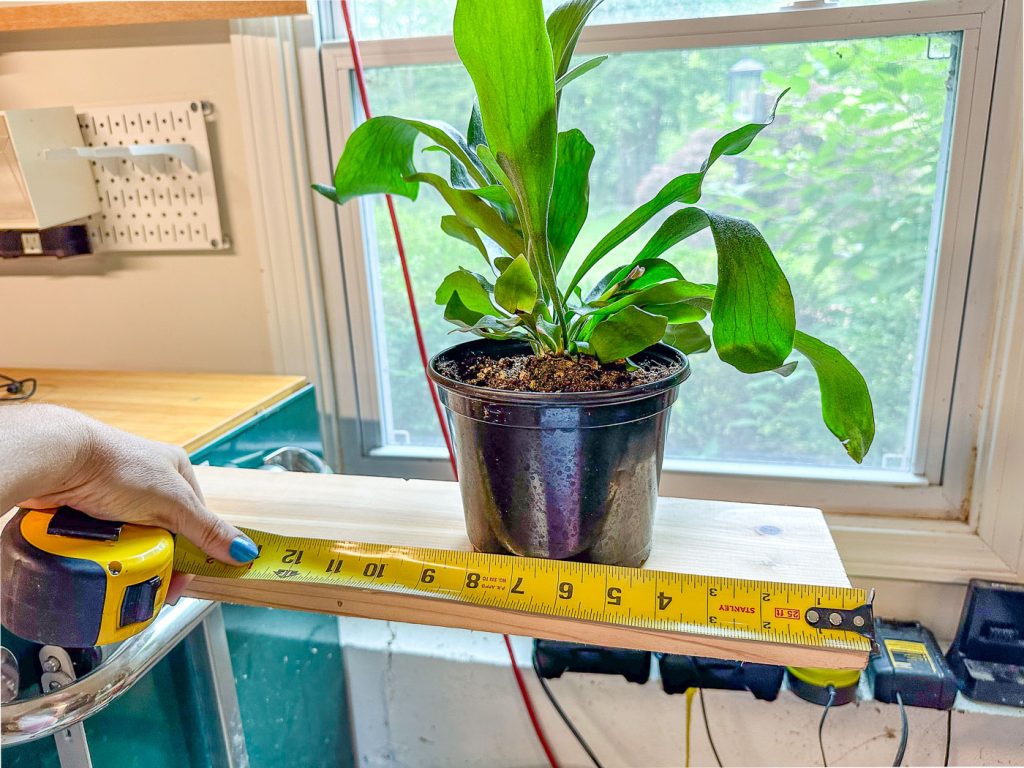
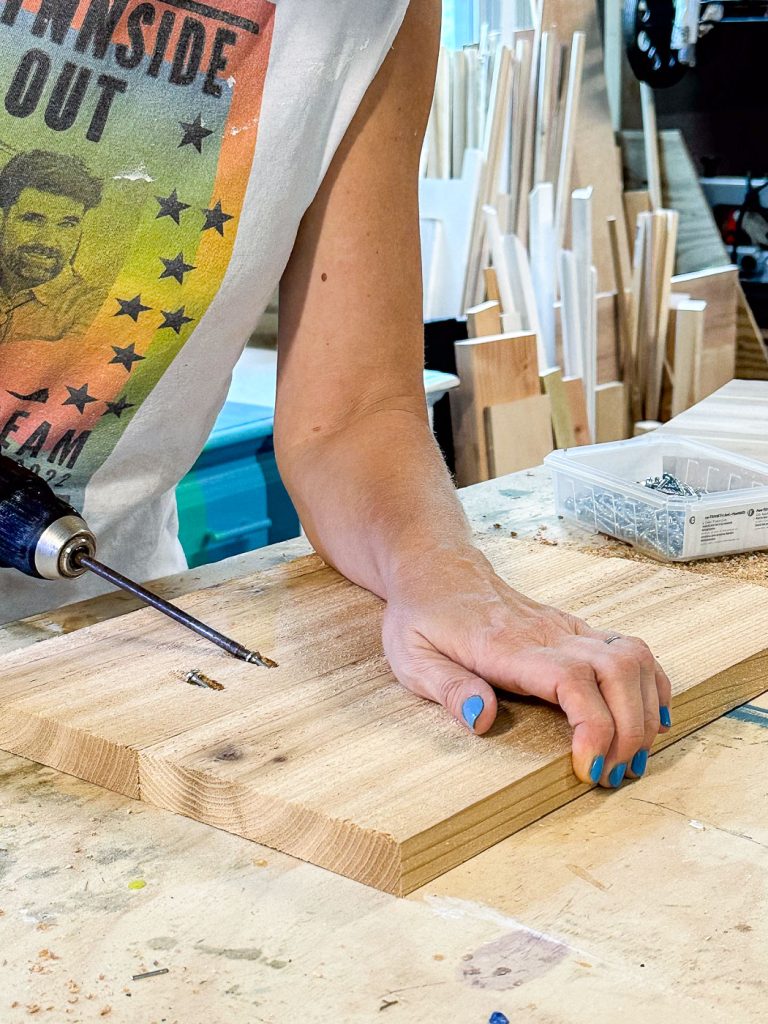
You can be creative when it comes to what your base looks like, but keep in mind it will get wet so a material like cedar is perfect because it’s more resistant to rot! Scrap wood, drift wood, old fence slats… all options. I’m using a discarded plank of cedar I grabbed at Home Depot for, wait for it… 11 CENTS. I measured how wide the root ball on my staghorn needed to be and cut the cedar to size. To make sure I had enough room, I screwed two planks together other using pocket holes.
Shop my favorites!
Step 2. Prep the Base for the Fern
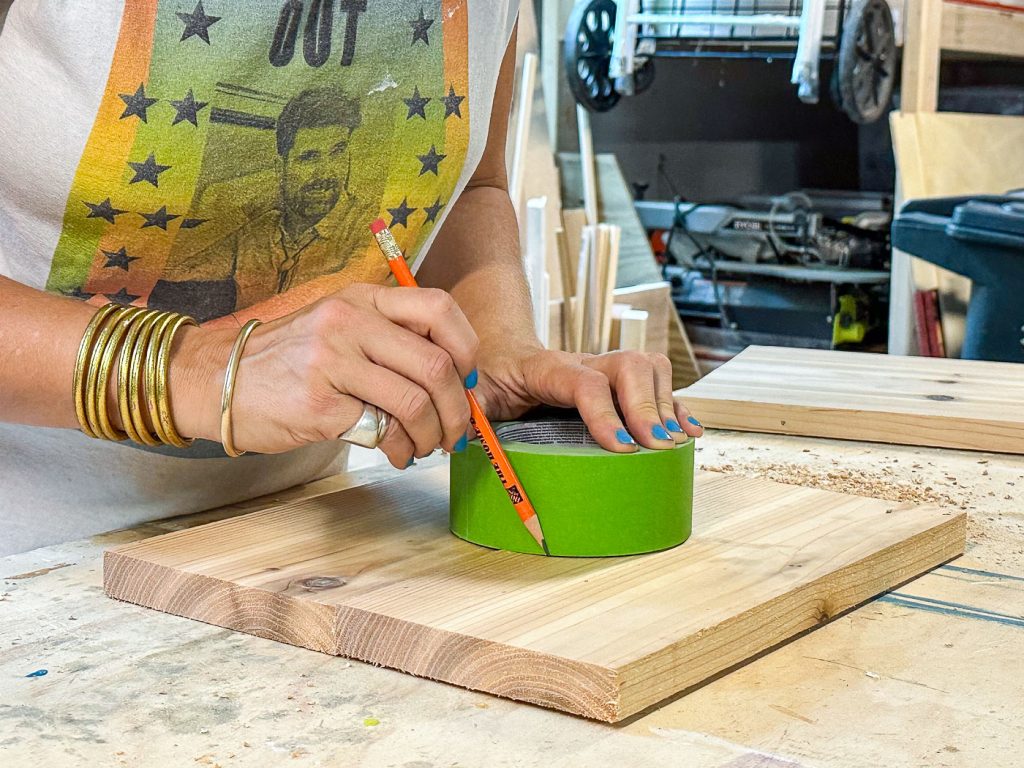
Trace a circle approximately the same size as the fern onto the board and screw in 6 to 8 screws evenly spaced around the perimeter.
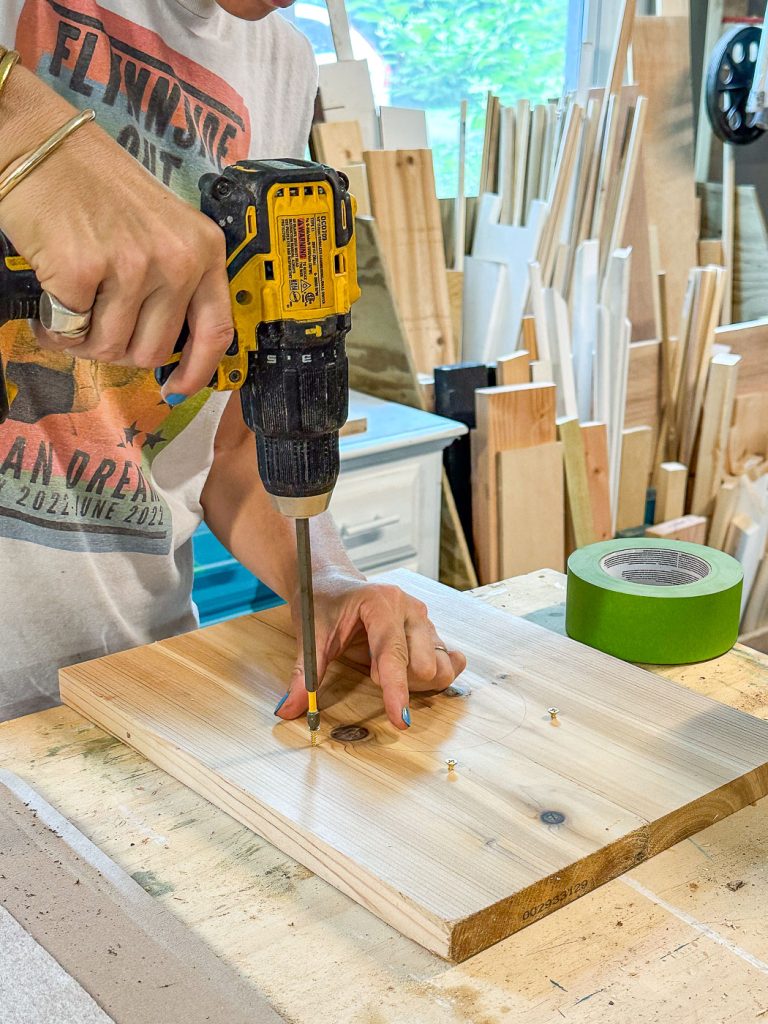
Step 3. Wrap the Fern
I’ve seen these ferns wrapped in all sorts of materials before mounting: moss, burlap, etc. but I grabbed some taupe colored felt I had in my work room. Hopefully it will hold in any moisture, hold together and look cute! I didn’t have much rhyme or reason to my wrapping… I literally took the fern out of the pot with a good solid ball of dirt still intact and gathered the felt around the root ball as neat and clean as I could.
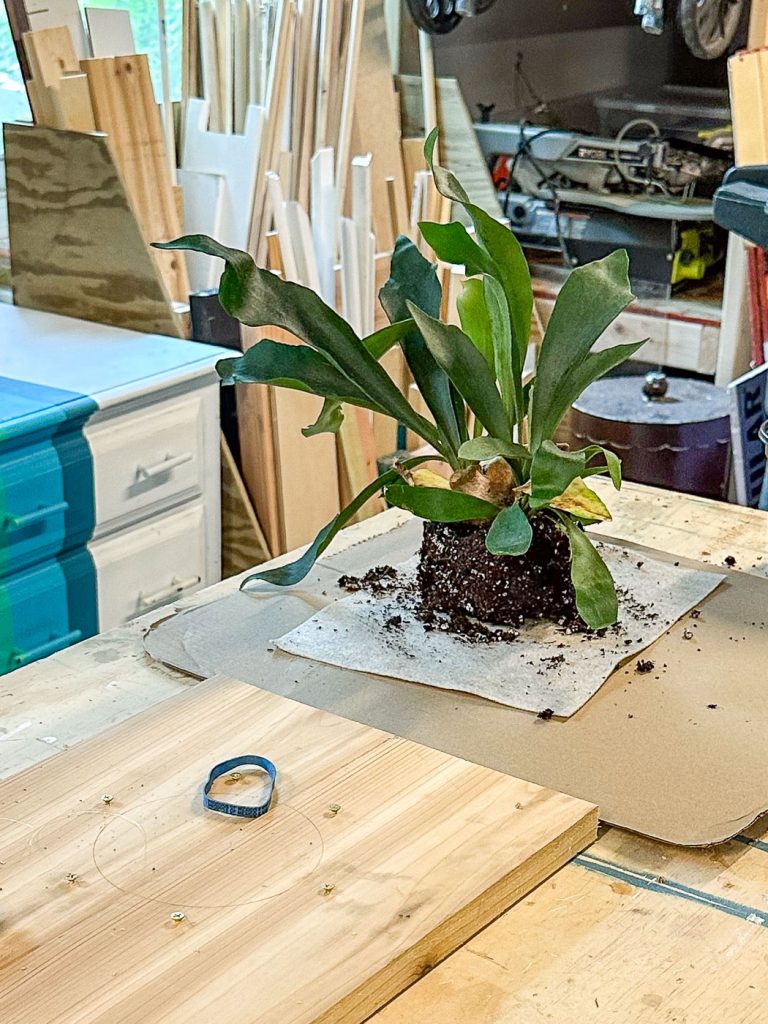
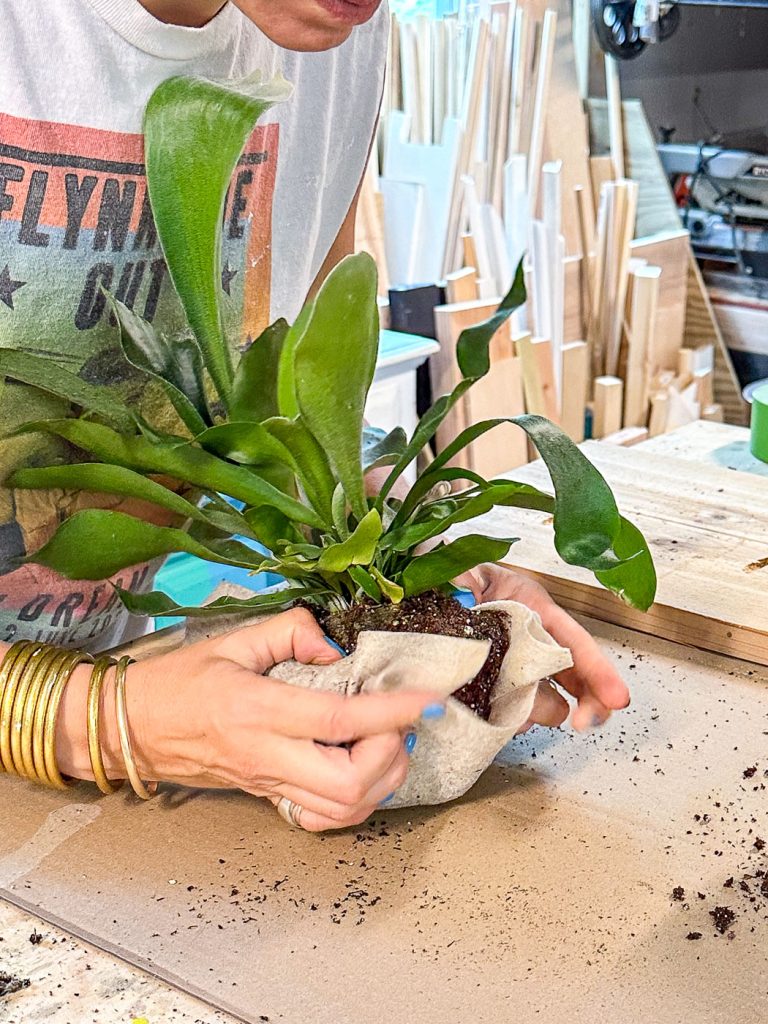
Step 4. Mount the Fern onto the Board
I probably could have wrapped the fern with some monofilament before placing it on the board, but… instead I tied off one length of monofilament onto one of my screws and then pulled it up and over the fern tightly before tying it off on the opposite screw. I ran the monofilament back over the fern, but on the other side of the plant, before tying it off again on the same screw. For added security I wrapped it twice on each screw. I repeated this pattern- going up and over the fern on one side, tying it off and then back up and over on the other side- on each opposite set of screws.
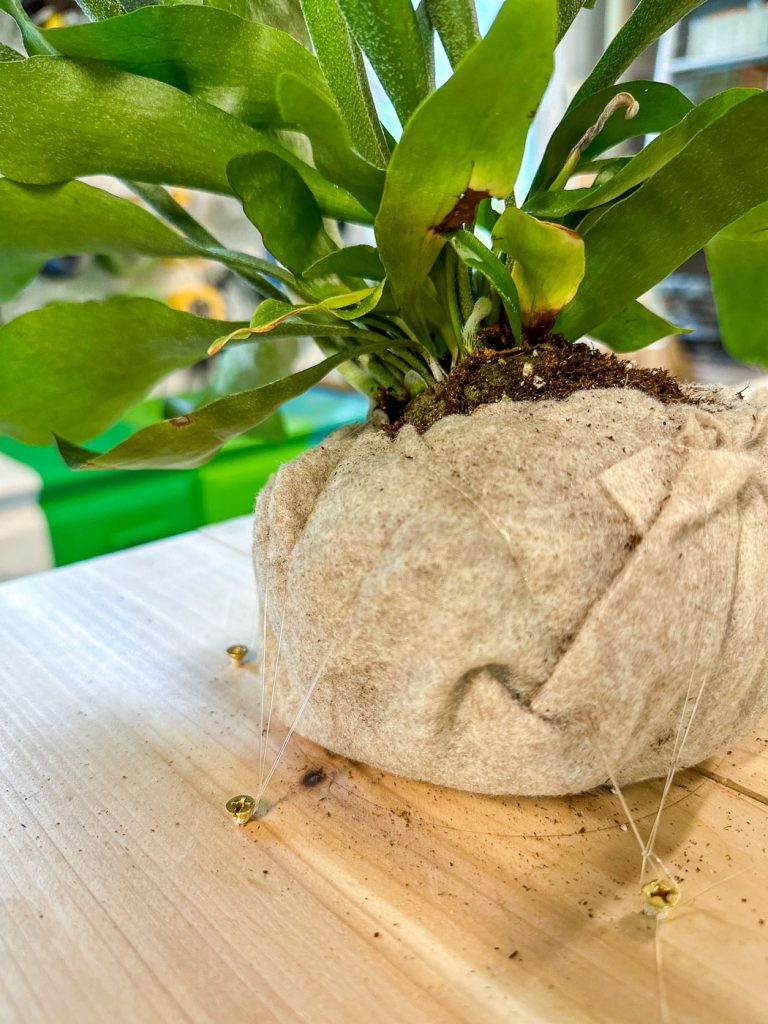
Step 5. Add Hanging Hardware
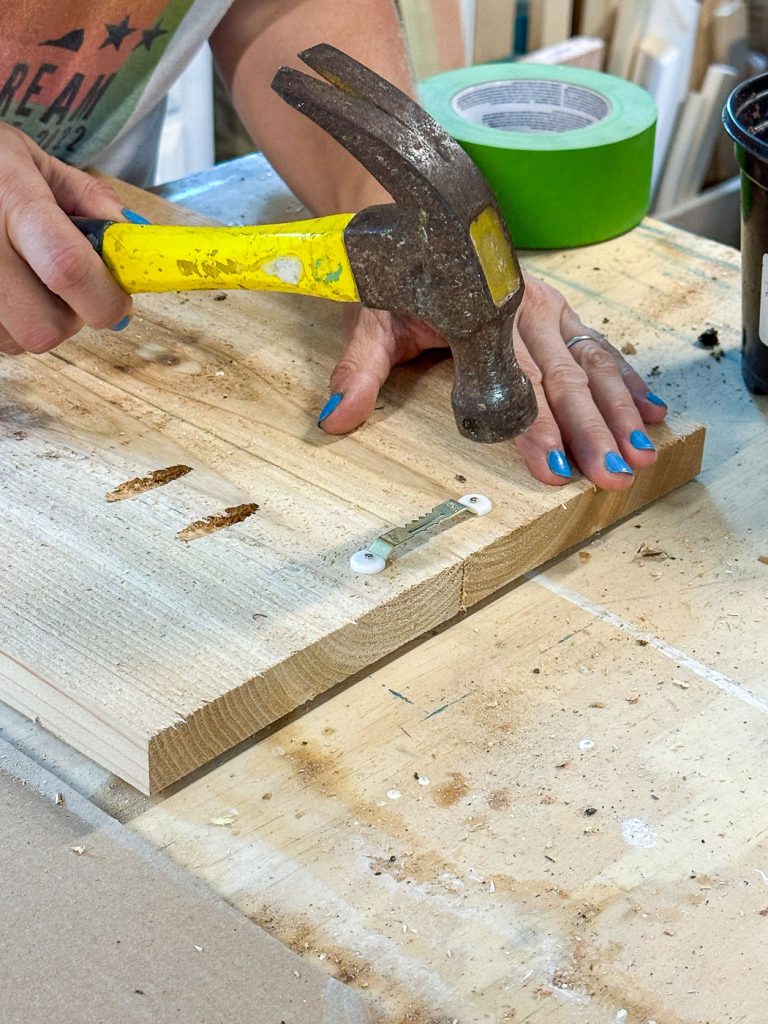
I’m using one of these simple sawtooth hangers (the whole piece is fairly light), but I’ve also seen folks use a length of heavier wire if you want a visible hanging mechanism.
Caring for your Mounted Staghorn Fern
Staghorn ferns don’t want to be in direct sun so find a bright non-direct spot in your home to hang. To water, remove the fern from the wall and soak in your sink or bathtub for a spell. Keep this in mind when picking out where you’re planning to hang the fern since there will be some residual moisture on the planks after watering (i.e. mounting on wallpaper might not be ideal).


Don’t Miss Out
Become An Insider!
Signup for exclusive tips, and tricks from Charlotte’s House!
Let’s chat!
I love comments from you, so feel free to leave your thoughts and ideas below! And don’t forget to follow me on Instagram for even more!