
How to Organize a Community Art Project
Psssst… this post *might* contain affiliate links: see my disclosure here.
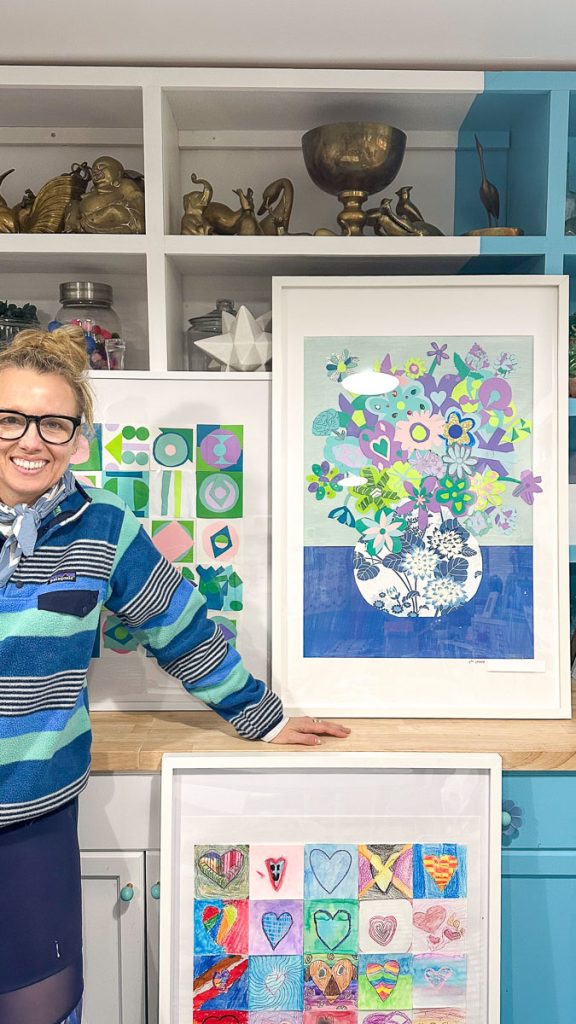
My kids’ elementary school needed help creating grade-level projects for a school auction so I came up with these adorable and easy to execute art projects for each grade level!
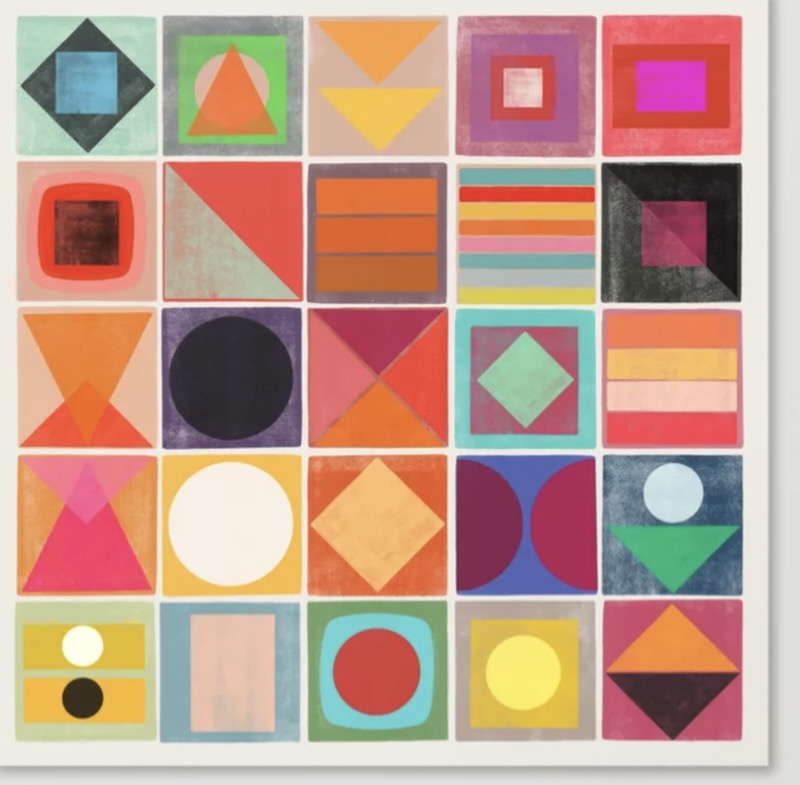
Before I go into details about the logistics of all this, let me first give a quick overview as to how I tackle this type of project. First stop is always Pinterest. I looked up something like “group art projects” and started scrolling through the various images for inspo. Ultimately I didn’t bother clicking into any specific links because the visuals were enough for me to go off of, but I’ll link to all of them at the end of this post in case you’re interested.
Step 1. Determine Grade Level Projects
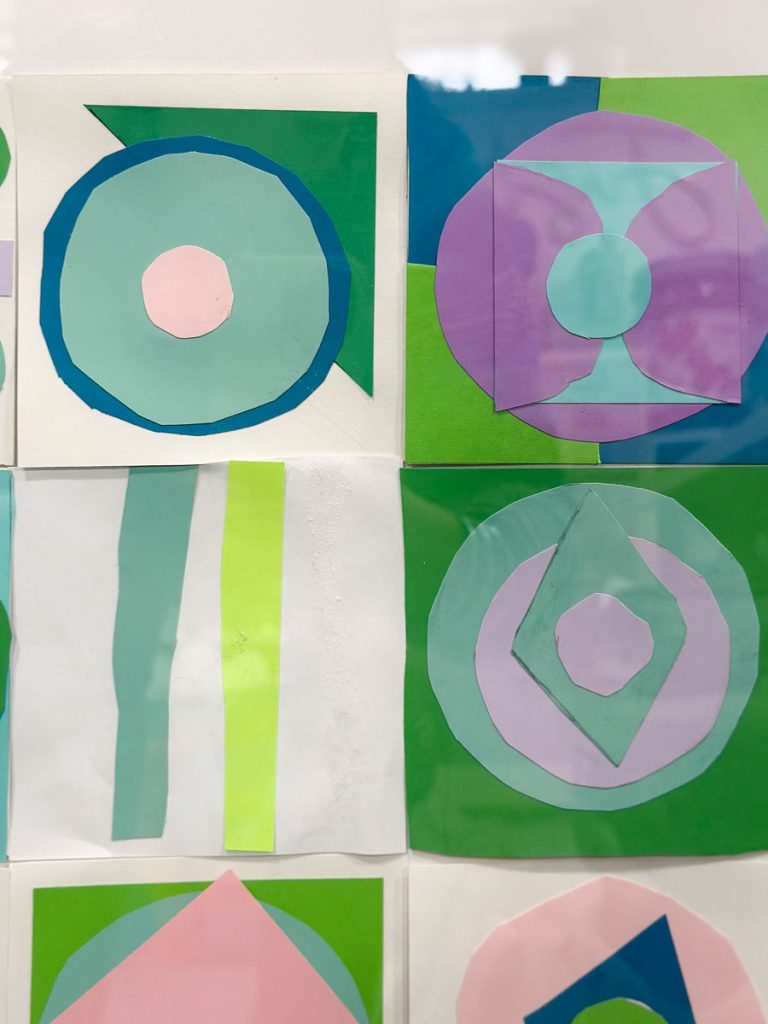
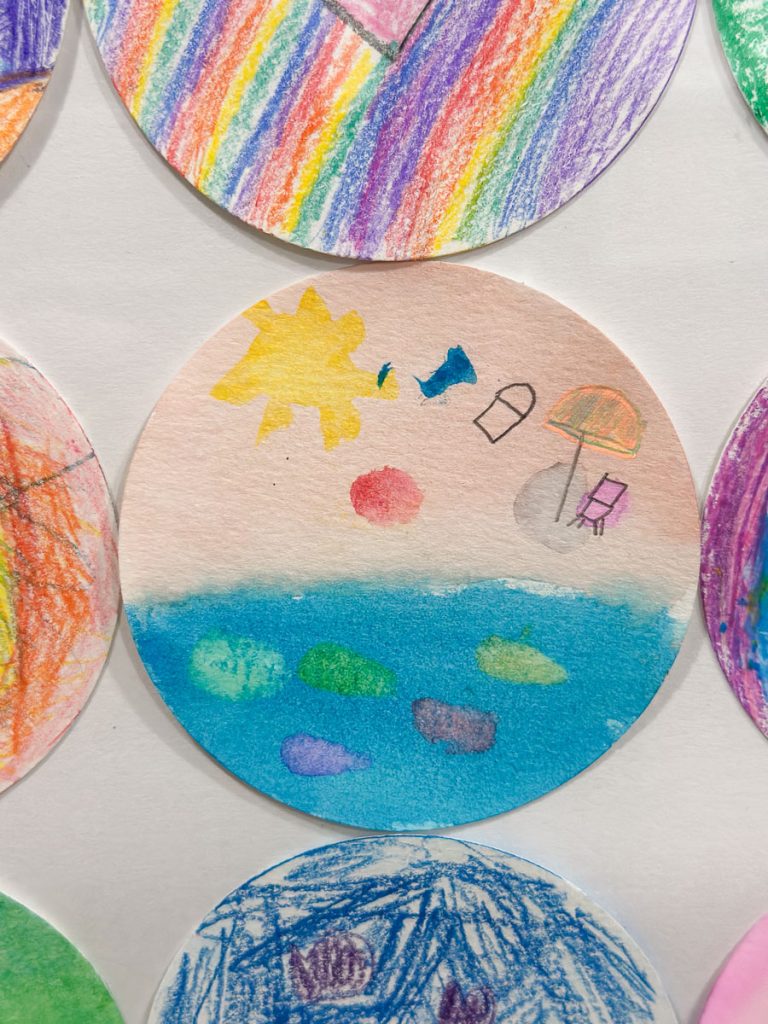
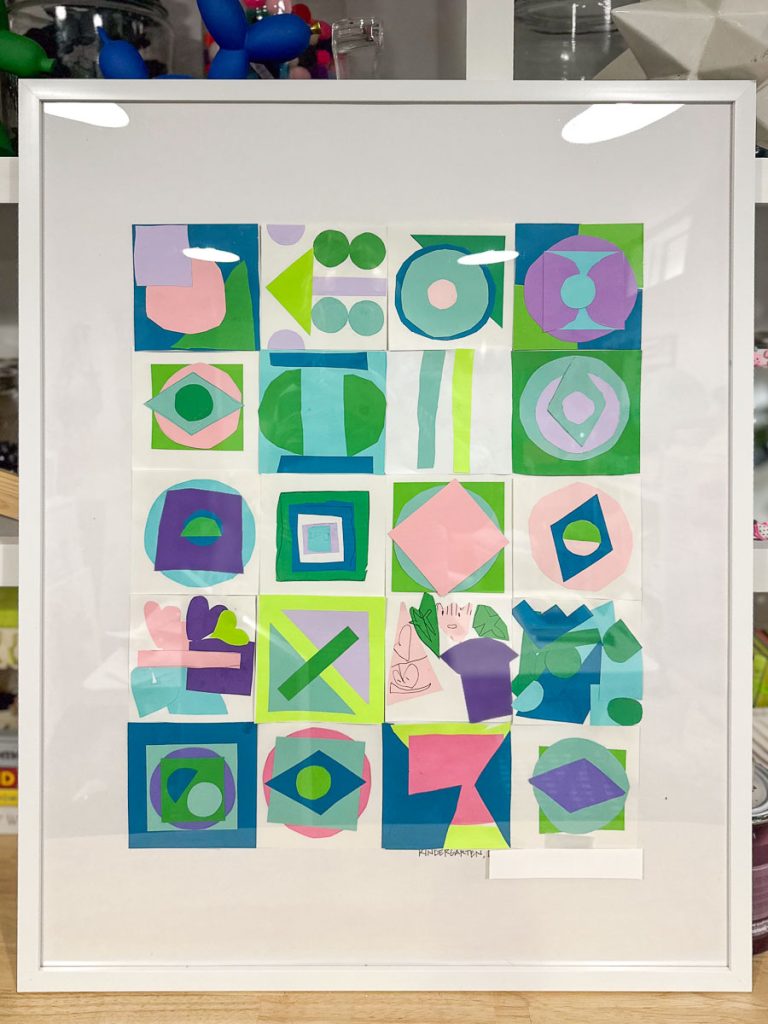
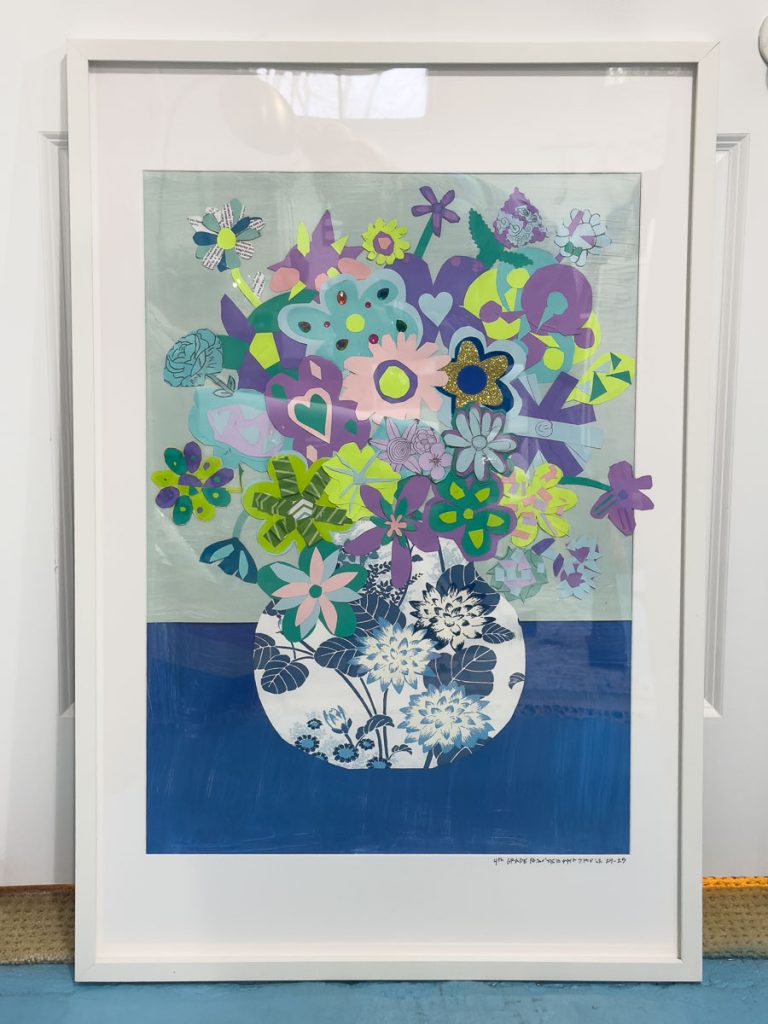
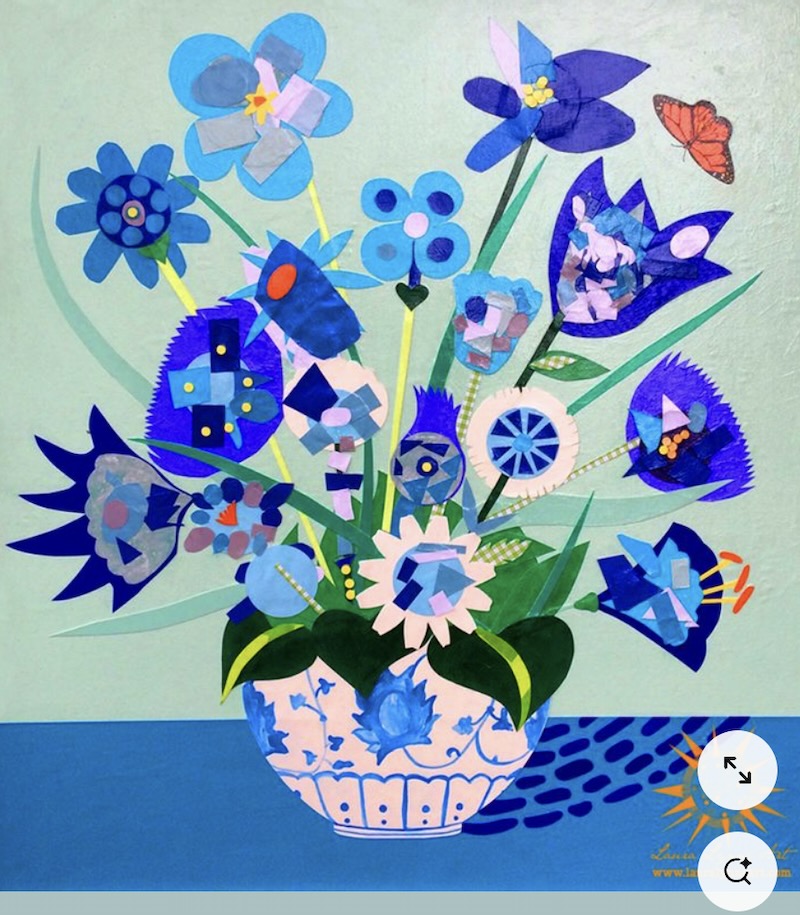
We wanted something for grades K-4 (5th graders added their hand prints to a donated cornhole set) so I did my best to choose and assign projects that would best suit each age range. I.e. the kindergartners were cutting and gluing and the 4th graders were making more complicated flower collages. If you’re doing this as a community project, perhaps give some thought as to the age of your artists and select the artwork accordingly.
Shop my favorites!
Step 2. Do the Math
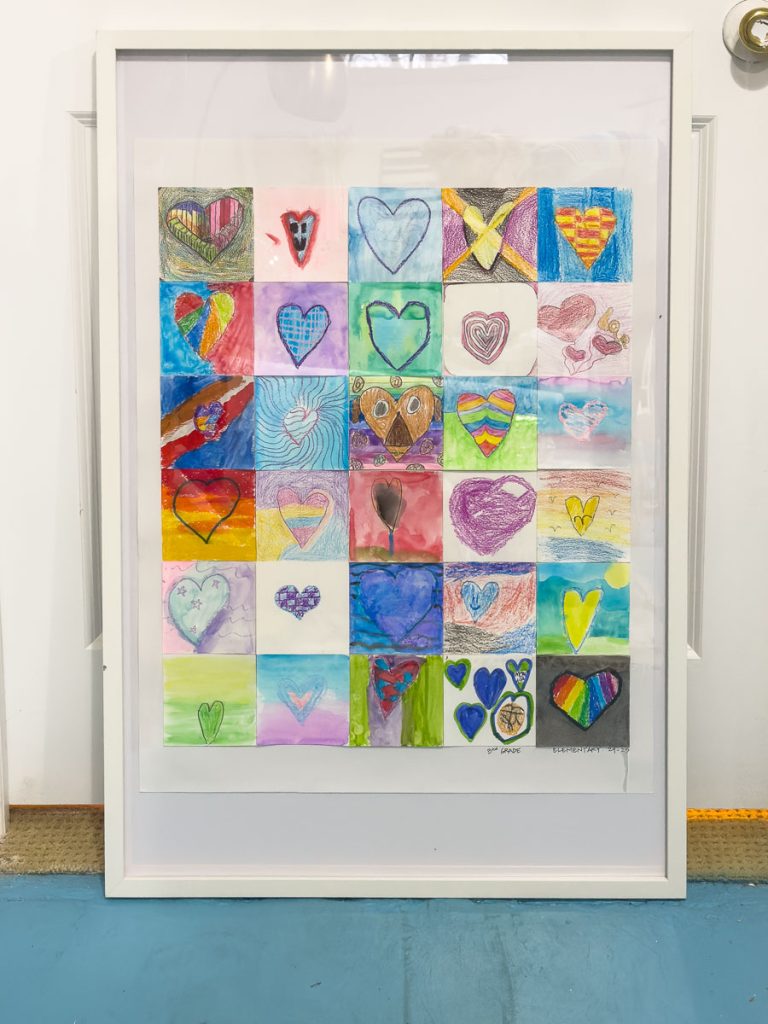
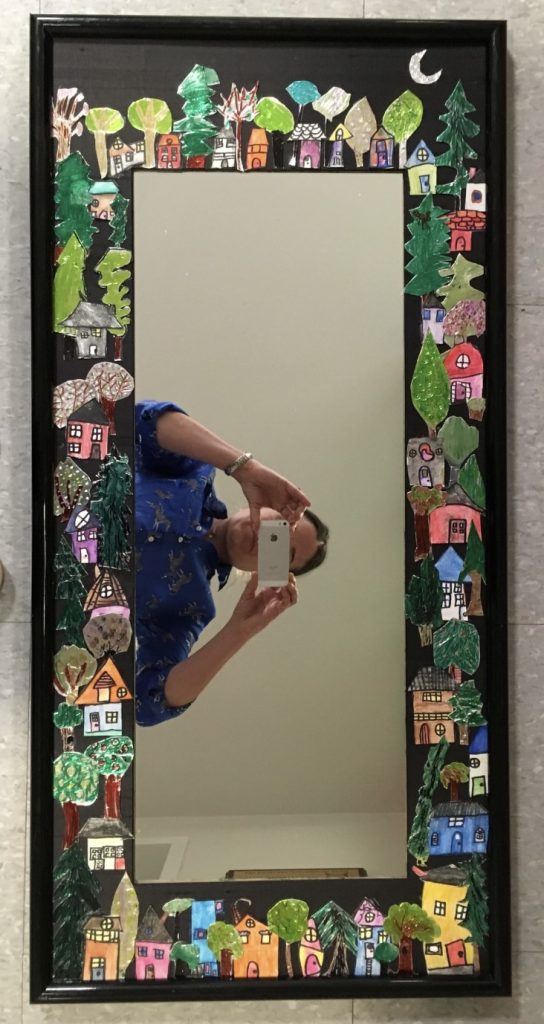
Before I could prep anything, I had to figure out what kind of layout I was dealing with for each project. I was able to get a head count from the school’s main office and worked from there. For example, if a grade had 29 students, I planned on a 5 x 6 array (5 columns with 6 squares in each one) of 4″ squares for total artwork dimensions of 20″ x 24″.
Step 3. Assemble and Organize Instructions and Supplies
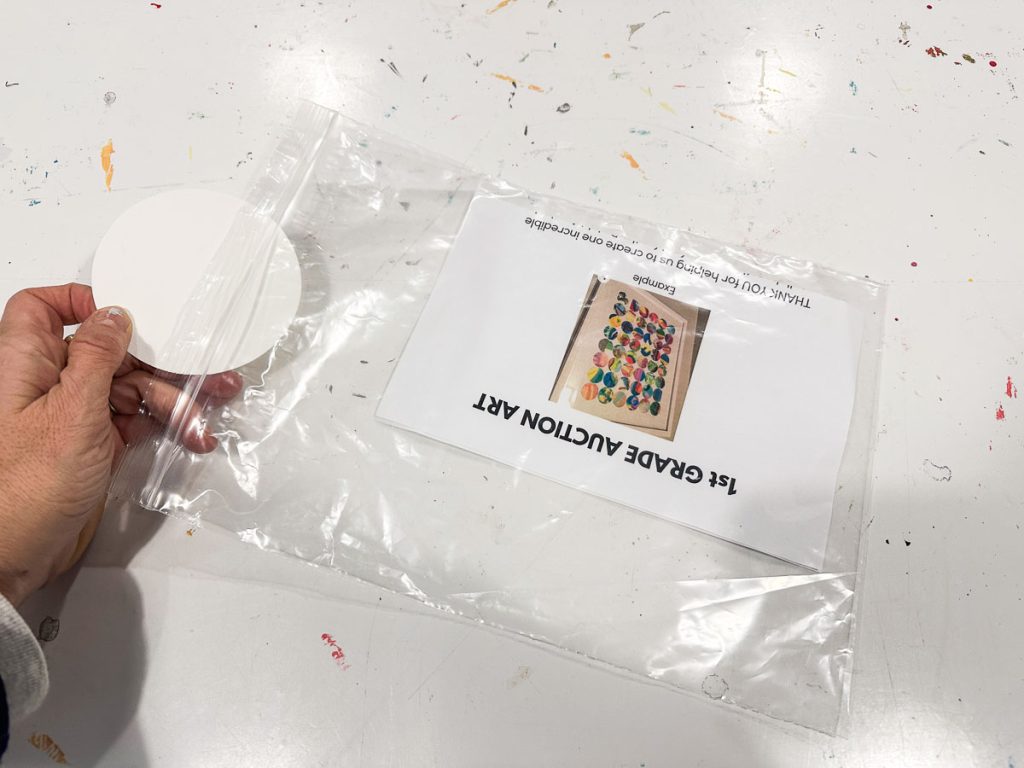
I typed up a one-sheeter for each grade level with instructions that included a photo of the inspiration image. Each project was pretty self explanatory, but I tried to be as clear and articulate as possible. Think about materials you want people using, materials you *don’t* want people using, etc.
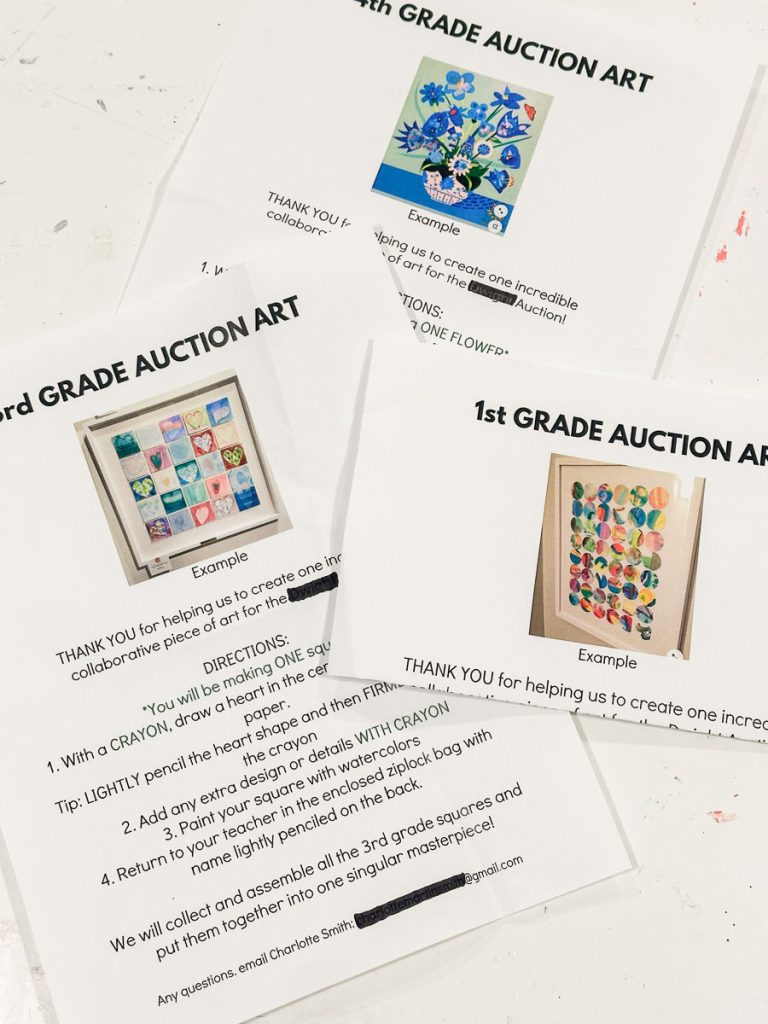
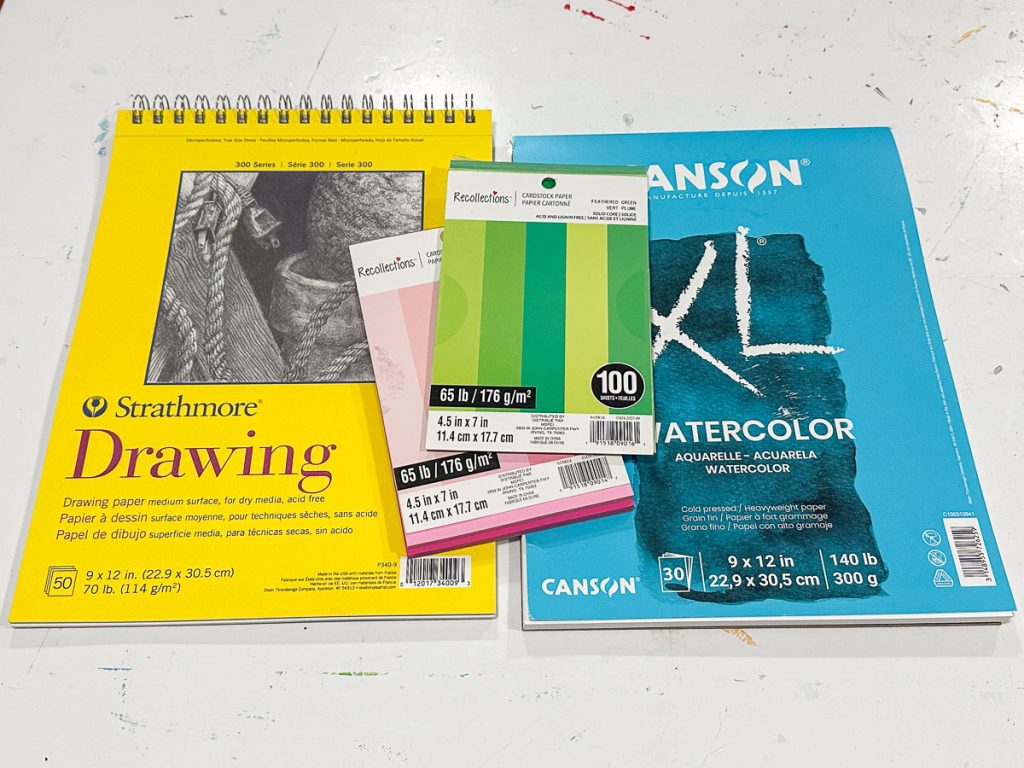
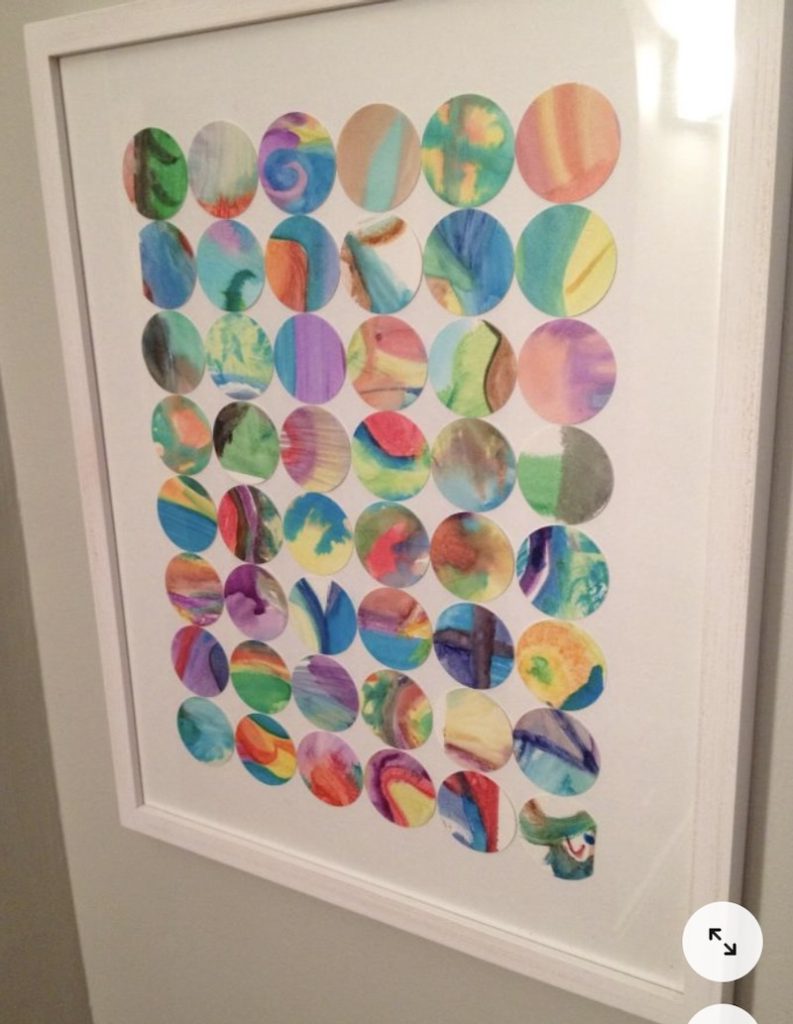
For every child in the school, they took home a ziplock bag with a copy of their instructions and then any specific materials they needed for their project. We assumed kids had basic materials like crayons, watercolors and glue sticks at home so all I provided was the precut circles and squares as well as a few sheets of colorful card stock. (For the kindergarten shape cutouts, they also got a template of shapes to cut/ trace just to make sure the entire thing felt cohesive.)
Step 4. Collect and Remind and Collect
I was so pleasantly surprised by how well everyone at our school did completing and returning their projects! We didn’t get quite 100% but it was pretty darn close! I left some extra supplies and instructions with the main office for the kids who inevitably misplaced theirs and we were pretty persistent with reminders and our deadline.
Step 6. Assemble
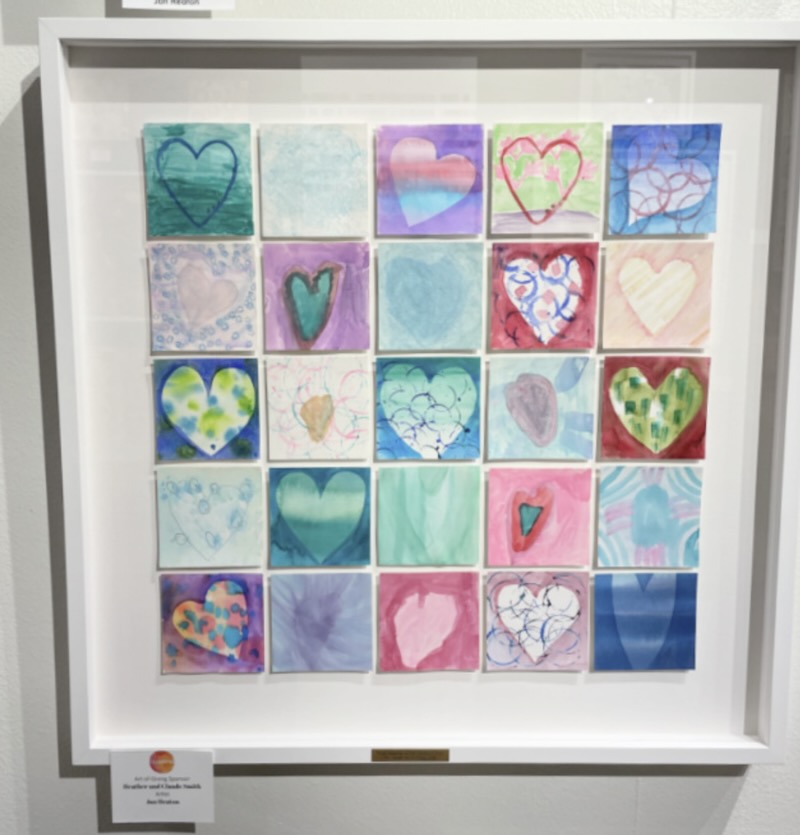
I planned each artwork with appropriate frames in mind so, for example, the artwork mentioned above in Step 2 was going into a 22×28″ frame purchased on Amazon. The frames for these projects are *not* fancy. They are basic white frames so they look great but didn’t break our budget.
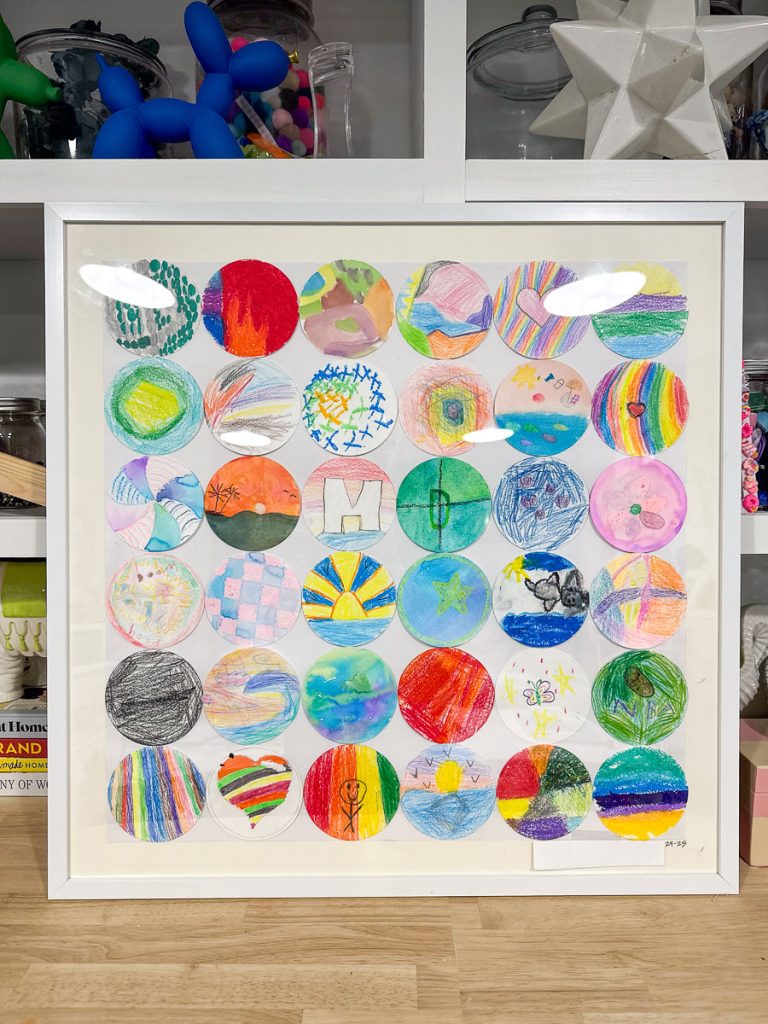
I picked up some poster board at the craft store to use as the base layer and lightly penciled in the boundaries for each array. I used a hot glue gun because I knew it would hold everything in place, but you could certainly use double stick tape, etc. Once assembled, I added a title to each one: Kindergarten, XXX Elementary, 2024-25
For the flower collage, I painted some heavy watercolor paper with craft paint and then used a piece of old wallpaper for the vase. I arranged the flowers and glued them in place with my hot glue gun.

These collective art projects would be perfect for lots of places: summer camp, after school programs, Sunday school, libraries and more! In my opinion, the key to success with these large scale group projects is that each singular project is fairly simple and self explanatory… it’s not a ‘heavy lift’ for each child to complete their small square or circle or flower. We didn’t get everyone to send back their project but we got vast majority and each grade should be so proud of their colorful piece of art! I’d hang any of these in my home regardless of whether or not I knew all the artists… bonus points that these are made my kids and their friends!
Materials
Inspiration Images

Don’t Miss Out
Become An Insider!
Signup for exclusive tips, and tricks from Charlotte’s House!
Let’s chat!
I love comments from you, so feel free to leave your thoughts and ideas below! And don’t forget to follow me on Instagram for even more!