Joy and Pain, Sun(burst Mirror) and Rain
Psssst… this post *might* contain affiliate links: see my disclosure here.
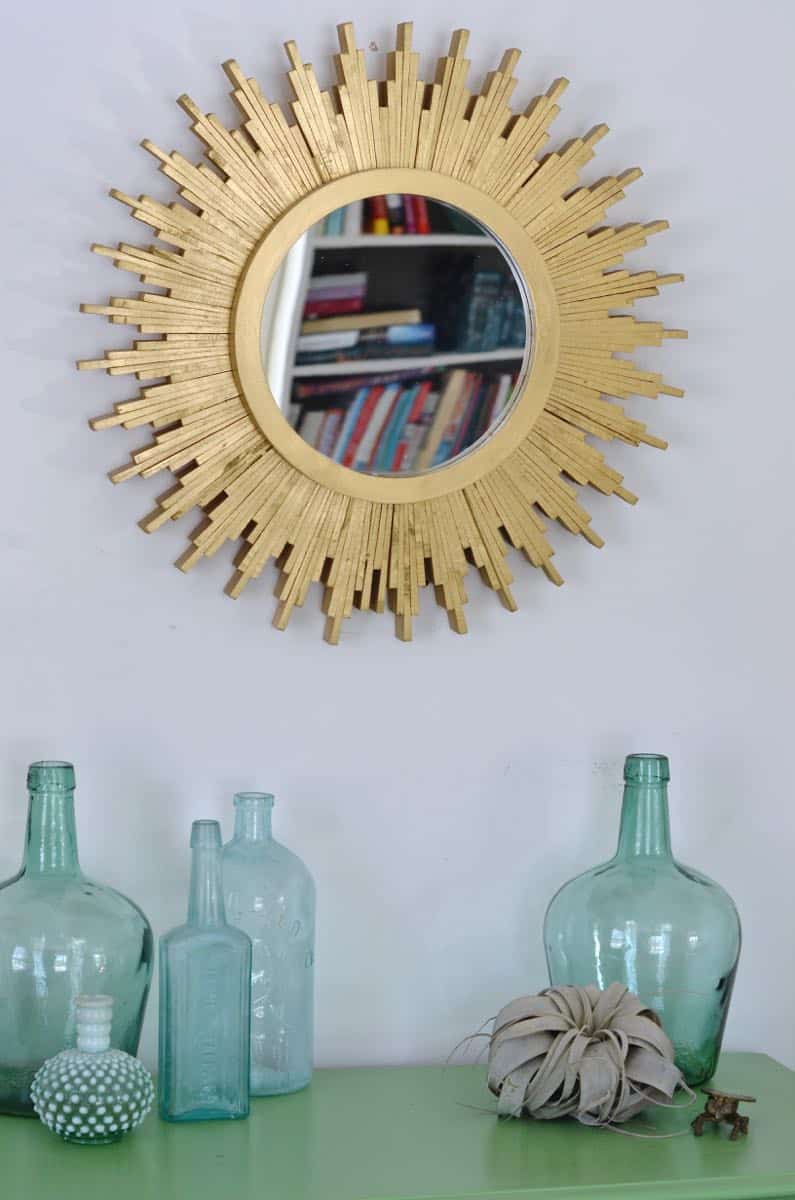
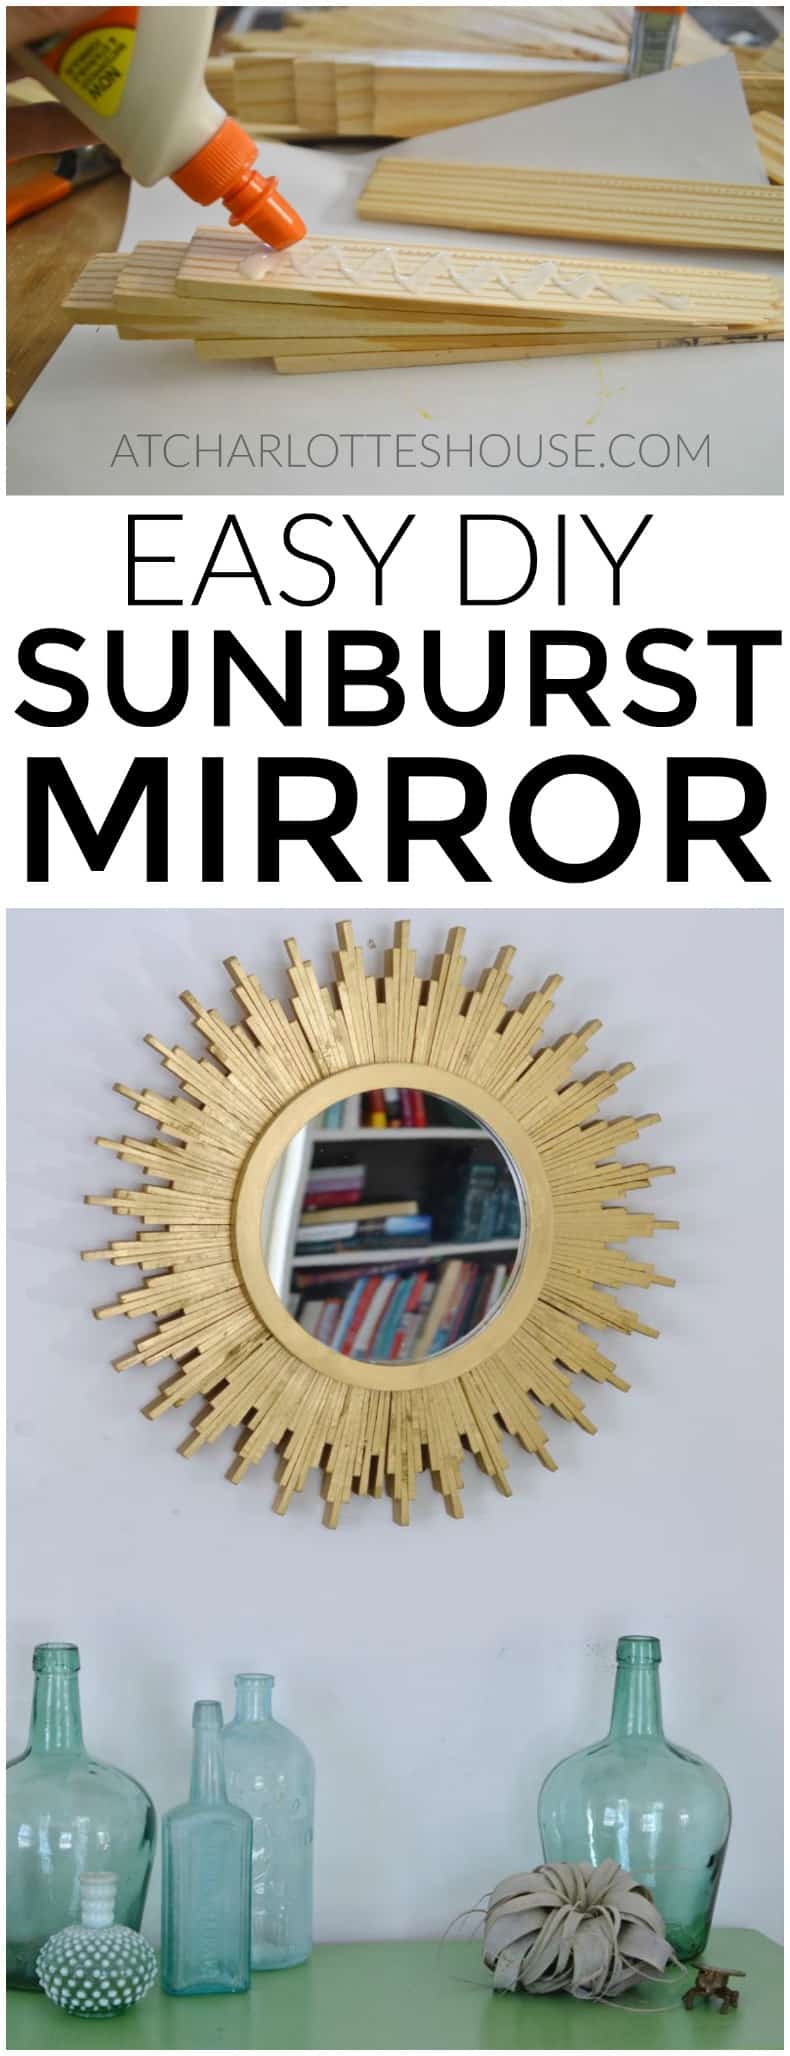
We are now a card carrying member of the sunburst mirror club. This was such fun to make and came together really easily considering all the moving parts! I have a full material list for you at the end of the post so read on for the step by step!
DIY Wood Shim Sunburst Mirror
I need to interrupt though, because if you’re anything like me, having read the title of this post, you now have the first chords of Rob Base and DJ E-Z Rock banging around your groggy head. You’re welcome.
Shop my favorites!
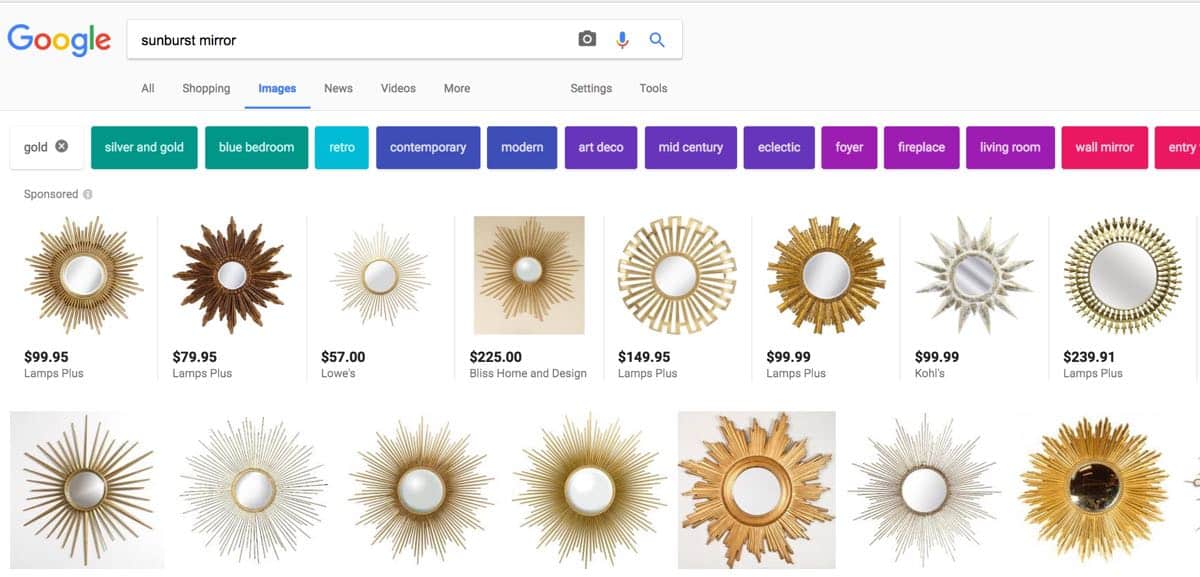
Sorry, I’m back. Google “sunburst mirror” and you’ll see them everywhere… they’re amazing.
Of course when I saw a string of these I could DIY on the cheap, I added it to my project list. There were lots of varieties. Some with paint stirrers, some with dowel rods, some with cardboard… all lovely. BUT… the ones I liked the most used shims. They felt a little more consistent with the real deal, I liked the scale, and… still simple to construct. I checked out this and this post to make sure I was on the right track.
Step 1: Lay out wood shims
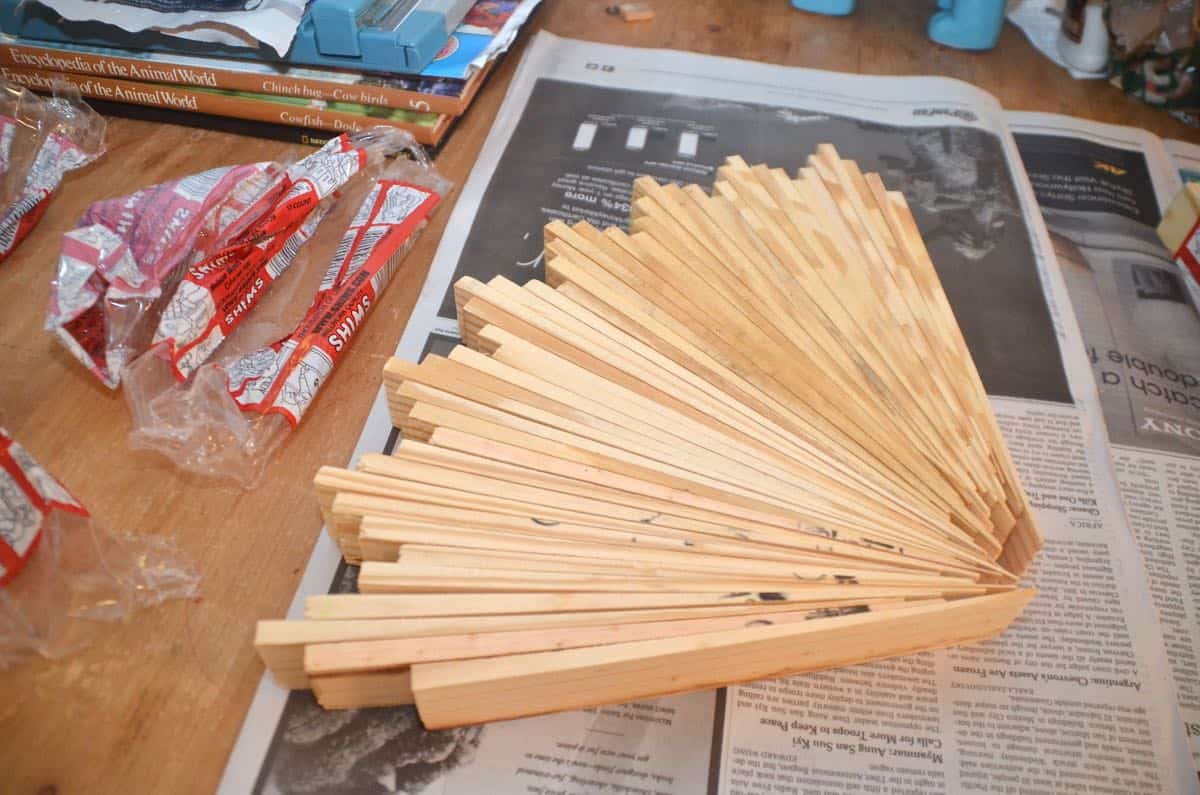
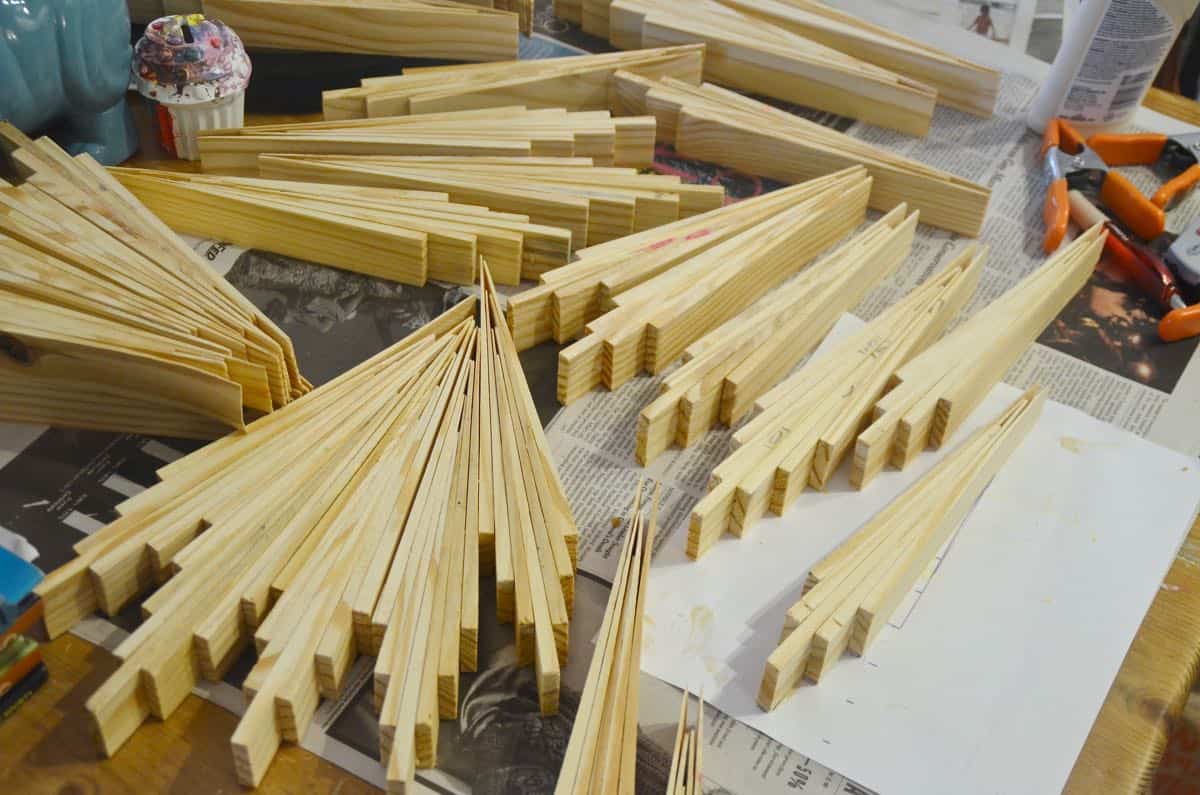
The first thing I did was lay out my shims to see if they came together as easily as these blogs made it sound. They do, they really really do.
I played around with ‘ray’ patterns: more uniform vs. more varied… I liked the varied.
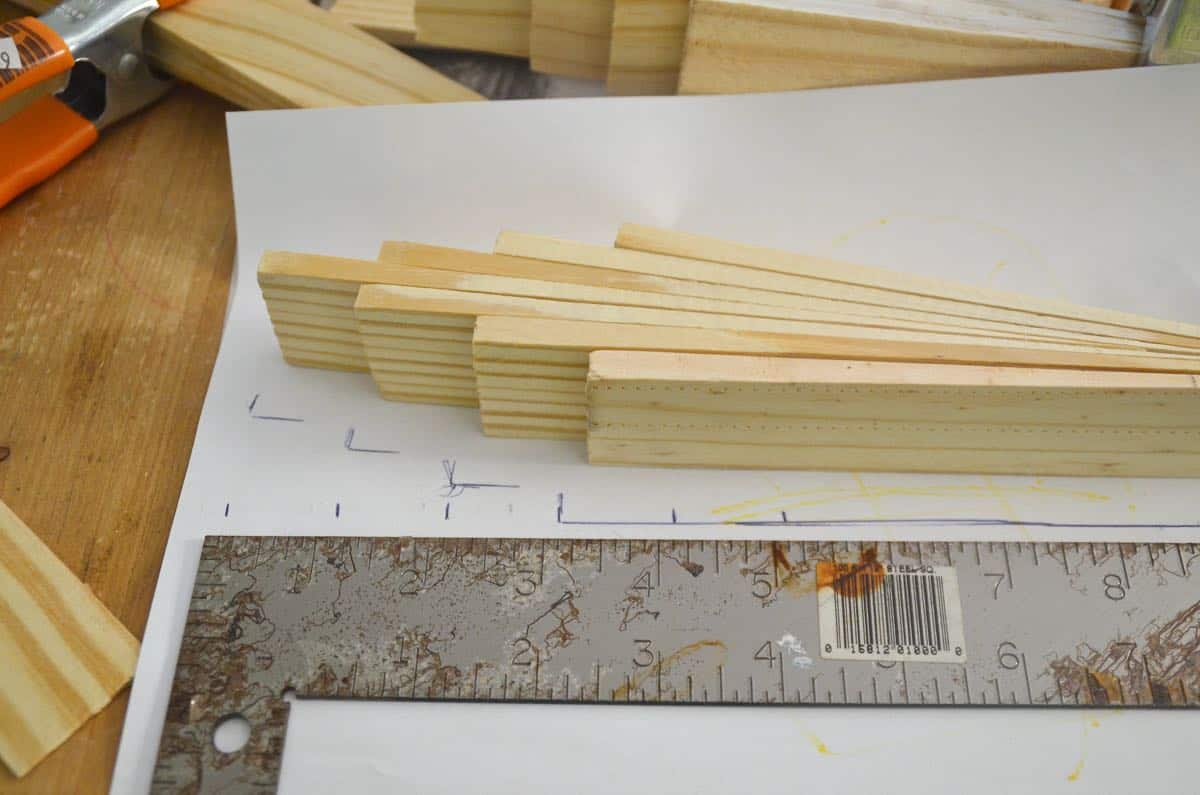
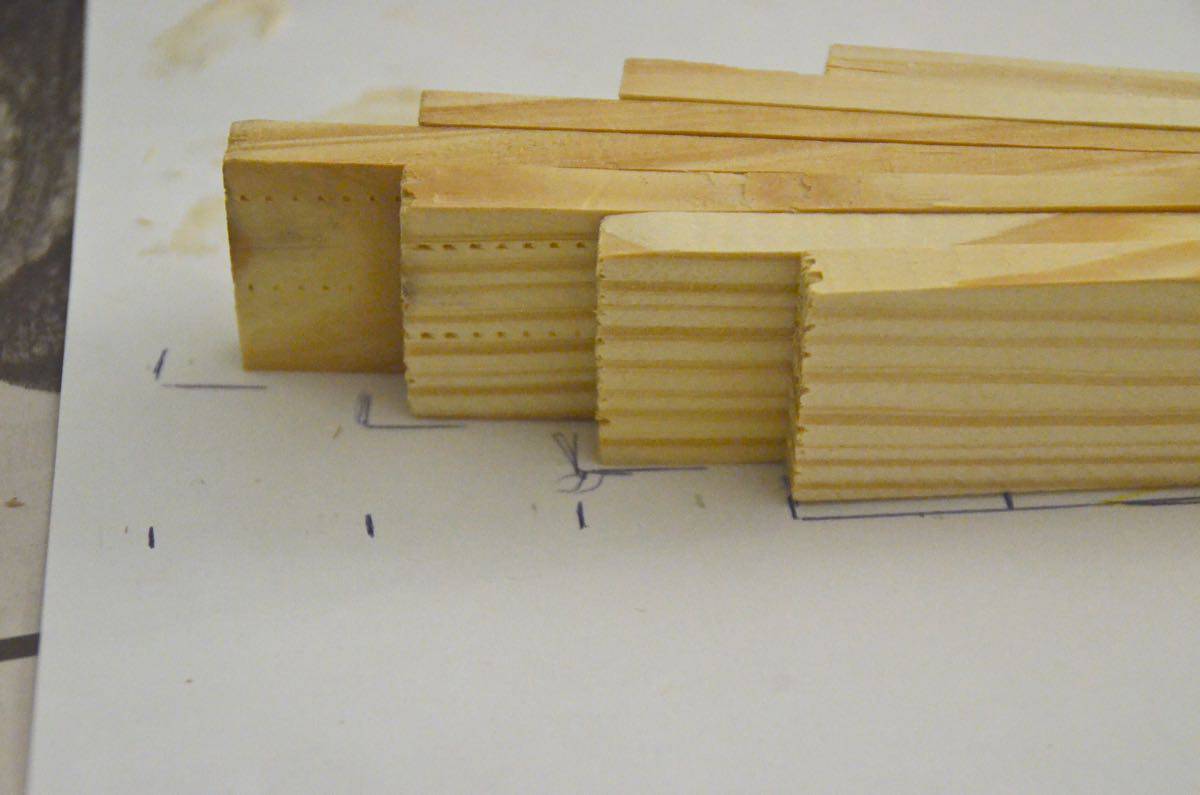
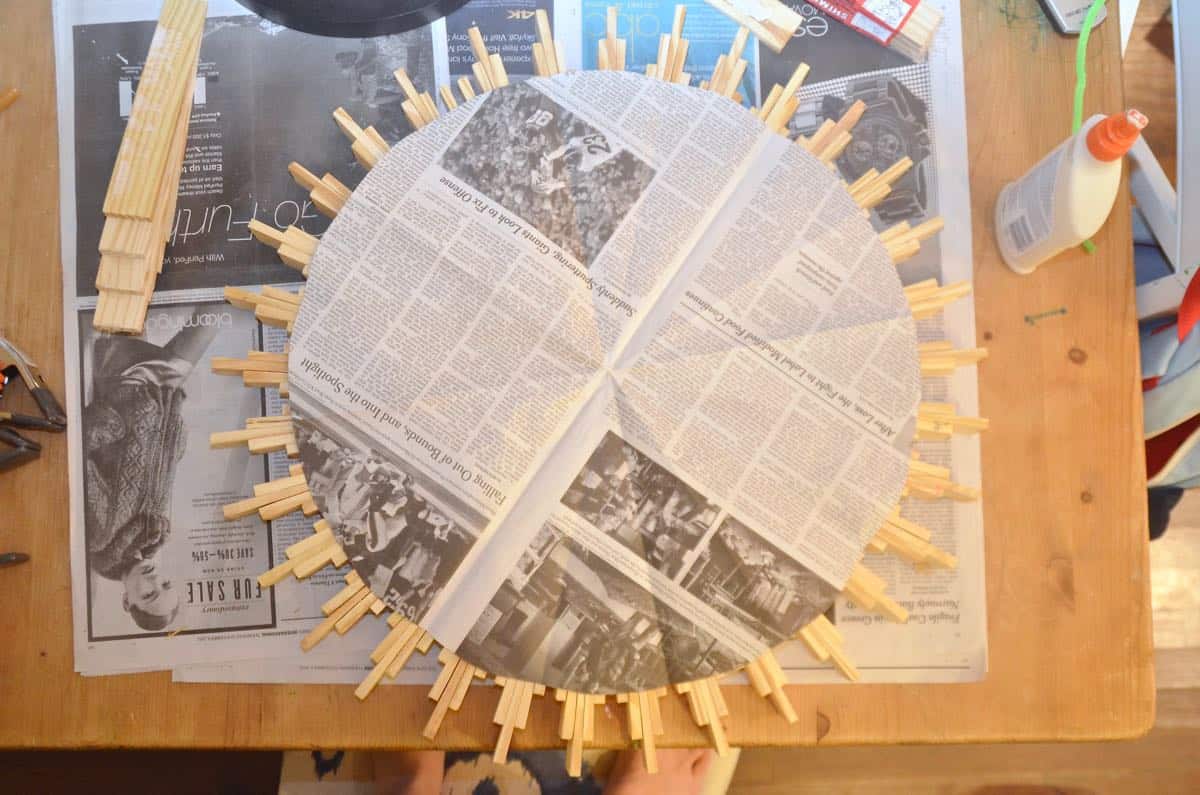
For assembly, I followed the lead of these other bloggers, and made each ‘ray’ individually first. My system was very detailed and sophisticated (not)… I wanted each shim to be about an inch below the next so I figured out one, traced it, and then used this outline as my guide for all the others.
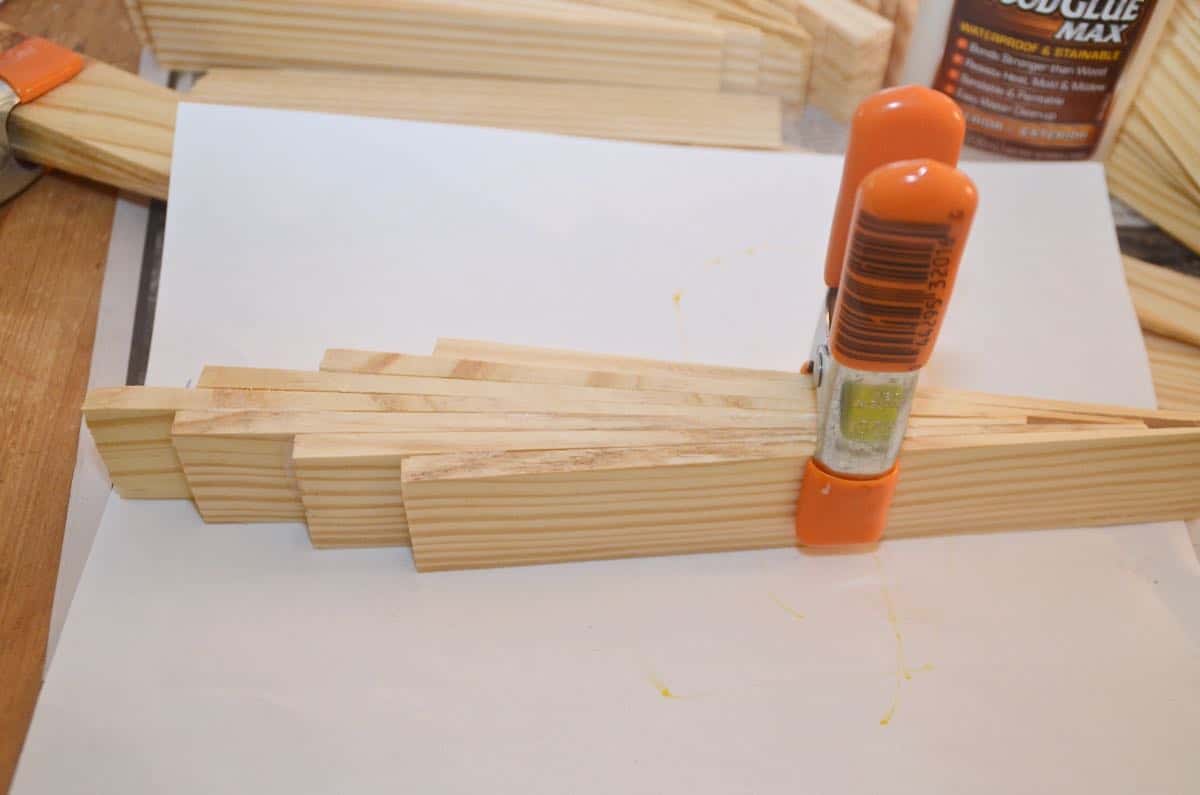
At first, I made my rays and used clamps to hold them together; but my wood glue was pretty tacky so by the end I just glued and waited for them to dry.
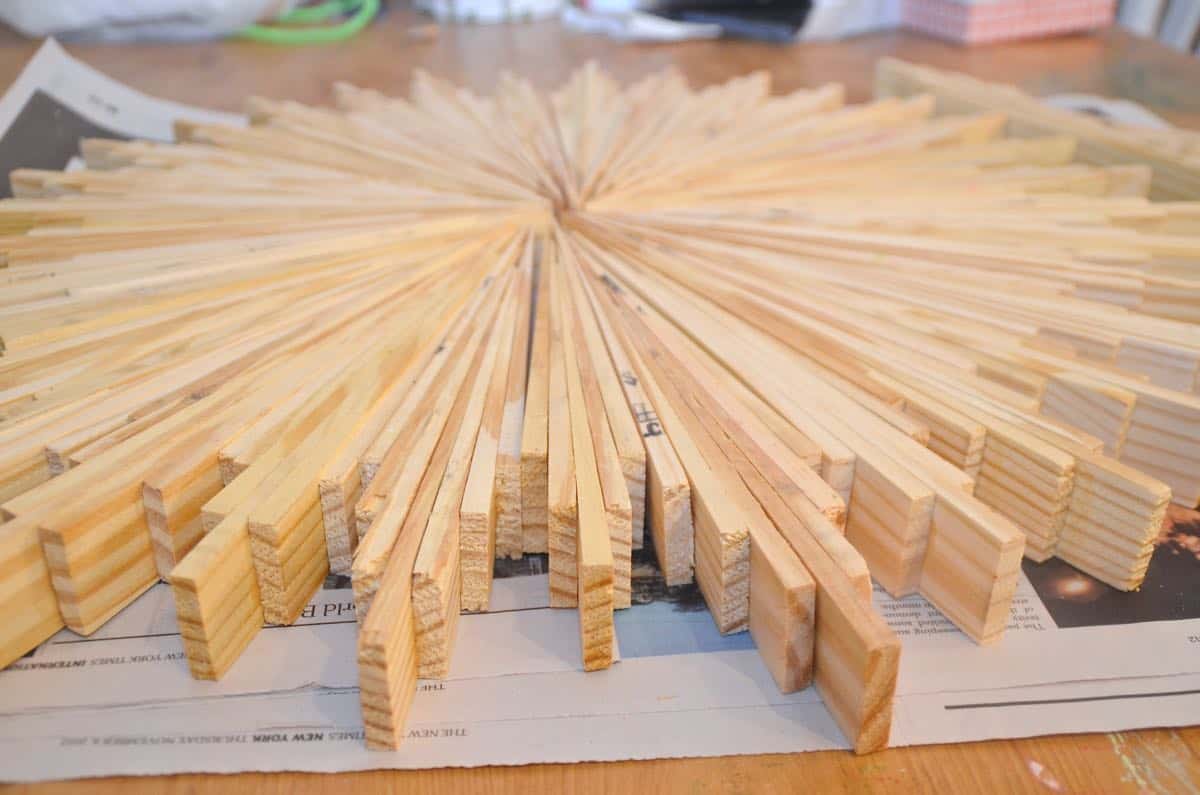
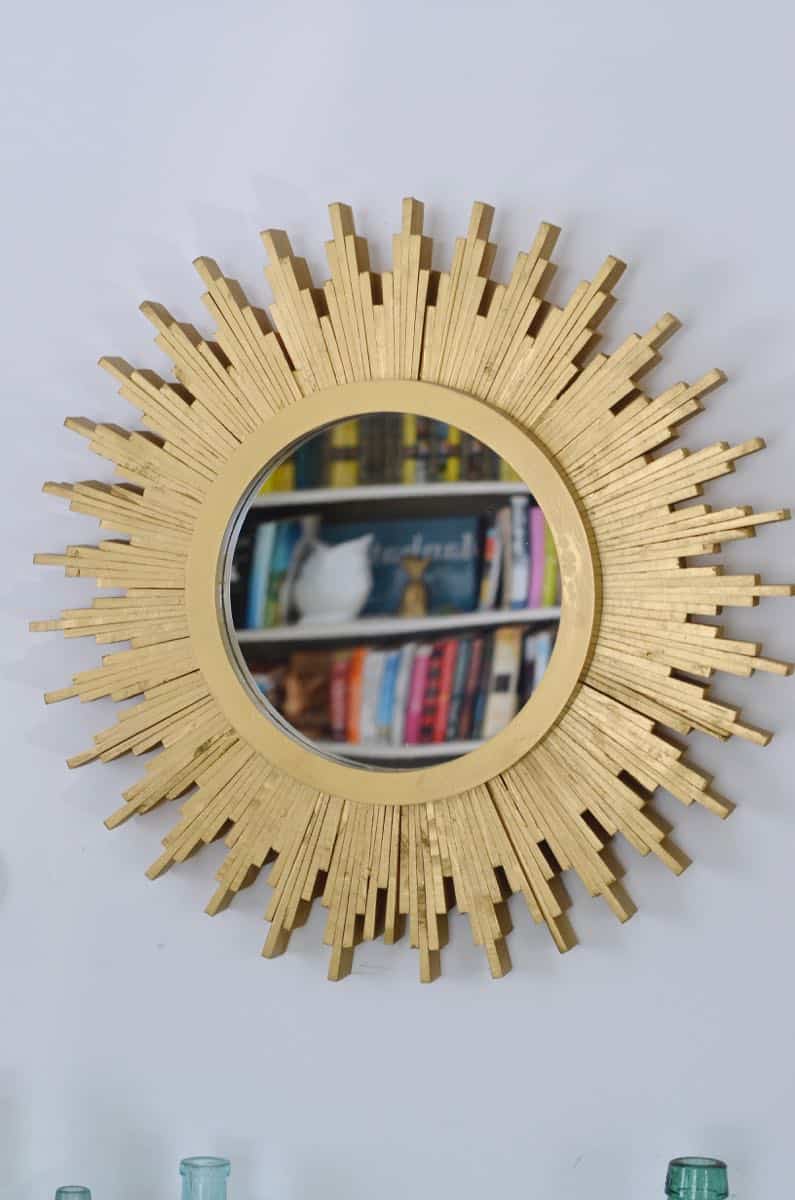
Piecing them together was simple, but getting the ‘perfect’ circle was trickier. I used a piece of newspaper to help guide my rays and tried to manipulate them all as best I could before the glue dried. I had to get creative where the circle came together and ended up inverting a couple of shims so the wider side was actually towards the middle of the circle.
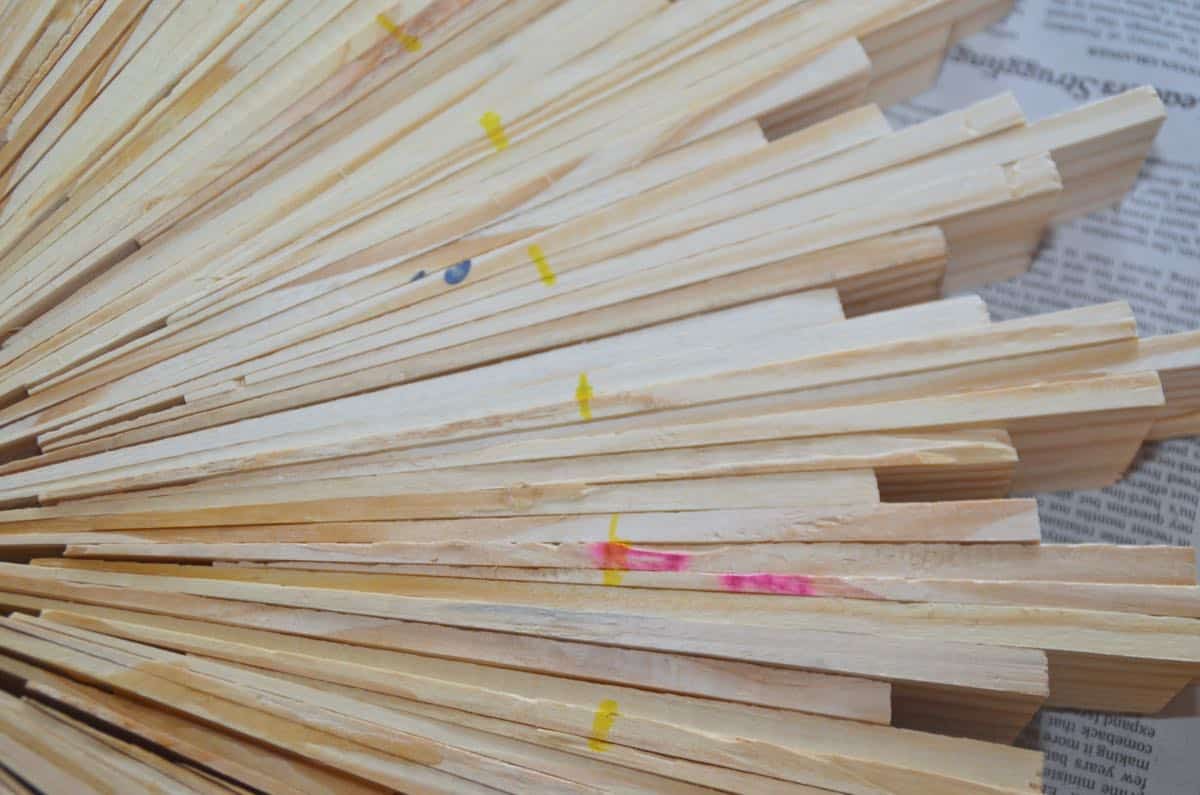
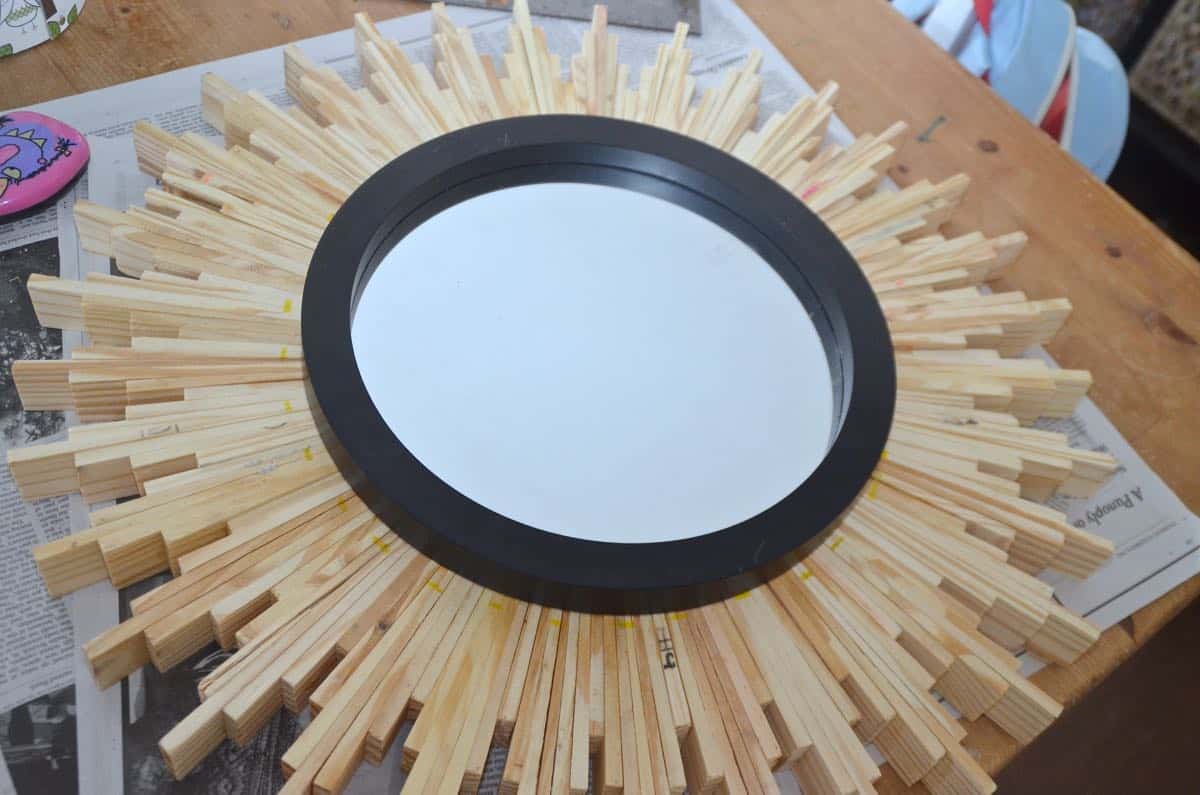
I let the shims dry for a day, then glued my round mirror right on top being careful to measure that it was centered (that’s what those yellow hash marks are for…).
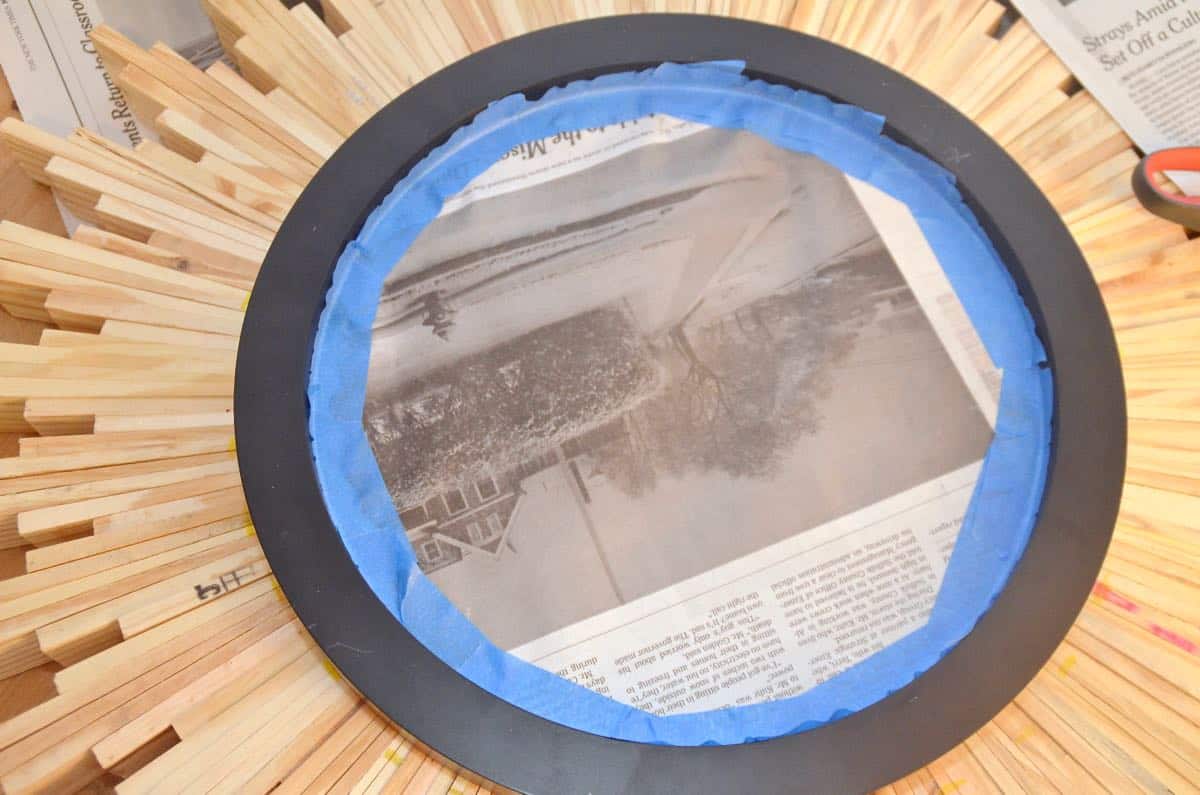
After a day for the glue to dry, I spray painted it metallic gold. (Any color would have looked fine, in my opinion, but many of these sunburst mirrors are a metallic of sorts.) I simply taped some newspaper over the mirror (trimming the rough edge with an exacto knife) and sprayed the whole thing.
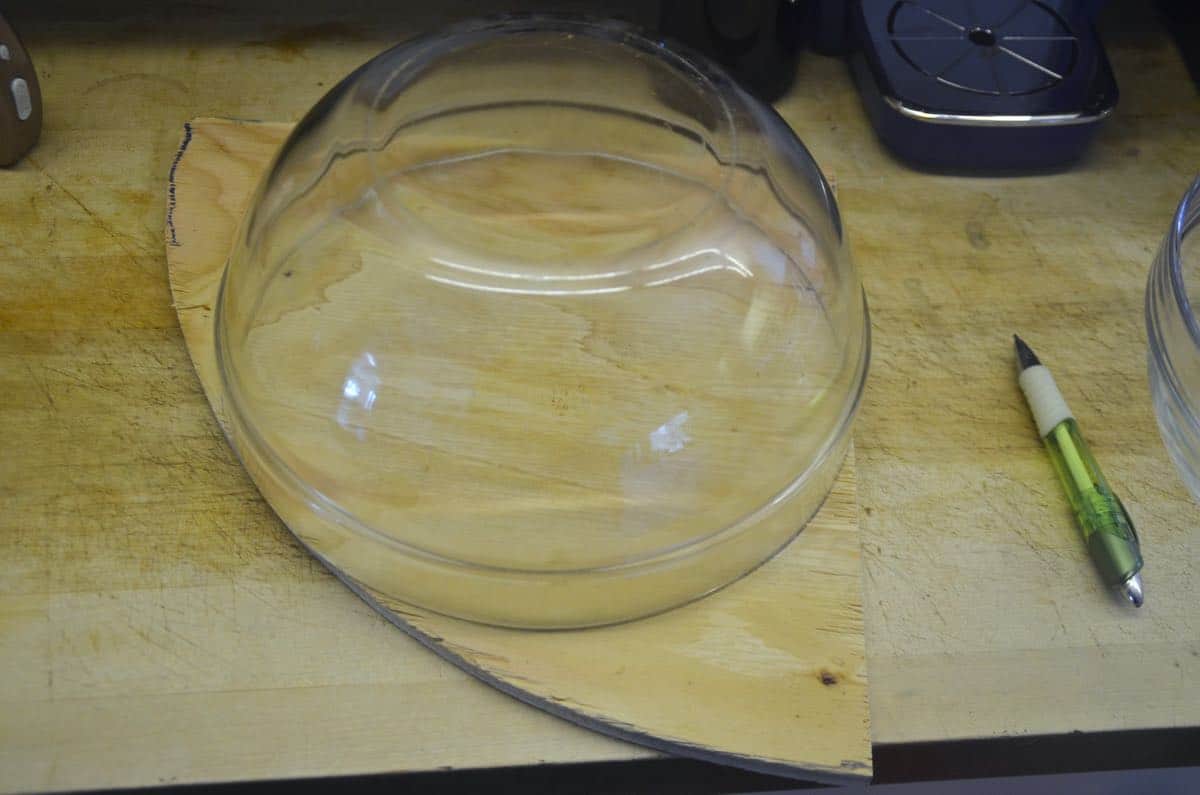
For hanging, I used my jigsaw (Mark has since deemed it the best tool in our tool collection) to cut a circle out of some scrap plywood. With super strong industrial gorilla glue, I stuck this on the back of the mirror.
Two D-rings and some picture wire later…
TA-DA.
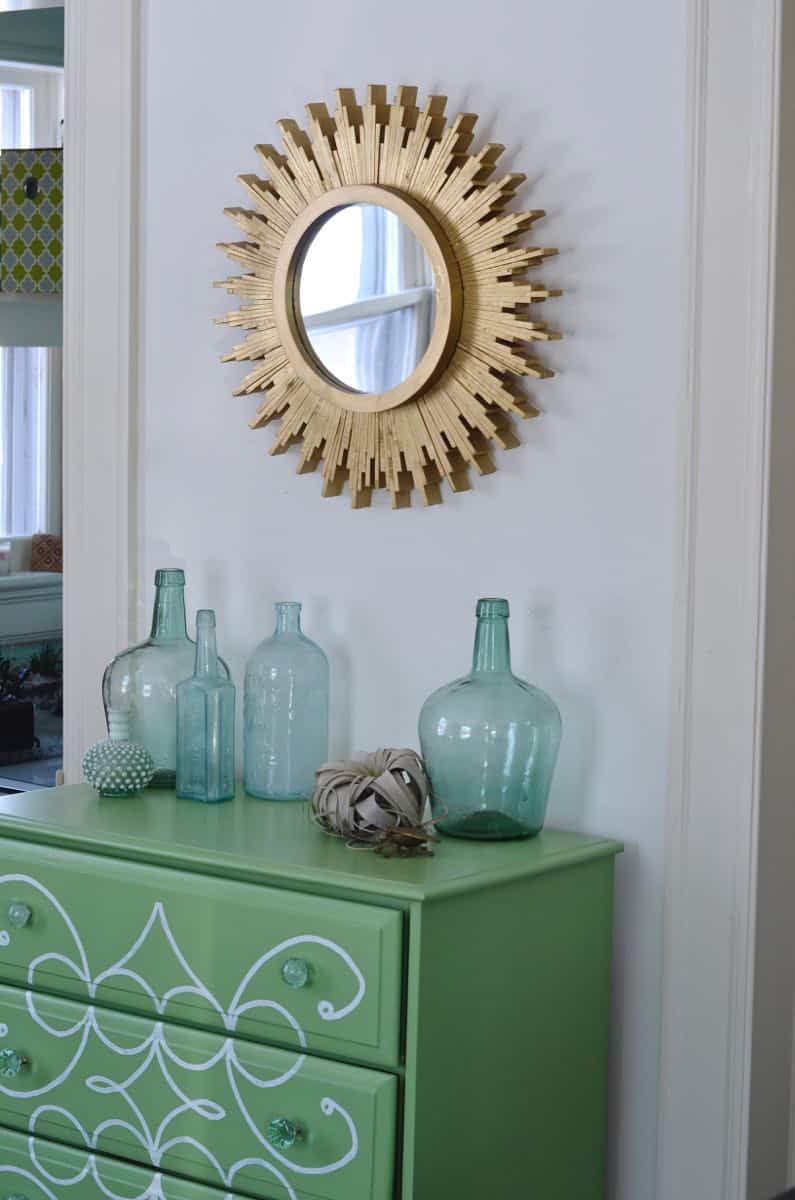
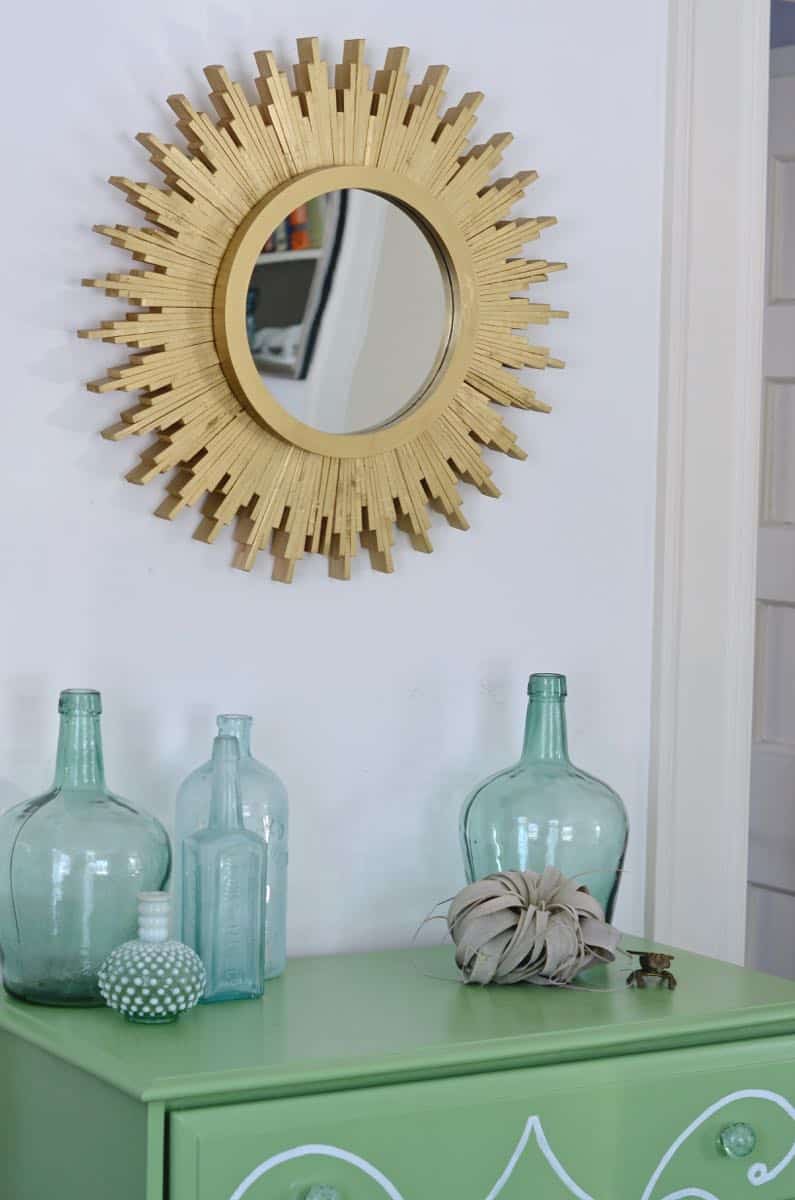
I hung this in the library for now; it’s adjacent to the living room where there are lots of other gold accents. It’s heavy- maybe 10 lbs- but so far it feels sturdy enough. I can’t wait to see how it looks during the day with the sun pouring in! (Sun bursting onto my sunburst mirror if you will…)
DIY Sunburst Mirror Materials:
(Affiliate links included for your convenience.)
- 20 packs of shims (give or take)
- wood glue
- round mirror (mine was $5.99 from HomeGoods)
- spray paint (I used metallic gold)
- small piece of plywood for hanging
- D rings for hanging



I like the mirror, like a sun in home. The mirror looks great.
bravo!
Thanks, Dianne!
This is so incredibly super, terrific fabulous. Mouth wide open…..Wow is all I can say!
Thanks!!
ok, so I’m searching on Pinterest for a sunburst mirror inspiration and I stumble on your blog. Now I am doing my 10th grade cheerleading dance to “Joy and Pain”. Now I feel like going to bathroom and teasing my bangs. Thanks for the trip down memory lane and the nice mirror inspiration.
Hilarious. I had a similar flashback, but I wasn’t cool enough to be a cheerleader. The teased bangs, though… all day long! 🙂
I LOVE this! What length were the shims you used?
Thanks! They came in a package and are each 7 3/4″. The cheapest option I could find. 😉
The second I read the title that song came in my head!! I love it! This is exactly what I want to make! So I have some questions 🙂 How big is your mirror (inches) and what brand of spray paint did you use?
Hi Kaci! This is super easy and you’ll feel like a rockstar. The mirror I found was 12″ at Homegoods, but I’ve seen them at craft stores too… (I loved that this one had the frame so it didn’t feel quite as DIY as some of the ones I saw online.) I can’t remember the spray paint, but probably Rustoleum since that’s what our local HD seems to stock the most of. Any gold that has the super shiny metallic top should give you the same effect! Good luck. 🙂
That is AWESOME! Who wouldn’t want golden sunshine on their wall? Love it! I made a shim mirror a couple years ago too – it’s a different style and dark stained wood, and I love how you did your pattern with the gold. So glad I saw this on the ditto diy gold challenge party!
Thanks, Sharon! What we would do without so many great ideas from Pinterest. 🙂
I LOVE THIS!!! I have been dreaming of doing the same thing for soooo long now. You executed my vision exactly. Thank you so much for sharing. I am so pleased that this worked out for you, not only because it looks great, but now I don’t need to do the trial and error to piece it together. It looks fabulous!
You spend enough time on Pinterest and you find the right instructions! 🙂 Thanks for stopping by! xo
“Soleil molé!” That’s incredible! Crazy good job…
Hilarious. Always punny. 😉
All in, how much do you think this project cost you total? (Time and Money?)
Hi Alyssa,
This was a pretty simple project and most of the time was spent letting the glue dry… I’d say a few hours max on actual labor time but a couple of days because of the glue/ paint. Shims cost less than $2 for a pack of 10 or so. I already had the wood glue and spray paint… You can get round mirrors at a craft store for less than $10 depending on the size, but I liked this one from Homegoods for closer to $15. So… that’s maybe $50 all in and a few hours? Hope that helps!
I love starburst mirrors and you did such a good job. This definitely says high end catalog NOT diy.
Always the goal. 🙂
They are amazing! I guess it takes so much time but worth it.