Day 4: Twelve Days of Ornaments- Paint Pour Ornaments
Psssst… this post *might* contain affiliate links: see my disclosure here.
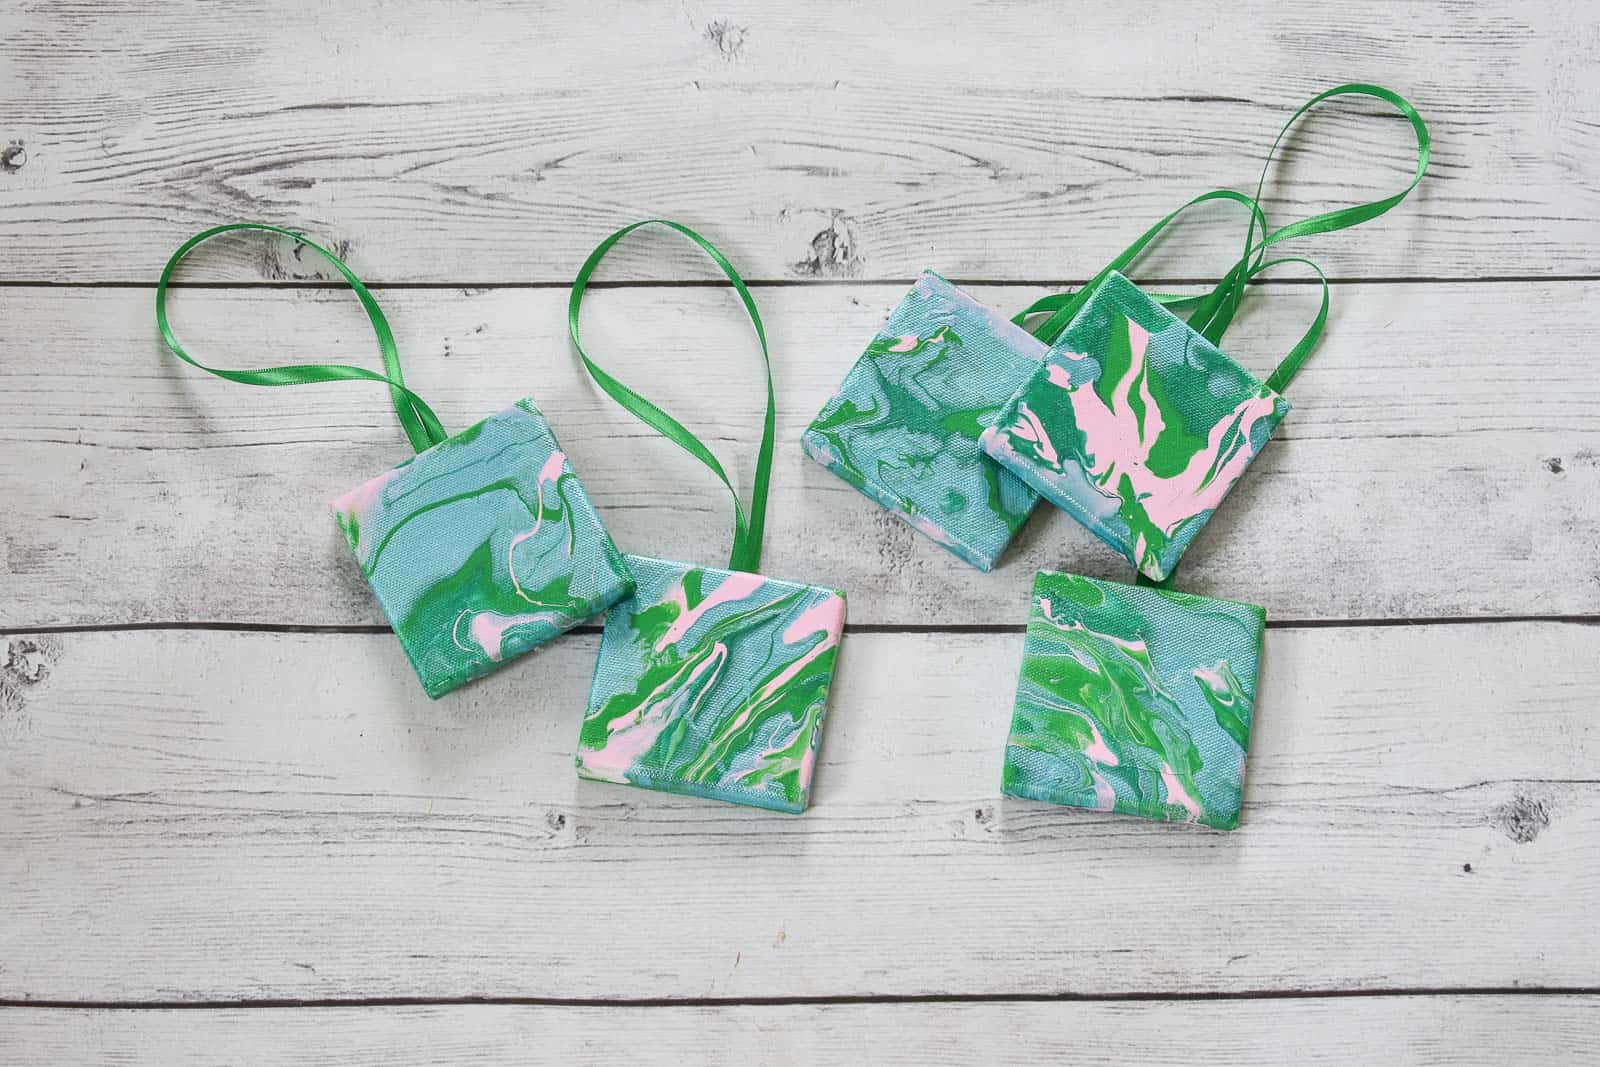
Paint Pour Mini Canvas Ornaments
Welcome to Day 4 of 12 Days of Ornaments on the blog and my YouTube channel! You can follow along HERE in case you’ve missed anything!
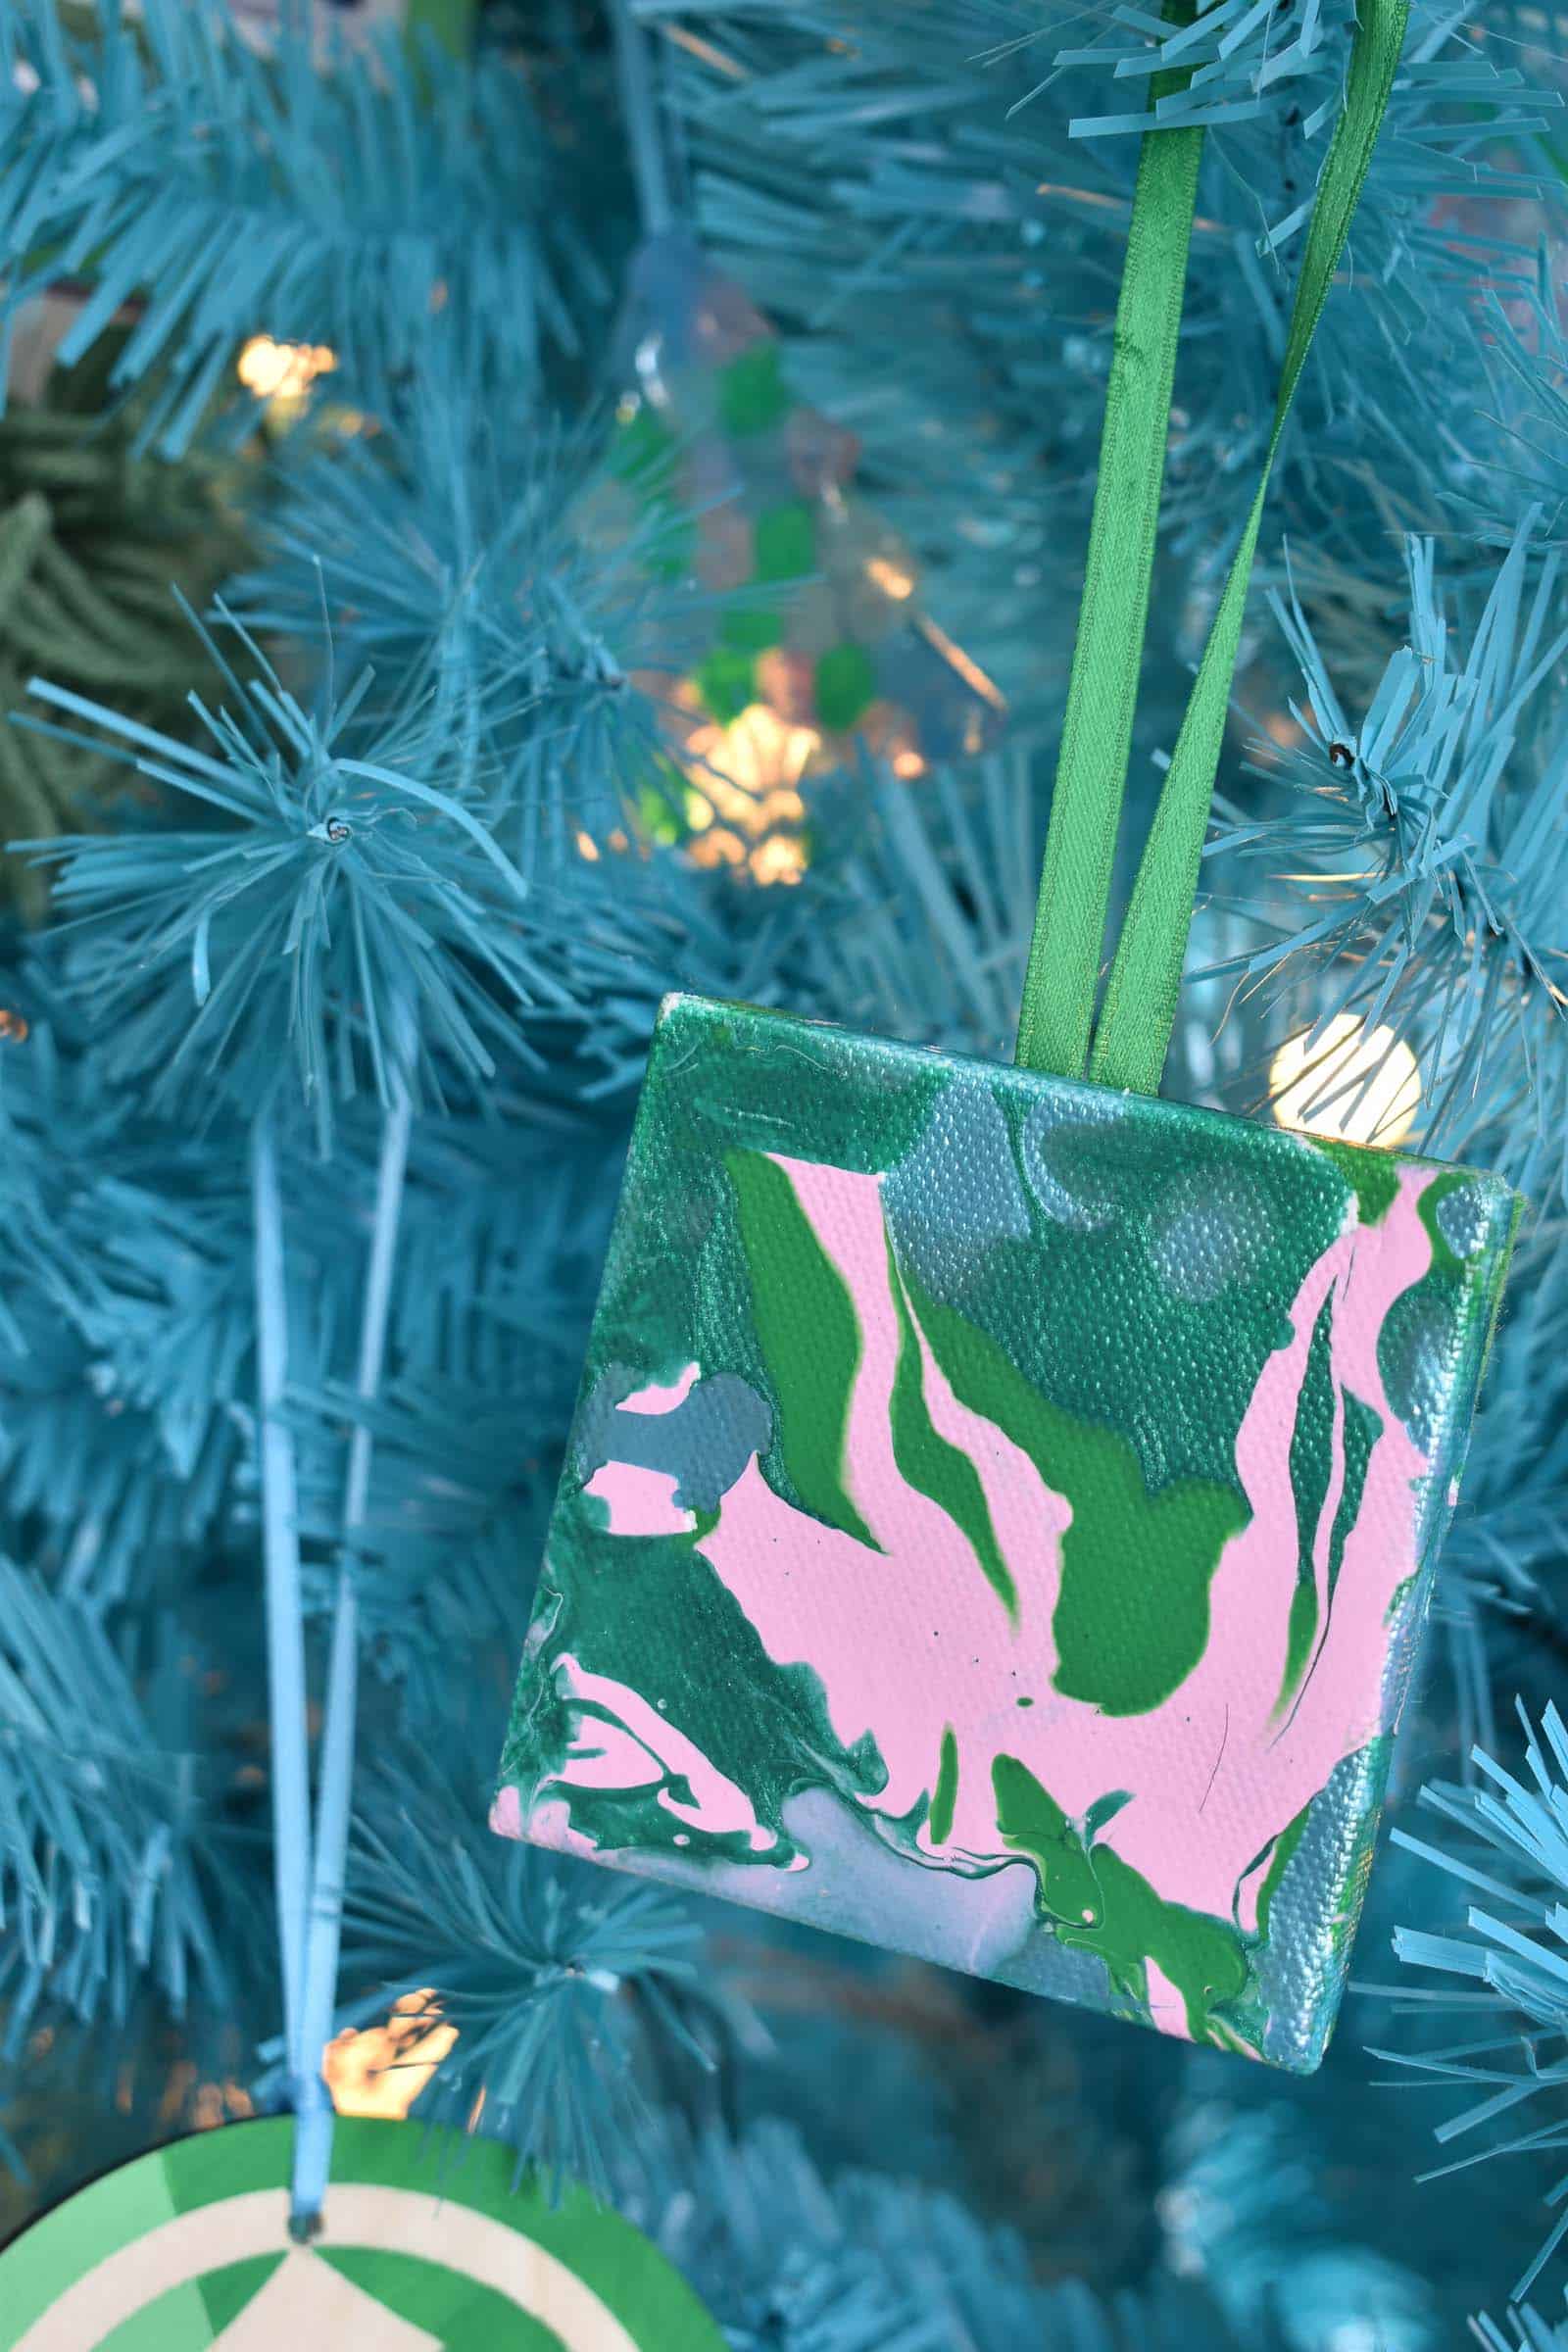
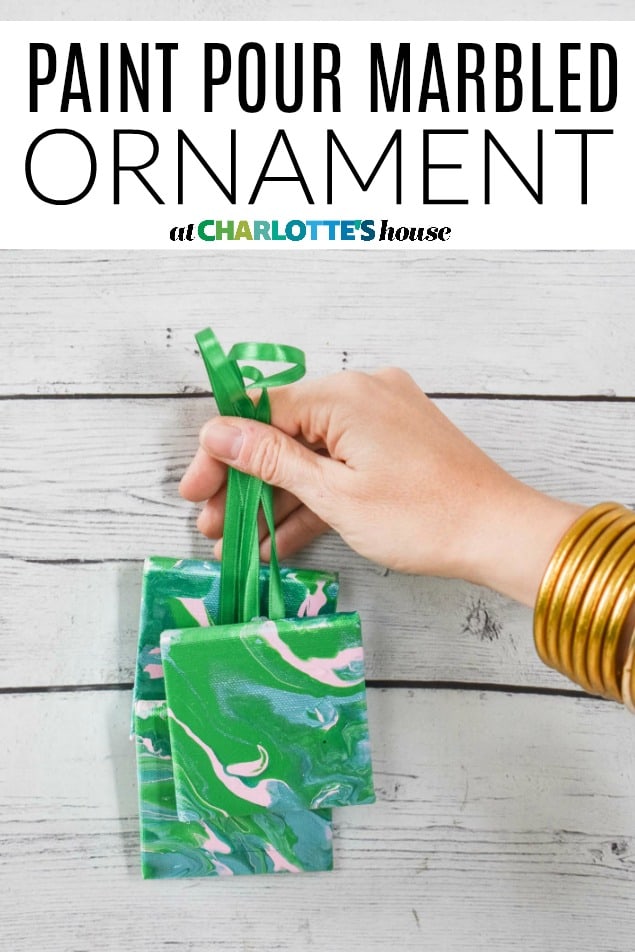
Look. I’m in love with paint pouring and I’m not gonna lie. So why wouldn’t I make a bunch of adorable colorful paint pour ornaments? I TOTALLY would!! Here’s how!
Step 1. Mix your paint
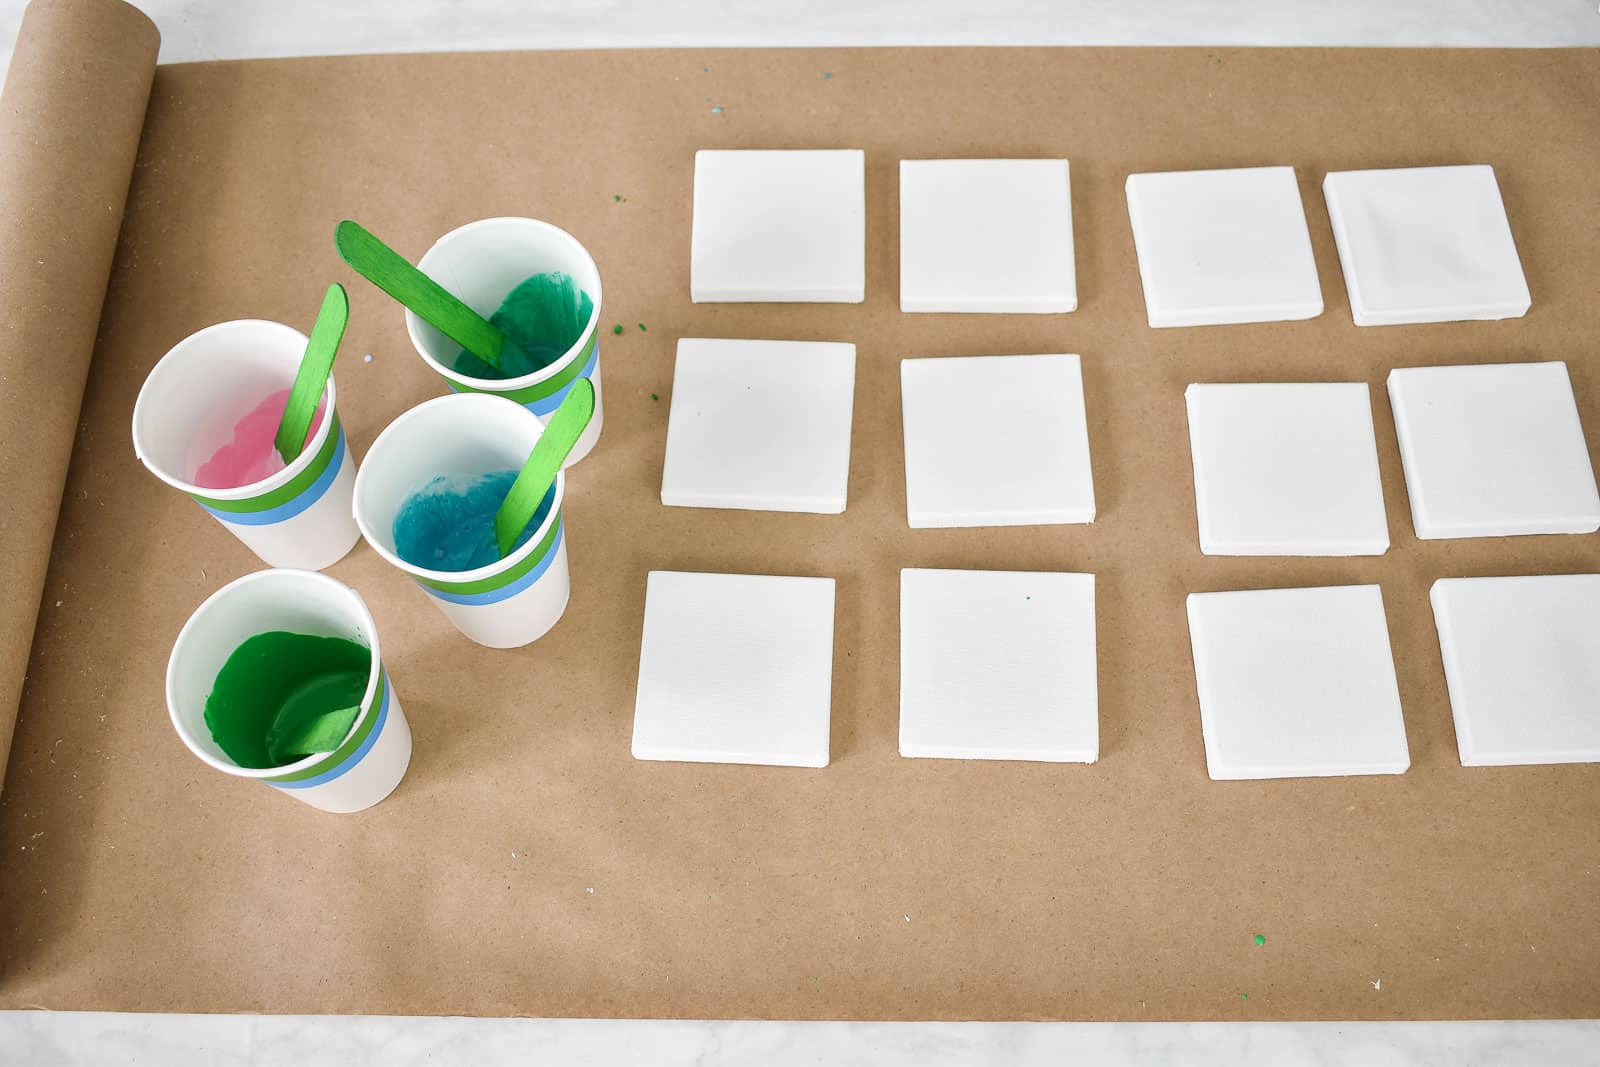
I’m using regular acrylic craft paint mixed with this paint pour medium. Essentially I mix 1:1 paint to pouring medium, but you want your paint to resemble the consistency of buttermilk after mixing. (Pouring medium does NOT change the color of your paint at all!)
Shop my favorites!
Step 2. Prepare your work surface
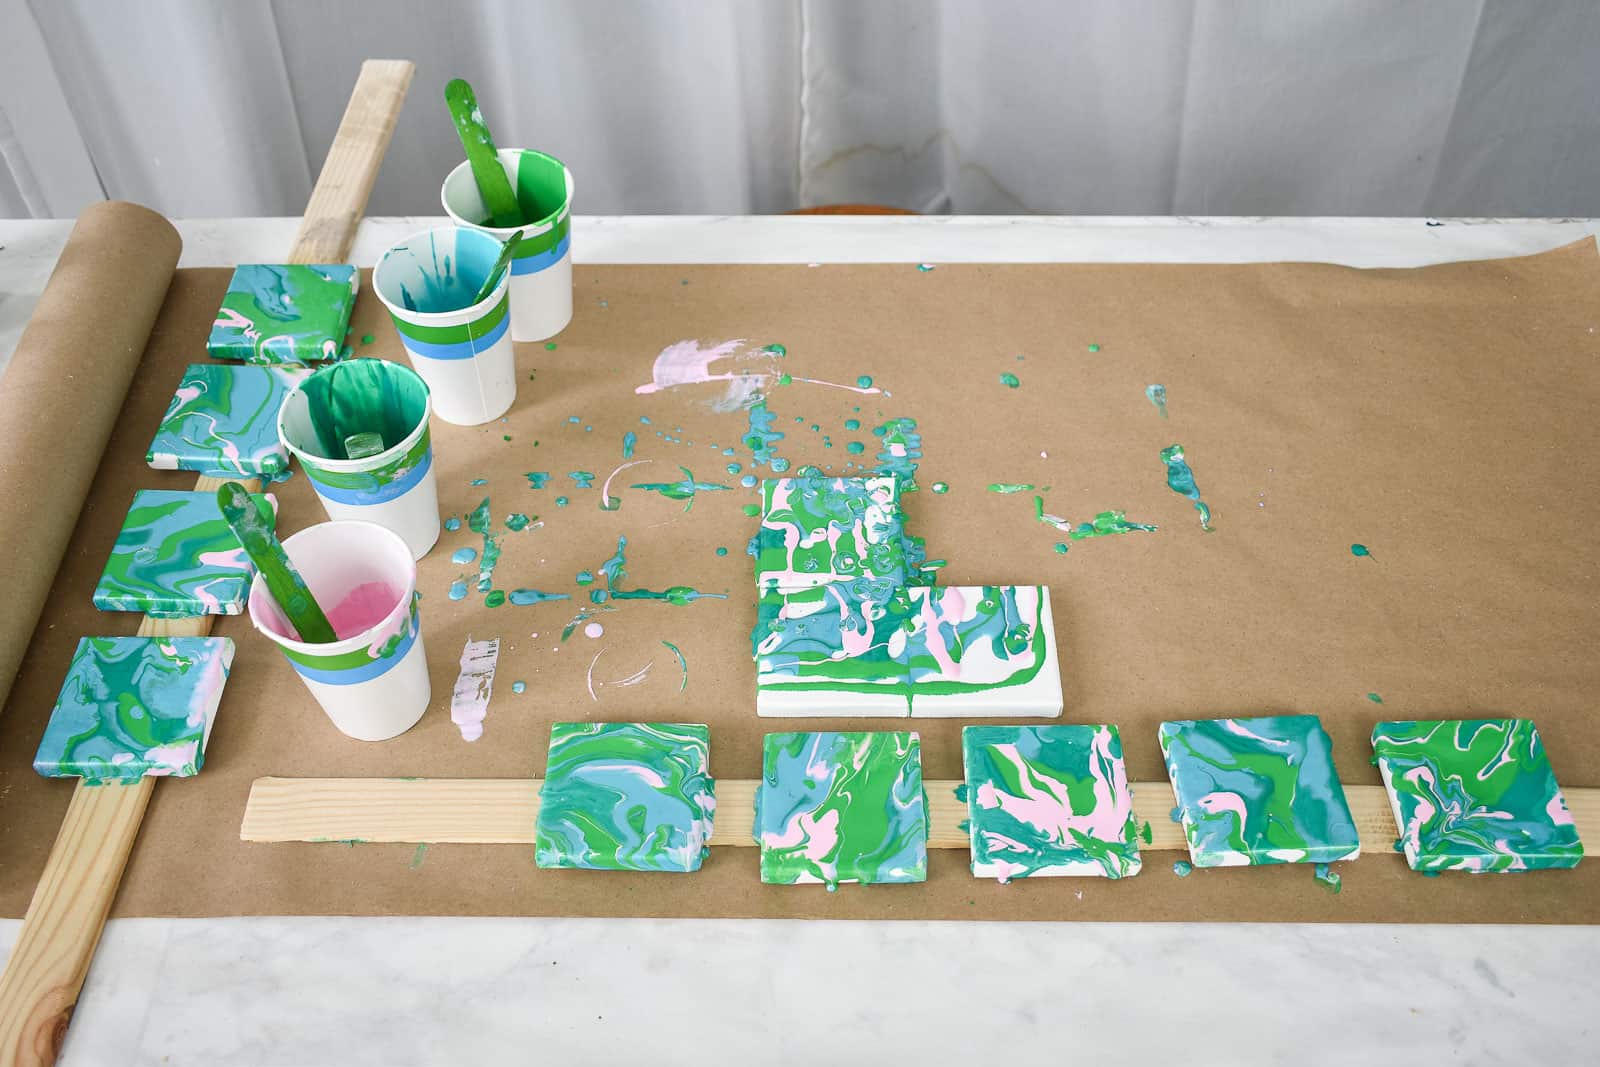
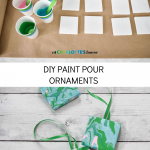
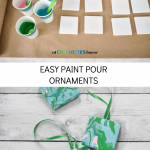
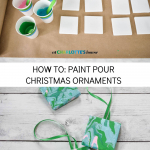
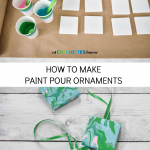
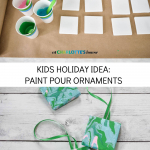
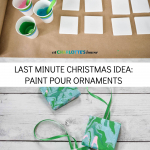
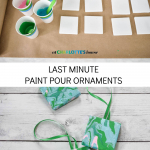
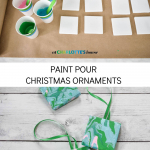
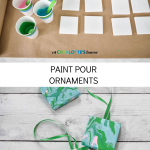
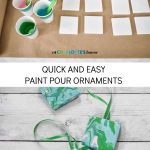
Paint pouring is MESSY. For this project I lay down some craft paper but also had some narrow lengths of wood ready so I could let my ornaments dry slightly elevated.
Step 3. Cluster your ornaments and Pour the paint
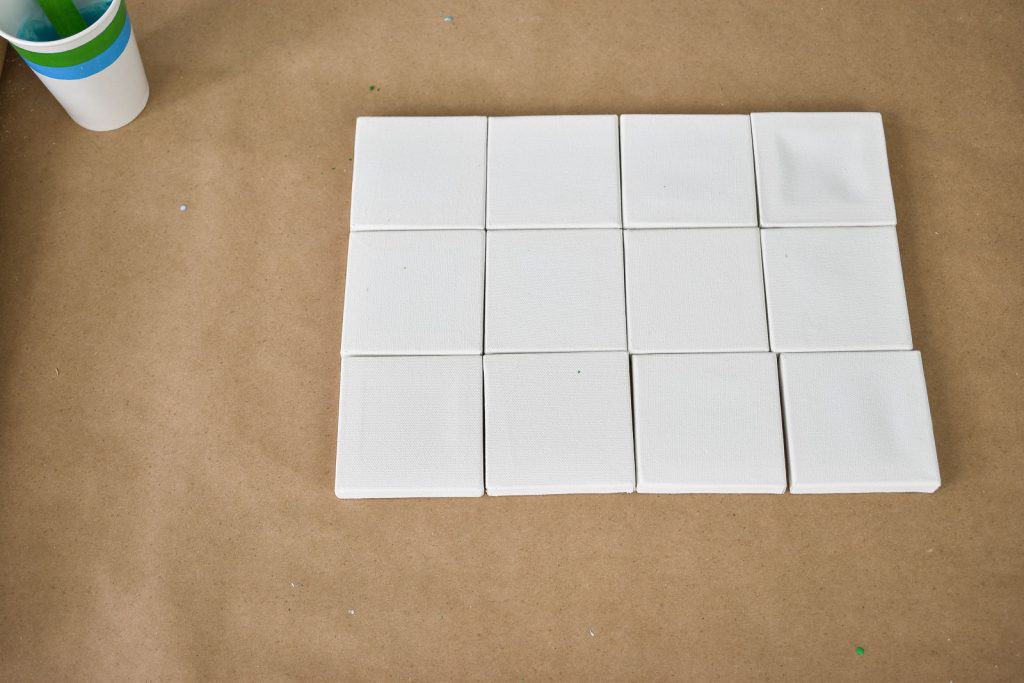
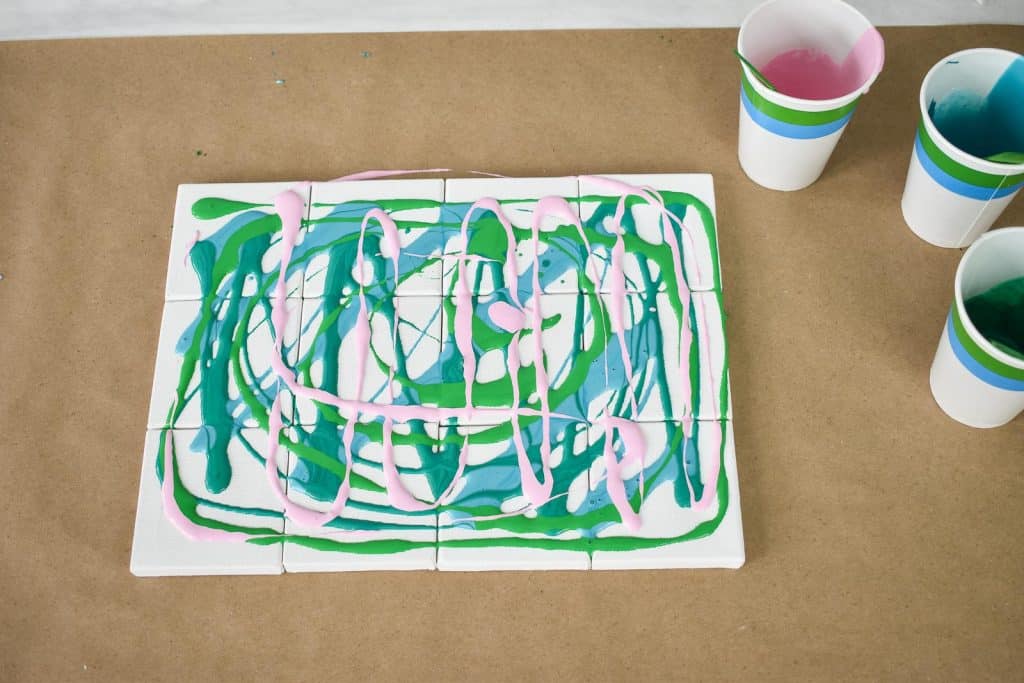
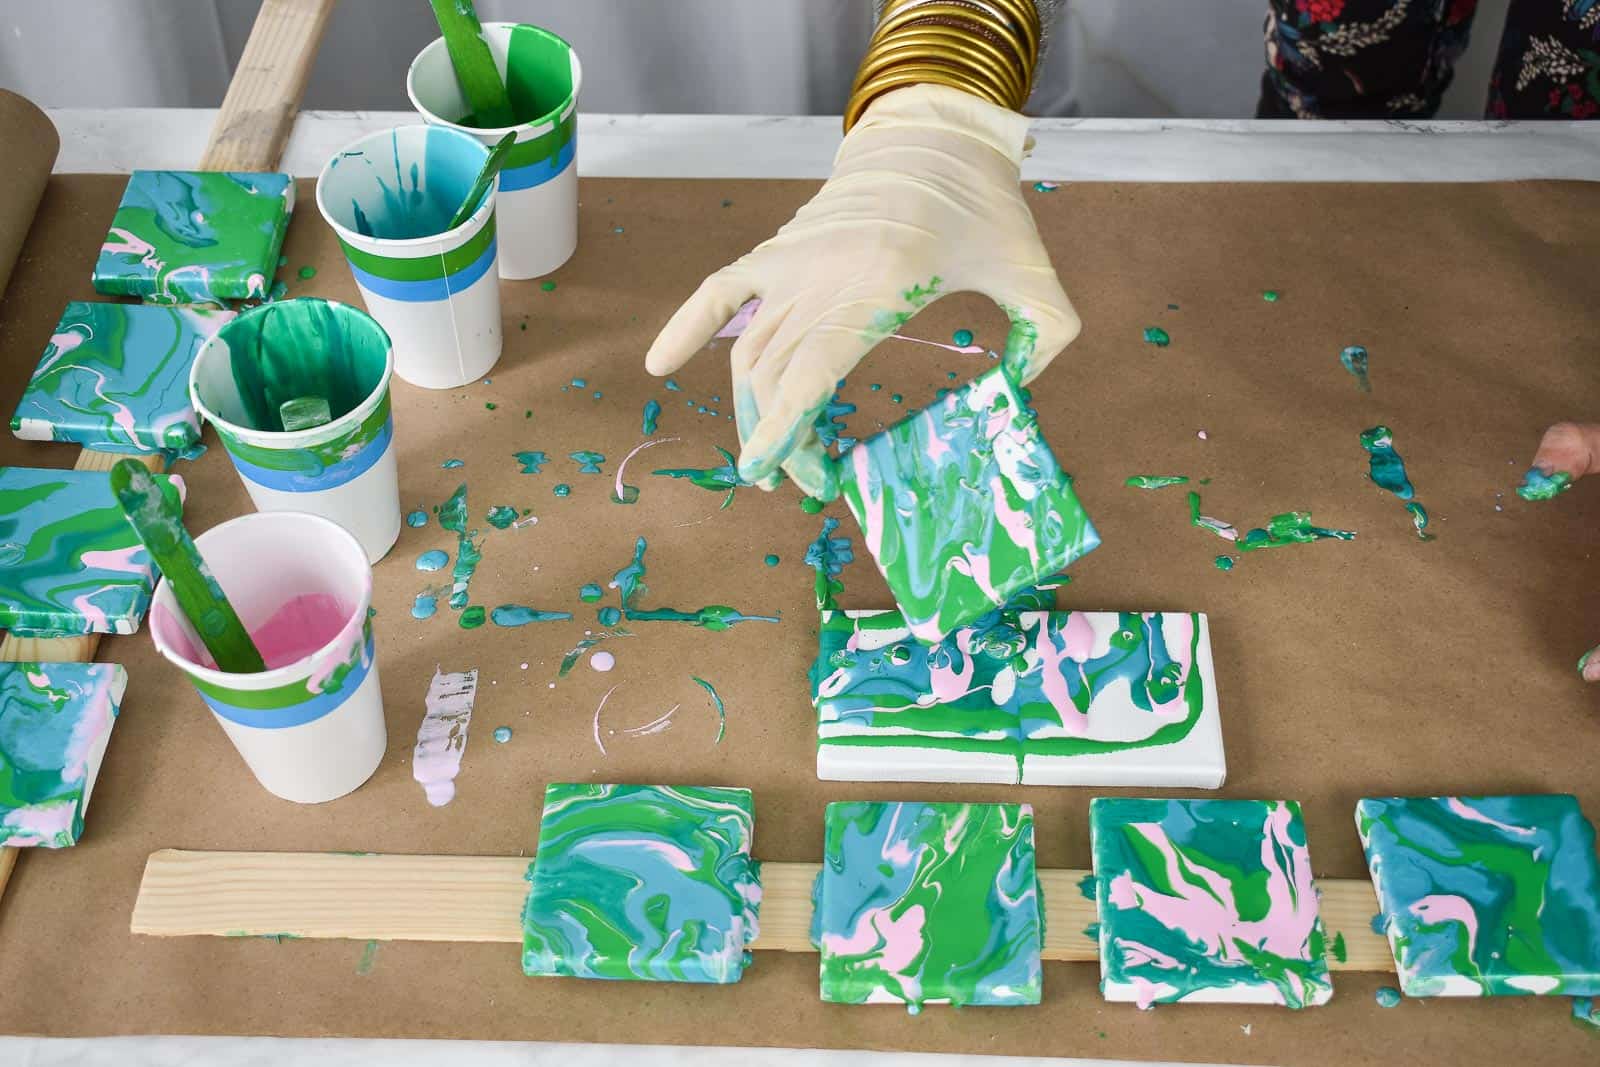
I used these mini canvases. I clustered them together so I wouldn’t waste paint, and then I drizzled the paint across all the canvases.
Step 4. Manipulate the canvases
To get the most out of your paint pouring, you’ll want to manipulate each canvas back and forth to let the paint flow and mix. Put on some gloves and be prepared to work fast. You will undoubtedly have to drizzle more paint onto each canvas to help it flow. I tried to save as much paint by holding one canvas over the others while I worked.
Leave your canvases to dry elevated on a narrow piece of wood.
Step 5. Add felt and ribbon
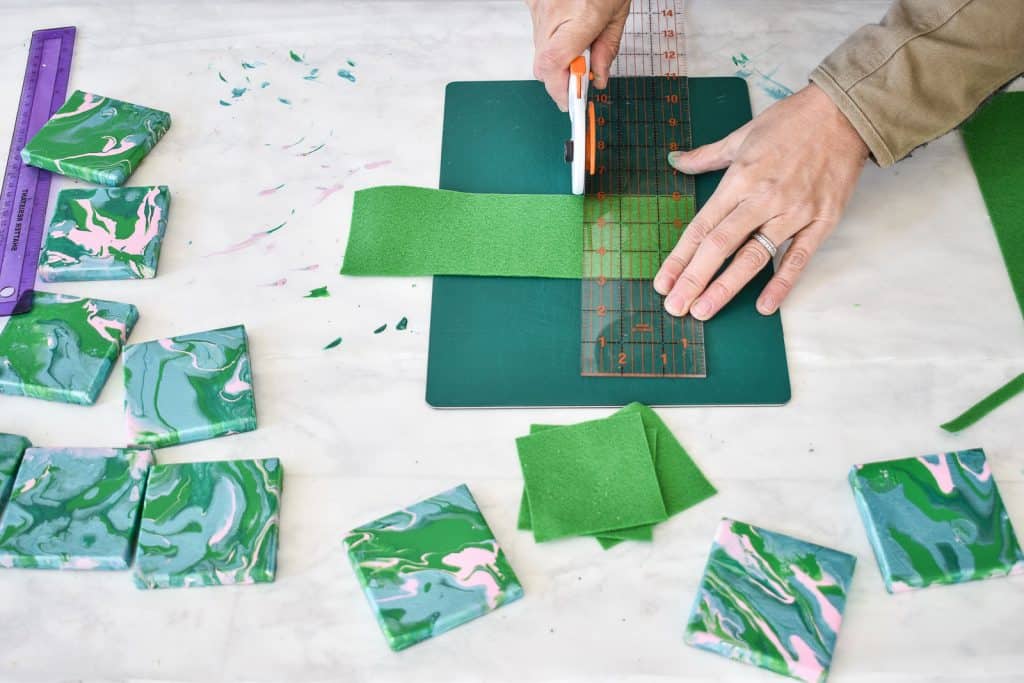
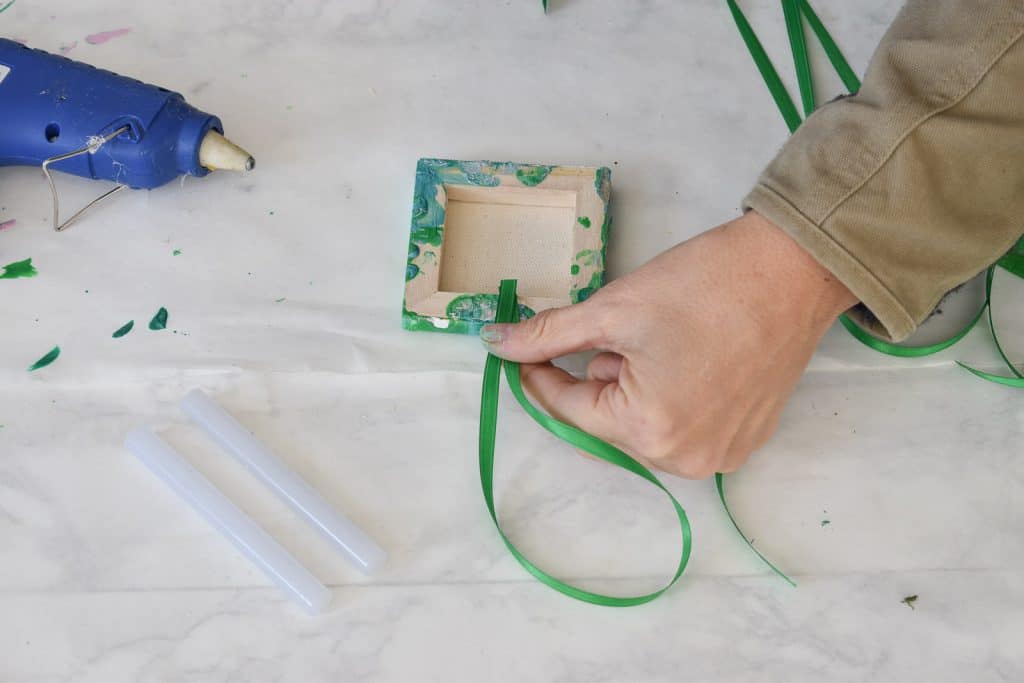
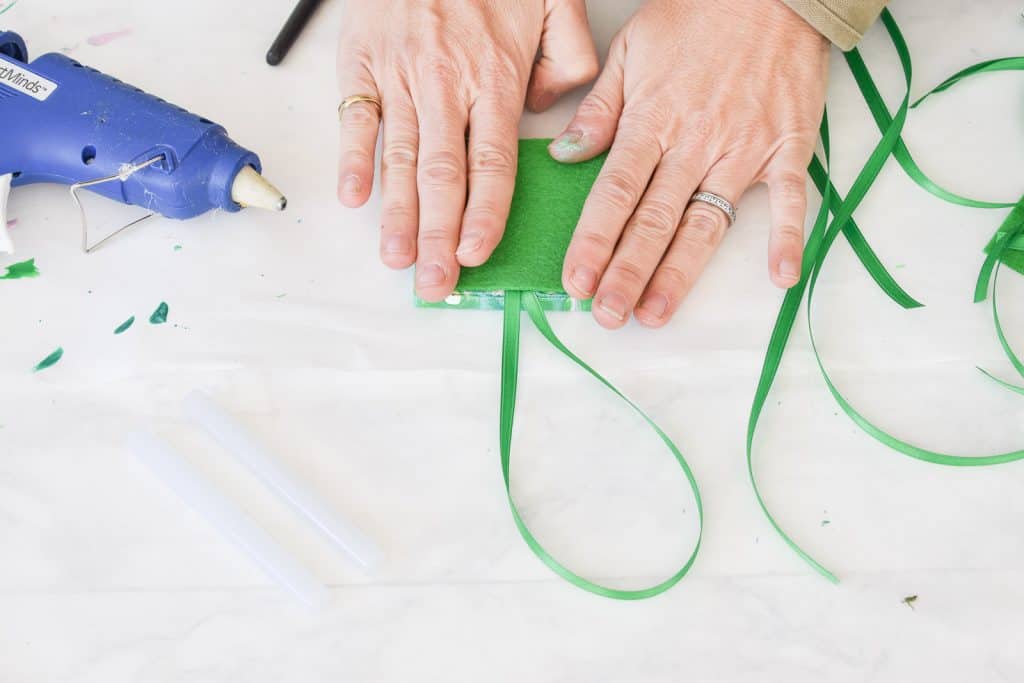
To cover the messy back of the canvas, I cut and glued pieces of felt in place along with a ribbon for hanging on the tree.











Don’t Miss Out
Become An Insider!
Signup for exclusive tips, and tricks from Charlotte’s House!
Let’s chat!
I love comments from you, so feel free to leave your thoughts and ideas below! And don’t forget to follow me on Instagram for even more!