
Step-by-Step Guide to Building a DIY Raised Vegetable Garden with Protective Fence
Psssst… this post *might* contain affiliate links: see my disclosure here.
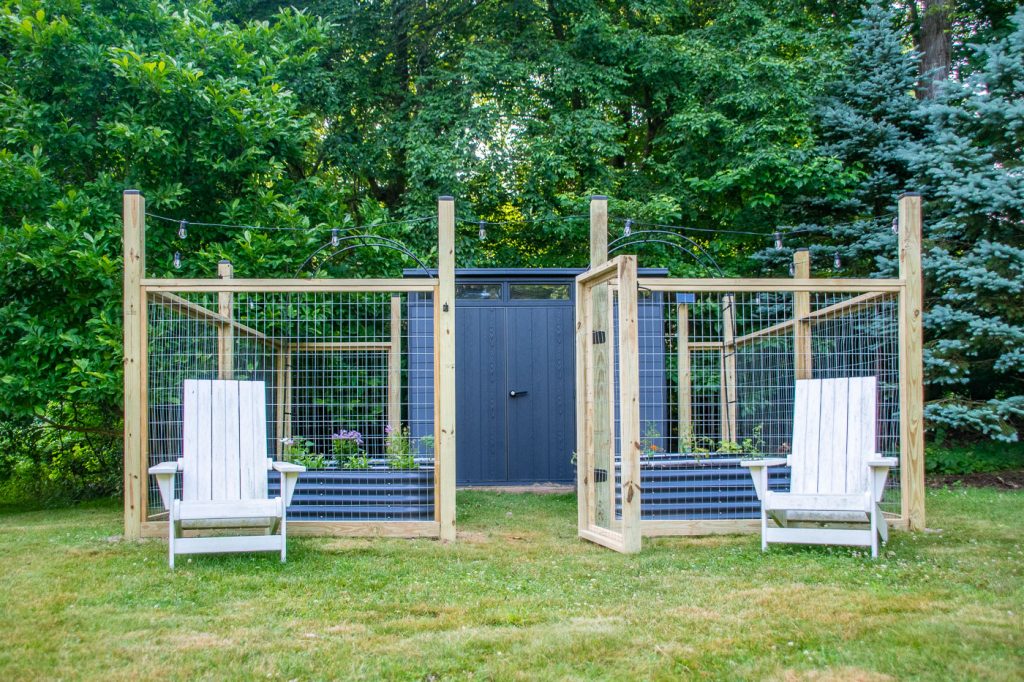
I found some all weather raised vegetable beds online and then built a fence around them to keep out the pesky neighborhood deer.
A note of clarification… I have never been nor do I currently profess to be a gardener. The extent of my knowledge goes about as far as a few sense memories I have of my grandfather’s garden in Massachusetts where I learned the joy of pulling carrots out of the dirt and searching for cucumbers on the leafy vine. As of now, I am not your garden expert but… I may be your ‘how to build a garden’ person.
Step 1: Secure a sunny spot, figure out size of beds, and generally get organized
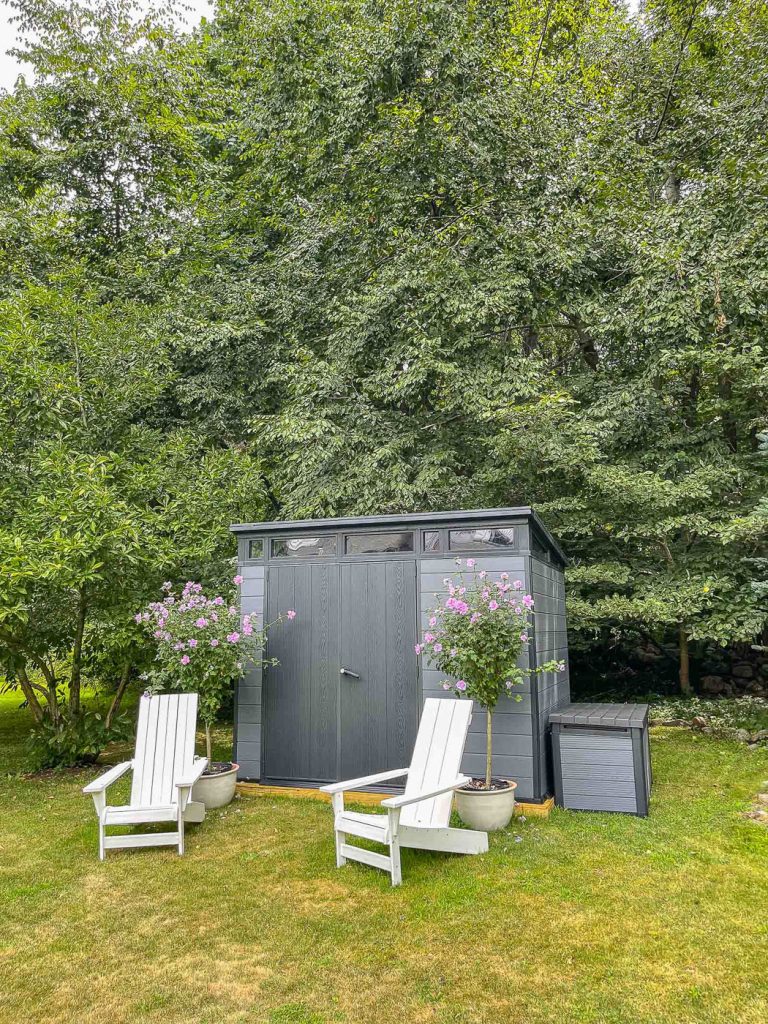
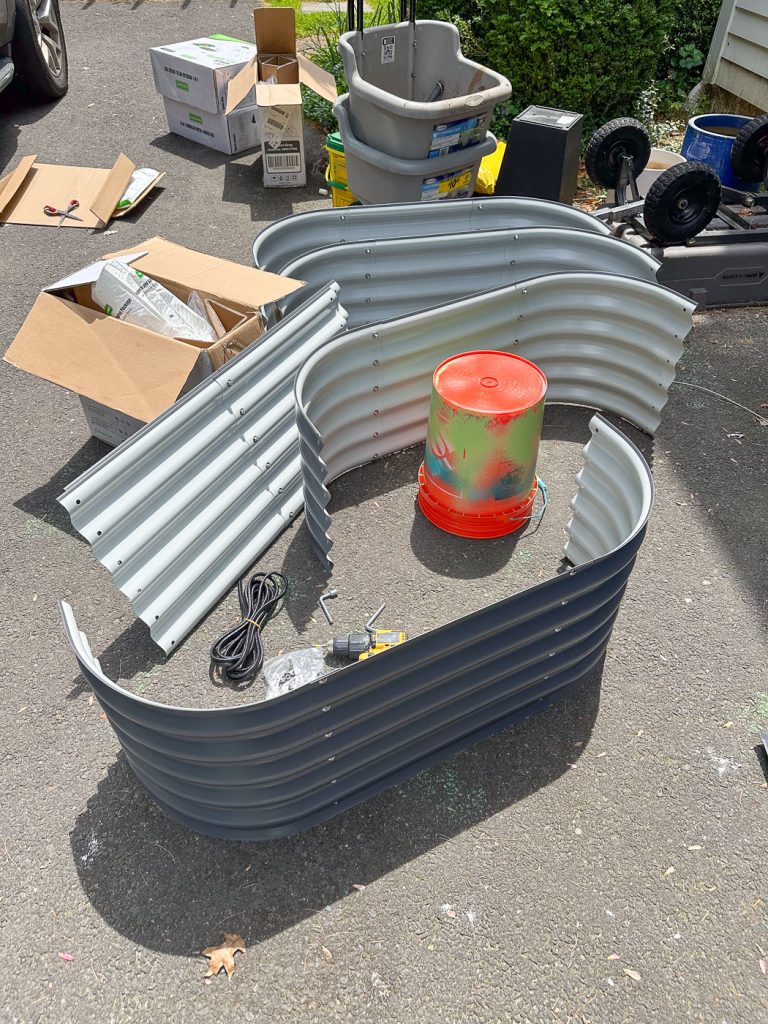
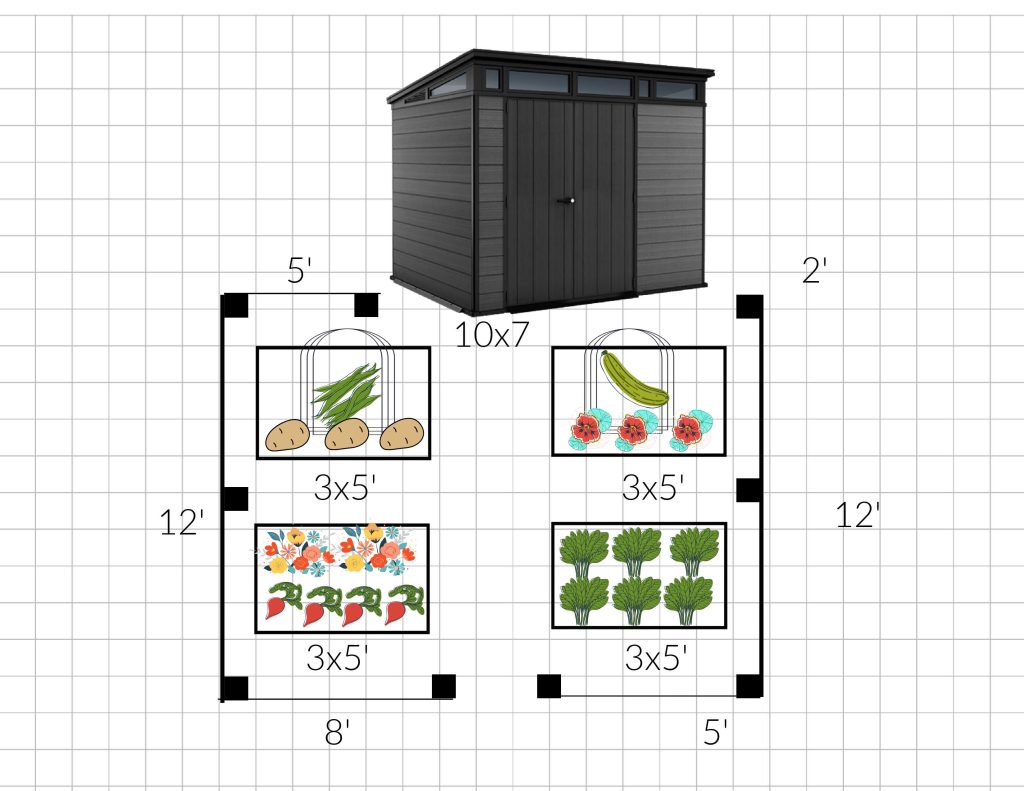
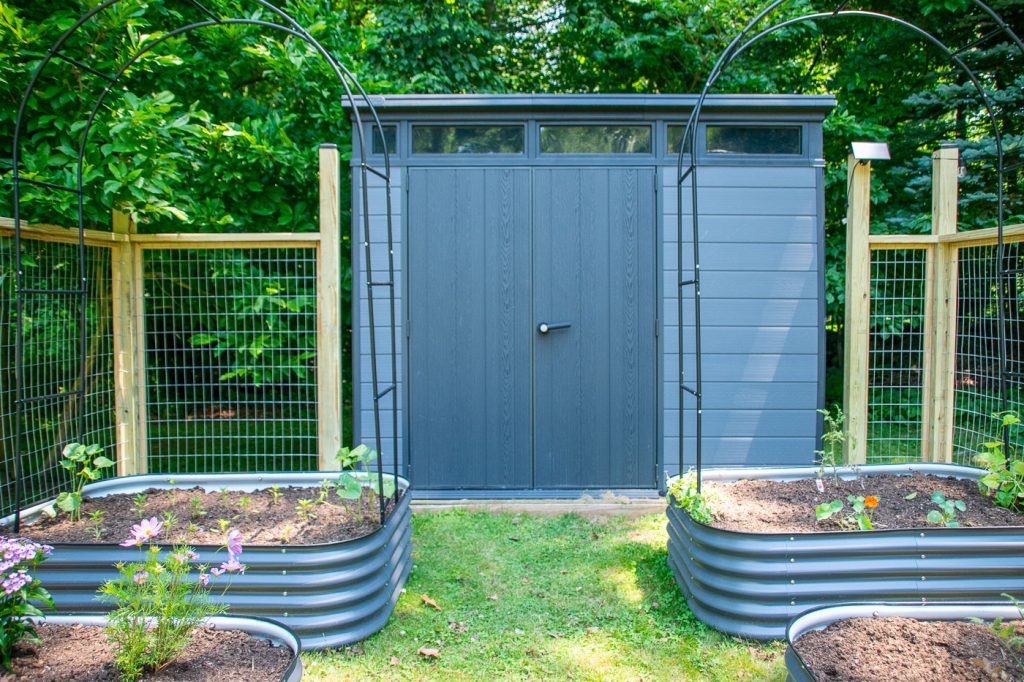
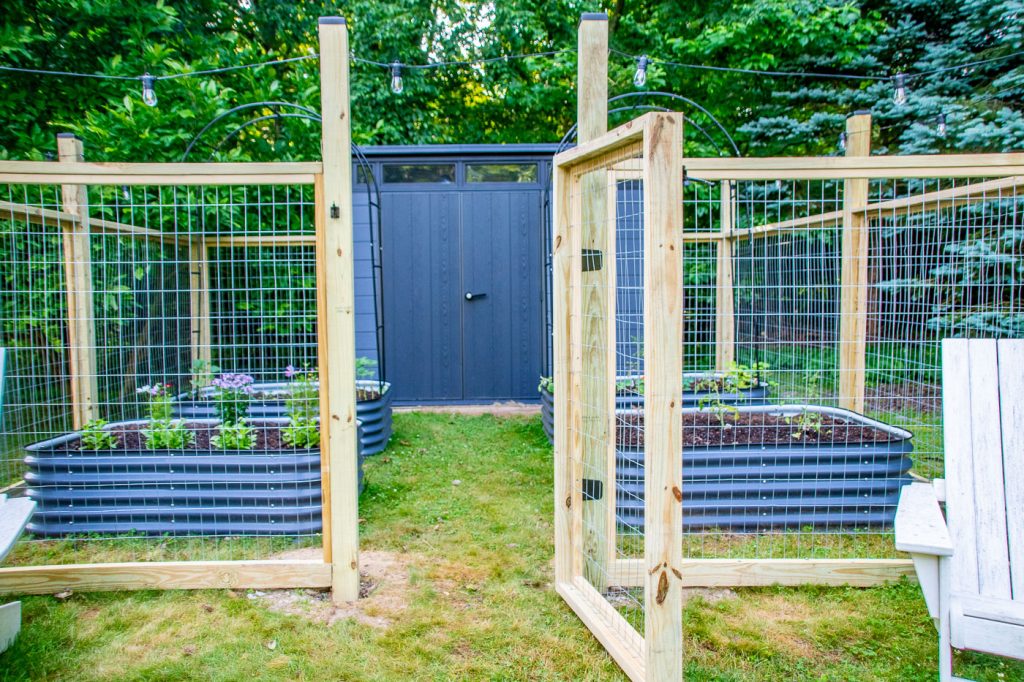
For a brief minute I considered building my own raised beds… but then I saw the amount of lumber I’d need and worried that over time they’d lose their charm and need to be replaced so I opted to buy some prefab metal ones from VegoGarden. I love the look and they come with excellent reviews. I knew I wanted our Keter shed to be the backdrop so that kind of dictated what size beds I would go with. Mine are 3×5 feet and I’m starting with 4 of them. The location for a vegetable garden should be pretty close to full sun (or at least 6 hours) and this is about the low end of that.
Shop my favorites!
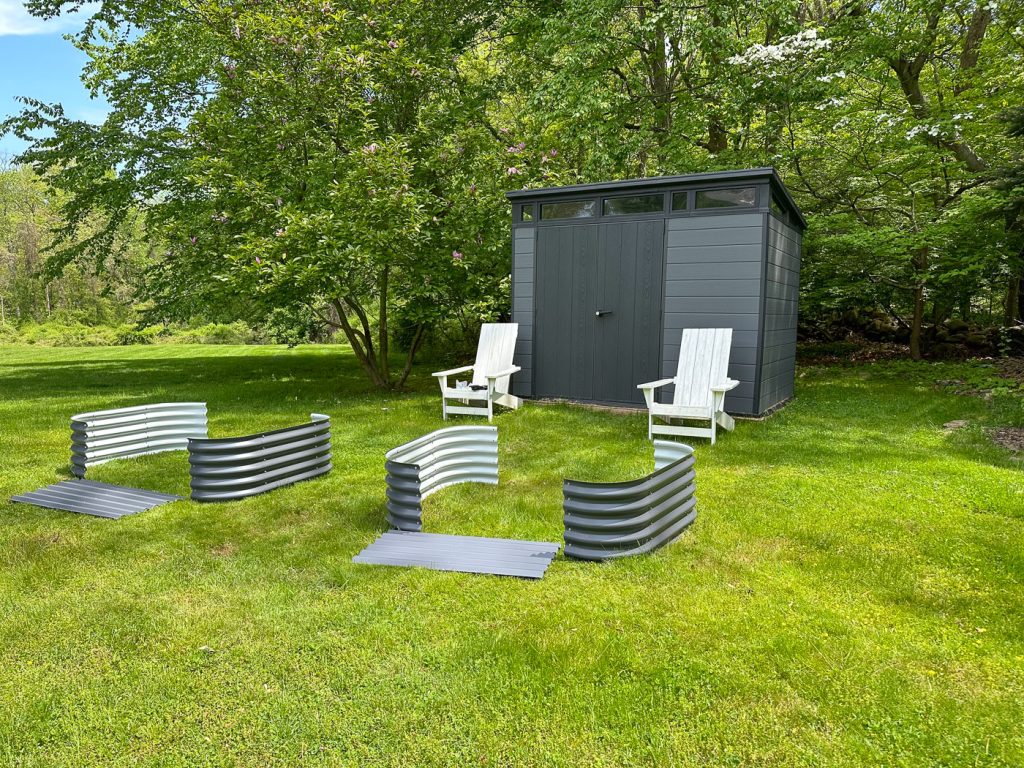
Step 2. Assemble the Raised Beds
Mine were easy peasy and came with very clear instructions. I assembled them and then played around with the layout that I’d planned back in February on my computer.
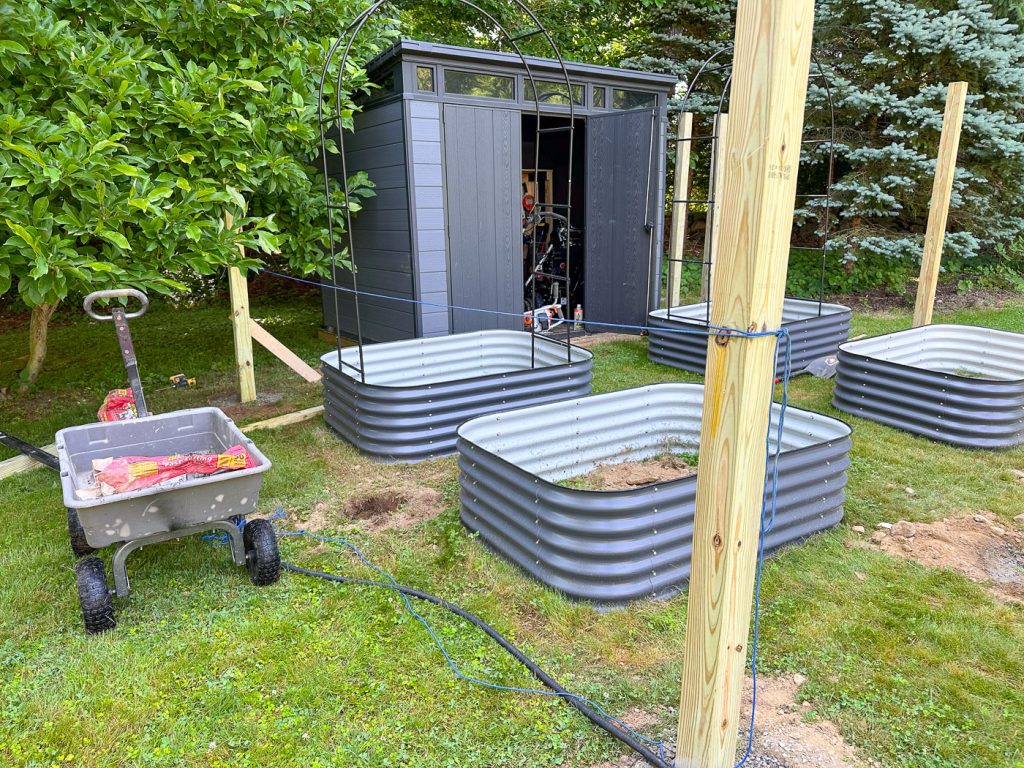
Step 3: Lay Out Bed and Measure for Posts
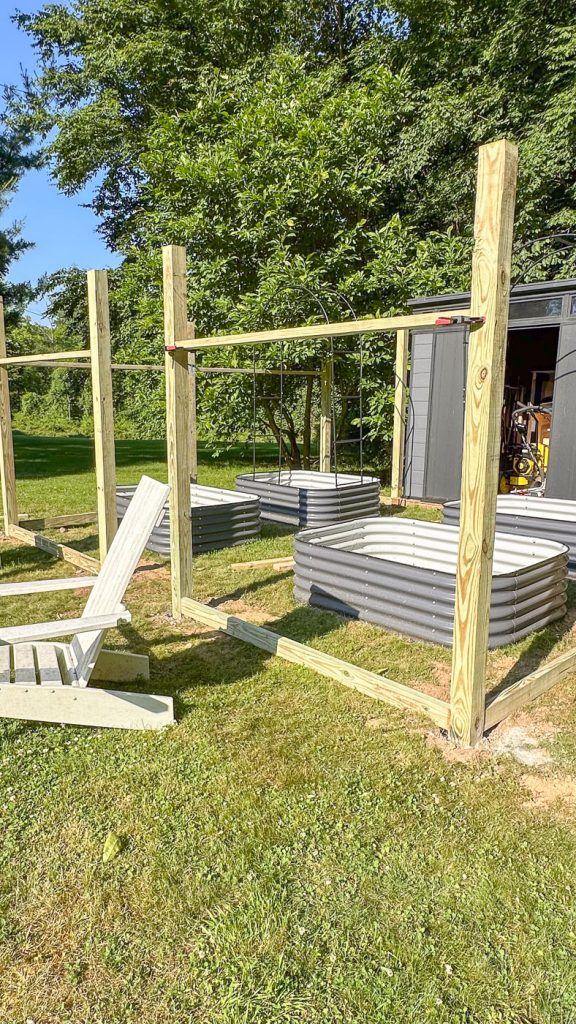
With raised beds more-or-less in place, I came back with a tape measure and made sure everything was equidistant and there was room to open the shed doors. I’ve never installed a fence so I’m mostly winging it, but this post by Woodshop Diaries was the guide I followed. My posts aren’t exactly equidistant from each other but they are basically symmetrical and in line with each other if that makes sense. You can see I spray painted where each post should go so that I would dig where I needed to!

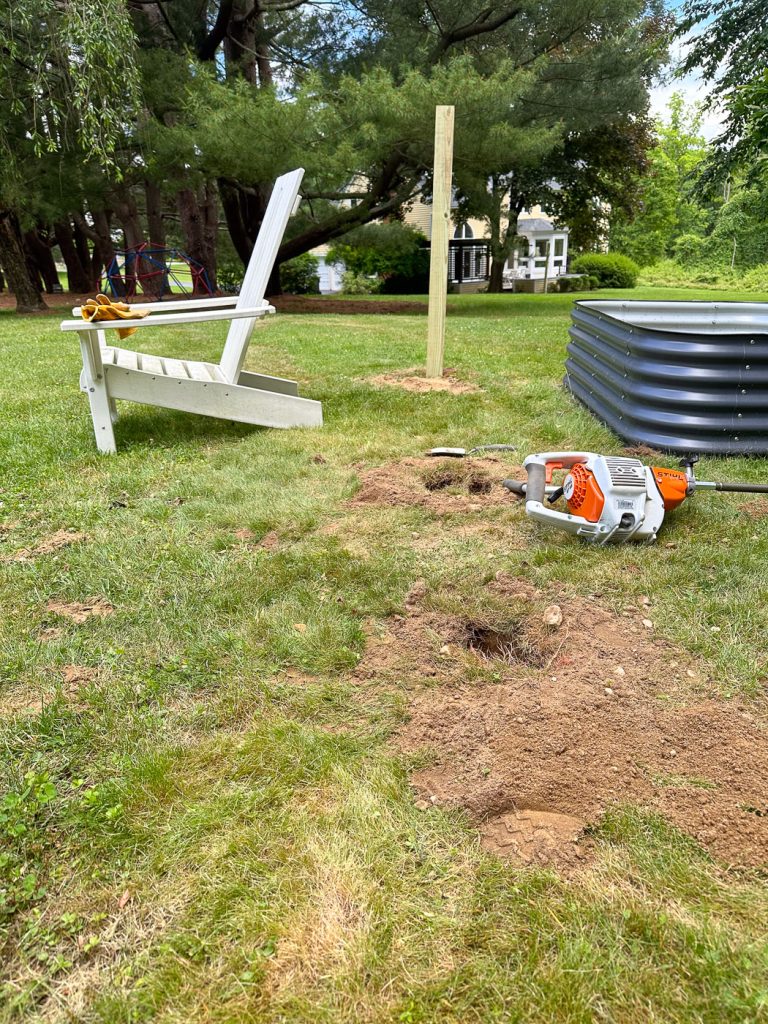
Step 4: Dig for Posts
I used a new toy dig my fence posts: this auger by STIHL. Overall, I loved it. It worked well, was easy to use and made short work of digging. HOWEVER… we live in Connecticut so the soil is very VERY rocky. Even the smallest little rock would get in the way of its progress, so I had to stop, fish out the rock, and resume a lot. I didn’t try the alternative (just a manual post hole digger like this) so who knows if digging with a fence pole digger would have been any easier, but I preferred this to a shovel which would have left a very large hole because of the required depth (about 1/4+ of the height of the fence post).

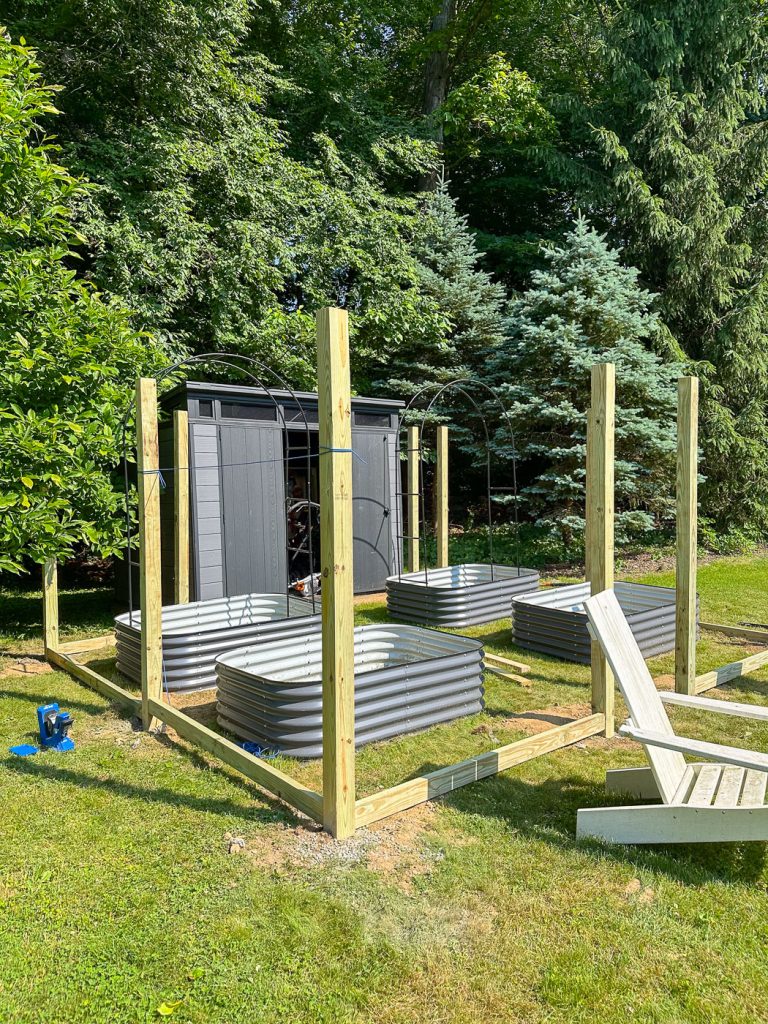
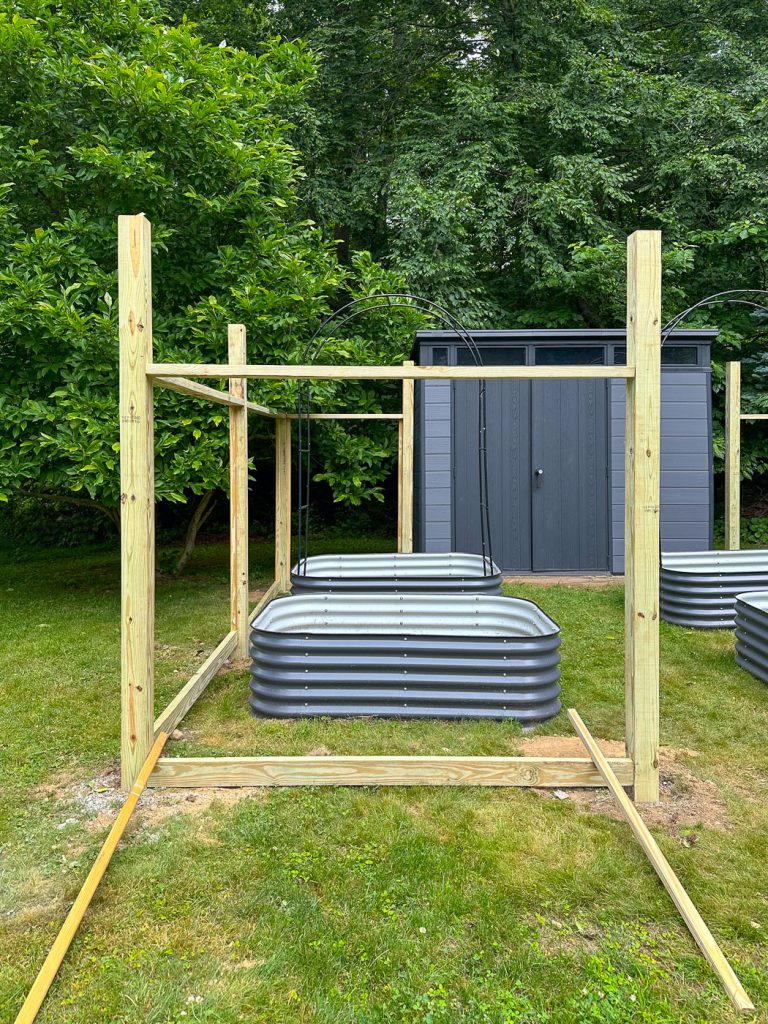
Step 5: Set Posts
With holes dug, it was time to set the posts. This turned out to be easier than I expected. I placed each post in the hole and because the hole wasn’t super wide, the fence stood somewhat upright on its own. I used a combination of scrap wood and smaller rocks wedged inside the hole to lock it in place at vertical and then filled half the hole with quick-set cement. With my garden hose I sprayed the cement and used a piece of scrap wood to stir it around a bit. Repeat with cement and water until the hole is full and your post is happily lodged in the ground. You can see the guide line that I set around the posts to make sure the posts were aligned.
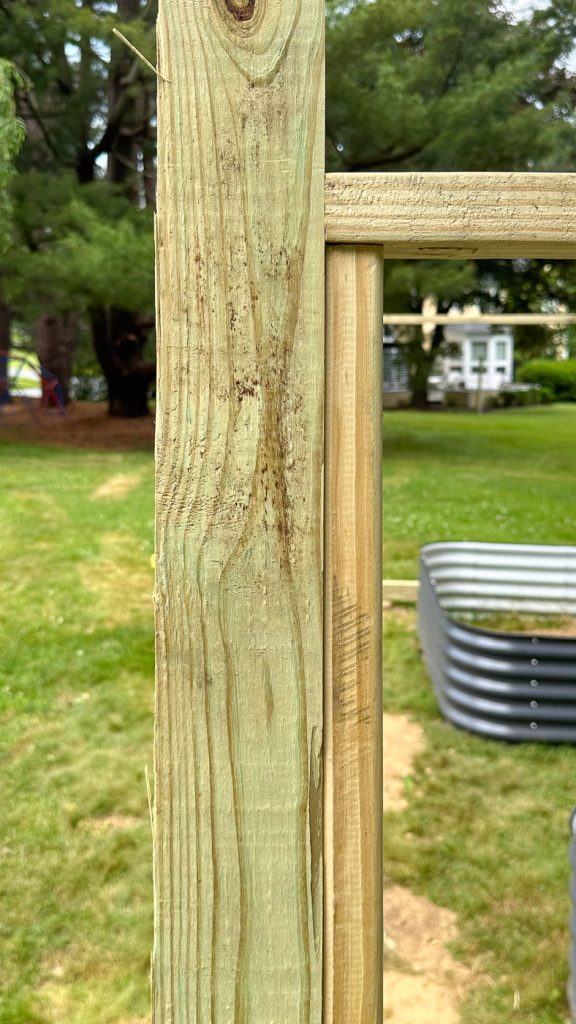
Step 6: Install Cross Rails
I measured and cut the pressure treated 2x4s to size and then drilled pocket holes in either end of each board. To install them, I placed them as close to the ground as possible, checked for level and then attached them using exterior 2 1/2″ Kreg screws with the long side of the board parallel to the posts. Note… My lawn is pretty close to level but not perfect. I dug out where I needed to in order to install the lower cross rails right along the ground, but these are not all level with each other.
For the upper rails I *did* make sure these were all level. I am using a 5 foot tall galvanized fence so I made sure the top rail was no more than 5-feet from the lowest bottom rail. I installed the top rails the same ways as the lower rails, but this time the long edge of the 2×4 was perpendicular to the posts. Clamps were helpful to support each rail while I screwed it in place!
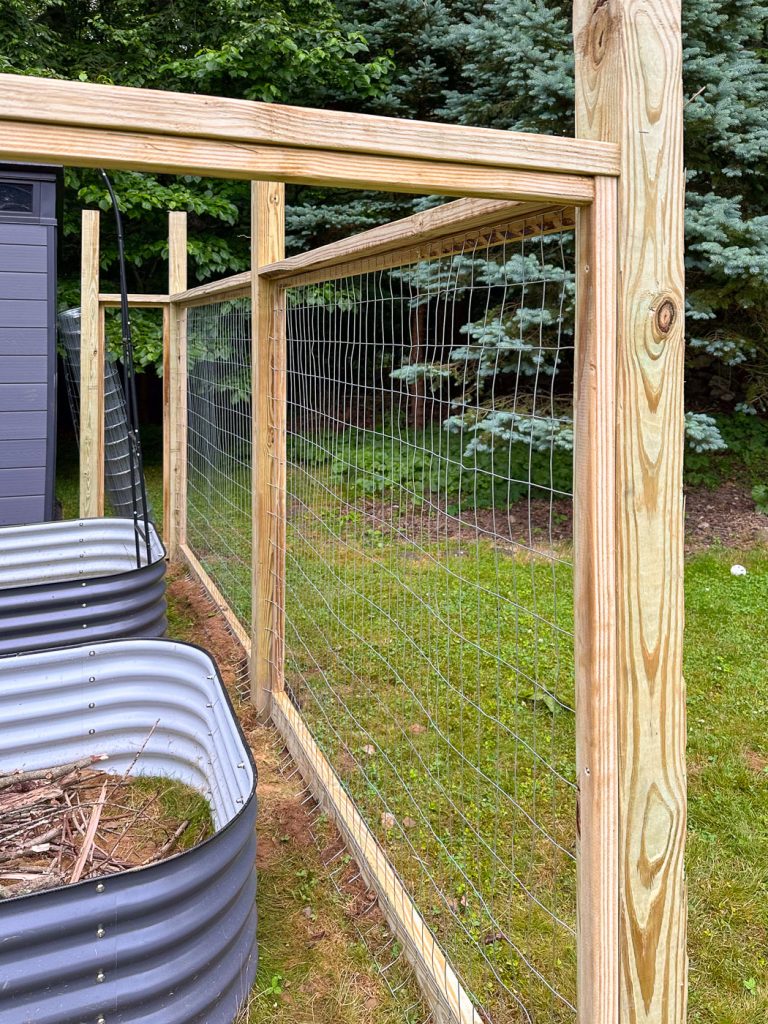
Step 7: Install 2x2s Inside Rails
I add a little visual interest AND to give me something to staple the fence into, I screwed pressure treated 2x2s along each posts and underneath the top rail. For these, I simply used exterior screws. TIP: I find it easier to get each screw started a bit while the boards are still on the ground… then it’s easier to hold them in place and use my full weight to screw them in place.
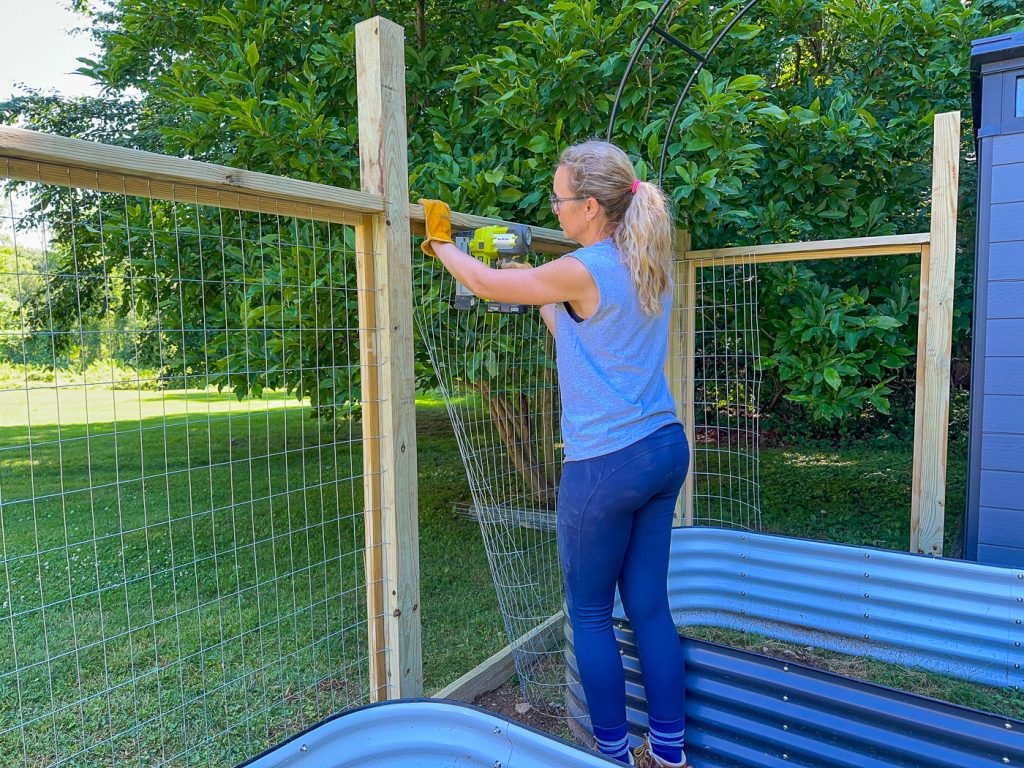
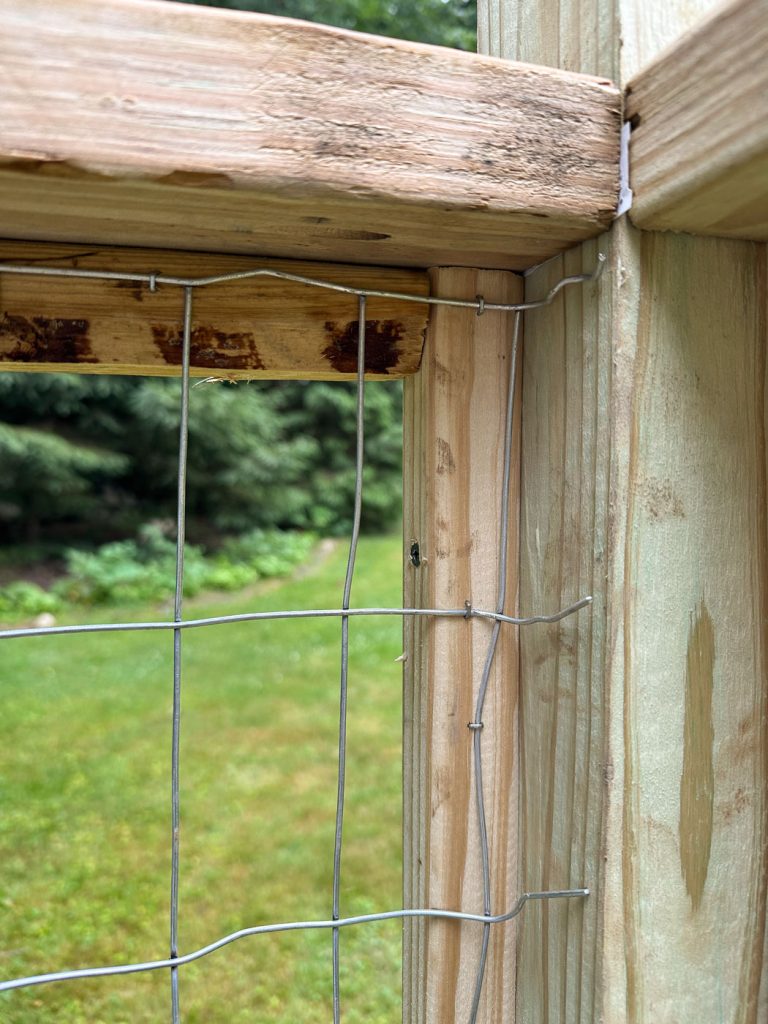
Step 8: Install Fencing
Once the inside rails are set in place, stapling the fencing is pretty simple. I rolled out the fence and cut it to size for each section and then used by Ryobi staple gun to tack it in place on each corner before going back and stapling each individual wire. I found that bending the wire before installing made it a little bit easier to wedge the fence in place.
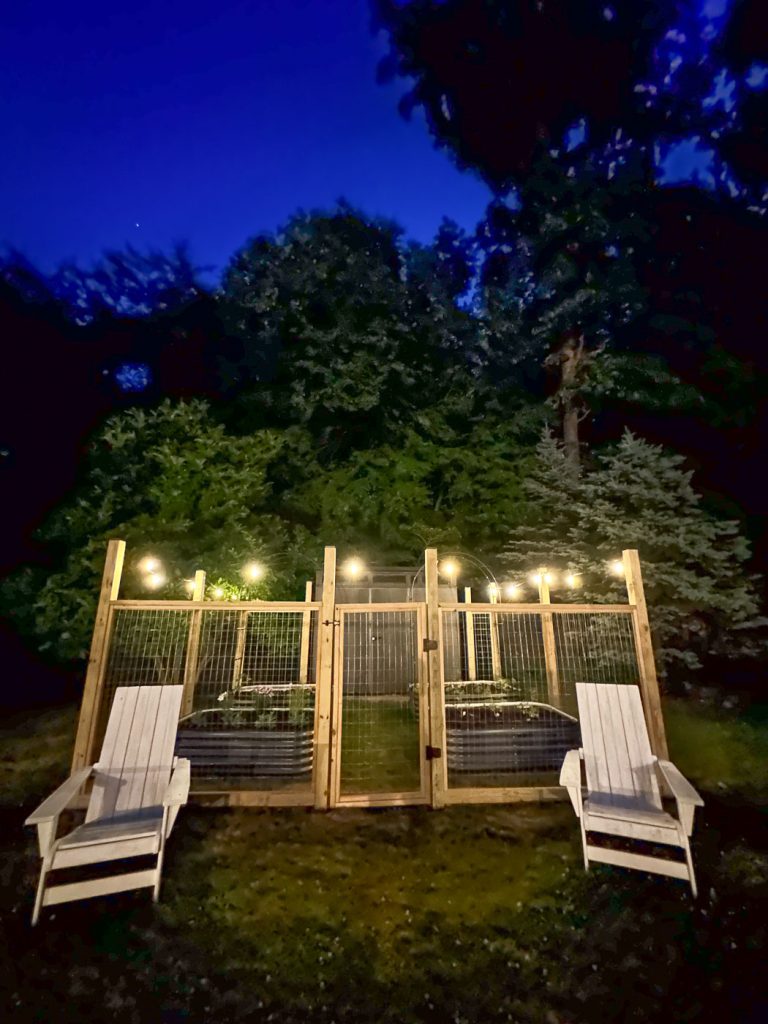
Folks warned me that deer could easily jump 5 feet BUT… didn’t have great depth perception so typically wouldn’t jump over if they thought something was taller. My solution was to string some cute solar lights along the top of the fence posts! Not only do they look so cute at night but they take up that visual space without requiring a big tall giant fence.
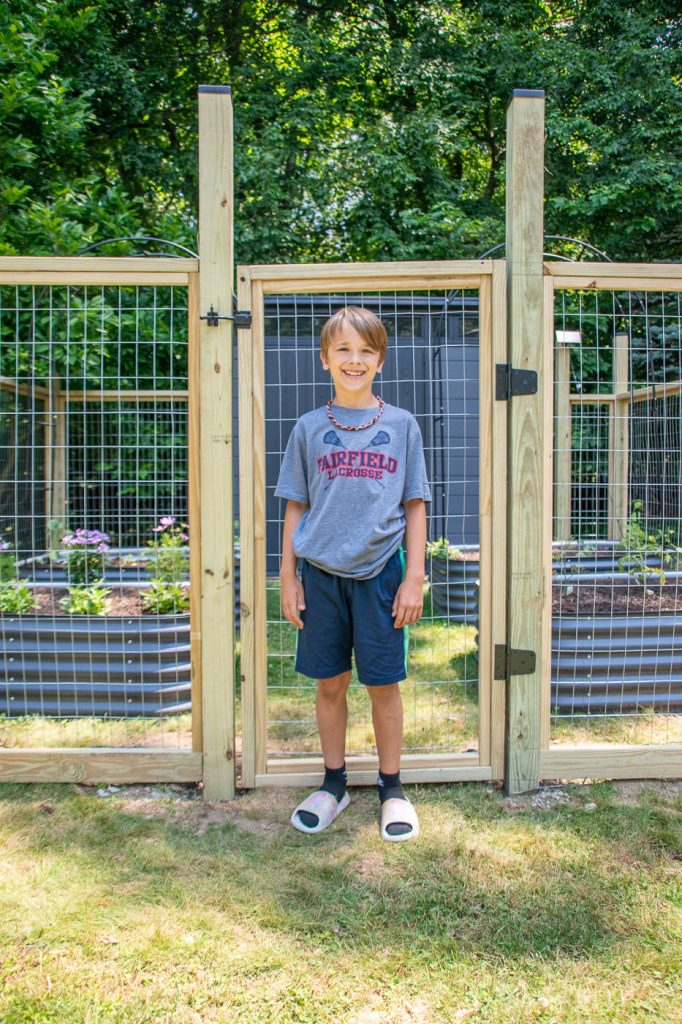
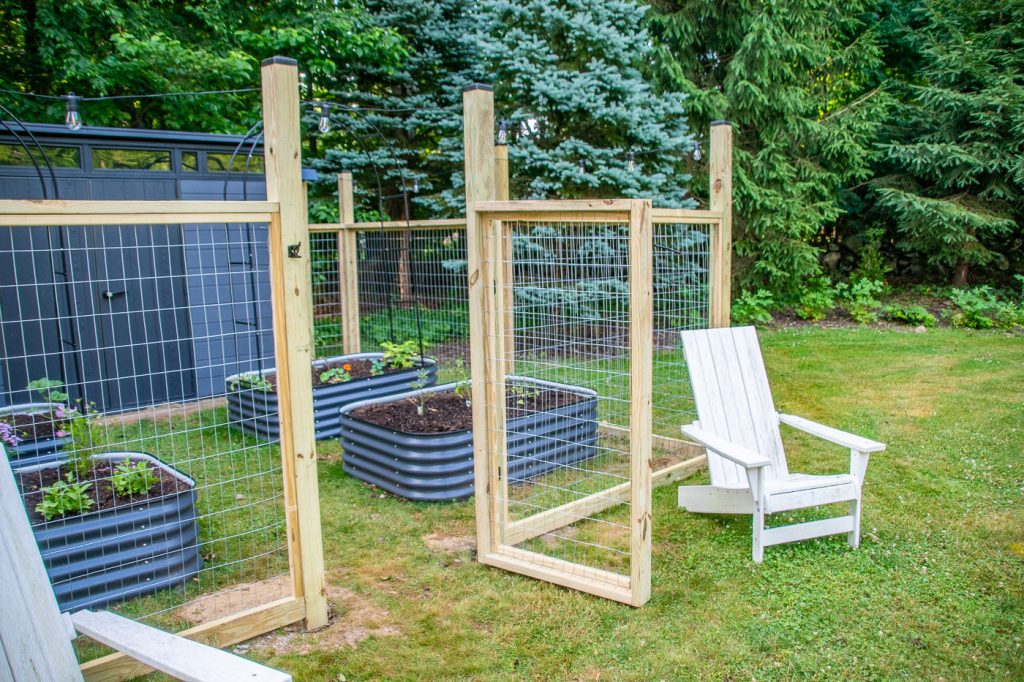
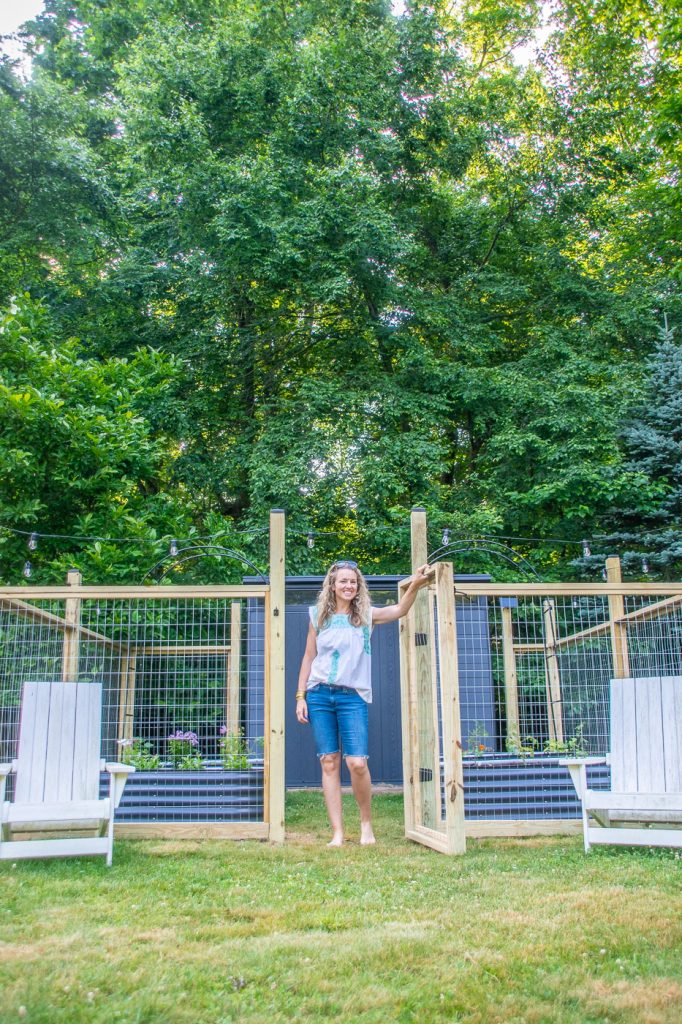
Step 9: Making a Gate
The gate is basically a smaller version of each fence section. Arthur helped me build a simple rectangle with the same pressure treated 2x4s using pocket holes. We screwed 2x2s along the inside edges and then lastly, stapled the same galvanized fencing in place. I used outdoor hinges and a simple outdoor latch to attach it to the fence!
Step 10: Fill beds and add plants
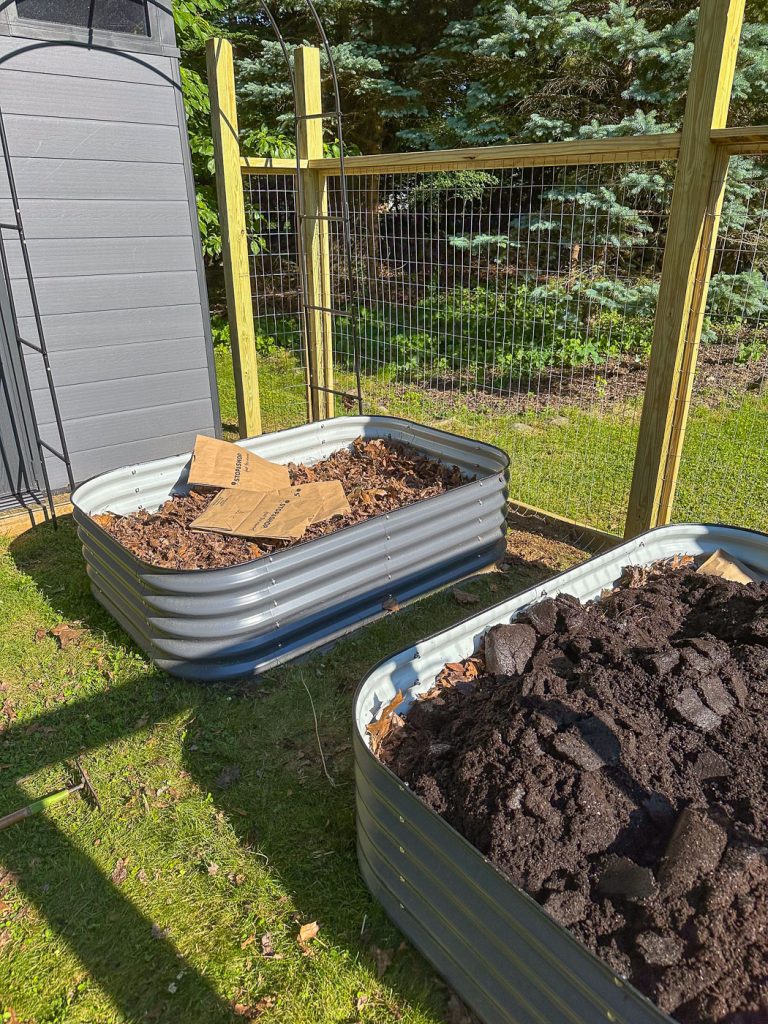
To fill these beds would be A LOT of soil so a hack that most people take advantage of is filling the bottom foot or so with organic scraps like twigs or leaves. All in, I’d say each bed took 3 or 4 wheel barrows full of larger sticks and twigs followed by a couple wheelbarrows full of leaves. (And not that anyone asked, but this is, hands down, my favorite wheel barrrow.)
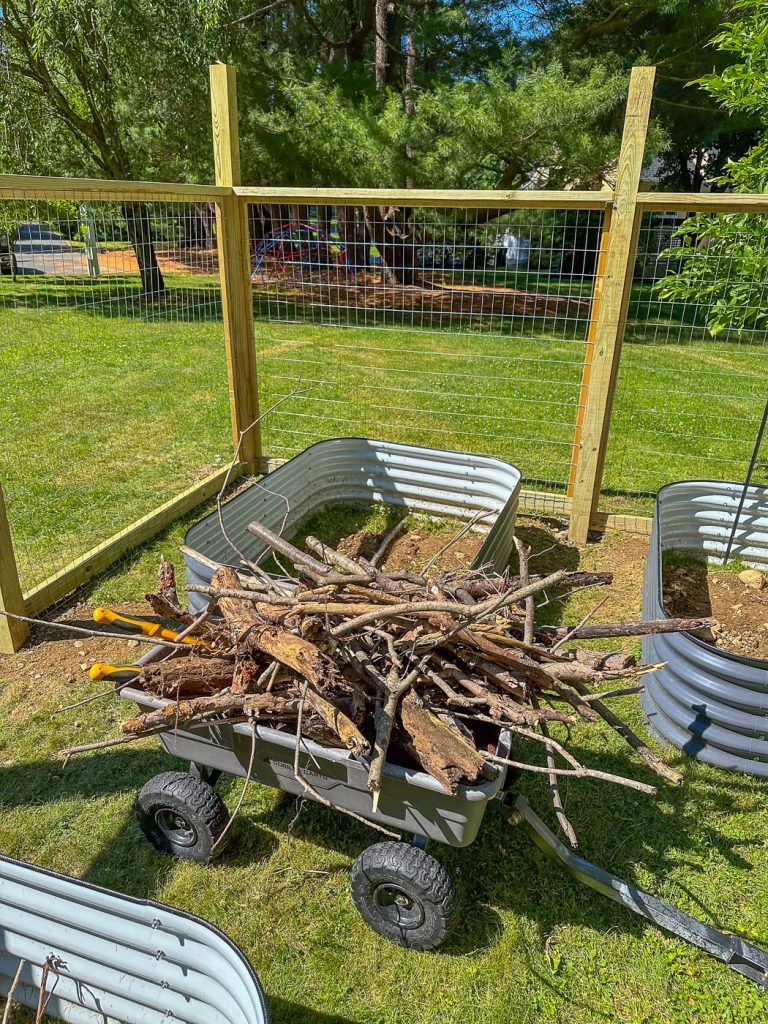
With debris in place, I lay some paper bags on top (cardboard would work too) and then poured my organic raised bed soil in last. I would have placed the paper bags down first if I’d remembered to act as a weed barrier, but as it was, they ended up keeping the soil from falling down between the sticks.
I planted the beds with the following:
Bed 1: Flowers for a cutting garden. Zinnia, cosmos and phlox.
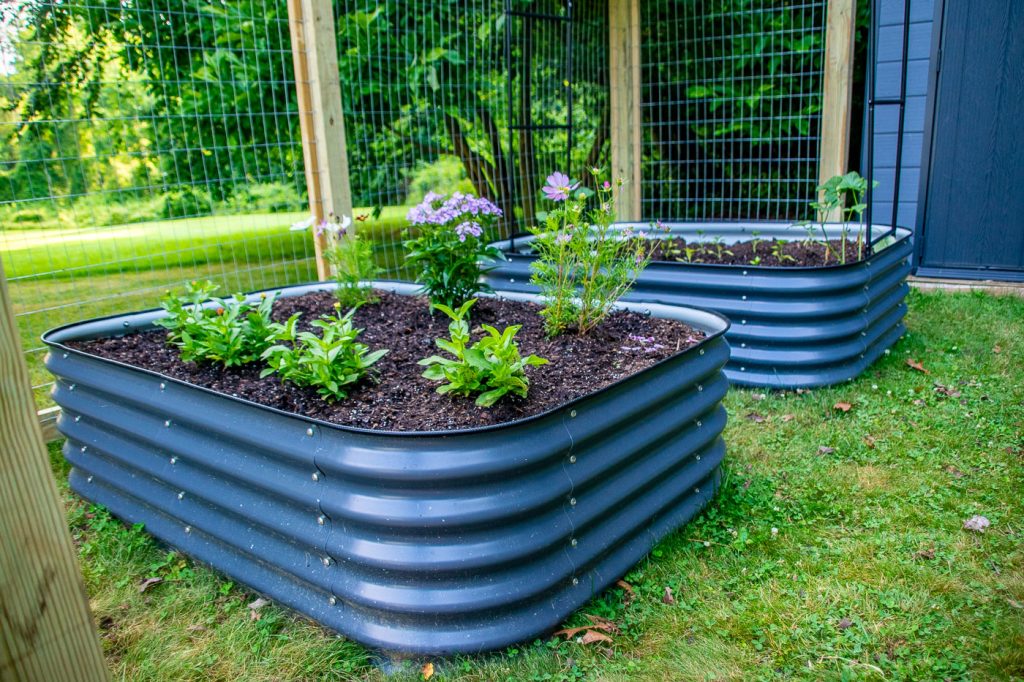
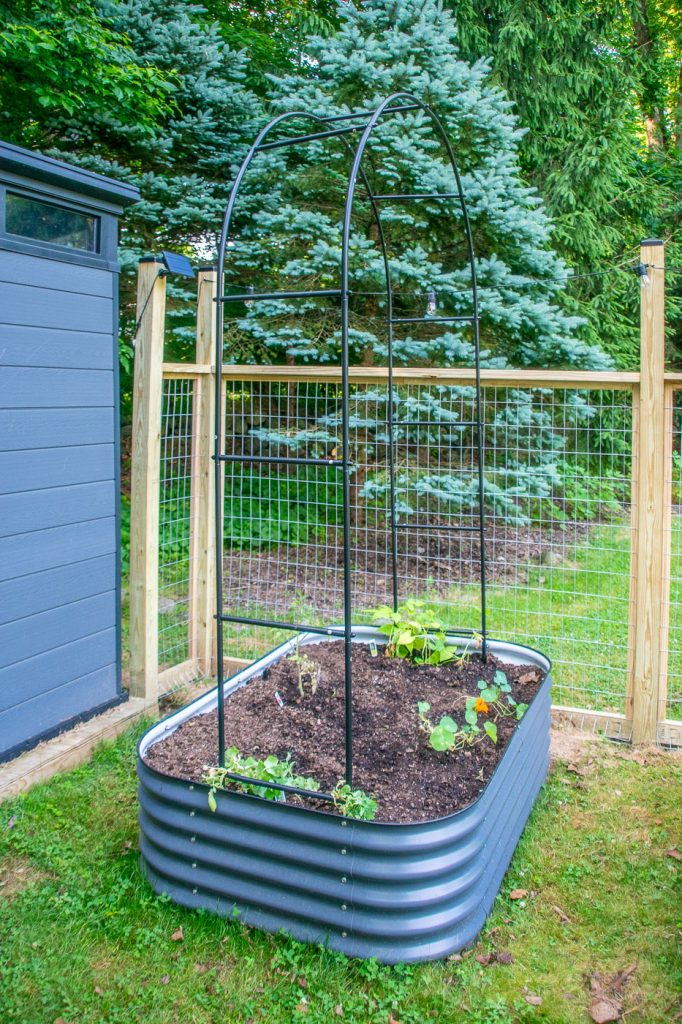
Bed 2: Shiseto peppers in the middle and then cucumbers along the trellis.
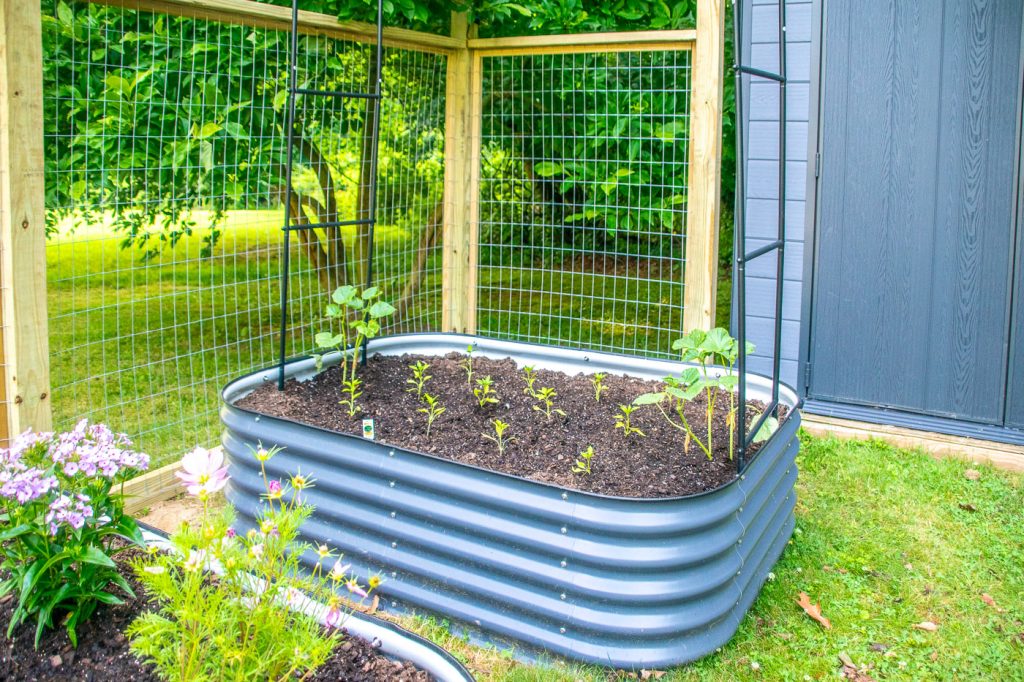
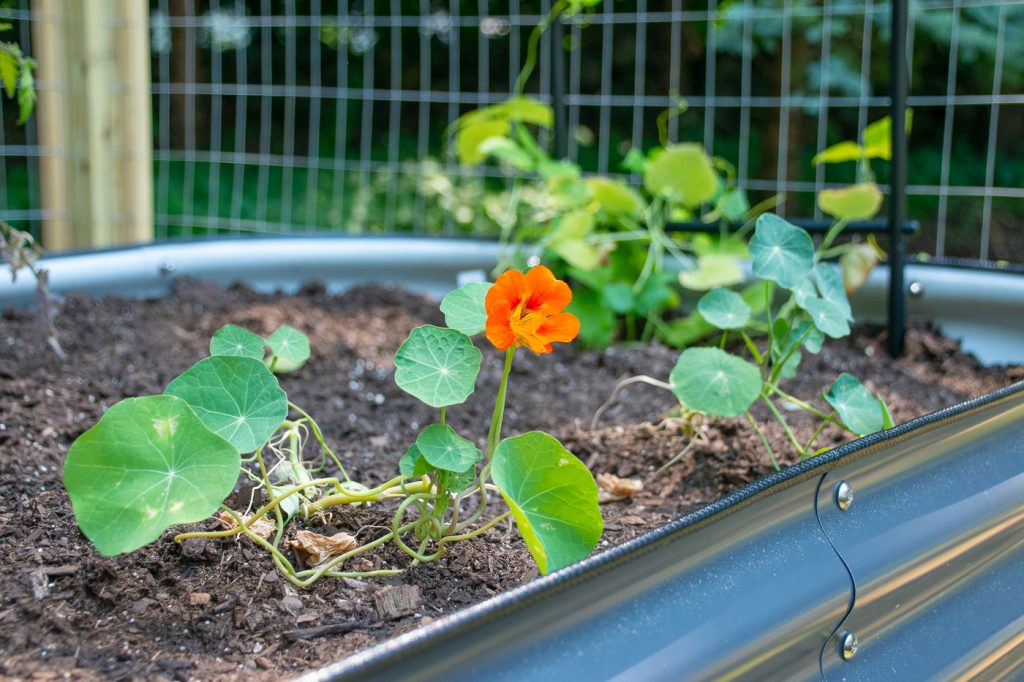
Bed 3: One full sized tomato plant in the middle and nasturtium and then peas and beans along the trellis.
Bed 4: Cherry tomatoes.
It’s too soon to tell whether any of these vegetables will grow but…. 2 weeks in and none of them have DIED so that’s a win. The hose from our patio reaches out the garden so that’s how I’ve been watering everything. If I turn into a real official gardener, perhaps I’ll come up with a more permanent solution, but for now… she’s looking great and I’m cautiously optimistic.

I wrote out a long comment and it disappeared so here’s the summary: LOVE the raised beds and I’m wanting to do raised beds in the fall or spring (because Texas) BUT I am wanting them to be super raised – like where I don’t have to bend over to garden. Do you think that’s possible to DIY? Or should I just pony up the bucks and buy some?
Also, imma get that Stihl auger just in case I need to dig holes someday. I bought a set of garden augers for my drill this year and I think 75% of my ‘hood has borrowed them!
Hey! So… These specific beds don’t have a bottom and I think this is the tallest option. No question you could DIY, but it felt like raised beds were taking A LOT of material and obviously the higher you get, the more random fill you’ll have to come up with. I have some Keter raised beds (https://homedepot.sjv.io/c/1268018/456723/8154?u=https%3A%2F%2Fwww.homedepot.com%2Fp%2FKeter-Easy-Grow-44-9-in-W-x-29-8-in-H-Brown-Raised-Garden-Bed-212157%2F205328040) that I really like and they’re pretty big actually! Not sure how much you want to plant but a few of these could be an option? And yay regarding the Auger… it has a few different bits so can work for lots of things!
Thank you for this comprehensive guide. The practical tips you’ve shared are going to be very useful for my work.
Good luck!