A “New” Marble Sideboard
Psssst… this post *might* contain affiliate links: see my disclosure here.
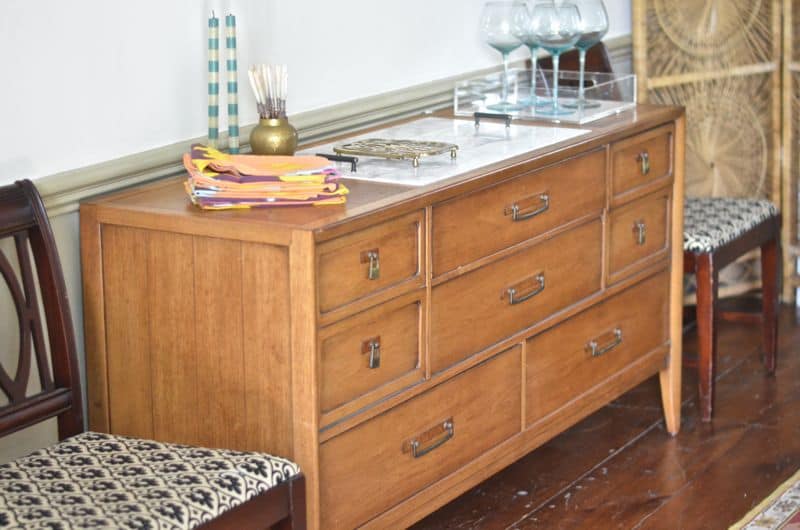
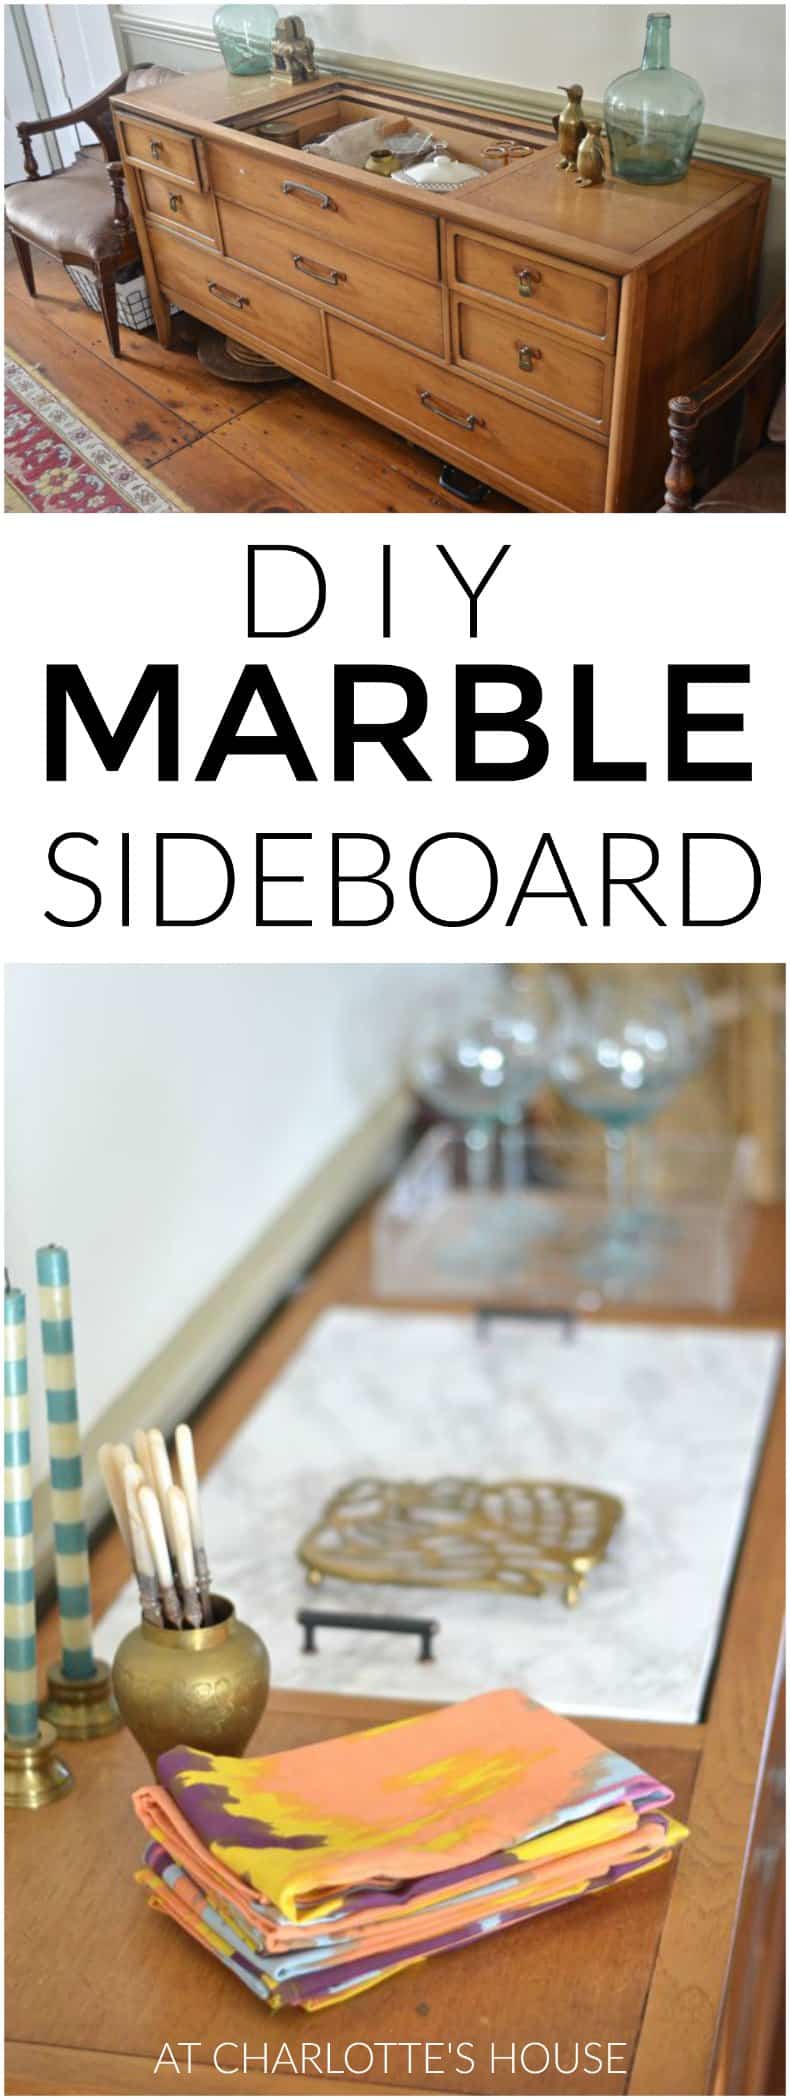
A few weeks after we moved into this house, I found this sideboard for the new dining room at the Restore. This beauty cost me… wait for it… twenty-five dollars. 25. Clearly it was priced that way because of the ‘minor’ missing piece, but I was confident any DIY I came up with would be worth it. Like any good home improvement, there it sat. For months. Until just the other day, when I got an itch to deal with it.
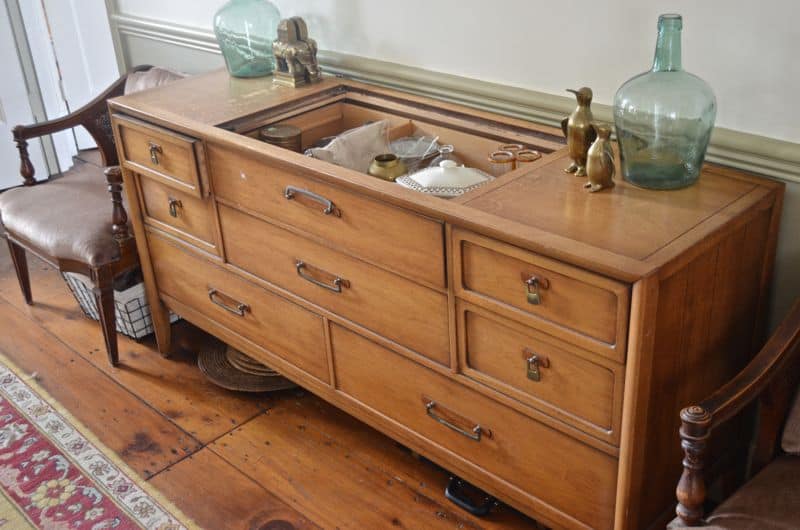
DIY Marble Sideboard
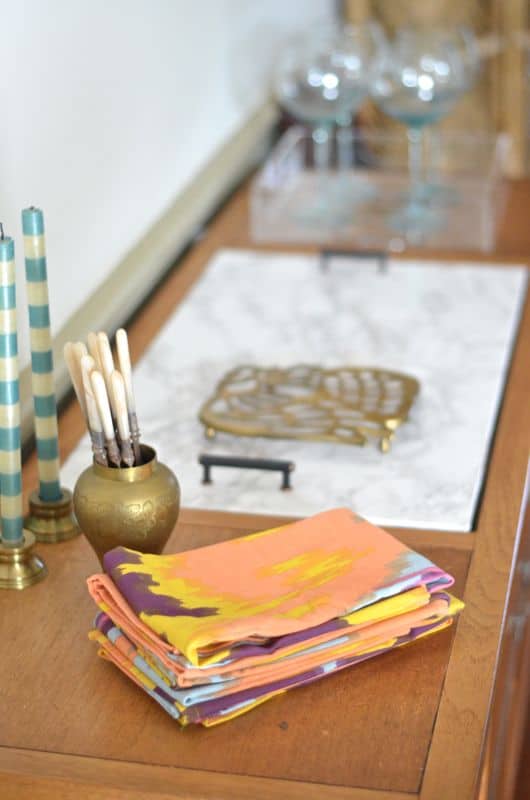
My original plan was to head down to a stone guy and get a potentially pricey marble remnant cut to fit. Wanna know what’s almost as good as potentially pricey marble? Inexpensive faux marble. Wanna know why faux marble’s better? Because it means I actually finished this project. Faux marble (affiliate) for the win! (Full material list at the end of the post!)
Shop my favorites!
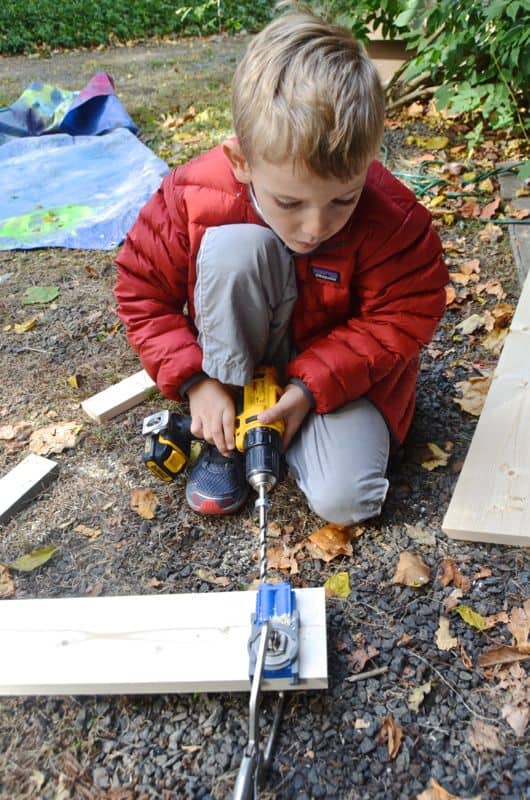
I had my trusty assistant help me with the pocket holes. I was cobbling together scrap wood so we had lots of random pieces to cut down to size. One thing I did NOT consider that almost screwed me up was where I was making my pocket holes. Keep in mind where you will be placing your handles in order to prevent the two screws from hitting each other.
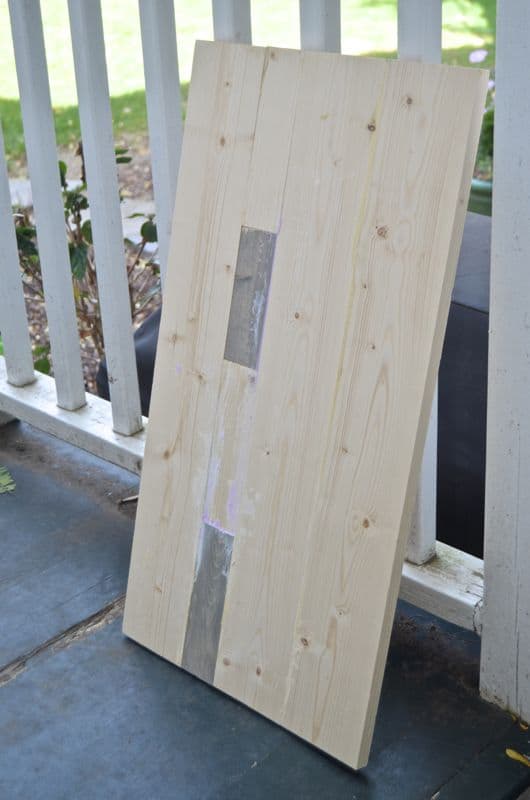
Once we’d pieced together our boards, I gave them a once over with the sander and filled in any gaping holes with wood fill. The finished piece should be as smooth as possible.
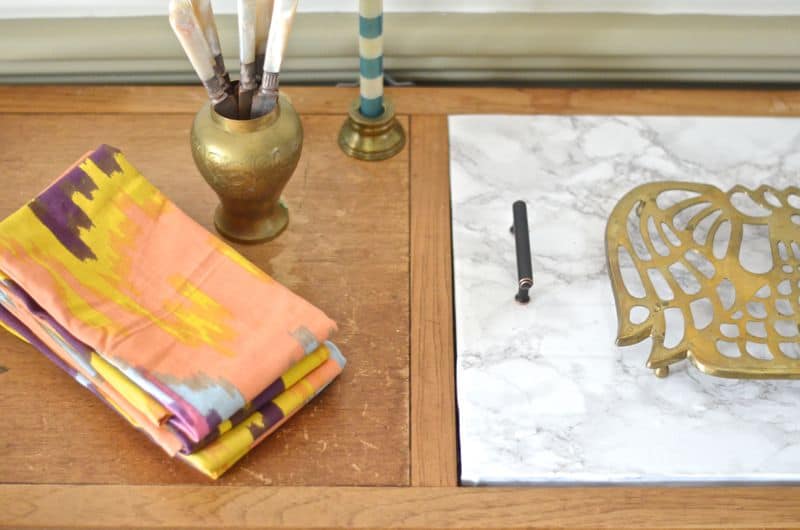
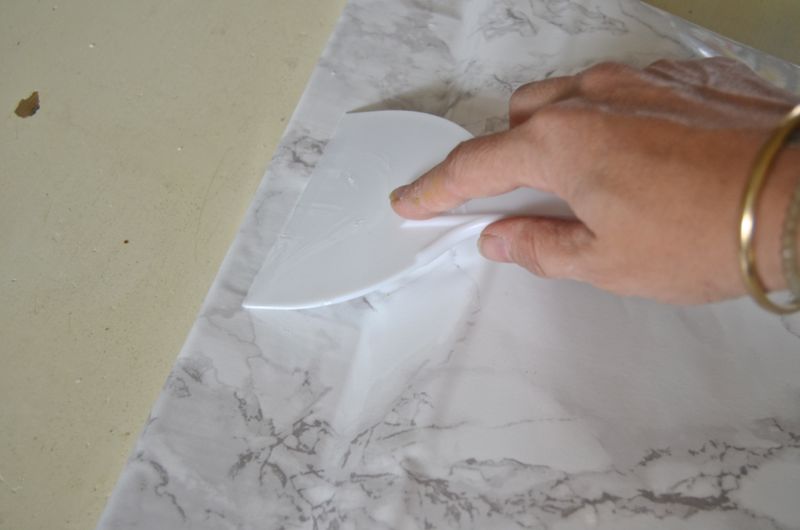
Next… let’s turn this wood into marble, shall we? I don’t have any tips for you here, but a second set of hands couldn’t hurt if you had a willing helper. You’re going to cut your first sheet of contact paper so that it’s large enough to wrap around the 4 edges of your board. Trim the corners accordingly to get a nice tight fit. I used a plastic scraper to smooth out the contact paper as best I could. Cut a second sheet of paper exactly the size of the board and place on the other side to cover the edges that have wrapped around. Make sense?
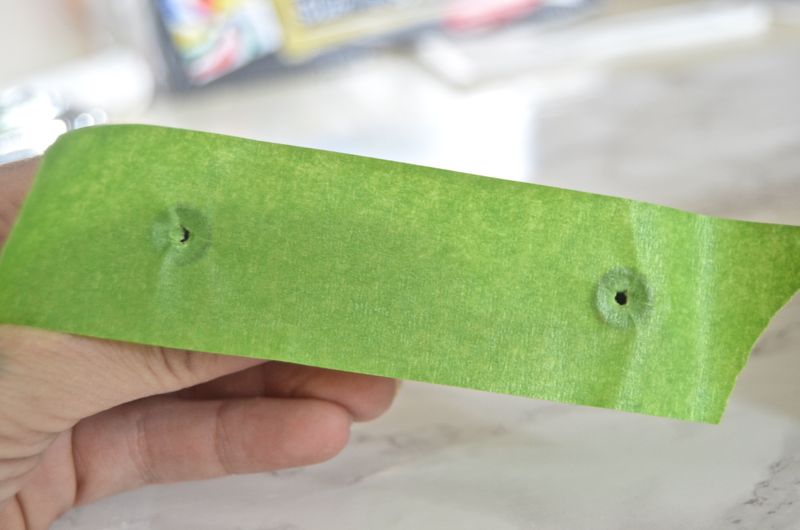
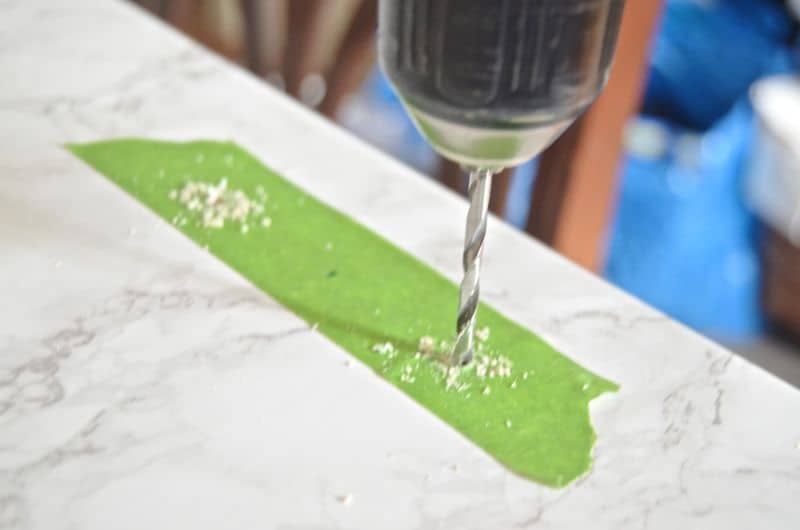
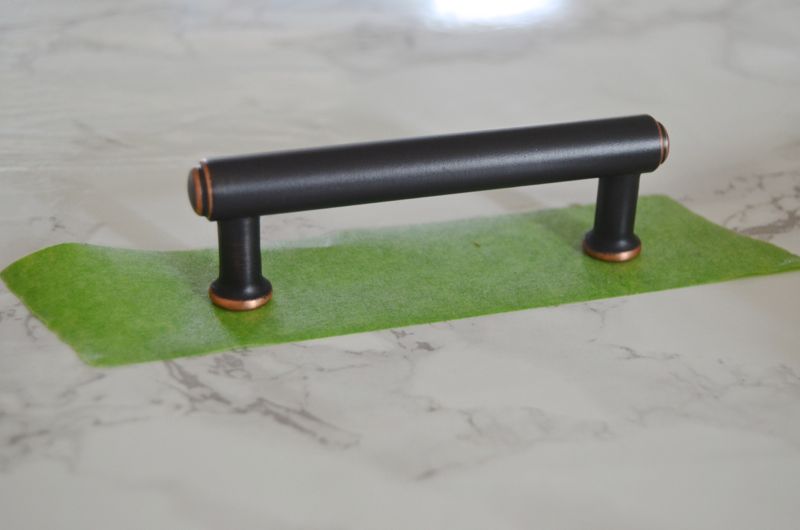
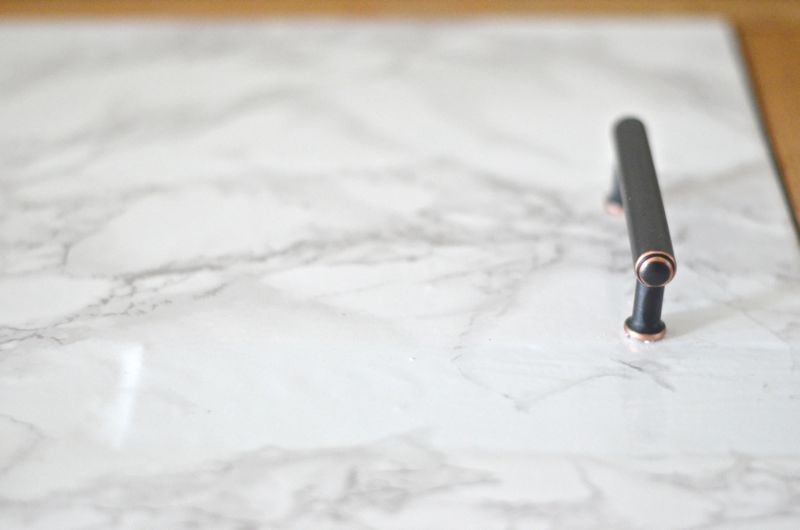
Here’s my trick for screwing in handles. Get some painters tape and mark where the holes should go.
Find the center point between the handles and match this up with the center point of your surface. (Note: I screwed up so do and these handles are off-center so do as I say, not as I do…) Drill your holes using the marks on the painters tape and screw in the handles.
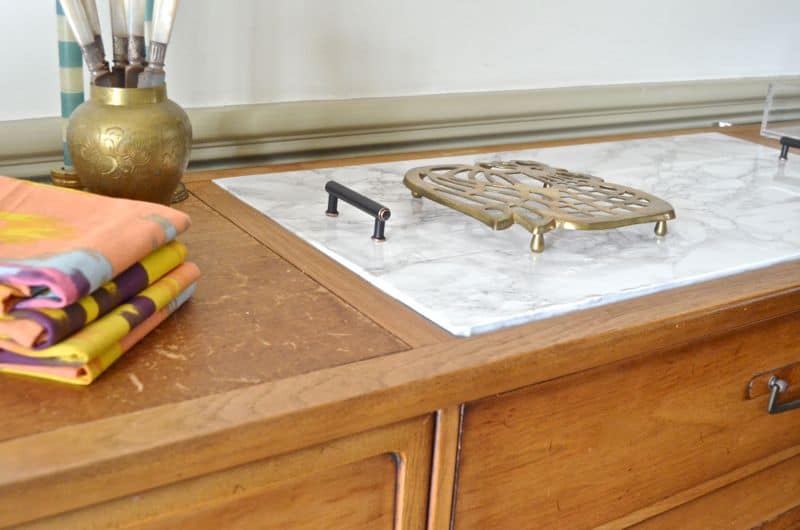
Is this faux marble topper as durable and awesome as real marble would be? No… definitely not. But, let’s be honest. The Smith family isn’t hosting any 5 course gatherings in the dining room anytime soon, so this piece is basically storage. And now I don’t have a gaping hole in it. And it looks pretty much like marble from anywhere in the room so I’m delighted with my 2 hour DIY on this one!
Sometimes ‘good enough’ is just perfect! (Update: it’s been a year and we use this ALL the time. Sometimes I flip the top so the handles are facing down and I can accommodate a larger platter.)
Materials for Marble Sideboard
• Marble Contact Paper (affiliate)
• Cabinet handles
• Wood (I used a bunch of remnant 3/4″ thick pine)
• drill and kreg jig (affiliate)
• 1 1/4″ kreg screws
• saw to trim boards accordingly, but Home Depot can always do this for you
• sander/ wood fill



Charlotte, have you thought about painting this buffet….black or a grey…it would look so good! Your idea is so useful even for othe pieces. Have a great day!
Yes! I have. 🙂 A rich gray or navy could be great. I don’t mind the wood tone, but it’s not great with our floors. Letting it percolate a bit! xx
I love this! I have been dying to use some marble contact paper ever since I saw IHeartOrganizing use it on her coffee table (and I think Kristin from Hunted Interior too!) Love how your son helped you out on it! So cool to get kids involved in DIYing. My daughter is really little (2) but already knows all of her tools and her daddy couldn’t be prouder! Love your blog. I found it via a comment in White Buffalo Co. and immediately connected with your Lazy Girl’s Fall Decor Tour! LOVE IT! Too funny!
Annie- All Things Big And Small
Thanks SO much, Annie! The contact paper is my new favorite thing. I want to marble all my furniture AND make some accessories. It’s amazing. Thanks for clicking over from Lindsay… she’s the best! The best part of our Lazy Girls Tour were all the ridiculous pictures the group of us were daring each other to post prior… laundry on the table, dirty dishes in the background… :)… you know the drill! I love your blog! SO many pretty projects! Have a great week! xx
Love that you can use that as a server as well! Cute, Char.
In the fictional world where I am entertaining, that was my hope. So sometime in 2045… 🙂 xx
Looks so pretty!!
Way to go, Charlotte!!! Your mum is with me and showed me your very clever blog and I am very impressed by your creativity!!!!!!! Your cousin, Susie
I should pay her a marketing salary! Thanks for checking it out. COme back anytime… who knows what I’ll be posting about! 🙂
Wow that looks great! I love the contrast between the wood and the faux marble, plus its more eco friendly than actual marble. Thanks for the awesome tutorial.
Thanks, Chris! Much cheaper too. 🙂