Colorful Christmas Mantel with DIY Greenery
Psssst… this post *might* contain affiliate links: see my disclosure here.
Cheerful DIY Holiday Mantel
Disclosure: I am partnering with JOANN for this Christmas post and so happy to get the season started with this colorful mantel!
I have to admit that my mantel game still has a long way to go… I’ve only had a mantel in my life for 5 or 6 holidays. If you all have been following my blog for any amount of time, then you know that my biggest challenge is that I CANNOT MAKE UP MY MIND when it comes to decor so I often just try to do it all! But I’m getting better and I think this mantel attests to that.
Shop my favorites!
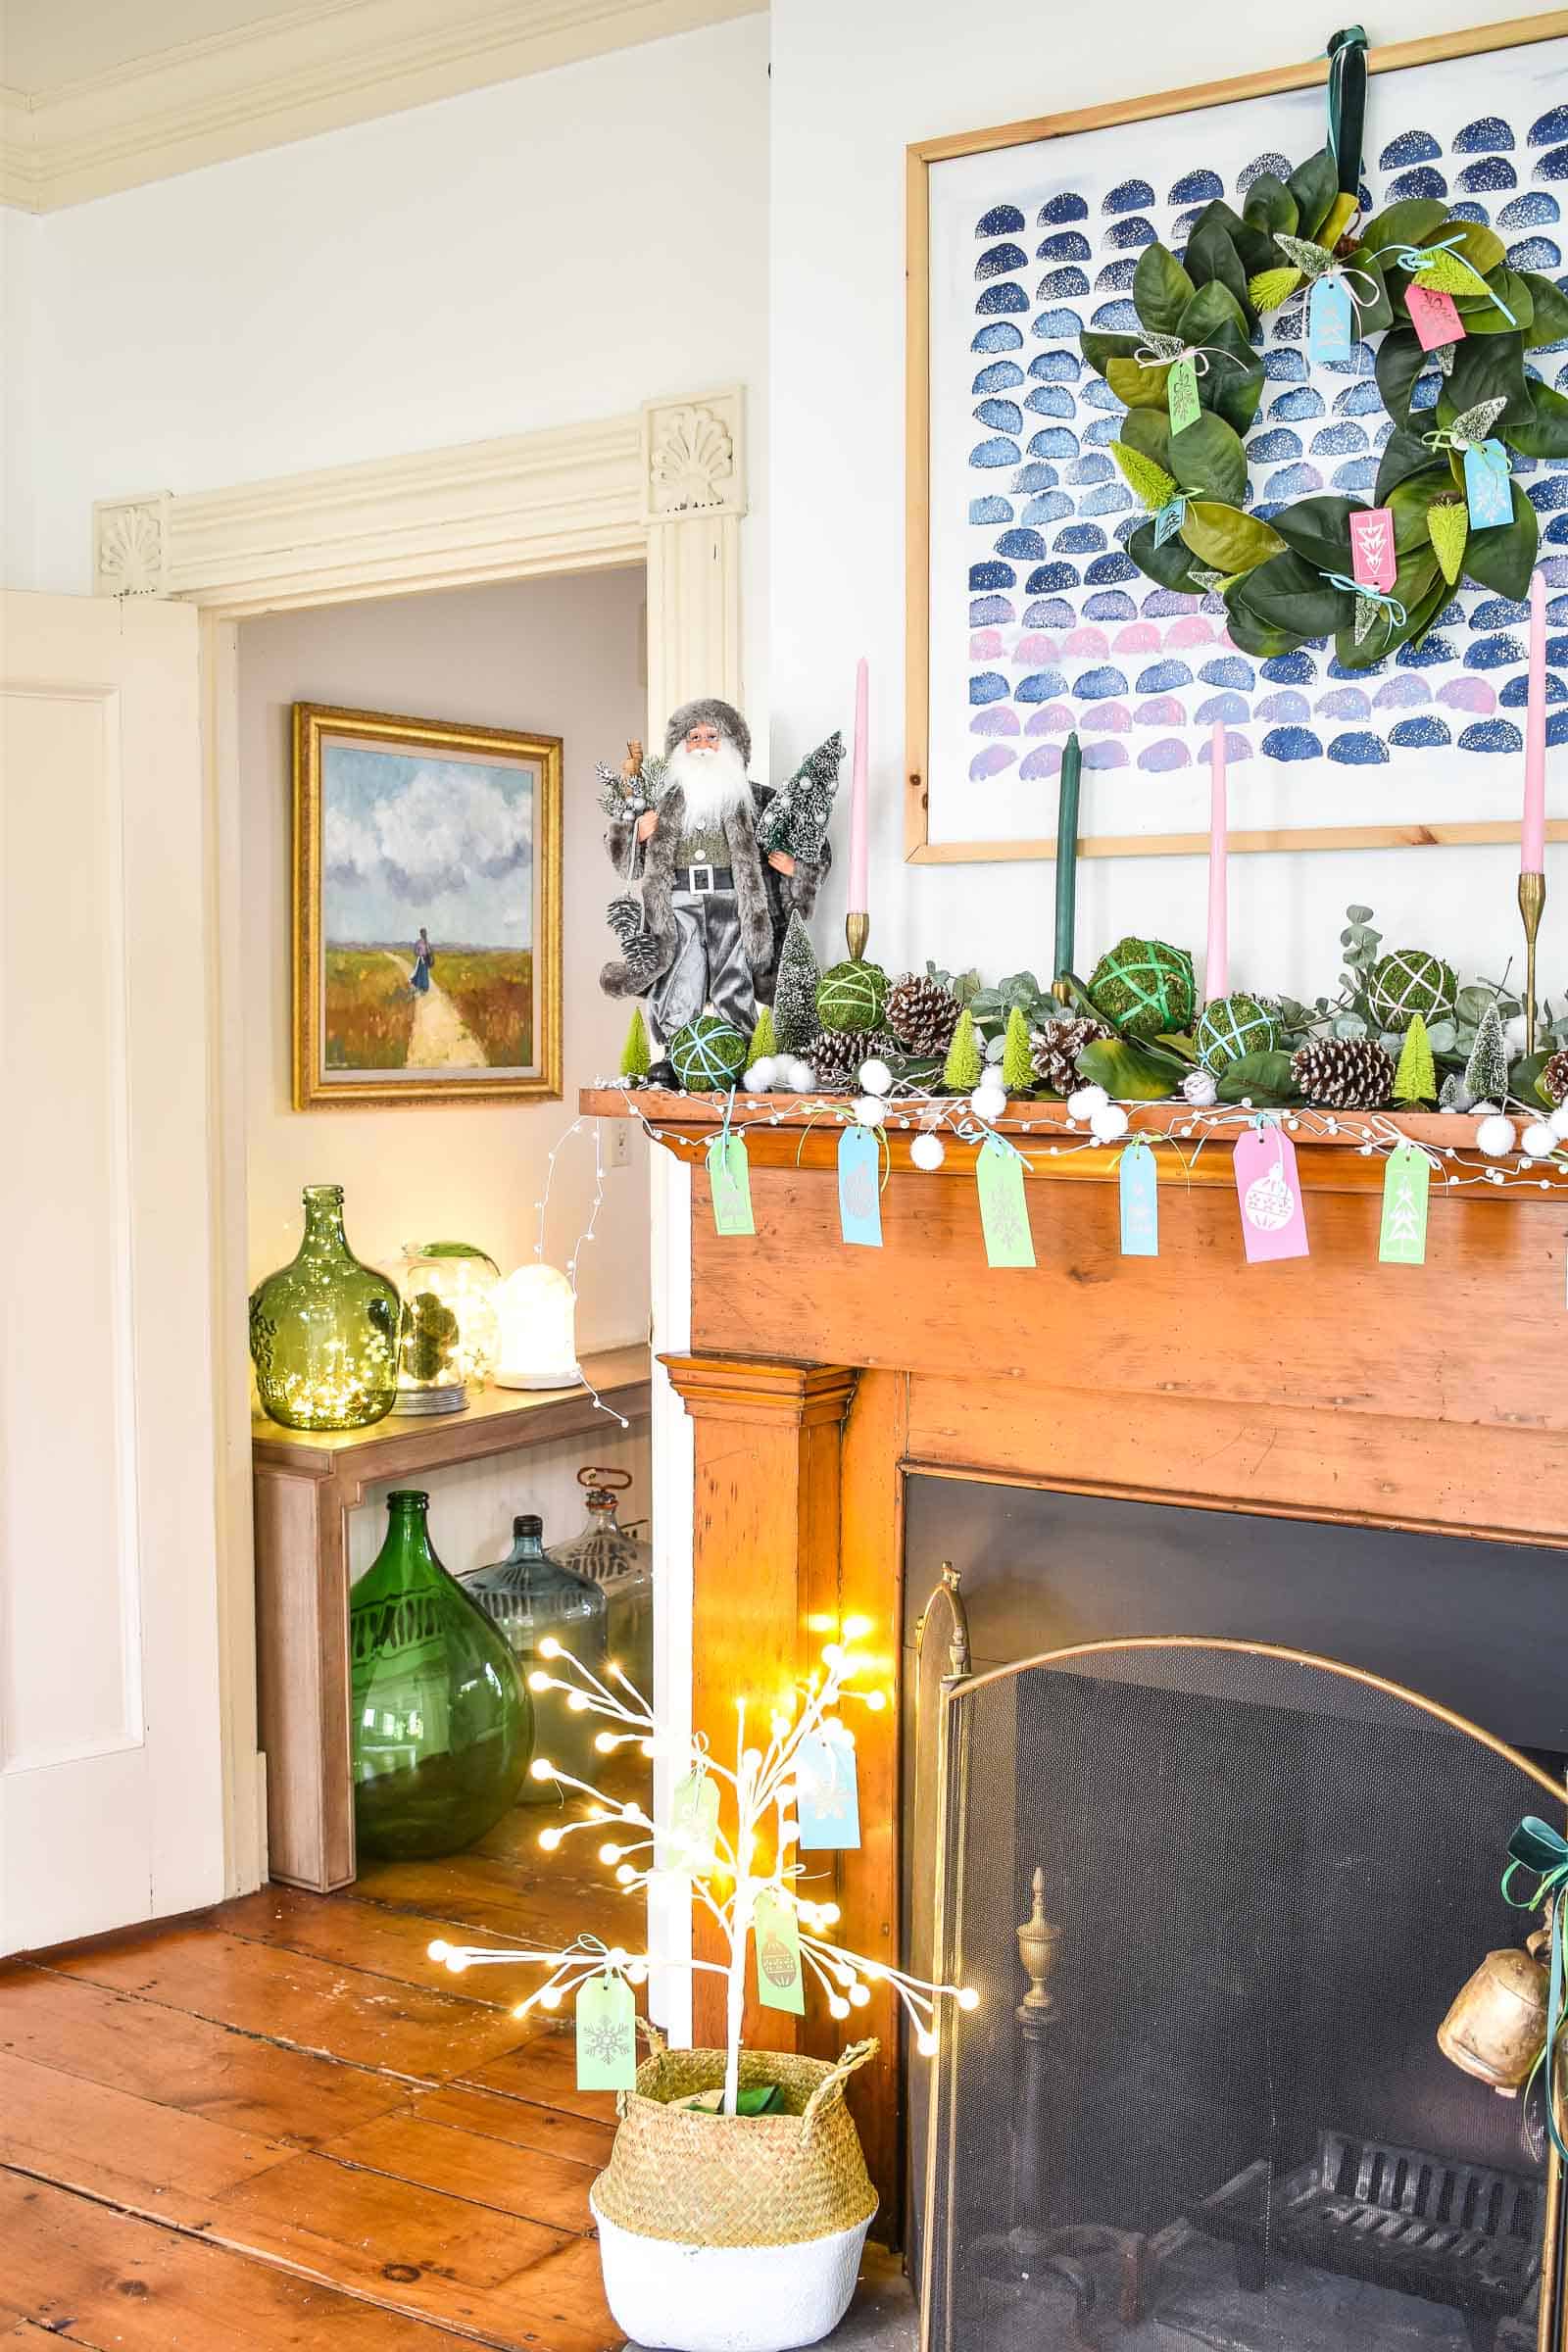
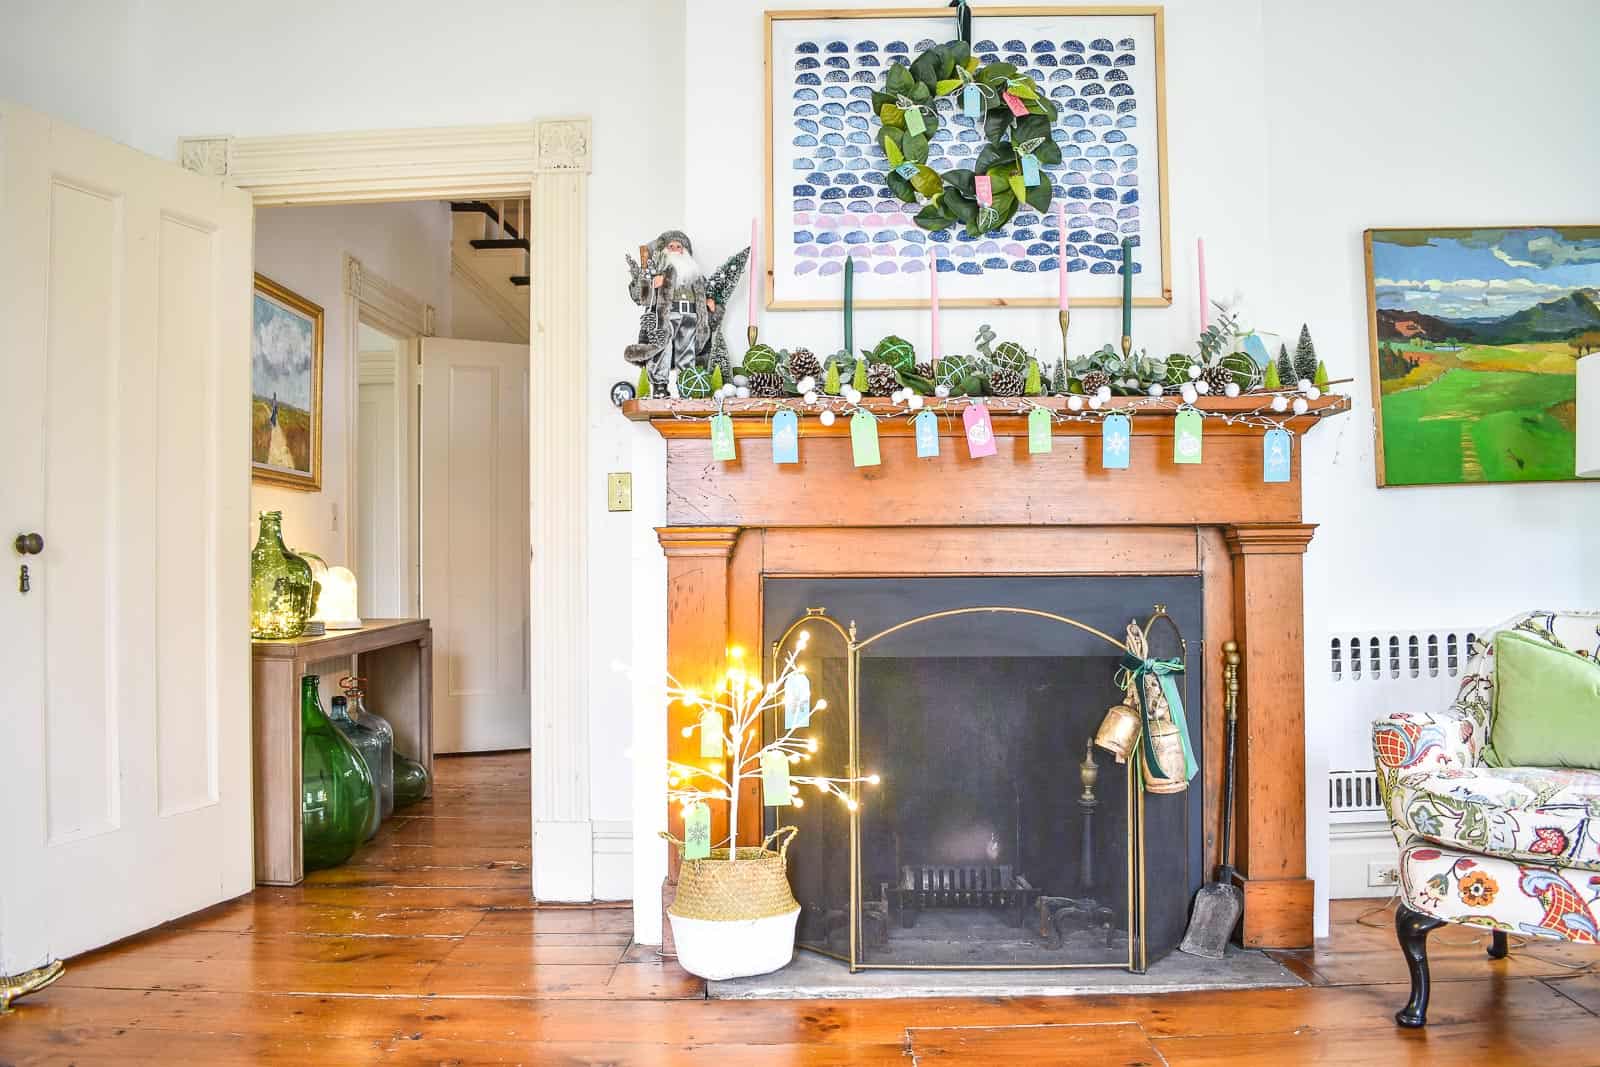
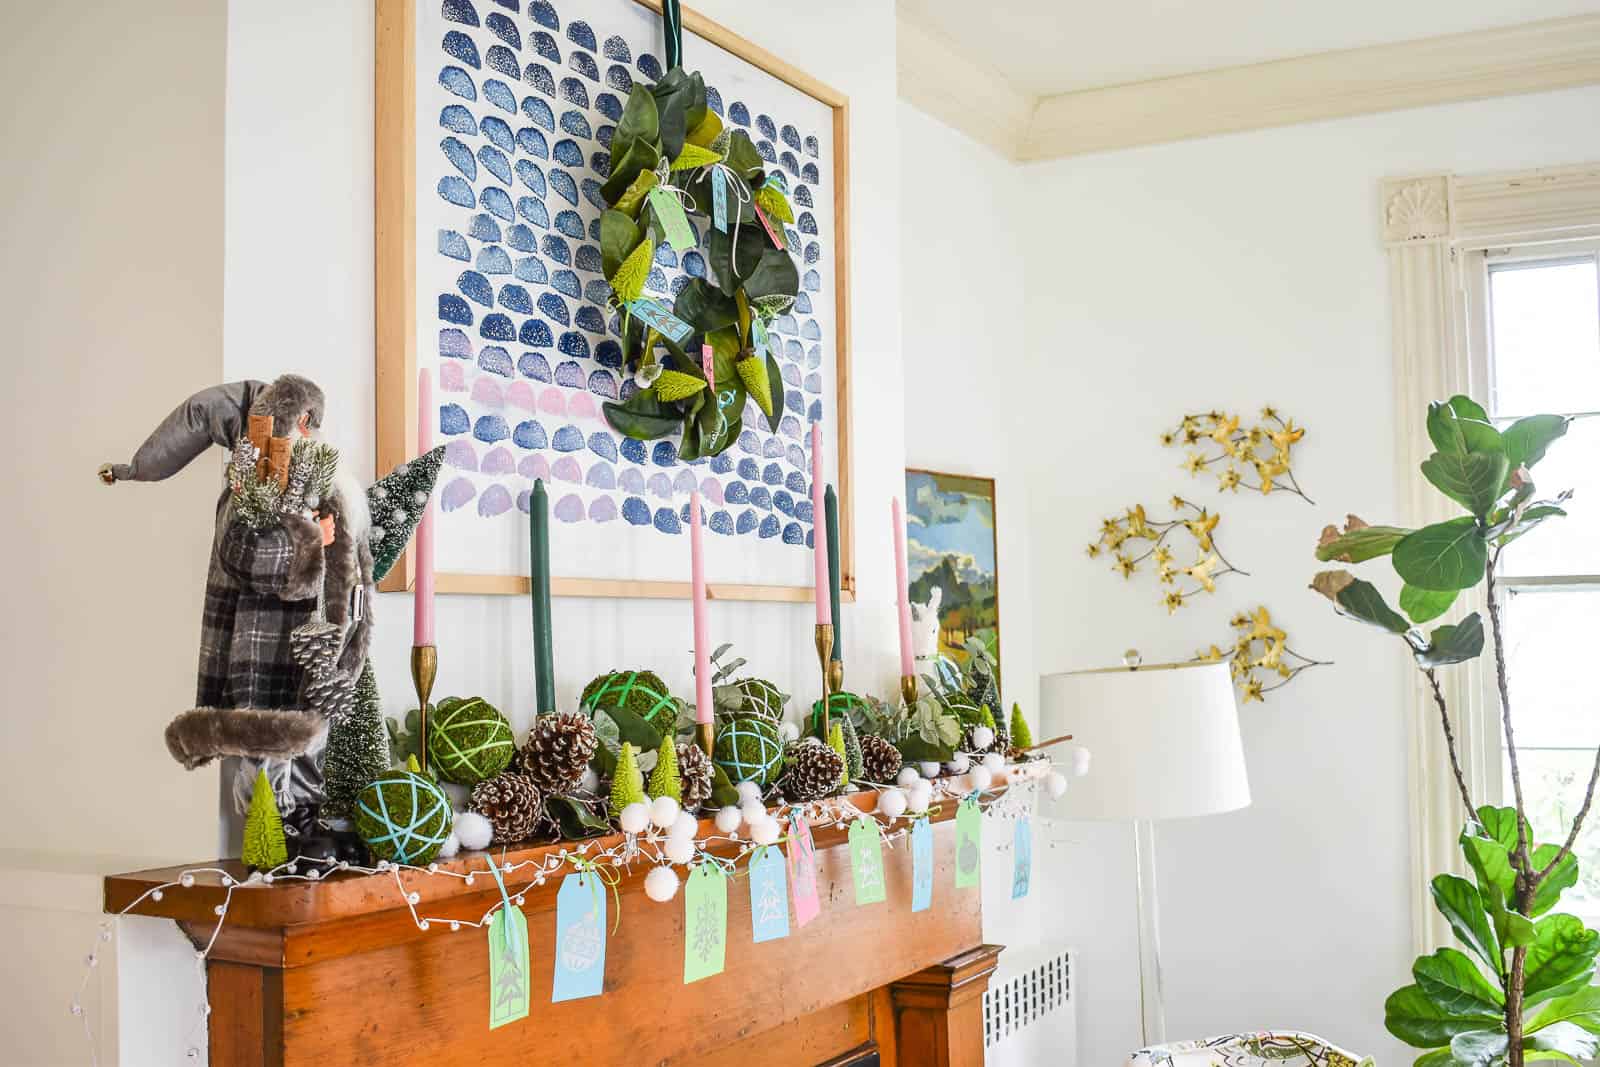
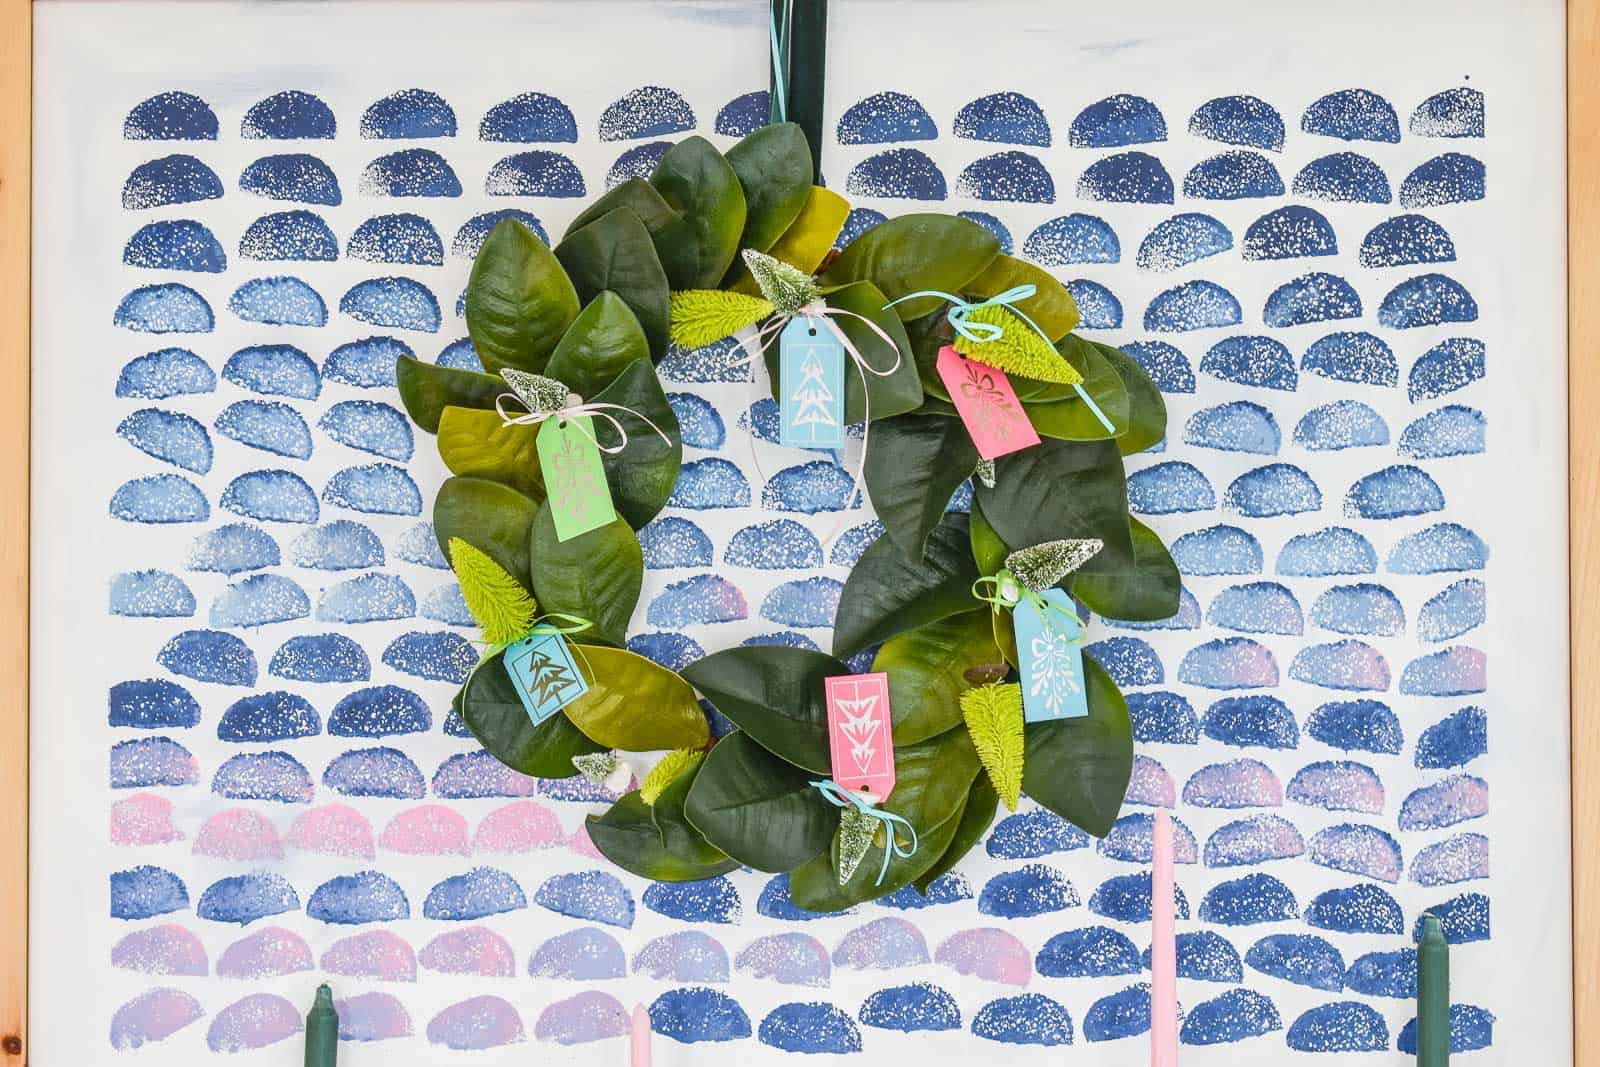
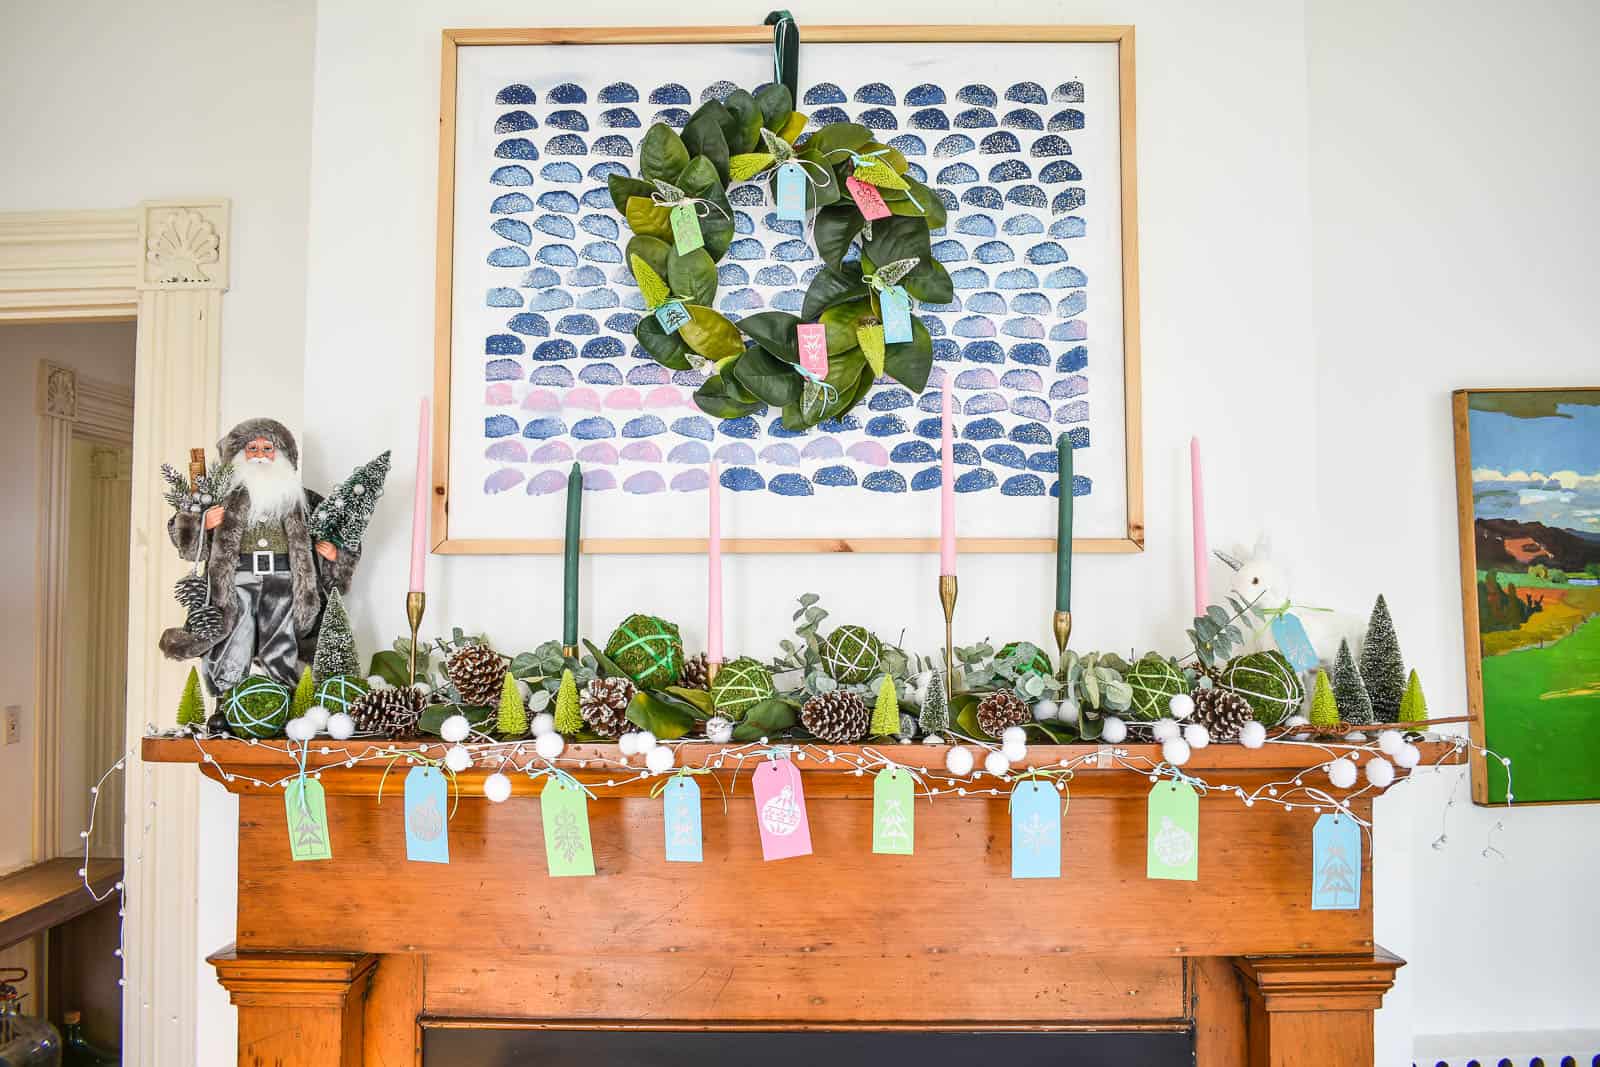
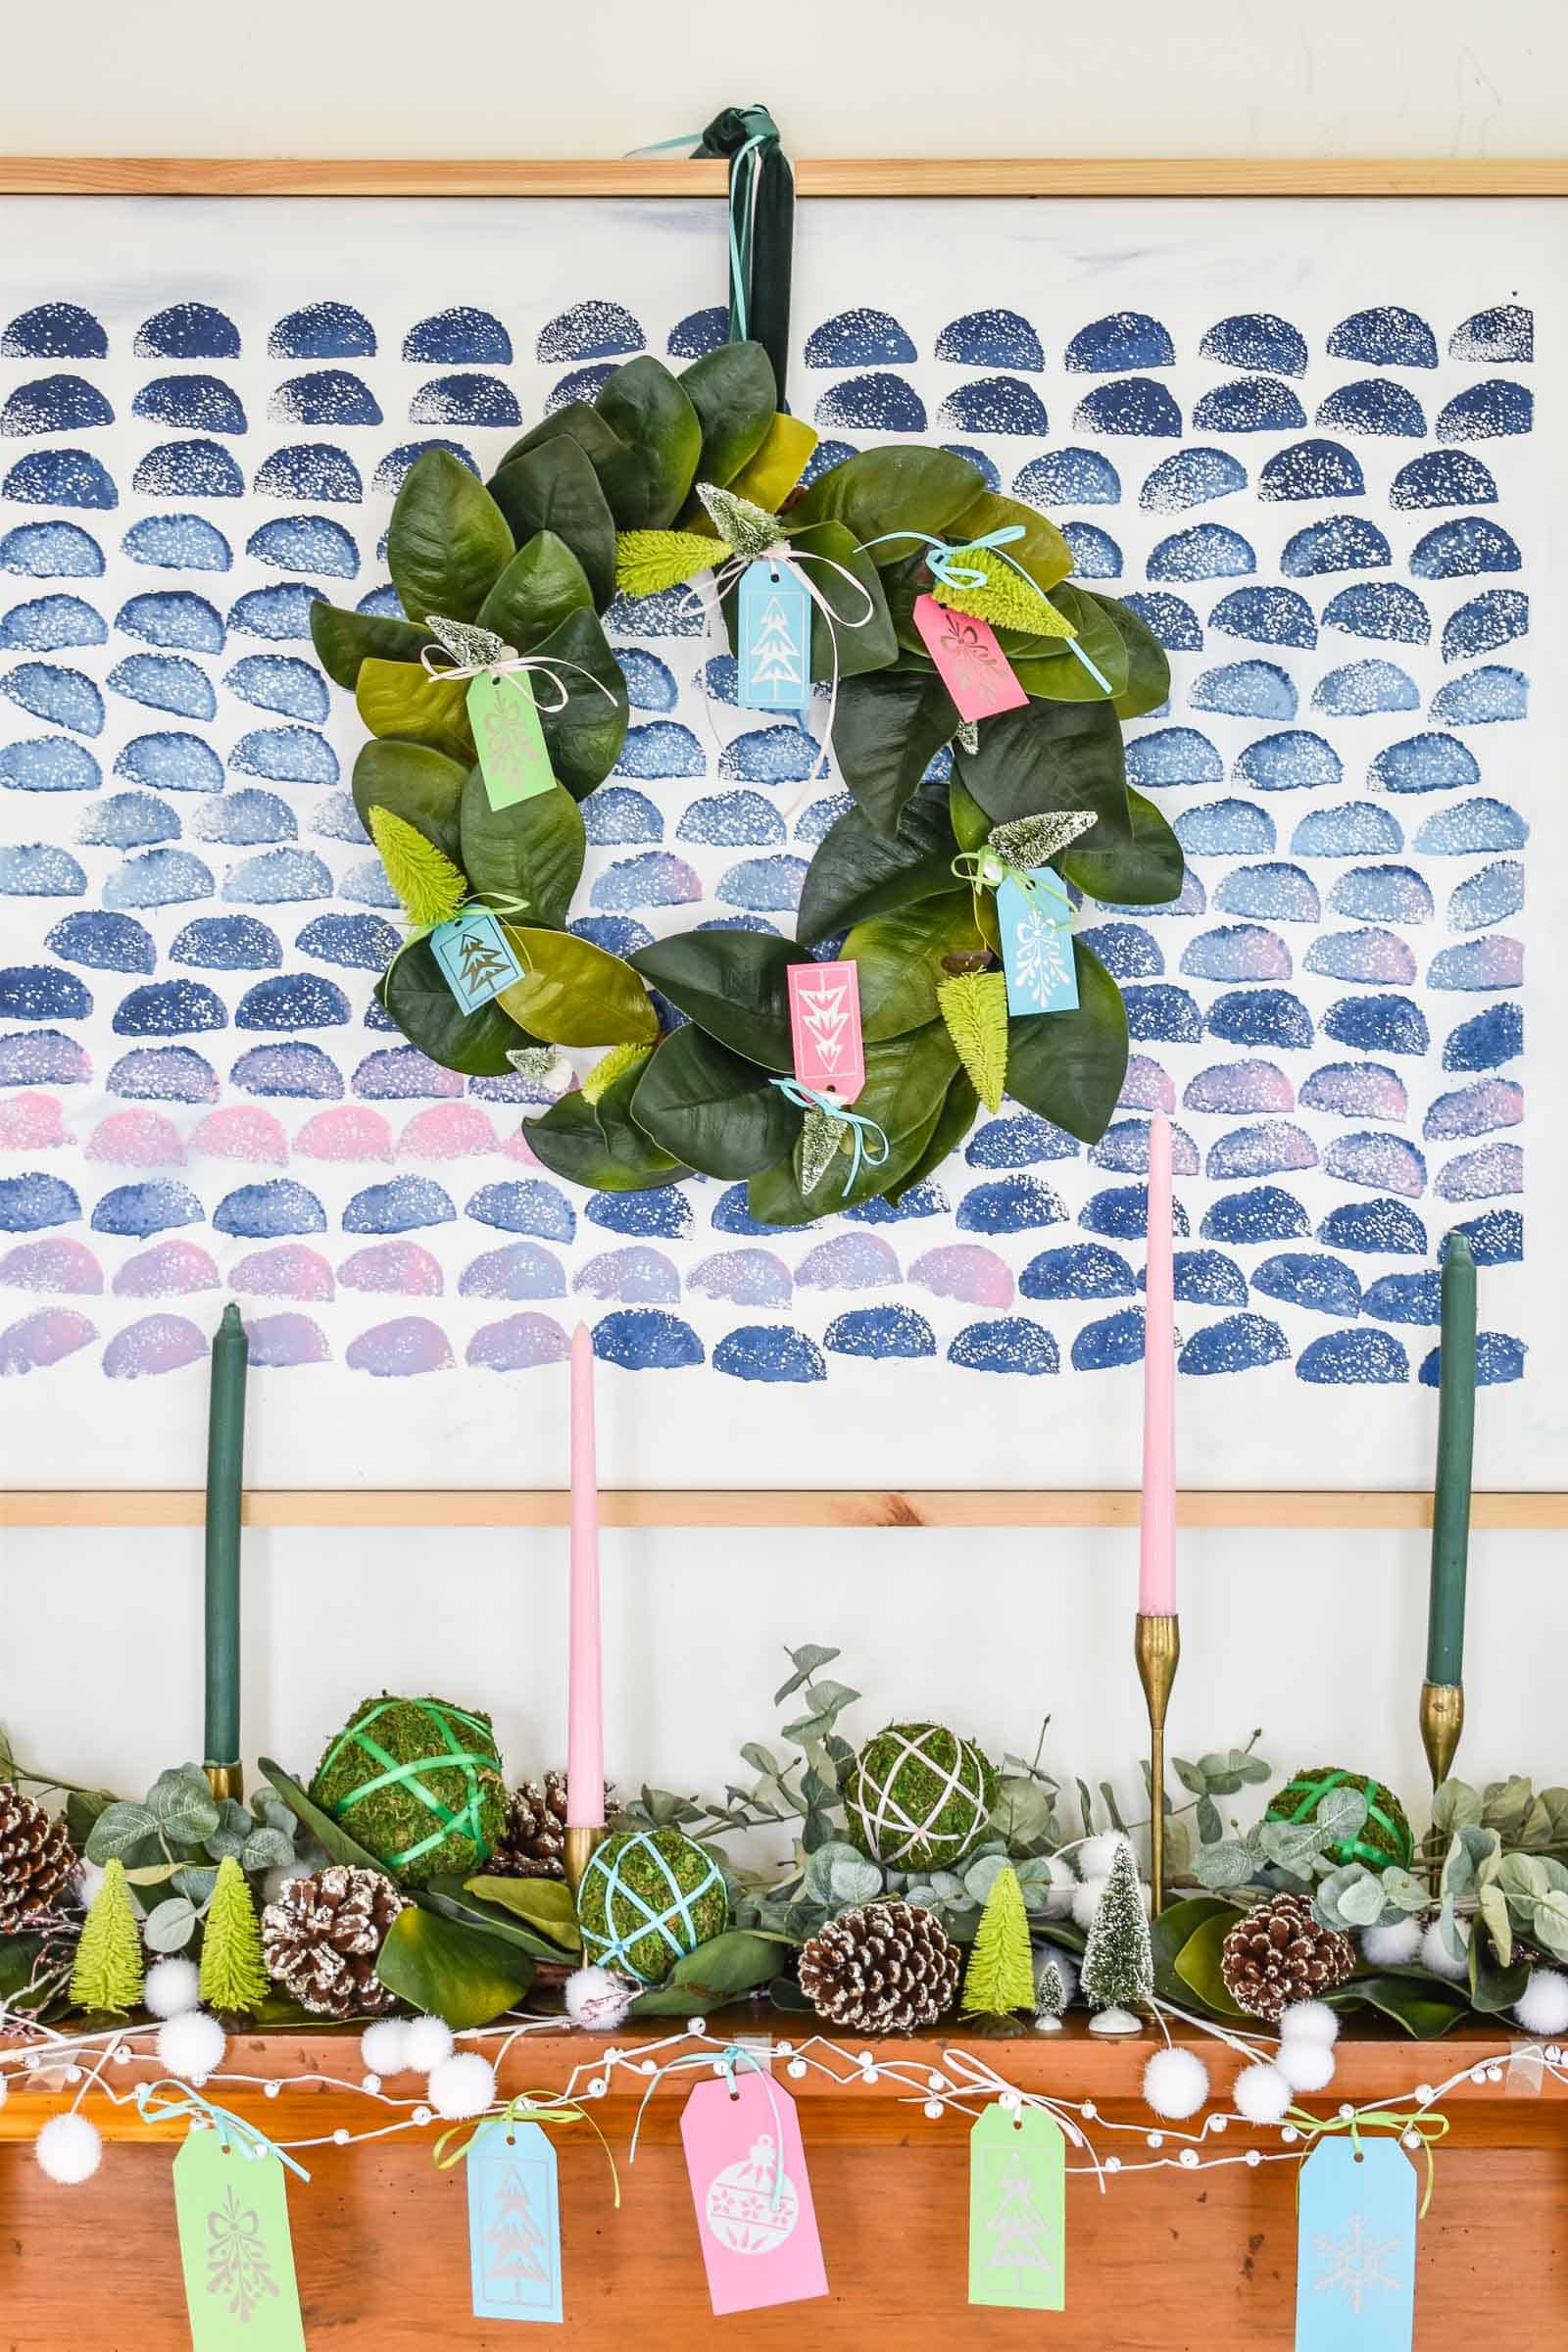
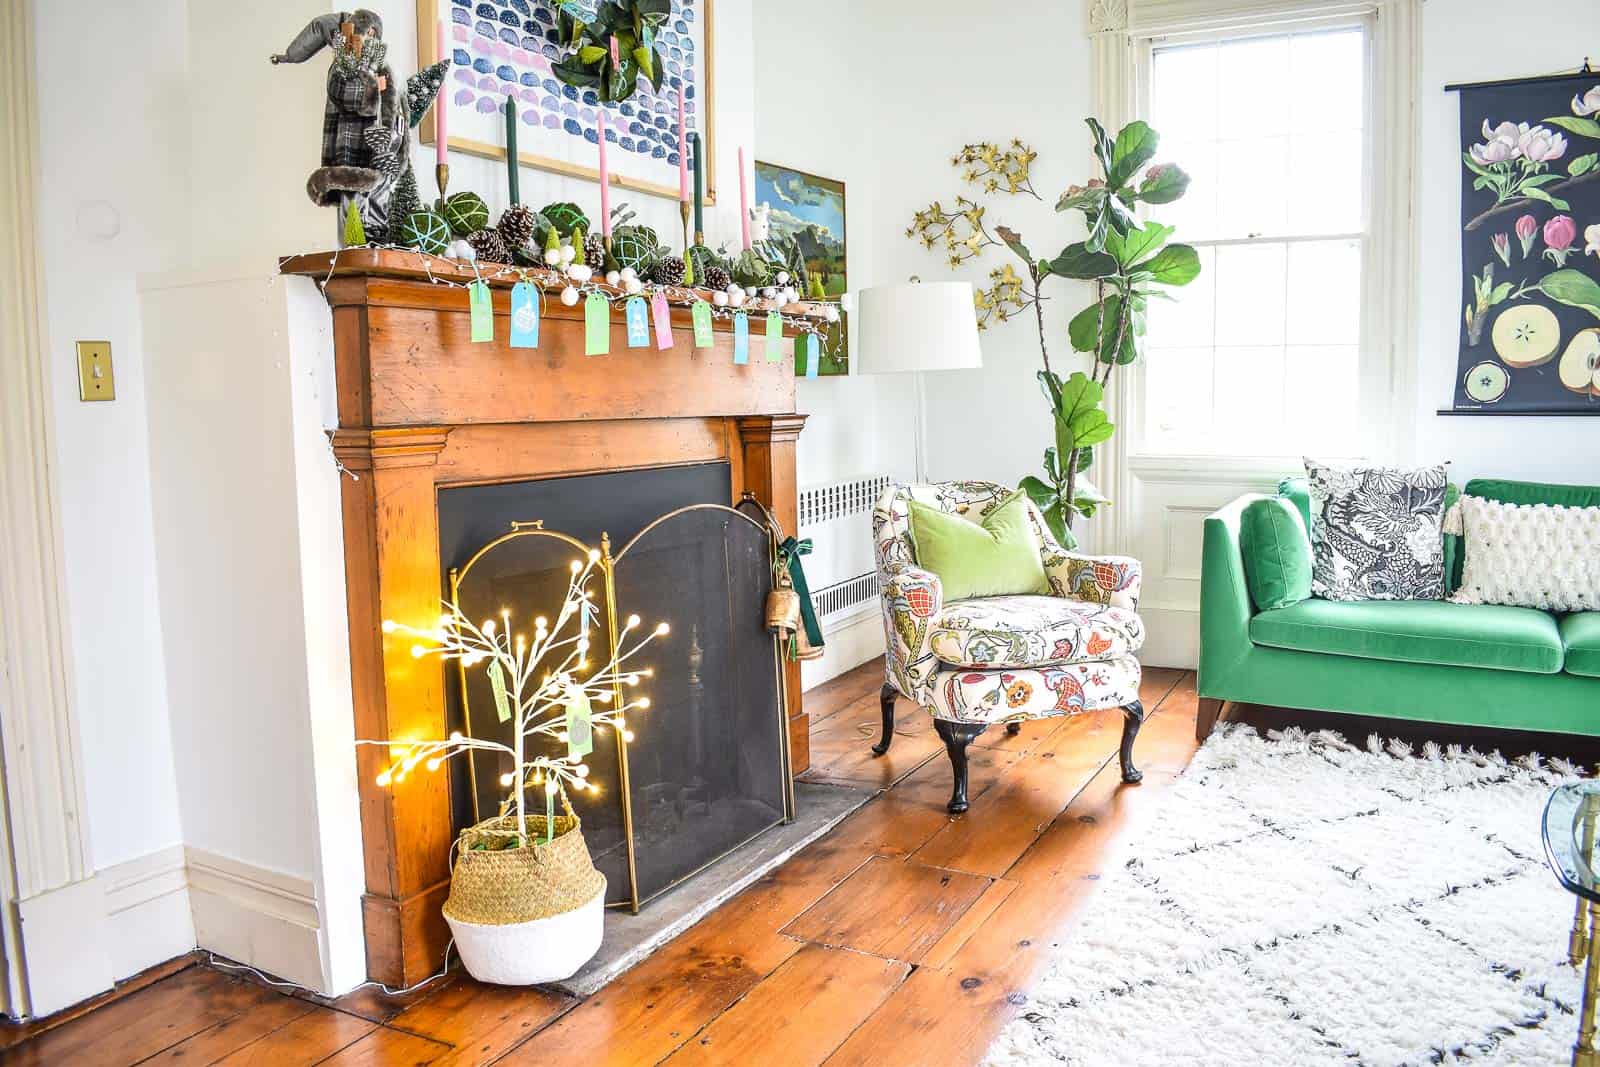
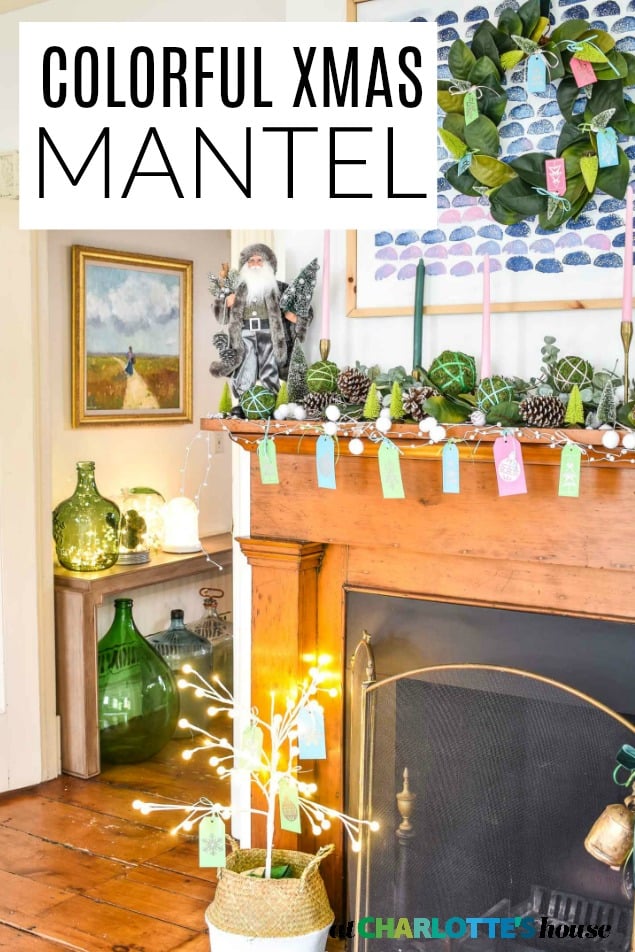
Make no mistake… there’s still A LOT going on, but I love how the greenery and the colors come together as a festive touch in our colorful living room. The two starting off points for me were the magnolia garland and the magnolia wreath. I love that magnolia can work for multiple holidays!
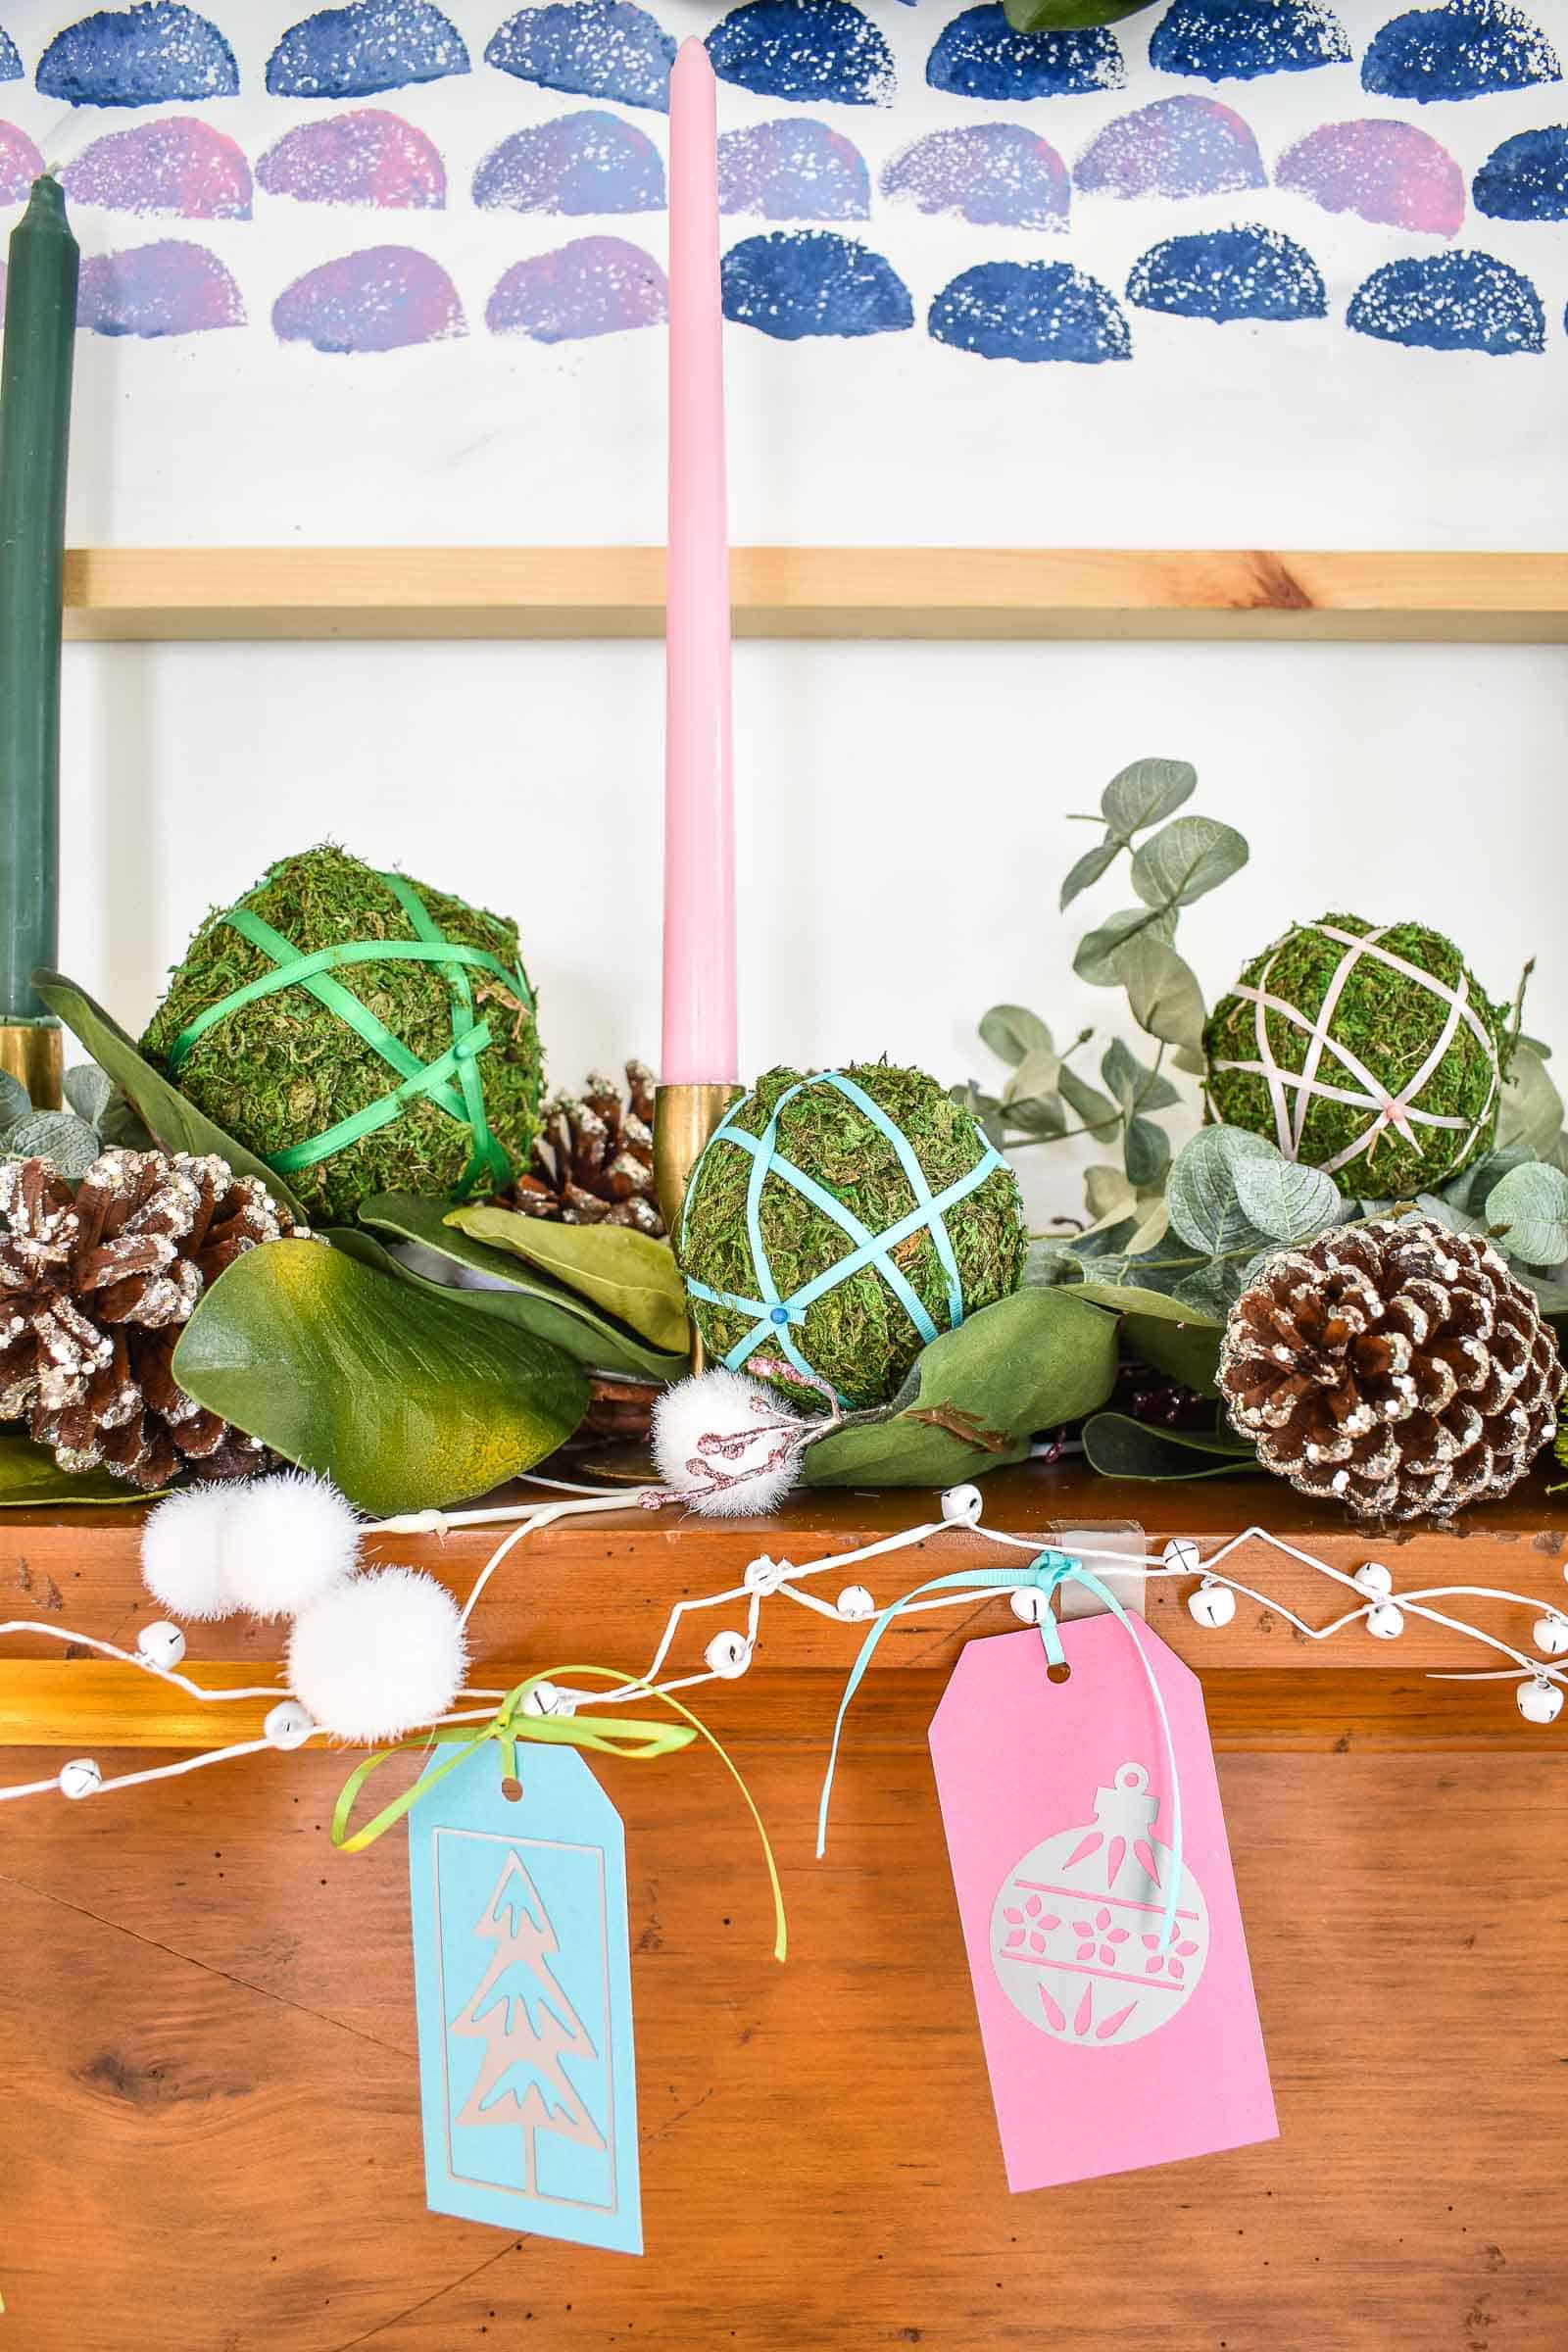
The wreath got a a slight makeover with those bottle brush trees as well as those DIY paper tags. I used my Cricut to cut out some Christmas trees and tied them in place with color coordinated ribbon.
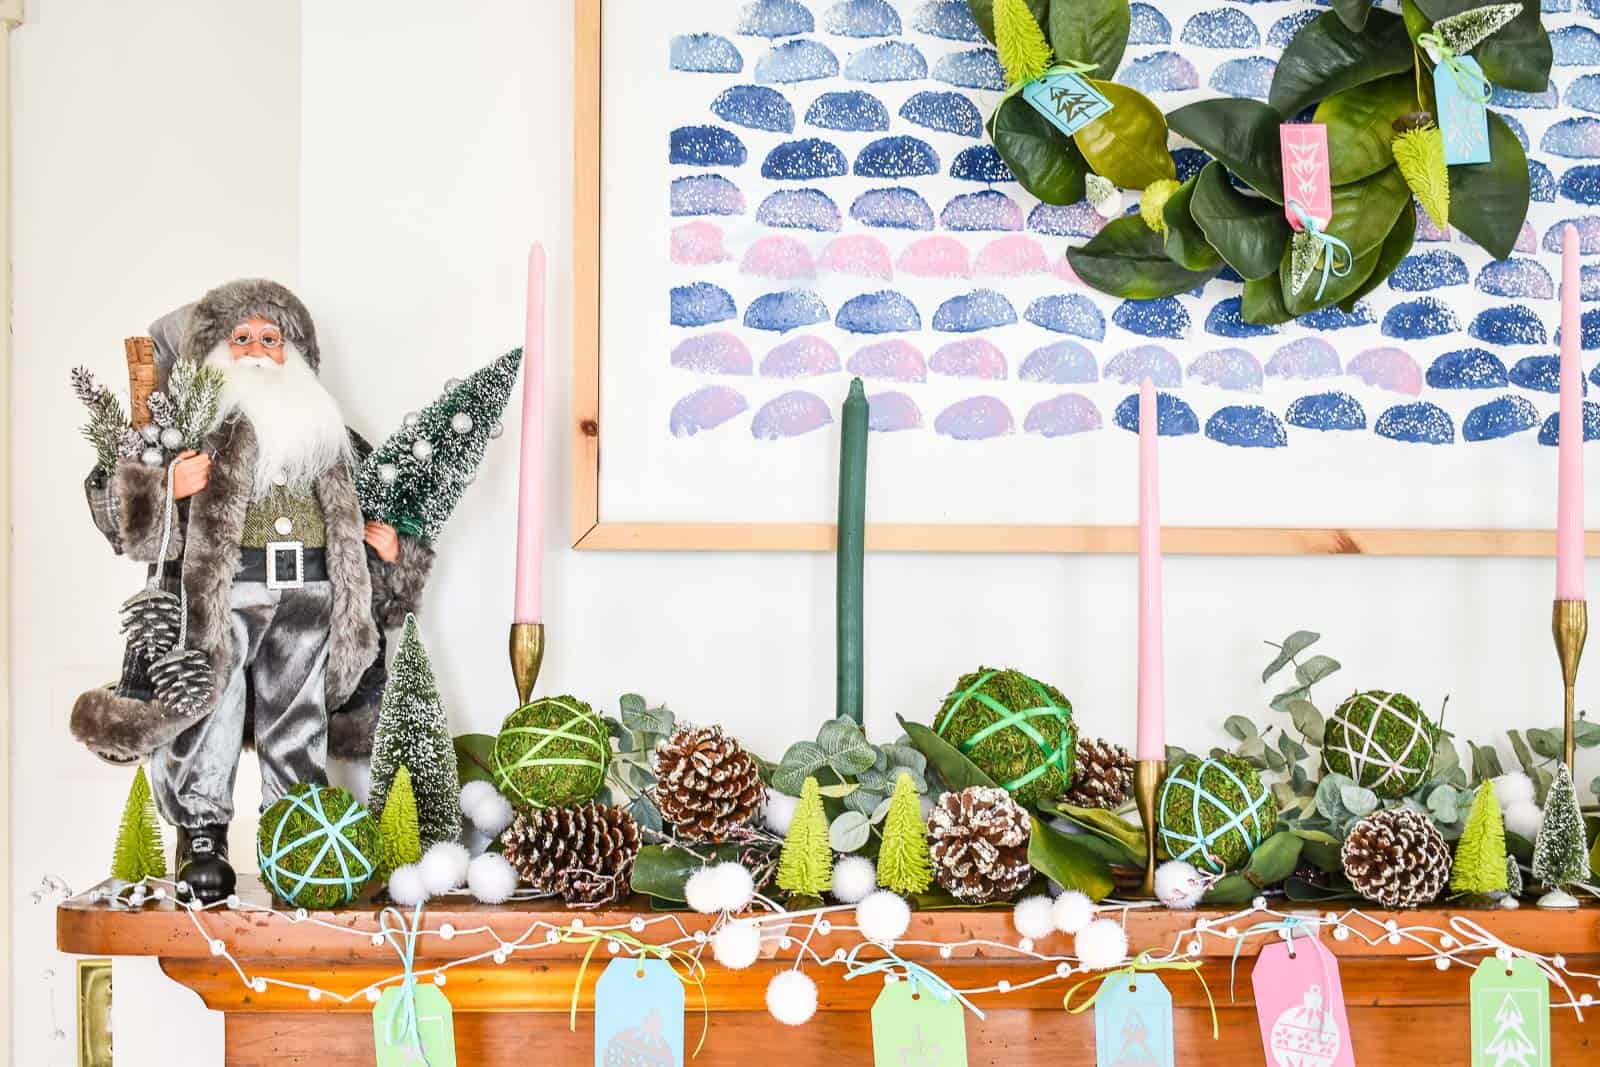
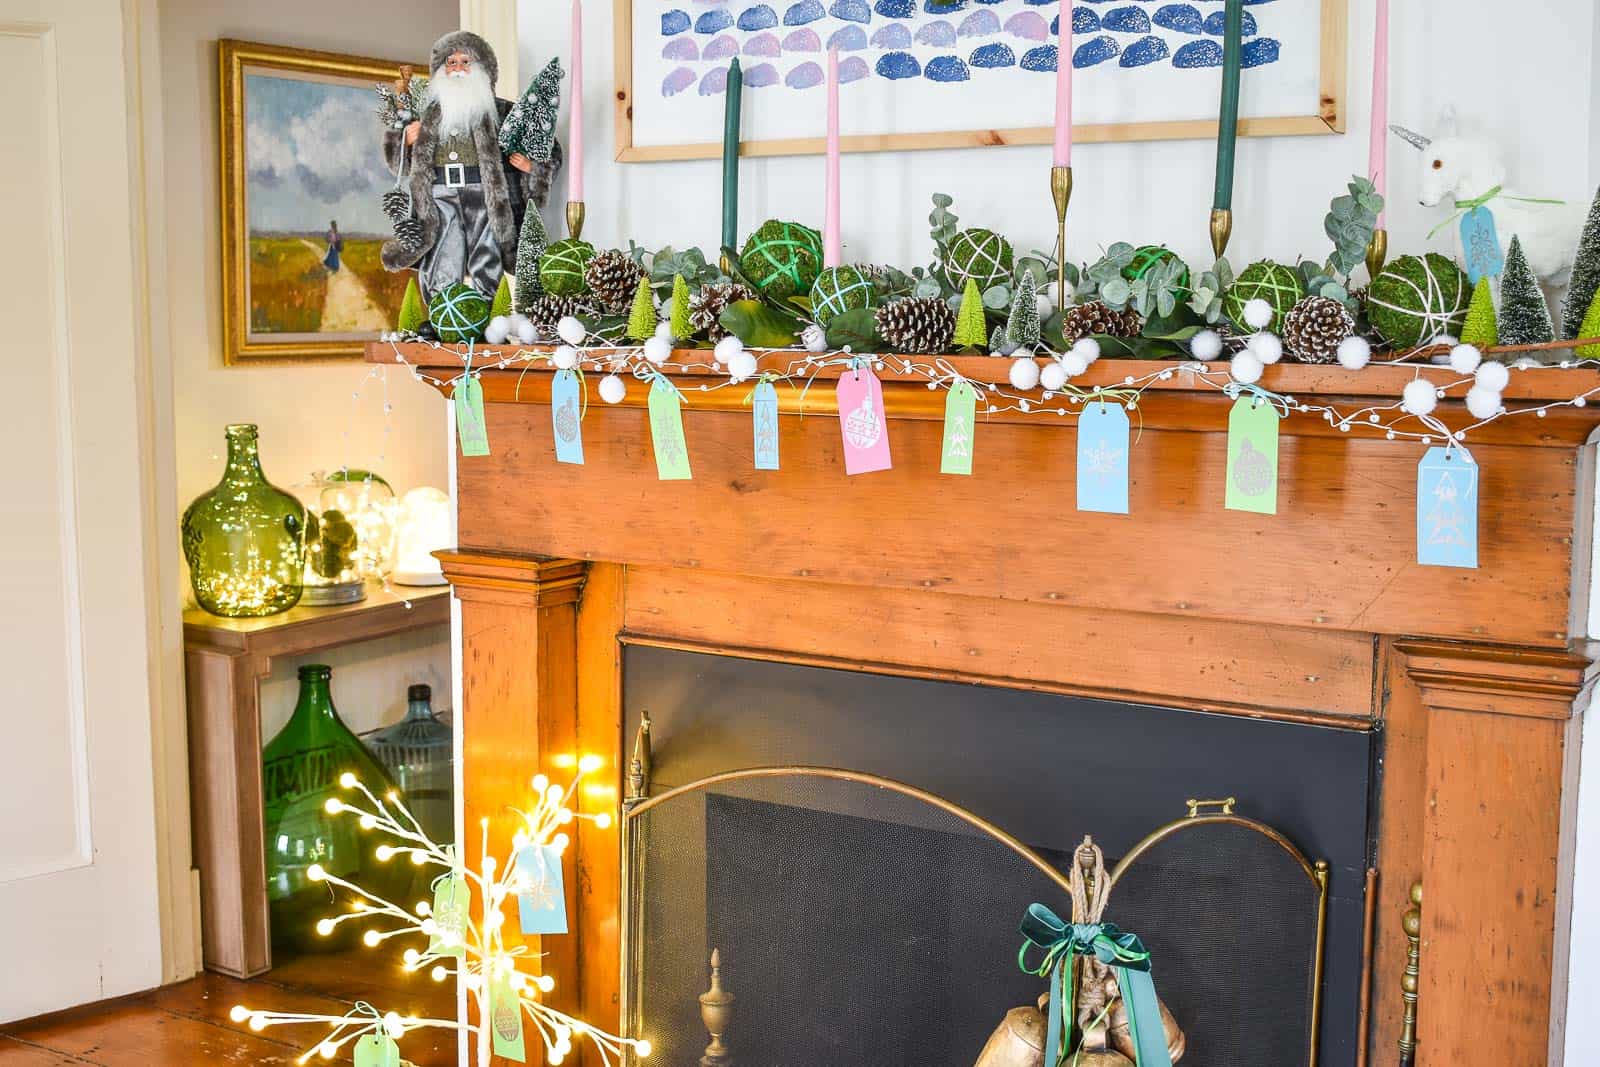
Moving down to the mantel, the first layer was this magnolia garland. To fill it out, I tucked in some eucalyptus, berries, pinecones and those snowballs.
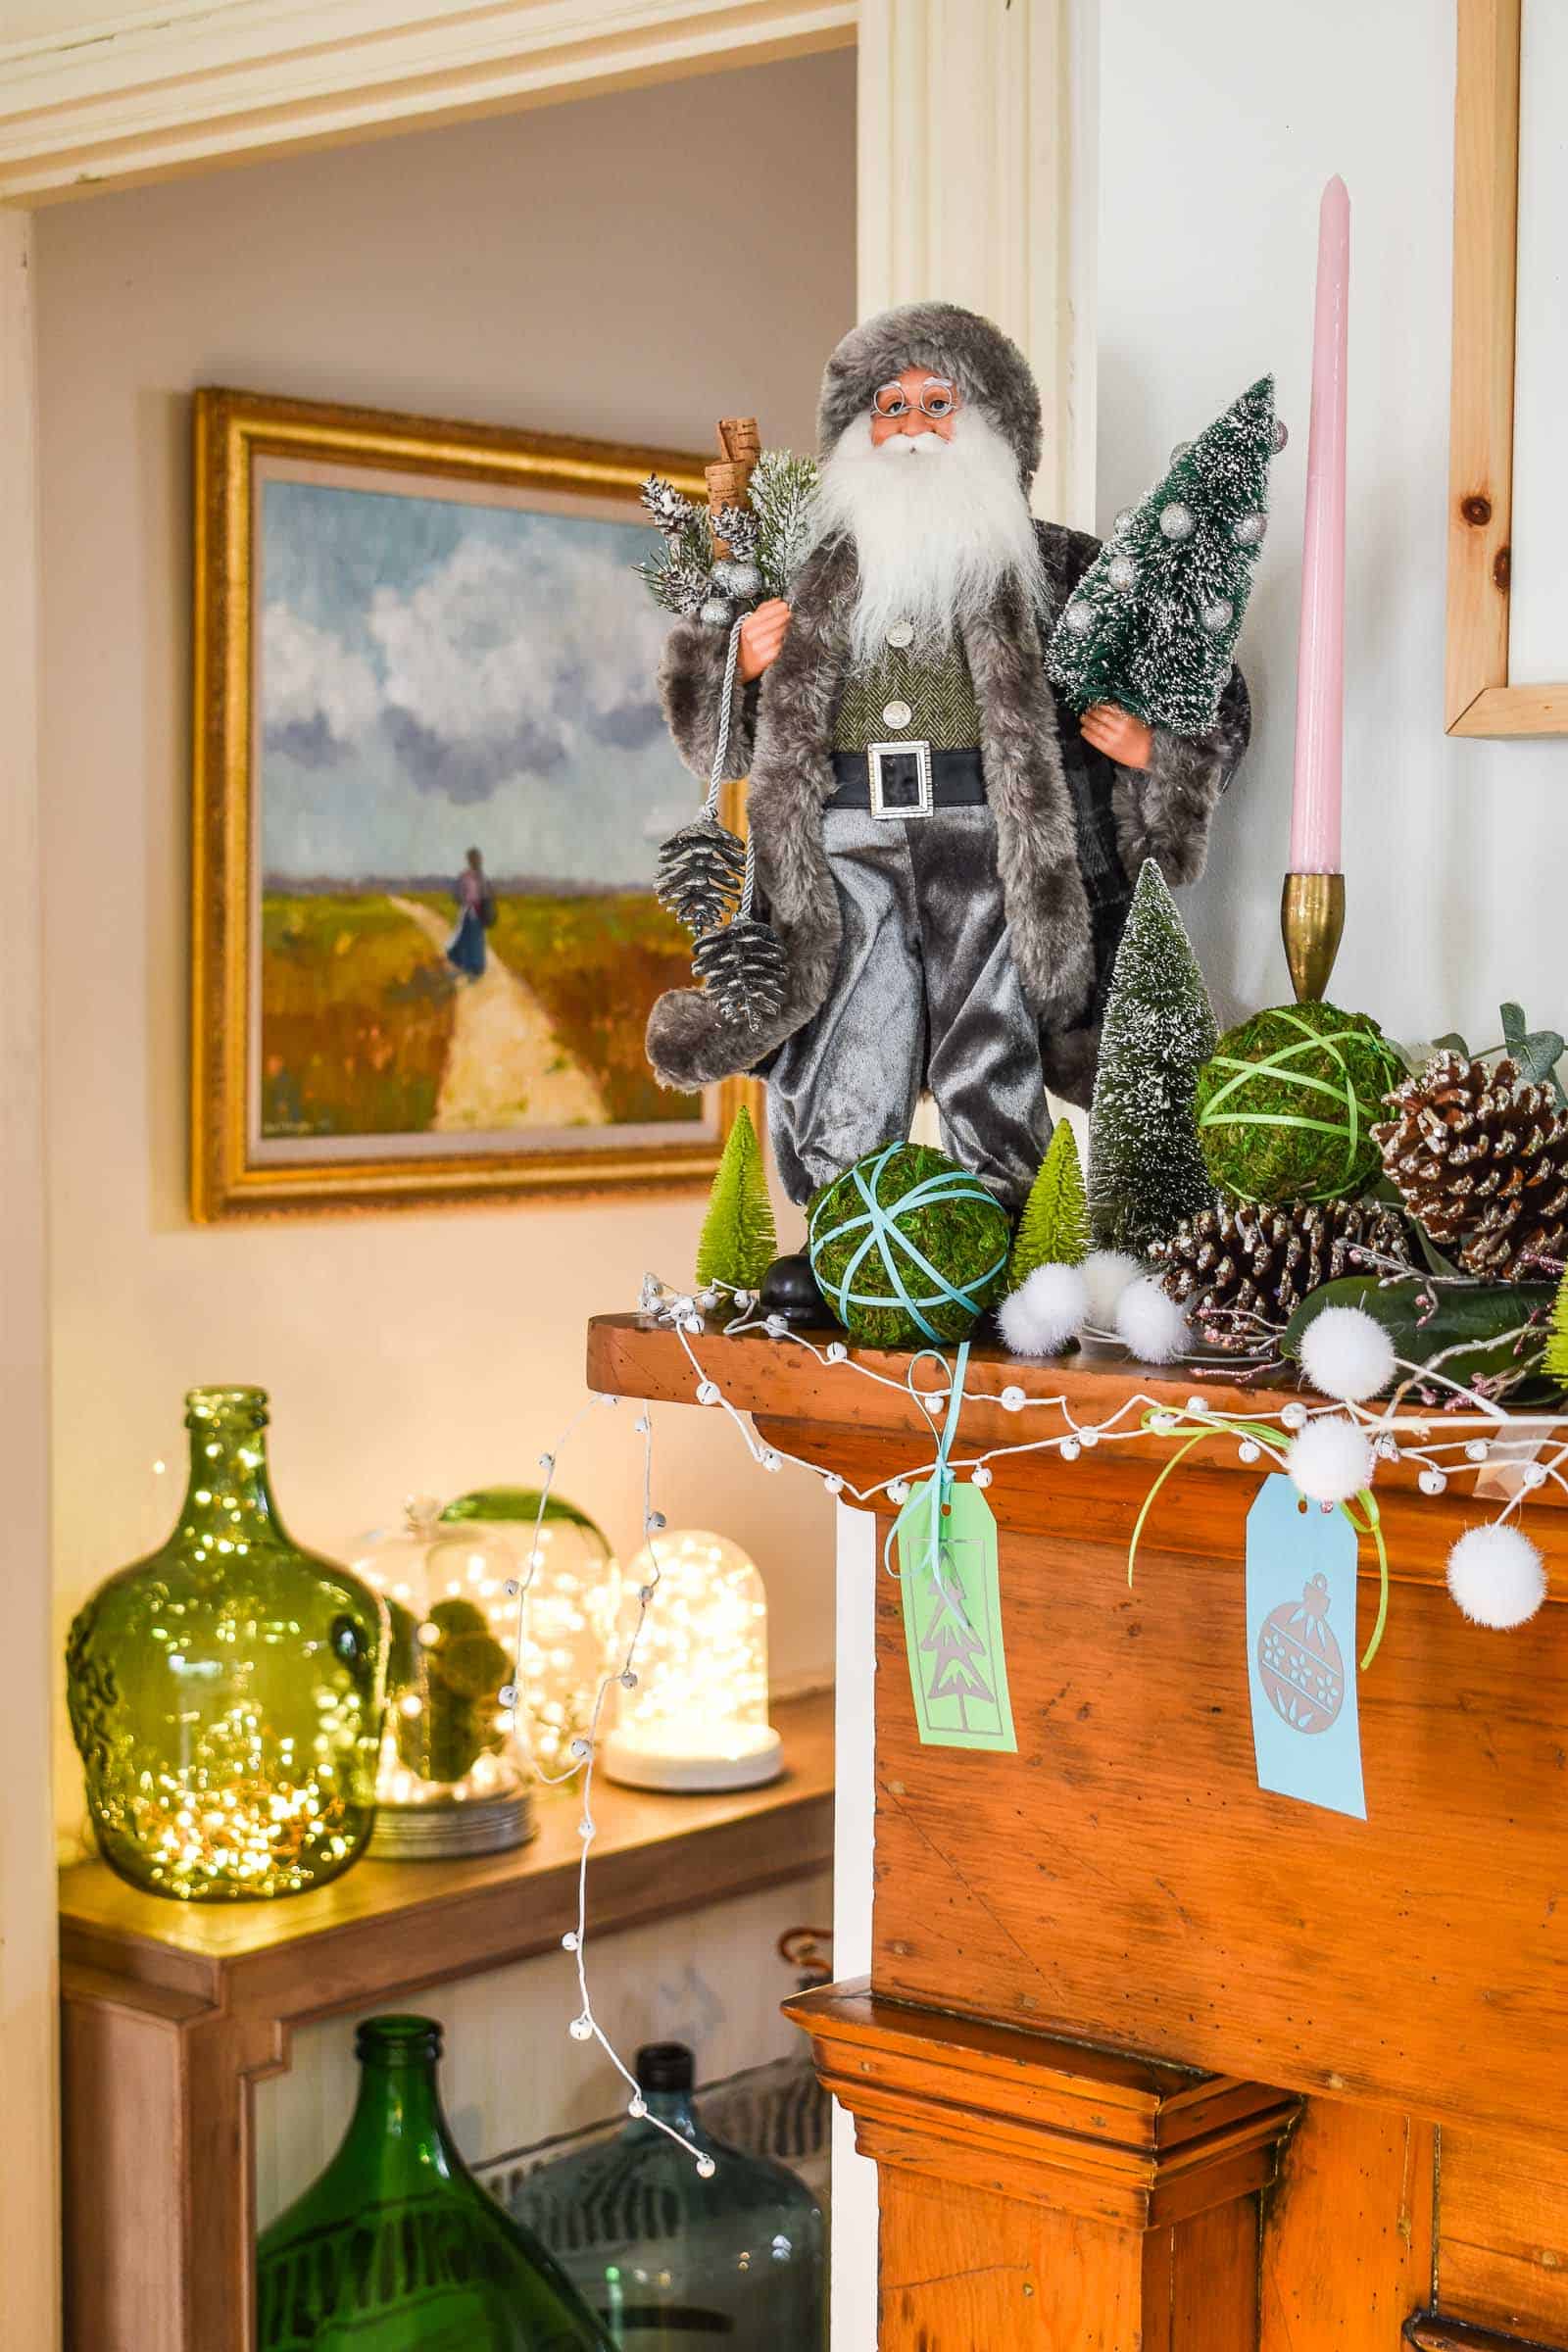
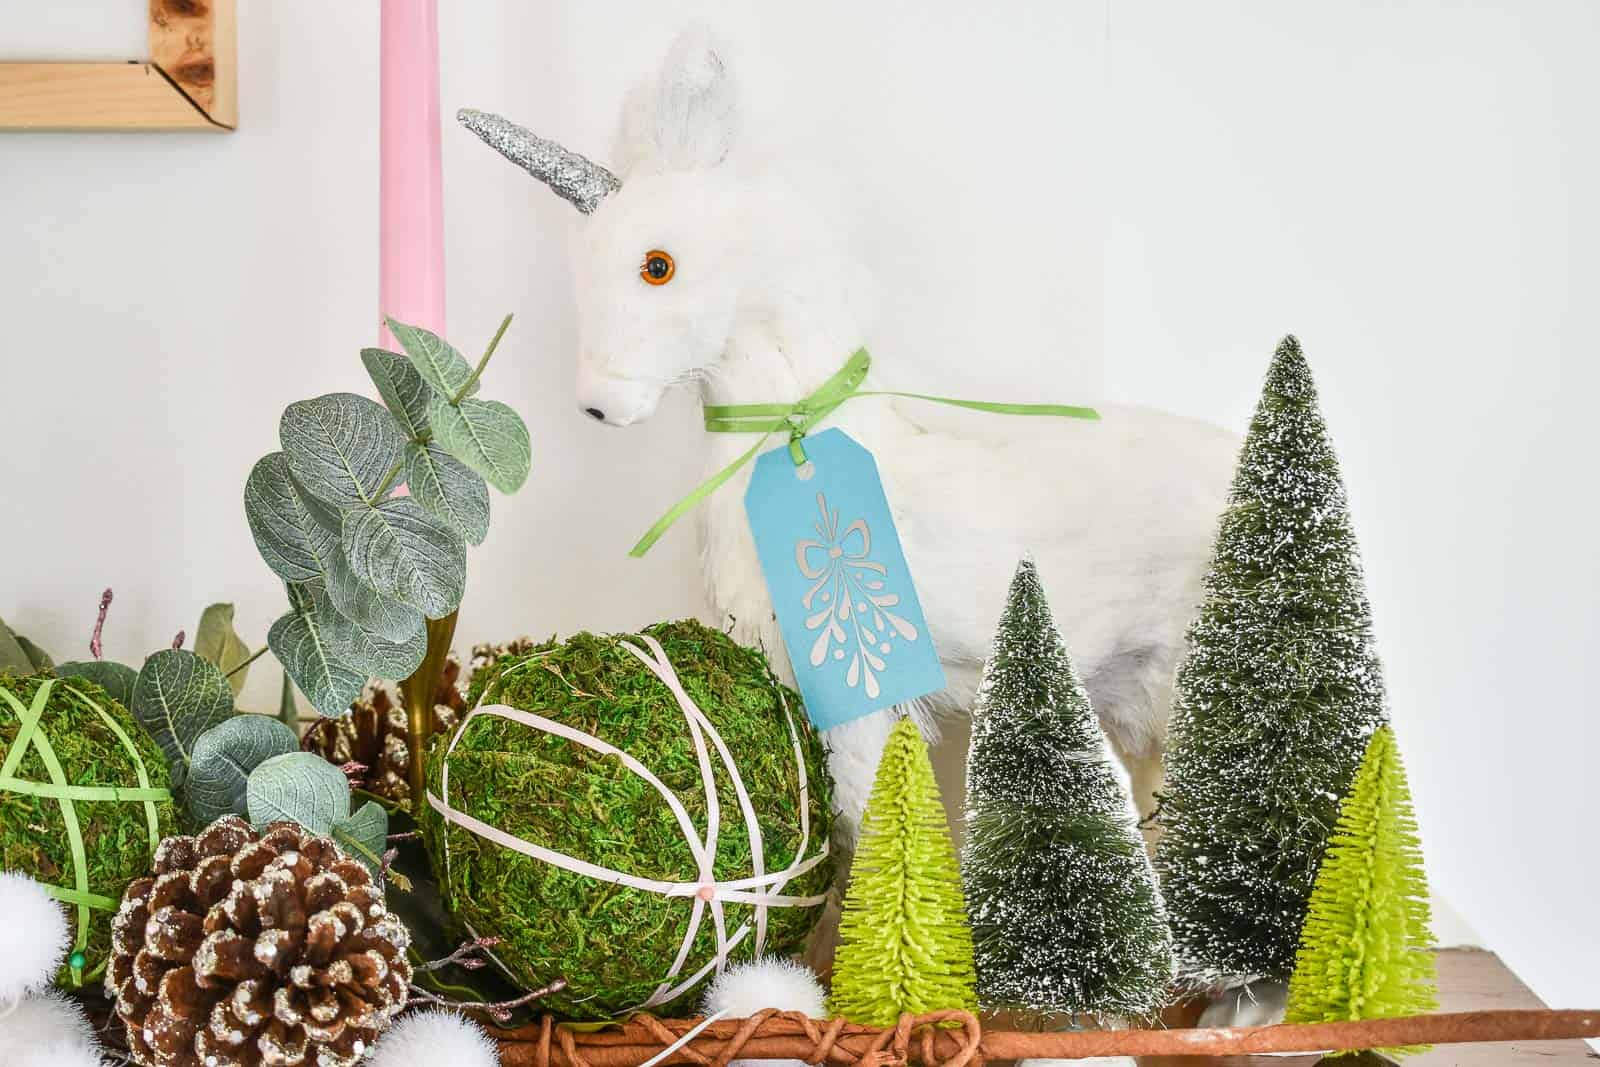
One one side of the mantel is that sweet gray Santa. I grab a new Santa each season and love this happy guy with his Christmas tree on hand. I’m a sucker for a good unicorn so I picked up this guy and stuck him on the opposite side of the mantel.
I loved this mini bell garland so I taped it along the bottom of the mantel and hung more tags off it.
To give these decorations some height, I brought out my vintage brass candlesticks and added some coordinating green and pink taper candles.
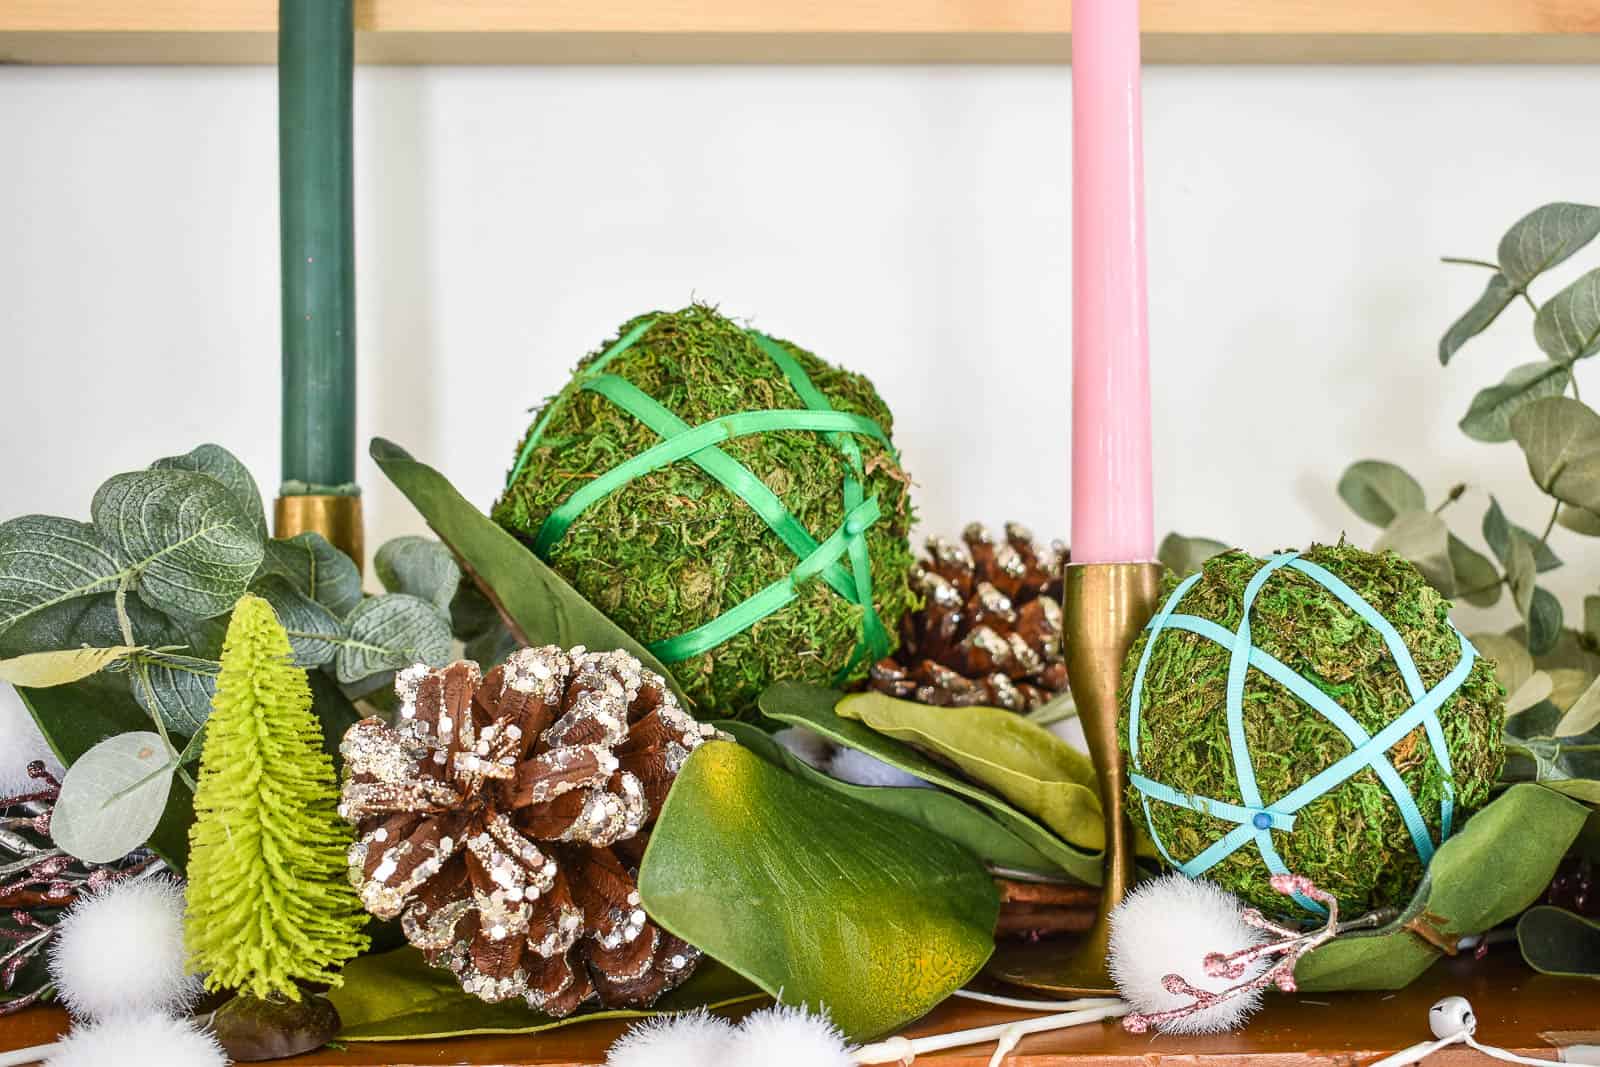
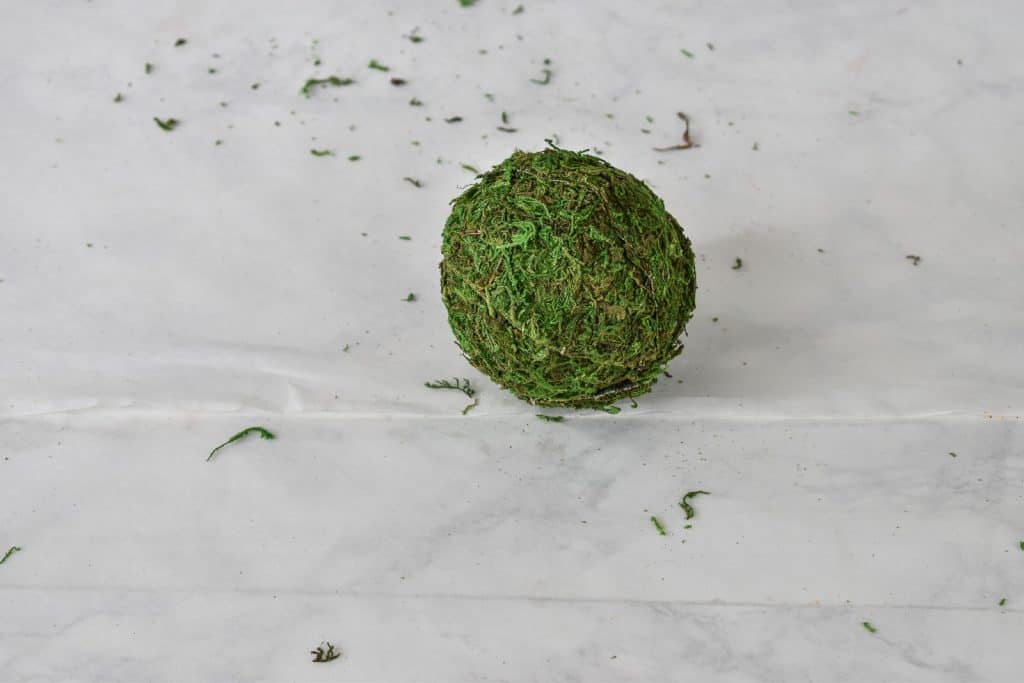
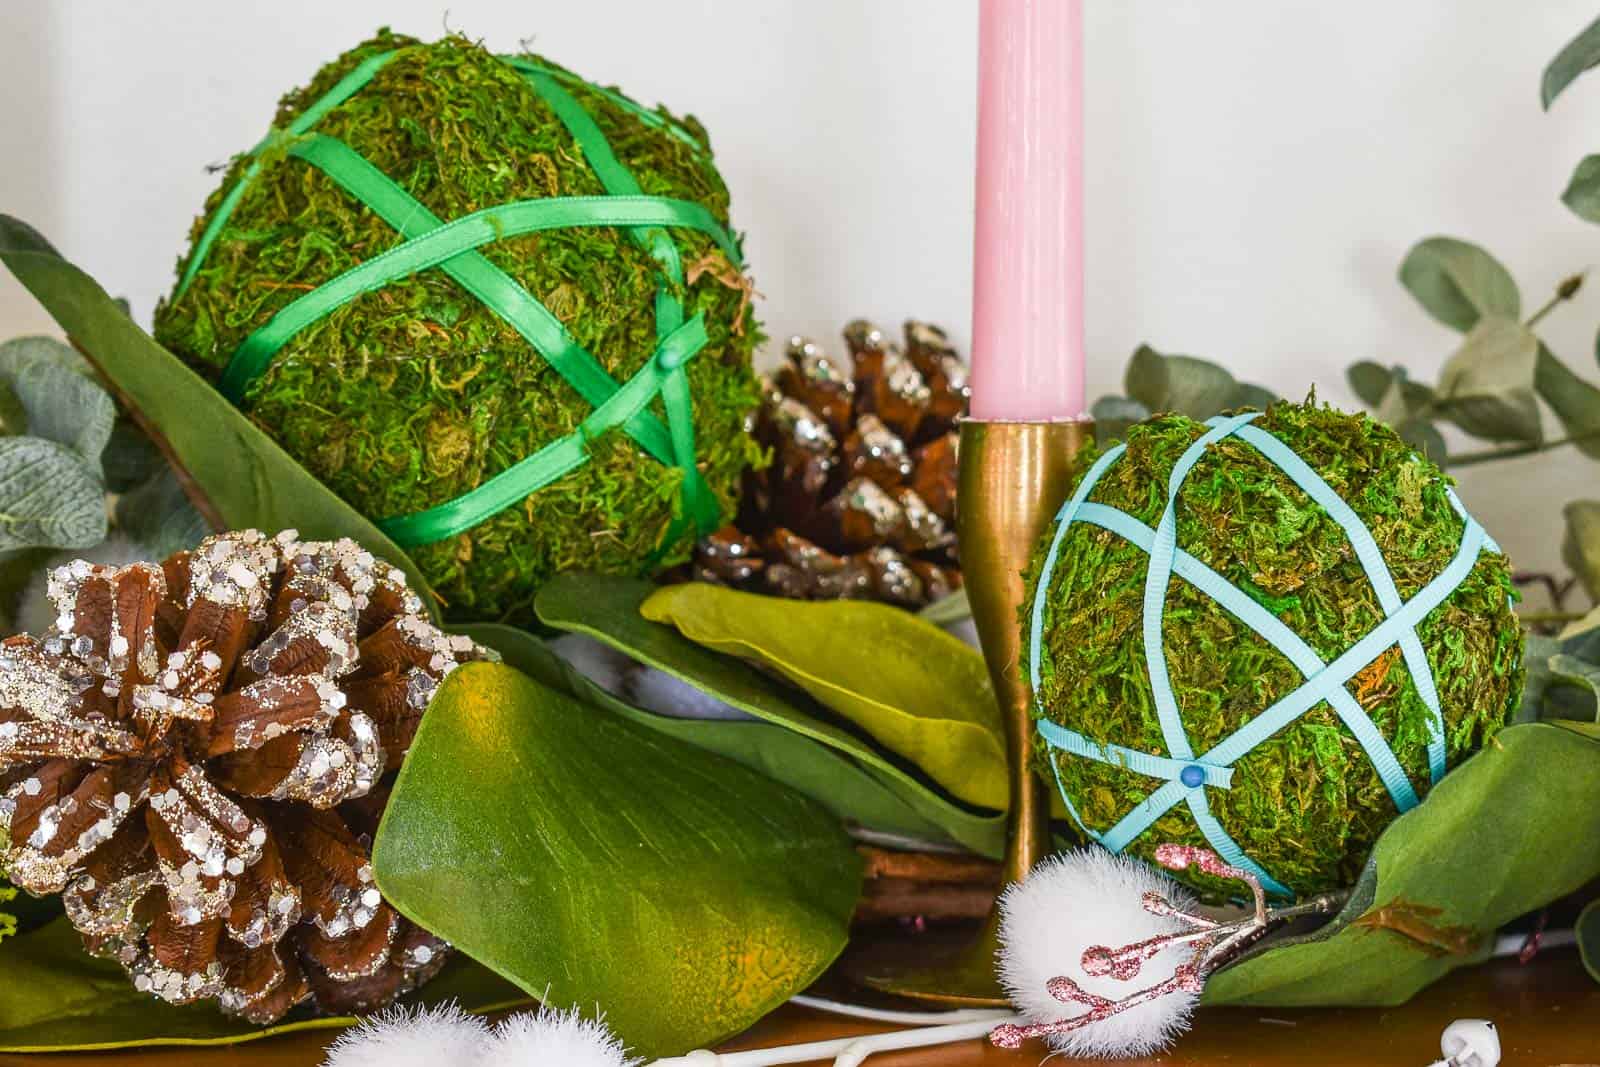
My favorite part about this mantel is those DIY wrapped moss balls. You can buy these ready-made, but they can be as much as $6 a piece. I was able to DIY these for less super easily.
How to Make Your Own Moss Balls
Step 1. Make a template
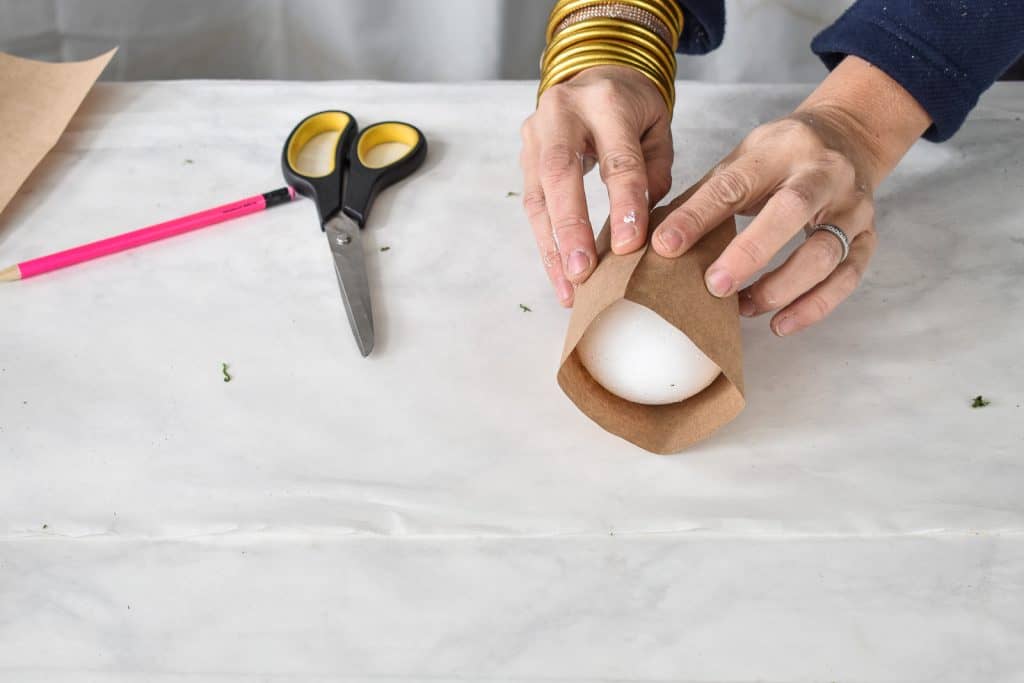
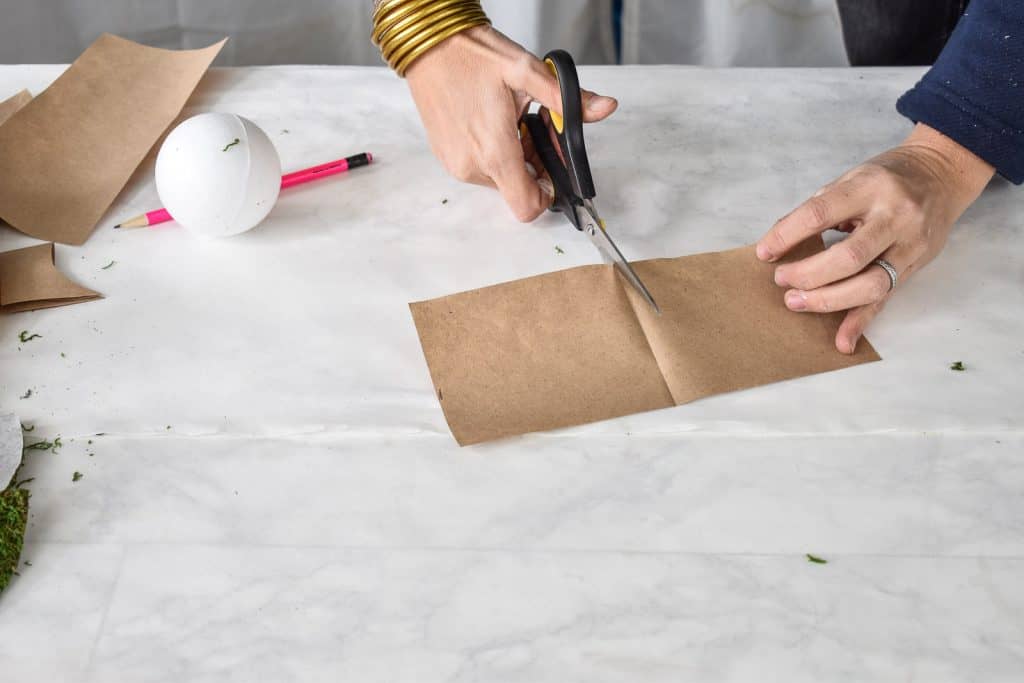
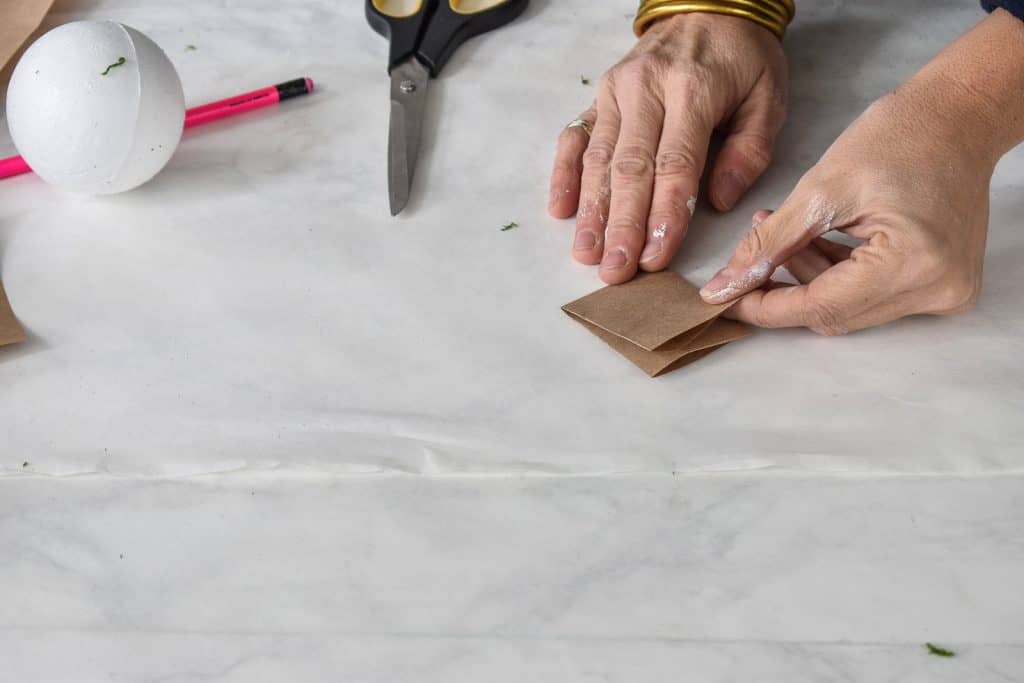
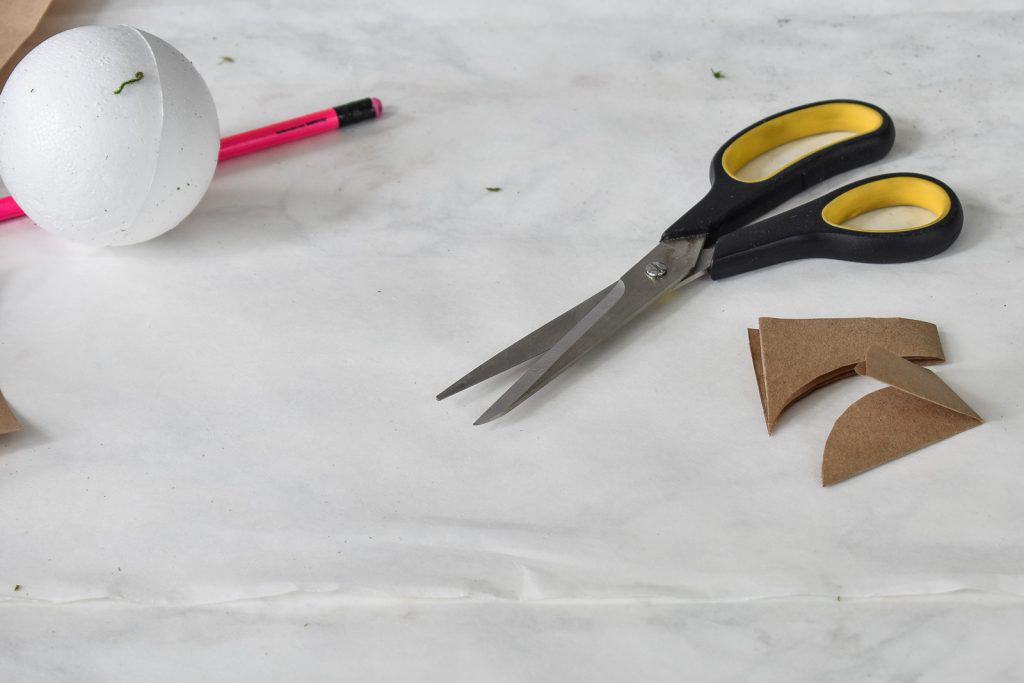
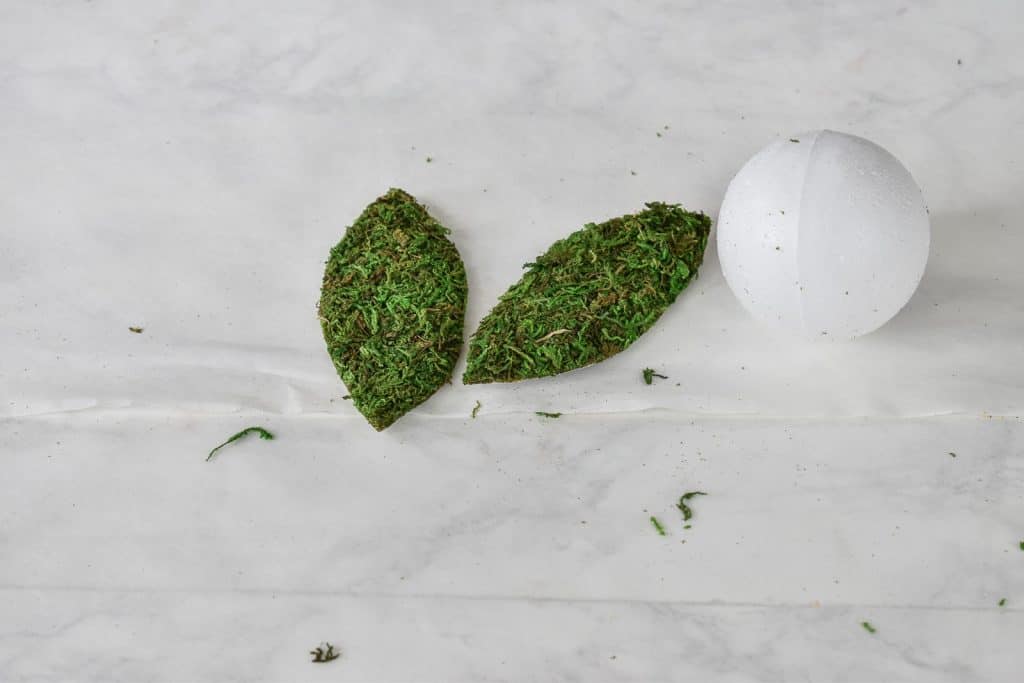
Grab a piece of paper and find the circumference of your styrofoam ball. Then, cut the paper in half. I was making 3-inch balls and cut my paper about 1 1/2 inches wide. Fold it in half both length-wise and width-wise and cut a petal shape out of the paper.
Step 2. Trace and cut moss
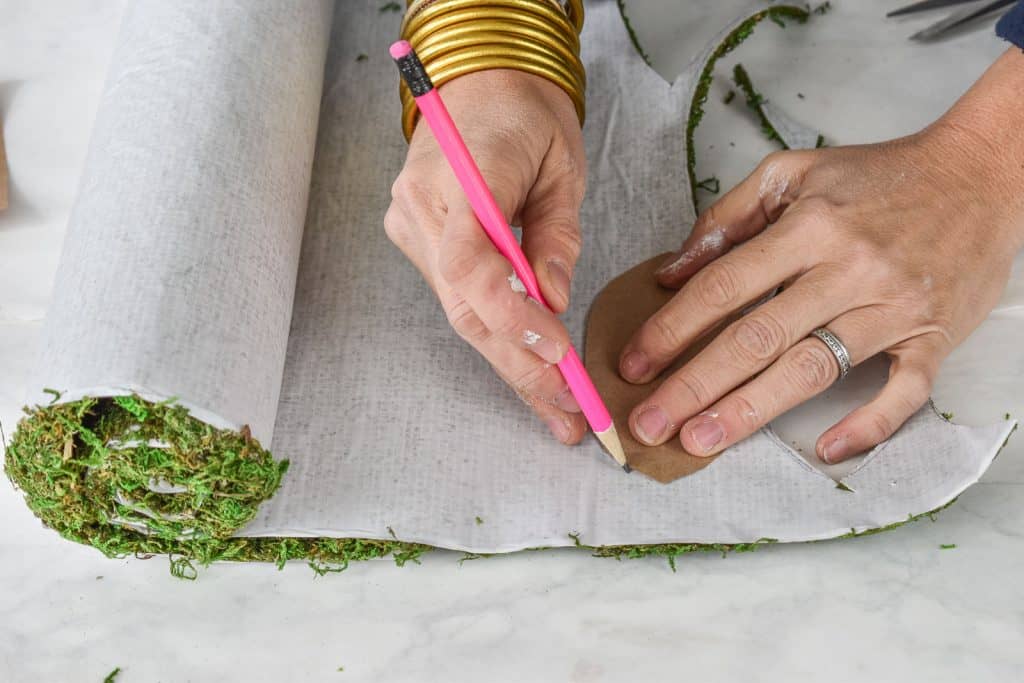
Trace your template onto the sheet moss and cut out.
Step 3. Adhere moss
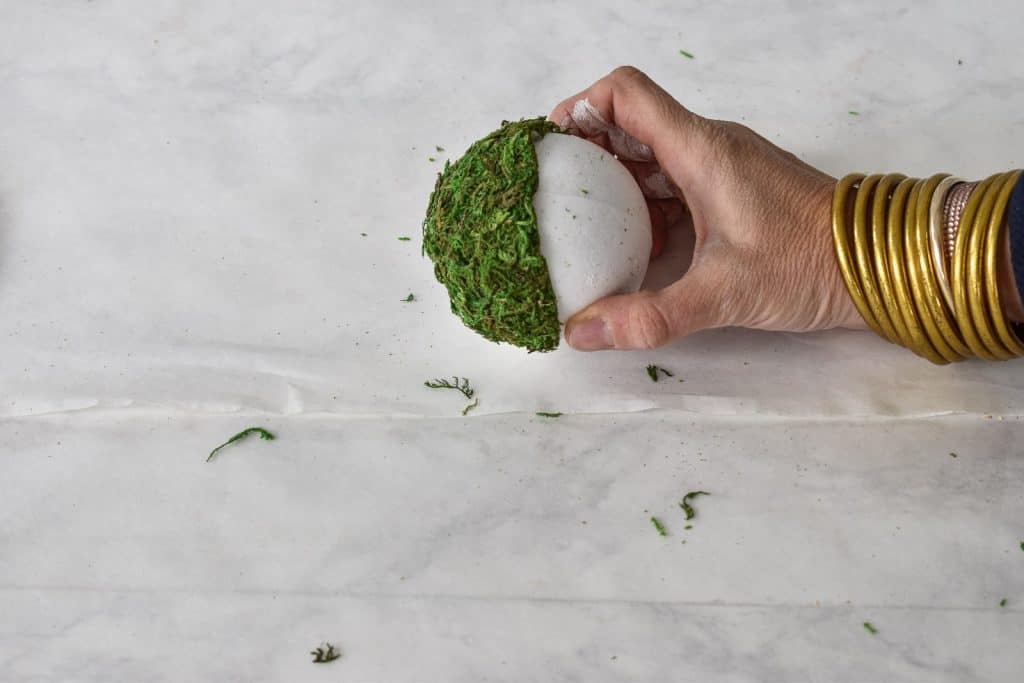
The moss I purchased had an adhesive backing to it which made this project even easier. If you don’t have adhesive moss, apply low temp-hot glue to the moss and adhere to the foam ball as shown. Repeat with another piece of moss making sure to slightly overlap the edges as you go and align the points.
Step 4. Wrap with ribbon
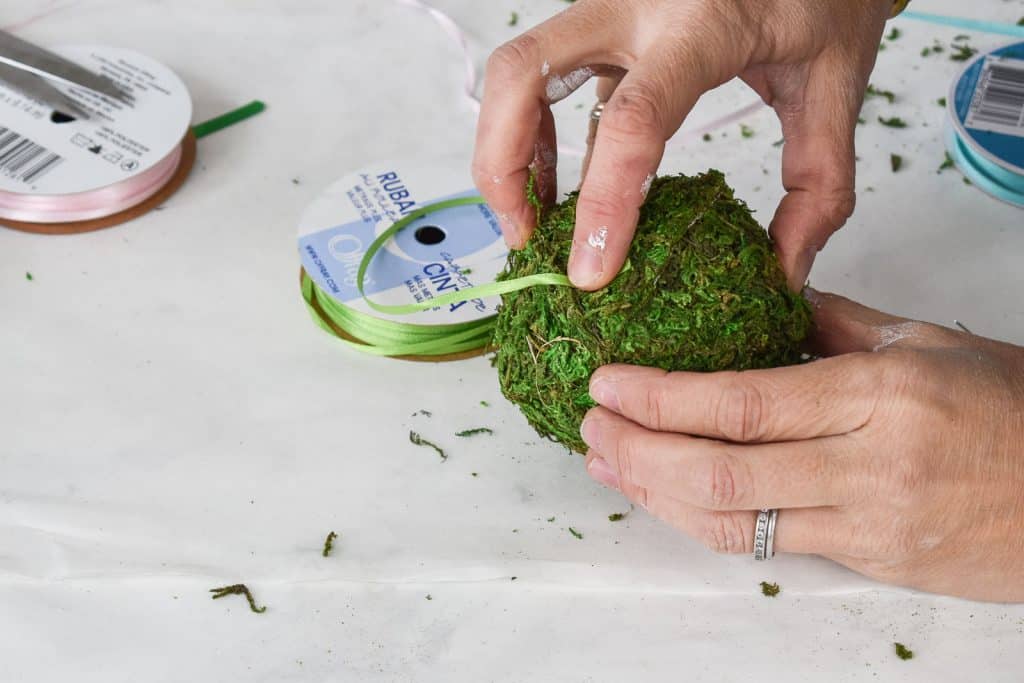
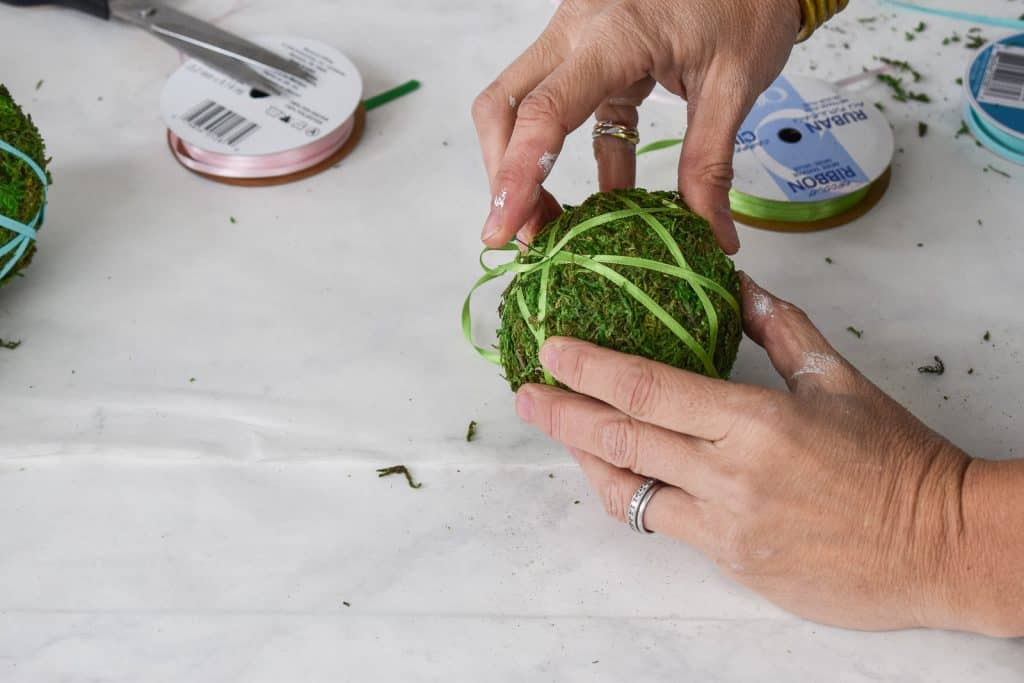
I wanted to add some color to my moss balls so I anchored a length of ribbon with a sewing pin and then wrapped it around a half dozen times and then pinned the end in place again.
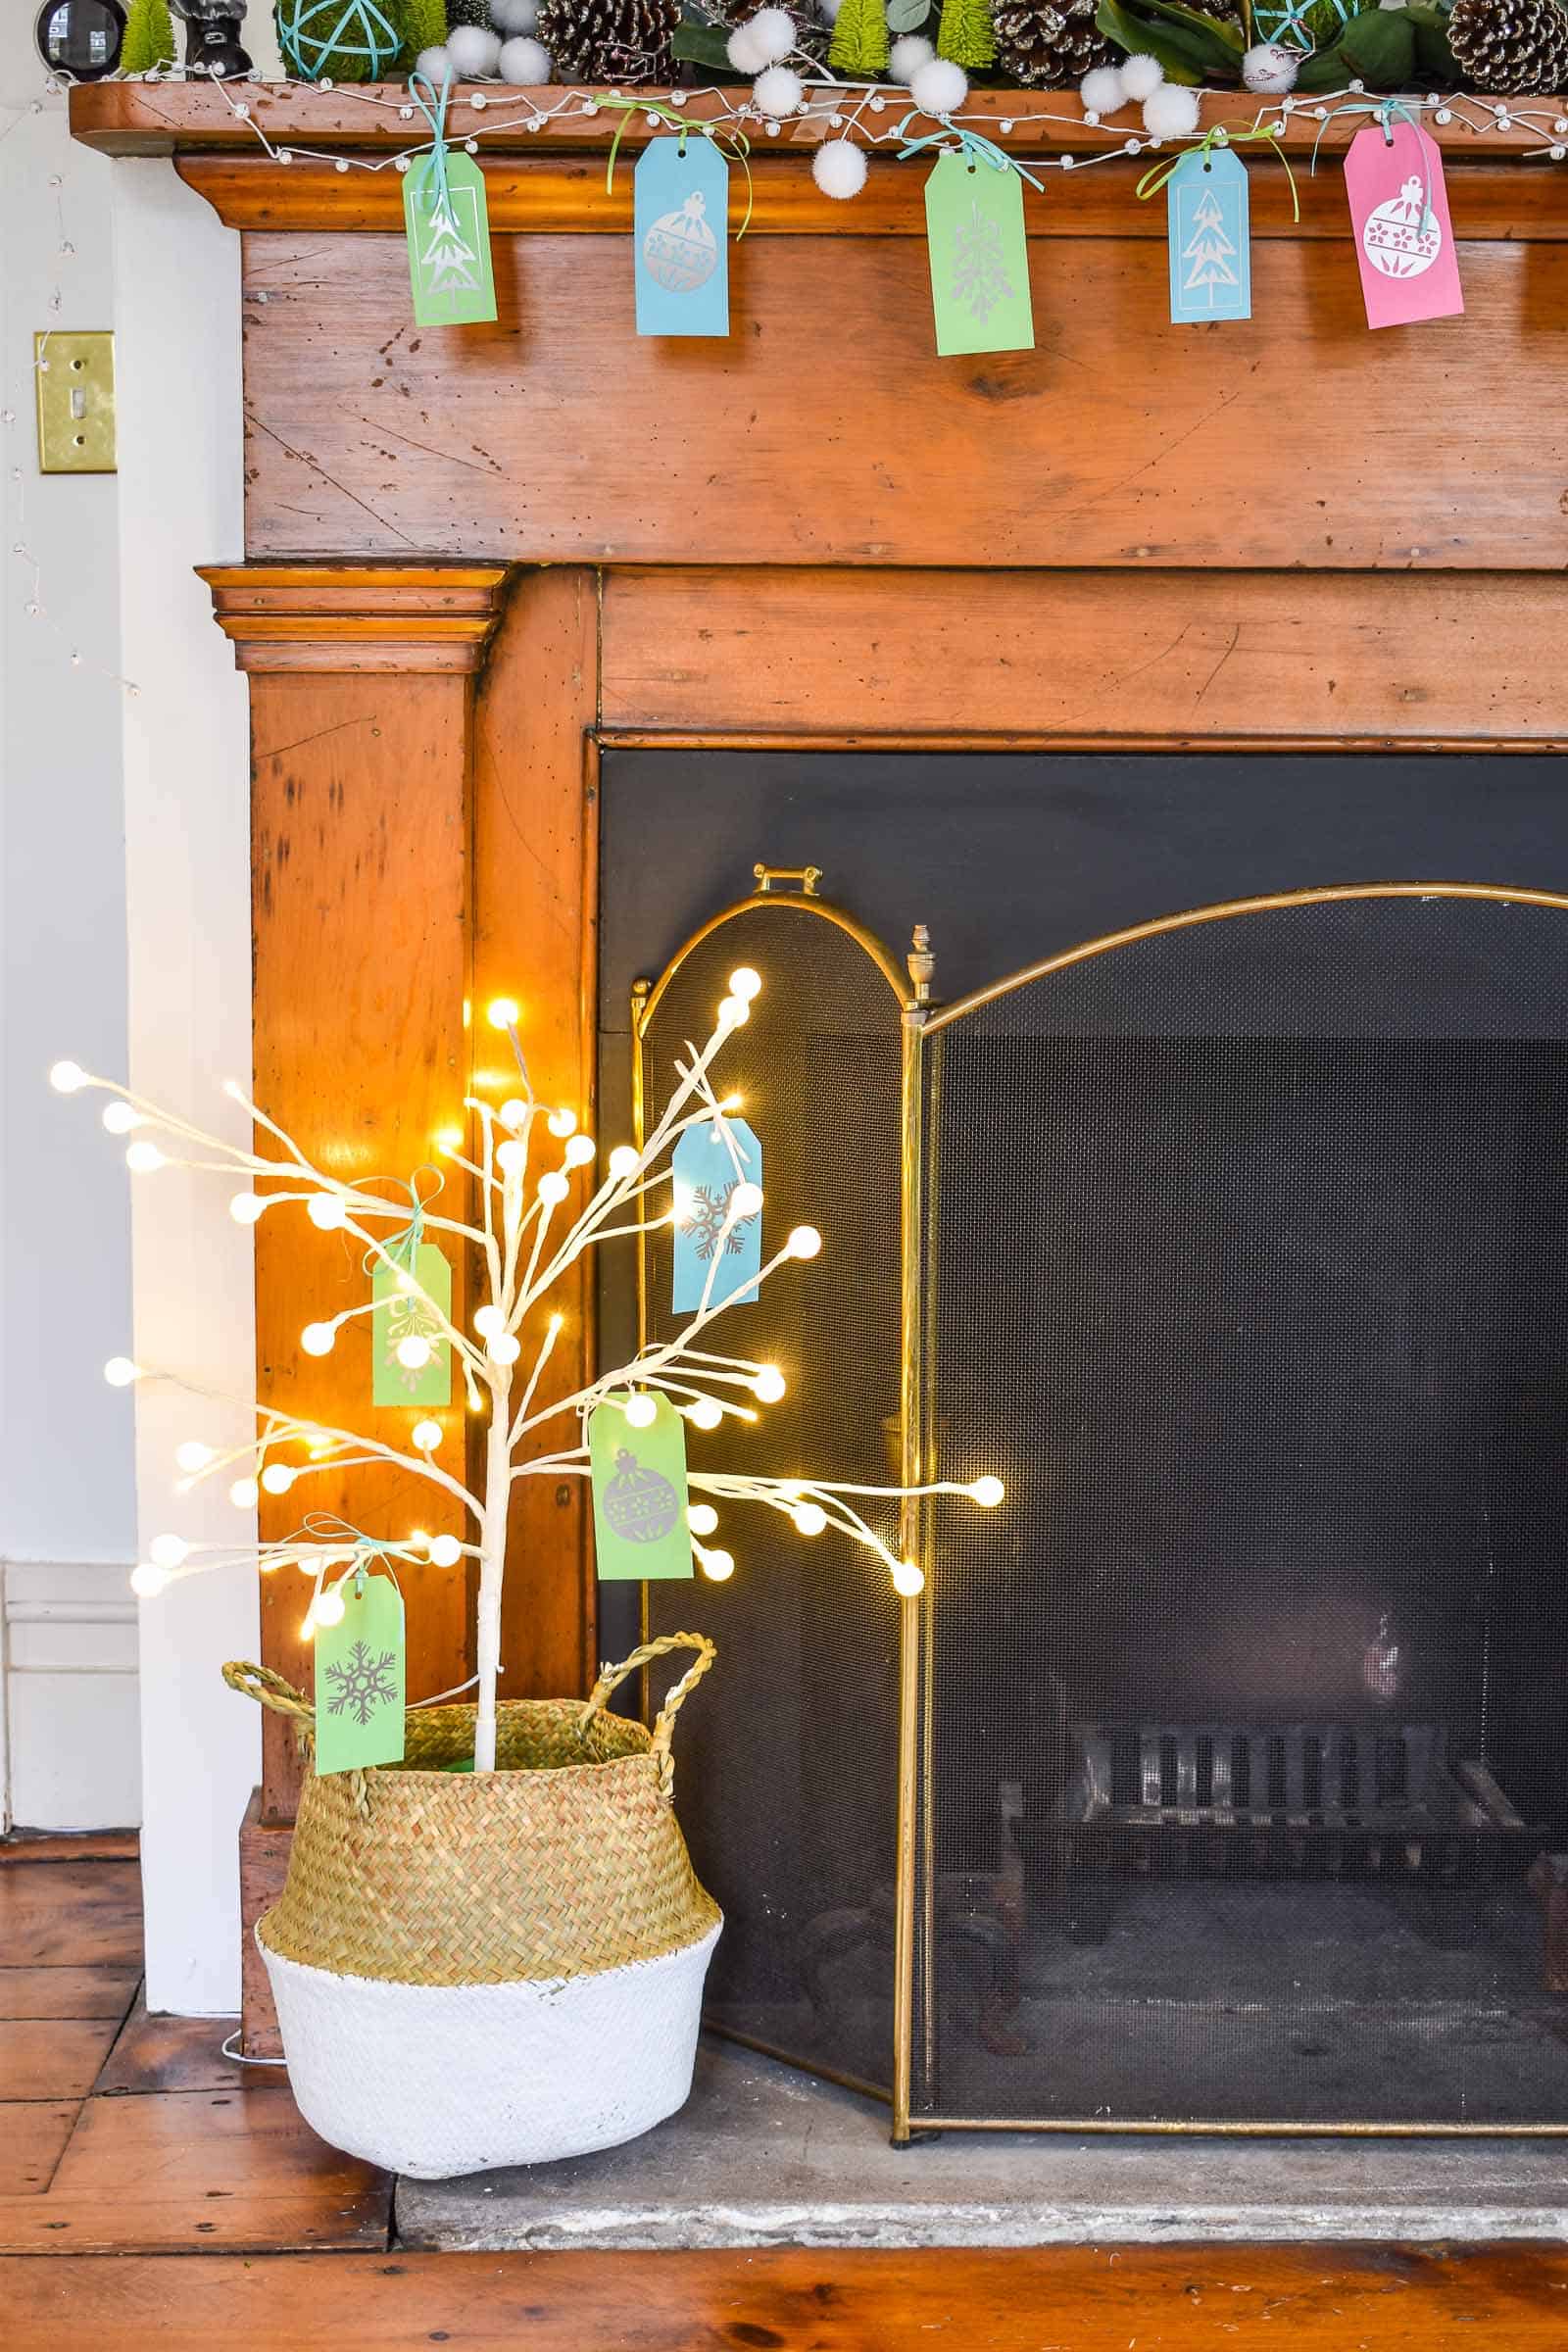
At the base of the mantel is that fun LED tree. This one was on sale, but I’ve linked to a birch one that would be perfect for the holidays. I propped it up in a basket and brought in a few more of my Cricut tags to bring in the color scheme.
Here’s what I love about this mantel: the mixture of greenery and color. I also love the way simple materials like those paper tags can add such a fun little pop of color. Here’s what I’m still noodling through: whether or not there’s to much going on… again, story of my life. Should I remove the bells? Add more greenery? Add lights? So many questions.
I’ve linked to all the materials I’ve used for this mantel… you can order online from JOANN for free store pick up to save you some time! Game changer!



Don’t Miss Out
Become An Insider!
Signup for exclusive tips, and tricks from Charlotte’s House!
Let’s chat!
I love comments from you, so feel free to leave your thoughts and ideas below! And don’t forget to follow me on Instagram for even more!