
Day 3: Twelve Days of Ornaments- FUJIFILM Instax® Tassel Ornament
Psssst… this post *might* contain affiliate links: see my disclosure here.
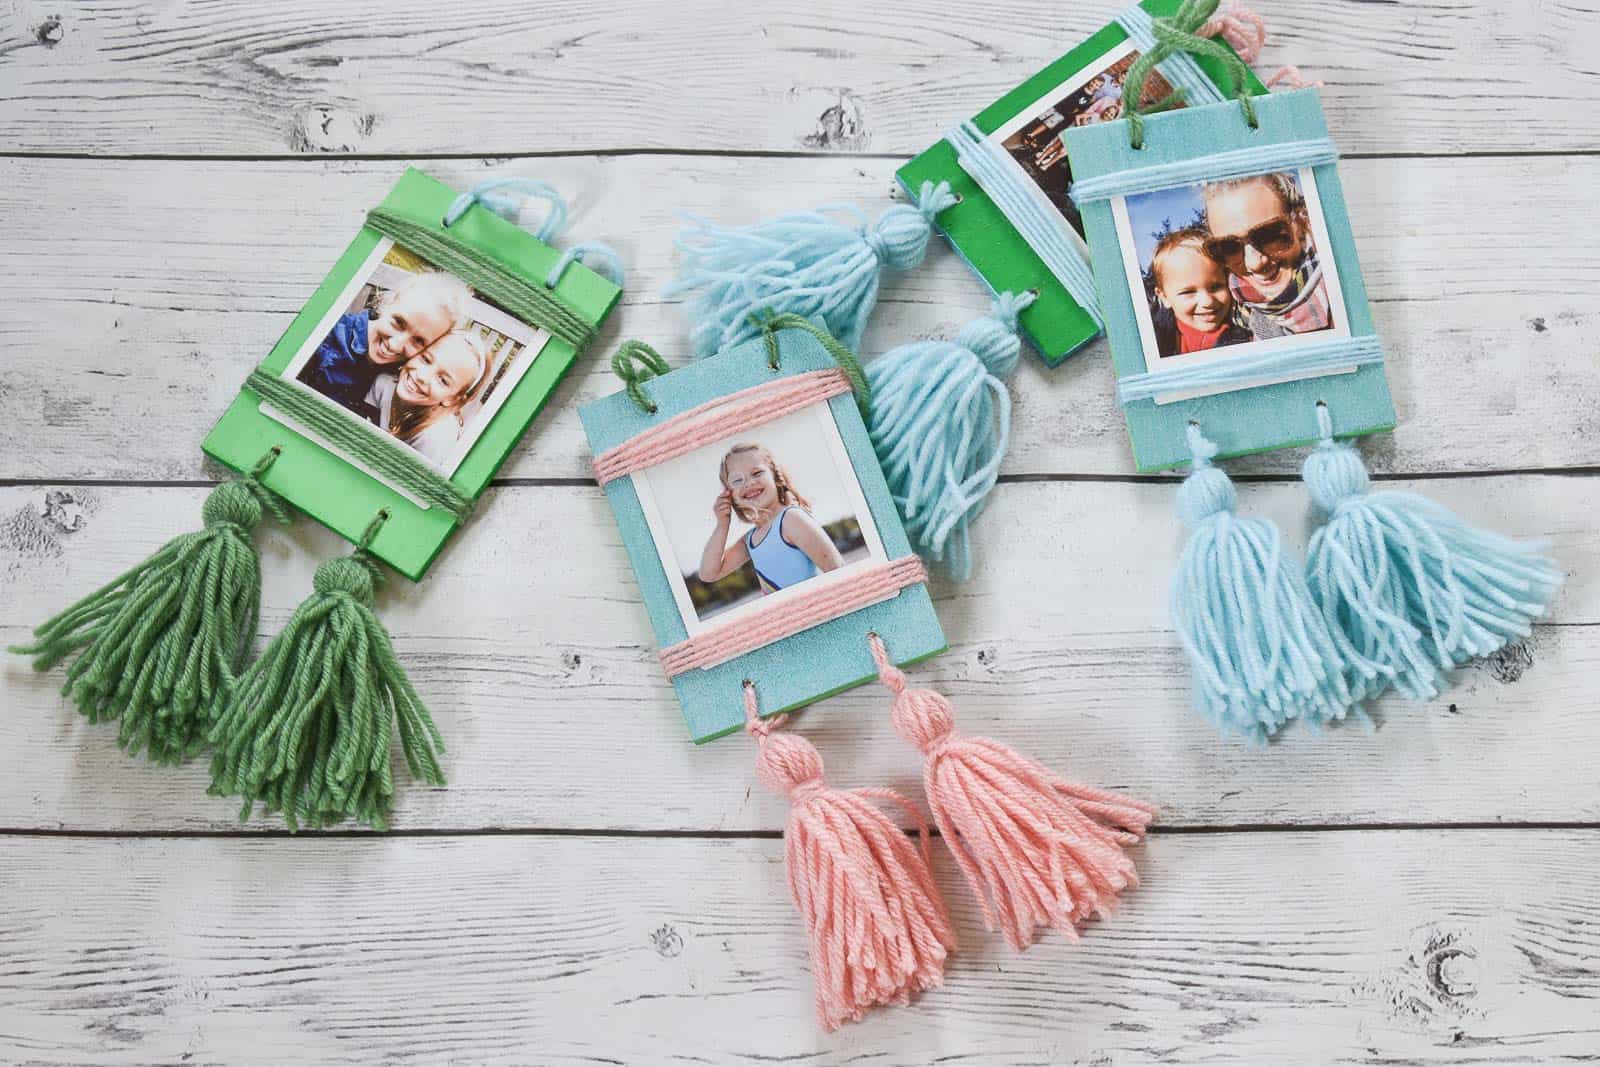
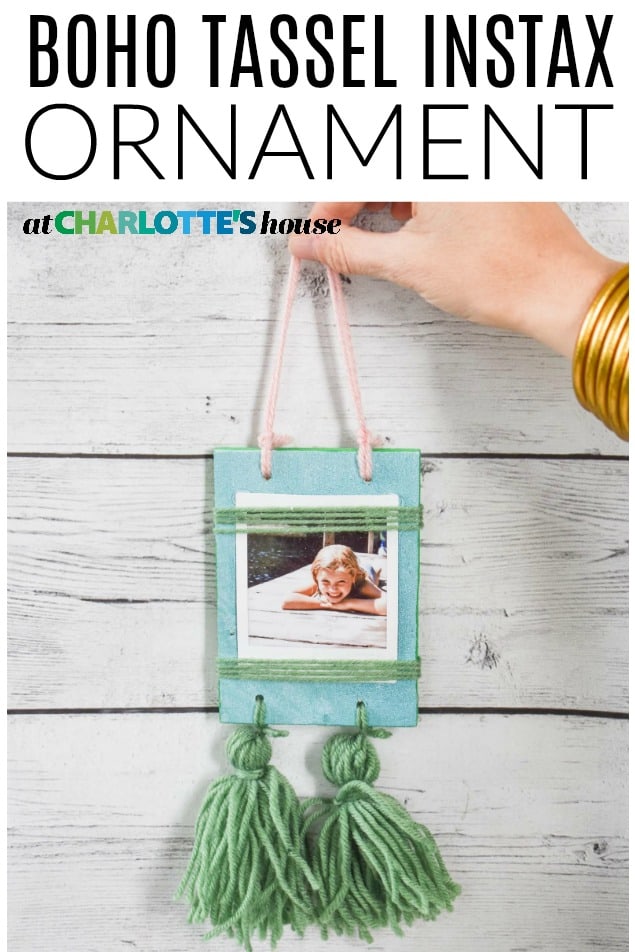
Boho Tassel Christmas Ornament
Welcome to Day 3 of 12 Days of Ornaments on the blog and my YouTube channel! You can follow along HERE in case you’ve missed anything!
Disclosure: I’m thrilled to be partnering with my friends at FUJIFILM instax® for this post.
For today’s ornament, I’m sharing one of my faves: the FUJIFILM instax SHARE® SP-3 SQ printer. These ornaments are a super easy way to personalize your tree a little bit!
Shop my favorites!
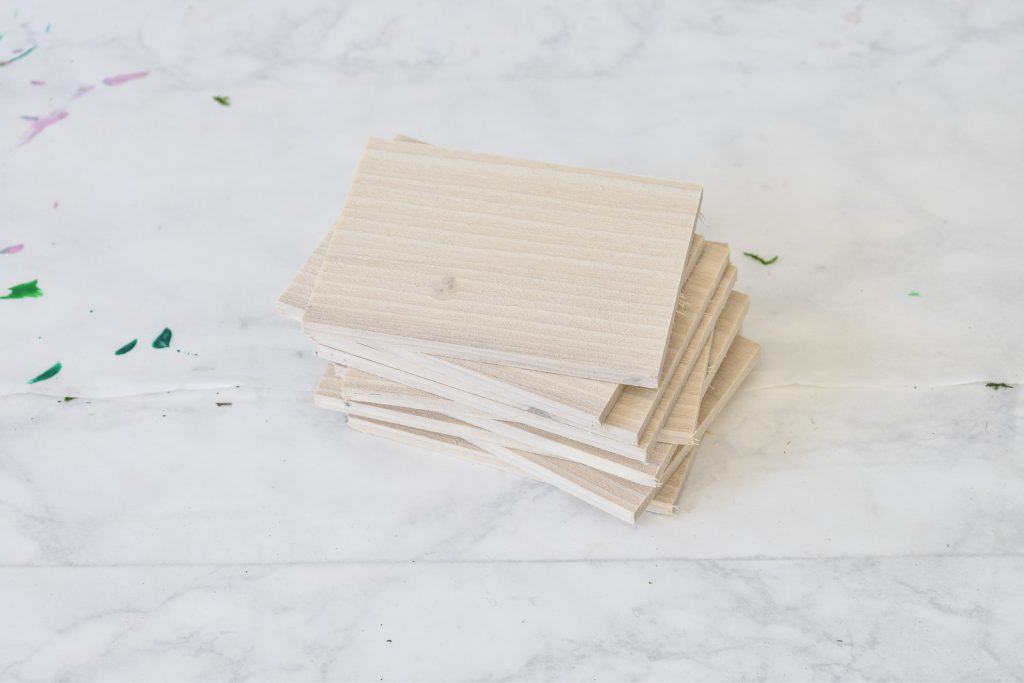
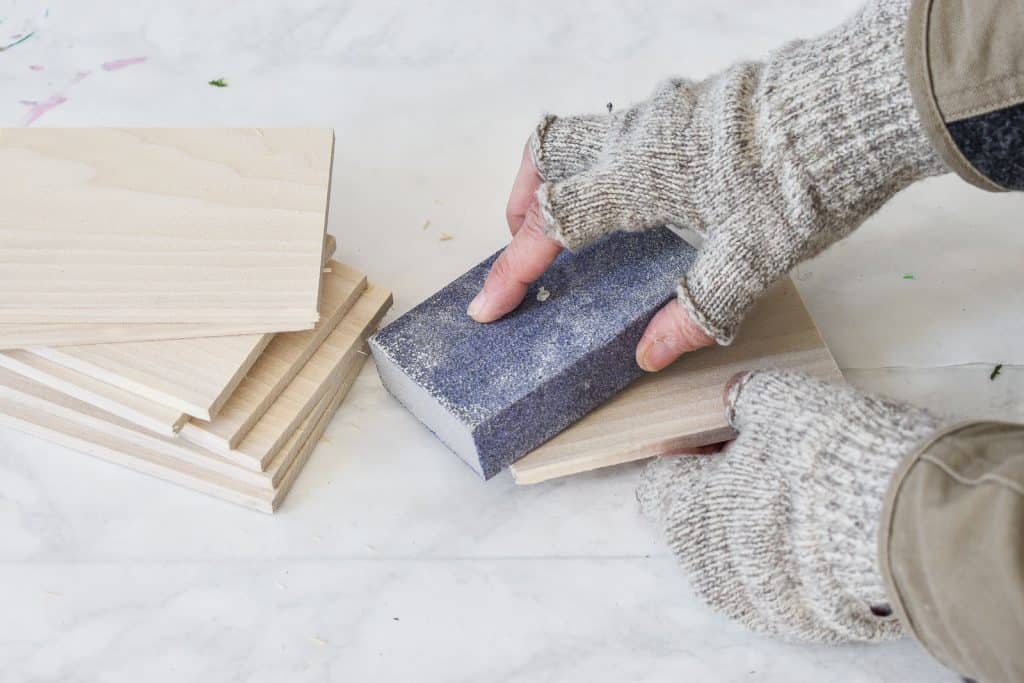
Step 1. Cut and sand your wood
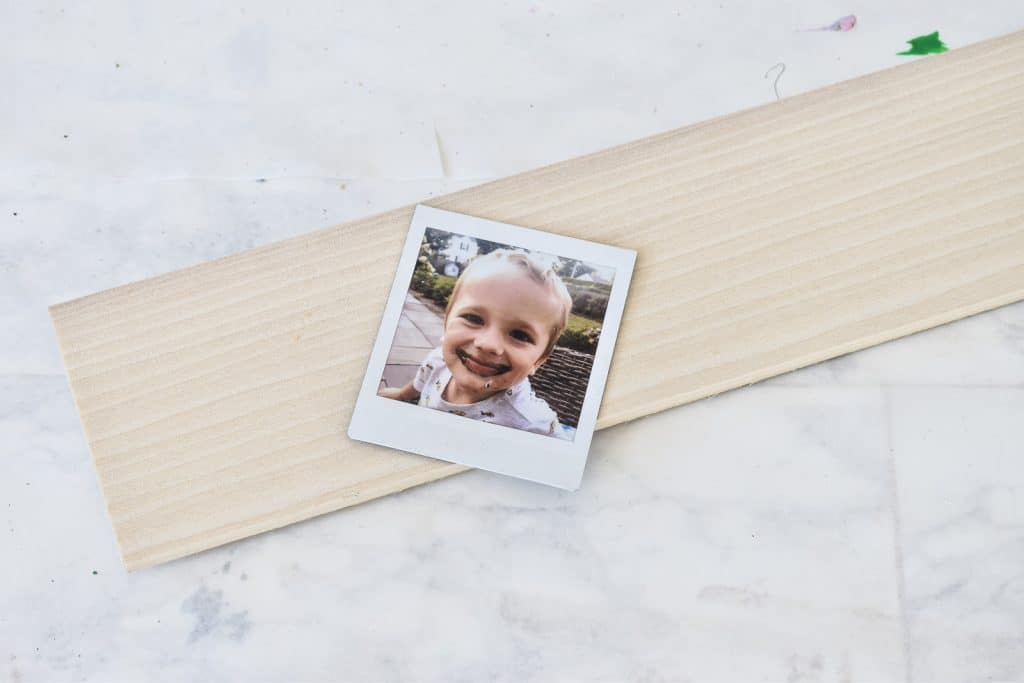
I’m using this craft wood from the wood trim aisle… it’s nice a skinny and comes 3.5 inches wide and 4 feet long. I cut mine down to 4-inch lengths to allow for a little space above and below my FUJIFILM instax SQUARE® photo.
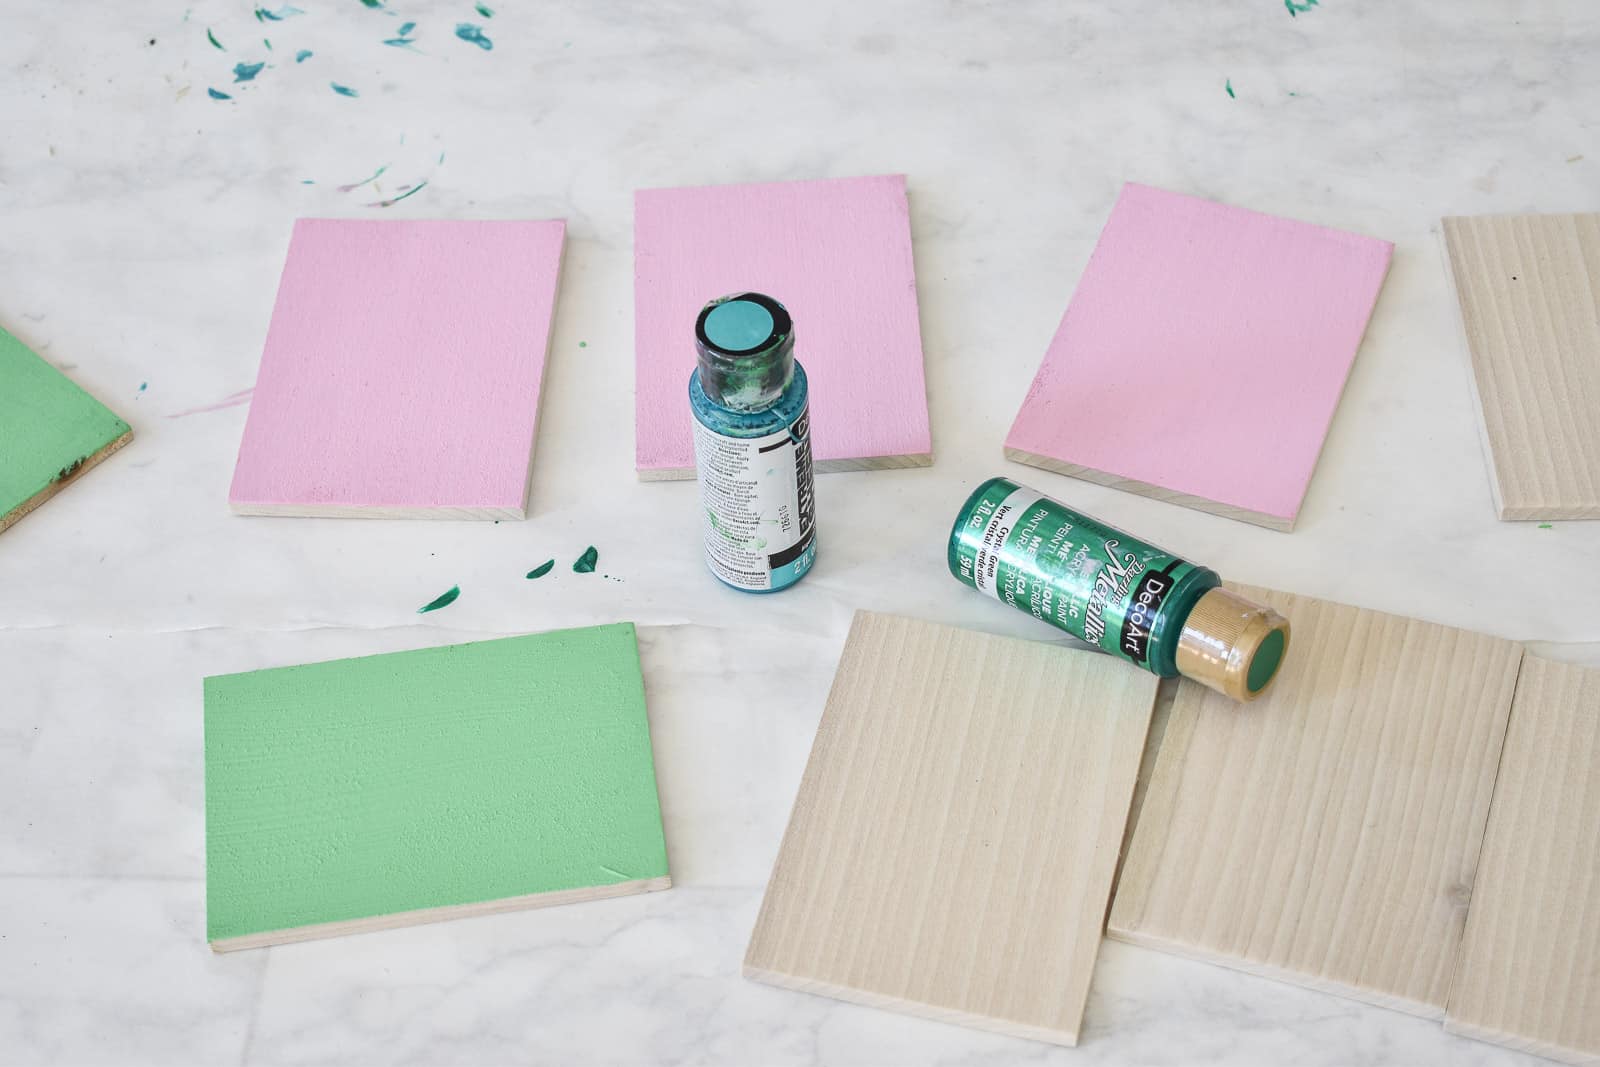
Step 2. Paint the wood
I’m trying to use a cohesive color palette for this series so I reached for the same greens, blue and pink I’ve been using all along. You can totally use any color that makes you happy! I painted the front a separate color from the back and then added a contrasting color along the edge.
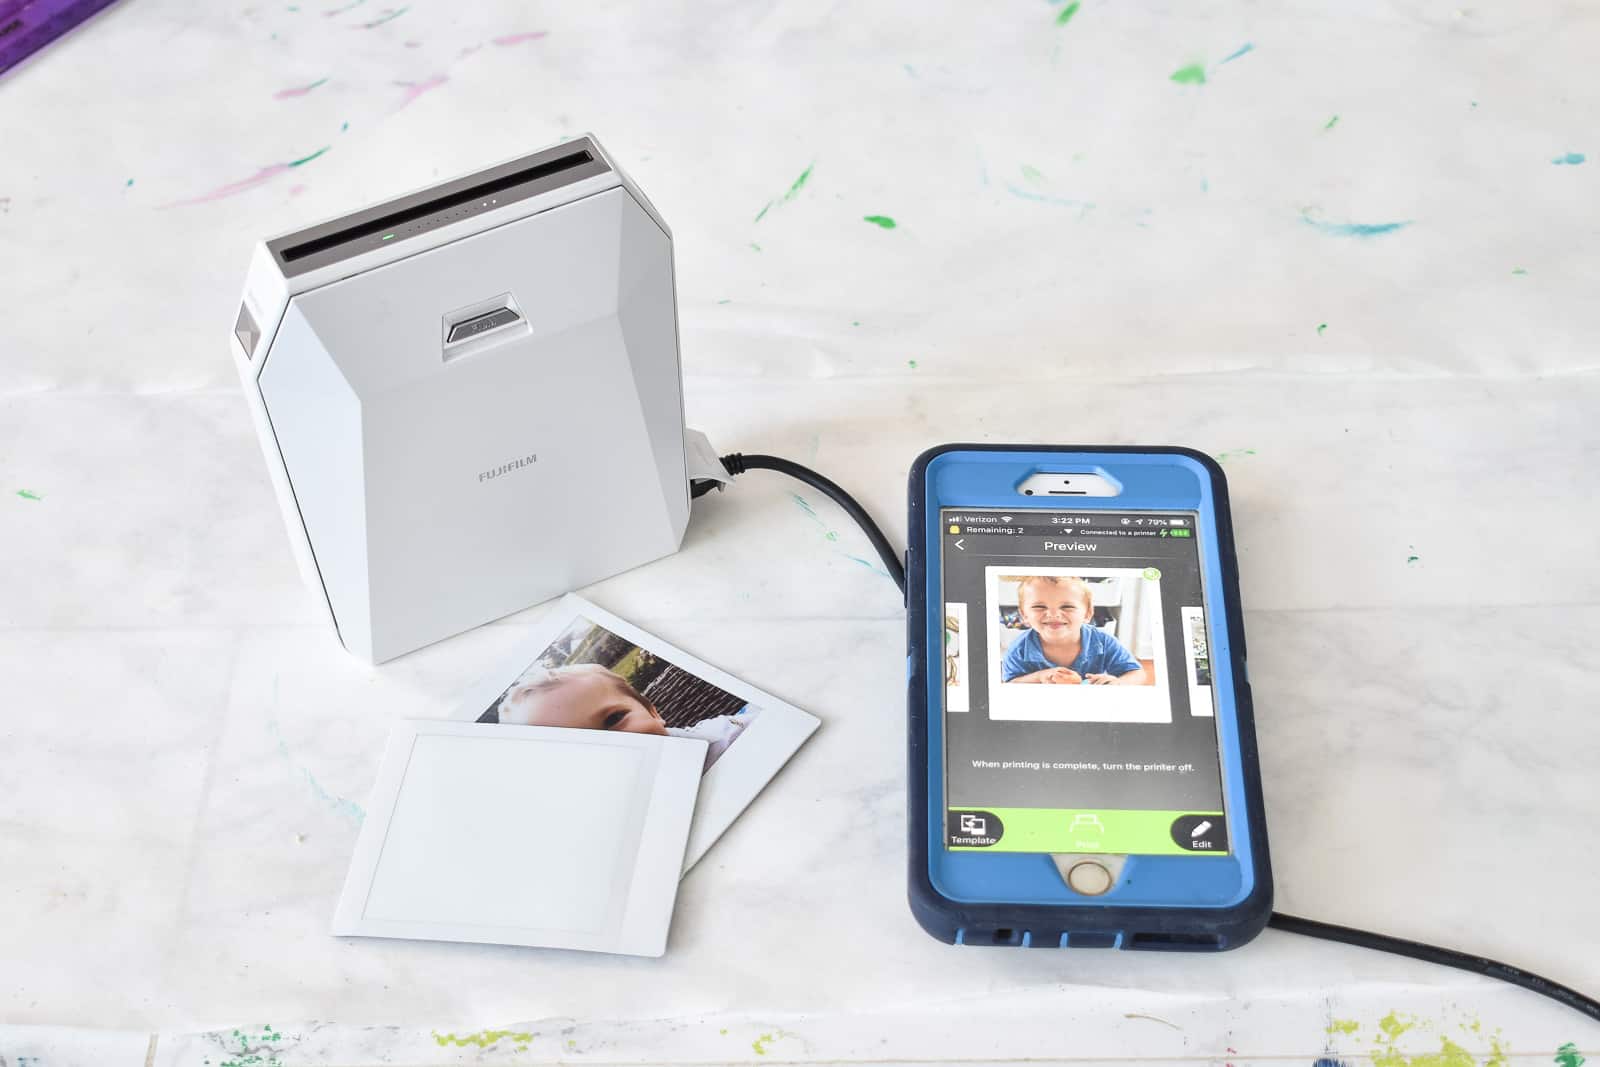
Step 3. Print your pics
Here’s why I LOVE the instax® SP-3… you can print ANY PICTURE you want onto that Fujifilm Instax™ film that I love so much! All you need is the Instax SHARE app and you can print anything you want from your phone right onto the printer.
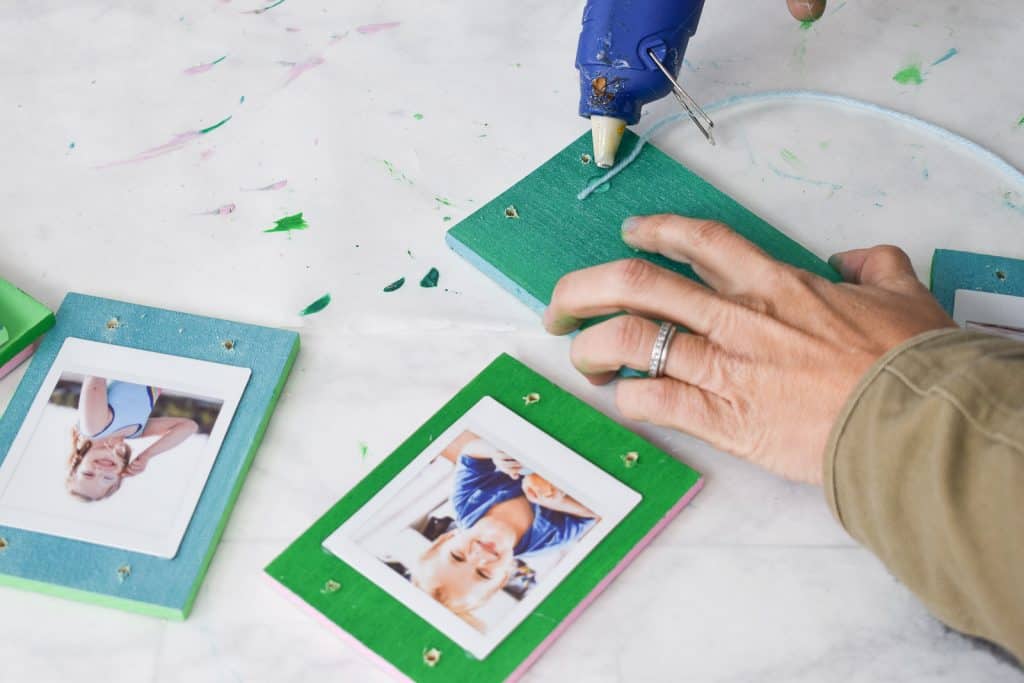
Step 4. Adhere pictures to wood
Use glue dots, attach your prints to the prepainted wooden boards.
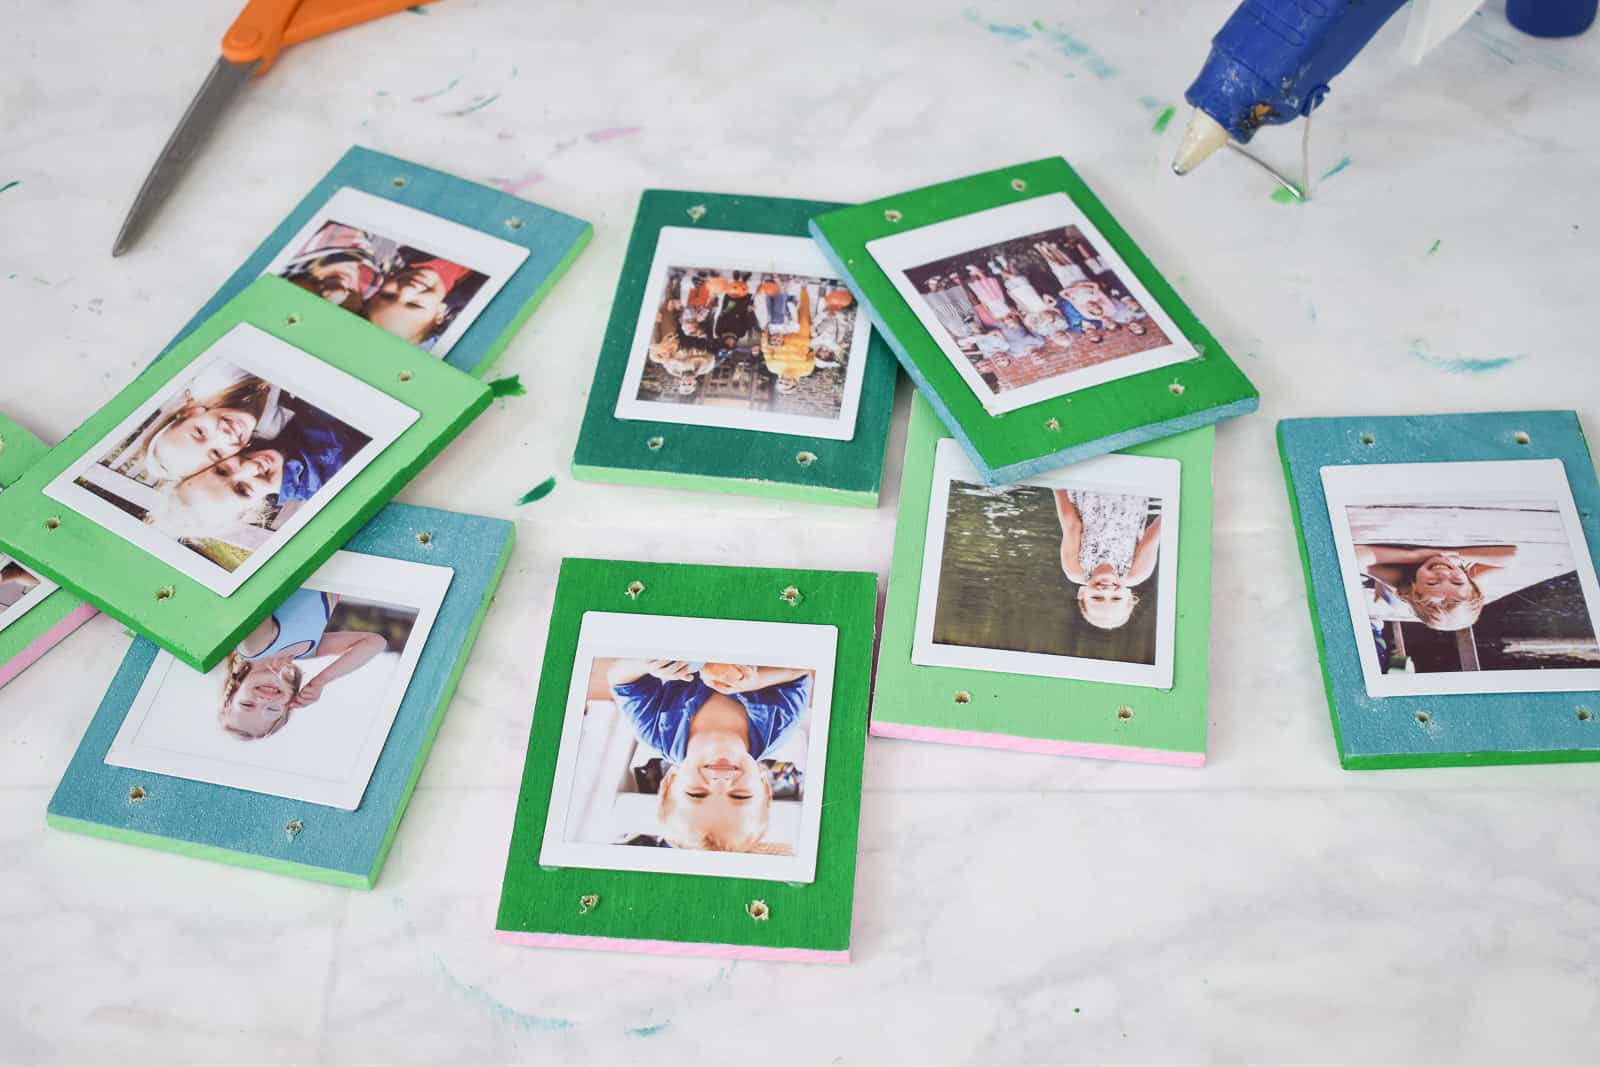
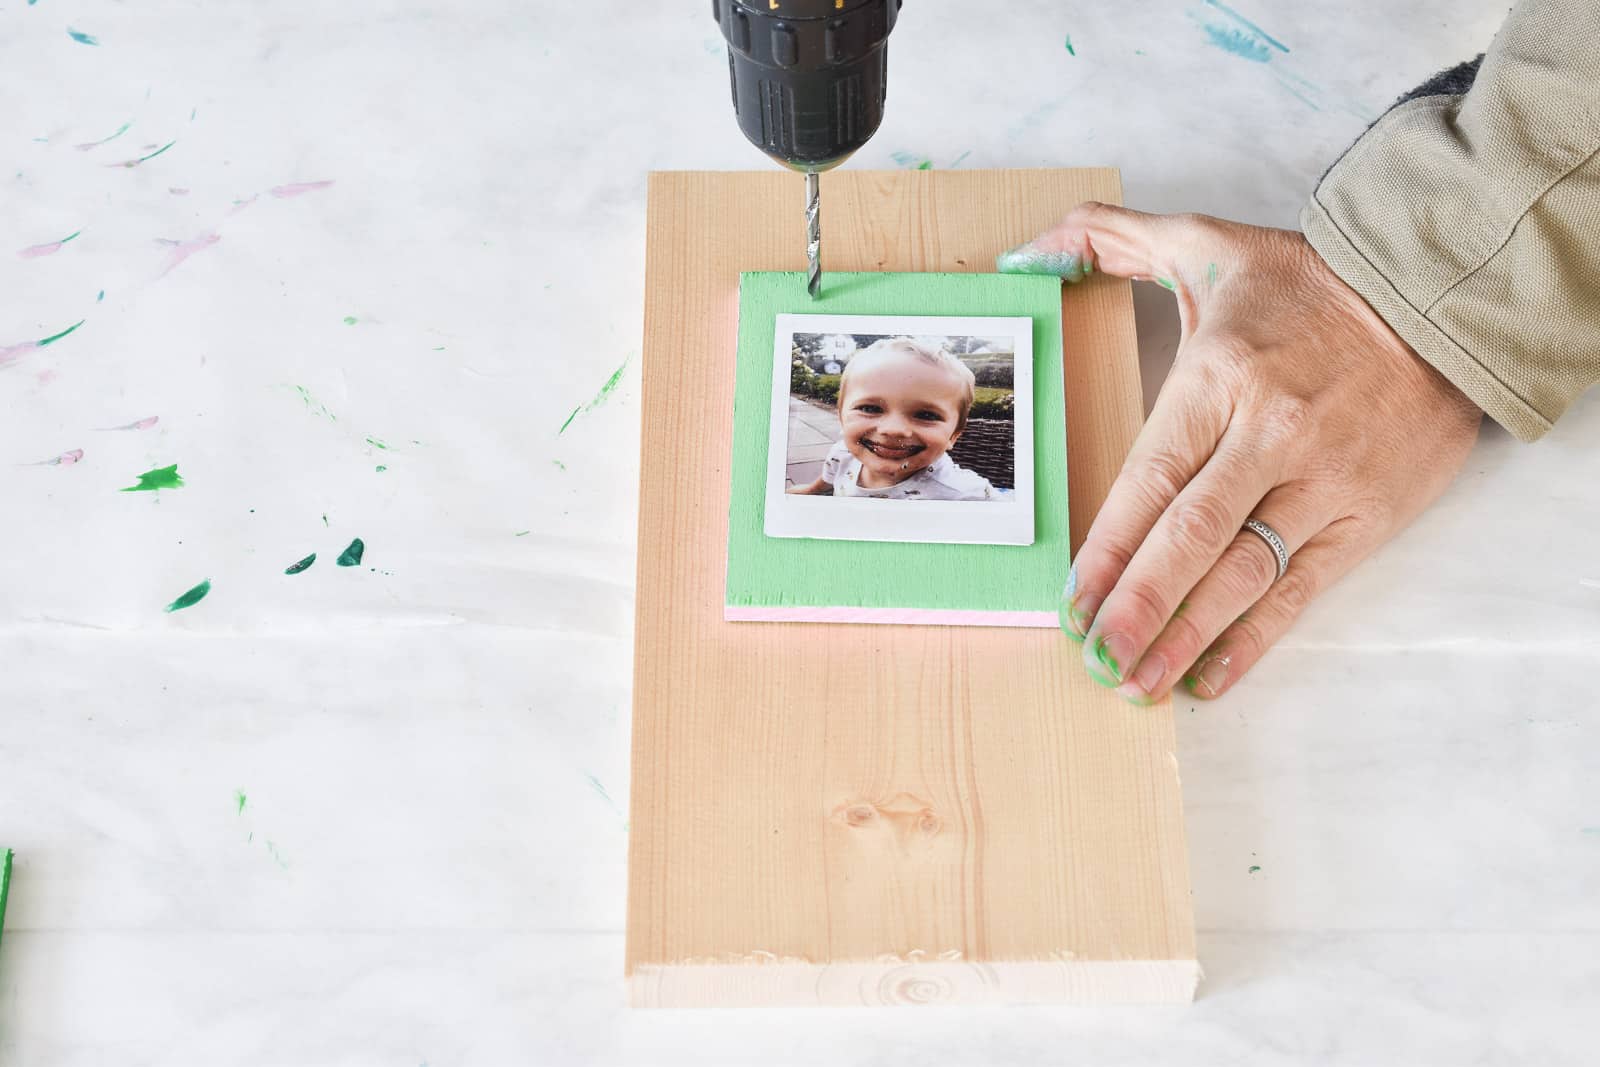
Step 5. Drill holes
If you have a drill, drill two holes along the top and the bottom of the ornament. (If you don’t you can glue both the tassels and the hanger to the back of the wood.)
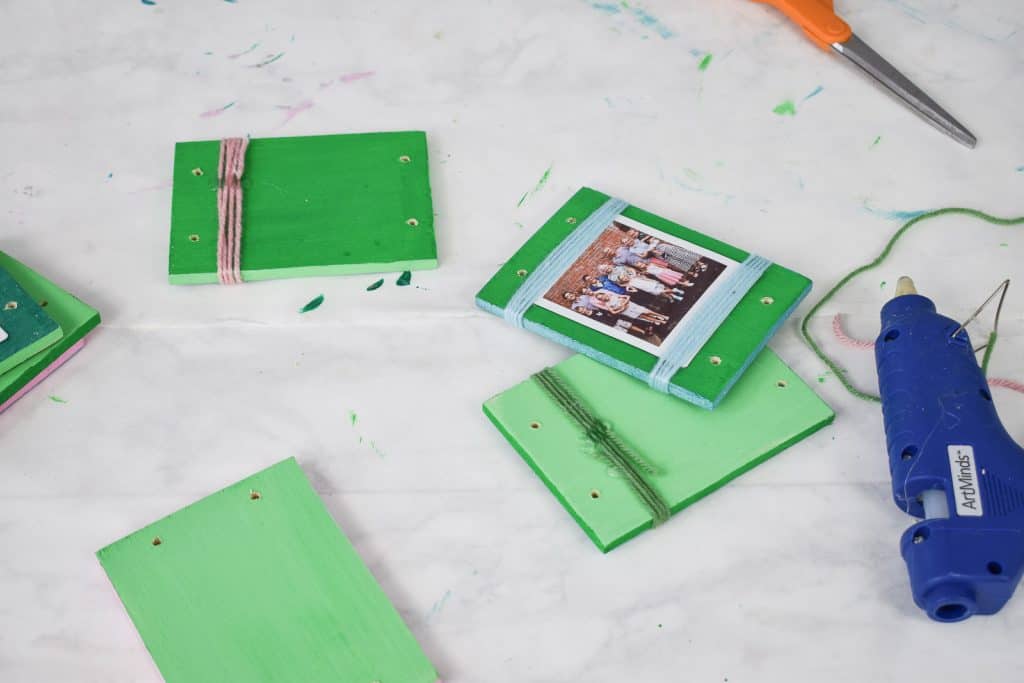
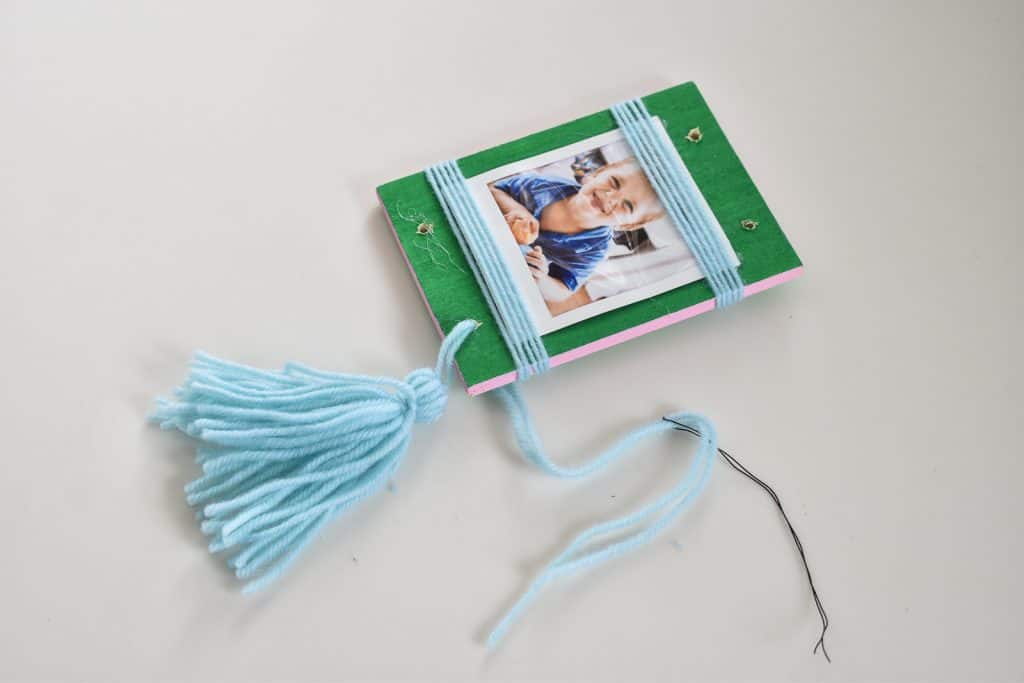
Step 5. Wrap with Yarn
I’m using yarn for these, but any string/ twine would work! I secured the yarn to the back of the wood with hot glue and wrapped it around the top of the ornament 4 or 5 times before gluing it in place. Repeat along the bottom of the ornament.

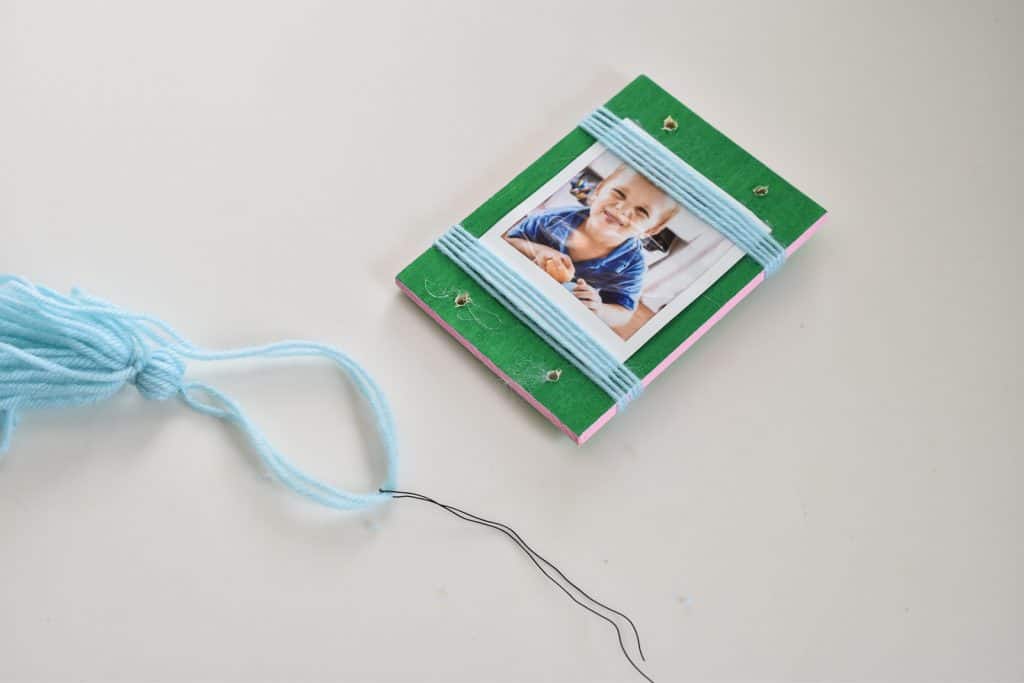
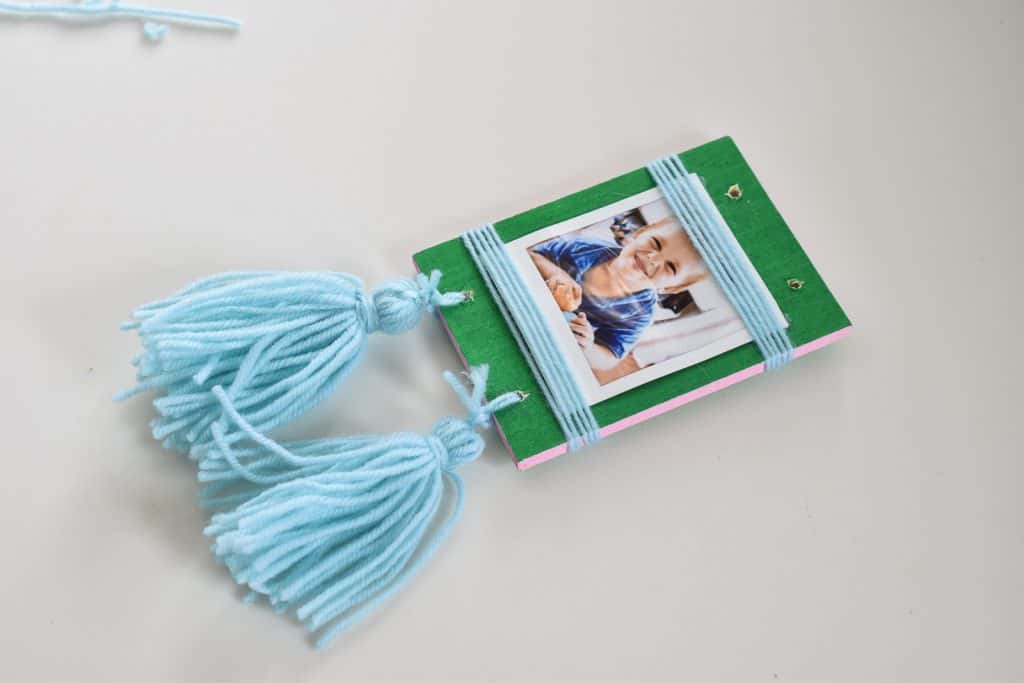
Step 6. Make and Add Tassels
Follow my tassel making tutorial to make 2 tassels for each ornament.
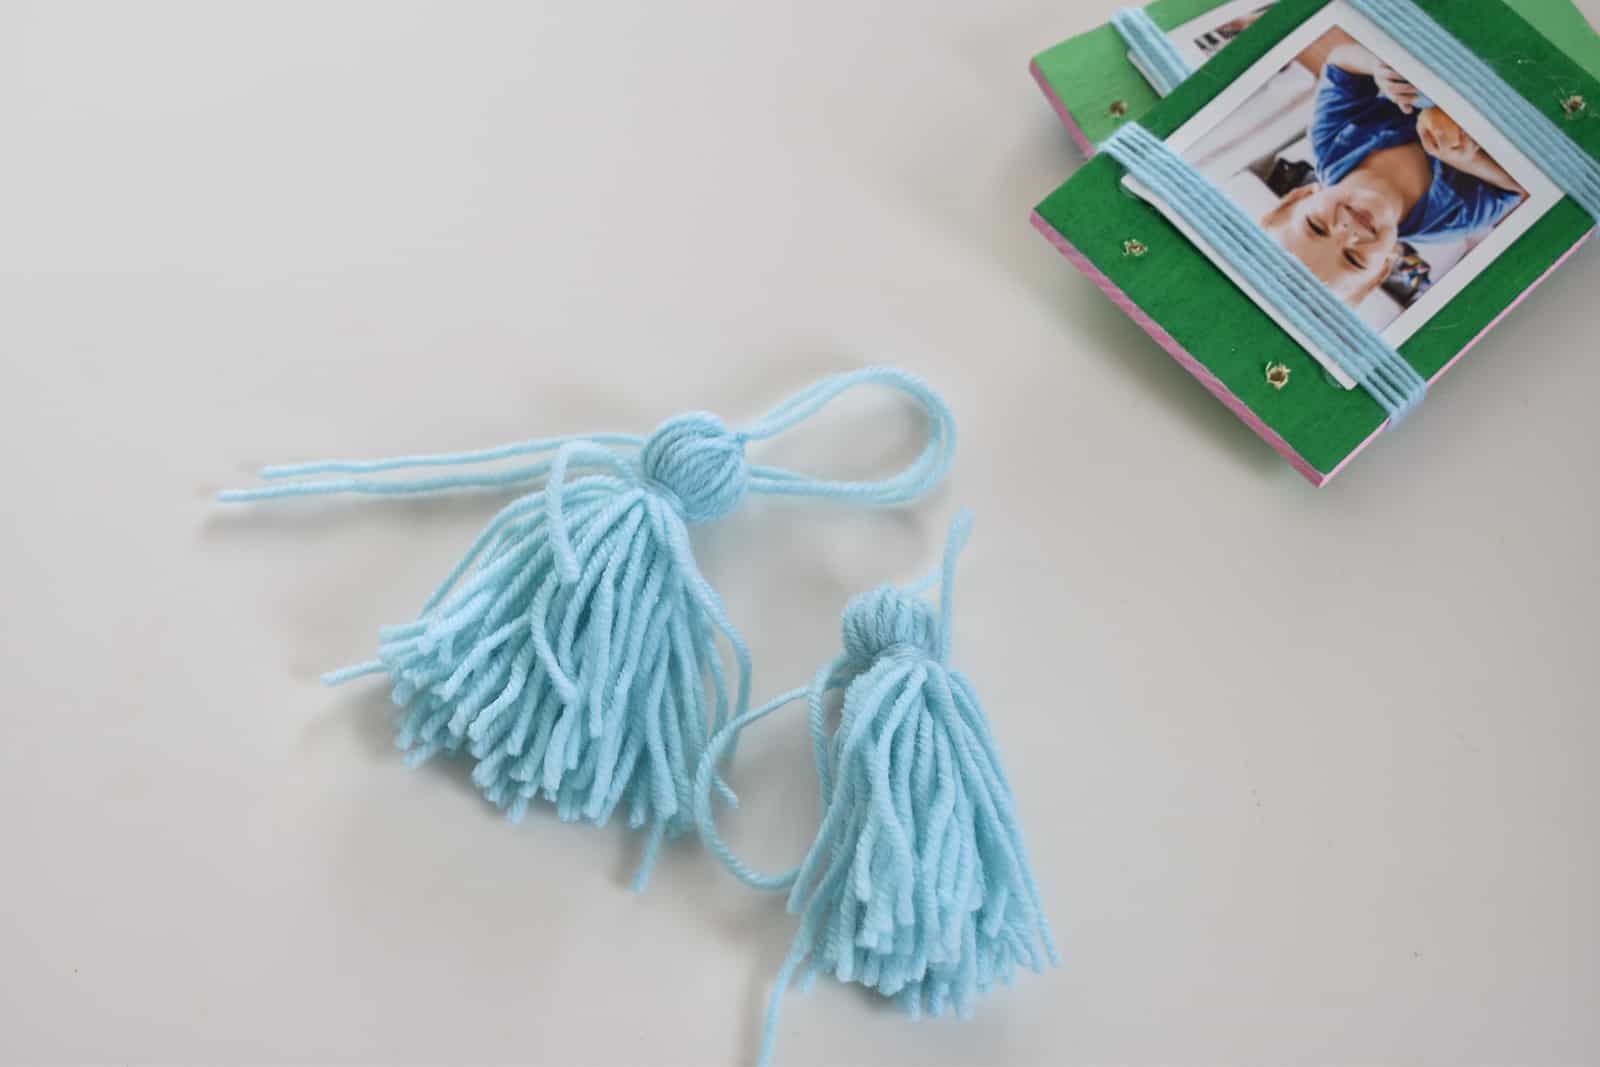
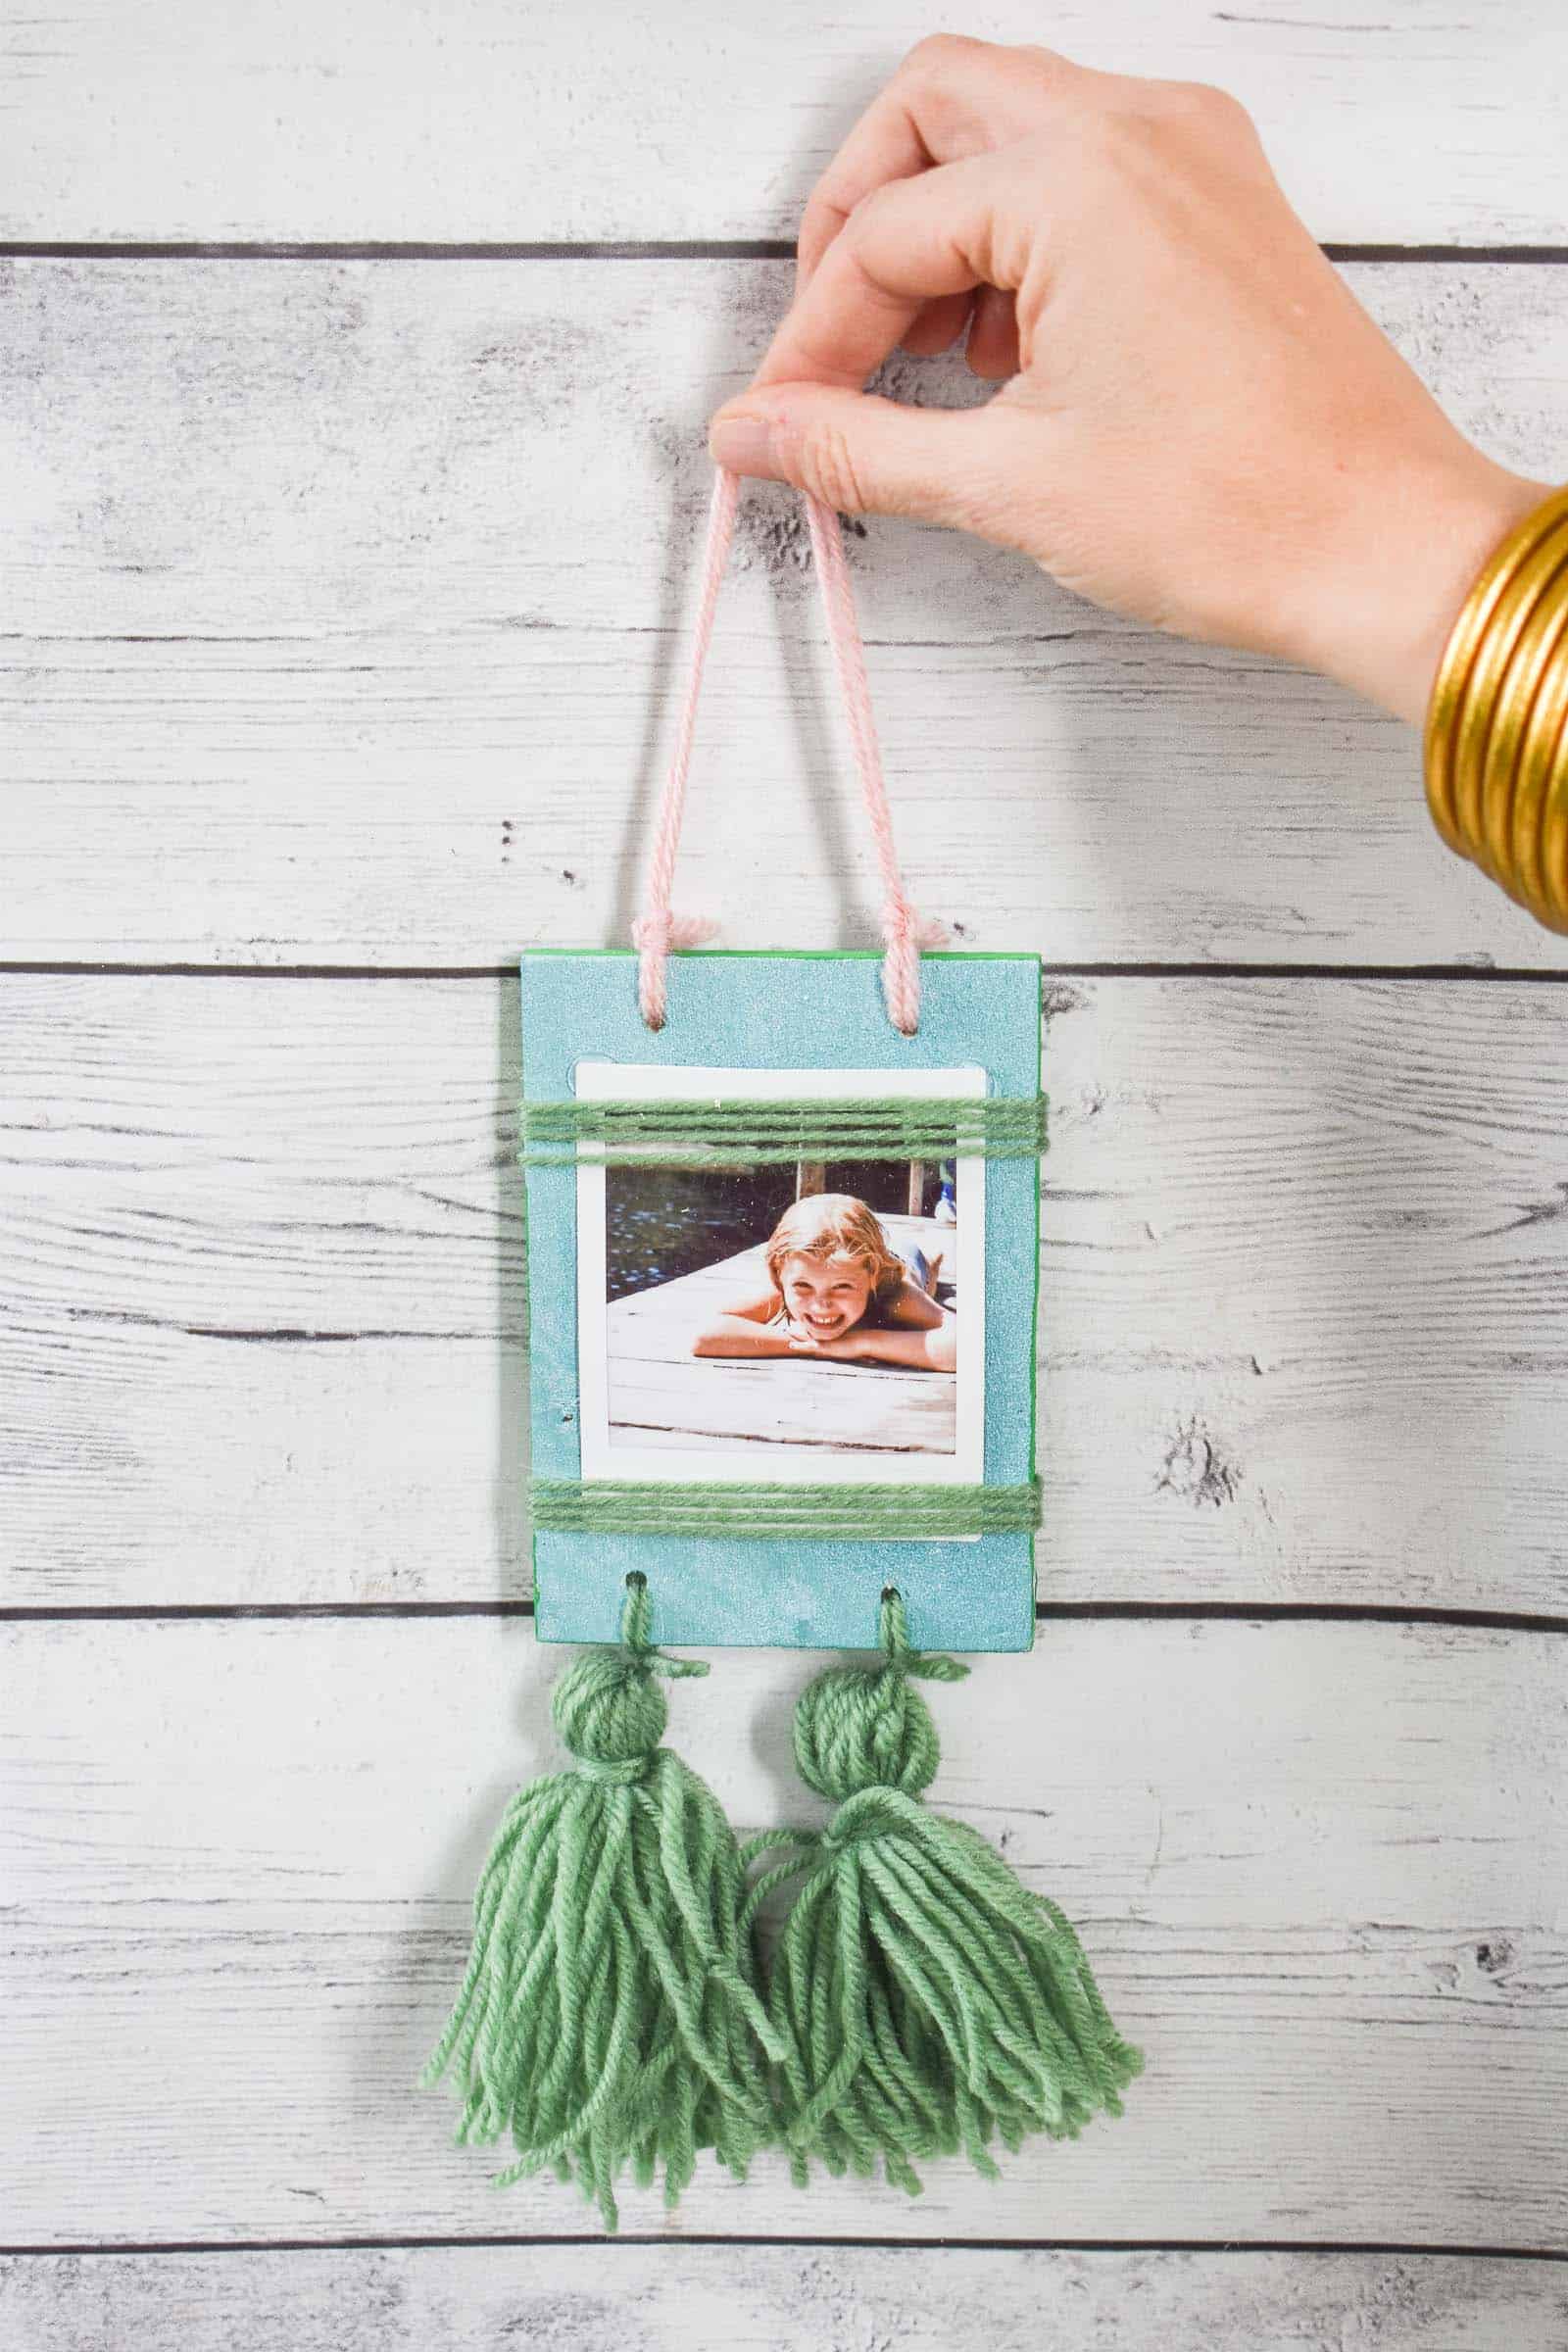
If you drilled holes, you can thread the tassels through each hole with a thin piece of floral wire. Tie in place and add a short length of yarn to the top to use as a hanger.
I love how fun and boho and colorful these ornaments are. I also love how subtly personal they are! I mean, I know it’s a big ol’ photo on the wood, but somehow they feel more like an ornament than they do a photo of my kids. Make sure you check out my post from last Christmas for lots of other uses for the Fujifilm Instax™ printer!

Be sure to check back to see what other ornaments I’ll be sharing in my 12 Days of Ornaments series!


Don’t Miss Out
Become An Insider!
Signup for exclusive tips, and tricks from Charlotte’s House!
Let’s chat!
I love comments from you, so feel free to leave your thoughts and ideas below! And don’t forget to follow me on Instagram for even more!