Colorful DIY Fall Wreath
Psssst… this post *might* contain affiliate links: see my disclosure here.
Inexpensive Wreath for Fall
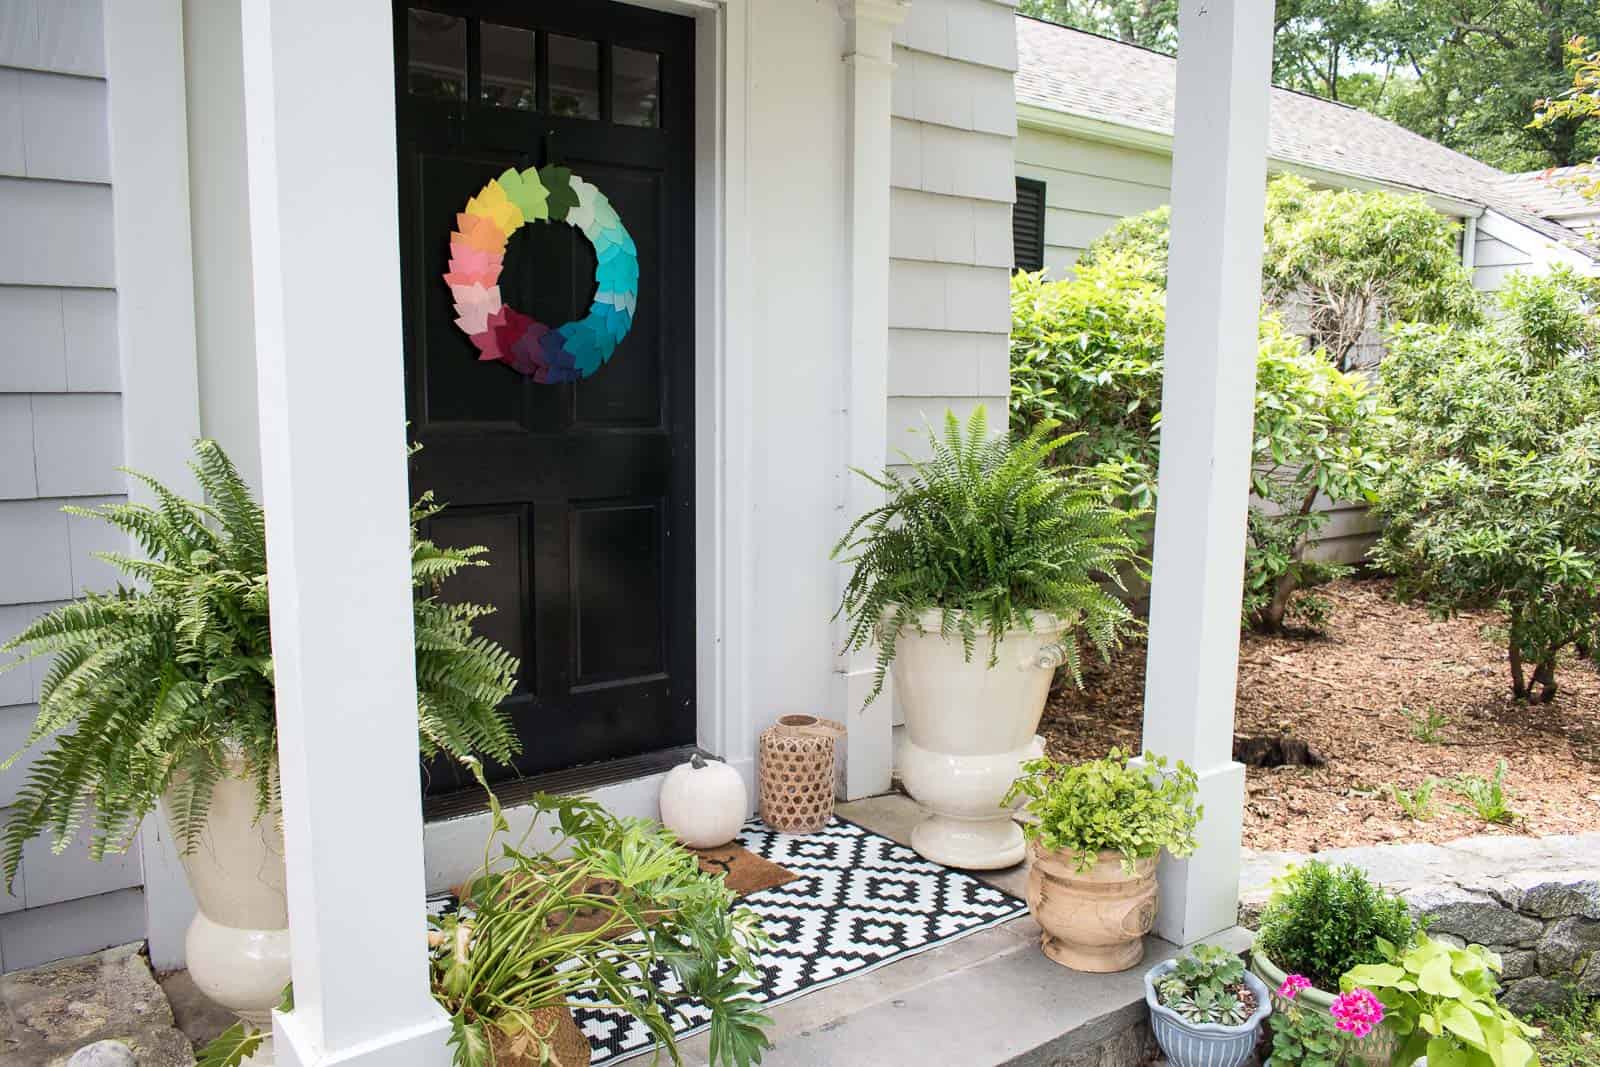
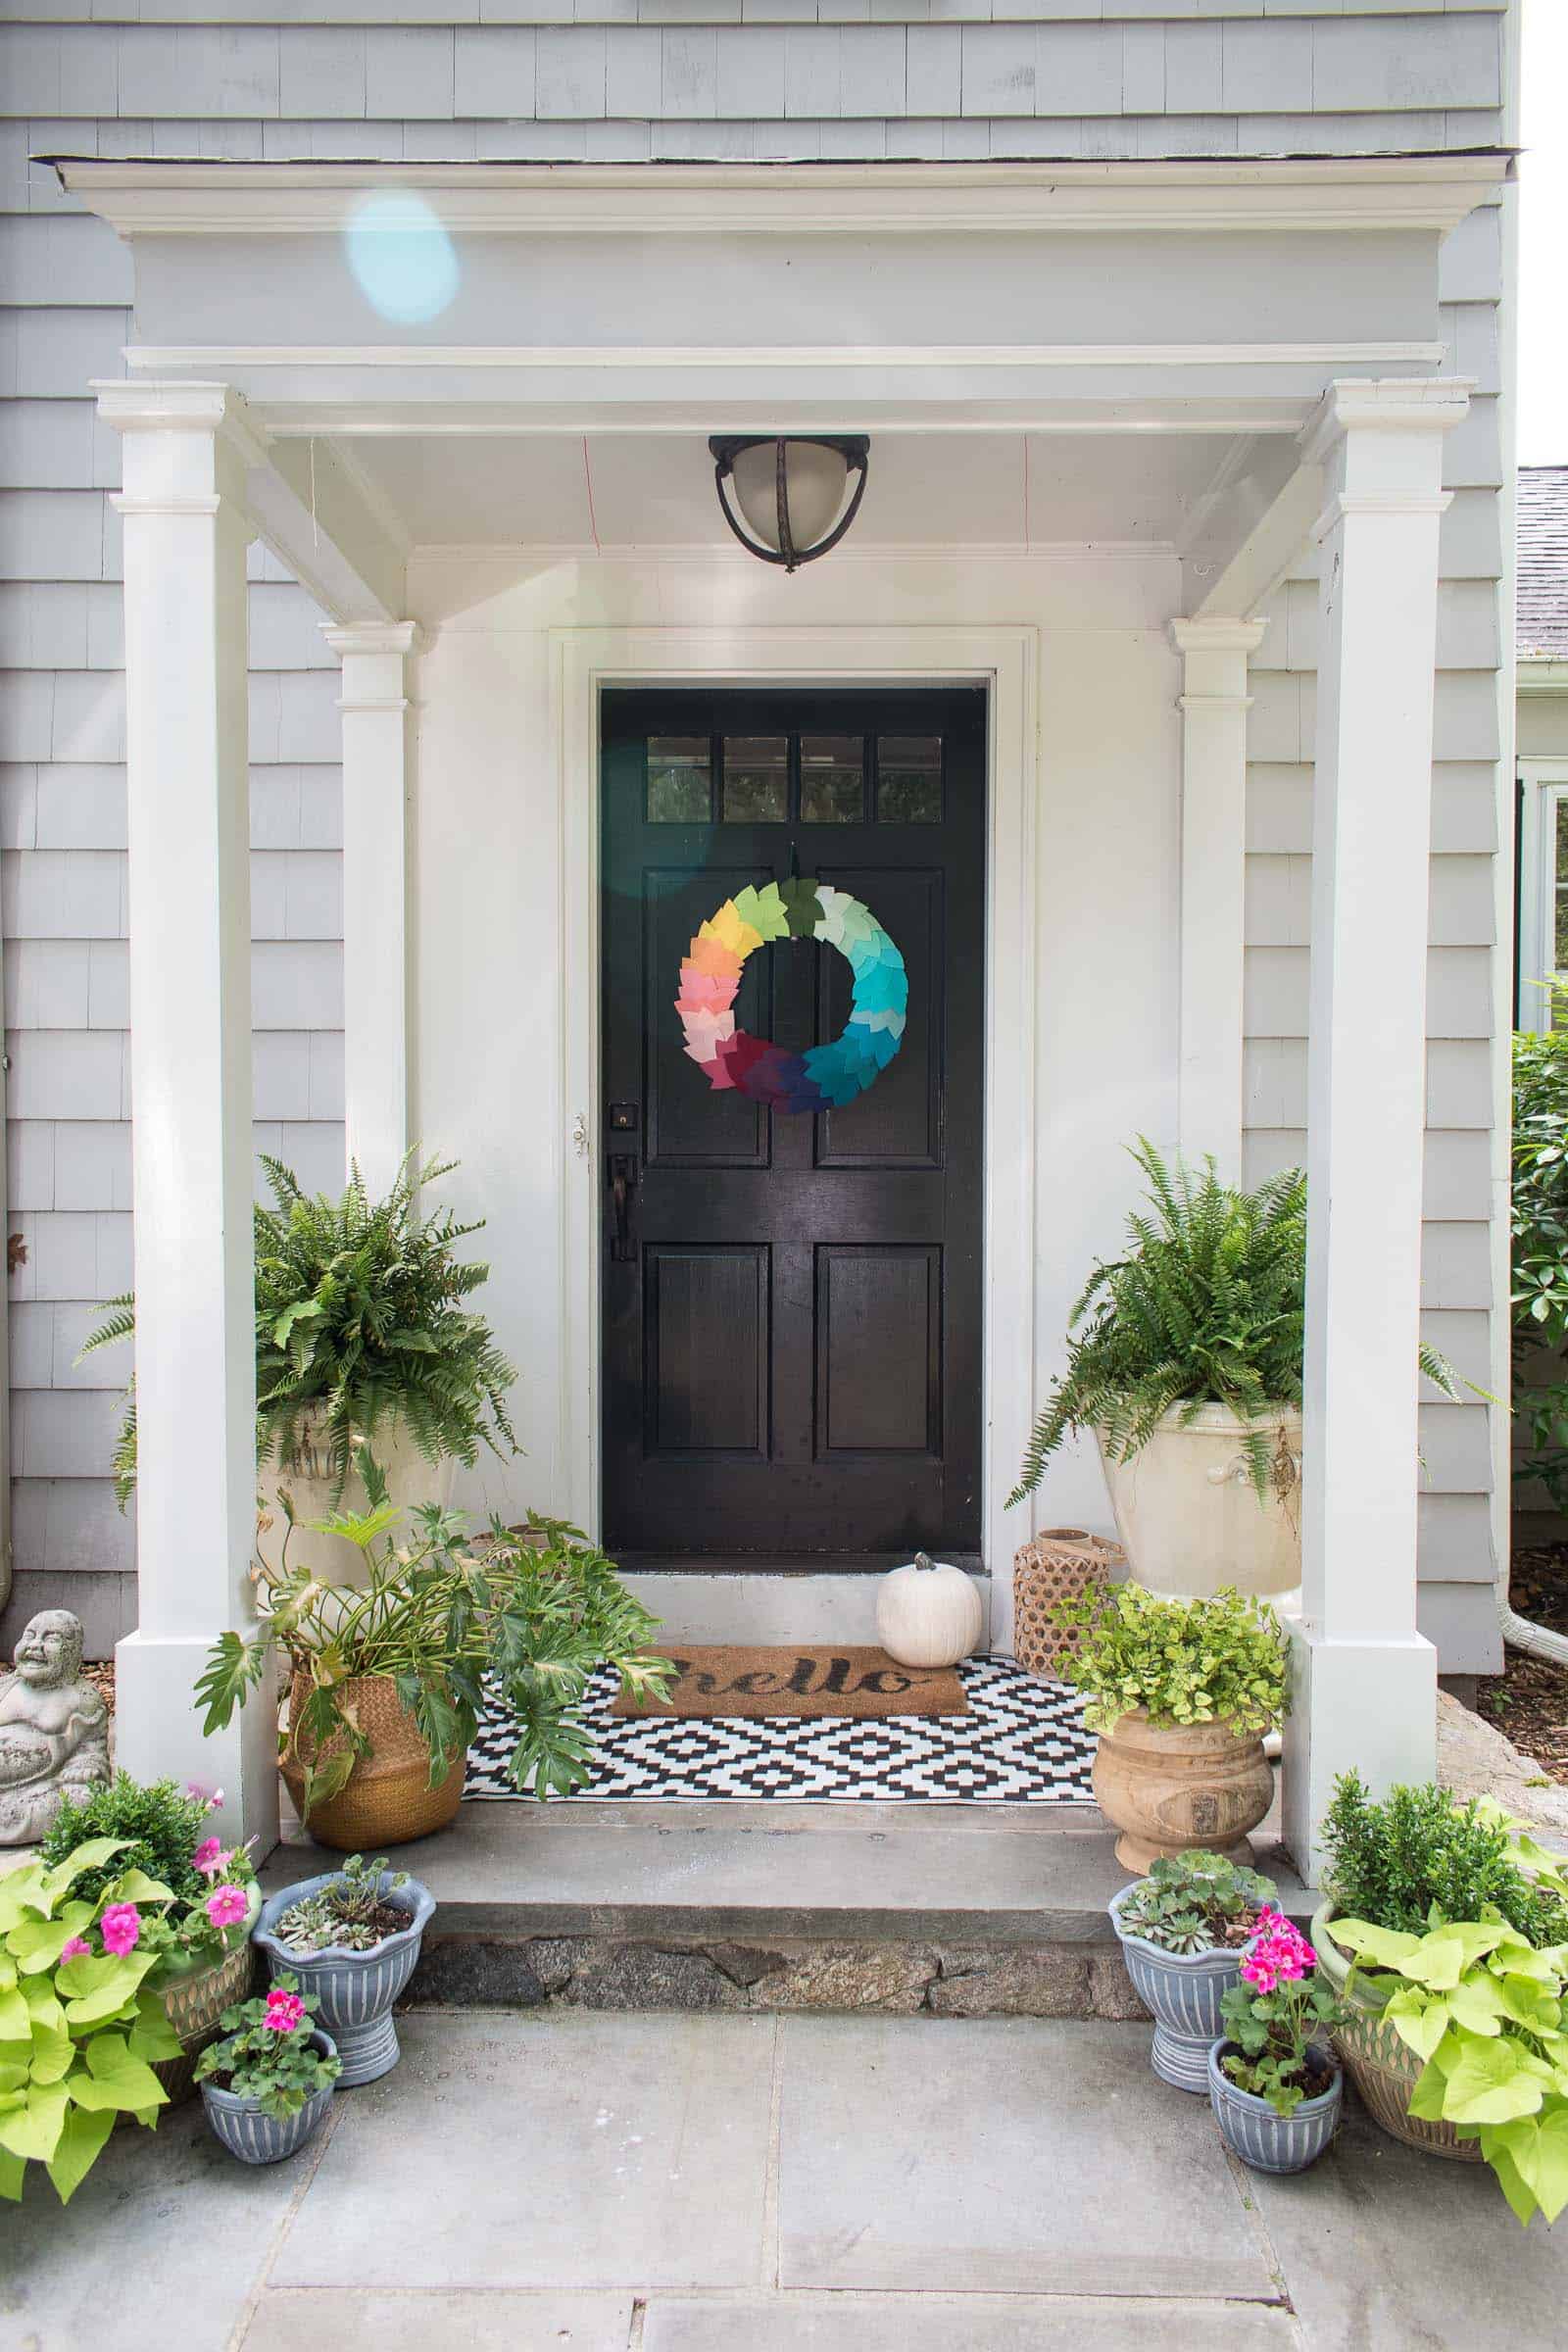
I know it’s still technically summer, but I’m trying to slowly transition into autumn since it will be here in no time! This colorful wreath was really fun to make and is fall decoration #1 for me!
Disclosure: This post was written in collaboration with JOANN. All the love and affection is entirely mine.
Shop my favorites!
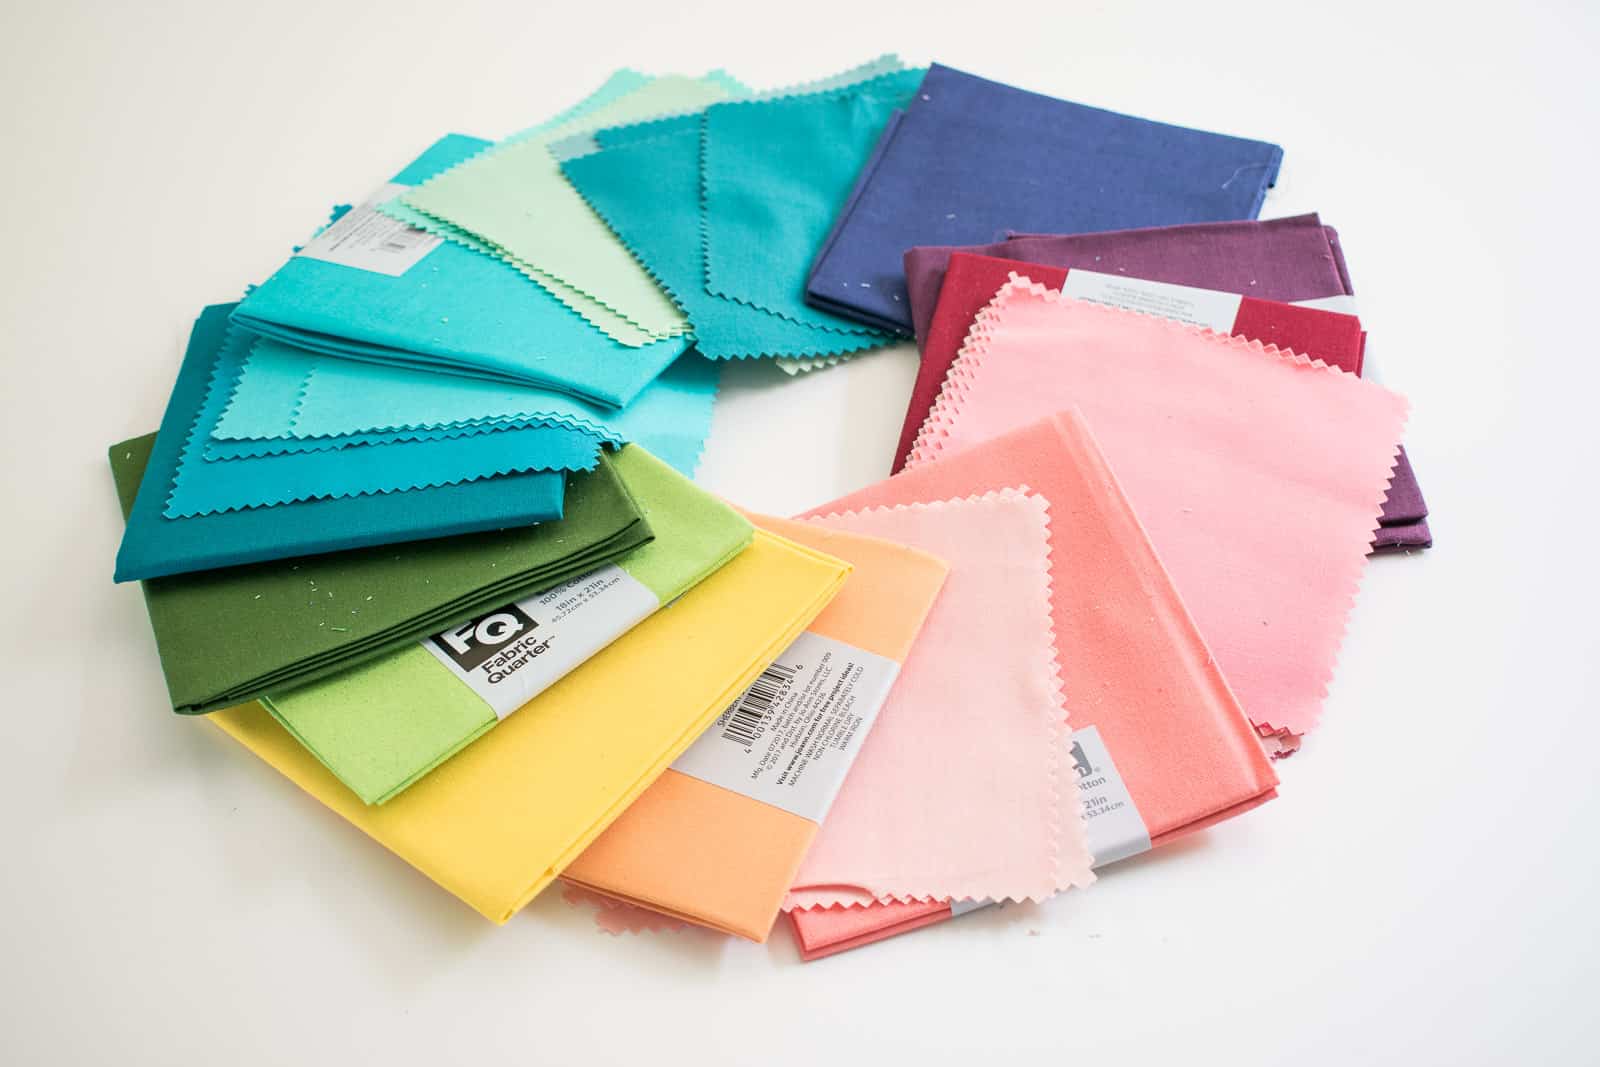
The best part about this fall wreath is that you only need a few simple materials: cotton fabric, iron on backing, and a wreath form! Obviously I loved playing around with some many colors, but I also loved that my vision came to life! (Full material list at the end of the post.)
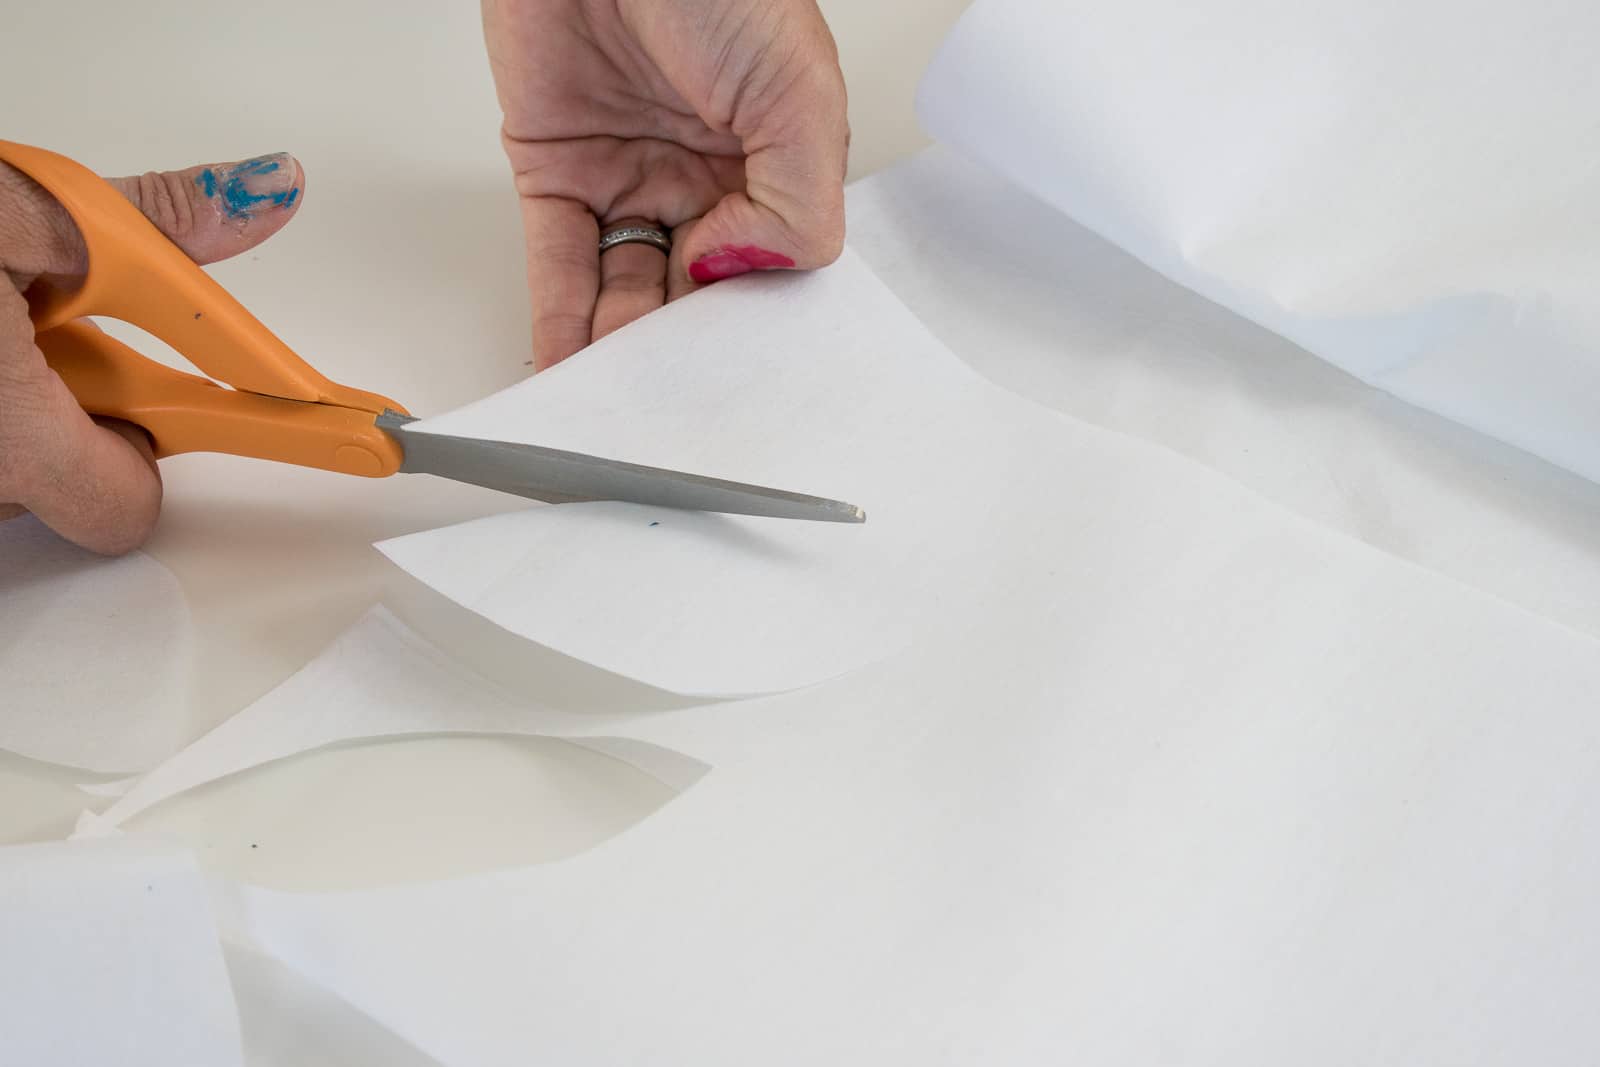
Step 1. Cut Leaves
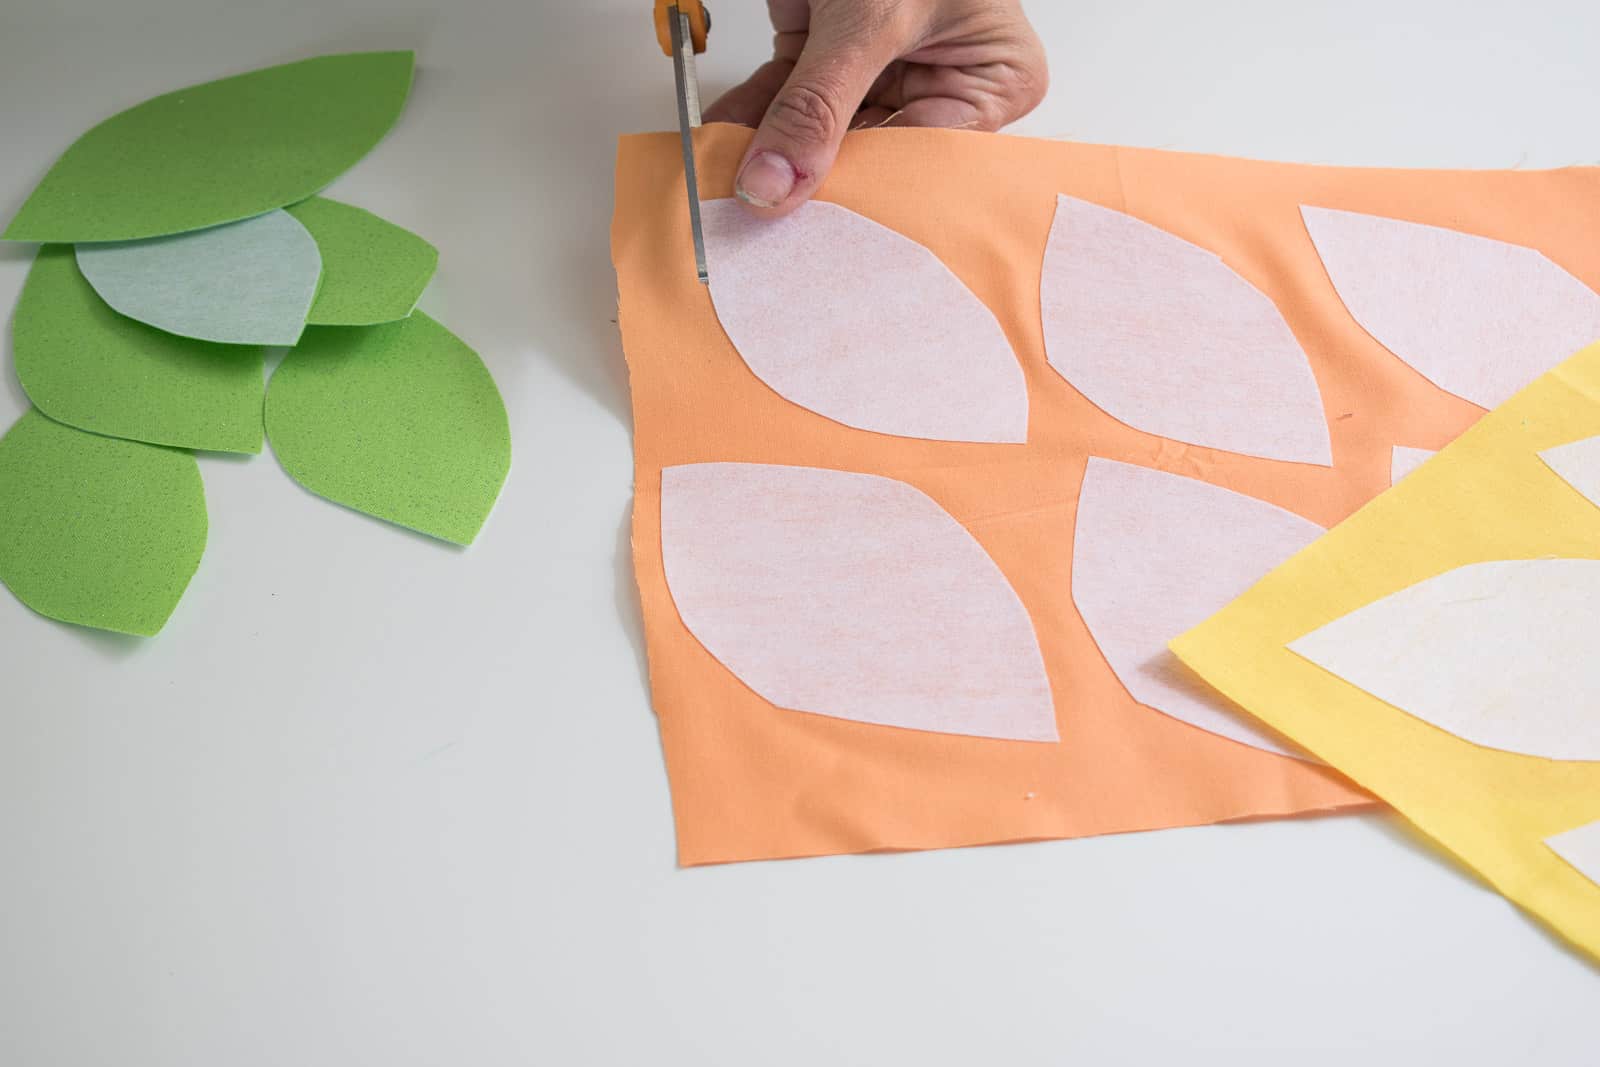
Cut out leaves from fusible interfacing. I kept it really simple and just hand cut each one with scissors, but sky’s the limit here… feel free to trace a more complicated template or even bust out your Cricut if you want to make more intricate cuts. (Note my manicure courtesy of Arthur…)
Step 2. Iron Interfacing onto Fabric
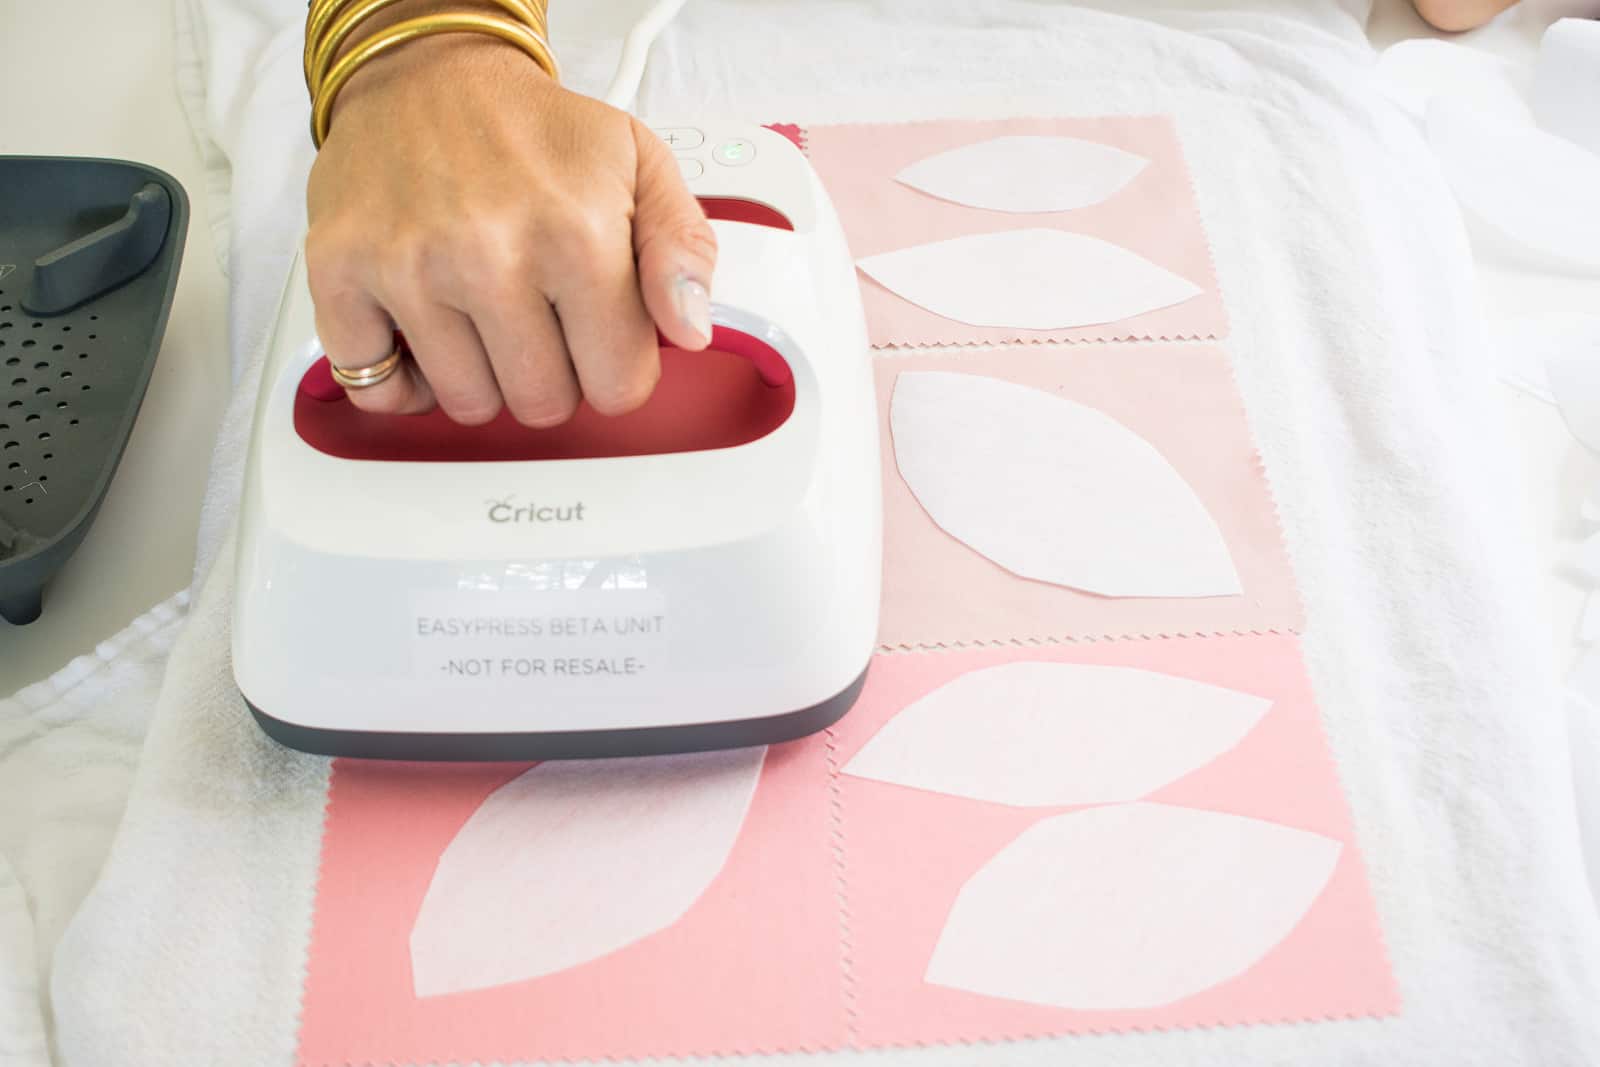
Place the leaves you cut out of interfacing SHINY side down on your fabric. The directions on the interfacing said to use the ‘steam’ function on your iron and a damp rag… but honestly that didn’t work for me. I had my Easy Press set to 400 degrees and simple placed it on top of the interfacing for 10 seconds.
Step 3. Cut out leaves again
I was trying to cut down on waste so I cut the leaves in advance which meant I had to cut them out again once I’d ironed them onto the fabric. There’s no reason you couldn’t iron on the interfacing as a sheet and then cut the leaves out only once.
Step 4. Arrange the Leaves by Color
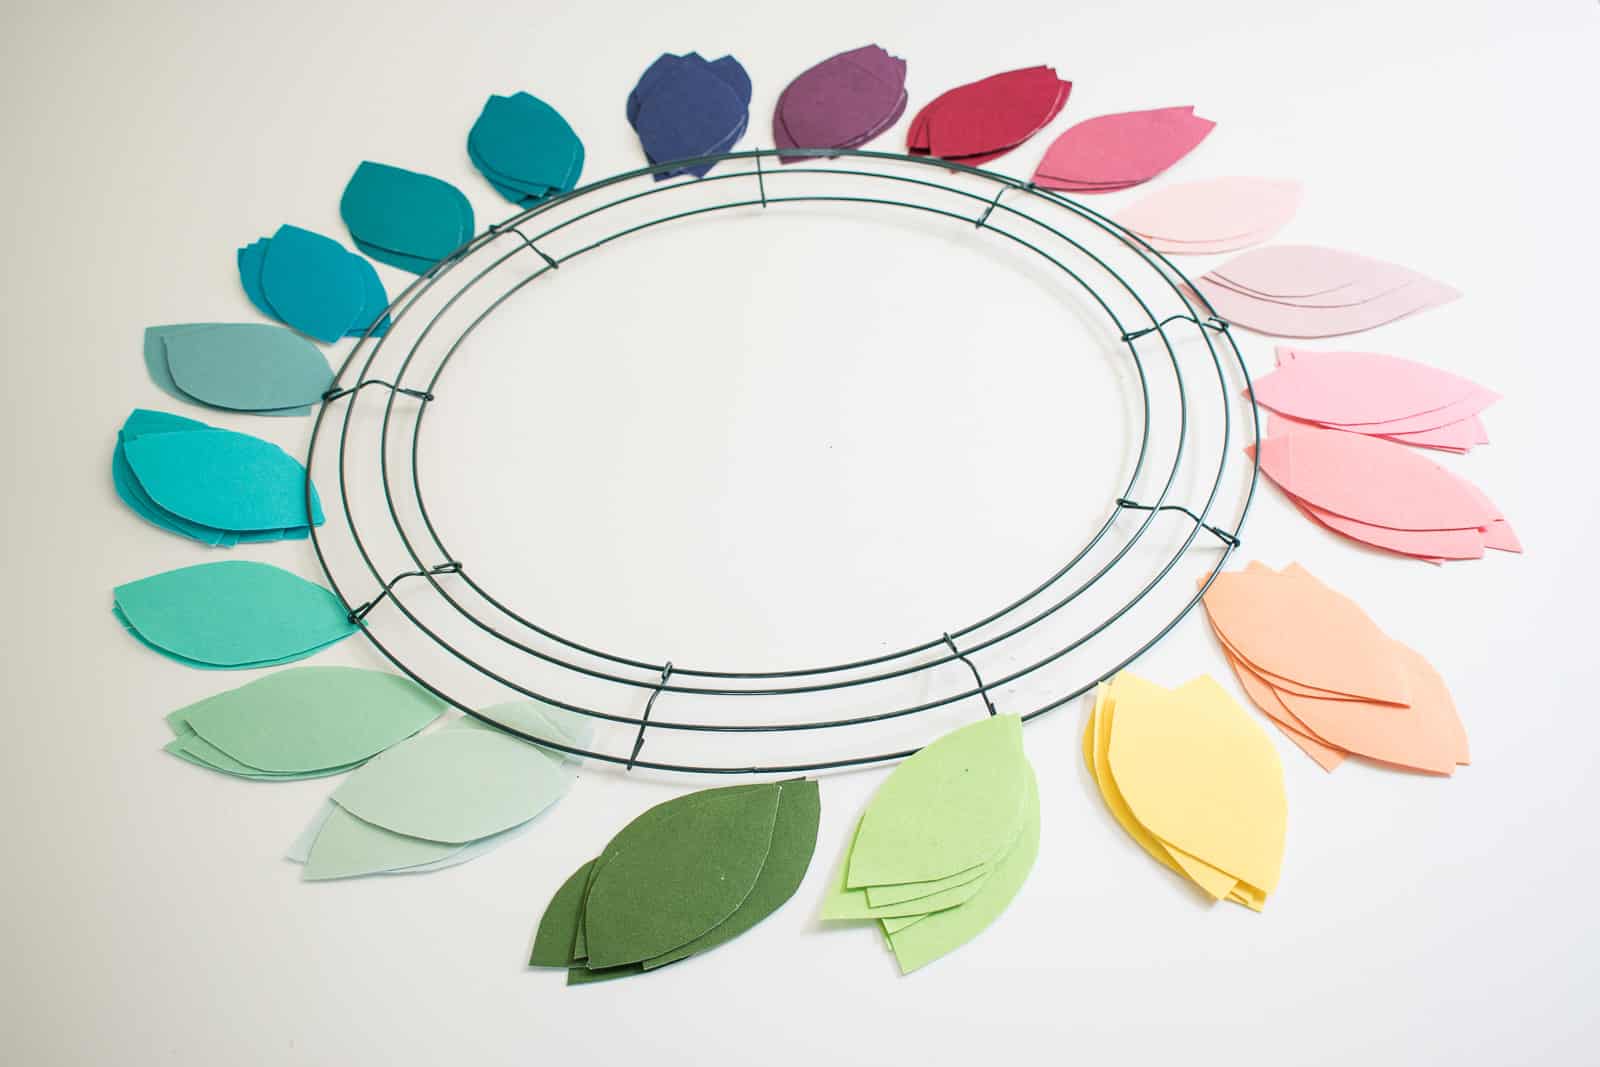
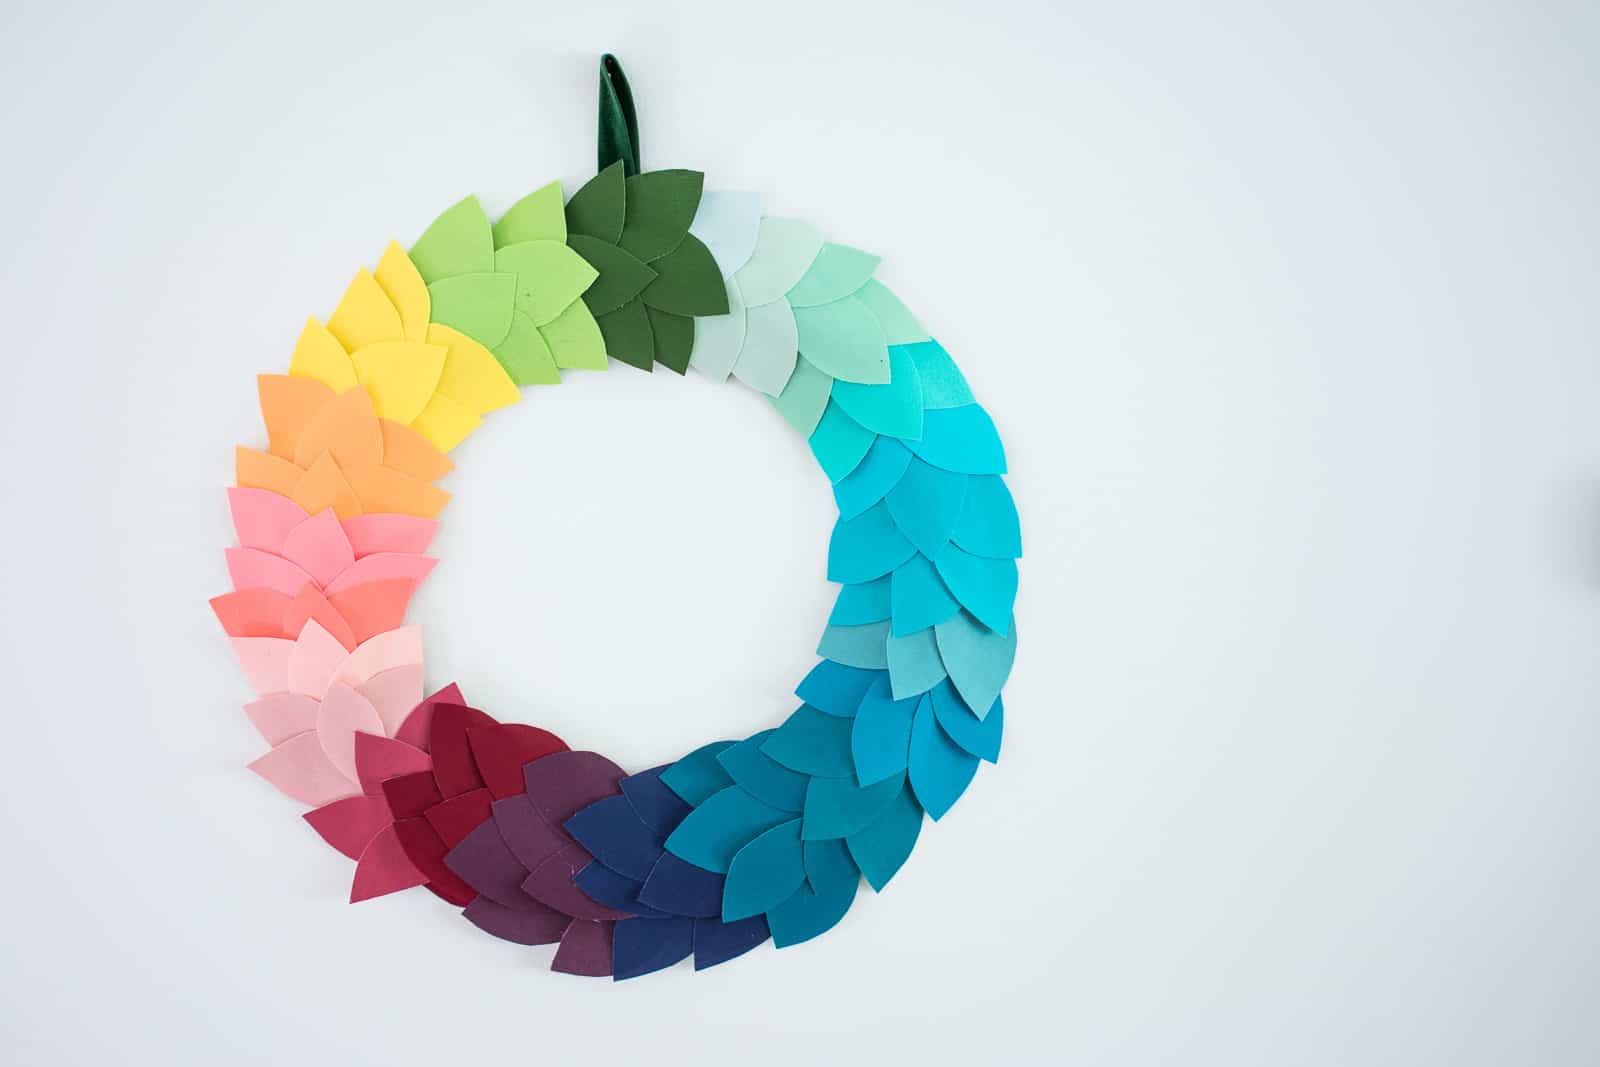
I wanted my wreath to be in an ombre rainbow order so I had lots of colors and wanted to make sure I spaced them out correctly. I’d love to see all the different color choices and patterns you guys might think of!
Step 5. Attach the leaves to the wreath form
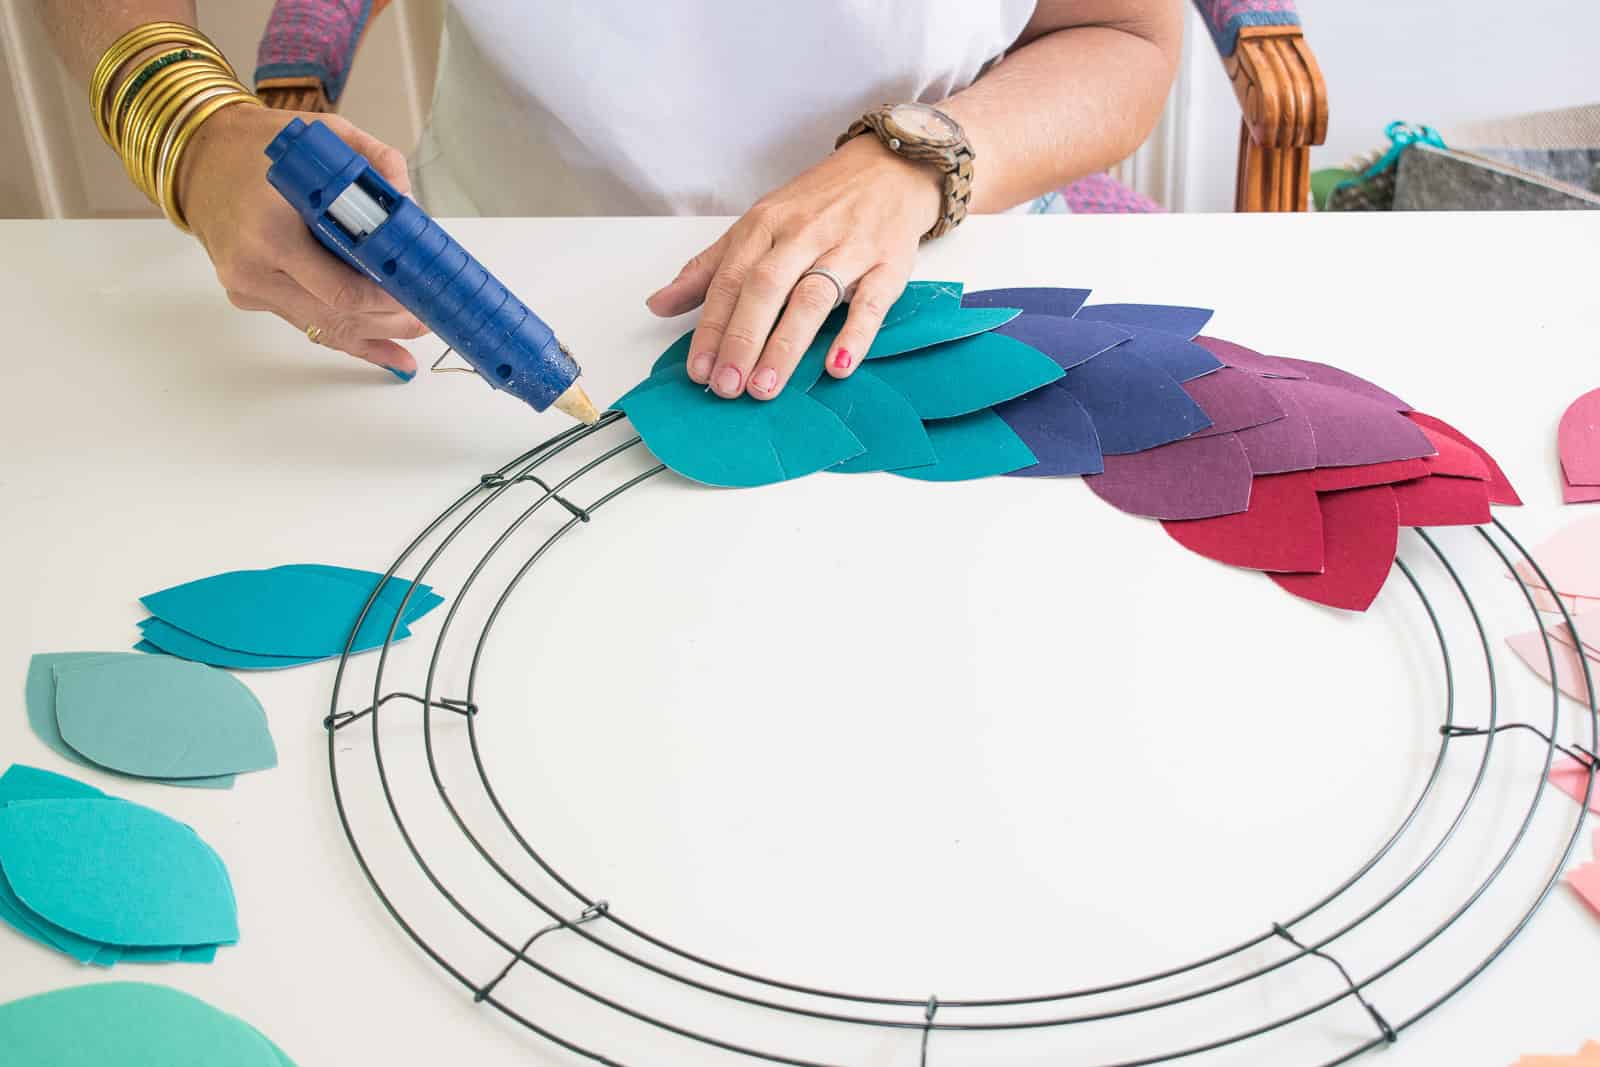
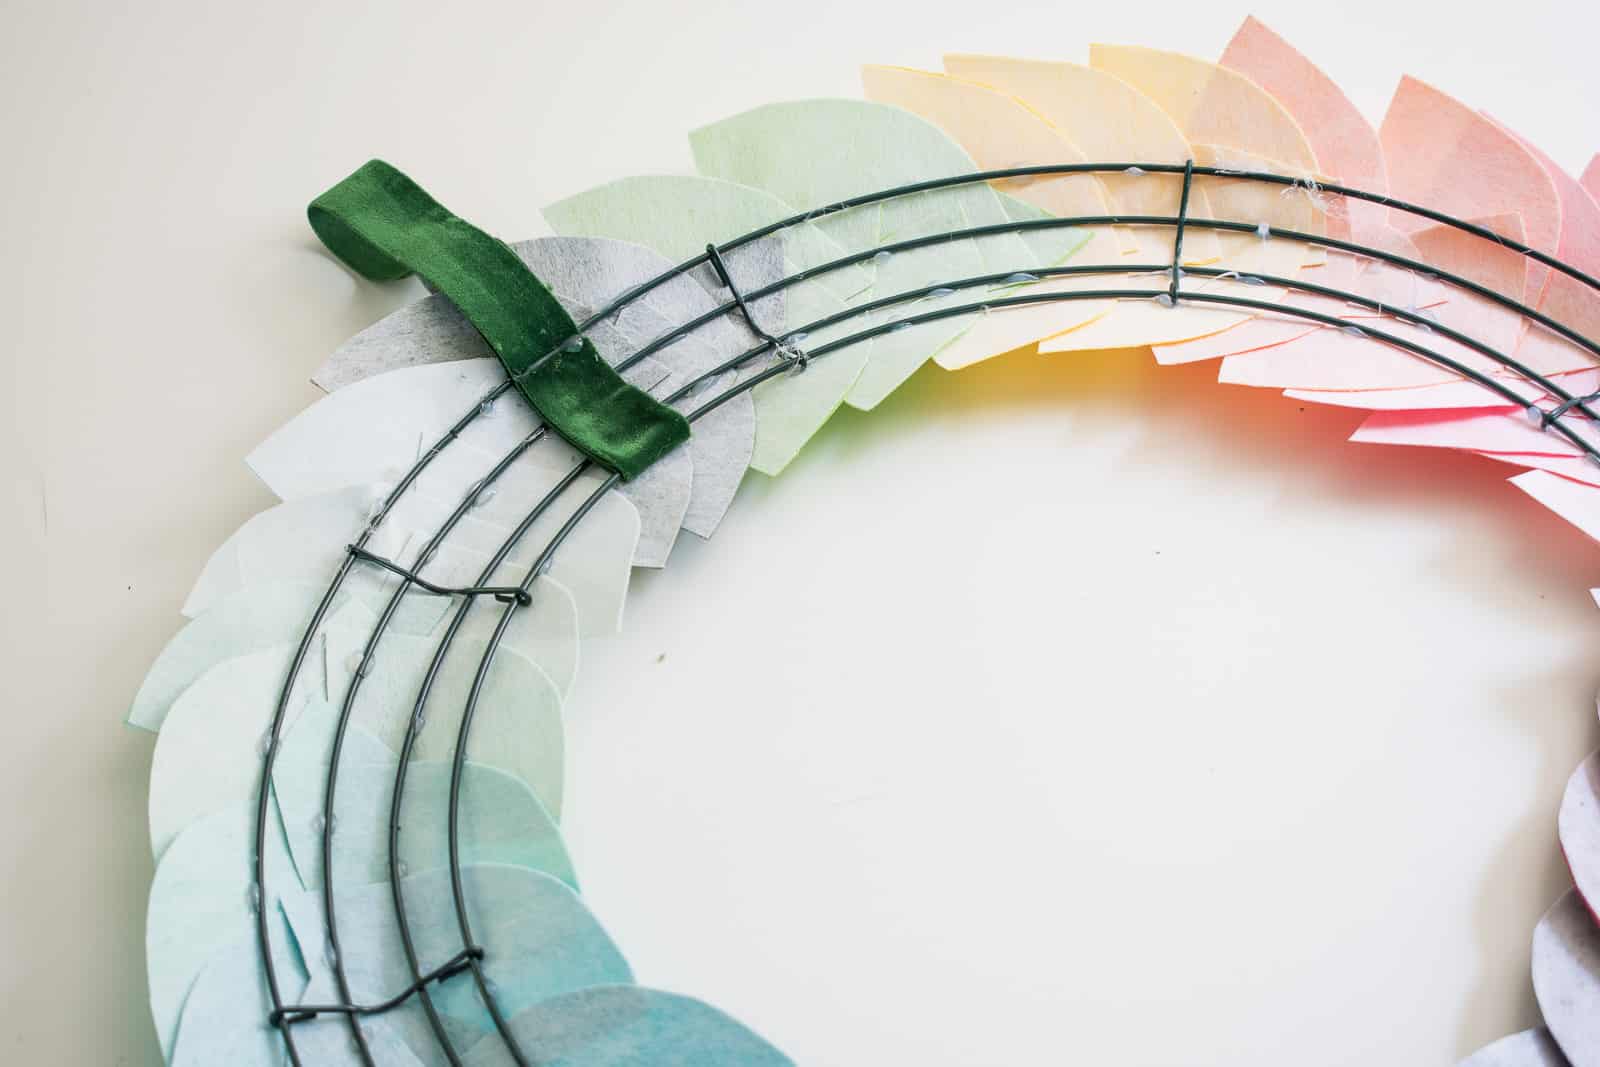
This wire wreath form made it REALLY easy for me to simply hot glue the wreaths in place. Because the form already had some dimensionality to it, simply adhering the leaves was all I needed to do! Obviously I overlapped the leaves as I worked my way around and tried to space them evenly.
Step 6. Add Ribbon for Hanging
I selected some velvet ribbon that matched the color scheme of the leaves and looped it around the wreath form to create a hanging loop.
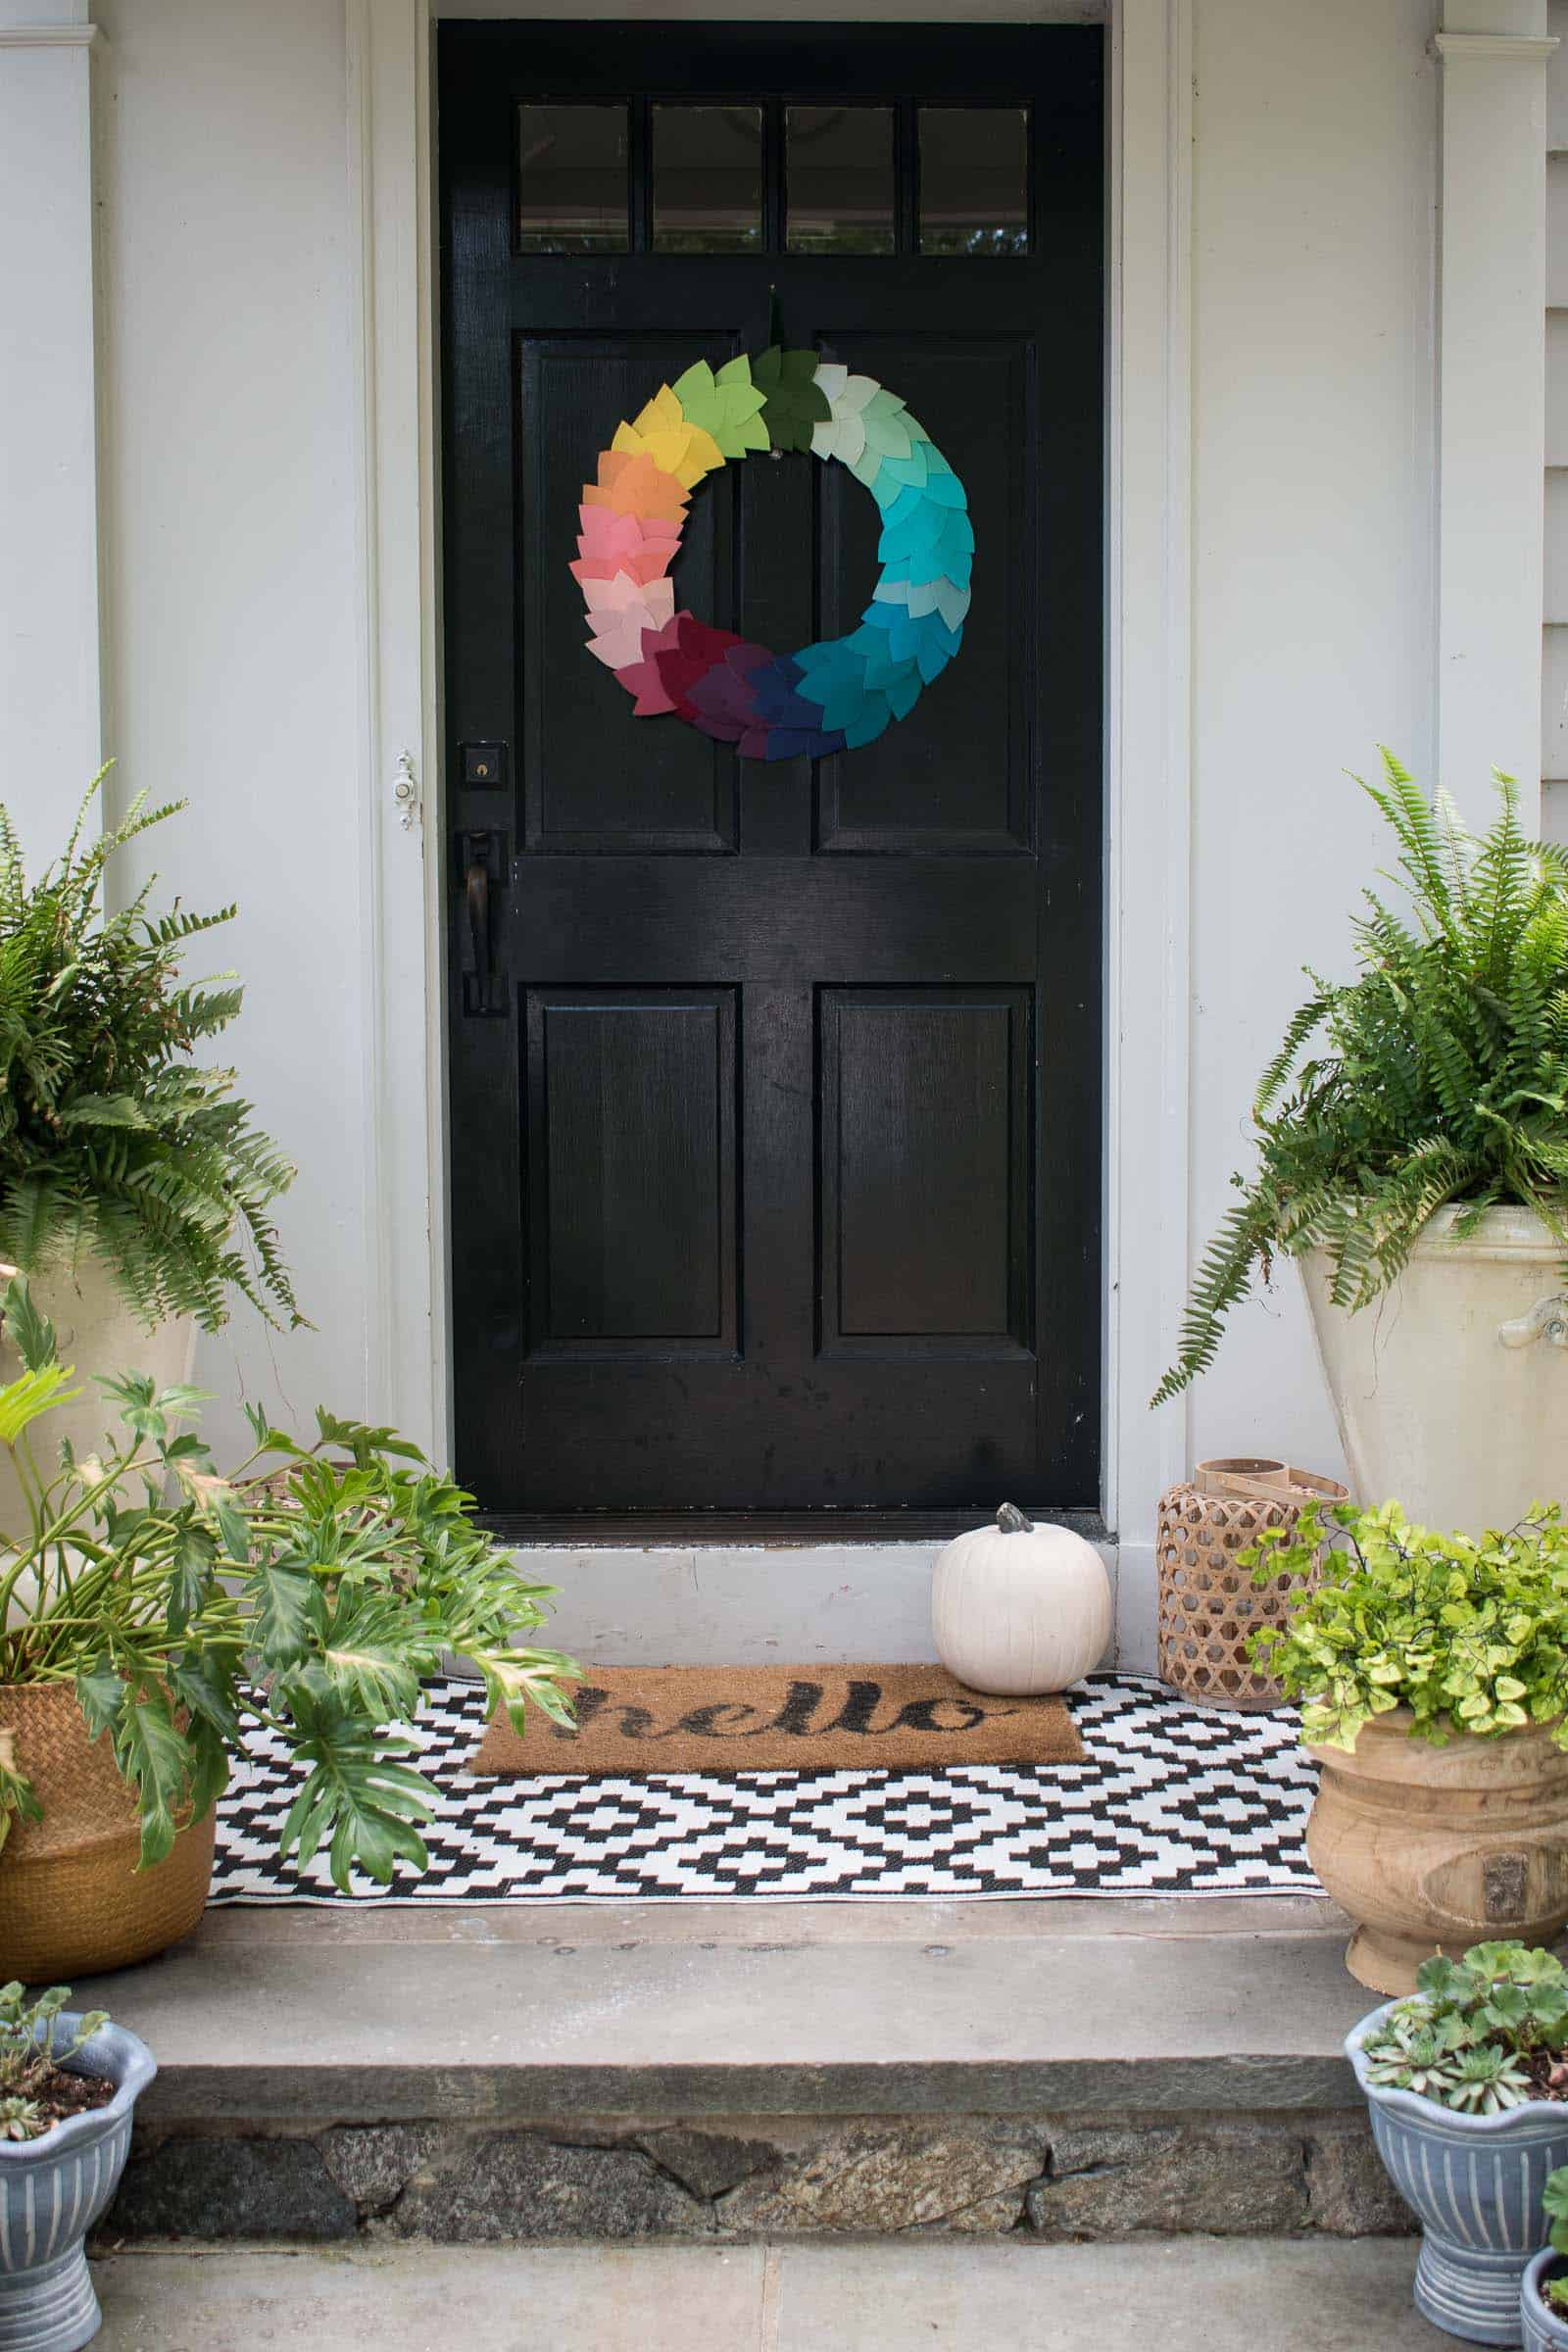
This project is certainly not the most complicated one you’re going to find, but I love having a bit of welcoming color at our front door. I also love that this is something anyone could replicate and add their personal flare to!
Materials:
- Assorted Cotton fabric (I used precut squares as well as individual quarter yards)
- Fusible interfacing
- Wreath form
- Hot glue gun
- iron/ Cricut Easy Press
- Fabric scissors



This is gorgeous! I cant wait to try it! Can you please explain the purpose of the fusible webbing? As a new crafter, id appreciate it!
Thanks!
Hi Kristi! Sorry for the delay… we lost our internet for a couple of days! The fusible webbing makes the fabric stiff so it can be hot glued onto the wreath form without flopping all over!
ABSOLUTELY FANTASTIC. So many possibilities. .
Thank youuuu!!! Yes!! So true! xx
could you add Quantities to yOur “recipe”? What size was the wreath and how many leaves of what approximaTe size? Thanks!
Hi there! The wreath was 18″! I’d say my leaves were about 4-inches long and it looks like I used 80-100 approximately?
So fun! For Halloween you could do ghosts in shades of orange or black and grey or people, the possibilities are endless! Thanks for sharing this idea!
YES! That would be adorable! And totally… if you get a Cricut involved, those individual shapes could be ANYTHING! Great idea!
I love this. Gets my creative juices running!
Yay! Thanks so much!
This is the perfect wreath for back to school time! I’ll be honest though, I’m itching to put up all my fall decorations already. It’s possibly my favorite time of year, so this is a good compromise.
Haha! I can’t wait to see yours… I struggle big time with fall decor!
I think I might even be more lazy on this project and use felt instead of light cotton and interfacing.
That’s exactly what I was thinking, Deeann.
Haha! I wanted a slightly different variety of colors, but I LOVE the idea of using felt!
Haha! Totally! Might get a little floppy, but that could be really pretty!
So cute! I love all the colors!! It looks so good on the dark door especially! I love how everyone can do something totally different and make it unique in their own way! 🙂