Colorful Epoxy Resin Cutting Board
Psssst… this post *might* contain affiliate links: see my disclosure here.
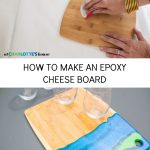
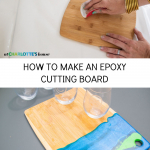
How to Make An Epoxy Pour Cutting Board
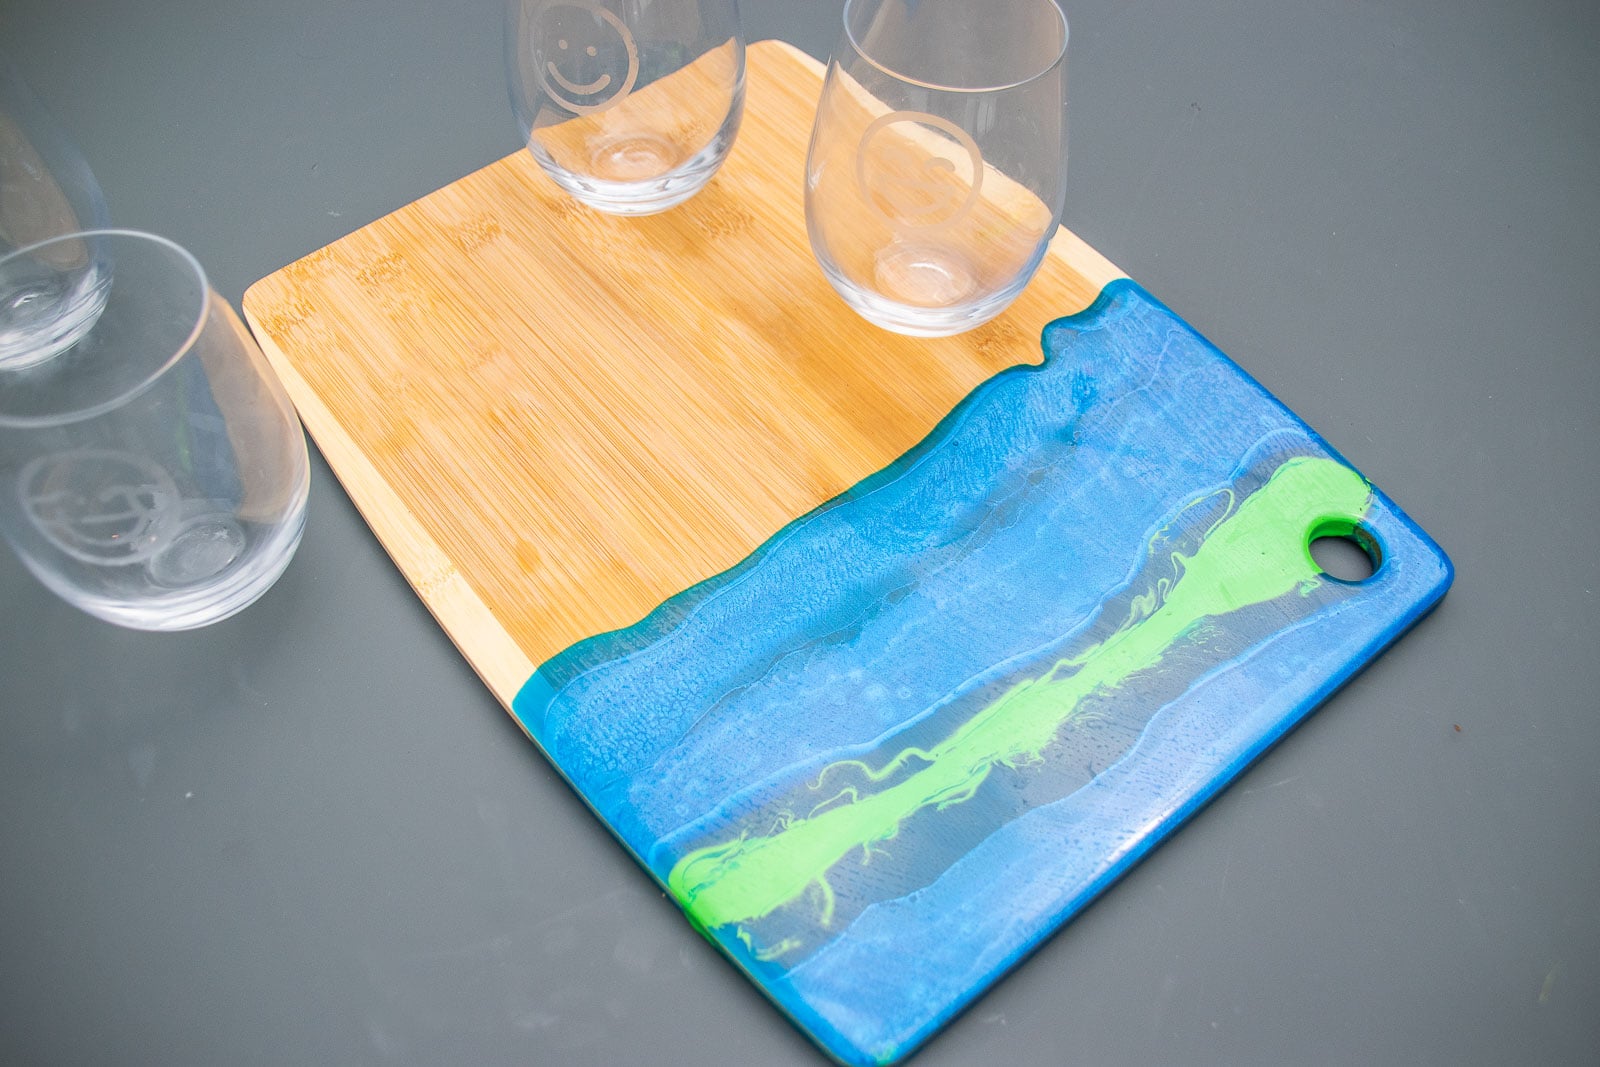
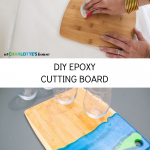
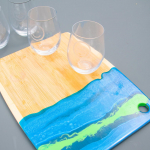
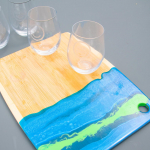
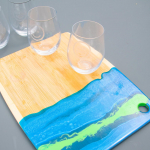
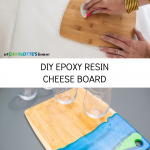
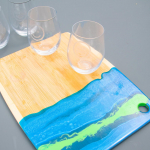
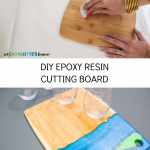
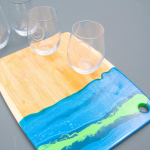
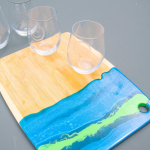
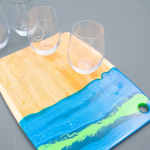
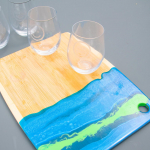
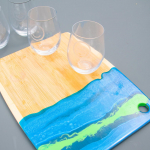
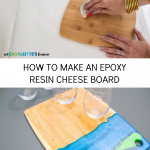
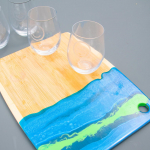
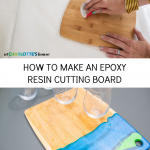
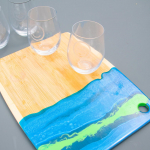
I gave this basic cutting board a colorful epoxy update.
You guys were so excited about my colorful epoxy cheeseboard so I’ll do my best to share the tutorial with you here! Spoiler… epoxy is essentially really easy to work with! Messy, but also… easy. This will take you maybe 10 minutes to make, but another 24 hours for the epoxy to fully cure so plan your project accordingly! Full materials list at the end of the post!
Shop my favorites!
Step 1. Prep the cutting board
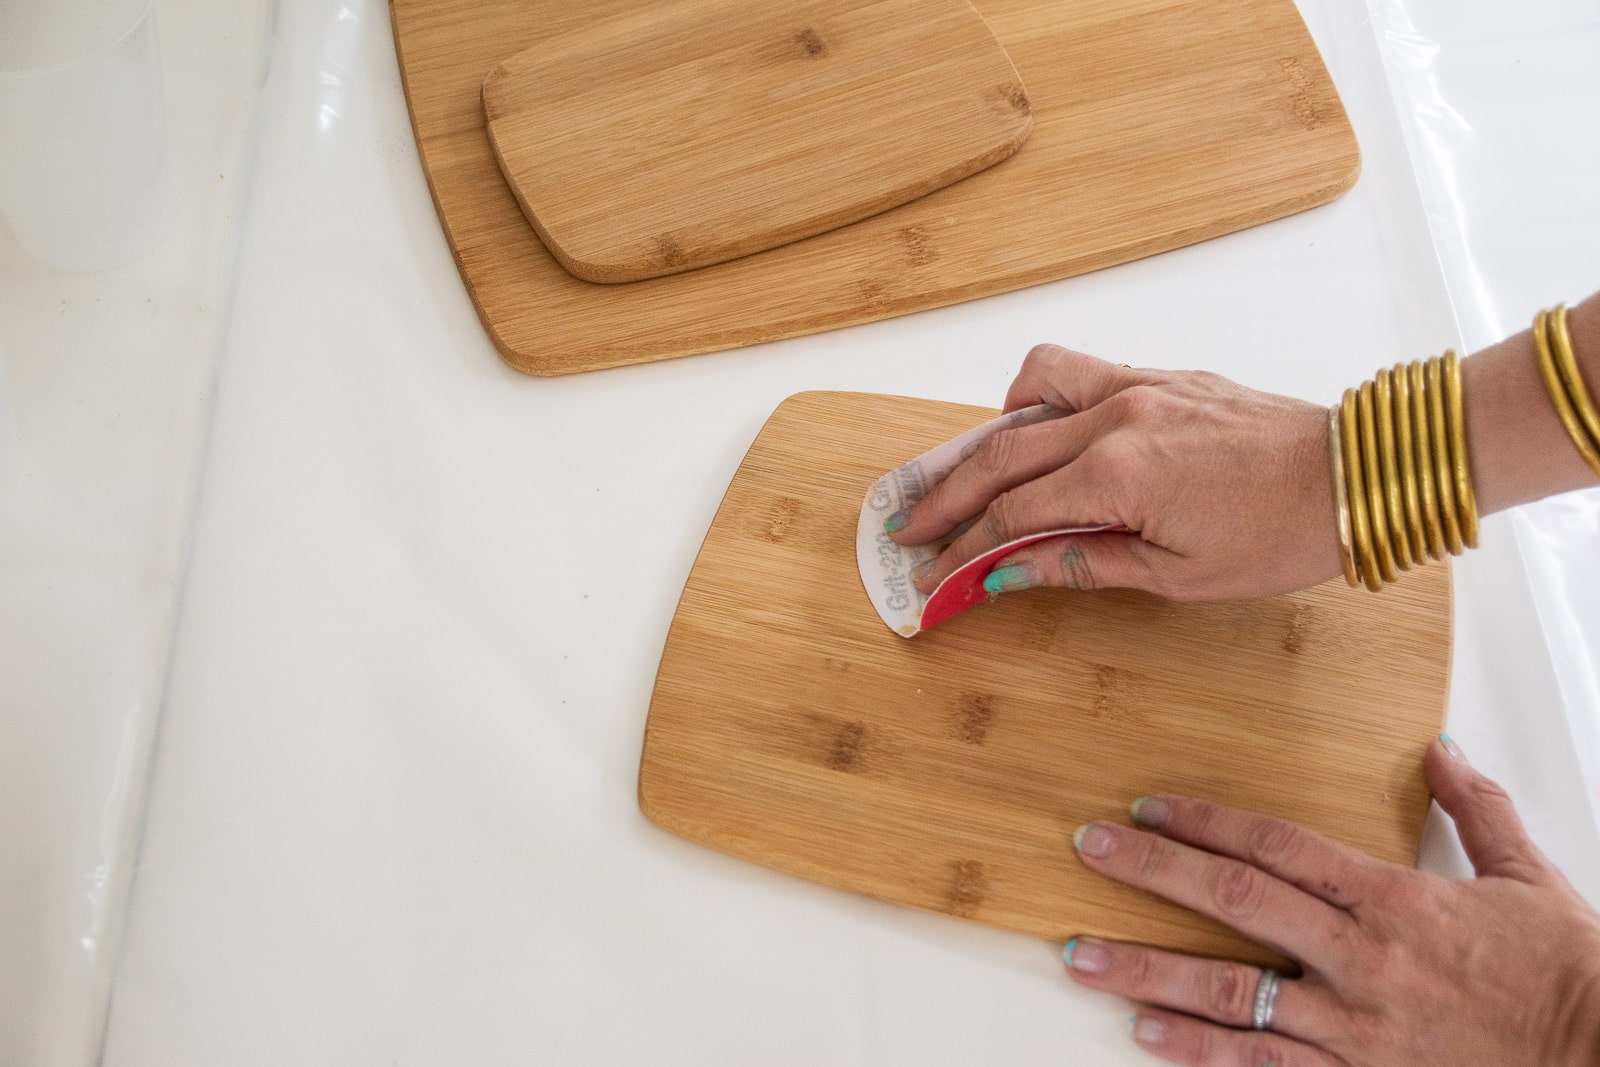
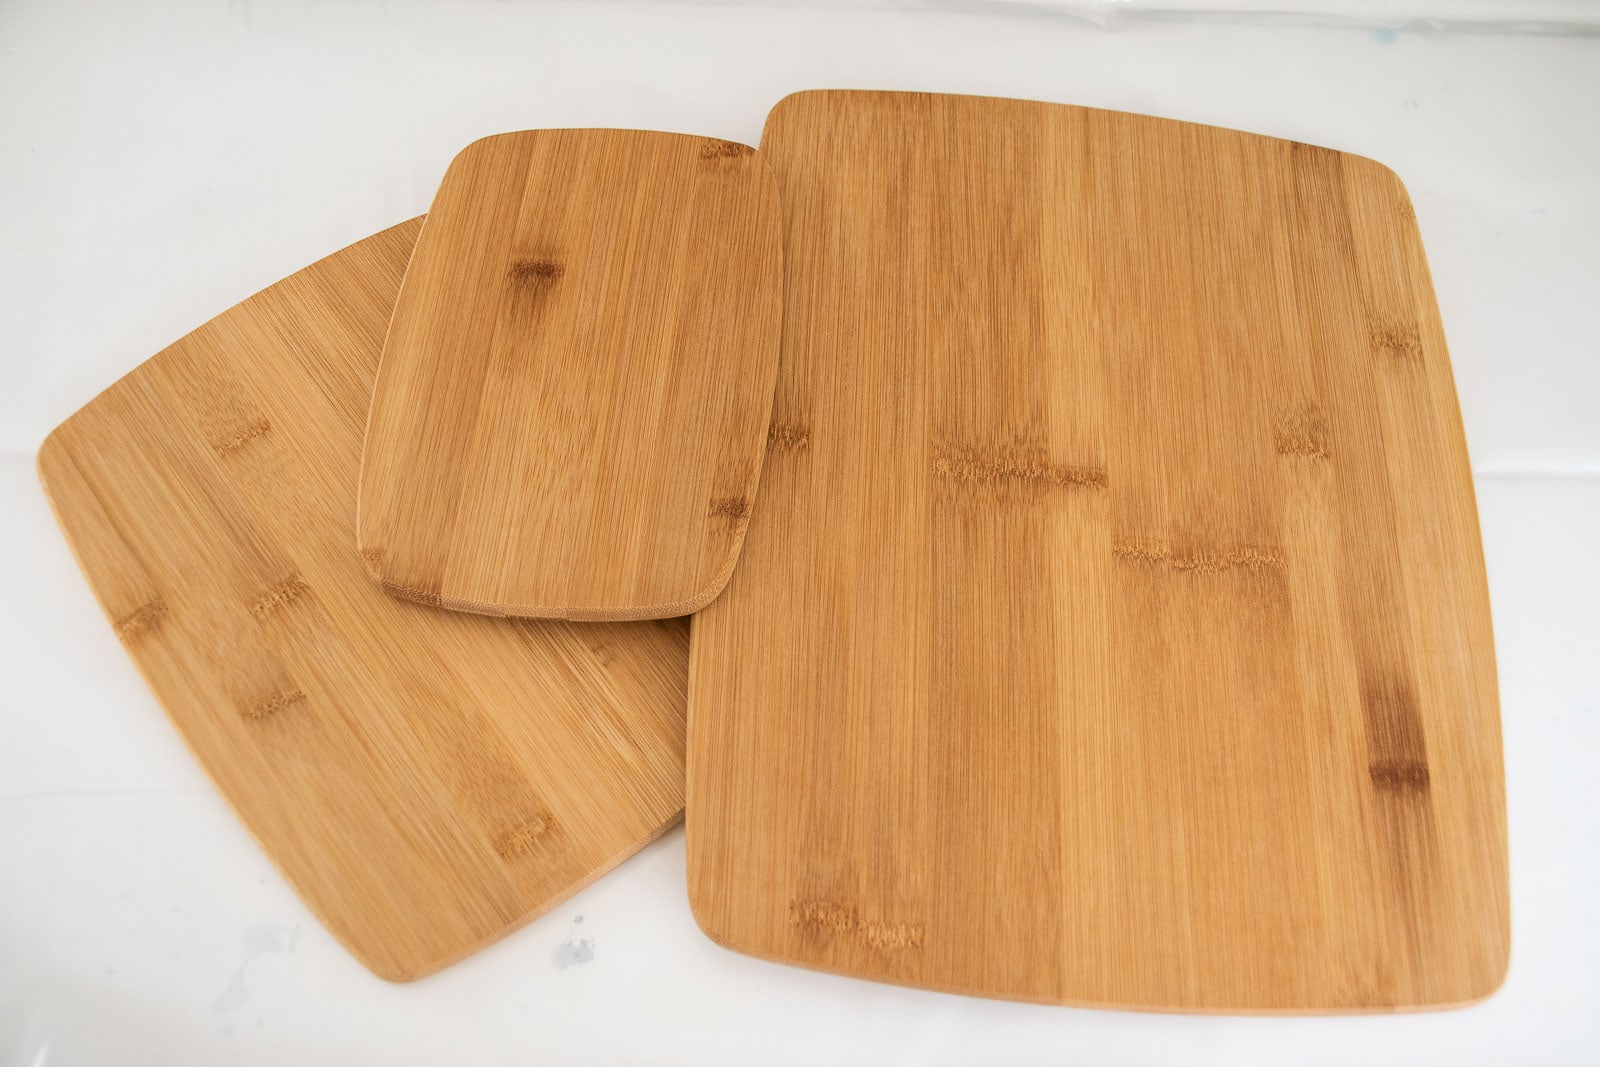
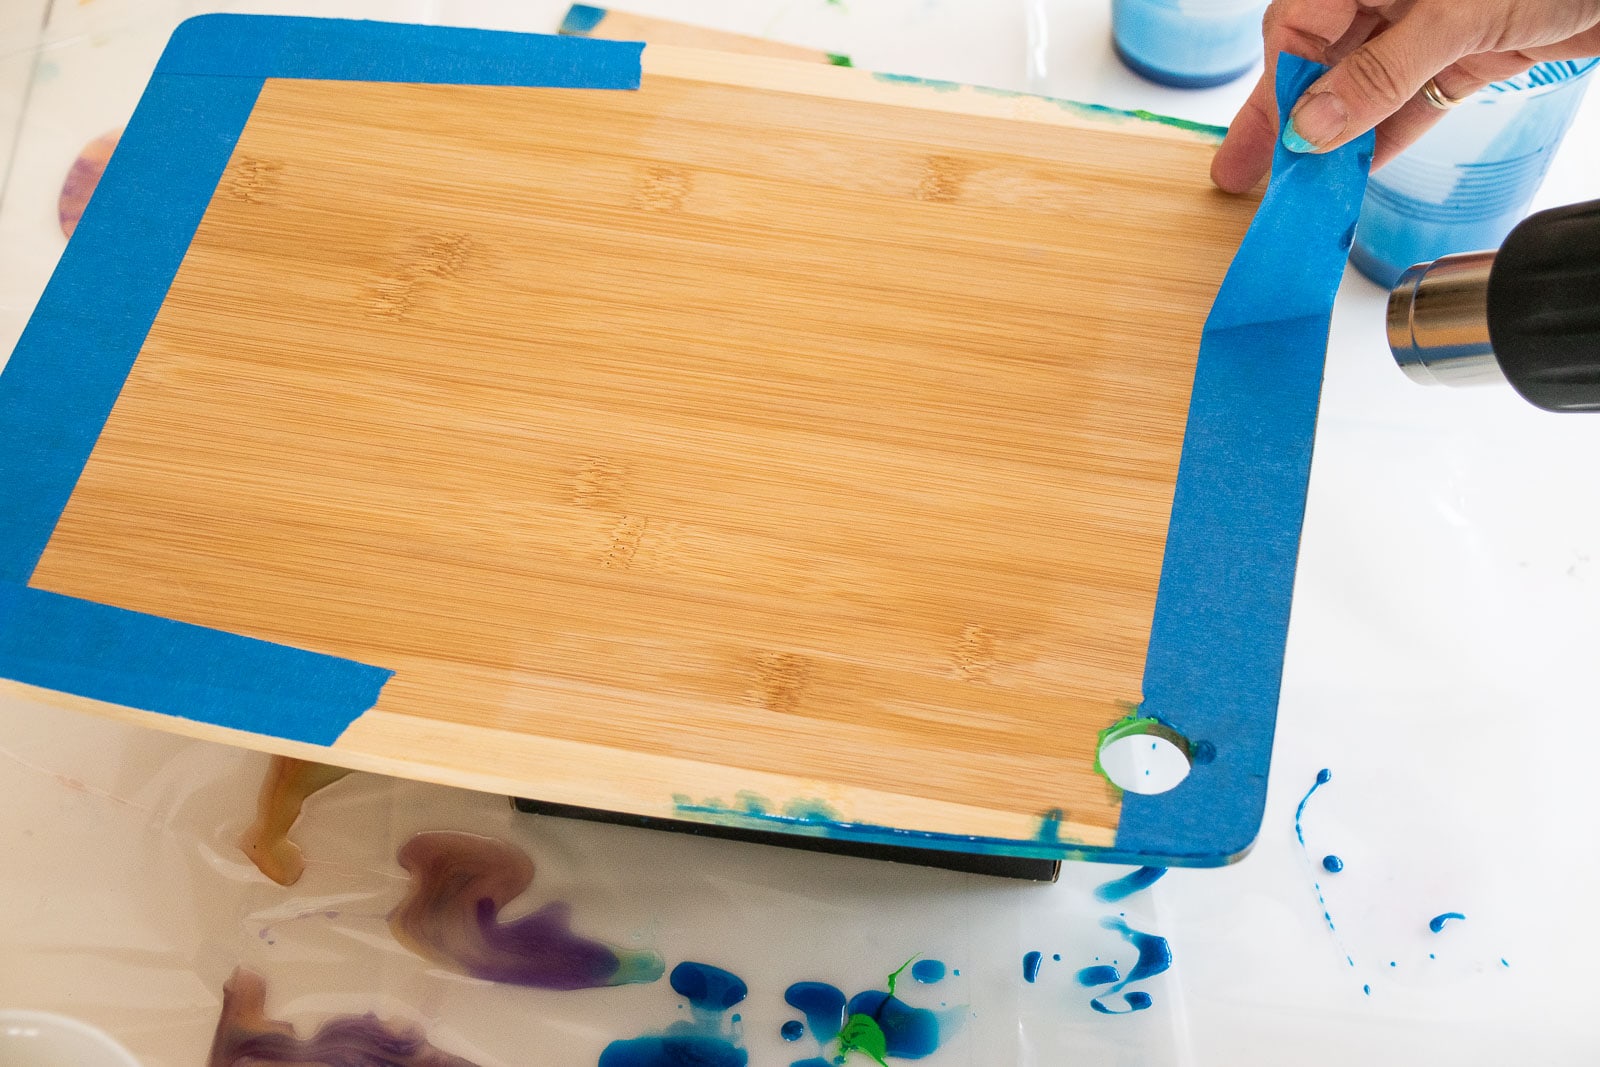
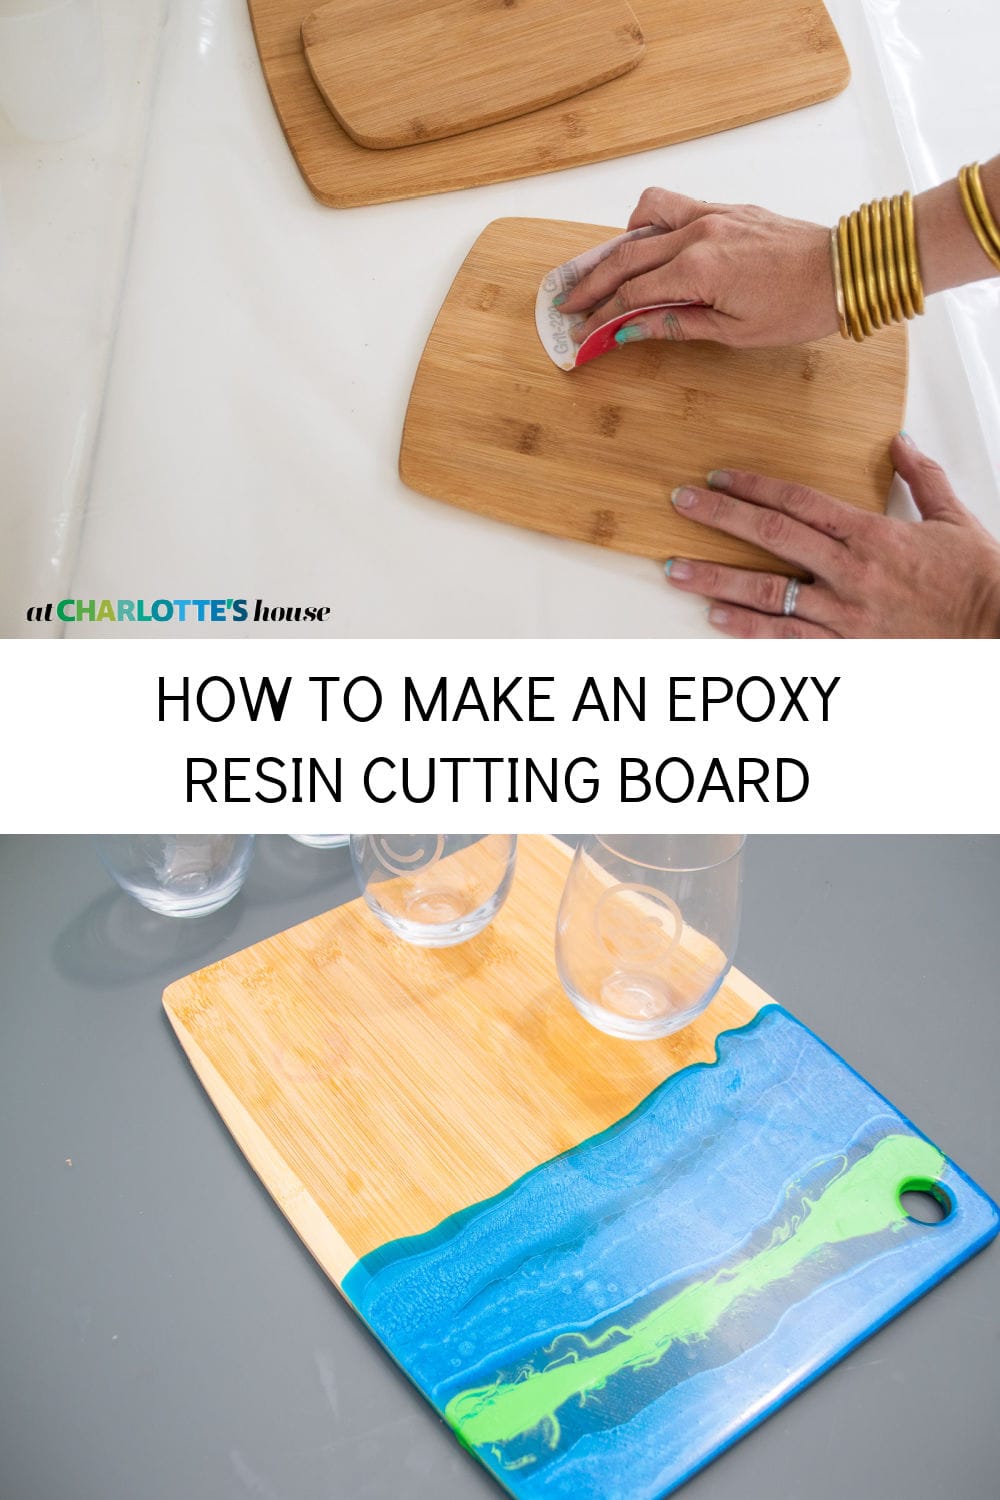
I lightly sanded my bamboo cutting board and then used painter’s tape to protect the underside. The epoxy will drip over the edge so the tape along the bottom will keep the underside of the cutting board from getting messy and ruined with epoxy drips.
Step 2. Prep the work surface
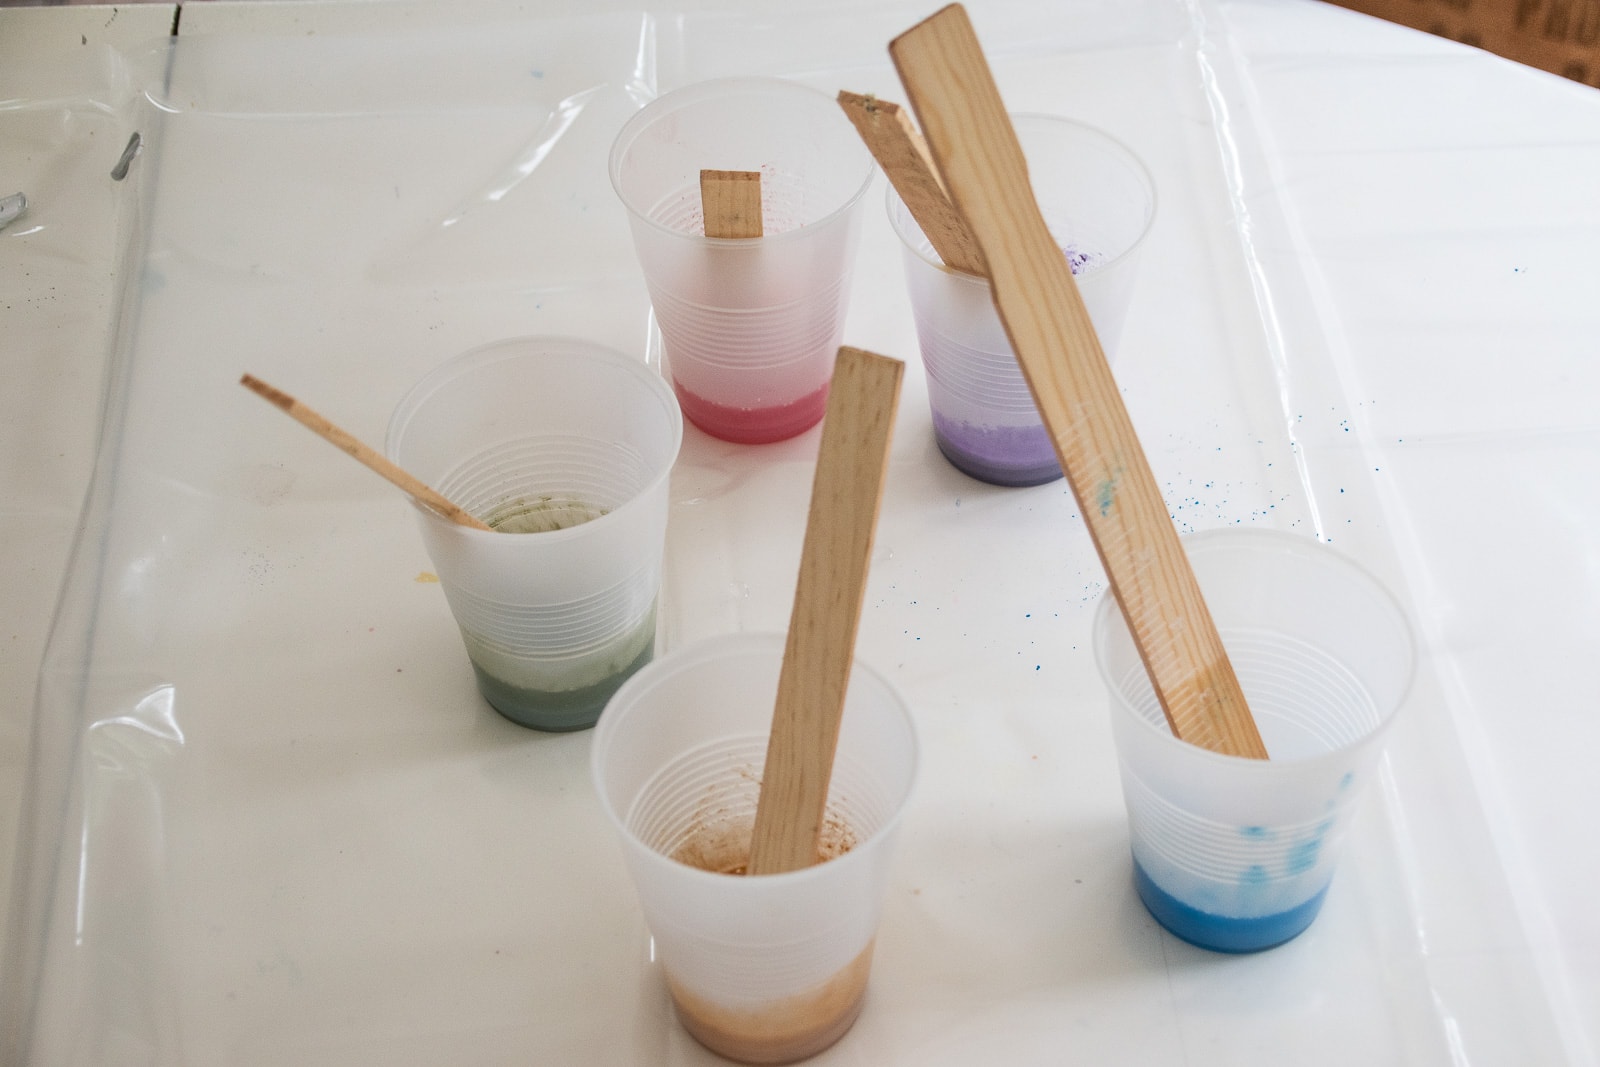
I put down plastic to protect my table and the found an old cardboard box I could use to prop up my cutting board. You’ll also want some rubber gloves, plastic cups, popsicle sticks and (optional) your heat gun on hand.
Step 3. Mix and dye the epoxy
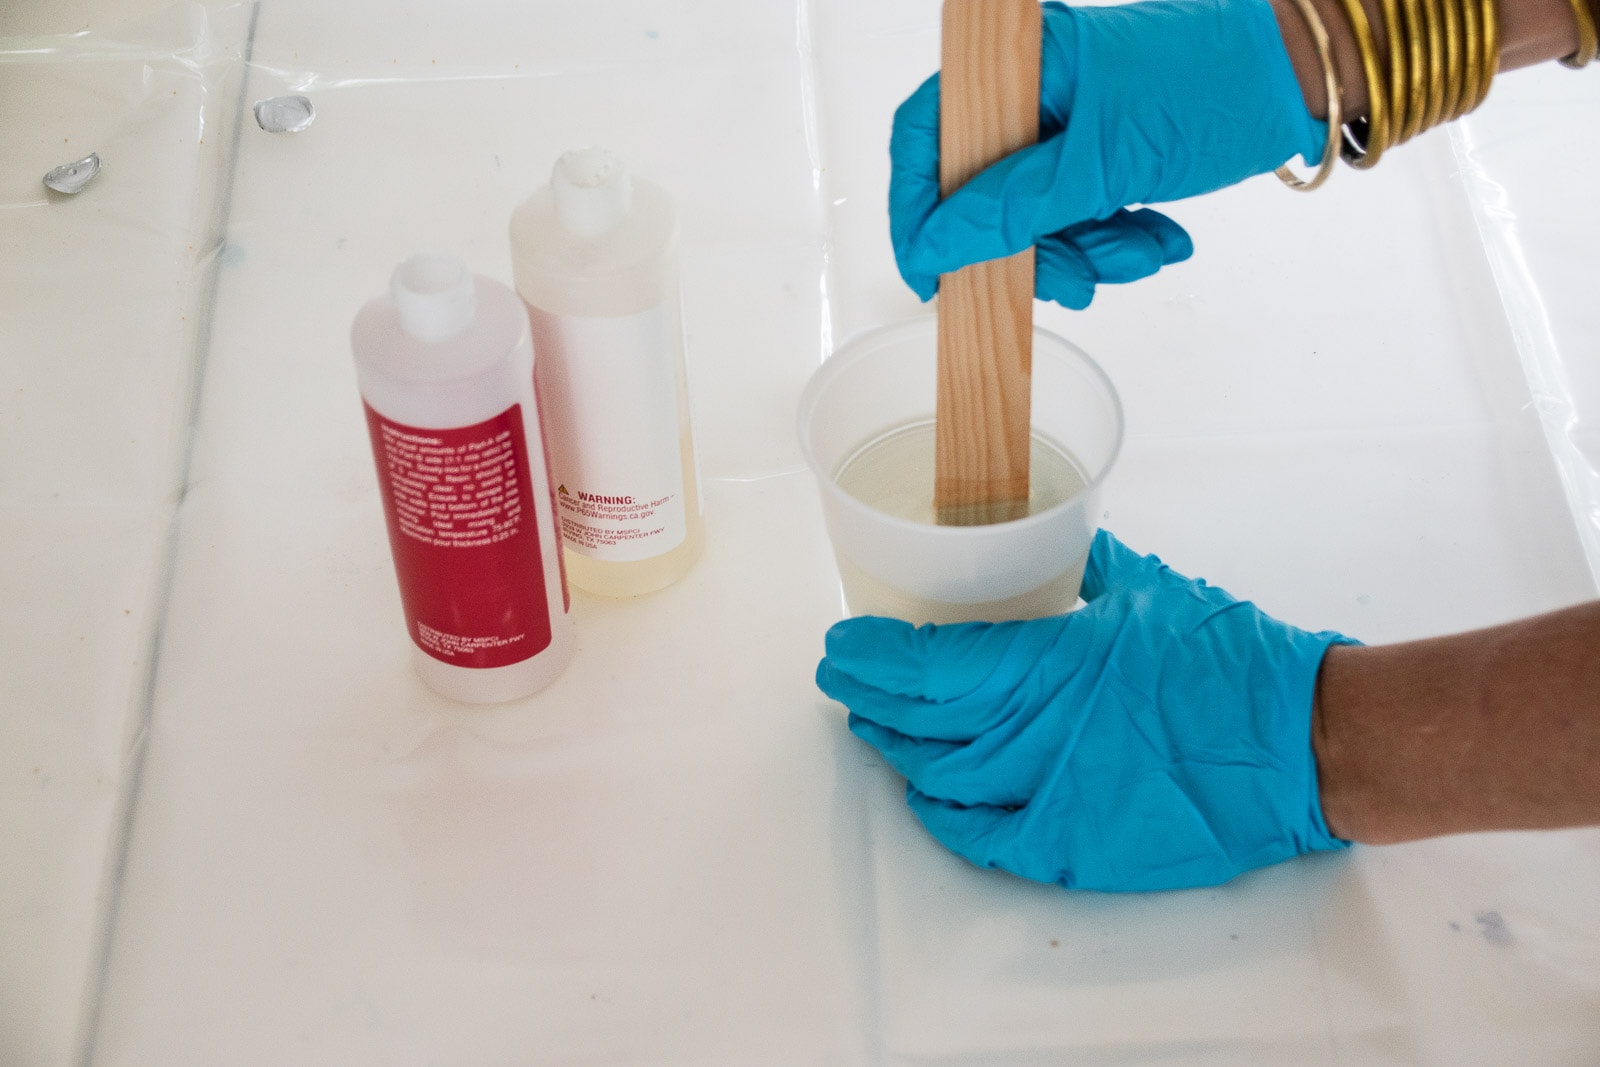
Follow the directions on your specific epoxy, but in general you’re going to mix equal parts resin to hardener and mix for at least 3 minutes. The first time I attempted this, I didn’t add enough pigment so my tip for you is to add more pigment than you think. (See the next step for a picture of my first pour #fail.) I was working with a powdered pigment I got at the craft store as well as basic acrylic craft paint. I poured some of the mixed clear resin into cups and then added pigment to each of those.
Step 4. Pour the resin onto the cutting board
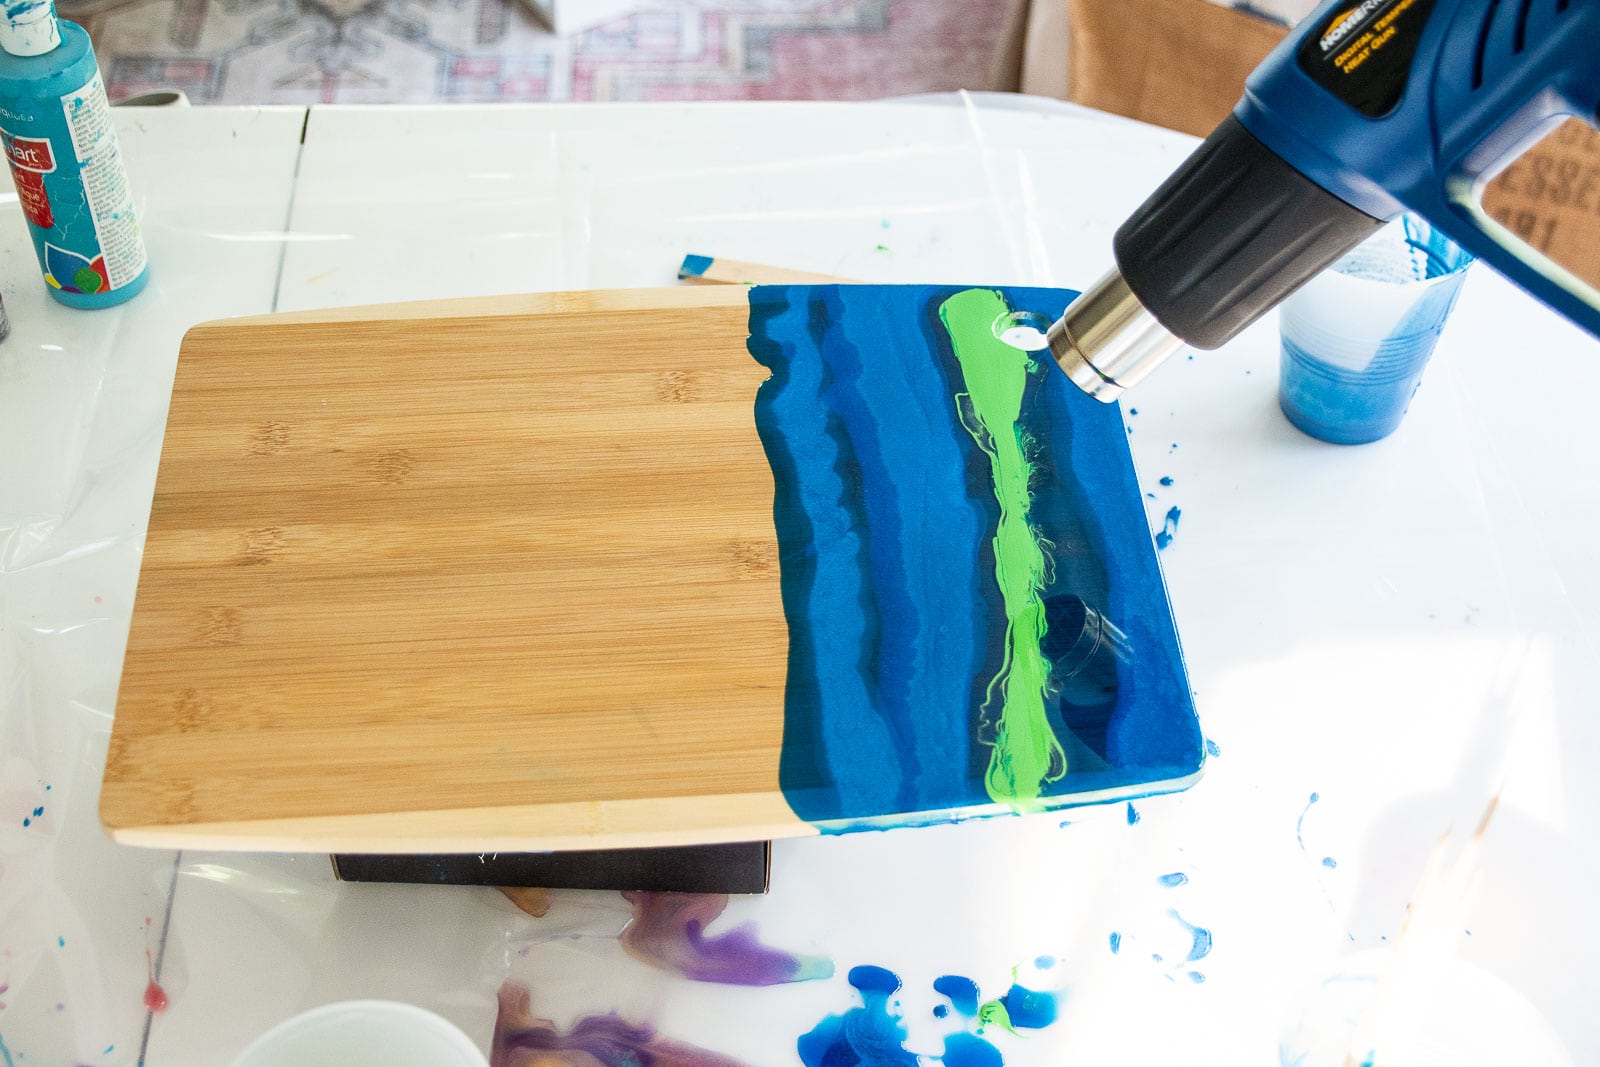
This is the fun part! Working one color at a time, carefully pour a thin line of resin across surface of the cutting board. This is where the “art” comes in… you can pour a steady line or a wavy line. A thin line or a thick line. There’s no right way to do it. Once you’ve poured the first line, grab another color and pour a second line. Repeat. I’m showing you the first cutting board I made and then the final one so you can see the different in saturation.
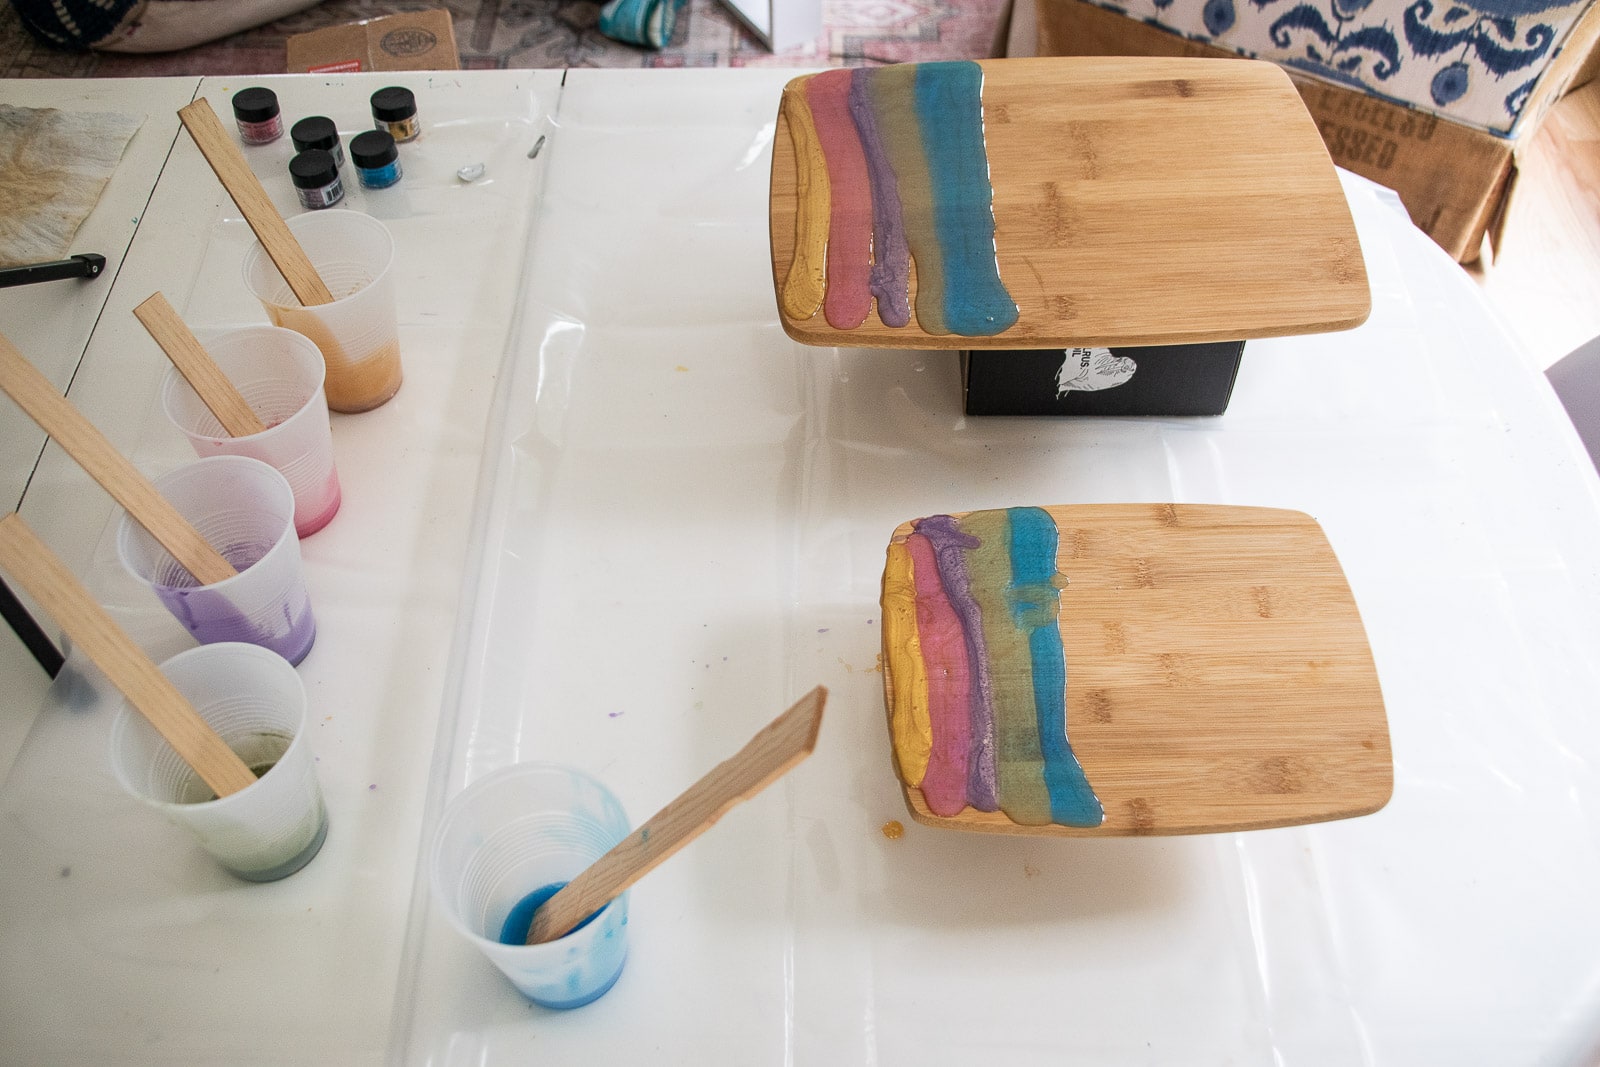
To manipulate the resin and mix the colors together a bit, use a heat gun to blow the various colors into each other. Again… no right or wrong… just see what happens and stop when you like the way the colors look!
Step 5. Watch for bubbles in epoxy resin
Because you’re pouring the resin fairly thin, there shouldn’t be too many bubbles but keep an eye on the cutting board as the resin begins to cure. Lightly running a kitchen torch or exhaling across the surface of the resin will pull the bubbles out and leave a smooth finish. You can also ‘pop’ larger bubbles with a needle or toothpick.
Step 6. Remove the tape from the cutting board
Once the resin has cured, you can flip over the cutting board and remove the painters tape. Blowing the heat gun over the tape will make it easier to remove cleanly.
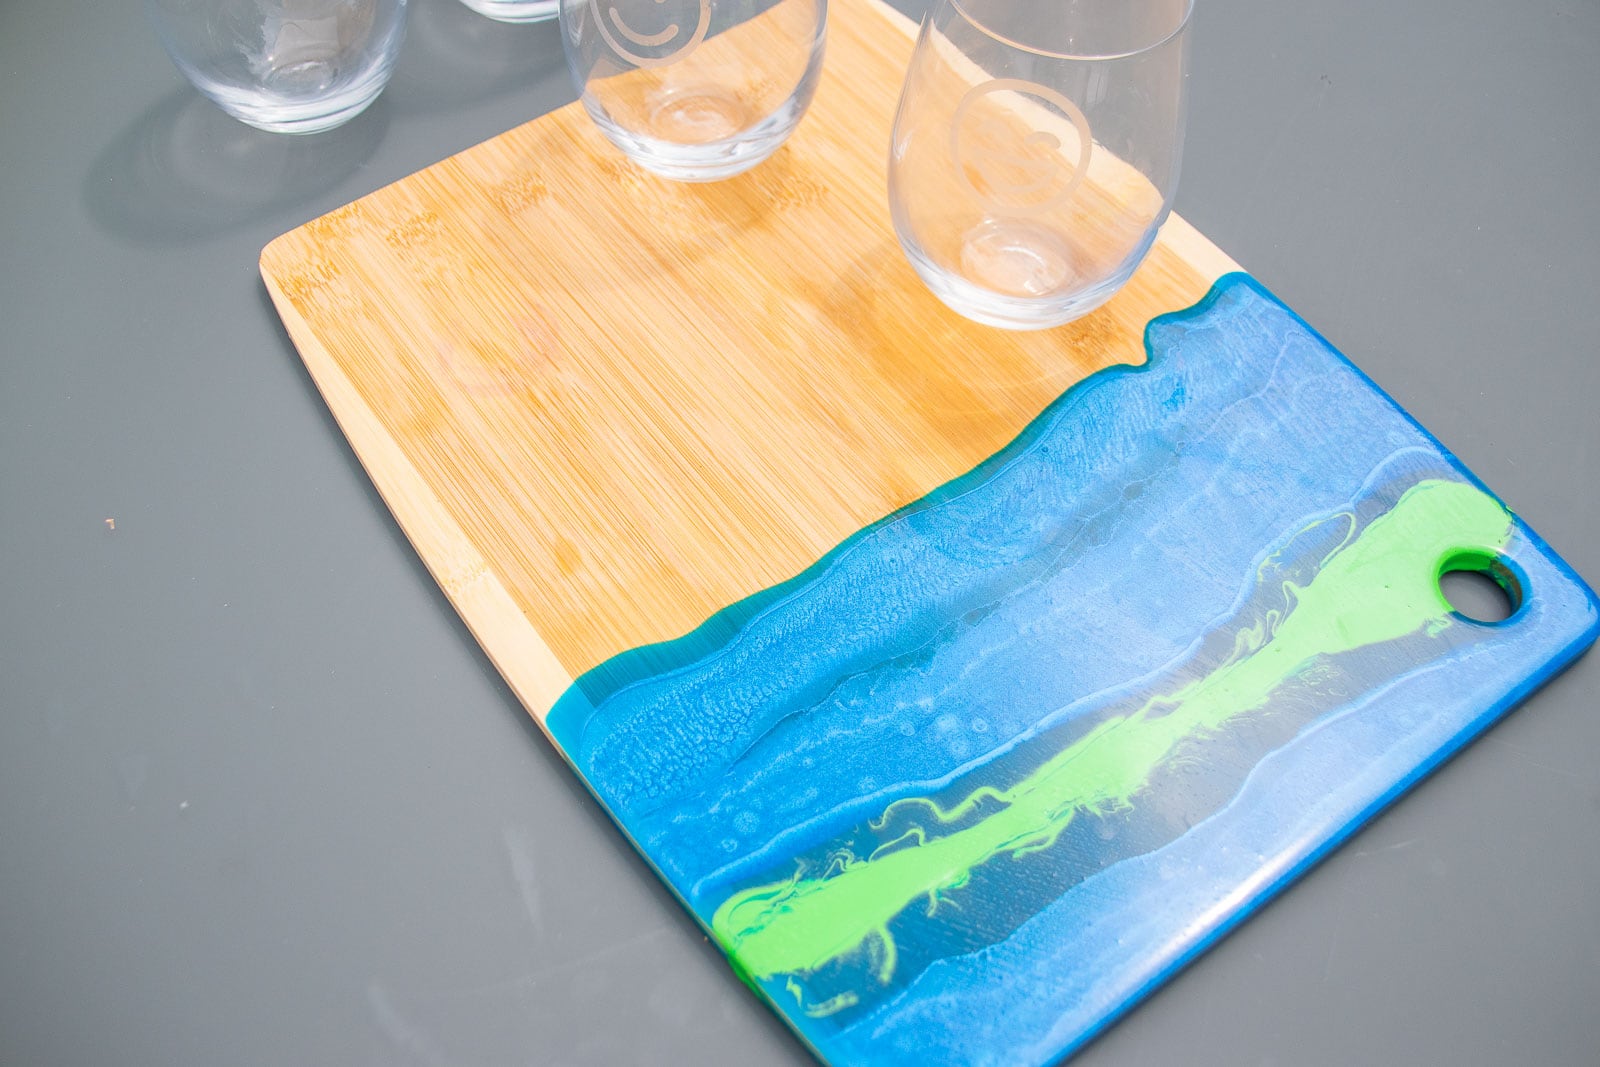
That’s it! Once resin is fully cured, it’s food safe for something like this (i.e. a cheese board). I won’t put this through the dishwasher obviously and will be careful not to place any cheese that requires a sharp knife directly on the resin side of the board. I’m eager to try this again with different colors and maybe different types of pigments. Waiting for the boards to cure is the hardest part of the whole project!
Materials for a Resin Pour Cutting Board
- Basic cutting boards
- Fine grit sand paper
- Epoxy resin
- Powdered pigment
- Painters tape
- Heat gun (optional)





Don’t Miss Out
Become An Insider!
Signup for exclusive tips, and tricks from Charlotte’s House!
Let’s chat!
I love comments from you, so feel free to leave your thoughts and ideas below! And don’t forget to follow me on Instagram for even more!