
DIY Dining Table Makeover
Psssst… this post *might* contain affiliate links: see my disclosure here.
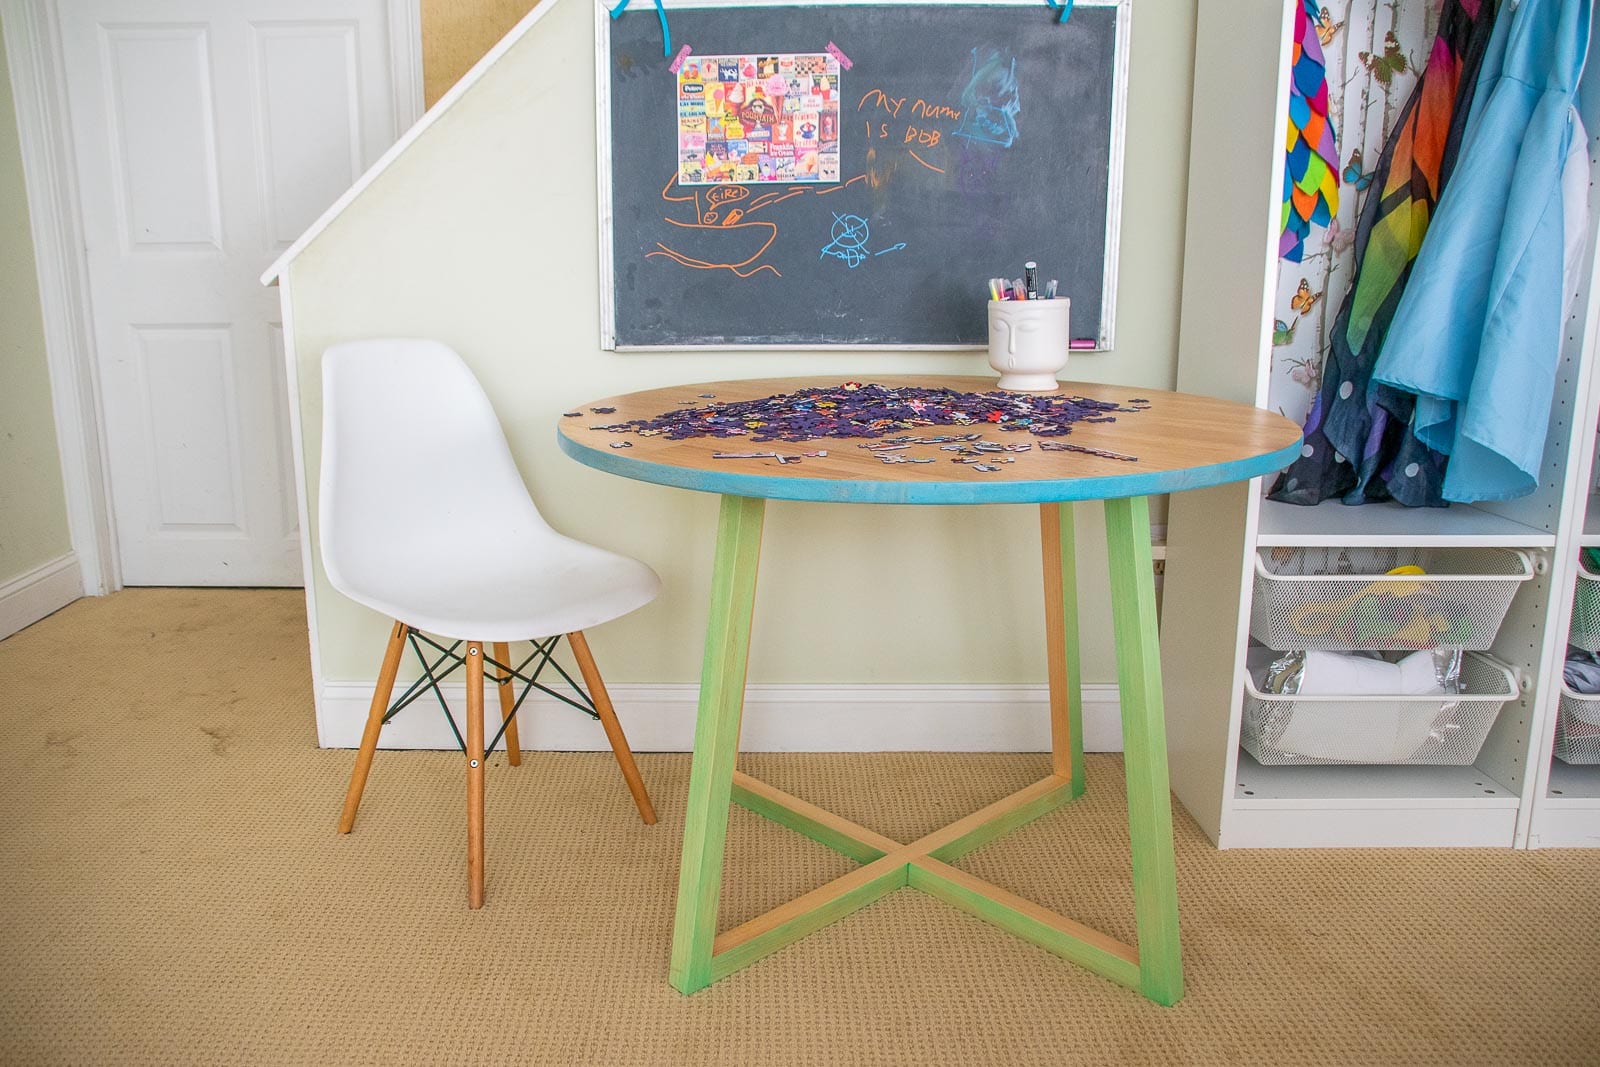
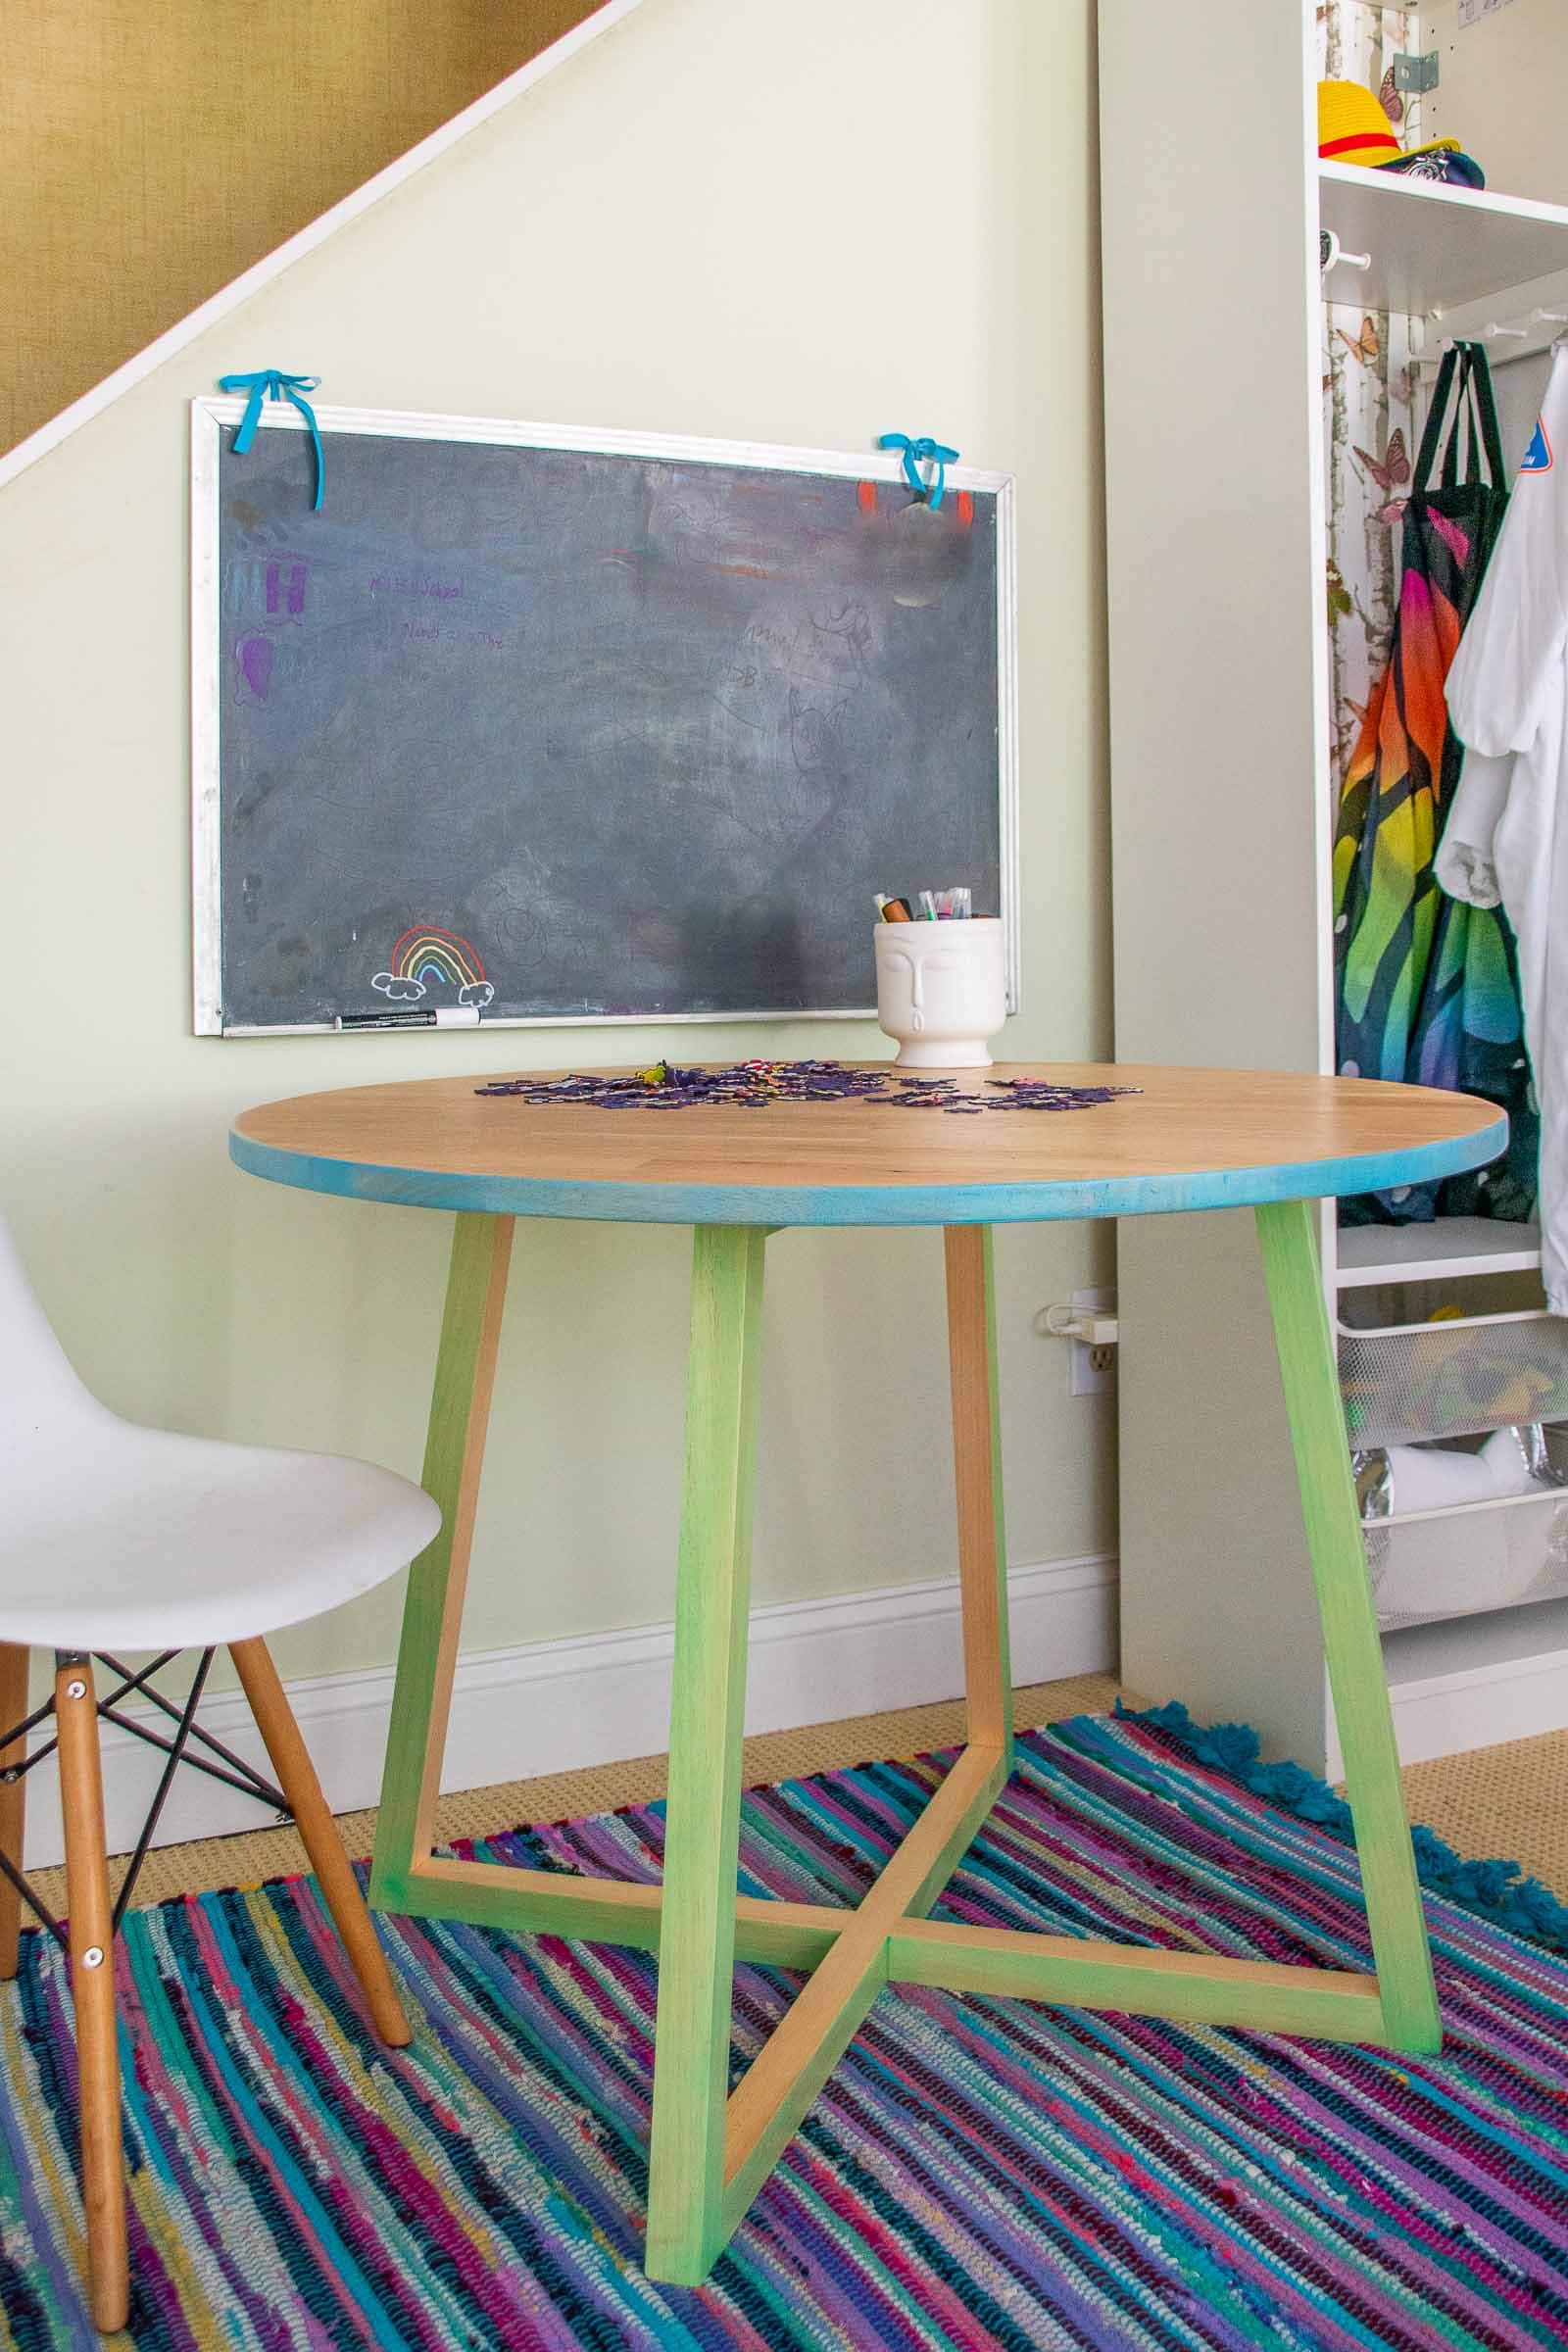
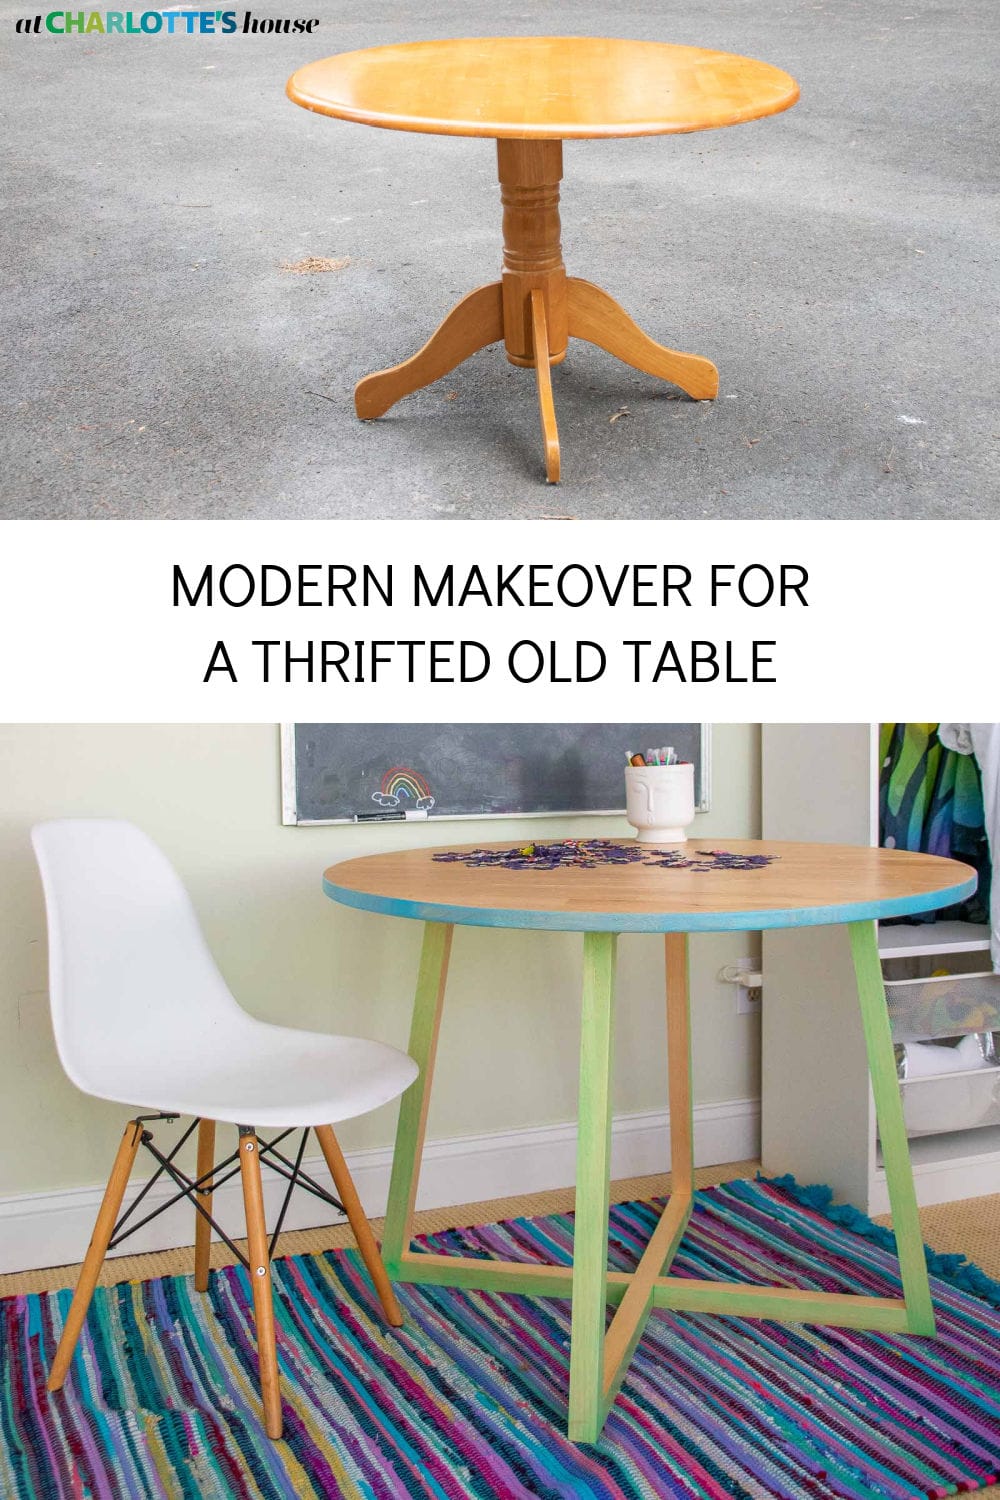
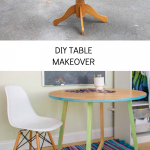
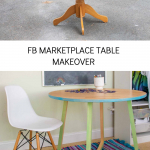
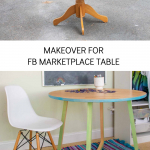
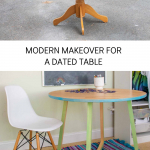
Dining Table Makeover: Farmhouse turned Modern
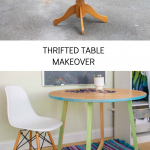
I took this dated dining table and built a new base to transform it into a new modern table.
Do you ever need a certain piece of furniture but just can’t find something that works with your budget? I often start with furniture searching at our nearby Habitat Restore or on Facebook marketplace! For this project… I found tables that were the right size (about 36″ in diameter) but not quite… right. SO… time to make some DIY changes for an easy dining table makeover
Shop my favorites!
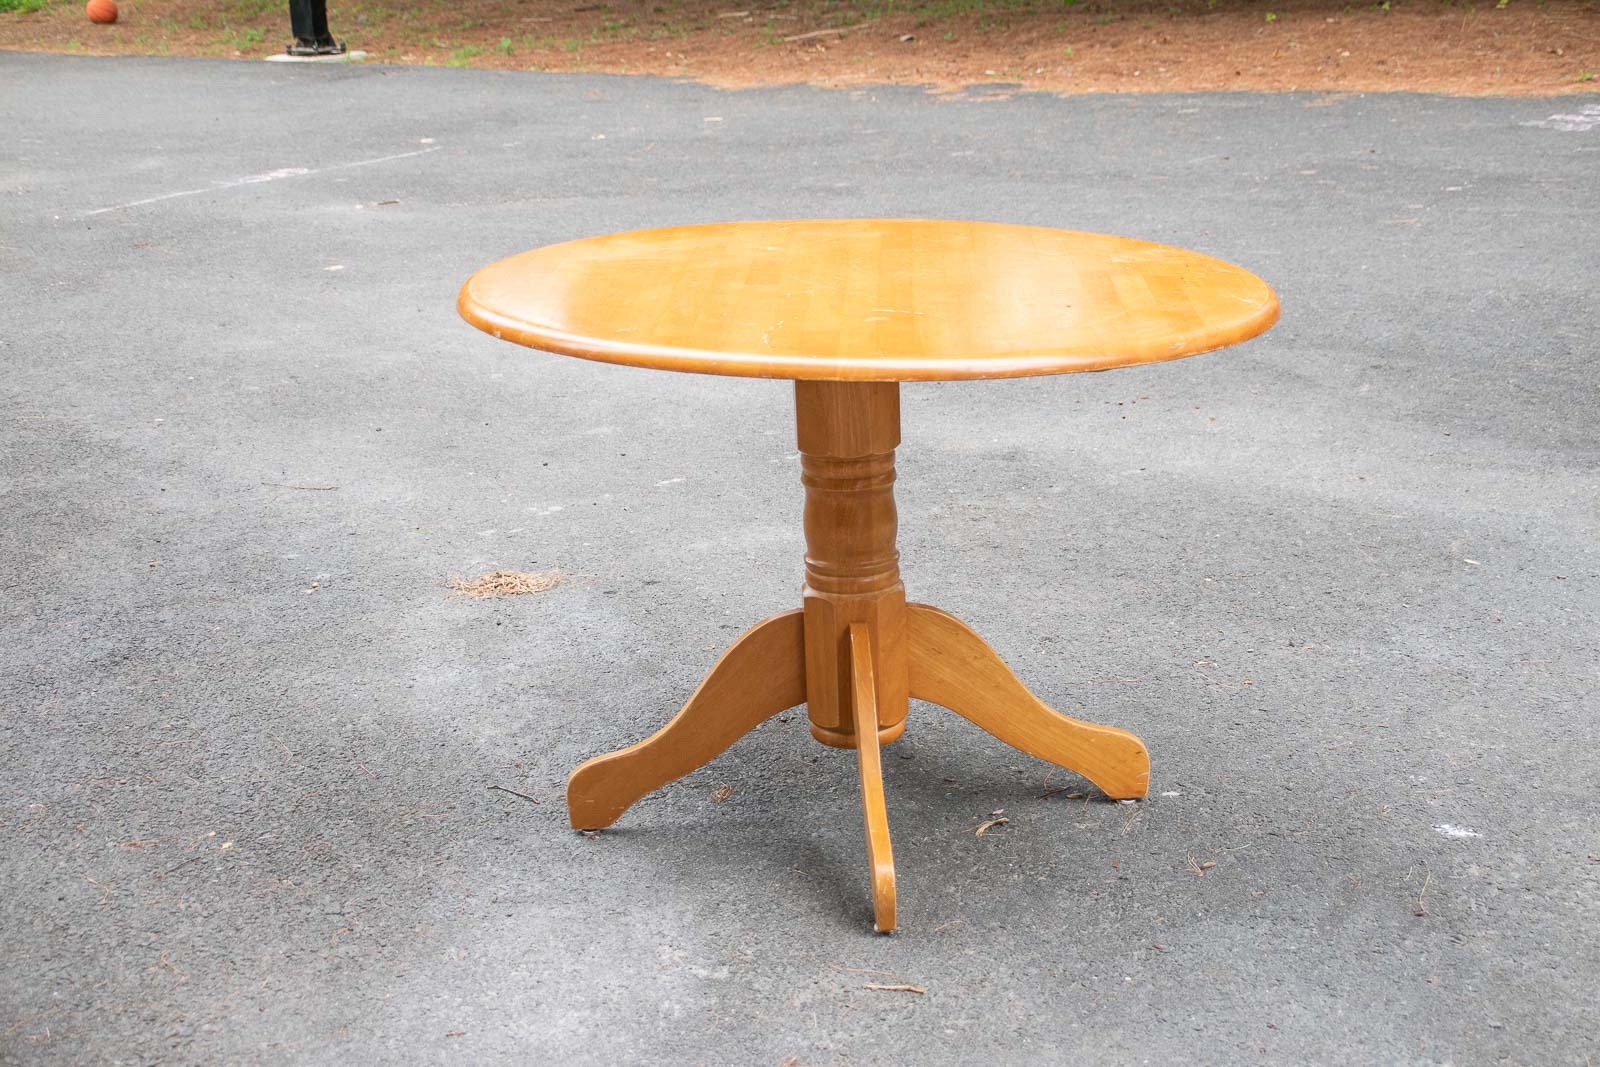
Step 1. Separate the top from the bottom
For this project, ultimately I planned to use the top. I could certainly have made my own round top, but this was the perfect size and, honestly, was in great shape and was a million percent cleaner than any circle I made would have been. Also, for $20… that’s probably less than the wood I would have purchased and it only took the 40 minutes of driving time for me to go pick it up from Facebook marketplace. That’s smart math! For this table, the top was simple screwed into the bottom, but the seller had already separated the two pieces.
Step 2. Decide on the style for your base
I knew I was going to work with premium 2×2 dowels. (Actual dimensions are 1.5 x 1.5 because lumber is weird.) For a larger table top, this size might feel a bit too dinky, so keep that in mind if you’re making something similar. I spent a little bit of time searching Pinterest and Google images for inspiration for my base. I ultimately decided I loved the look of this style of modern construction and I tweeked it so that I could easily assemble my own version!
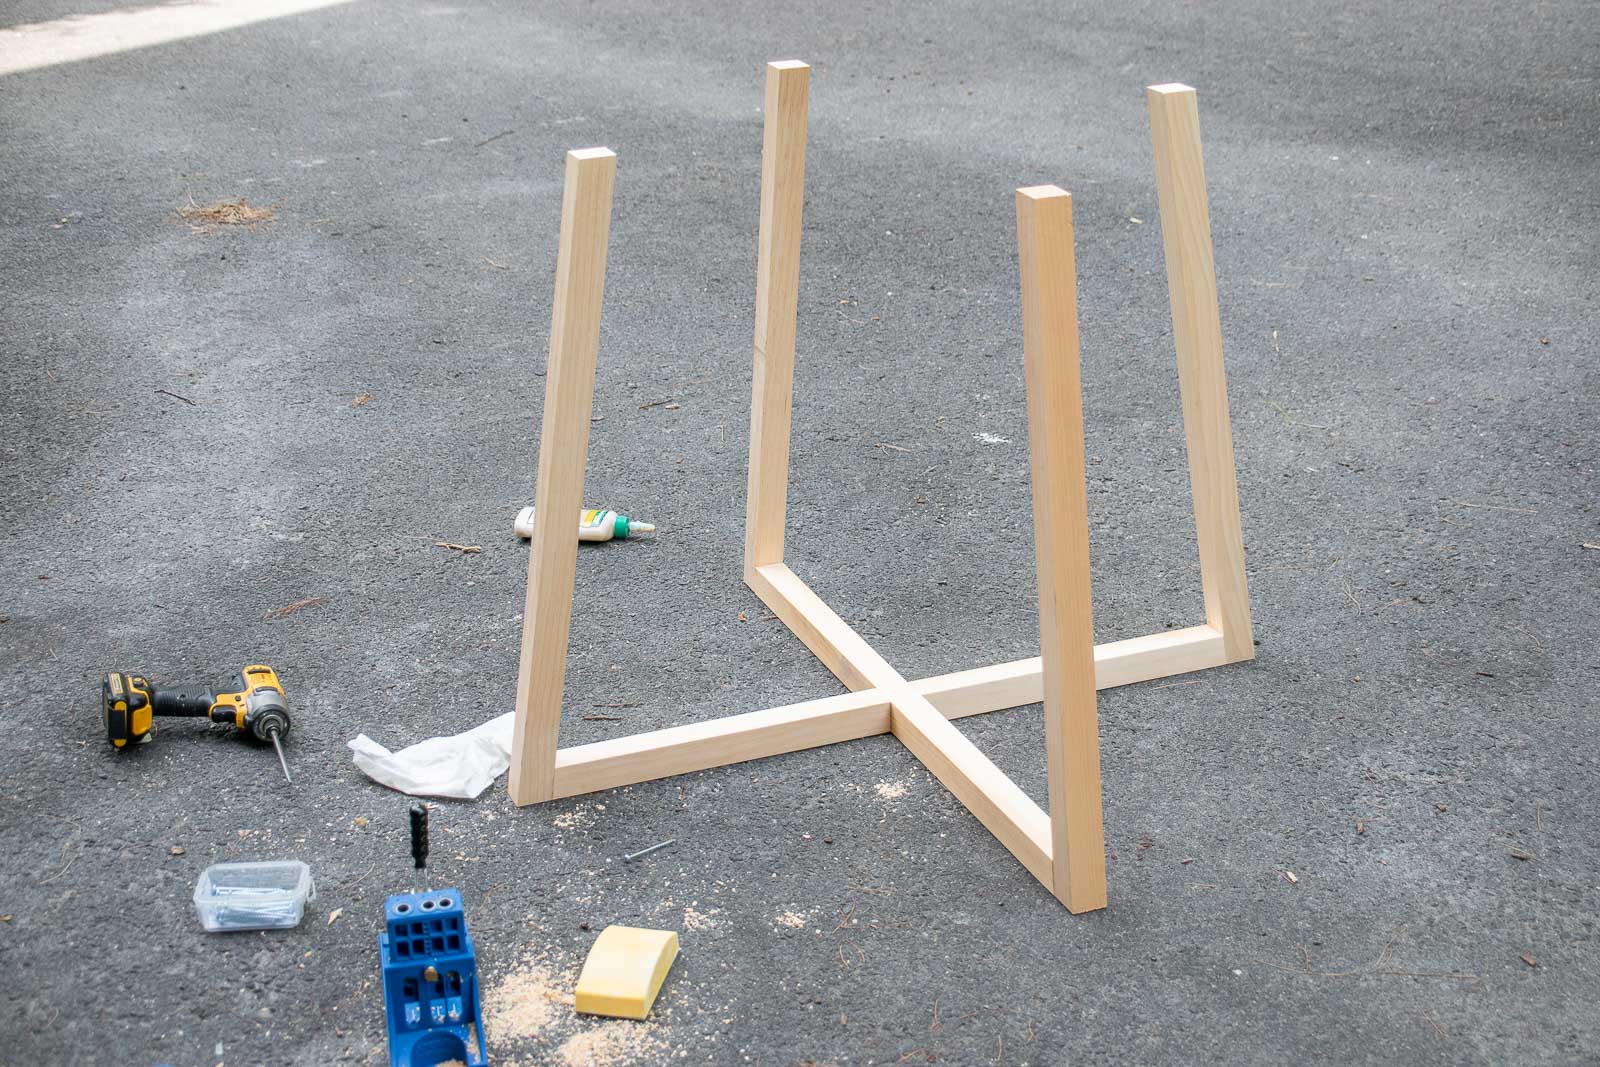
Step 3. Determine dimensions and angles
Again… I was basing all of my ‘measurements” off of the diameter of the table top and the typical height for a dining table (28″-30″). I wanted the base to angle slightly in towards the top so I eyeballed that angle, marked it and measured it as 9 degrees over on my miter saw. The basic construction is very simple… a “+” on the top and the bottom with longer lengths to connect the top and the bottom. Because of the 9-degree angle, the top “+” is a little smaller than the bottom so it has really fun mod lines in my opinion.
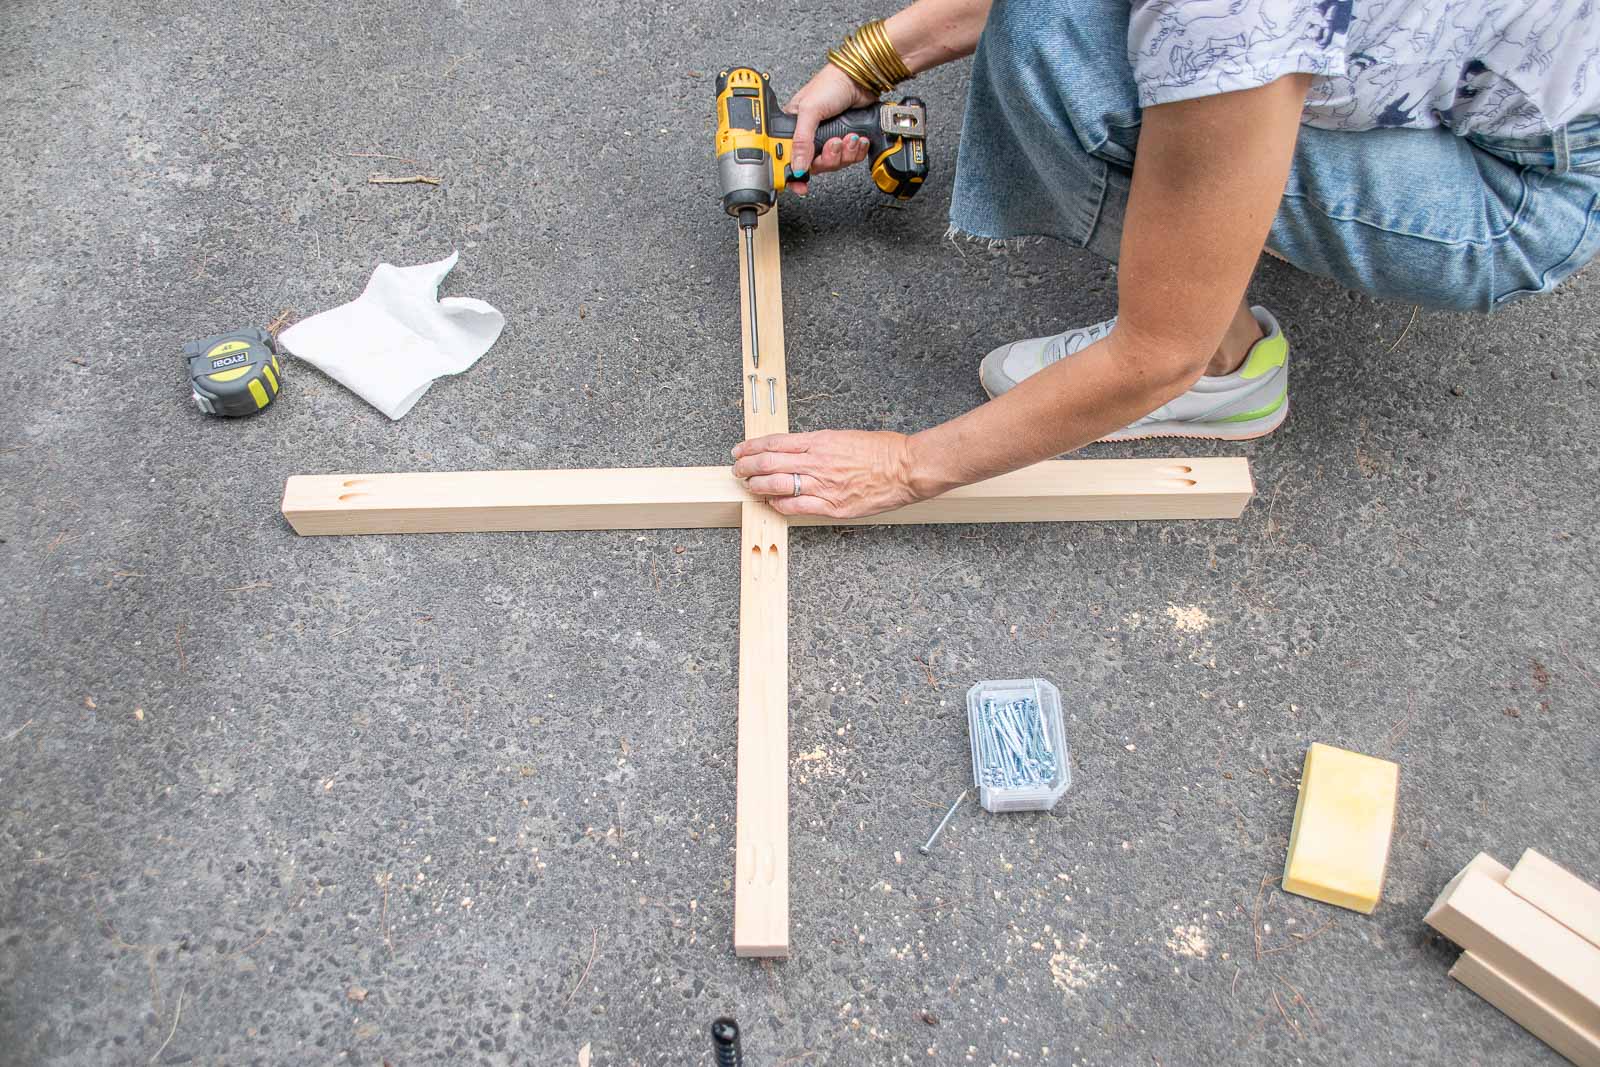
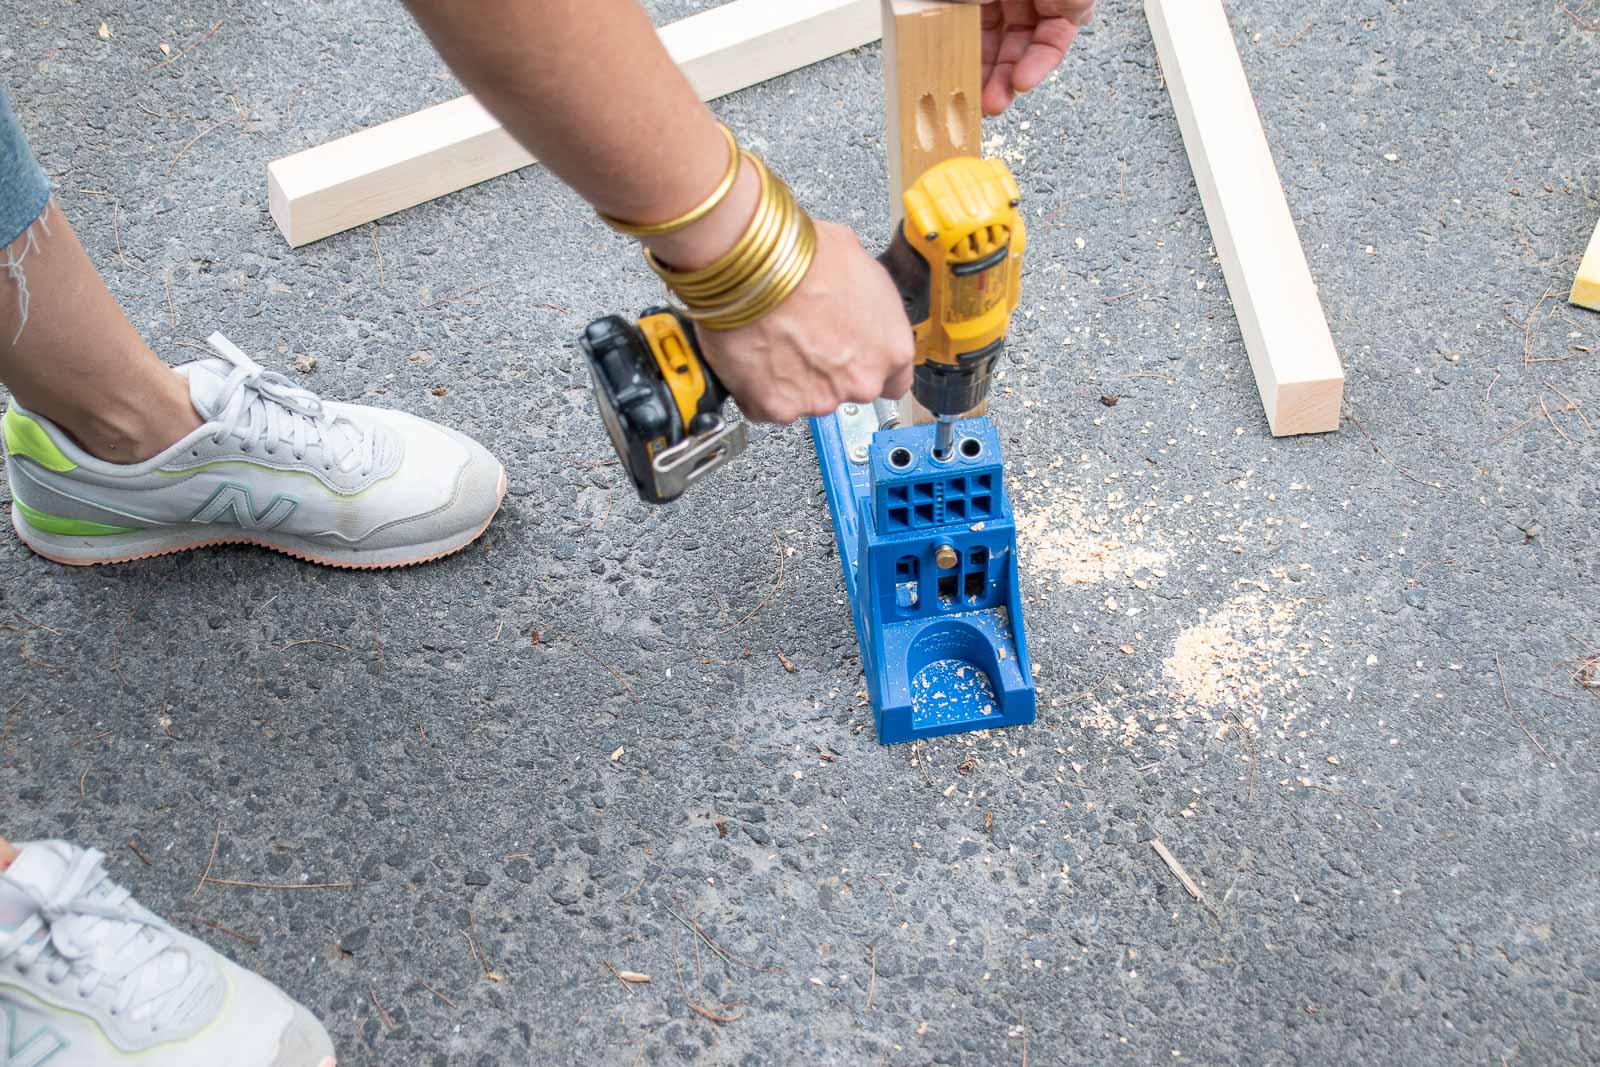
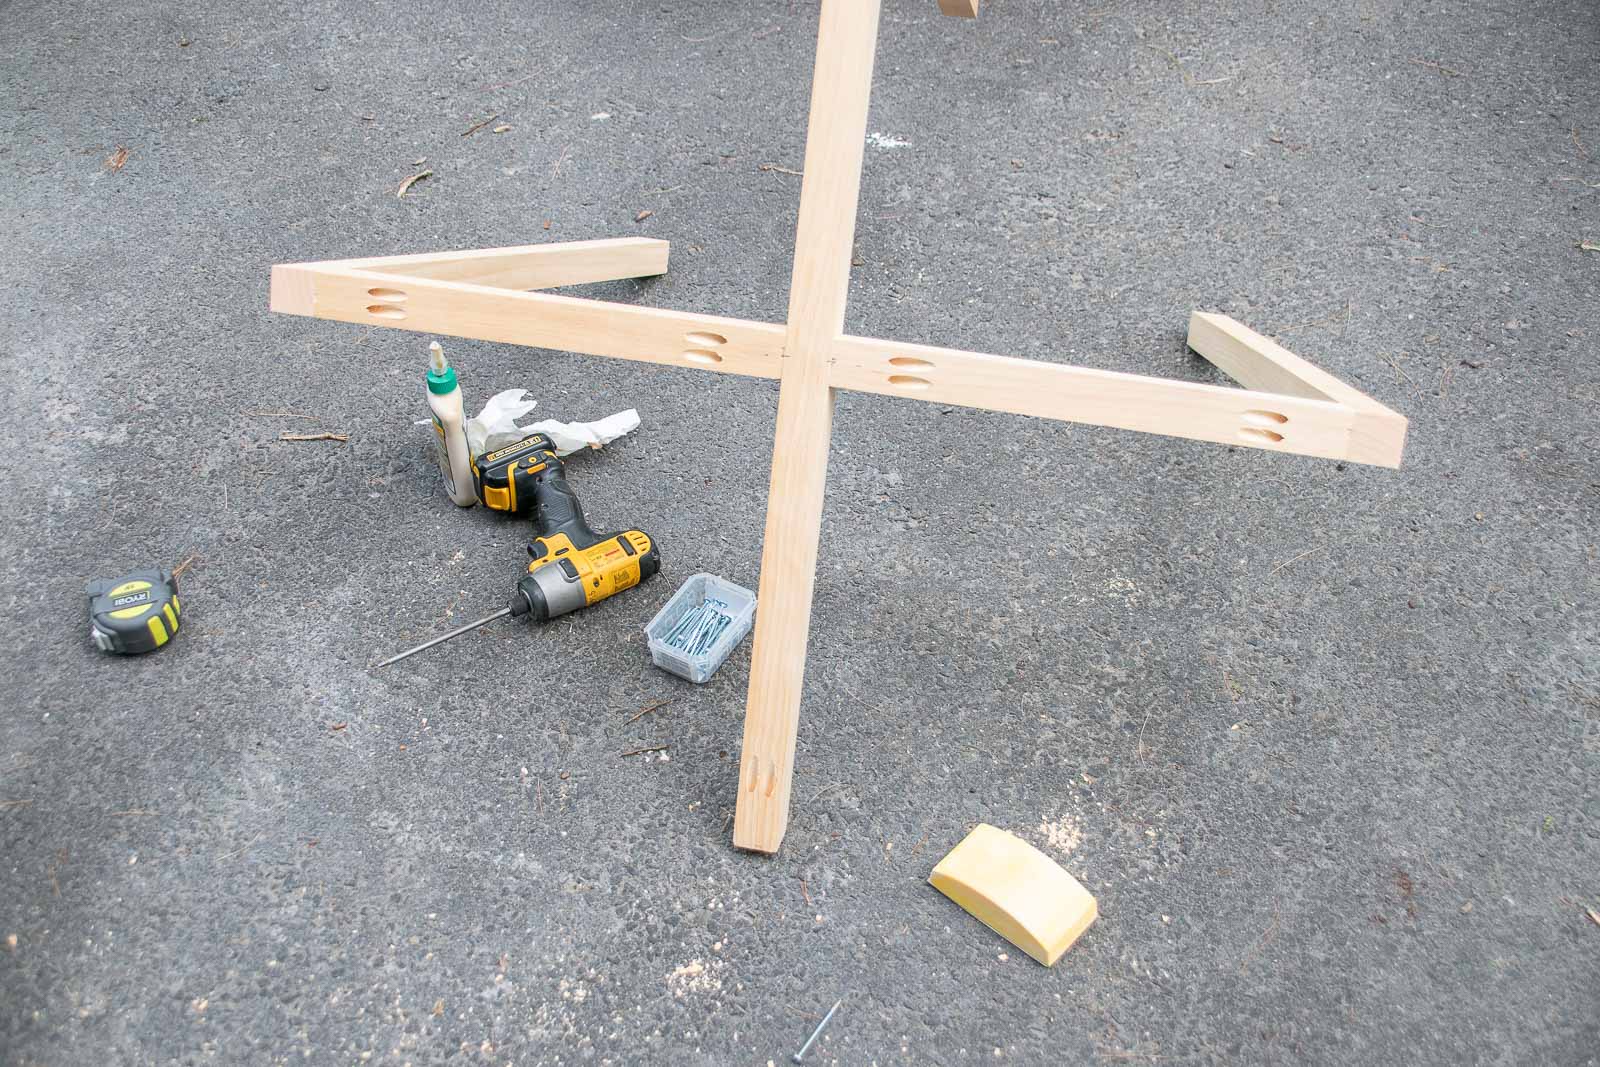
Step 4. Assemble the base
I used my Kreg jig and wood glue to assemble the base with pocket holes. I should have used clamps to hold it together while I was screwing in each pocket hole but… I didn’t. Do as I say, not as I do.
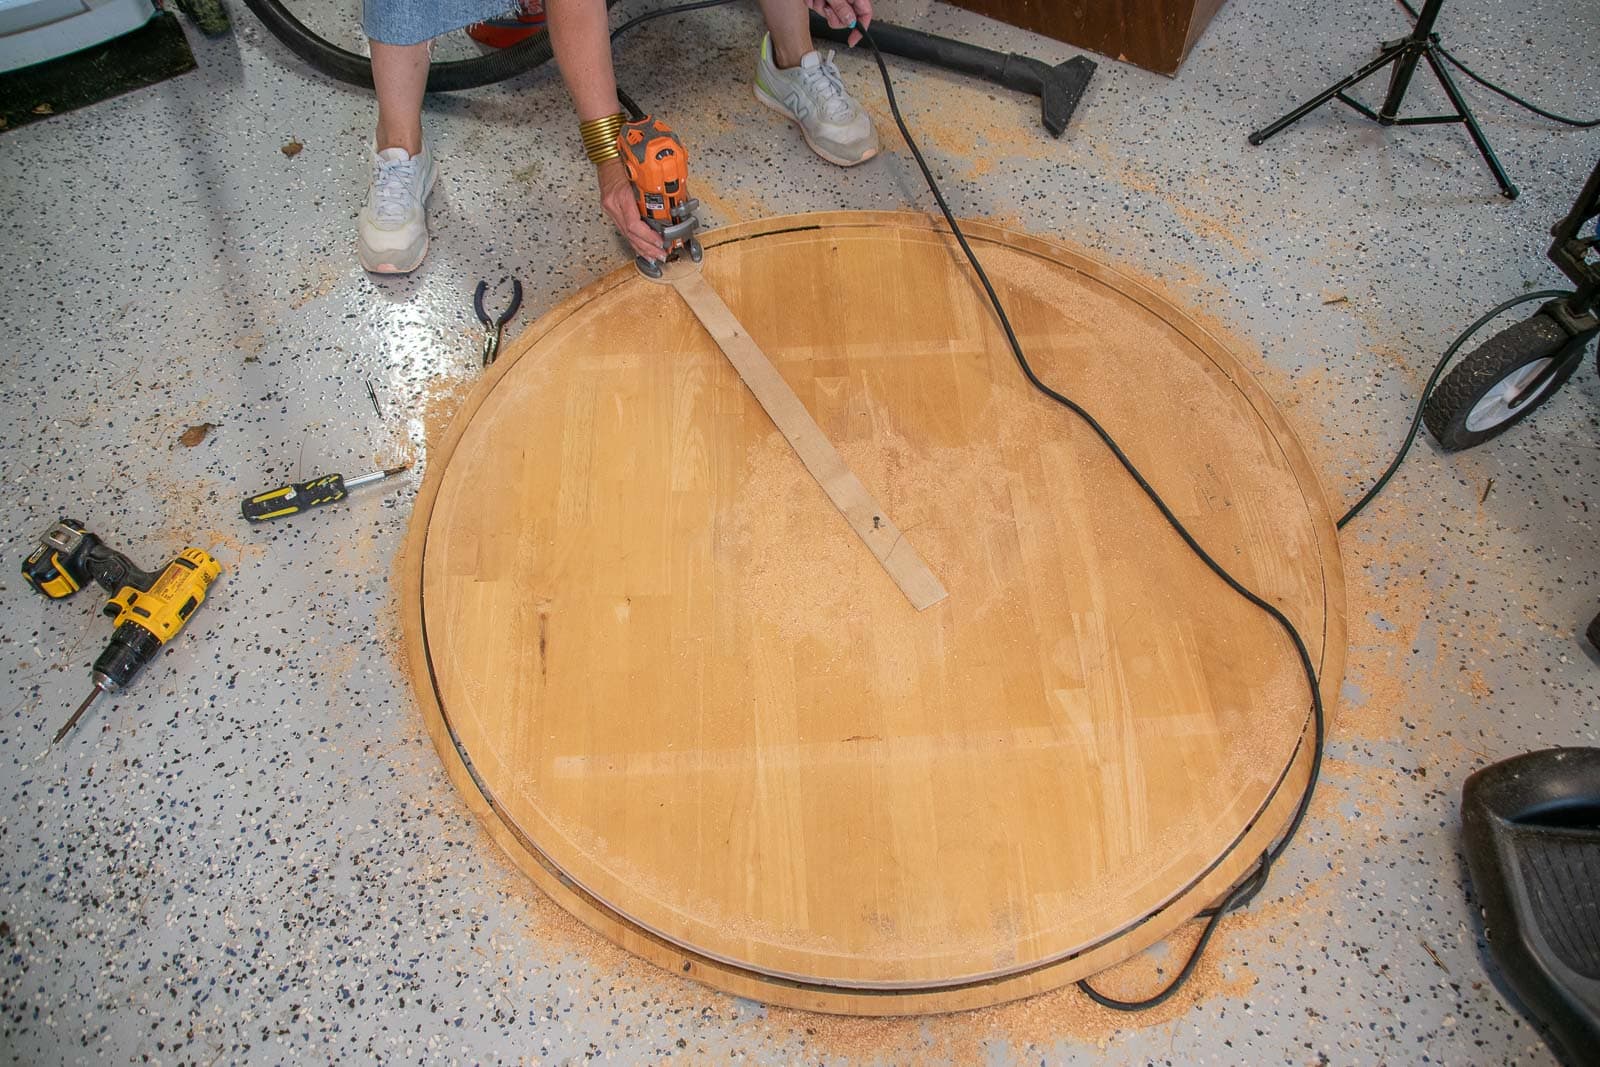
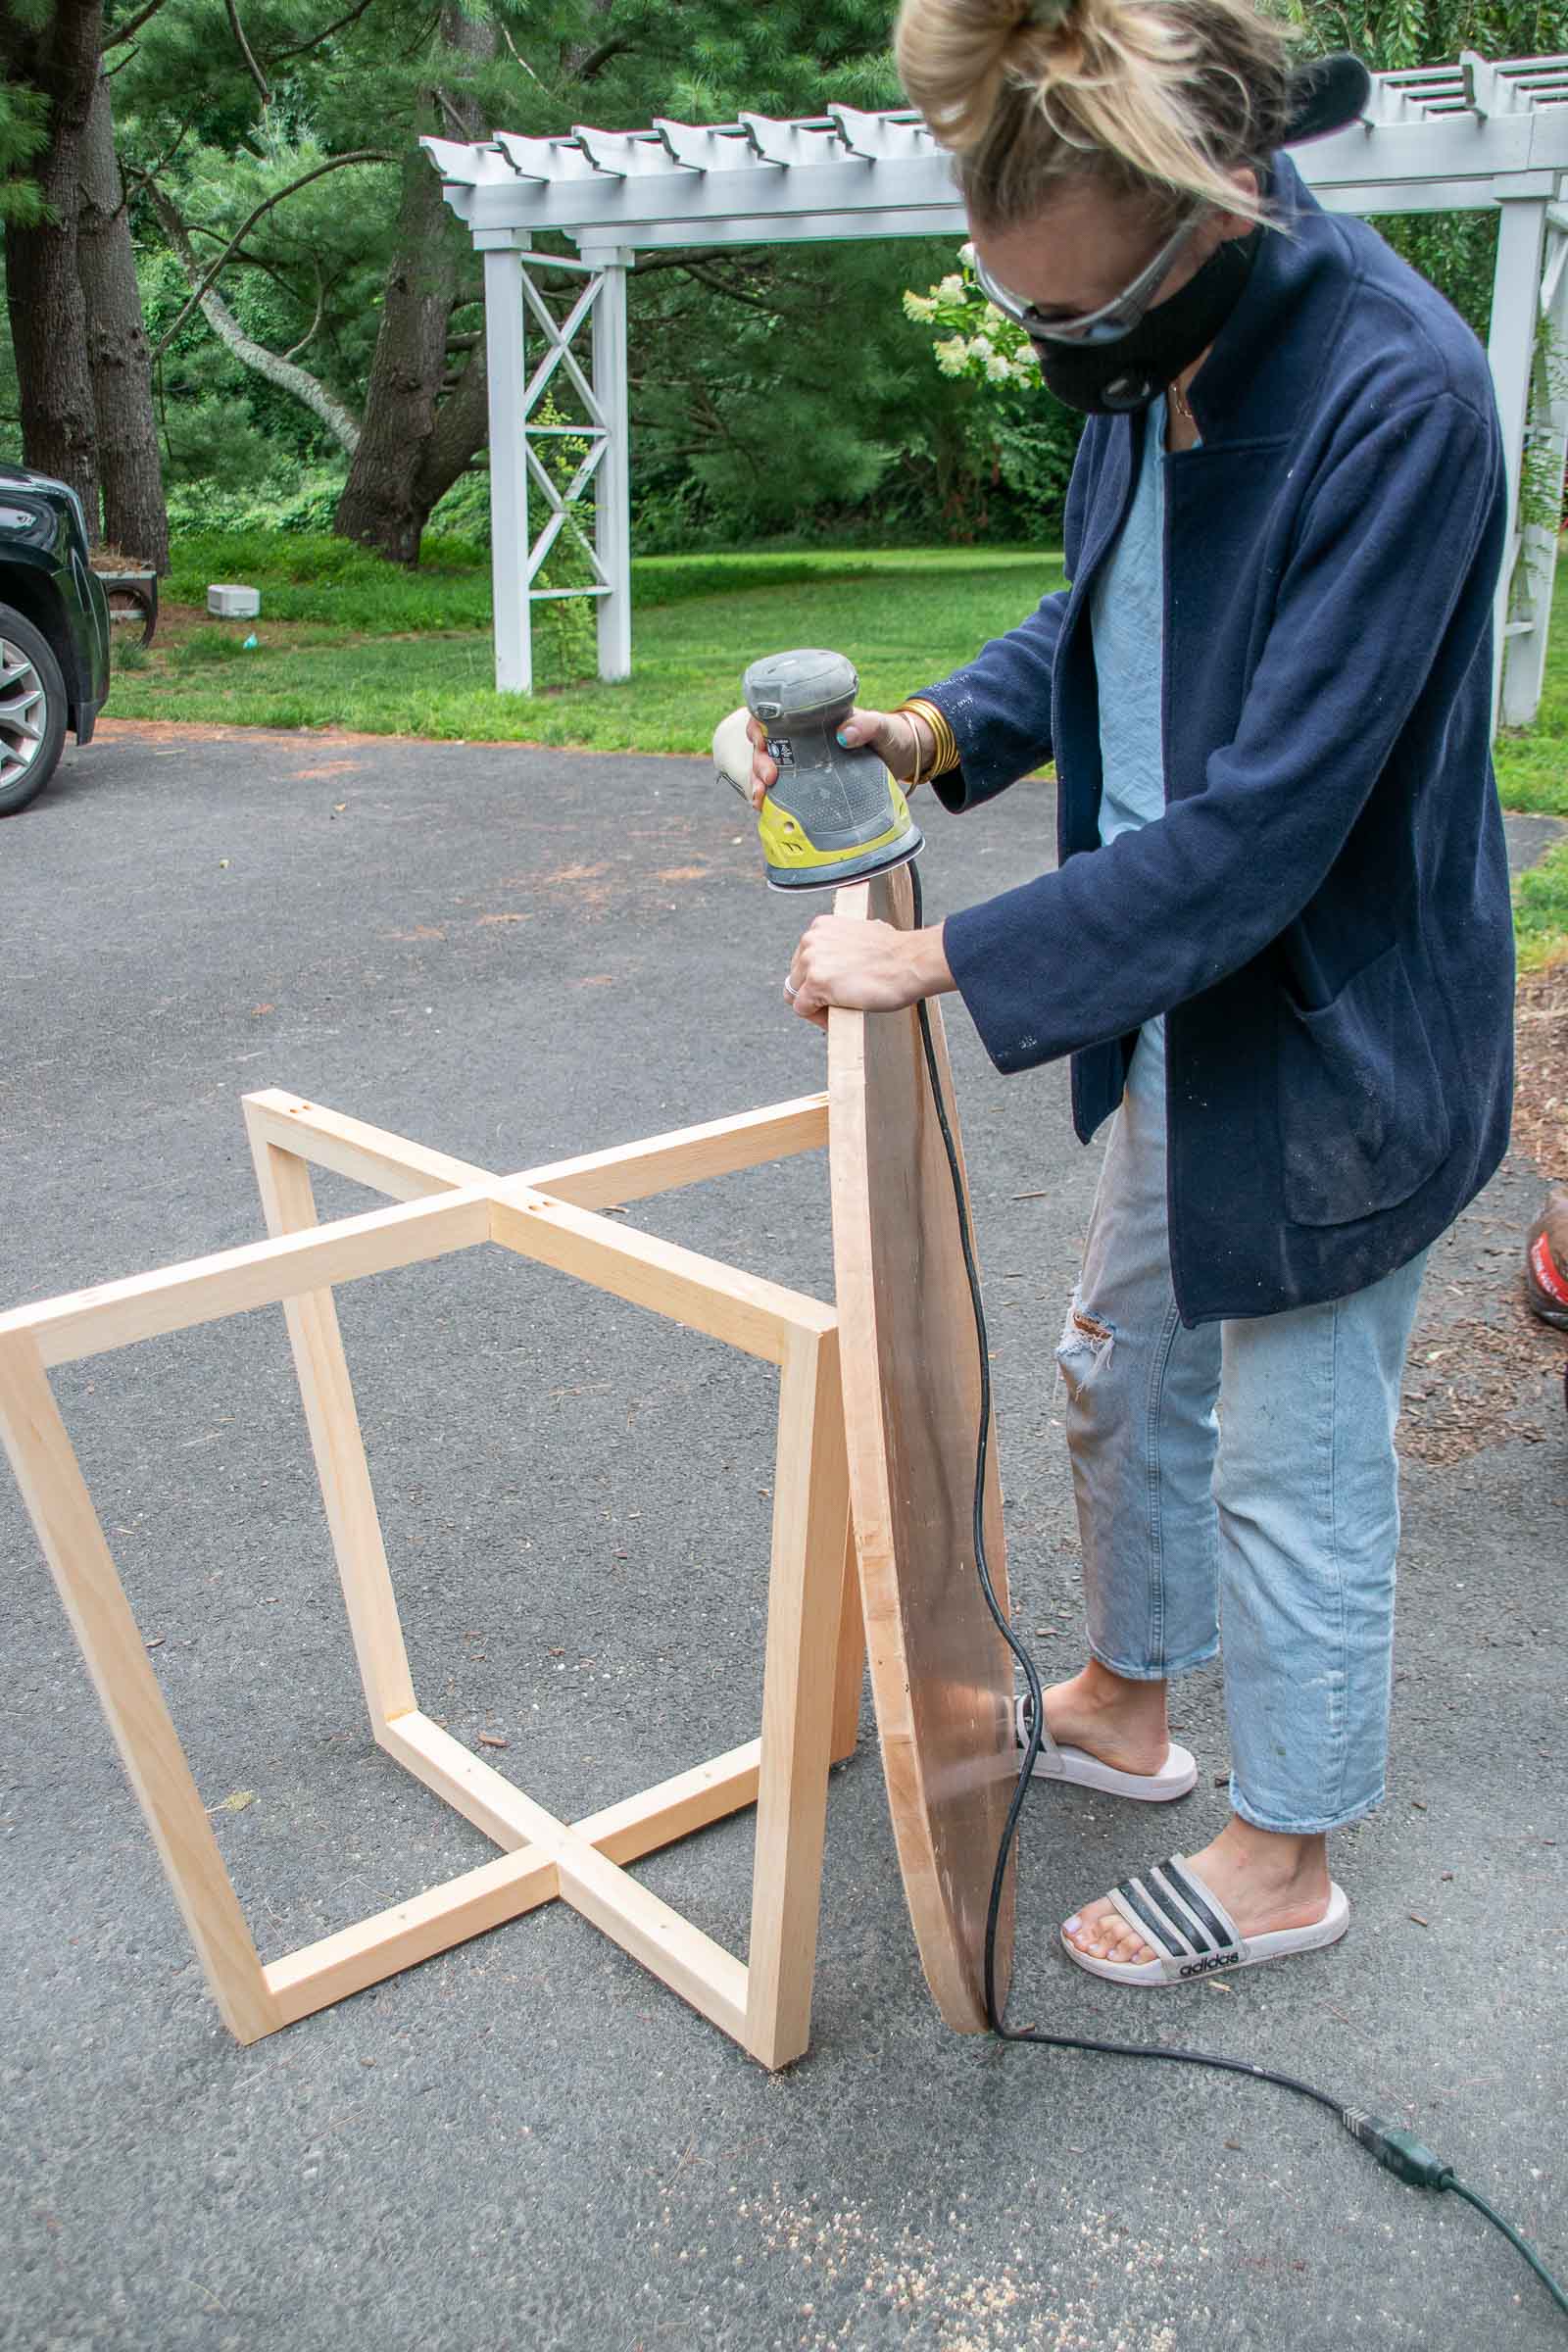
Step 5. Optional: Modify the table top
This DEFINITELY is a step you can skip, but I wanted the top to match the contemporary lines of the base. The edge of the top had a fairly significant routed curve to it which felt dated/ different than the look of the base I’d built. I built a jig with some leftover plywood that I could attach to my palm router and then slowly trim the curved edge off the table top. It’s important to go slowly when you work with a router so that you’re only cutting a small amount of materials with each pass around. Palm routers come with lots of bits that will cut different profiles… the one I’m using is just straight bit so the edge of the table is flat (and therefore more contemporary in my opinion).
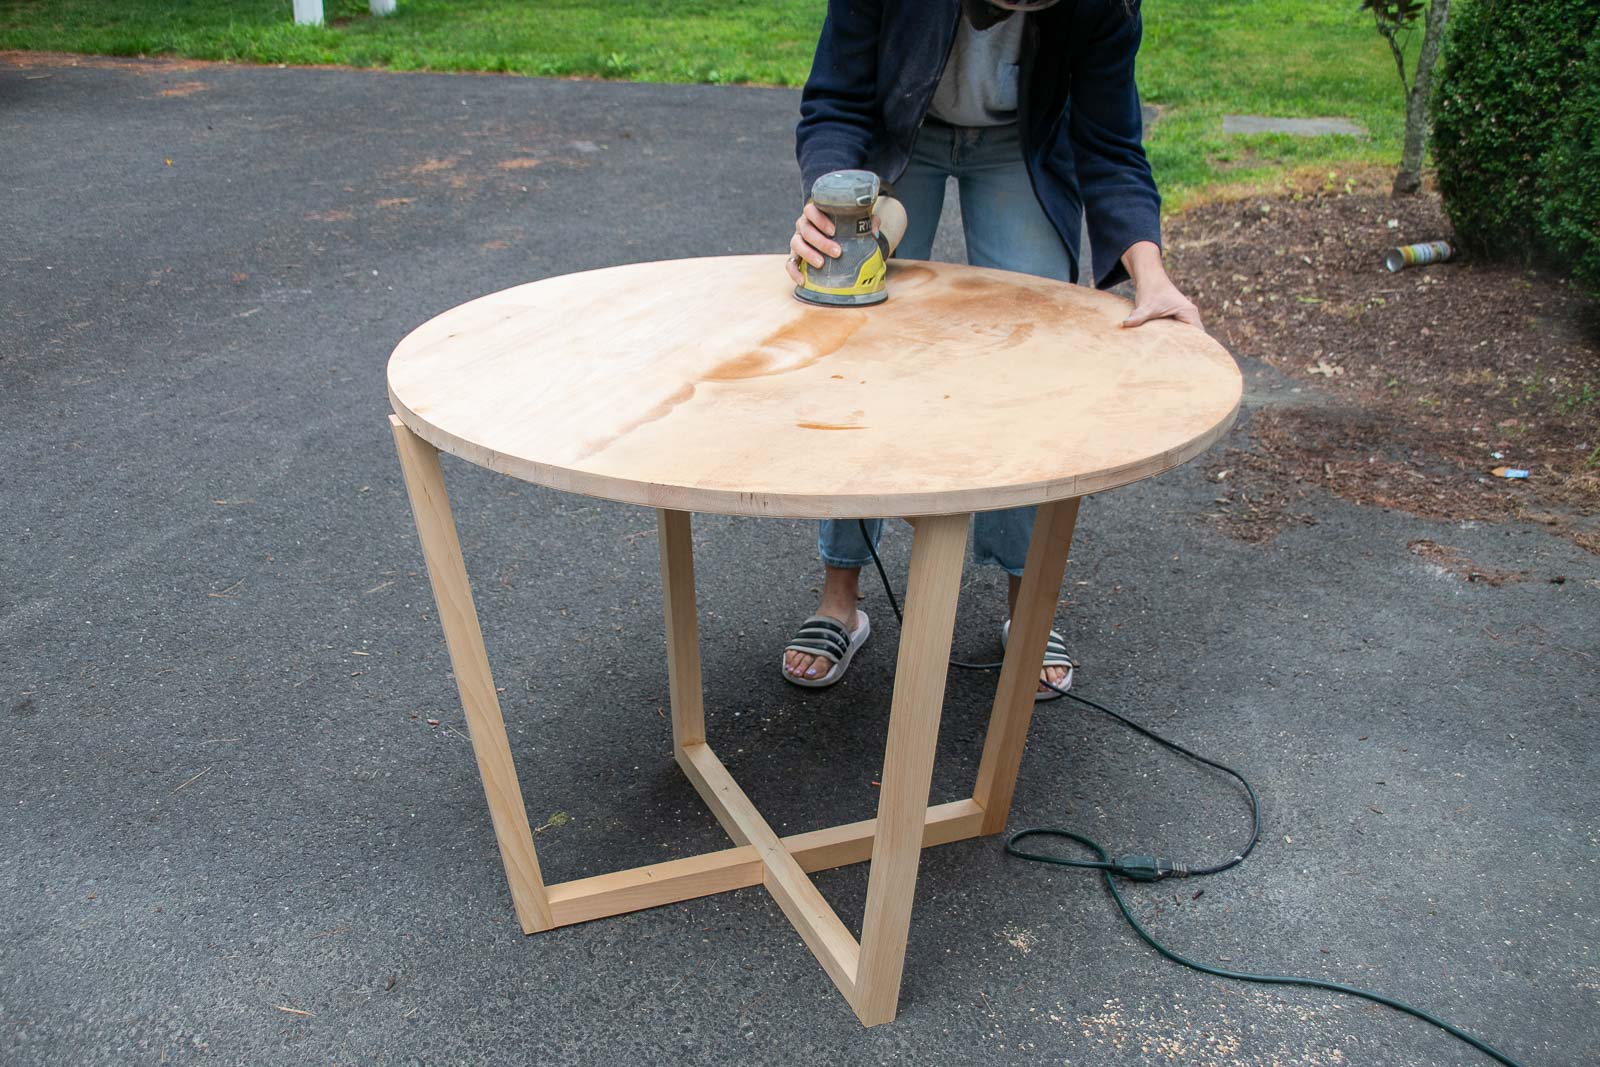
Step 6. Sand. And sand some more
Ultimately this project was a partnership with Minwax stain so I knew I needed to sand down the existing finish. (If you’re painting your table, you don’t need to sand the finish off as much as I did!). To make this best for stain, I started sanding with an 80 grit sand paper, then worked my way up to a 220 grit. (Note: I have the base upside down here just to support the table top while I was working.)
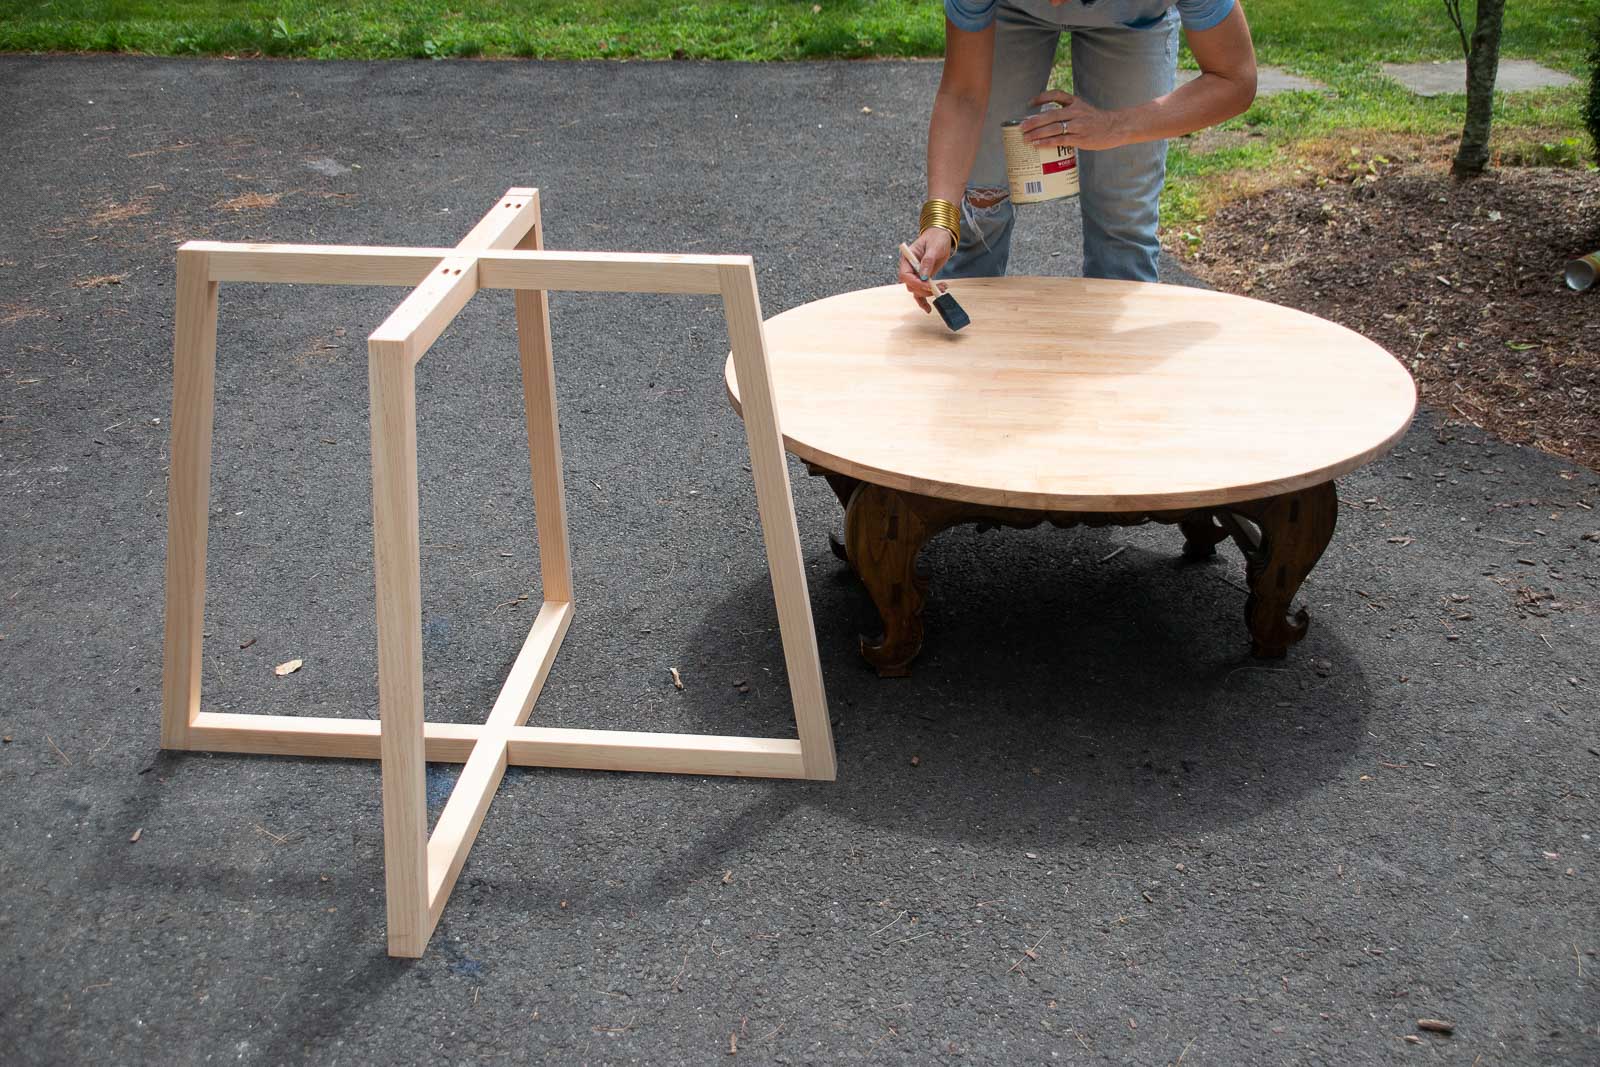
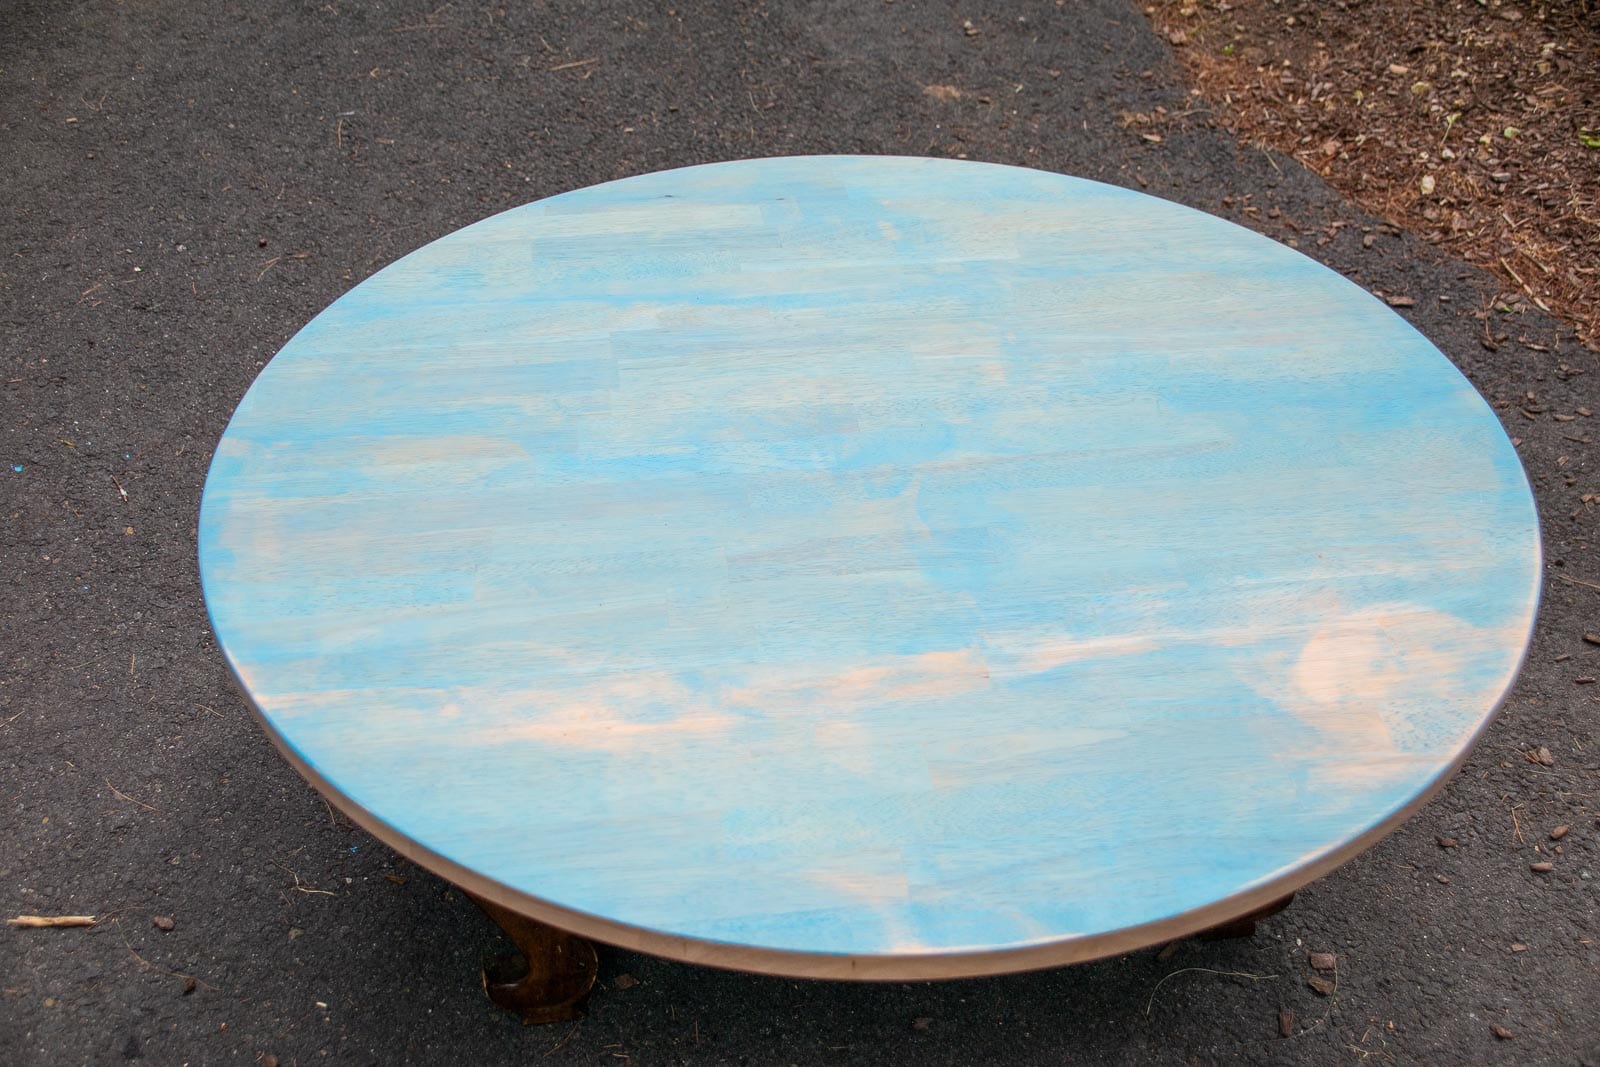
Step 7. Prestain and stain
When staining, you should ideally use a pre-stain product. This helps prevent a blotchy finish. Note… it *can* alter the finished color of your stain so make sure when you’re testing your stain, you test it with the pre-stain. I was working with a water based colored stain and ultimately decided it was best for smaller areas. See how blotchy the first coat looked because of where I had to overlap the stain application? (I’ve since learned that you can water down this particular stain for an easier/ faster application.) The directions were to apply the stain and wipe off almost immediately so covering a larger area was challenging. Diluting it might have helped, but ultimately I actually love how the accented colors on the edges look with this table. I did have to sand the top twice but it was worth it!
Step 8. Top coat
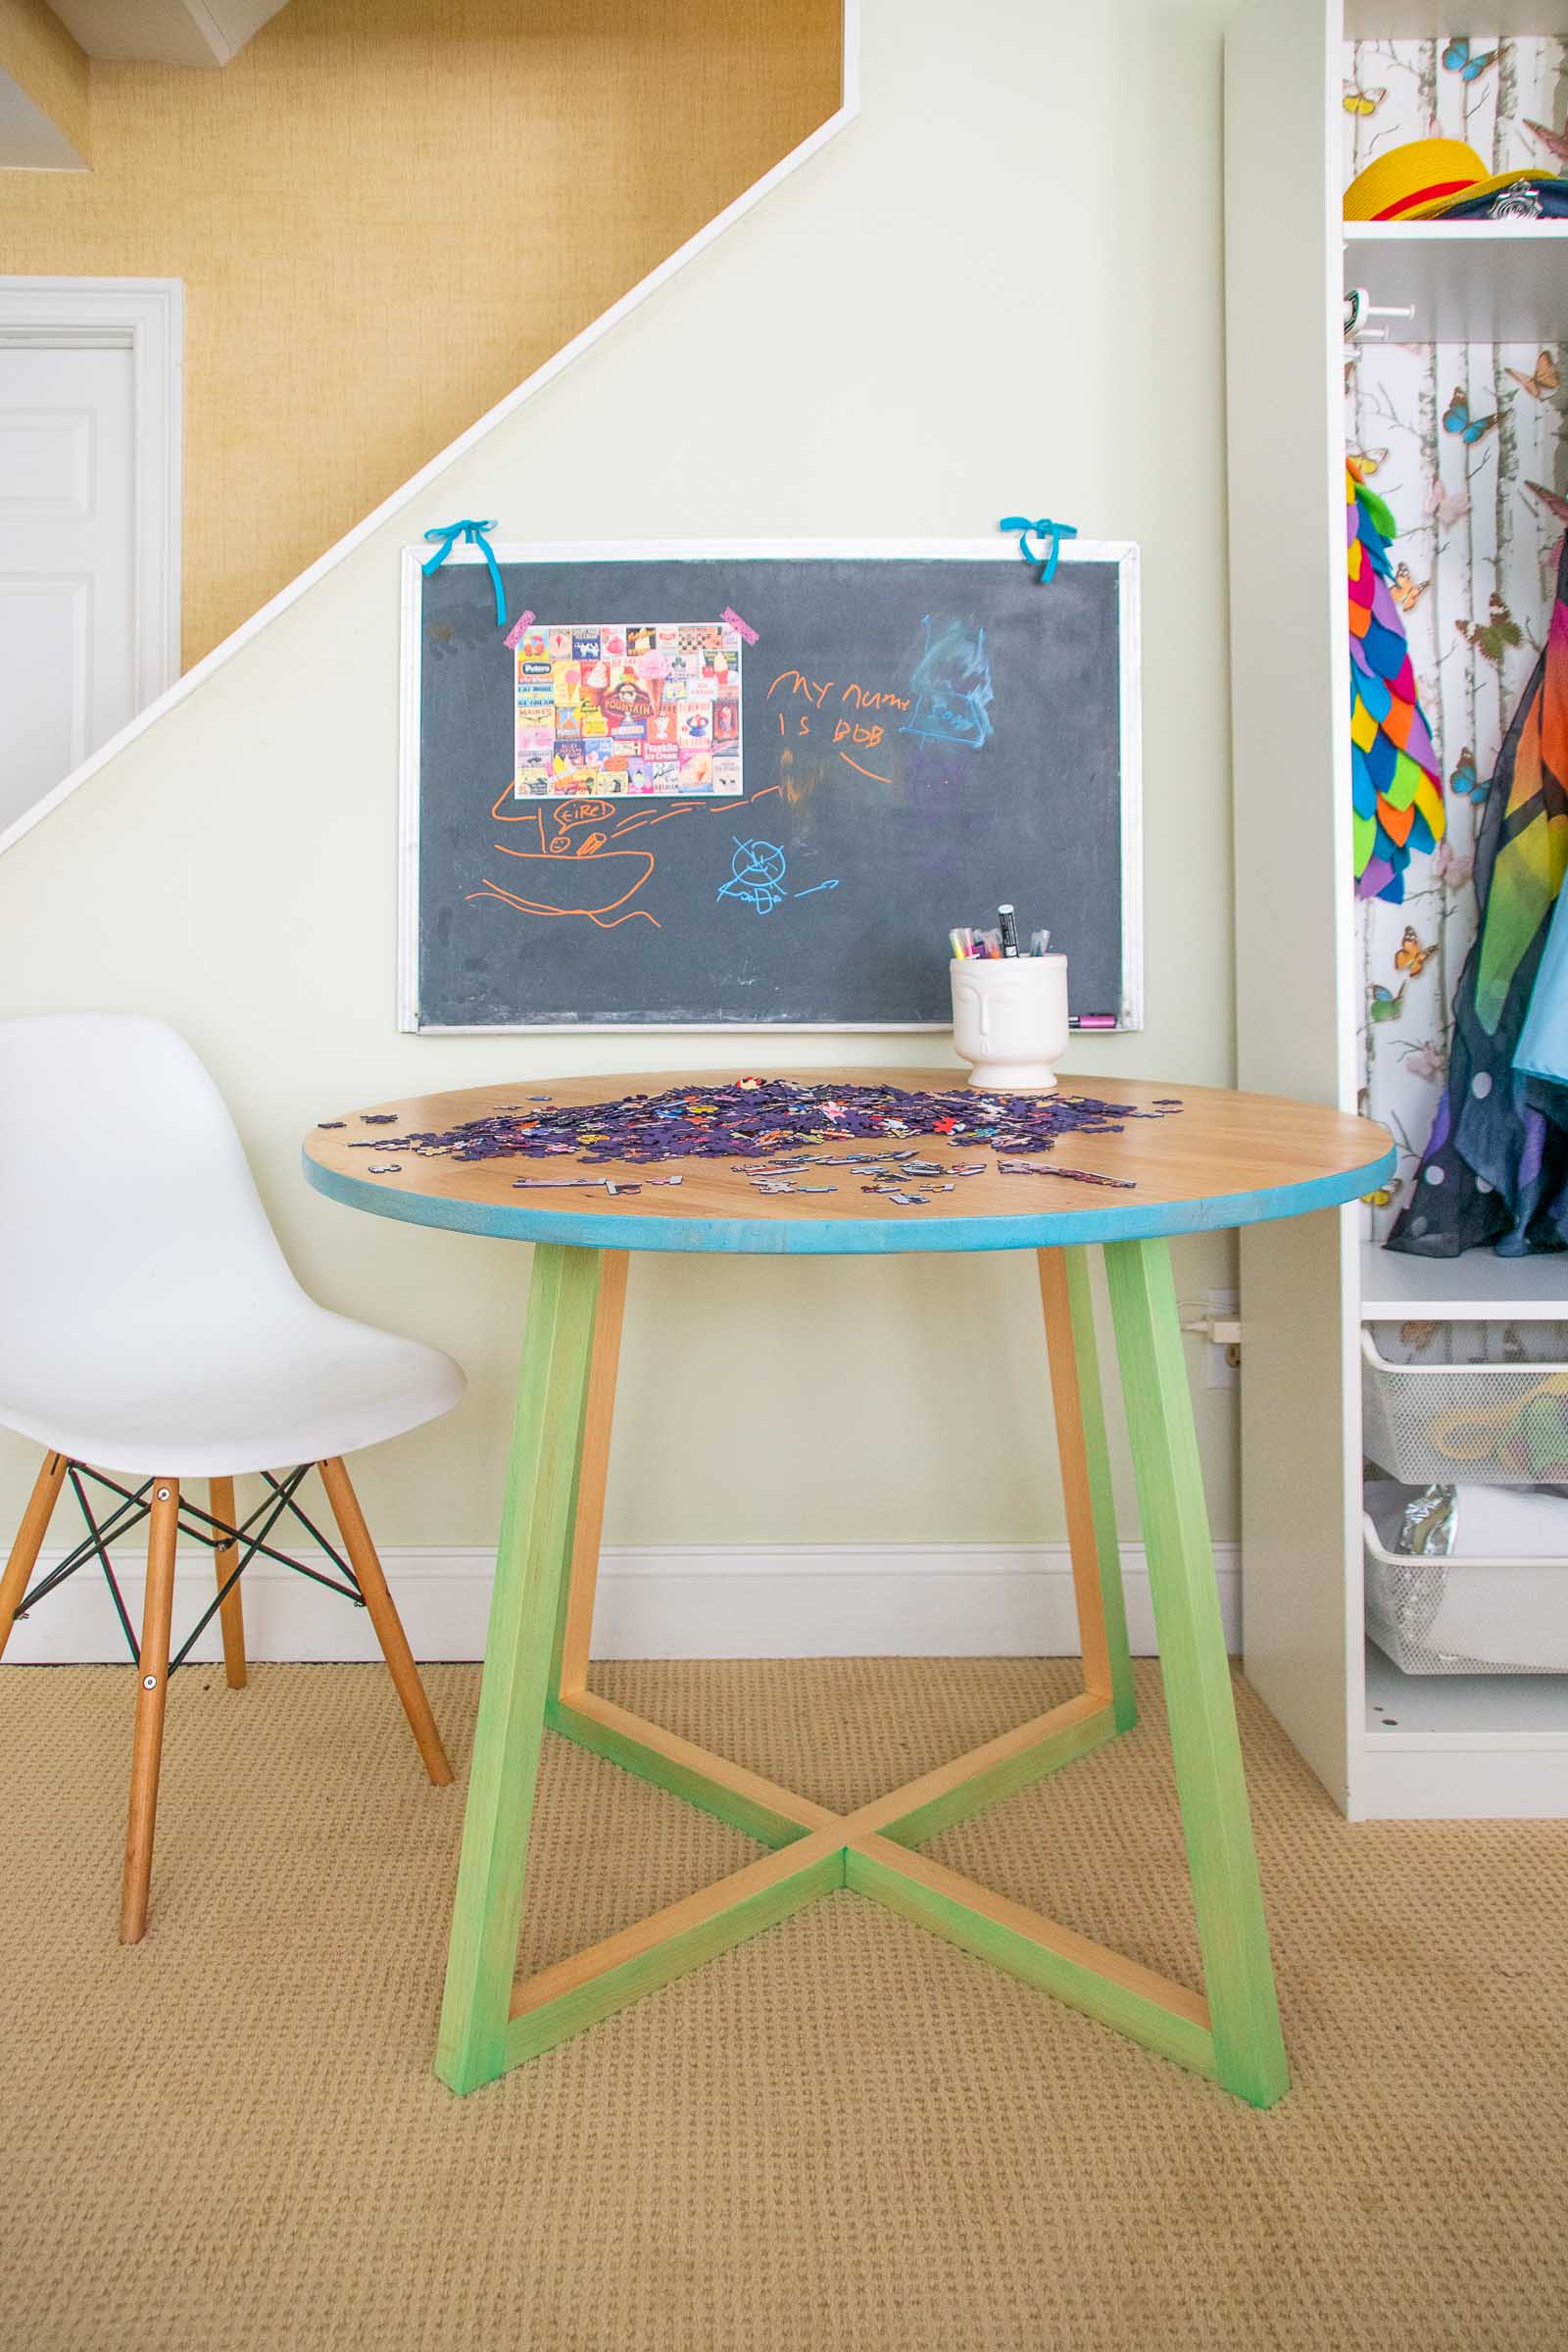
Because this table is going into the kids playroom, I knew it would need a little protection so I gave it a few coats of satin finish polycrylic. I love how the poly accentuates the wood grain just a bit and brings out the color. It’s water based so easy to clean up and won’t yellow over time.
Step 9. Assembly
My original table top already had threaded inserts so all I had to do was drill holes through my newly built base and pick up screws that were the right thread for the inserts and the right length to go through my 1.5″ base. Without the threaded inserts I probably would have just screwed through the base up into the table top OR I could have used L brackets on each of the 4 “legs” to connect the base to the table top.
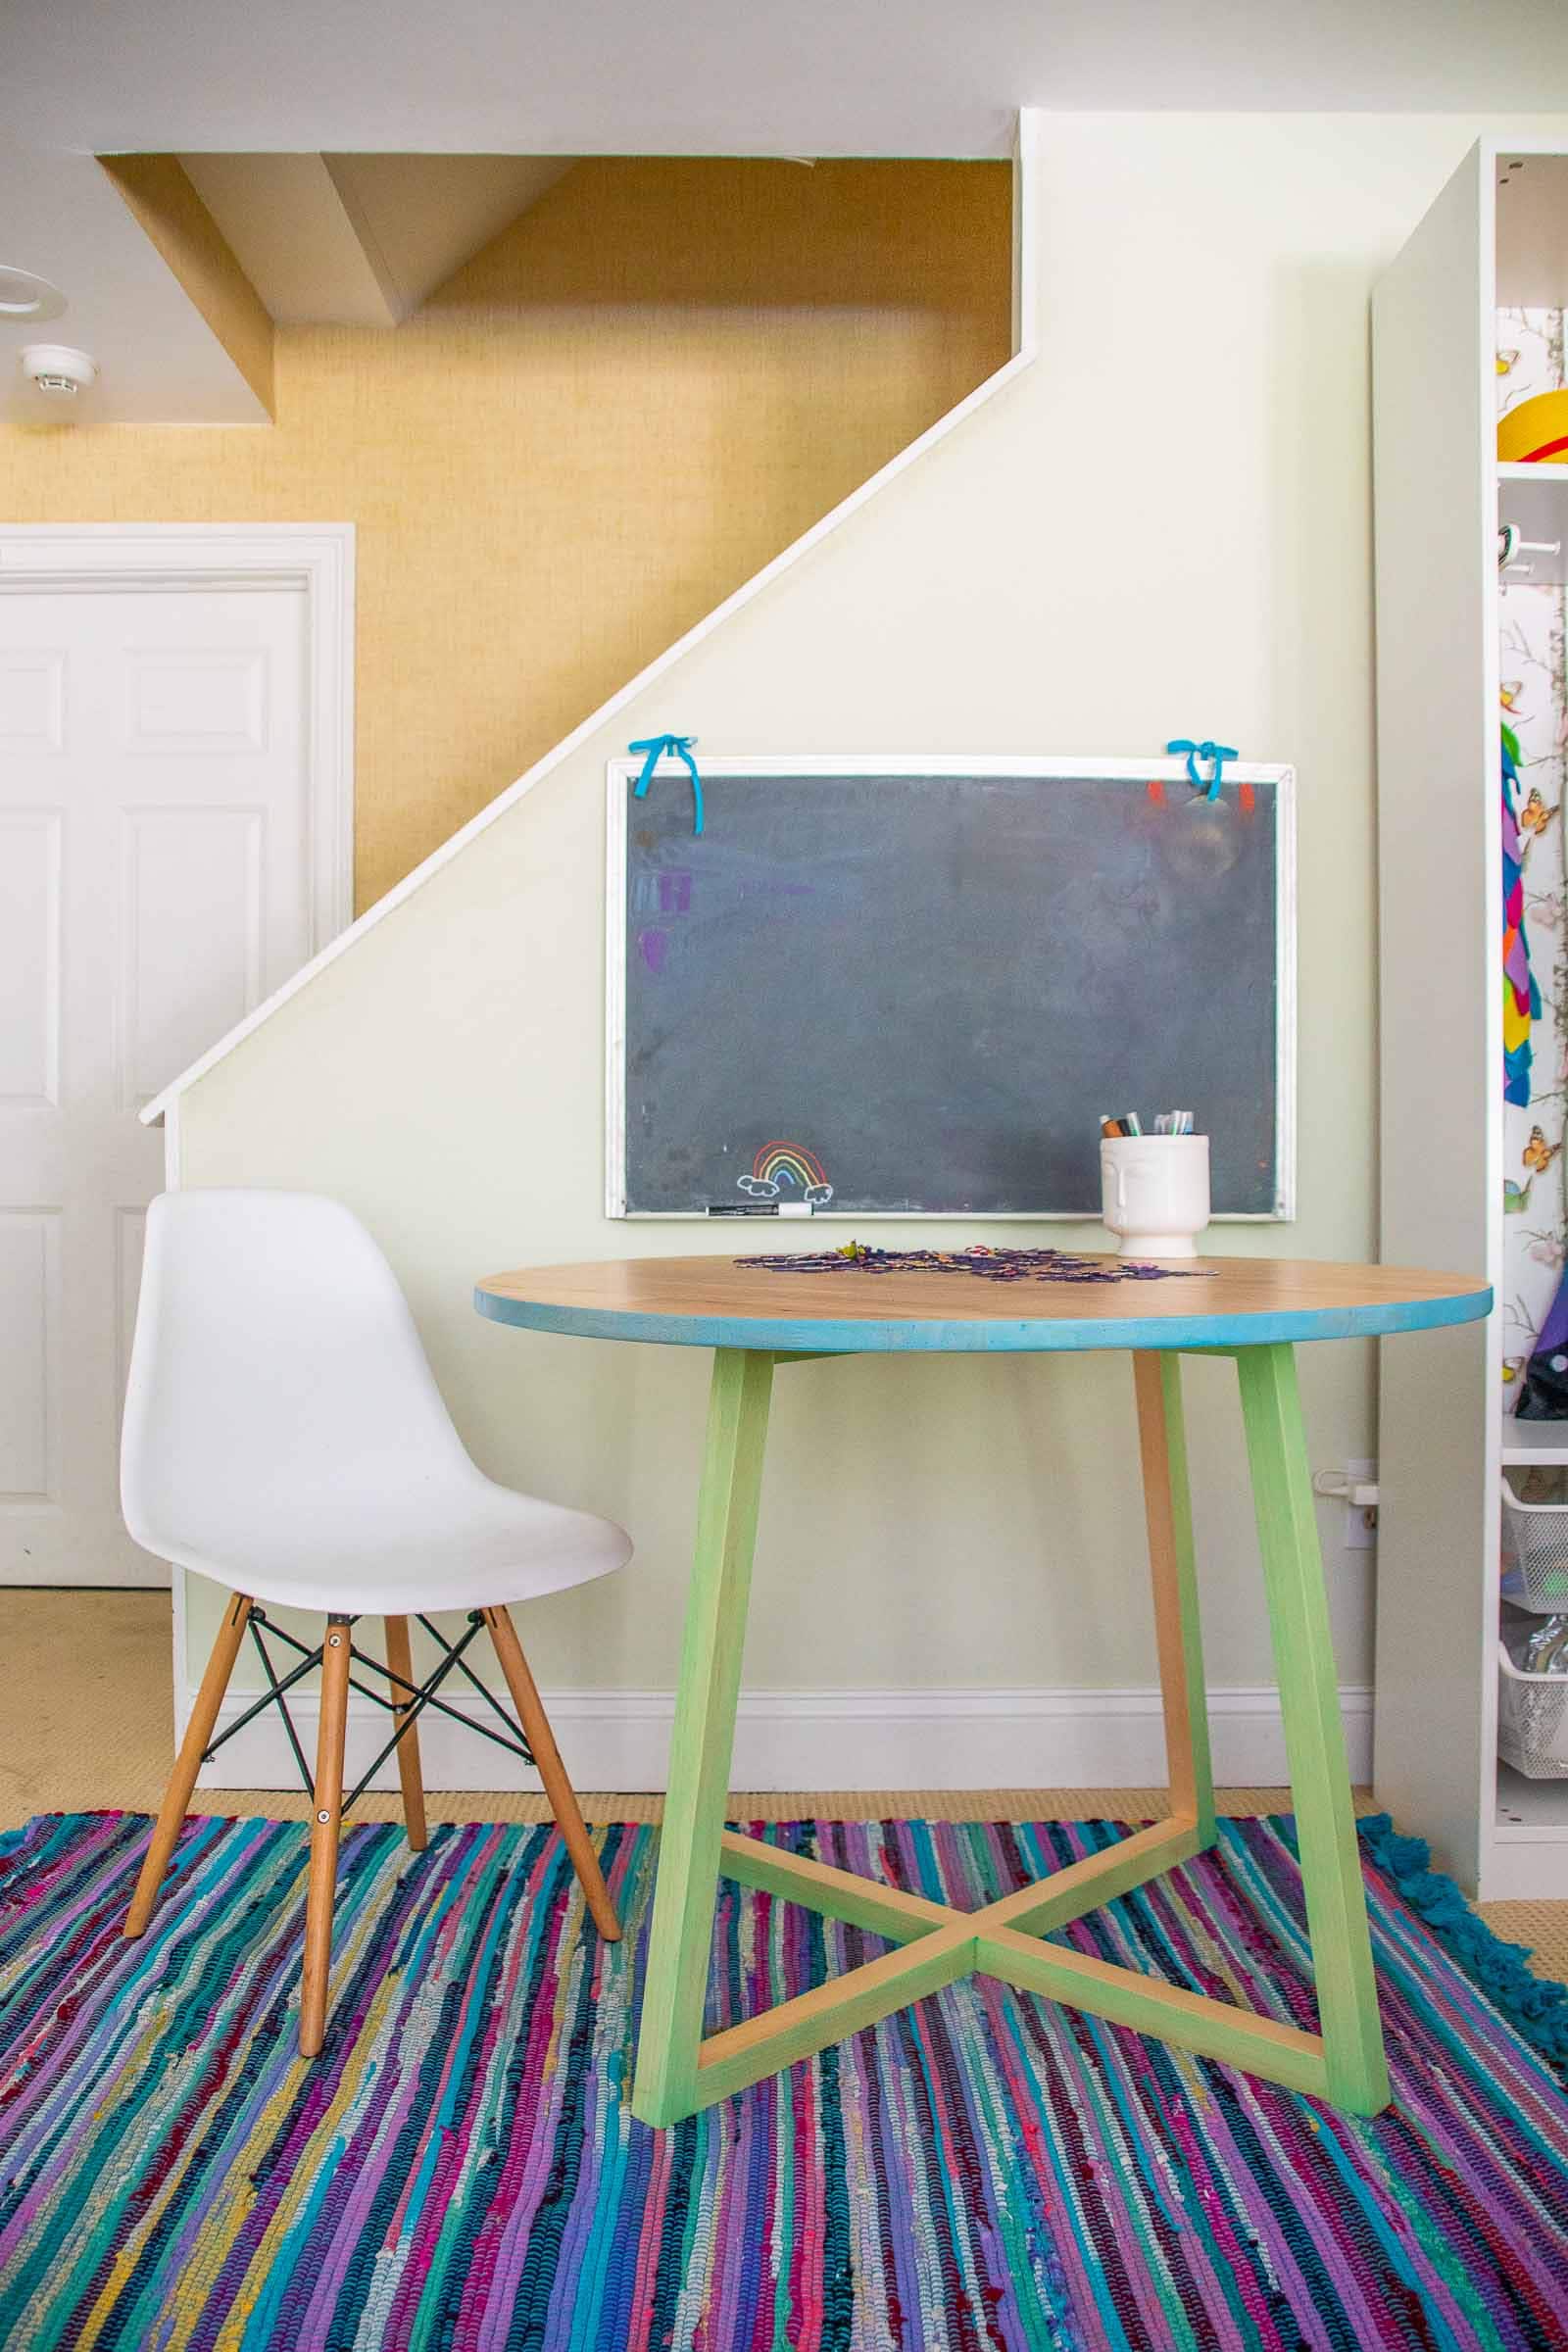
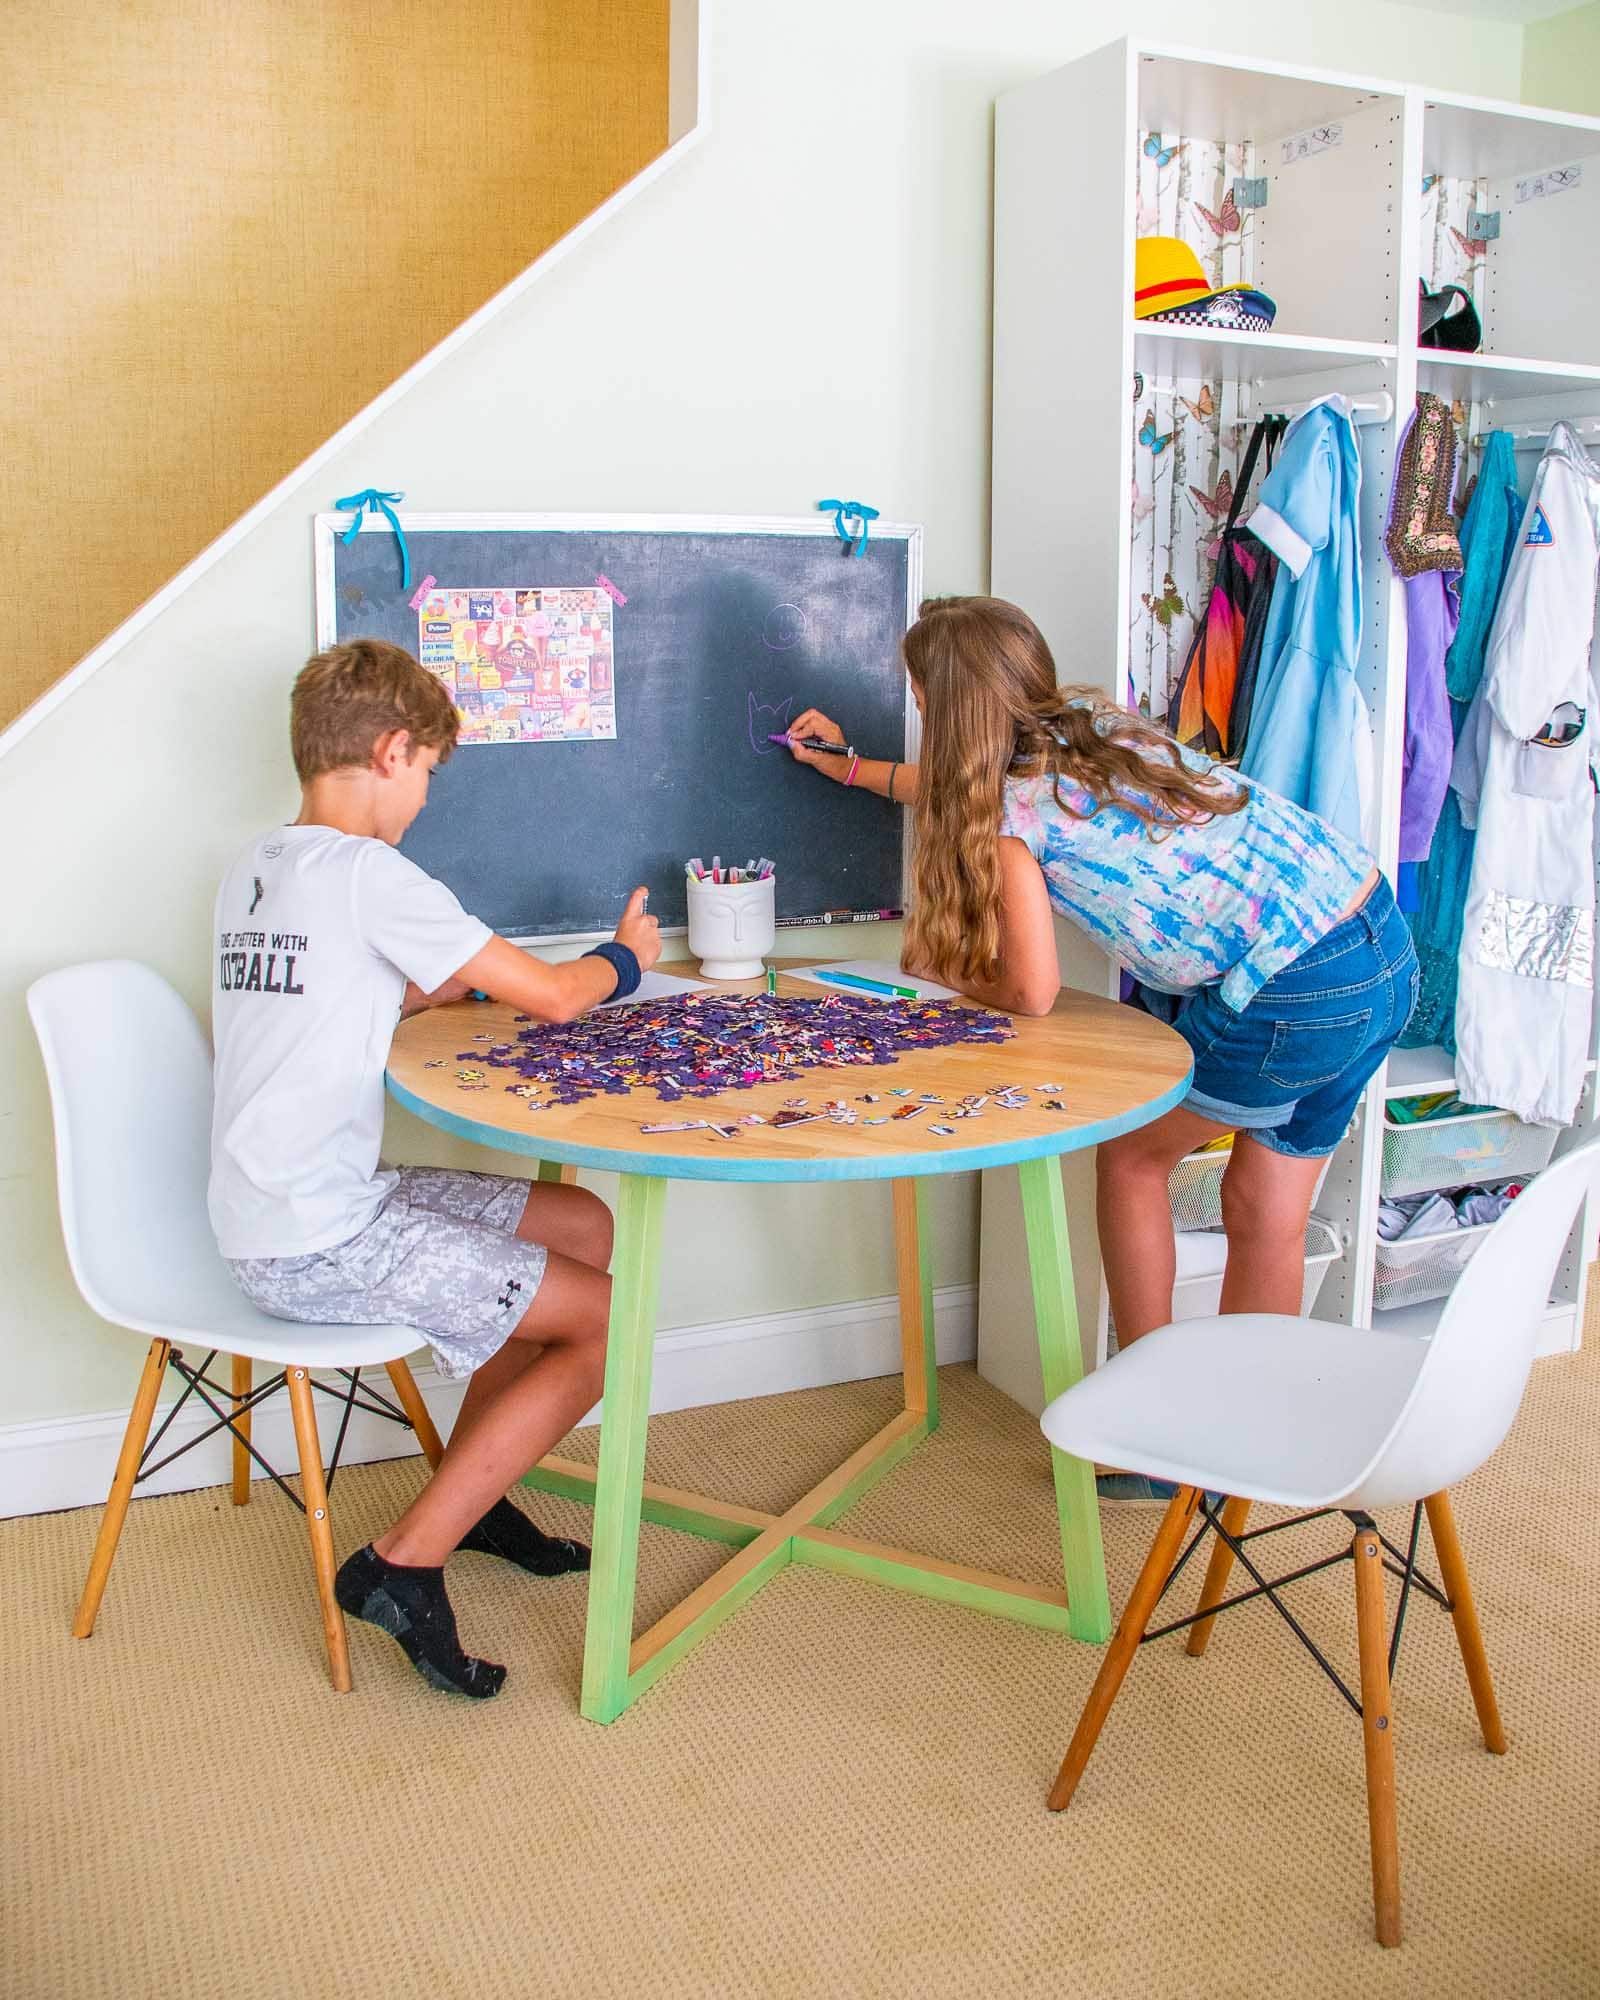
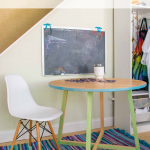
As the kids get older, the needs of our playroom evolve… in this case, I love that they now have a round table where they can set up a table, play a game or just quietly sit and draw. It also means that this sort of activity does *not* need to happen at our kitchen table therefore keeping some of the kid clutter out of the way! Less tidying upstairs makes mom very happy. Also? For under $40 this new table also makes me happy! Win-win!!


Don’t Miss Out
Become An Insider!
Signup for exclusive tips, and tricks from Charlotte’s House!
Let’s chat!
I love comments from you, so feel free to leave your thoughts and ideas below! And don’t forget to follow me on Instagram for even more!