Colorful Graphic Office Mural
Psssst… this post *might* contain affiliate links: see my disclosure here.
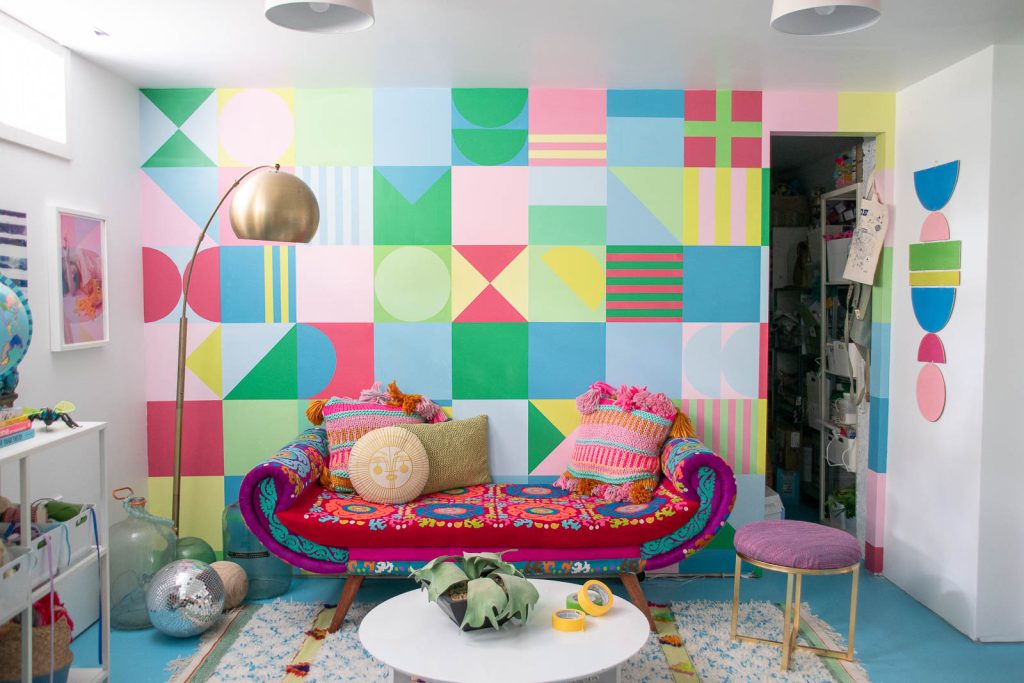
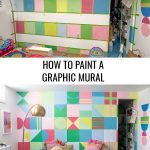
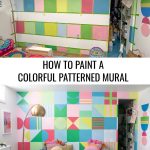
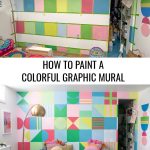
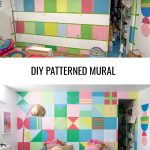
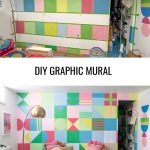
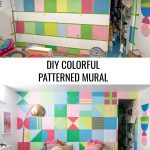
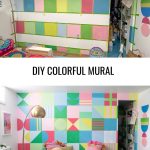
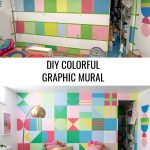
I gave a wall in my office a big bold colorful makeover with a few sample pots of paint and some Frogtape.
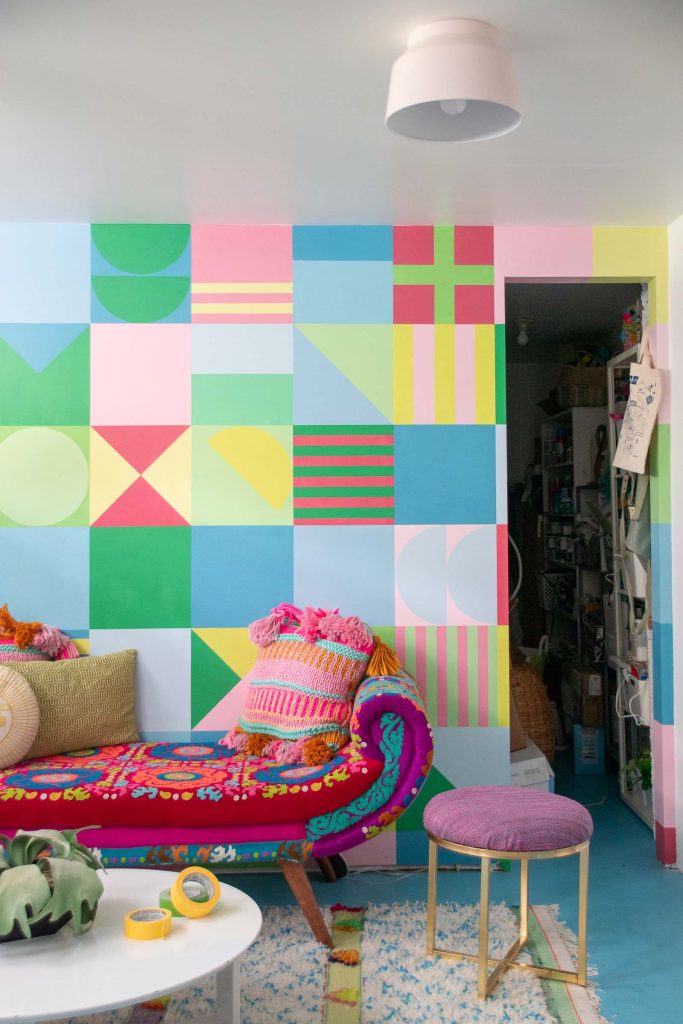
Story time: my favorite projects are the ones that require a little bit of elbow grease, a LOT of color and cost me like $25 so if I get sick of it, I don’t feel any guilt about just painting it over or getting rid of it. I partner with Frogtape so taking advantage of that to paint a big bold mural was a fun weekend project. I also need to point out that the bench below this mural was a Homegoods purchase about 8 years ago. I didn’t *need* it, I didn’t have a spot for it but it had to come home with me. Since then it may be the single most asked about piece of furniture in my home and I have yet to find ANYTHING even remotely similar so… yay me!
Painting a Colorful Mural
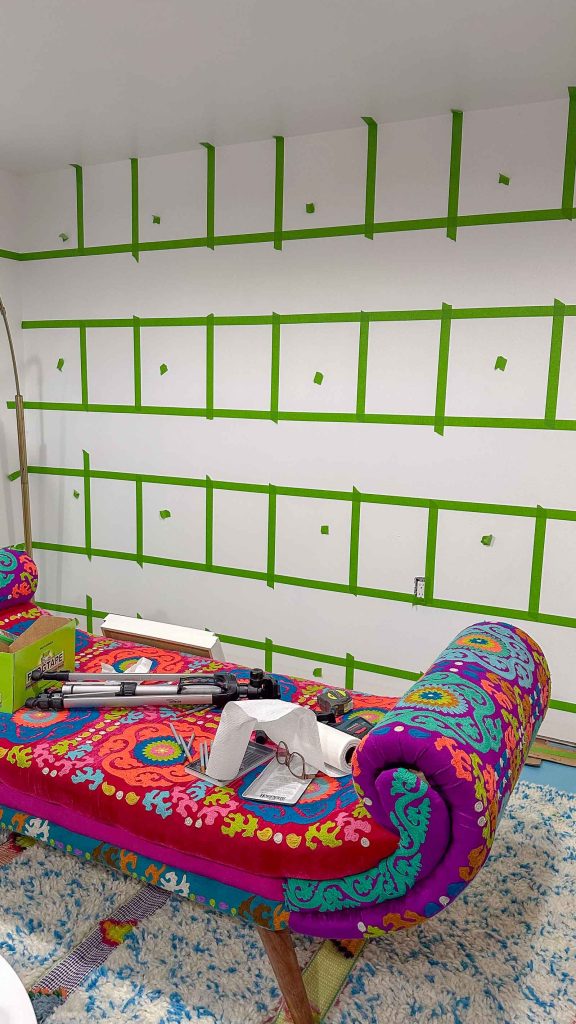
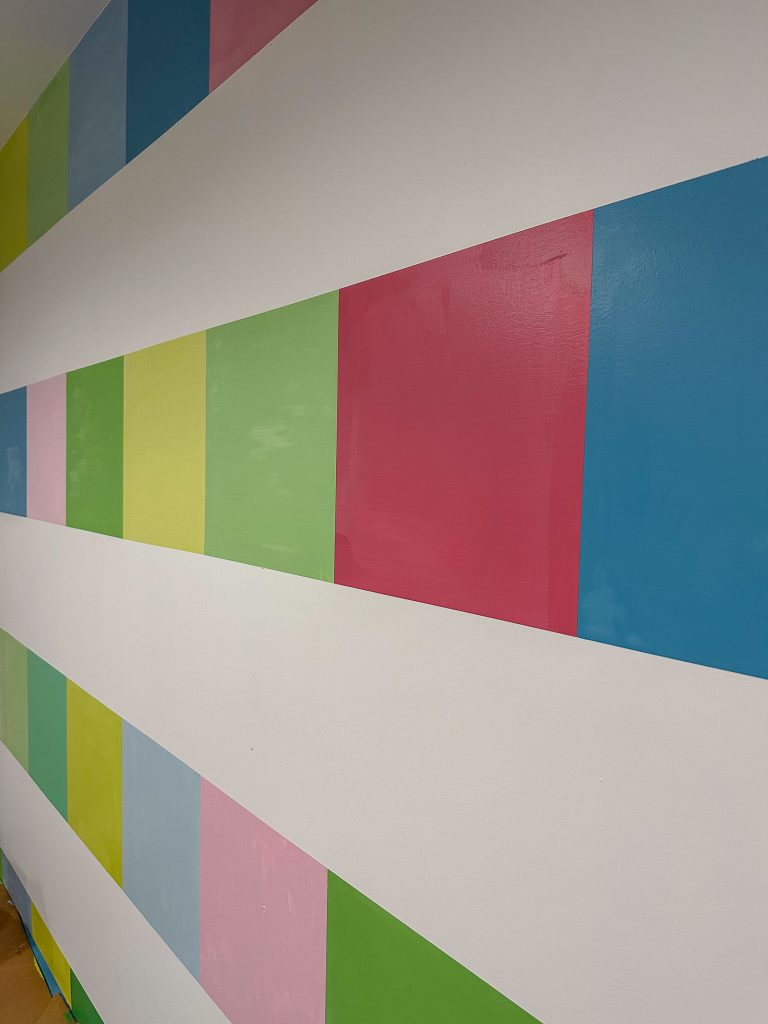
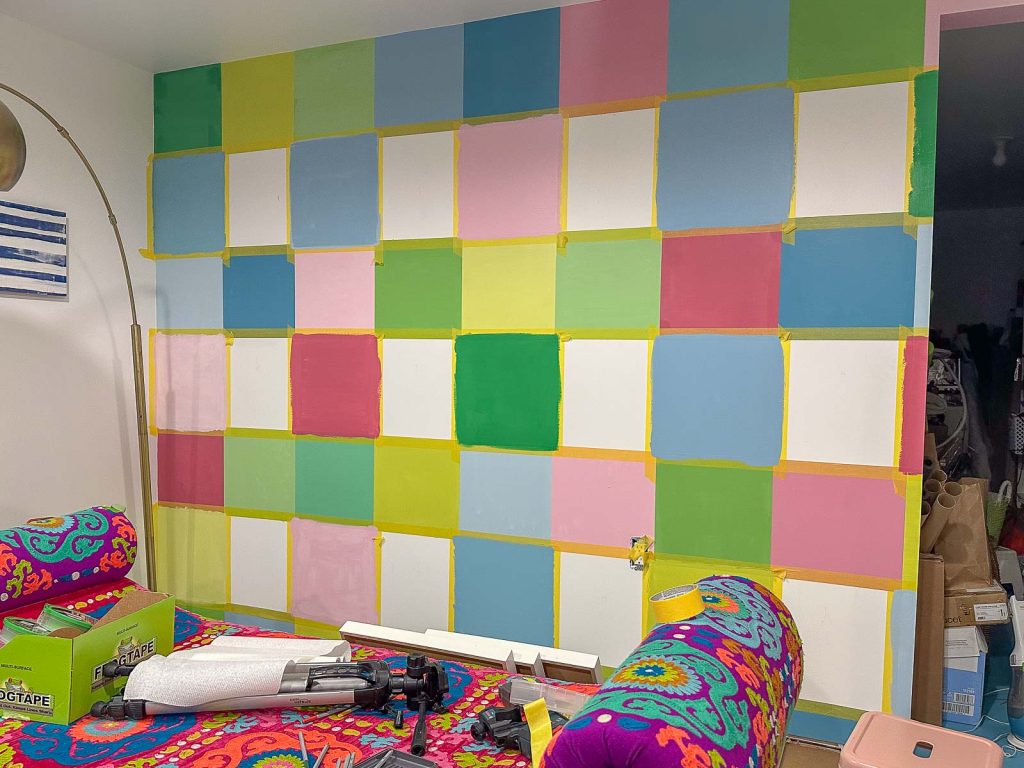
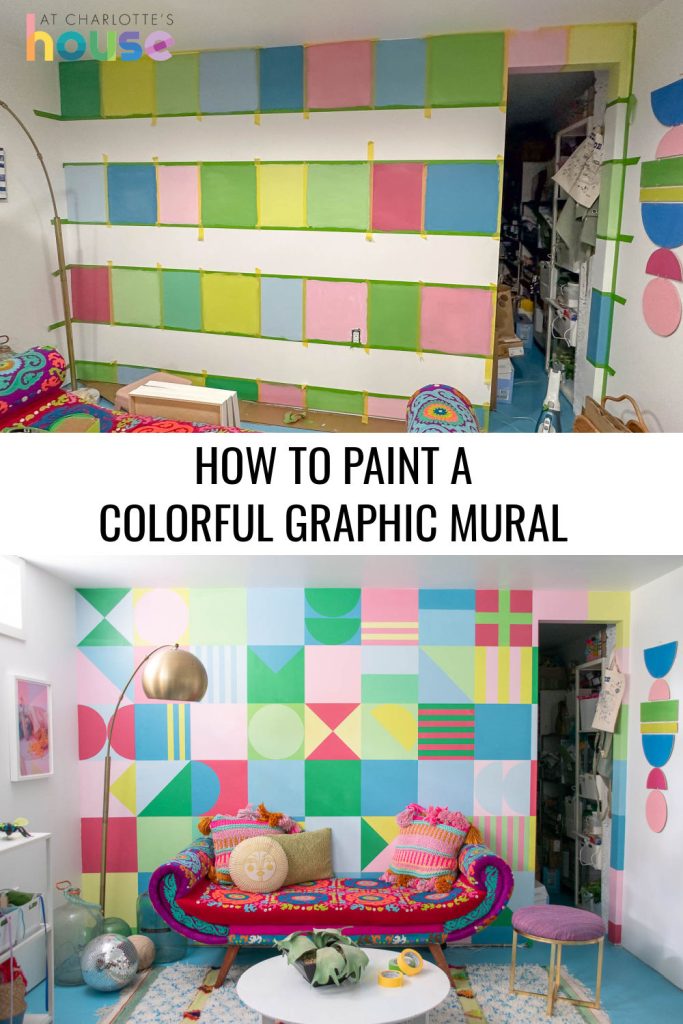
I love those geometric folk art/ quilt-y type patterns so figured that would be a great way to highlight painters tape! Thankfully, the math of the whole thing wasn’t anything more complicated than figuring out what size square would best fit on the wall. Using my laser level I set up the horizontal and vertical grid lines and then started taping out the rows.
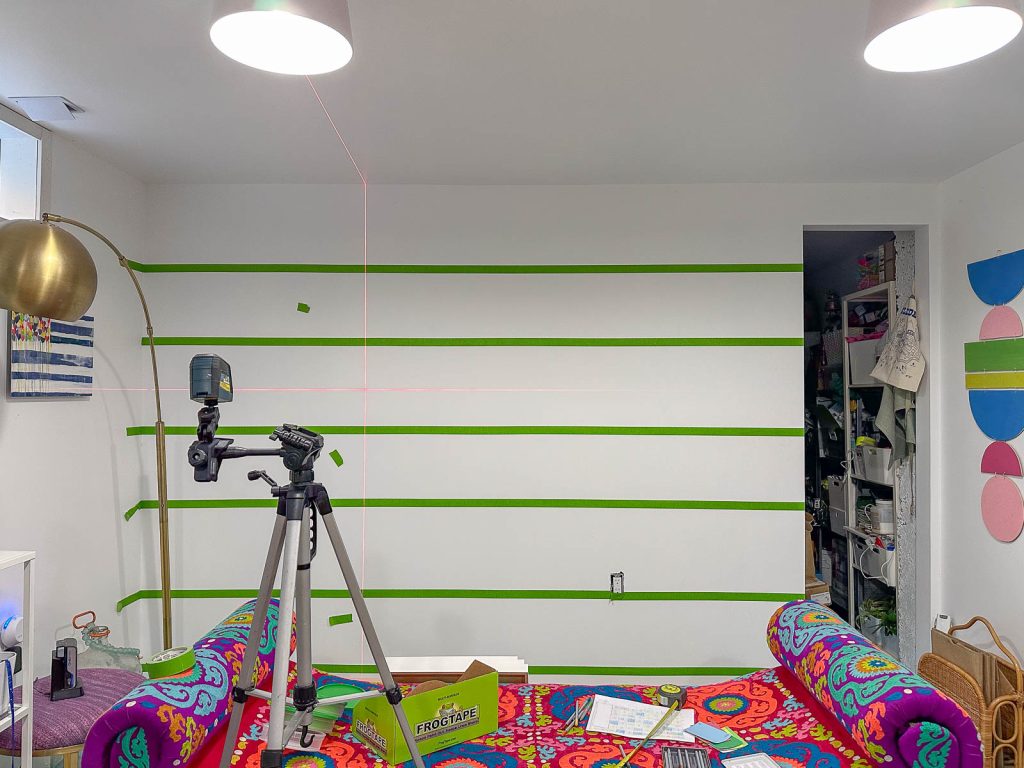
The only thing thats annoying about painting a grid is that you have to paint the squares that don’t touch first, let them dry and then re-tape the entire thing so you can paint out the other squares. I measured and marked the squares that needed to be painted first.
Shop my favorites!
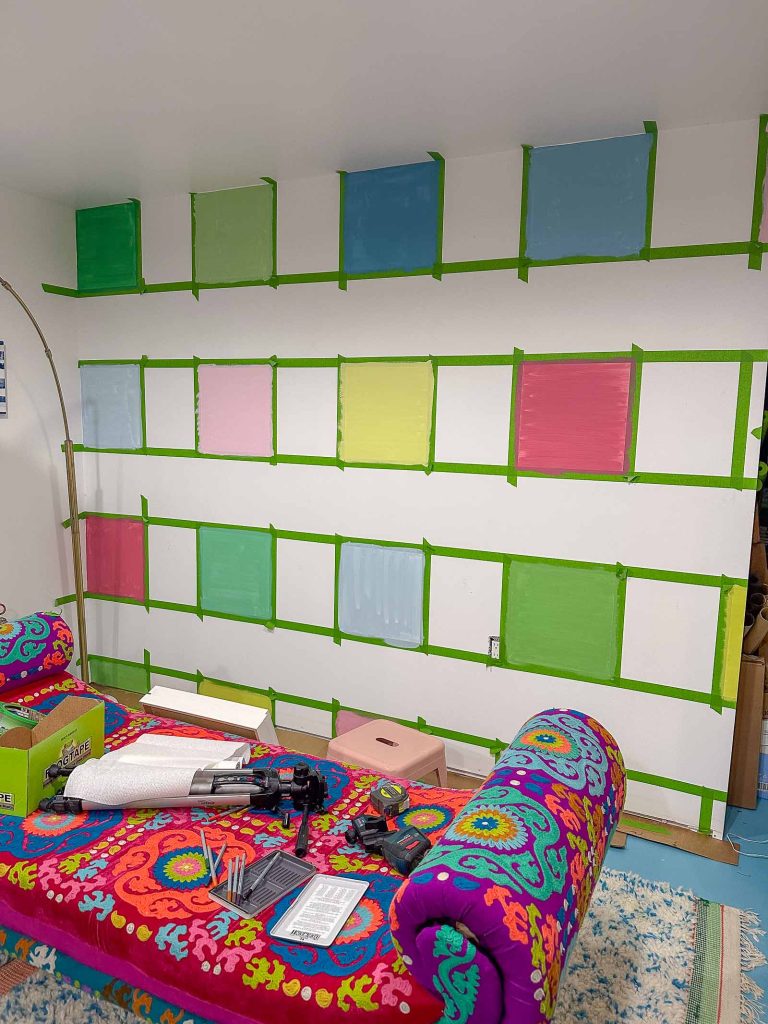
I’ve worked with Frogtape for years and even though this project was sponsored, this blog post was not part of my deliverables… but I still feel compelled to mention that the yellow delicate Frogtape is the only tape I will use when taping off something like this where I’m taping over a freshly painted surface. It’s a little more expensive but I would never trust any other tape not to pull off the newly painted wall.
Adding Layers and Details to the Mural
I’m using 5 or 6 different paint samples here and then added white to each of them to double the amount of color choice I had to work with. I *did* sketch out the pattern first so that I new I could spread out the colors accordingly.
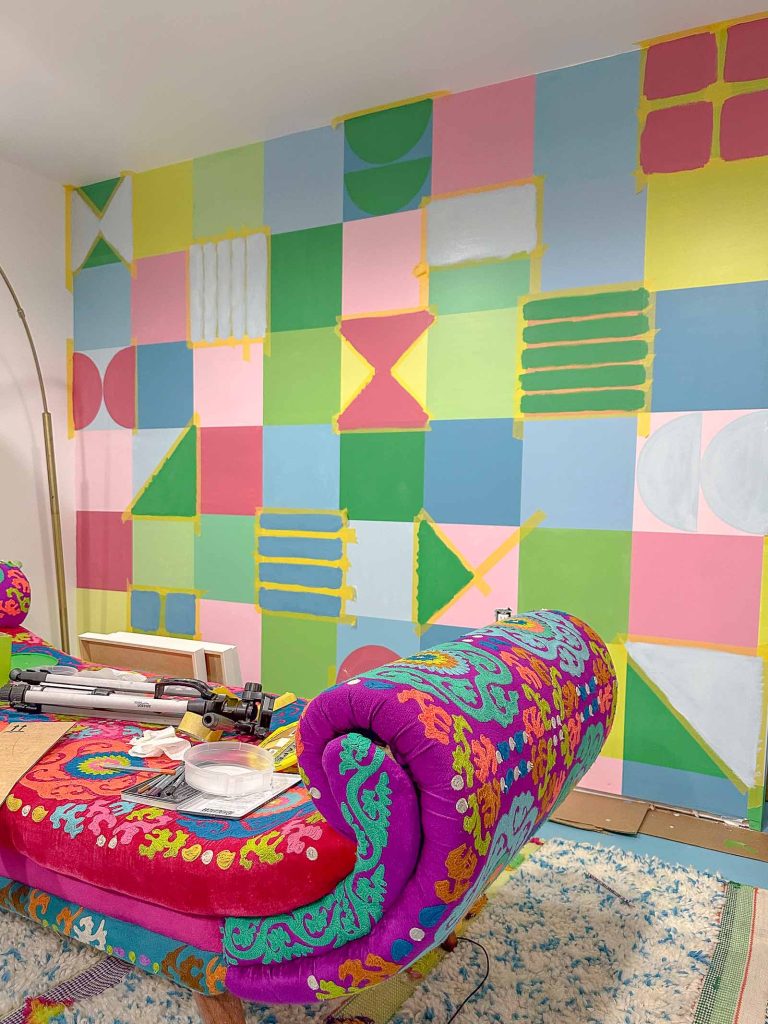
How long did this take? Honestly… a weekend. One day to paint the grid. I used brushes for everything and just worked step by step. First one row of squares. Let dry for an hour or two. Tape out the next round of squares. Paint and repeat. I let the base grid dry overnight before going in with the yellow tape. I didn’t worry about sealing the tape edges at all but I RARELY have to touch up when using Frogtape. Truly and honestly.
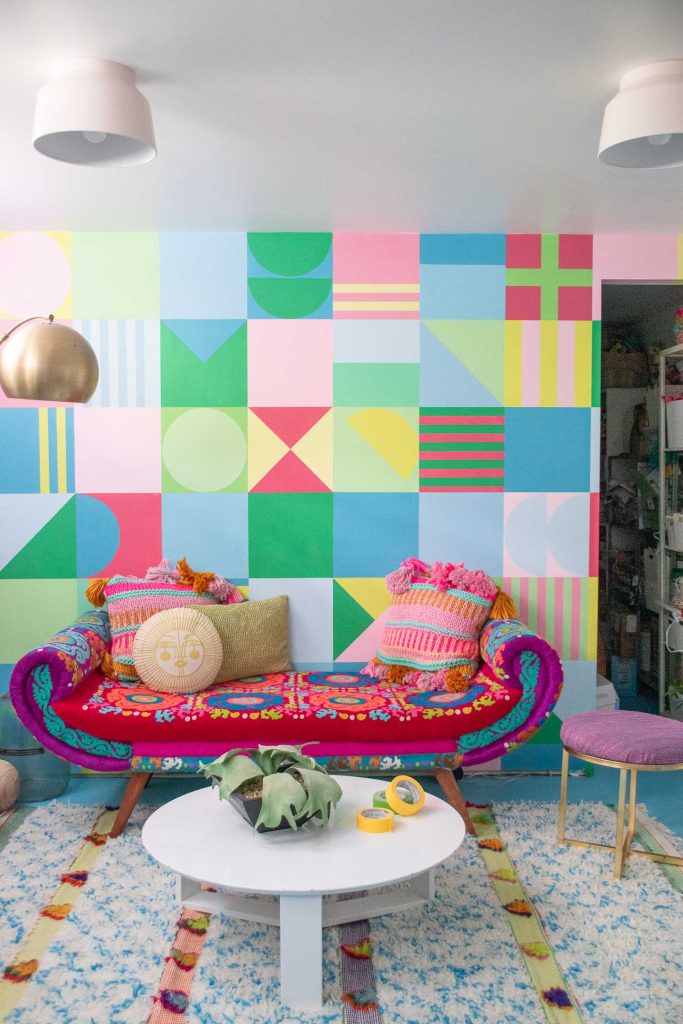
Check out the full reveal of this office space here.












Don’t Miss Out
Become An Insider!
Signup for exclusive tips, and tricks from Charlotte’s House!
Let’s chat!
I love comments from you, so feel free to leave your thoughts and ideas below! And don’t forget to follow me on Instagram for even more!