
Copper Pipe Planter
Psssst… this post *might* contain affiliate links: see my disclosure here.
DIY Copper and Wooden Planters
I soldered copper pipe to make this chic DIY planter.
Disclosure: This post is sponsored by The Home Depot for their DIY On Trend Series.
Shop my favorites!
For as long as I can remember, I’ve DIYed my holiday gifts. In college it was decoupaged picture frames. In my early twenties I got really carried away and hand embroidered flowered napkins and painted napkin rings. And more recently, it’s corralling the kids to make things like DIY ornaments or painted coffee mugs. Today I DIYed some planters from materials I found at Home Depot and I love the finished results! Full materials list included at the end of the post.
How to Solder Copper Pipe Pots
Before I launch into the full tutorial, note that I’ve never done this before so I learned a little bit from my own mistakes as I was working so there is a definite learning curve. I’m working with 3/4-inch copper pipe which is sold in 4-foot lengths at Home Depot. There’s no magic to this size, it just seemed like I would need fewer pieces that with a smaller diameter pipe.
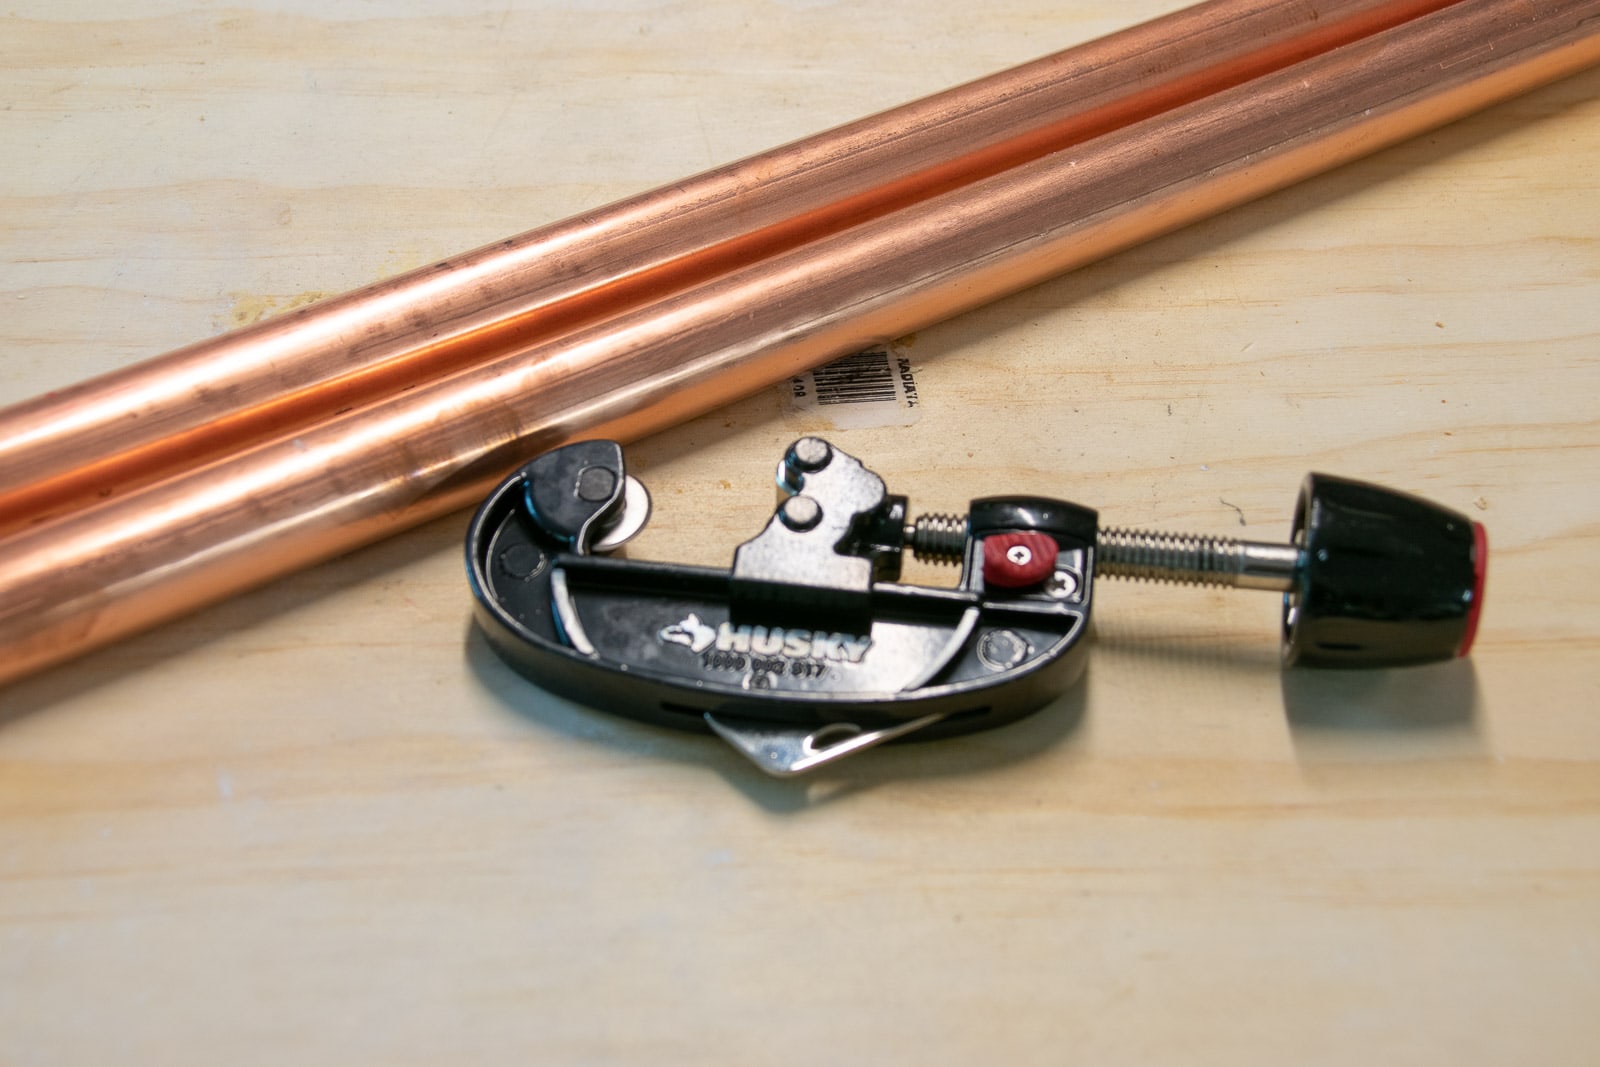
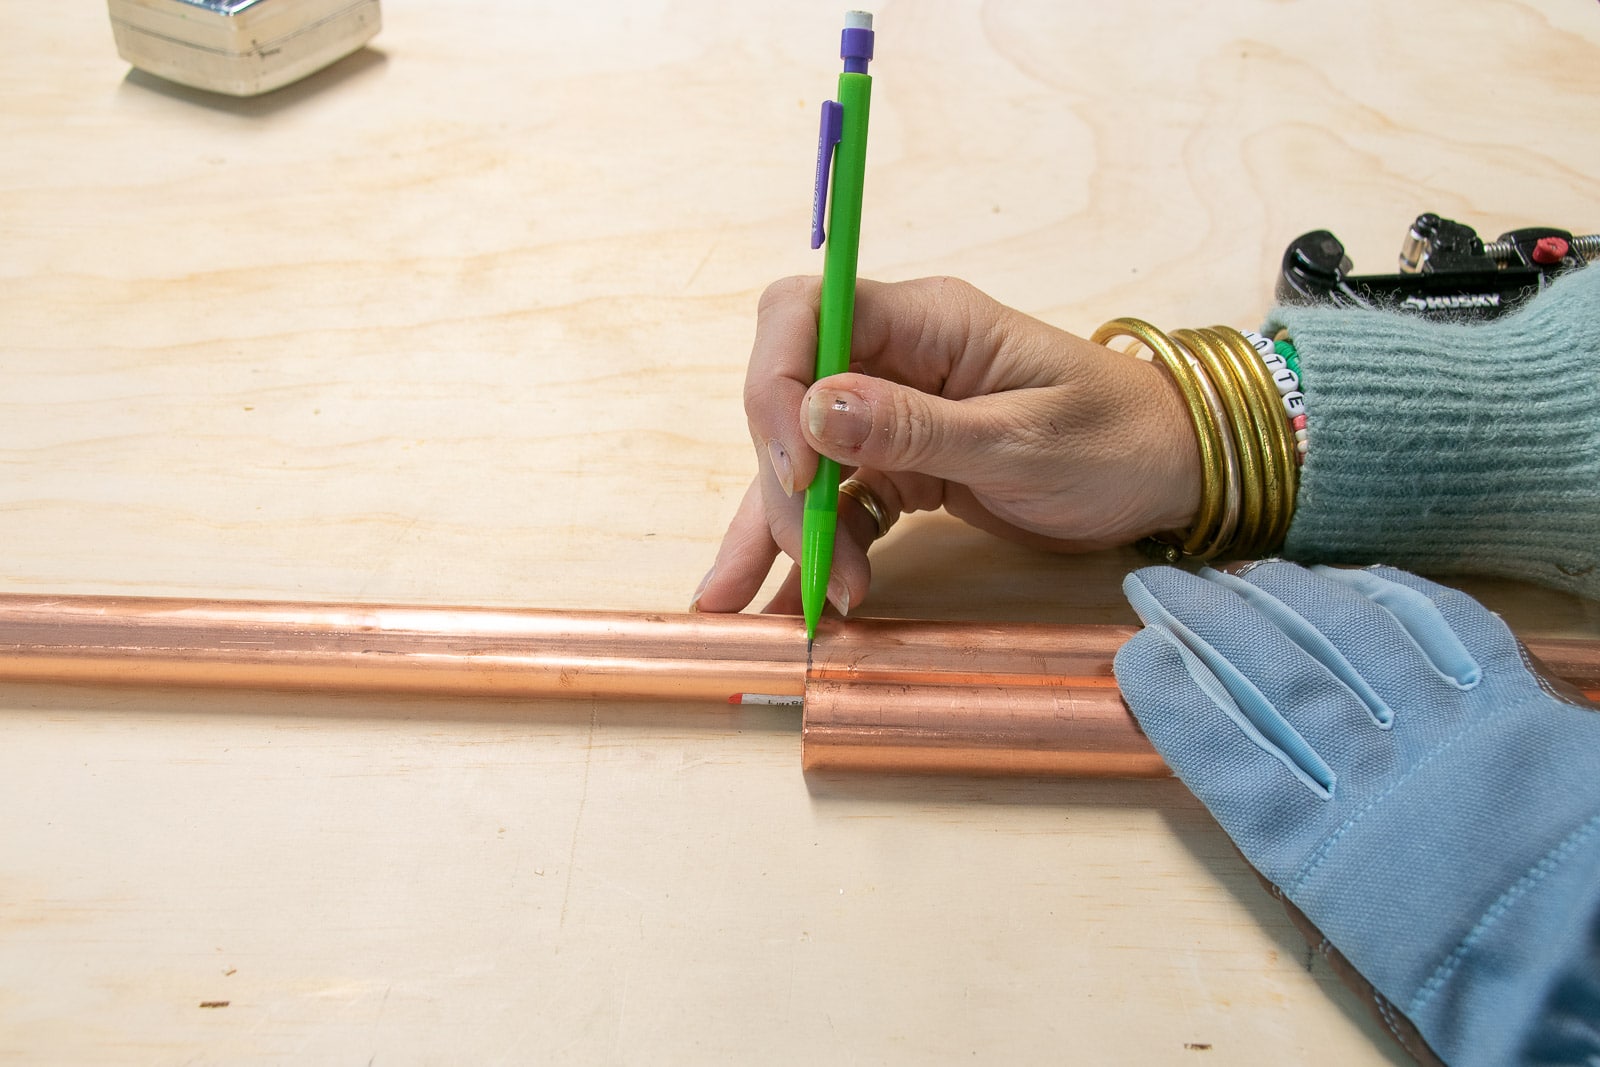
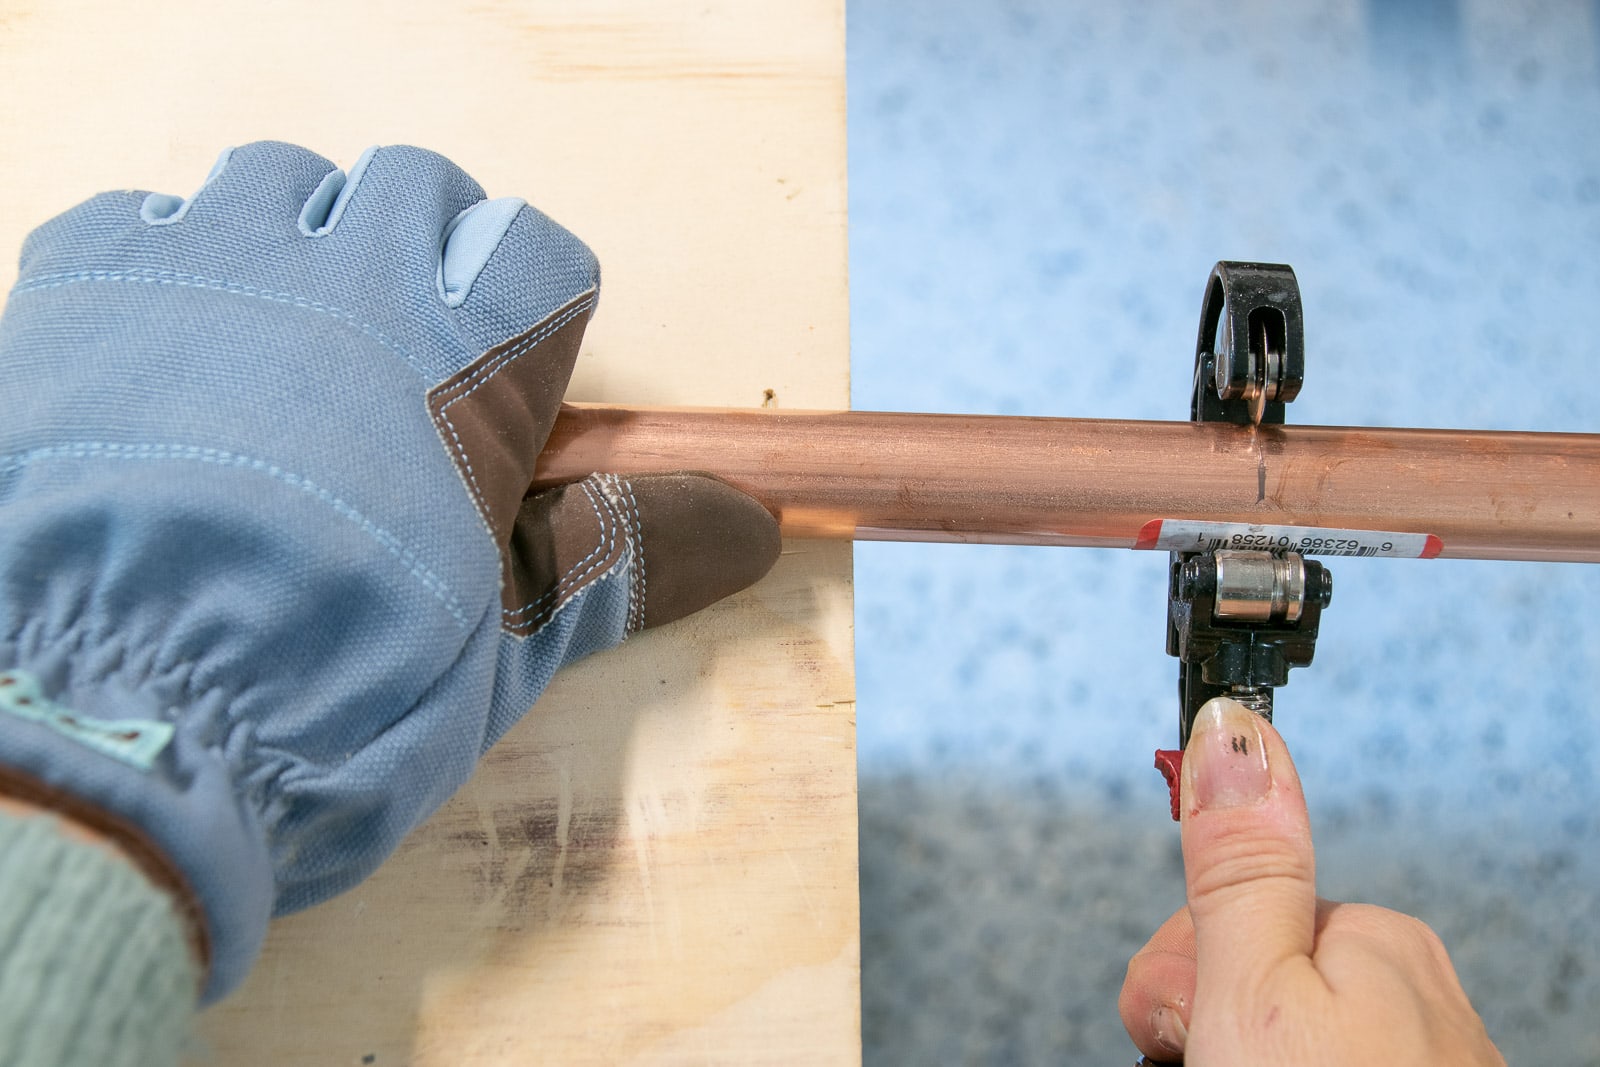
Step 1. Cut the Copper Pipe
I’m using a pipe cutter for this and once you get in a rhythm it’s the easiest $20 tool you’ll find. I determined the length of my pipe (8-inches) by the size of the pot so you can easily customize your planter depending on what you’re going to put in it. A pipe cutter is a single blade that you slowly clamp down onto the pipe as you twist it around the perimeter of the pipe. Copper is a soft metal so it only take a few seconds to cut each section.
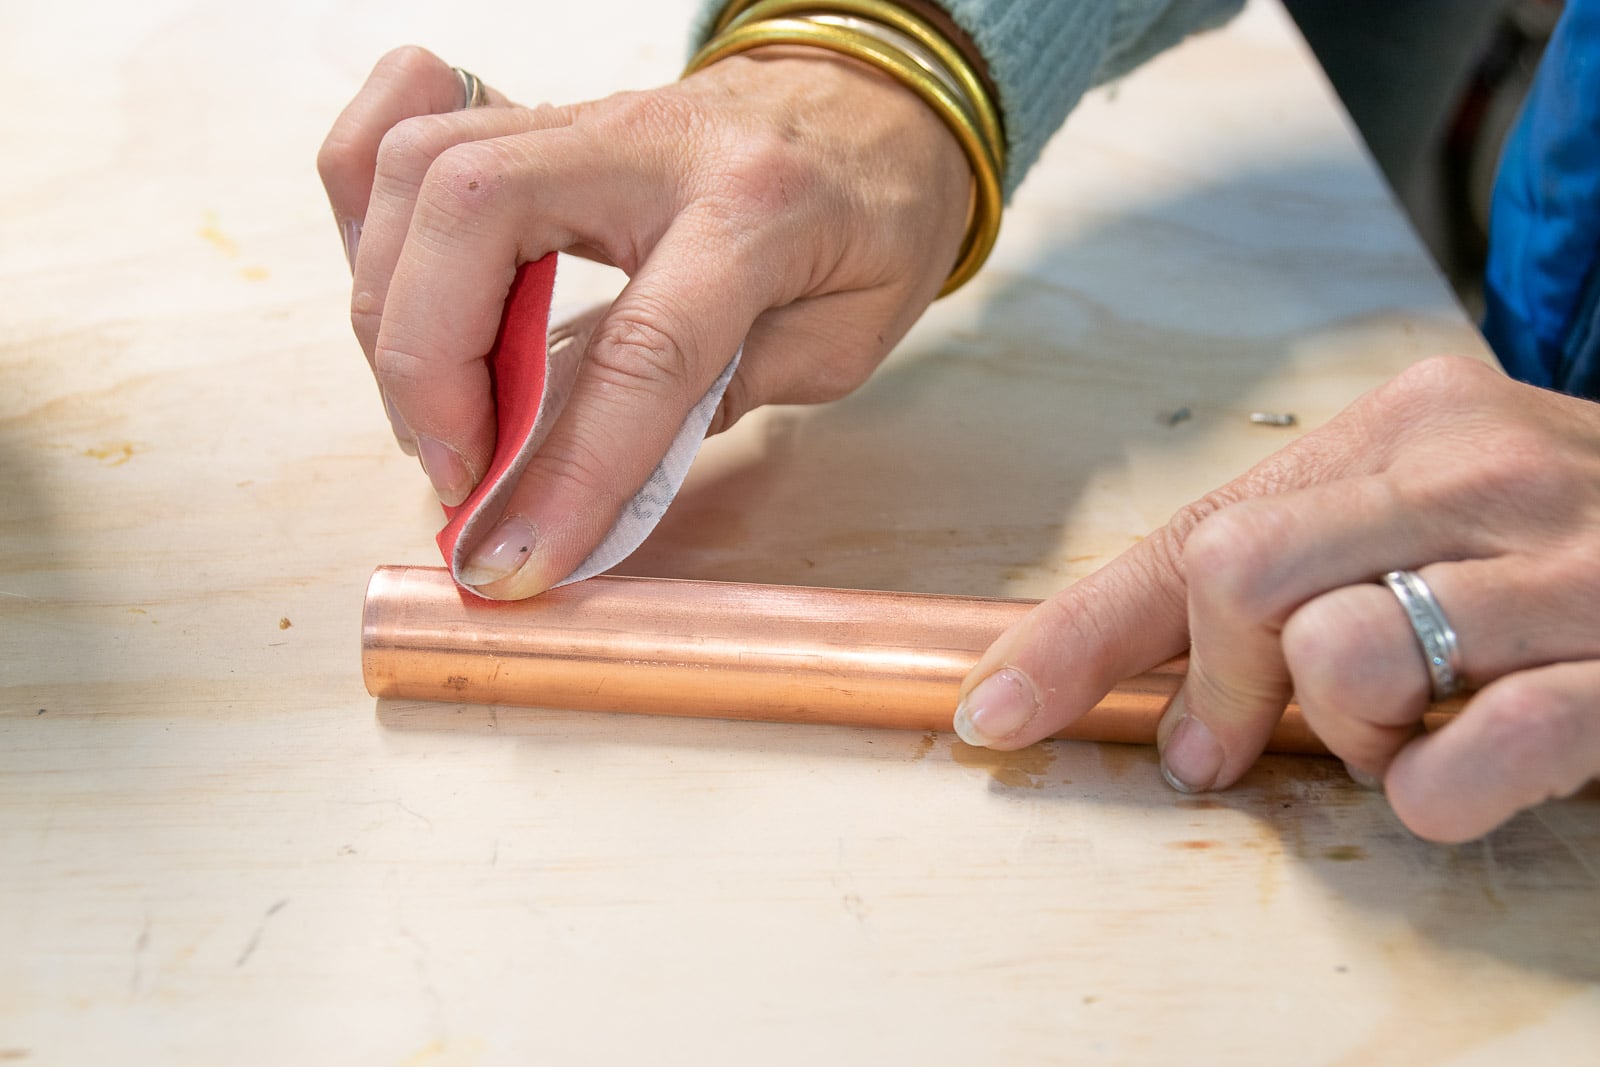
Step 2. Prep the pipe
In order to solder copper, you need to follow three steps. Clean, flux and solder. I used a fine grit sandpaper to clean the surface of each pipe where I was planning to connect it.
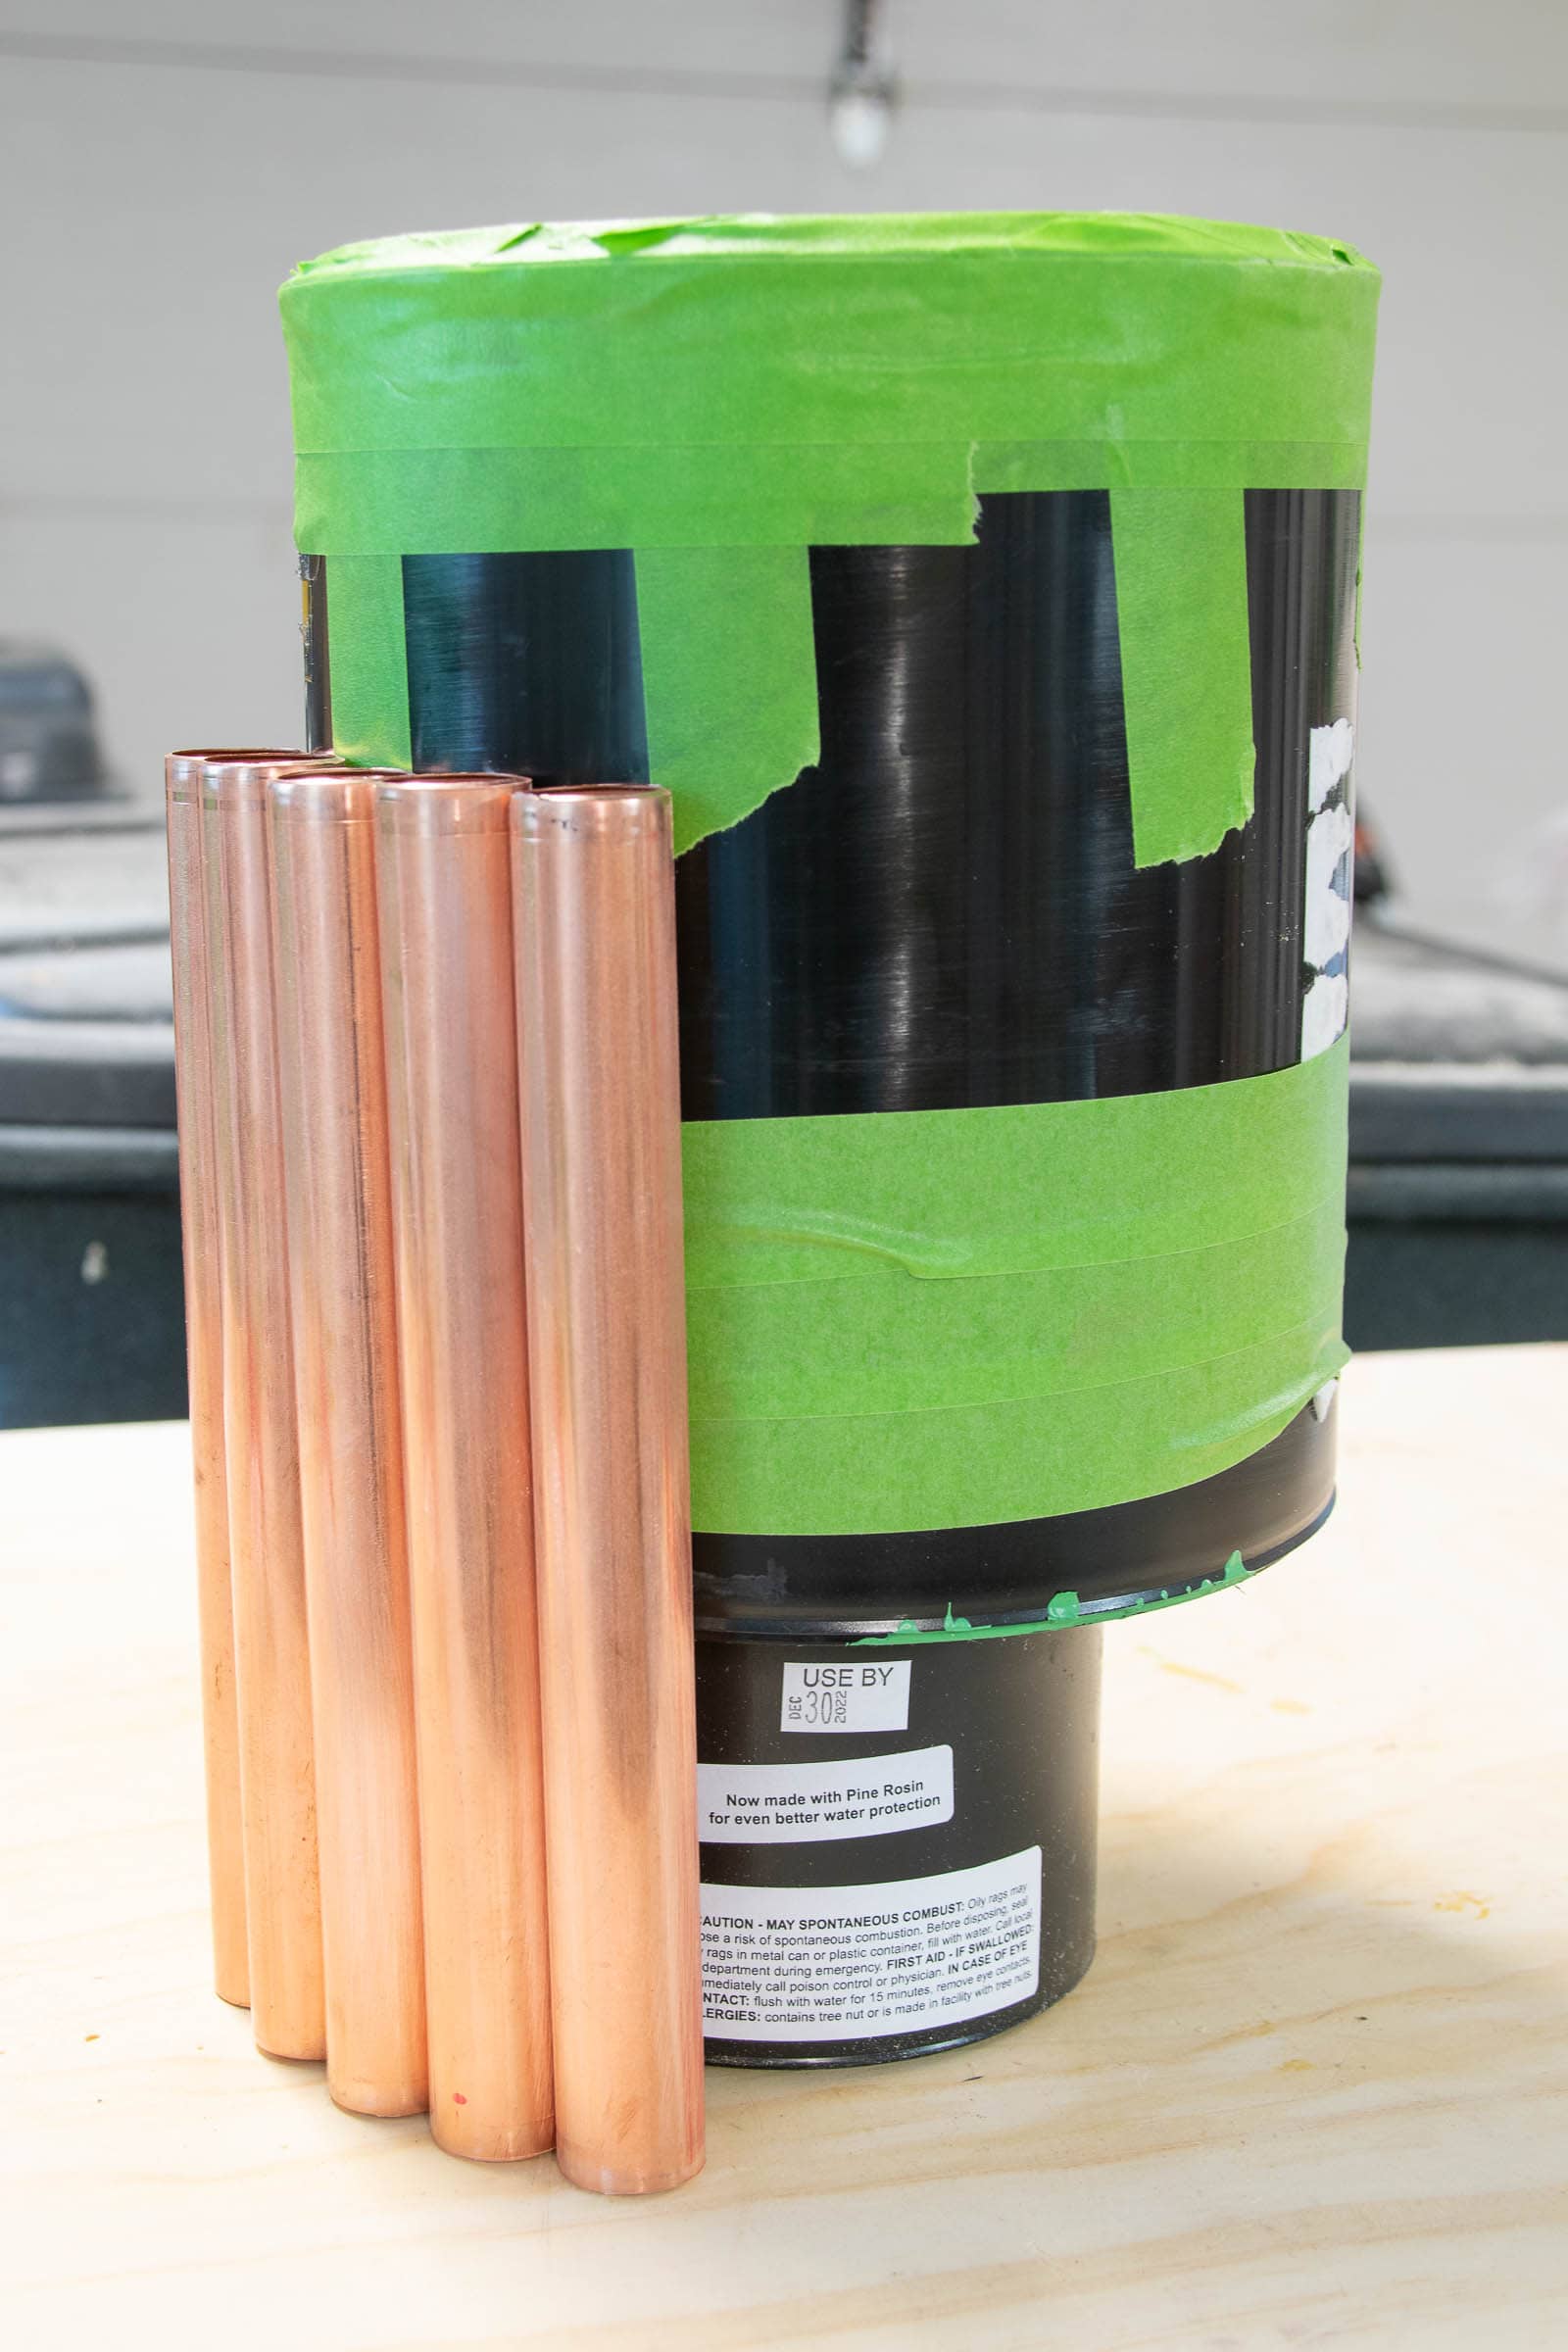
Step 3. Creating the structure
I determined that a can of paint was about the right diameter for my planter so I grabbed an empty one (you can by unused empty paint cans at Home Depot also) and covered the outside with painters tape *sticky side out*. I lined up my copper pipe lengths and pressed them into the sticky tape to hold it in place. Once I’d covered the whole can, I went around the middle of the copper pipe with more painters tape to keep them all in place. Important: you can see that I propped my can of paint up on another container so that the bottom few inches of the copper pipe was sticking out beyond the paint can.
Note: they WILL fall apart if you try to slide them out from around the paint can… I learned the hard way.
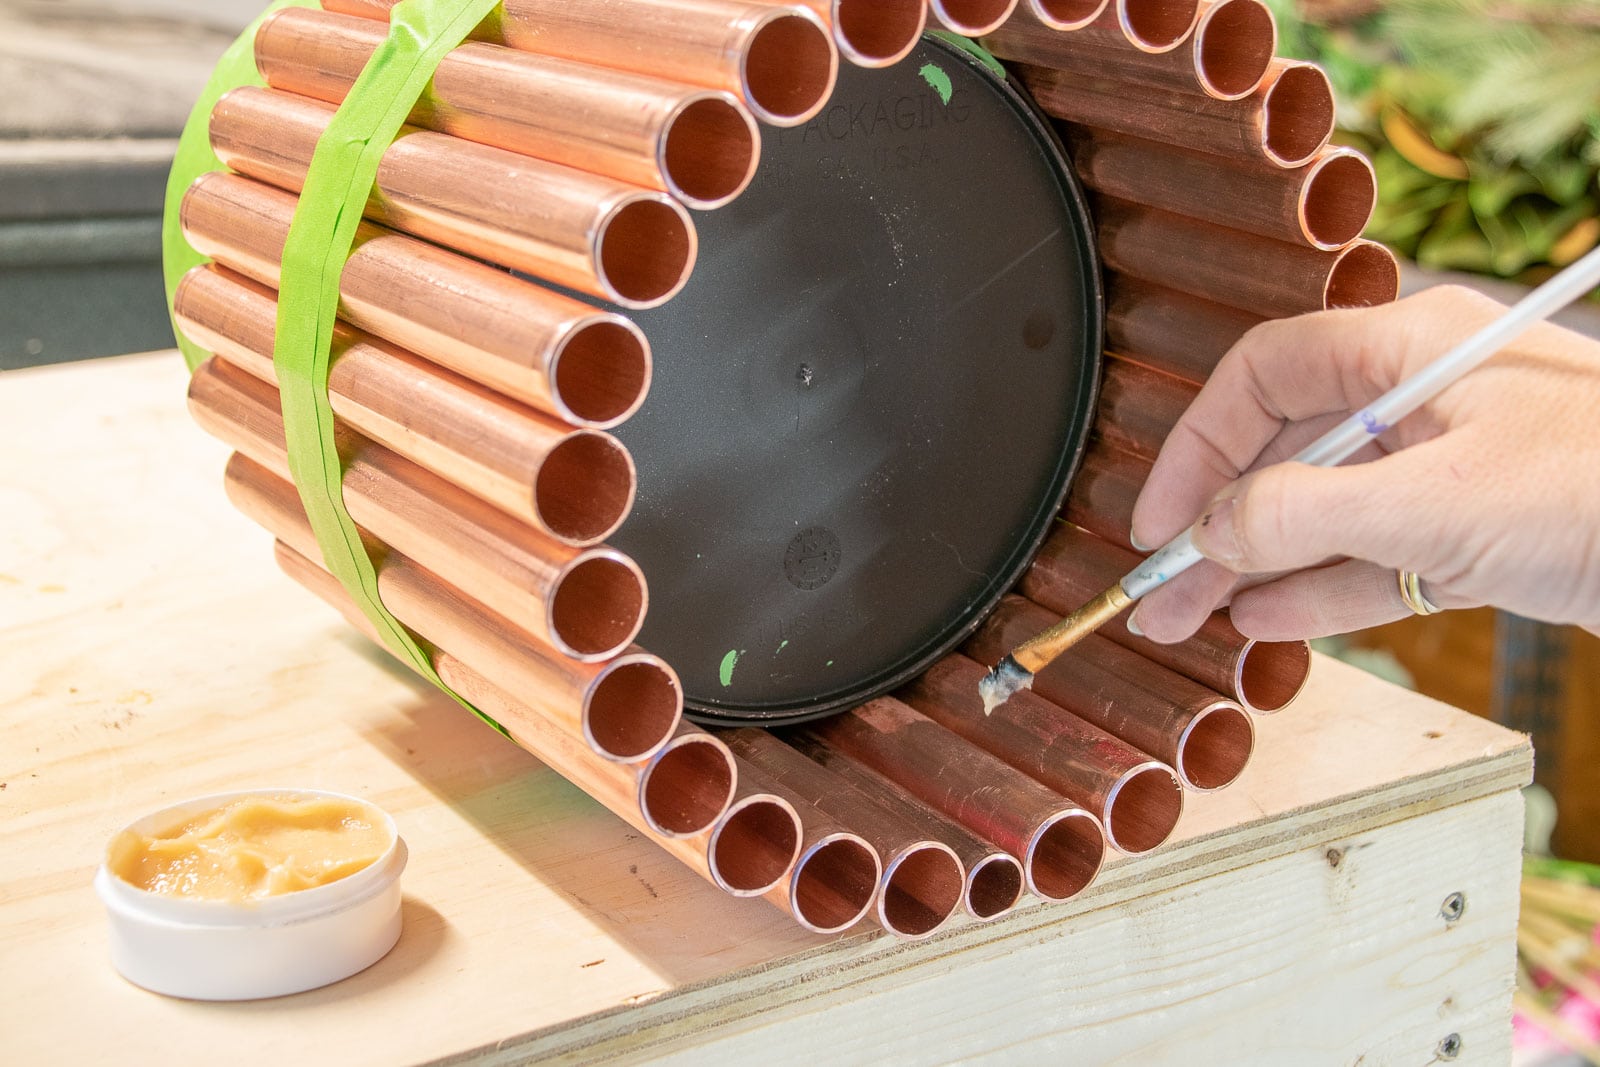
Step 4. Soldering
You’ve already done the first step of soldering: cleaning. The second step is easy: flux. The flux breaks down the oxides in the metal so that the solder can do it’s job. How? That’s beyond my pay grade. You purchase flux in the plumbing aisle and it’s just like a lightweight paste. I brushed my flux all over the pipe where I planned to solder it.
Here’s where my learning curve began… actually soldering. I watched some YouTube videos and learned the general premise… heat up the pipe, apply the solder… solder will travel to the hottest part of the pipe… but actually doing it myself took some time. Essentially, I heated up the pipe with my torch for a bit, then placed my solder (you can buy it in various lengths) onto the joint of the two pipes and watched as it naturally began to melt. I vaguely remembered from my college jewelry making days that there’s a point with solder when it “flashes”. Not sure if that’s the technical term, but first it melts/ gets soft and then it becomes liquid. That latter part is what you’re waiting for because that’s the moment when it flows between the two pipes to solder them in place.
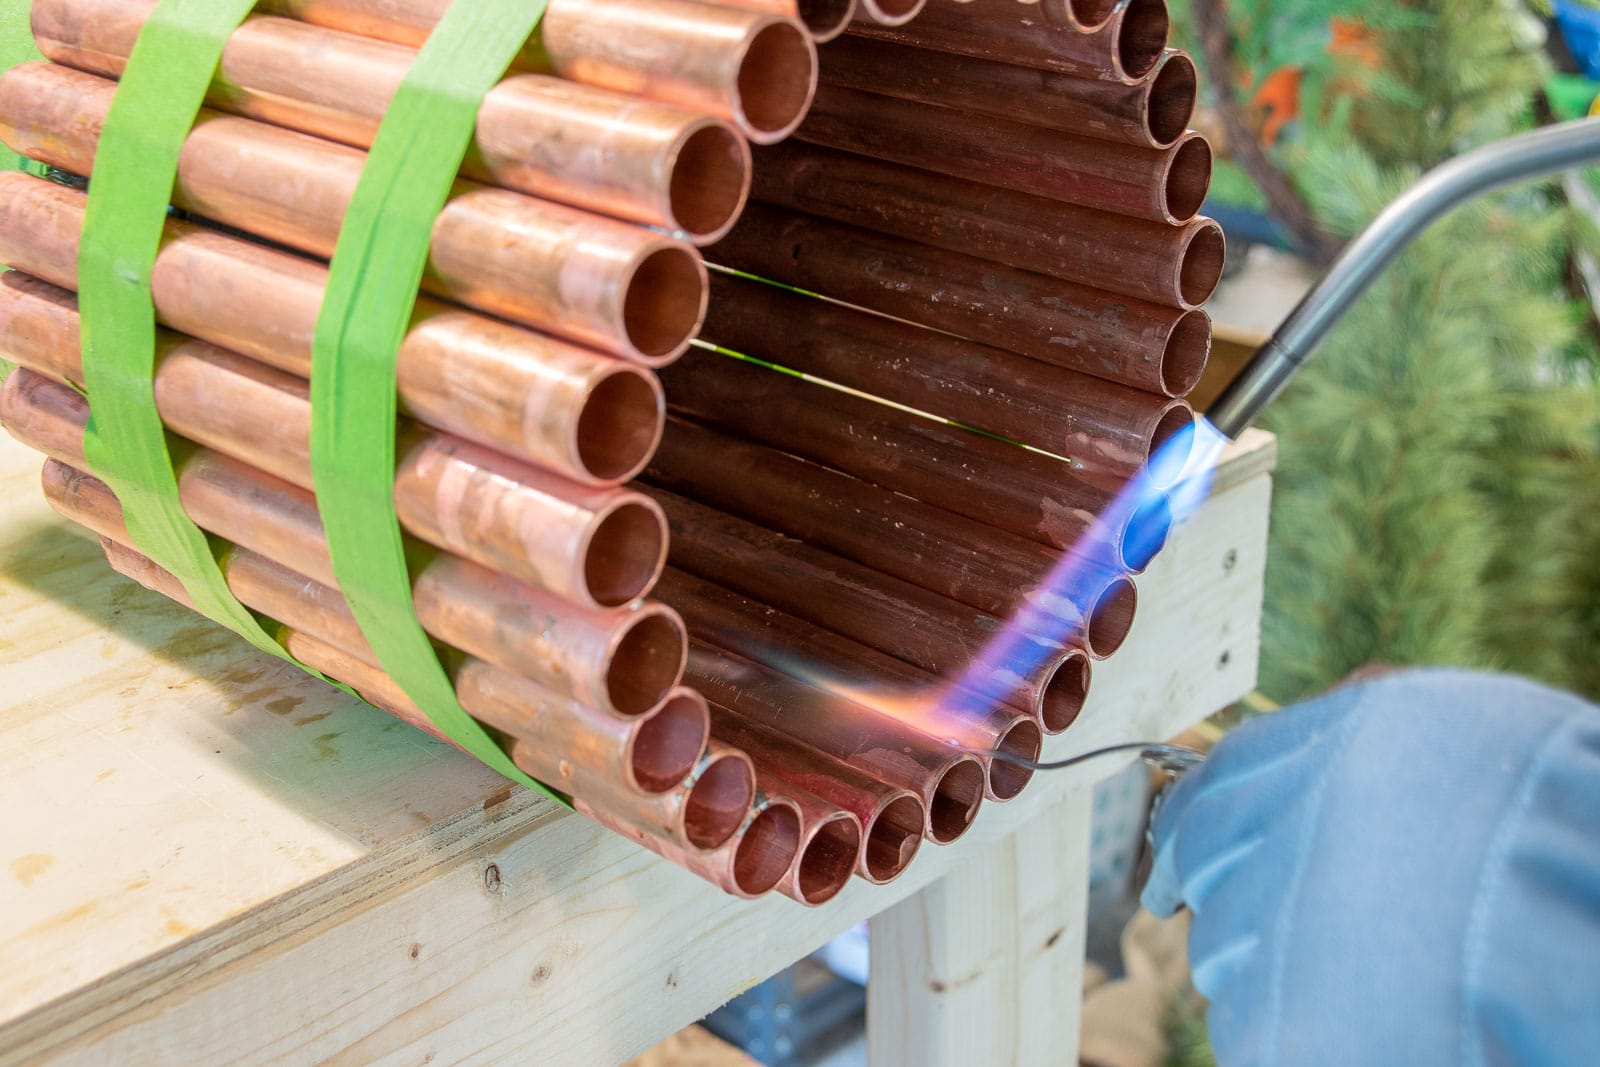
I moved around the inside of the planter soldering one point just above the bottom of each pipe. Once I was confident each of those joints was secure, I carefully slide the planter off of the paint can, inverted it, replaced the paint can or support and soldered the other end. There were certainly pipes that took a couple passes to get soldered just right and my joints are a mess. But they’re inside for the most part and you can’t see them!
Step 5. Optional: Cleaning/ polishing
The flux will naturally leave behind a bit of greenish oxidation. I started to clean/ polish my pipes but then decided I didn’t hate the oxidized rustic look. In fact, I may look into oxidation products that would turn my pipes into that lovely aged green. I’ve read that to quickly oxidize copper, you can mix one cup white vinegar, 3/4 cup household ammonia, and 1/4 cup table salt. I didn’t want to risk it looking awful so I saved that step for later!
Wooden Dowel Planter
Copper is not particularly budget friendly these days so I was curious if there was a way to get a copper feel without making an entire planter out of copper. I picked up some wooden dowels that fit inside the smaller copper pipe and cut my pipe into smaller lengths. I glued the copper pieces in place around the dowels and then adhered them all together with a hot glue gun. It’s a cute budget option, but I don’t love how the dowels naturally have a slight gap between them because of the copper cuff. Copper tape might be an easier solution to achieve the same aesthetic and it would also allow you to tuck your dowels right up close to one and other.
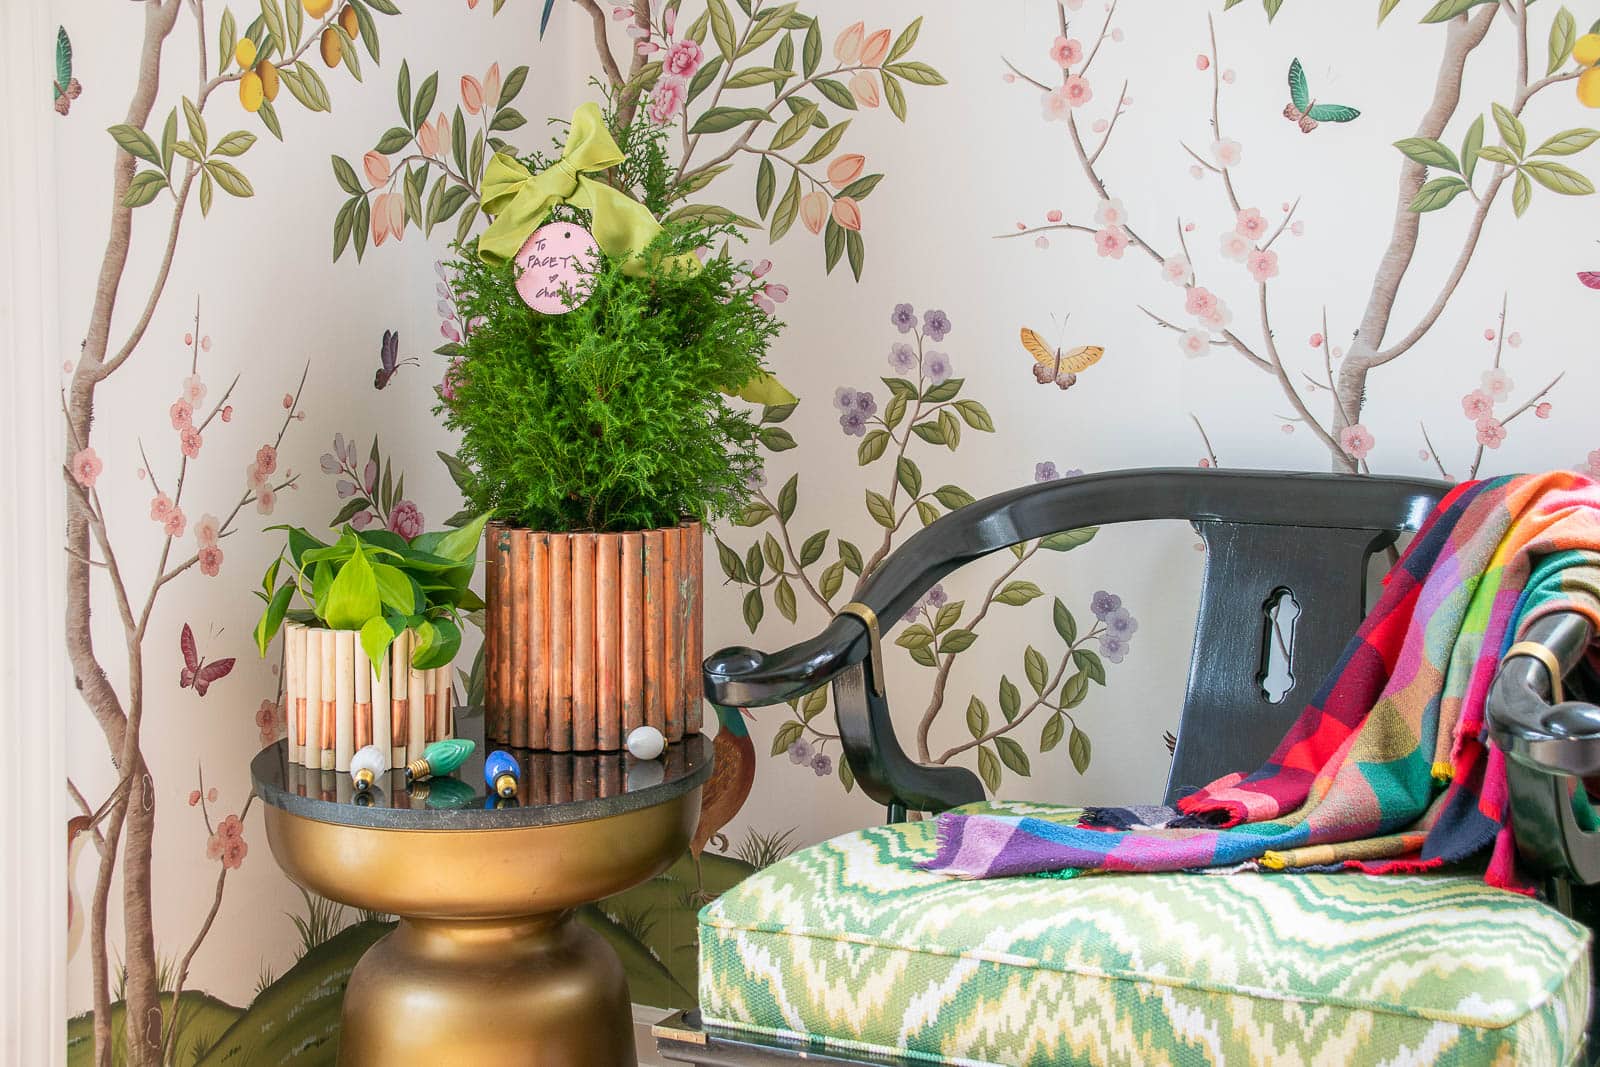
I do NOT have a bottom on the copper planter. The pot sits right on the table with the copper pipe planter wrapping around it. I did cut out a simple circle for the wooden planter just to give it a bit more structure.
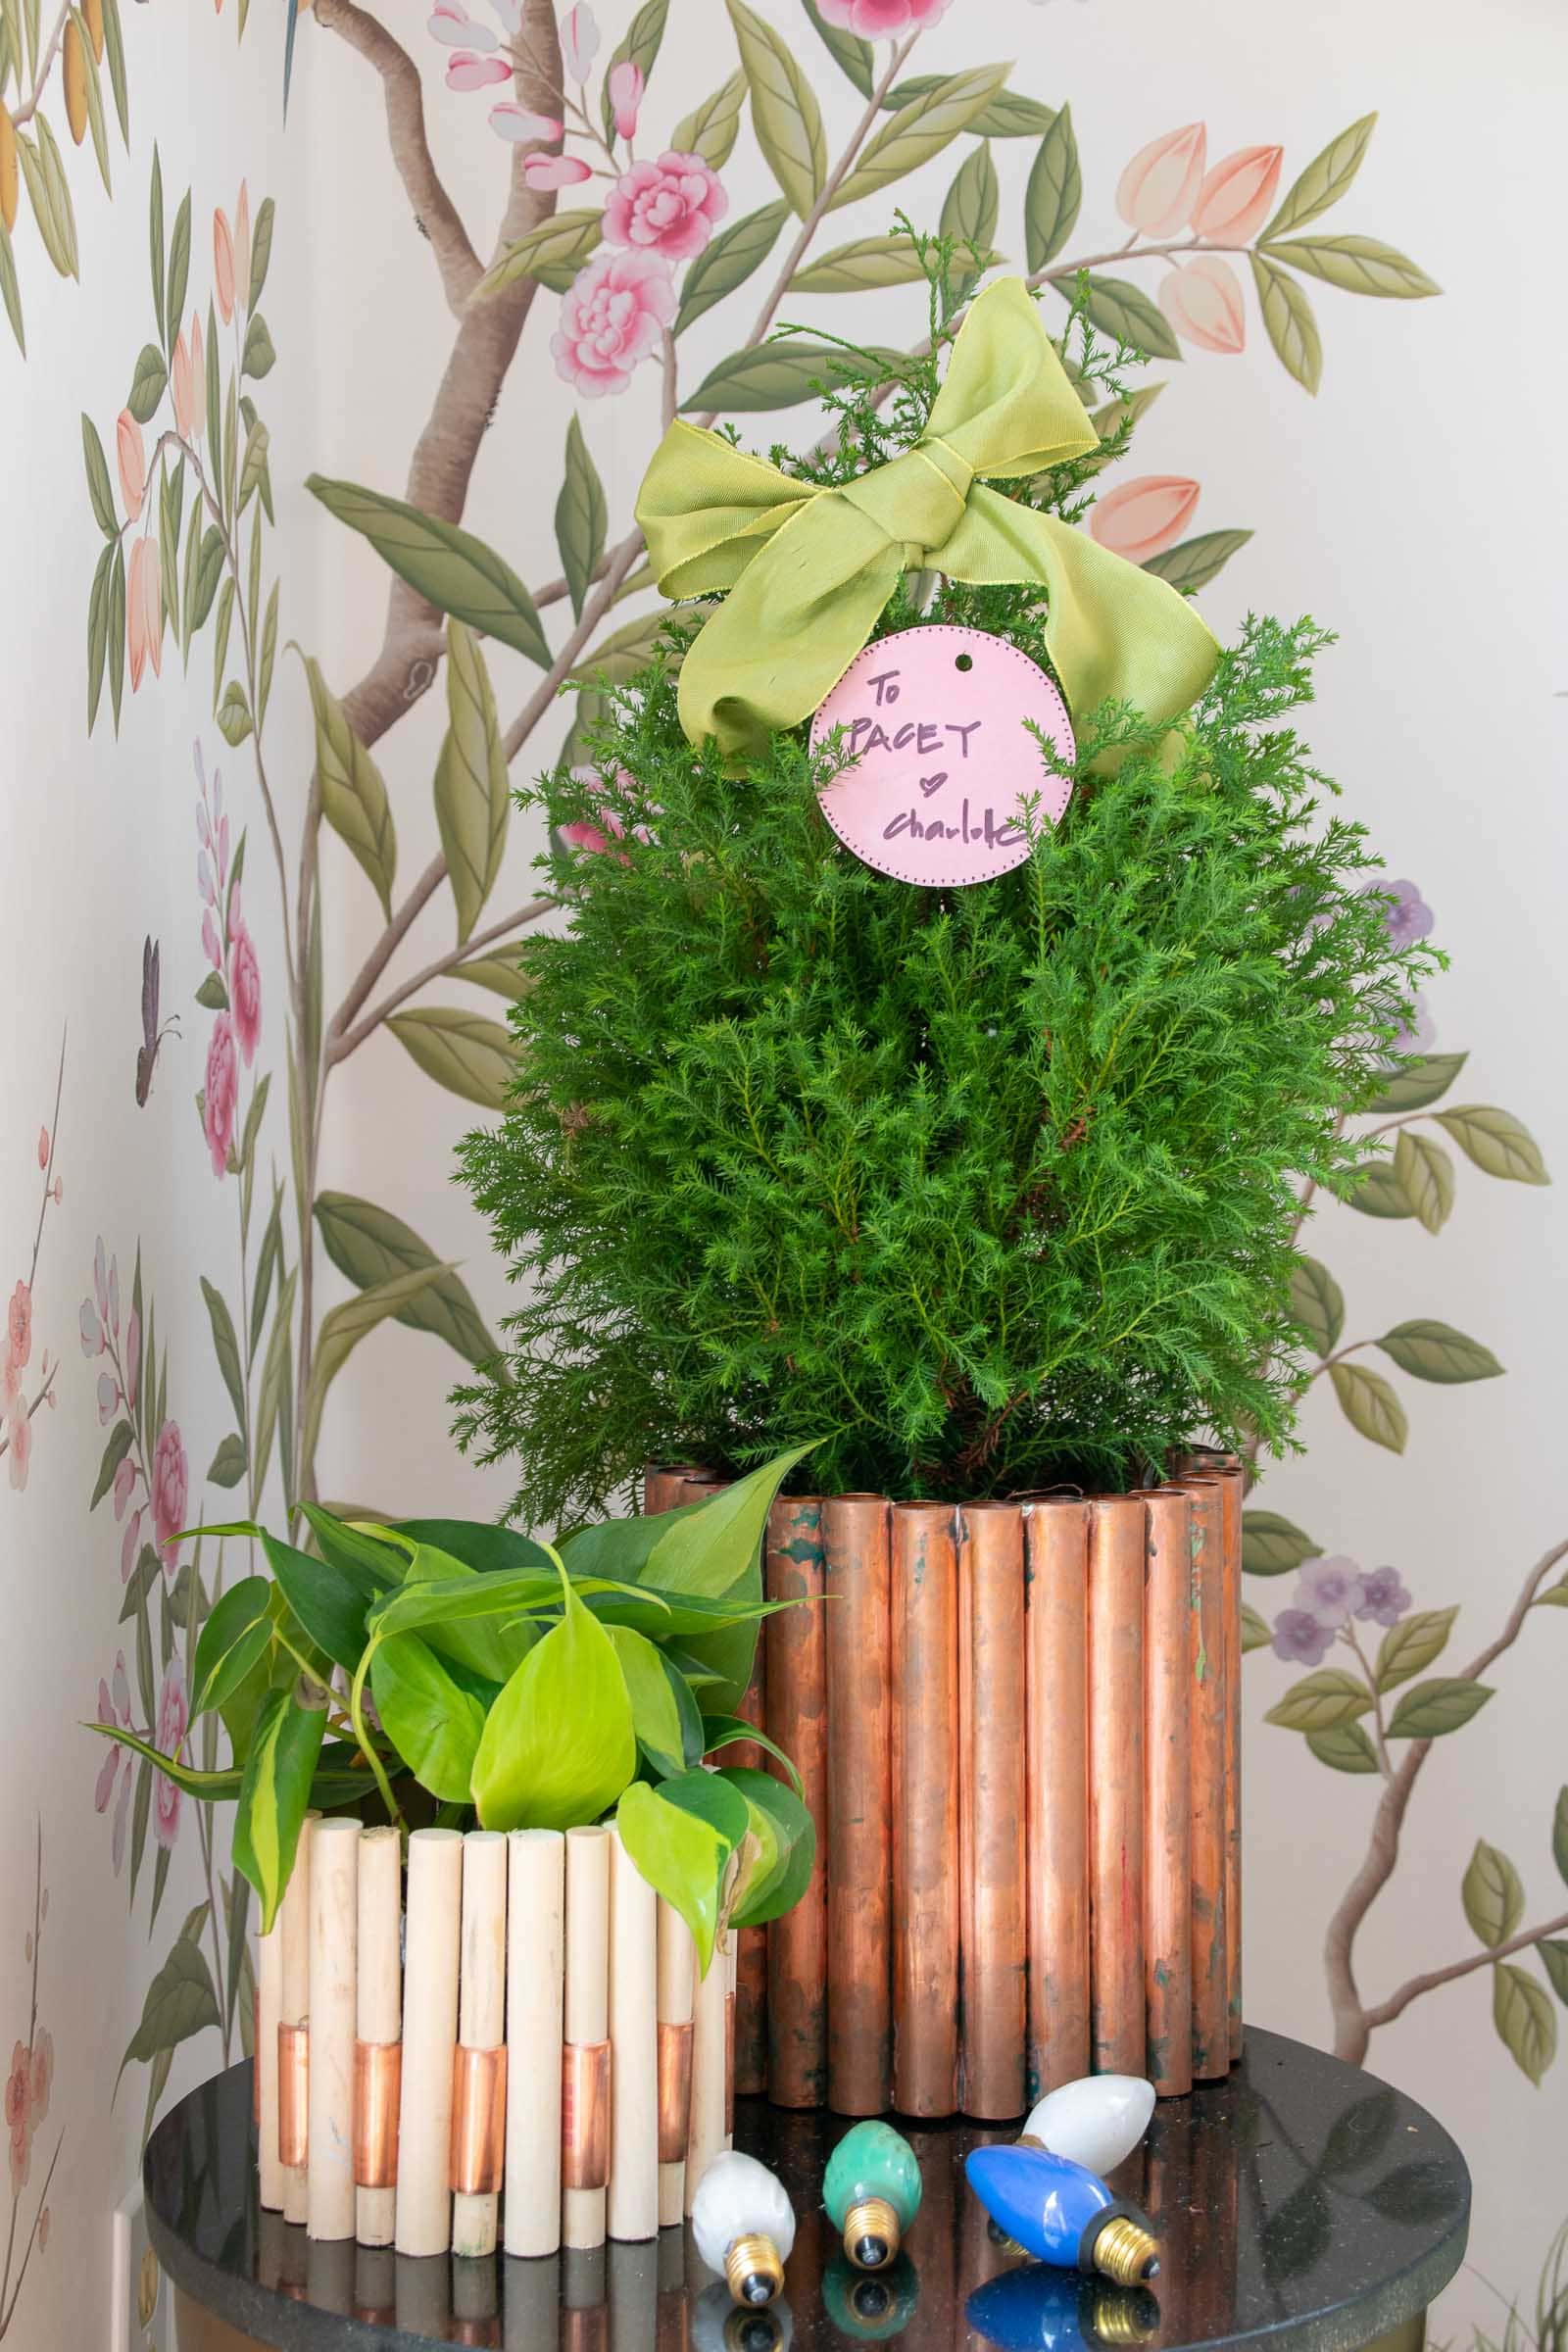
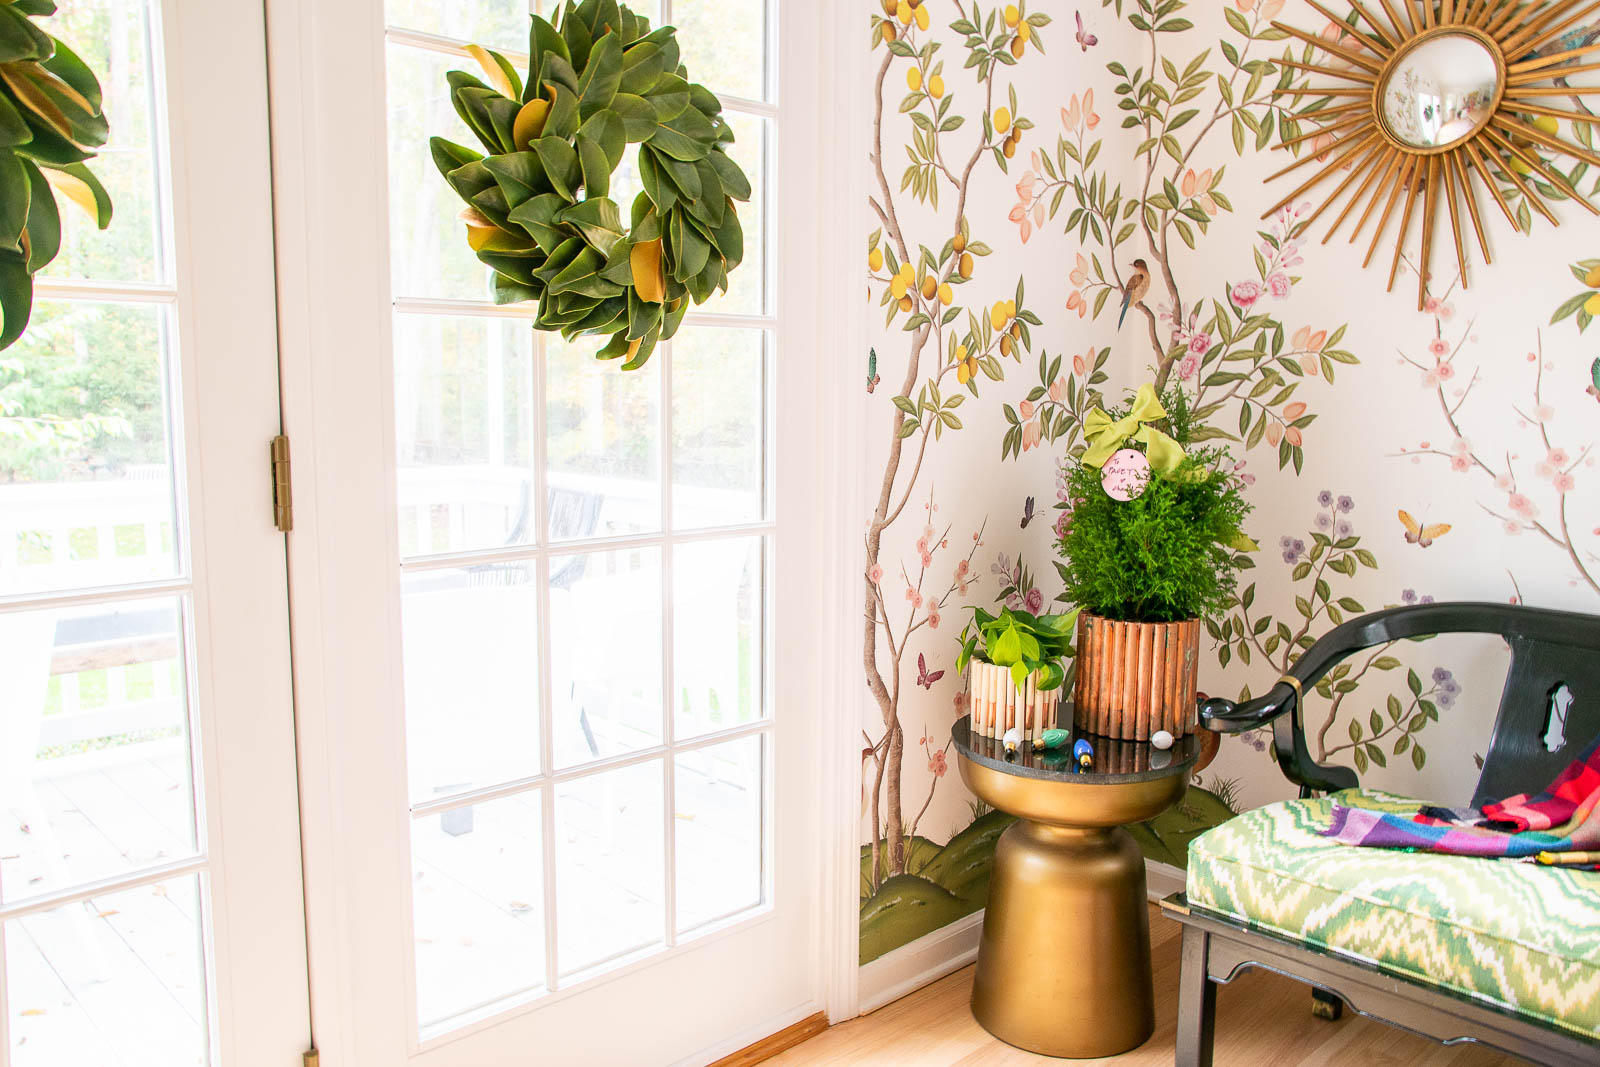
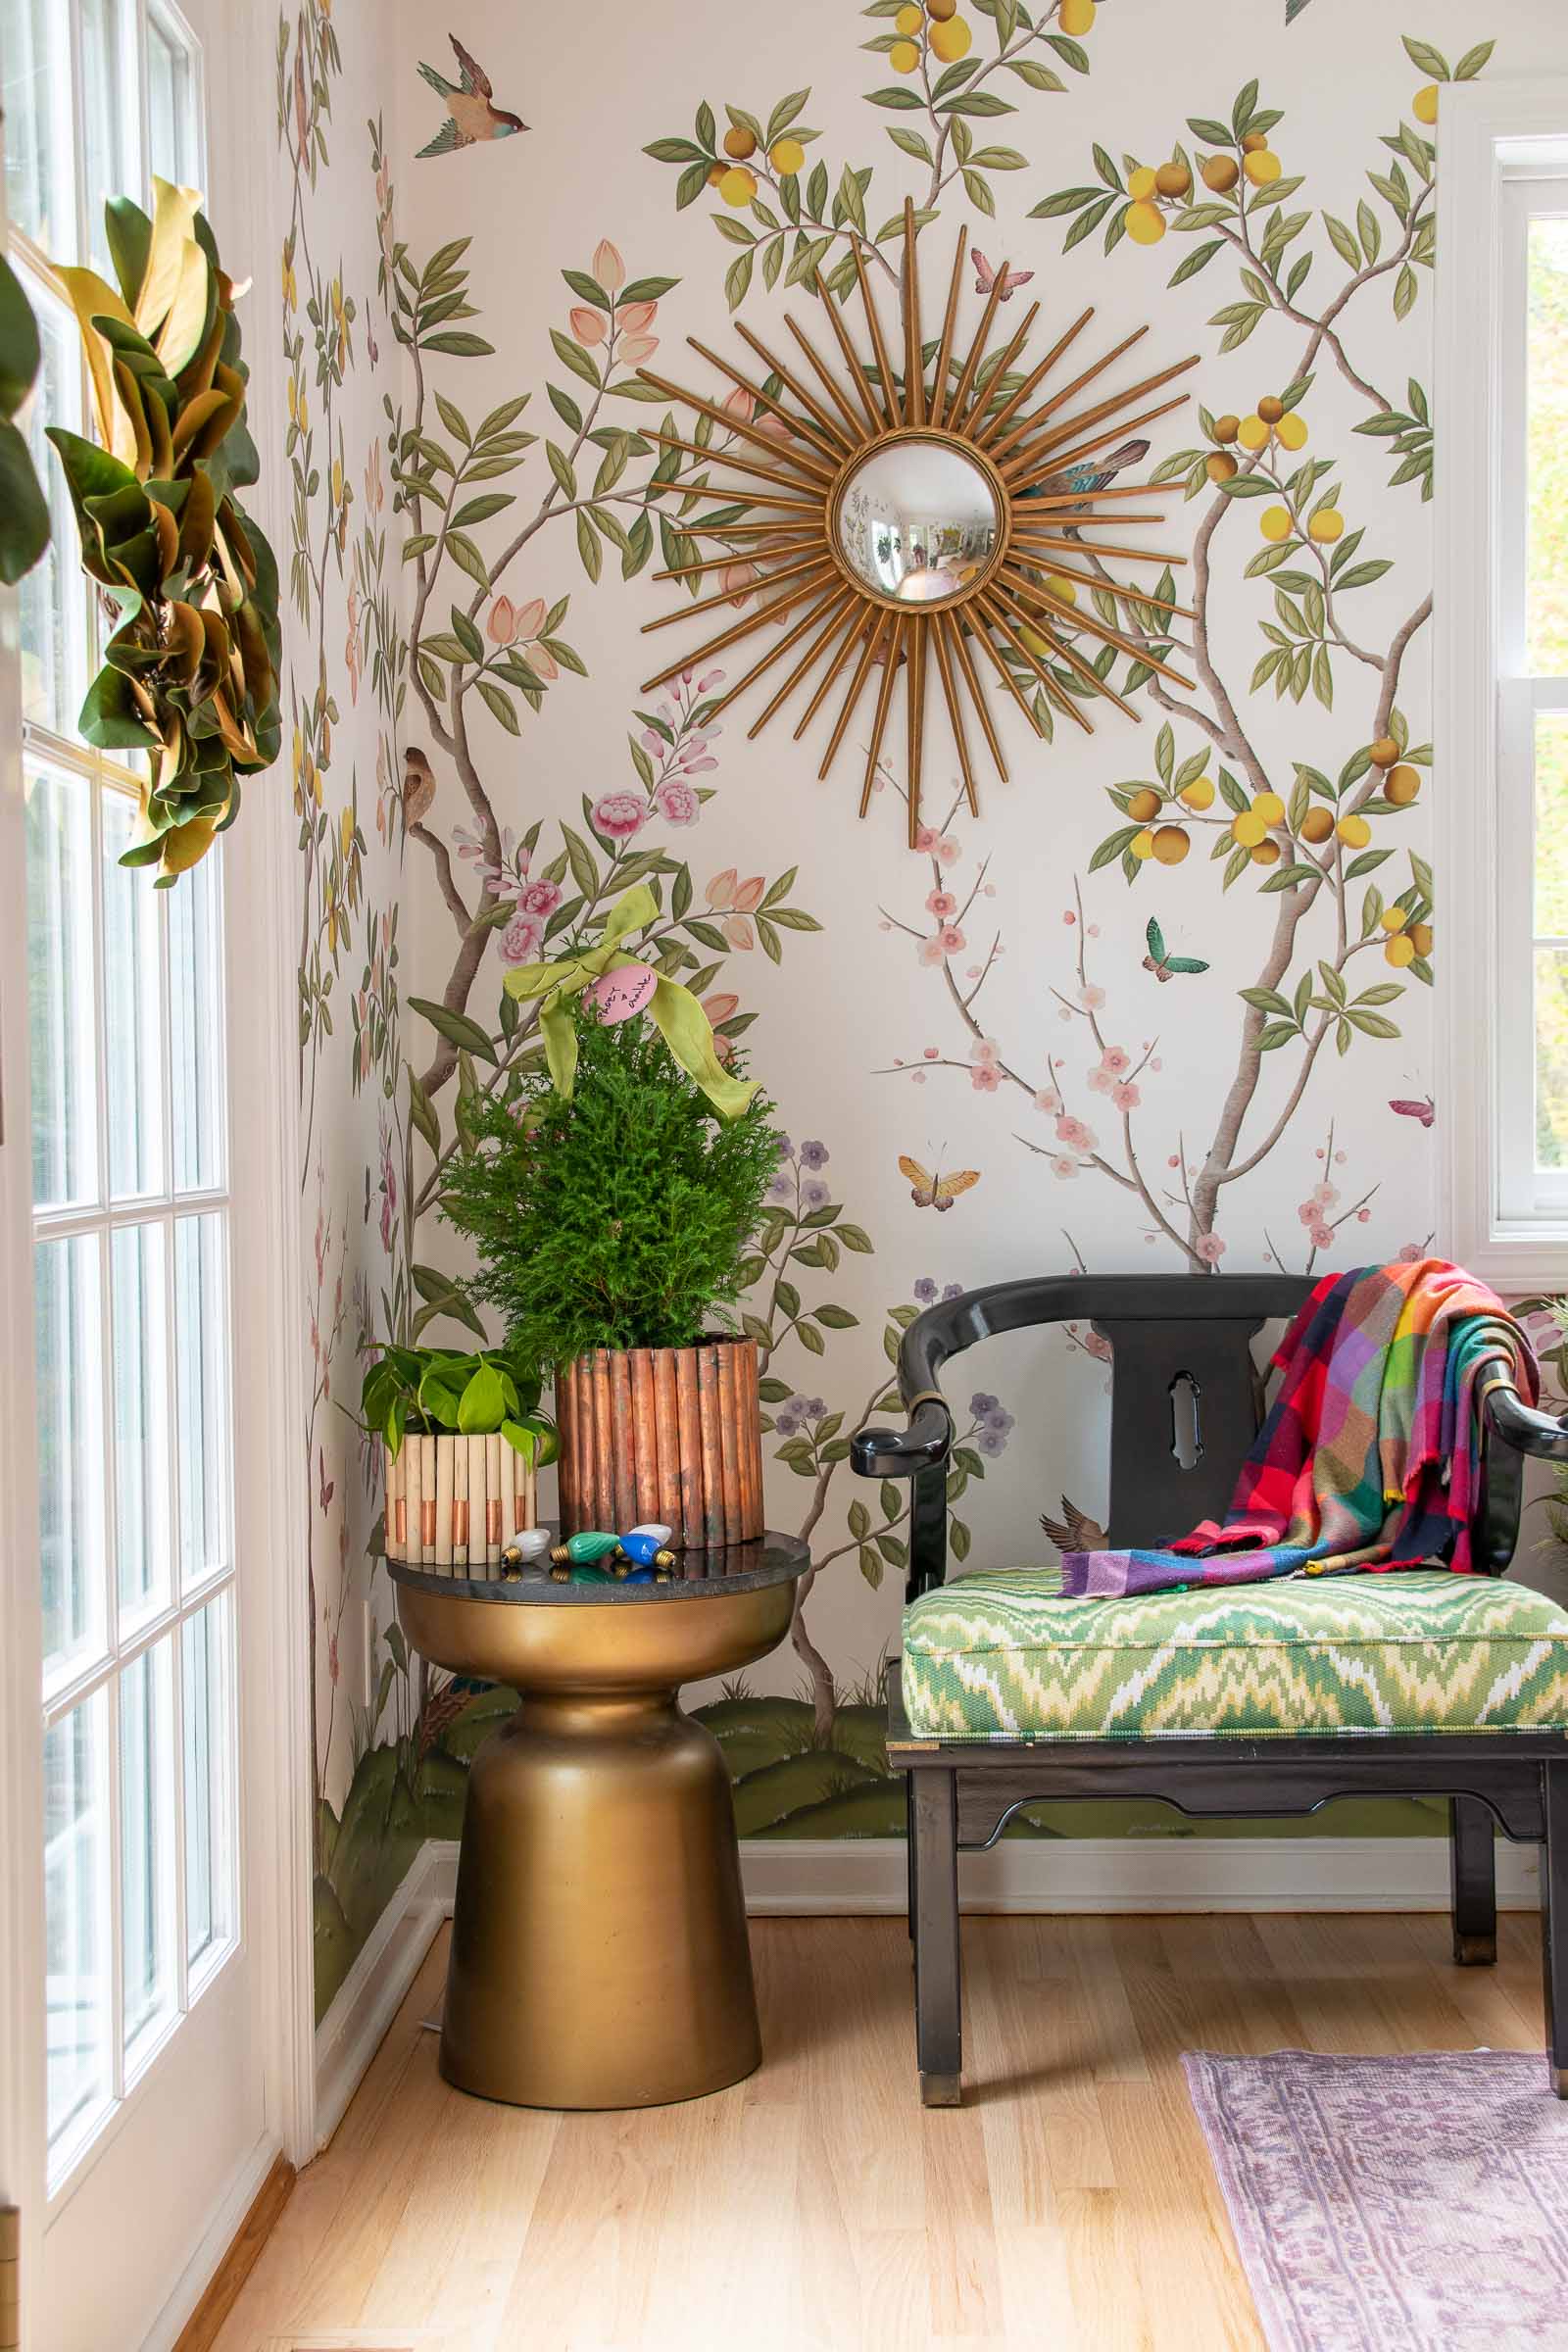
I was able to finish both of these planters in a day so they would be great gift options for your favorite plant lover. Stick a real or faux plant inside, add a bow and you’ve just made a unique totally useful holiday gift!
Materials for Copper Pipe Planter
- Copper Pipe
- Solder Wire
- Flux
- Pipe Cutter
- Propane Torch
- Sand paper
- Wooden Dowels
- Glue Gun
- Painters Tape


Super cool, Charlotte!
I love these! I UNDERSTAND THE COST OF COPPER BEING HIGH, SO THE WOOD DOWEL ONE LOOKS LIKE A GREAT ALTERNATIVE. I DON’T THINK I WOULD HAVE NOTICED THE GAP ON THE WOOD ONE IF YOU DIDN’T TELL ME.
Thanks, Rosemary! I’d love to try it with the smaller pipes for a smaller plant… would look super cute!
Thank you!!