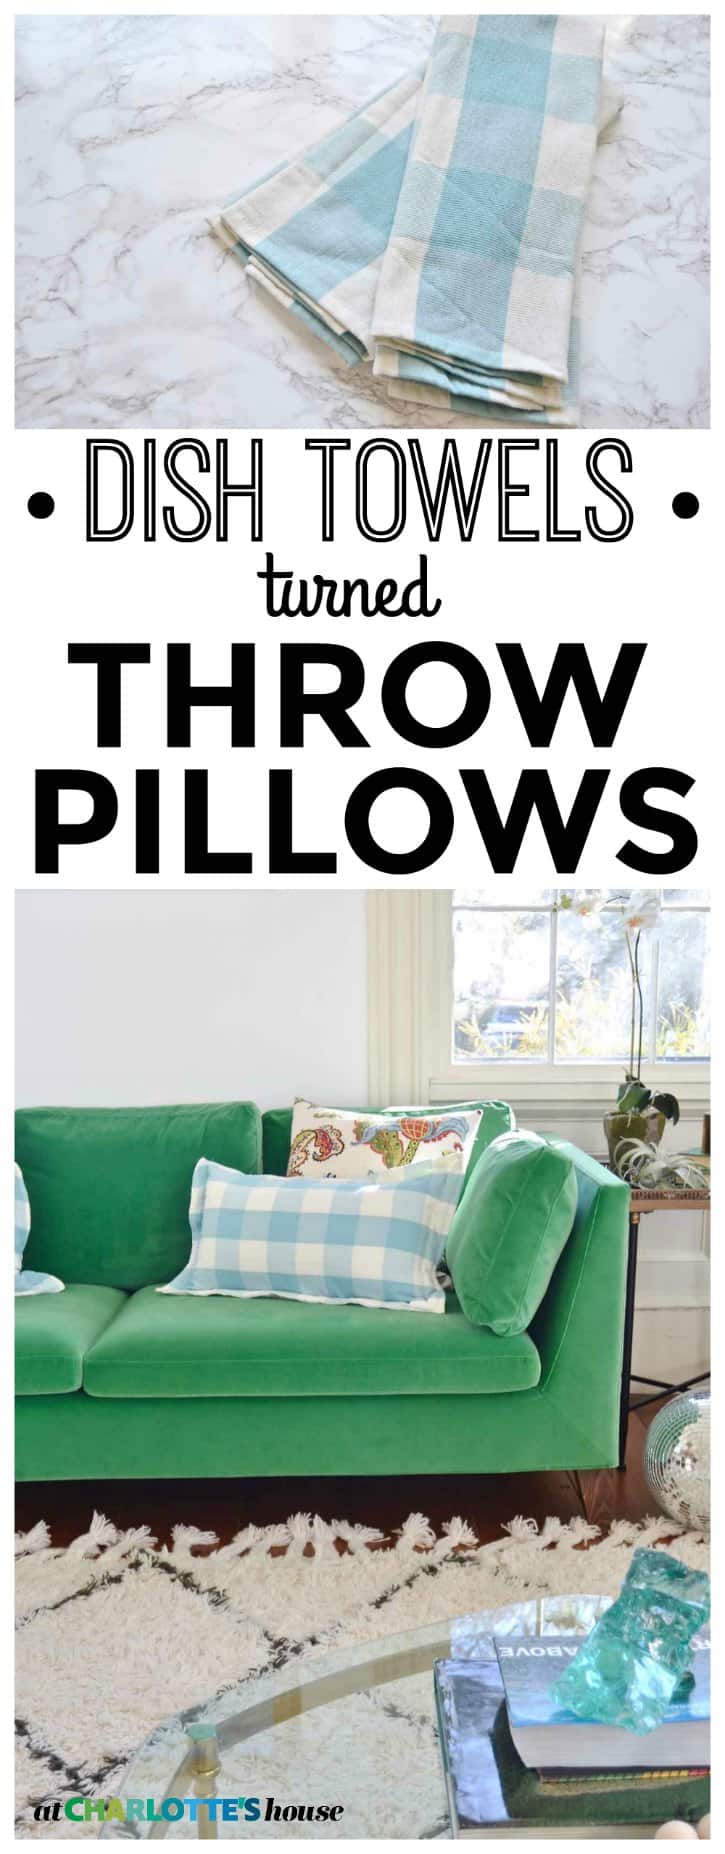
Dishtowels Turned Throw Pillows
Psssst… this post *might* contain affiliate links: see my disclosure here.
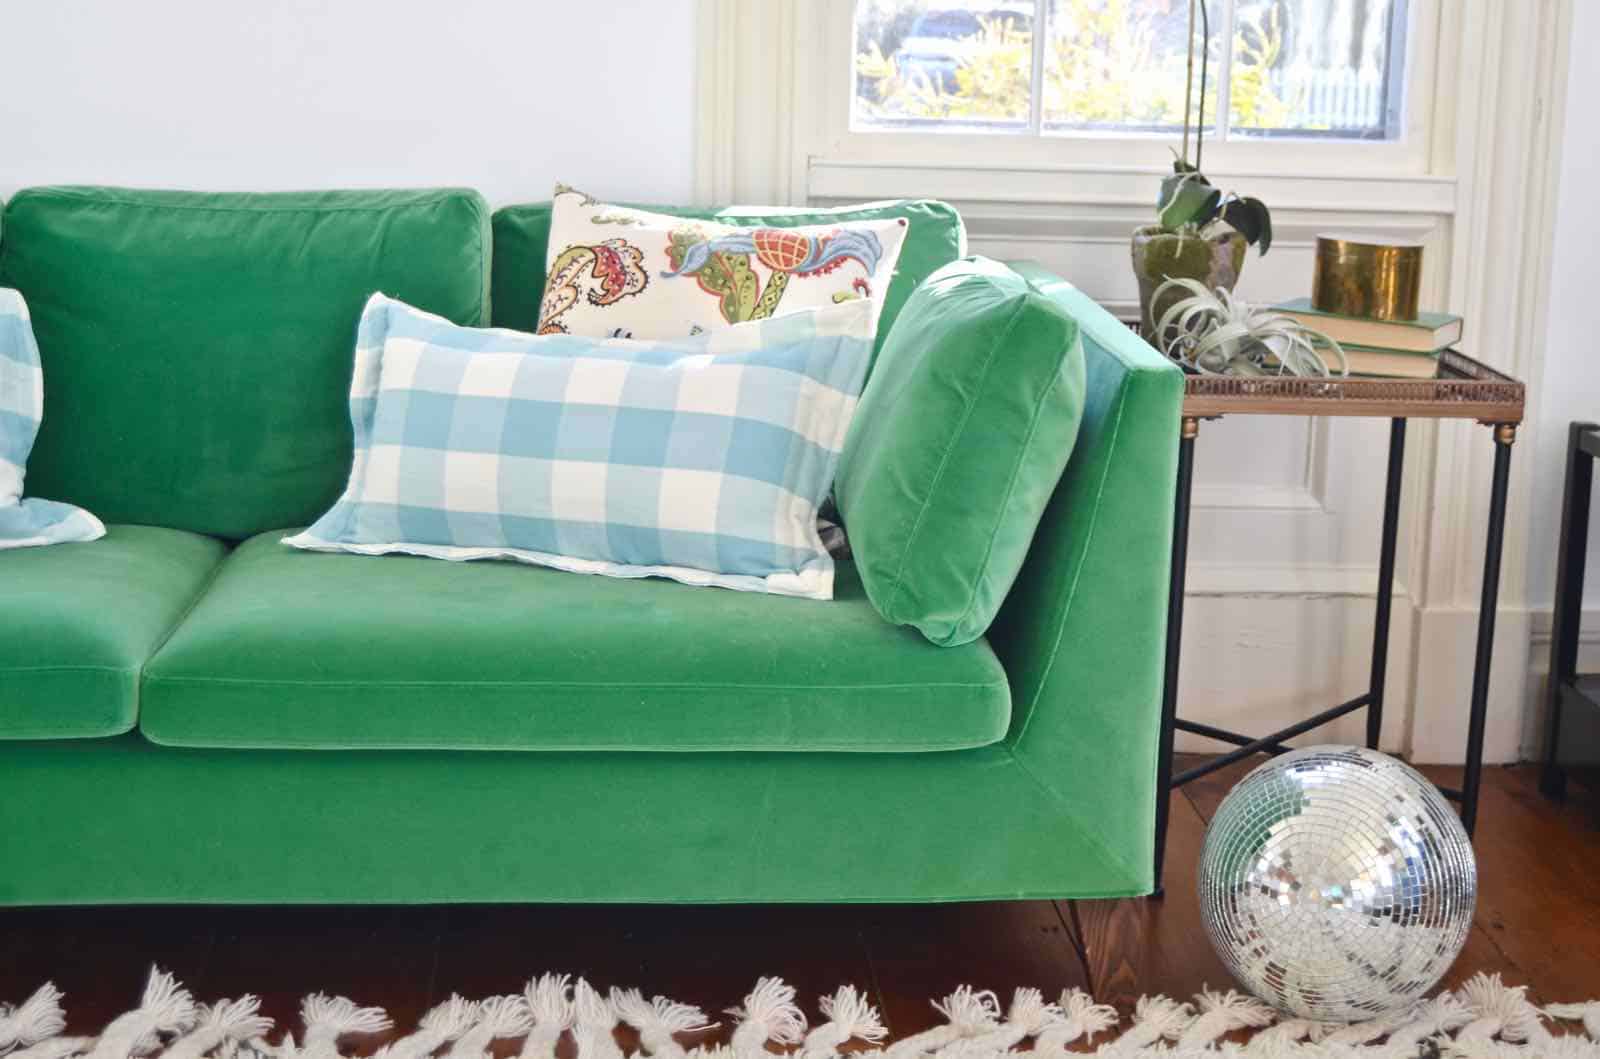
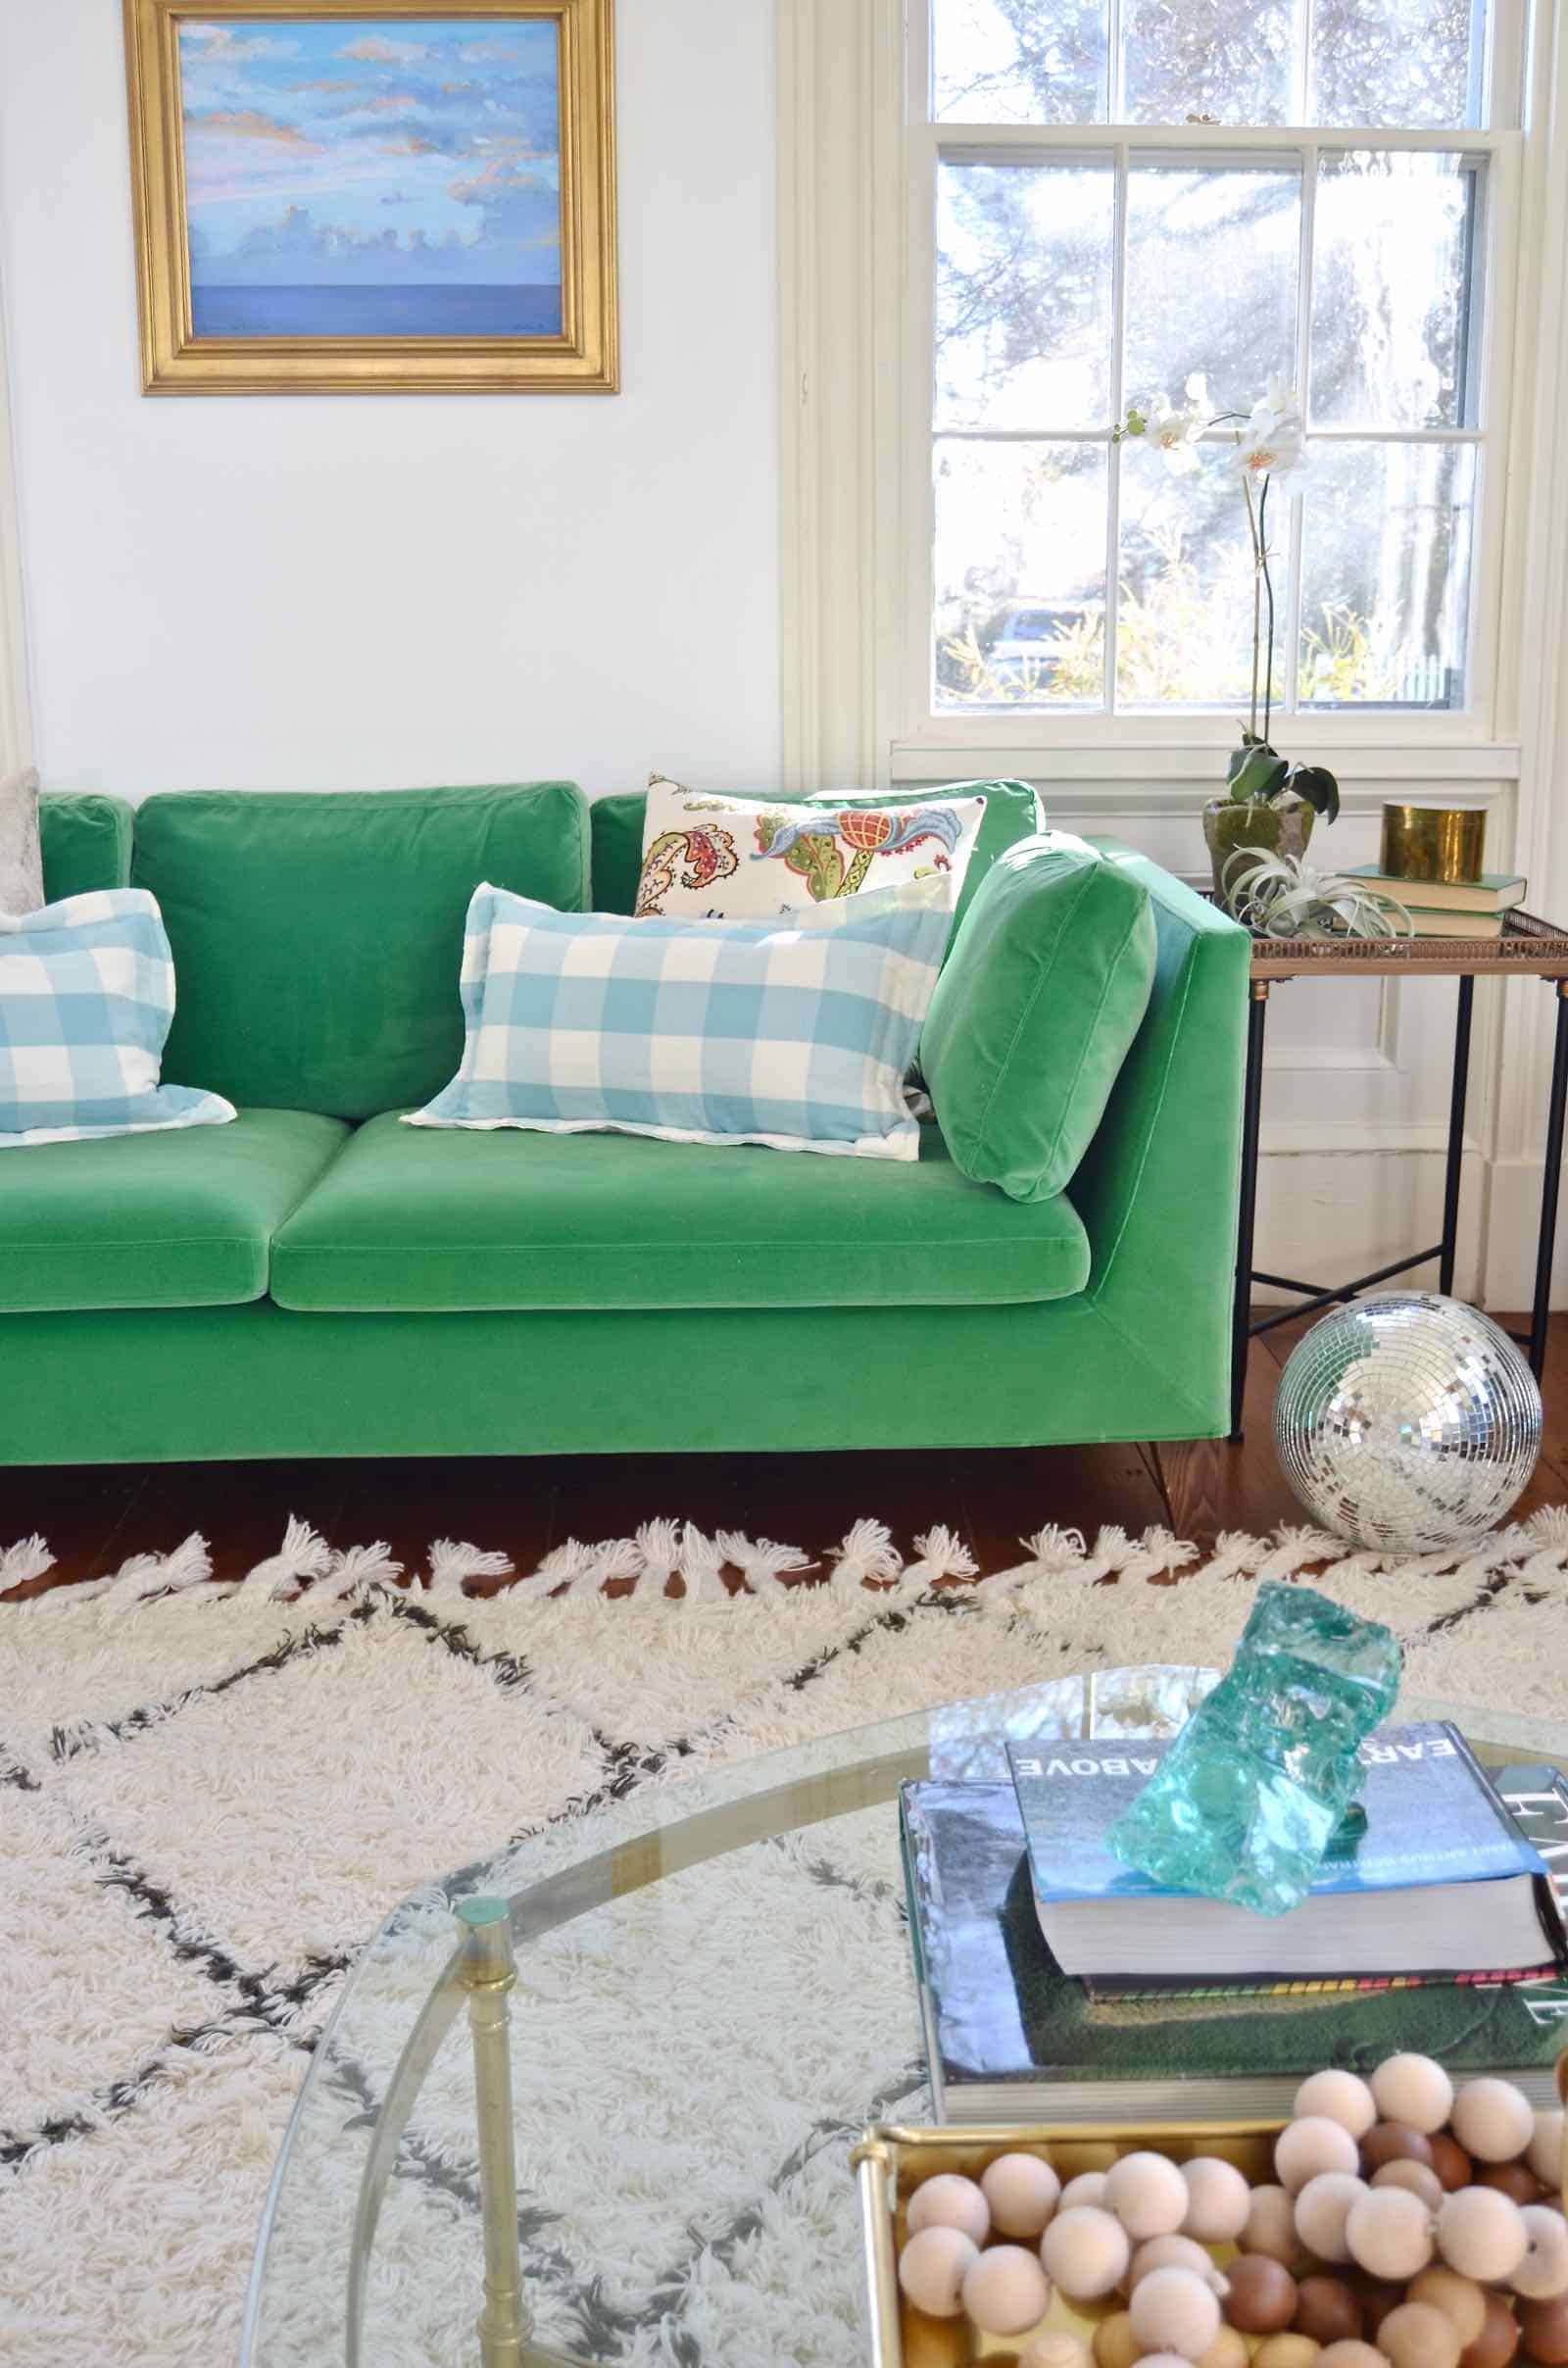
When I started getting ready for my spring house tour, I headed into Homegoods as any good DIYer would do… I was looking for small things to brighten up the space. Accessories. Planters. Throw pillows. I found a few things for the first two categories but no great throw pillows. Boo. But have no fear… have I got a hack for you! Wanna know what’s the same size as a lumbar pillow? Dishtowels!
Turn Dishtowels Into Throw Pillows with French Seams
Watch how I made these pillows below OR… have no fear, a full step by step tutorial is after the break. The video might make help clarify some of the steps for you, but I’ve tried to break it down both ways.
Shop my favorites!
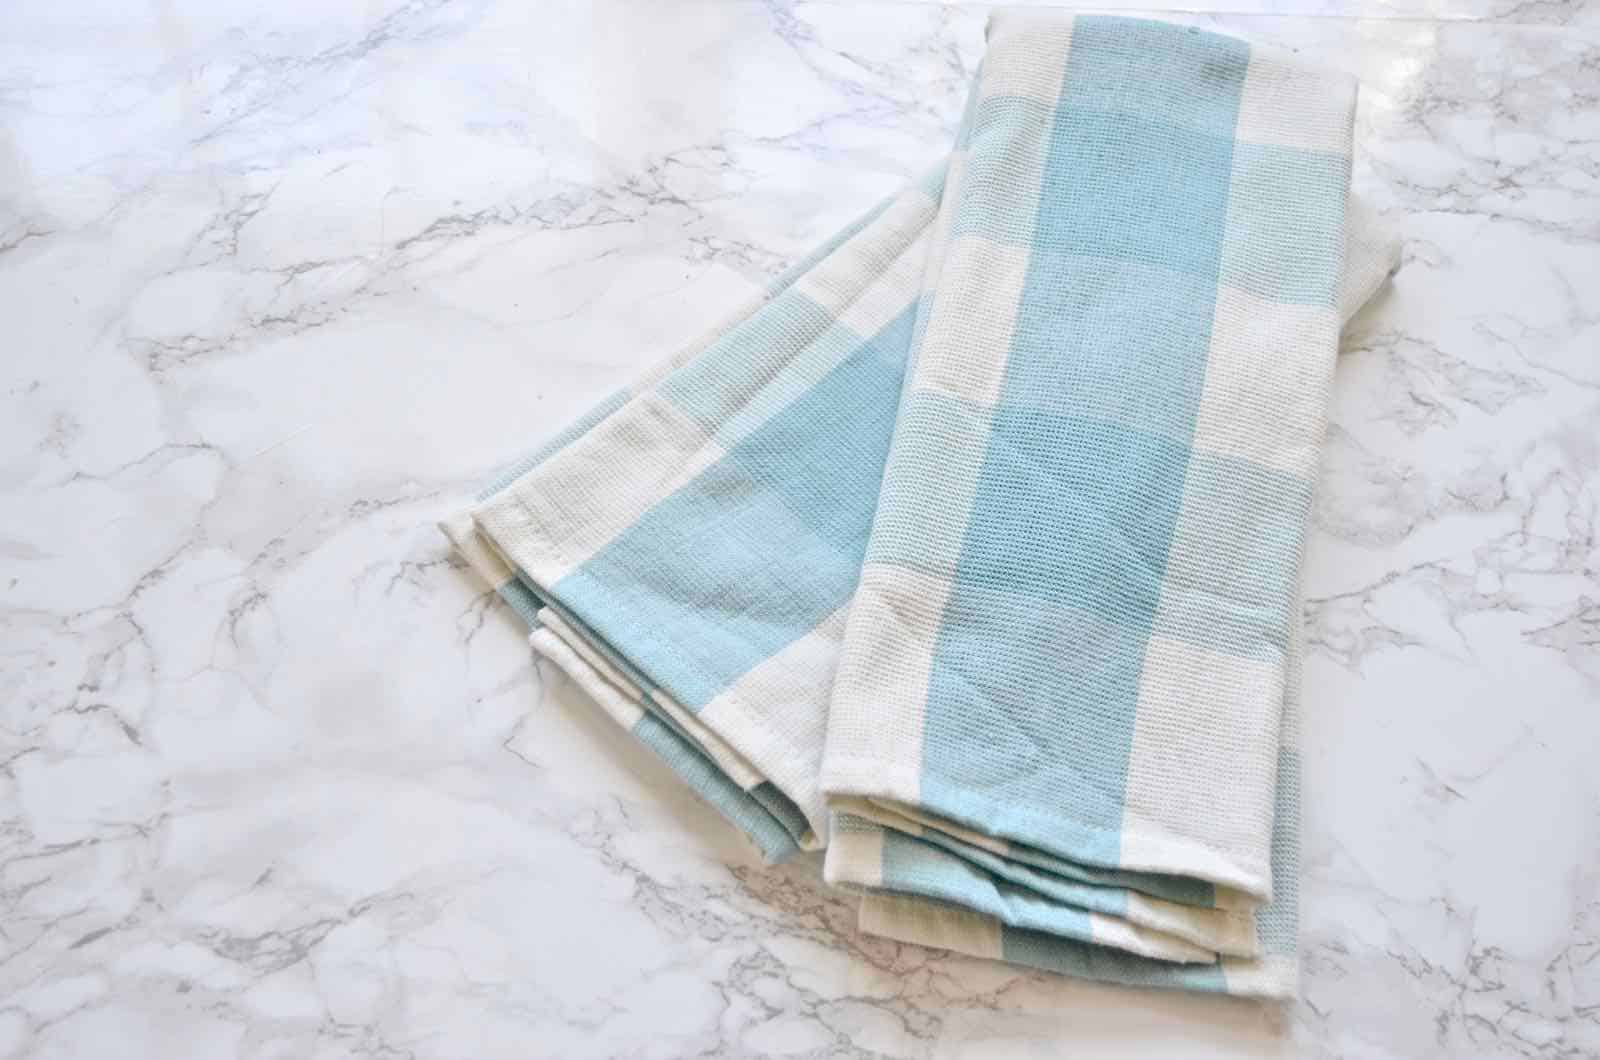
What Homegoods lacked in throw pillows, it made up for in dishtowels. Is this turquoise buffalo check to die for? I think so. For $5.99ish, I bought a pair of towels. And then my next Homegoods ninja trick is to head over to the clearance section and manhandle the pillows a bit. Don’t worry about the pillow case, you’re going to pitch that… you’re looking for the INSERTS. I found one for TWO DOLLARS that had a ratty dirty case.
Step 1. Pin the dishtowels in place
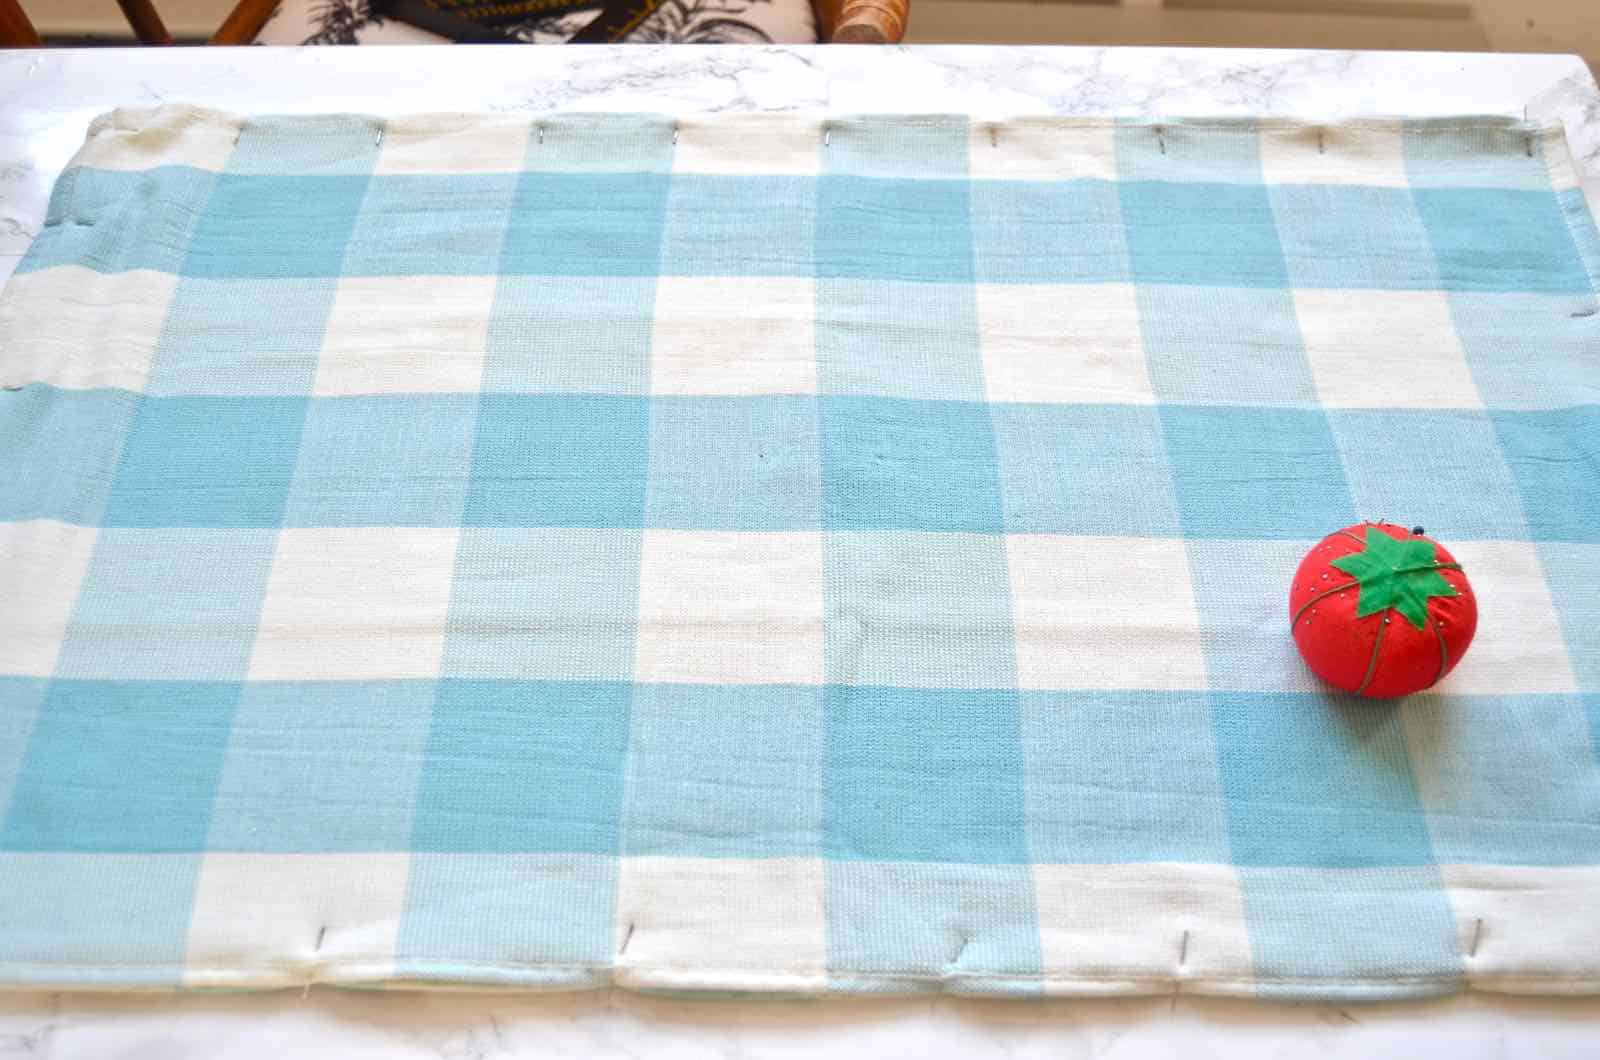
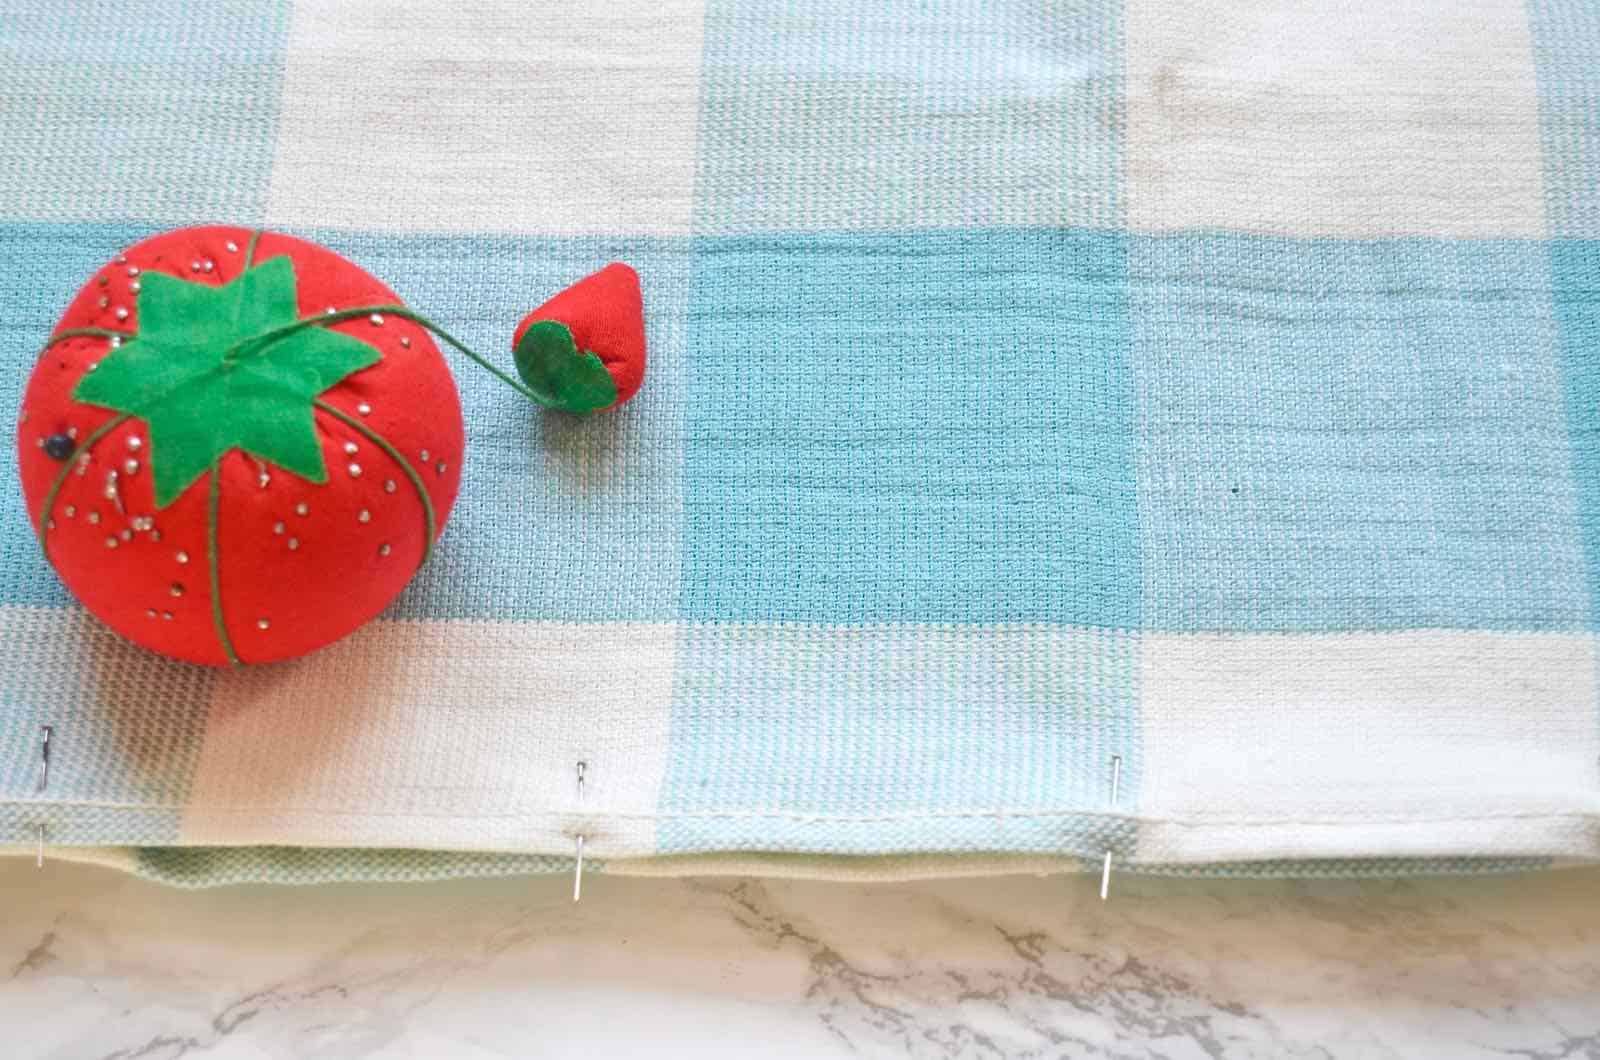
To make my pillows a little fancier, I’m going to give them a little frame. The technical word for this is French seams but I’m sure I’m taking short cuts and cheating with how I made mine. Place your dishtowels with the right sides facing out. Using the hem of the dishtowels as your guide and pin the edges together. You want to sew as close to the edges of the dishtowel as possible.
Decide how wide you want the ‘frame’ of your pillow to be. This will depend a bit on the insert you’re using. The inside edge of the pillow should be roughly the same size as your pillow insert. My frame is 1.75″ so I marked 1.75″ in from the edge of my pillow and pinned around three sides of my dishtowels.
IMPORTANT: Make sure you leave one end of your dishtowels UN-SEWN. You can pin to hold in place but do NOT sew right now.
Step 2. Sew
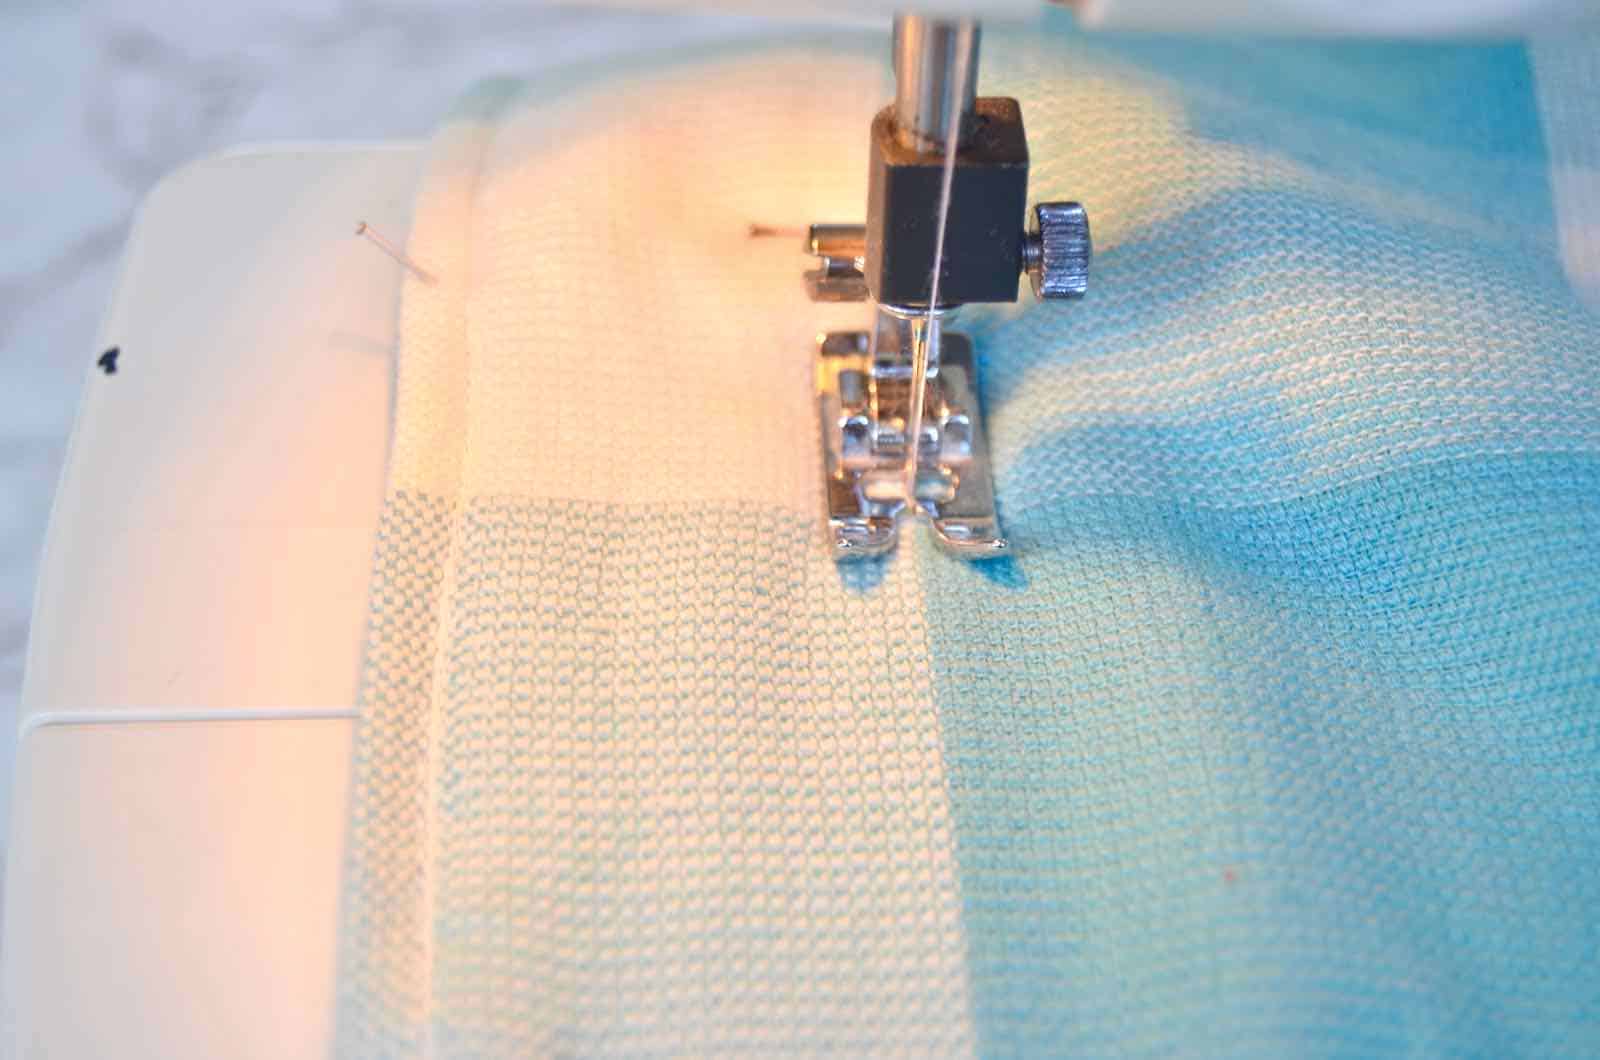
With a sewing machine start on the outside edge of your dishtowel and sew along the perimeter. You will be sewing a horseshoe shape in order to keep one end open.
Tip: When you get to a corner, keep the needle in the fabric and lift your sewing foot. Pivot the fabric 90 degrees around the needle.
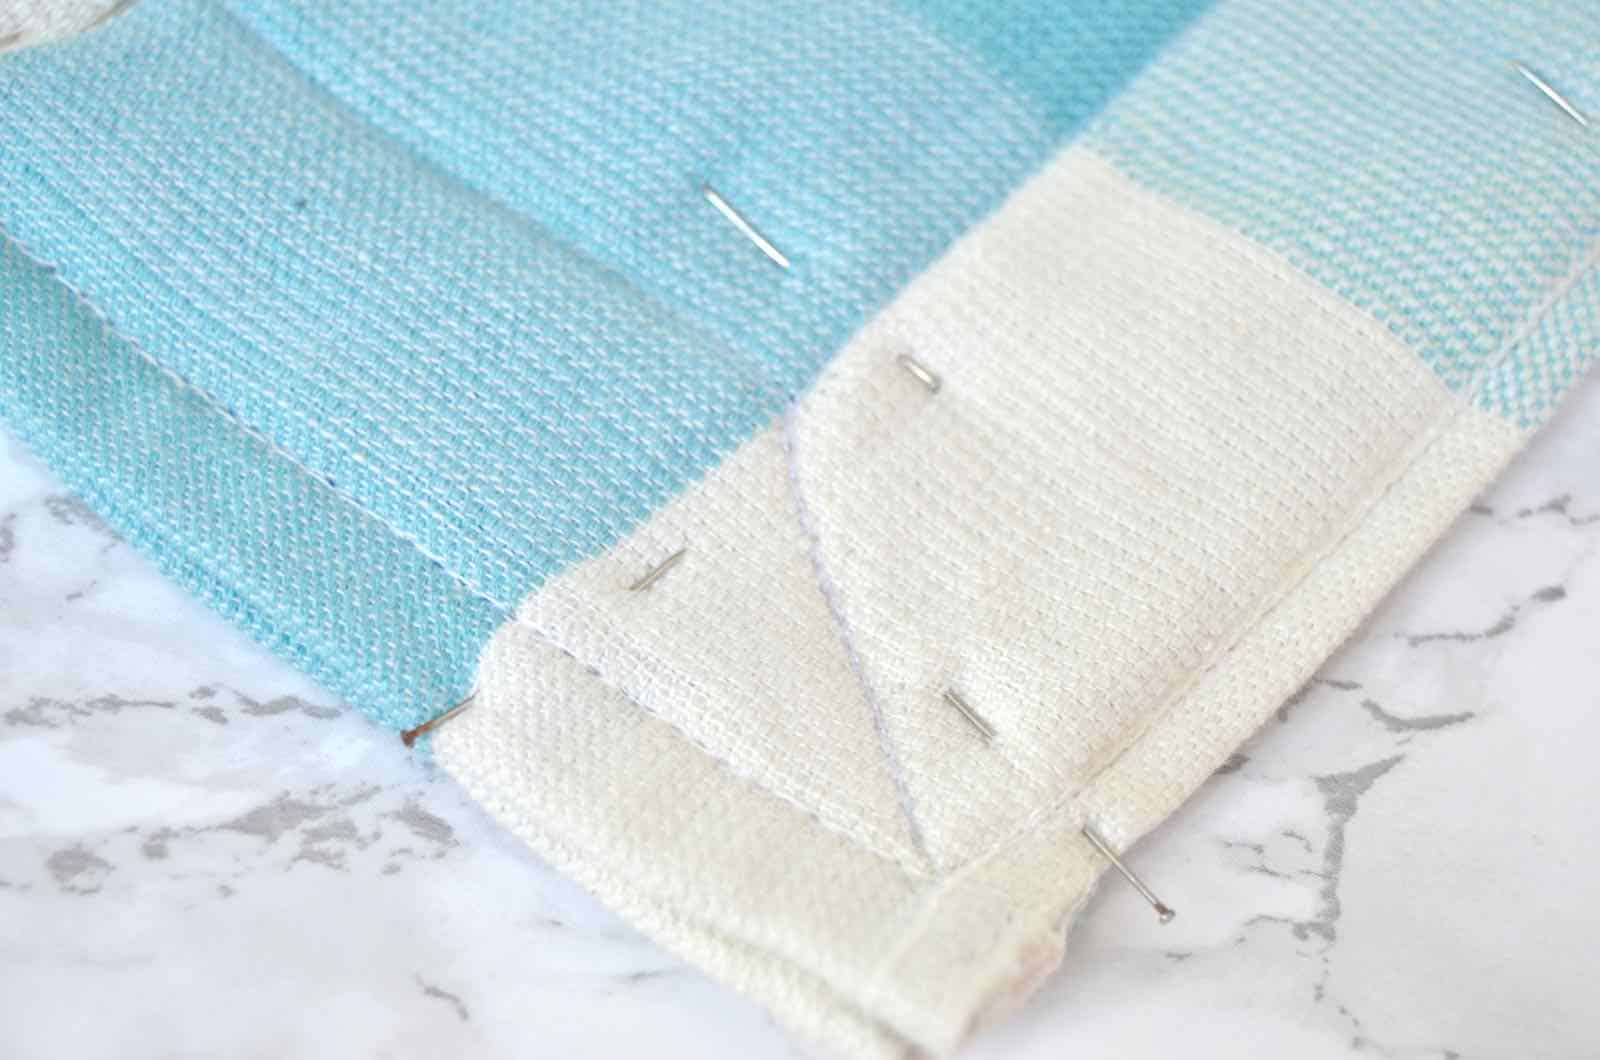
At the end of your first perimeter seam, pivot your fabric 45 degrees and sew diagonally in to the inner line of pins. (Again… if this doesn’t make sense… click the video above as it might be more clear for you.)
Sew along the length and when you get to the second corner, again pivot your fabric 45 degrees and this time sew out to the outer corner and then back in to the inside corner along the same seam. Repeat for the remaining two sides sewing along the inside pin line, then out to the corner and back in along that 45 degree corner seam.
Step 3. Stuff
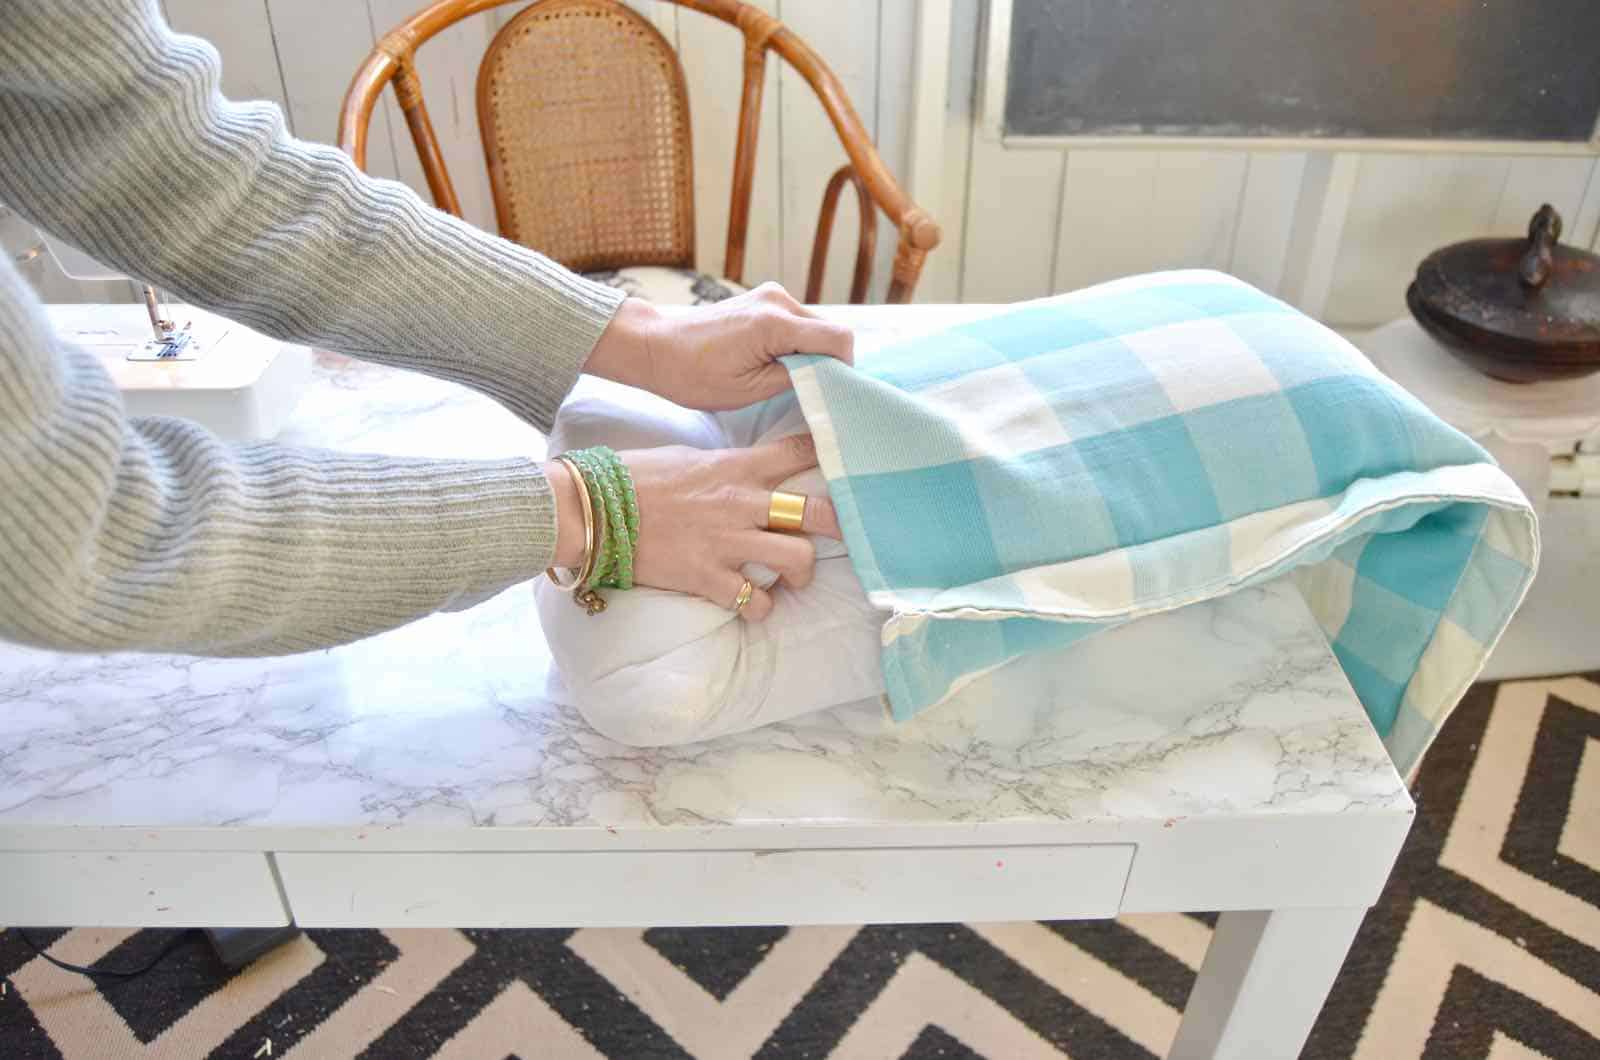
Remove the pins and insert your pillow into the case where you left the one edge un sewn.
Step 4. Sew the last edge
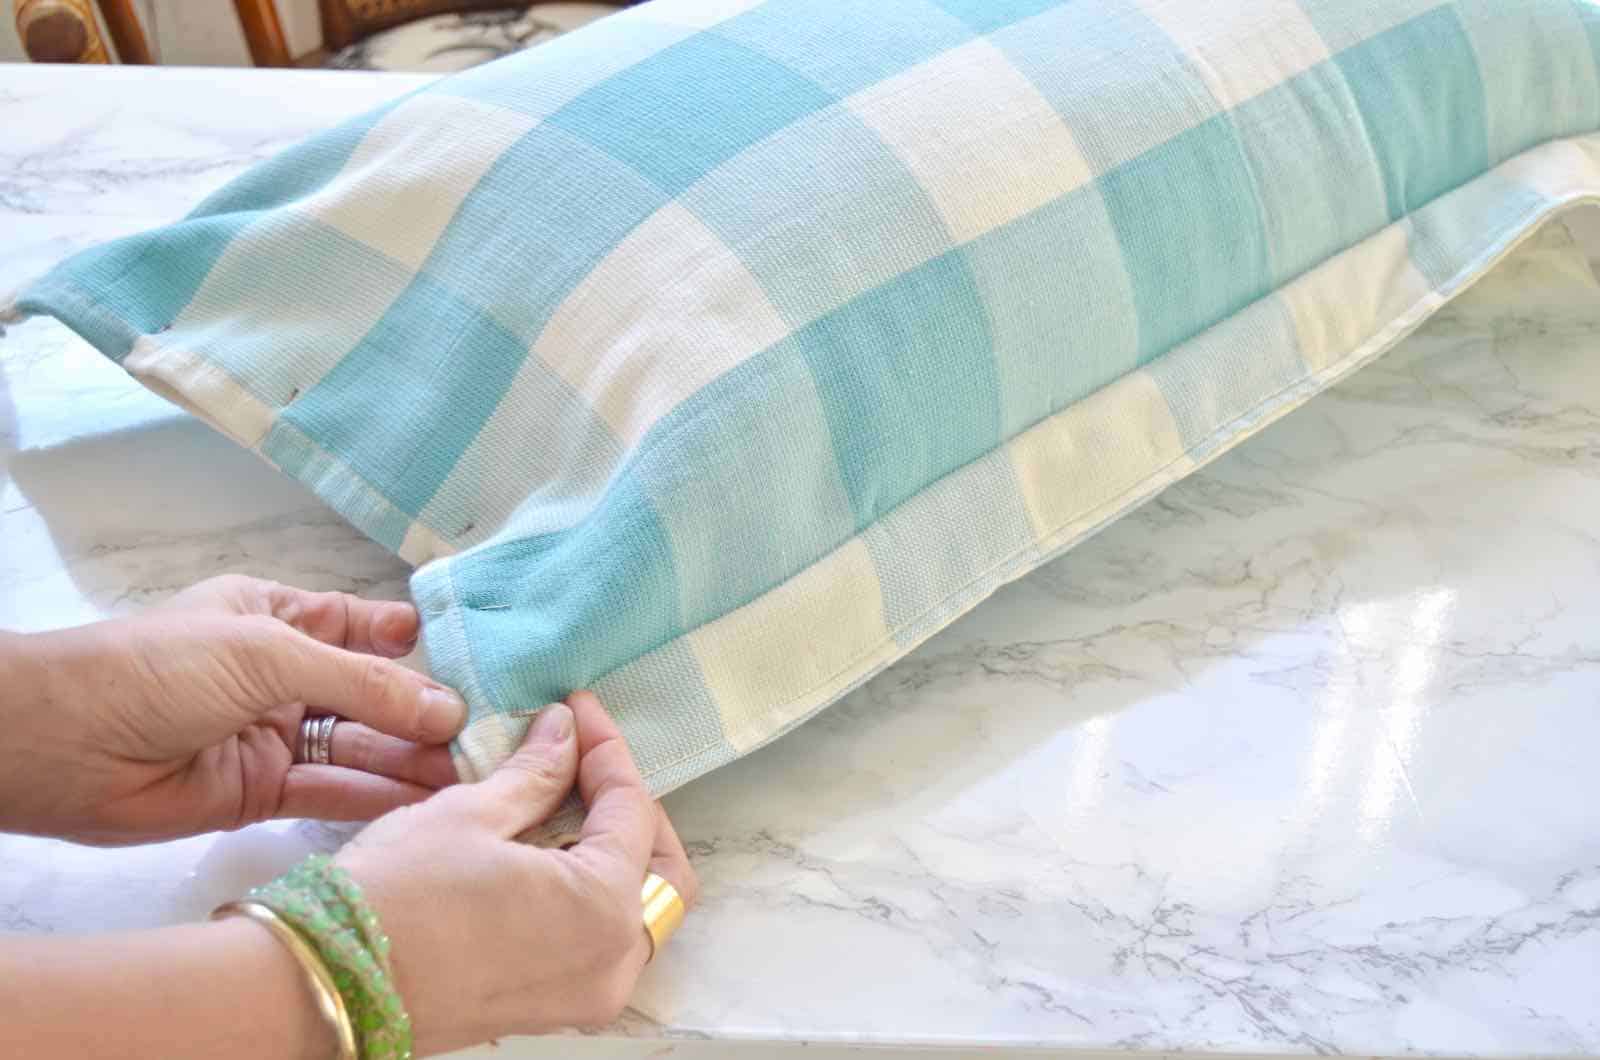
I opted to sew my inserts right into these pillow cases so I wasn’t fooling around with velcro or zippers or anything. Pin this last edge the same way you did the first three: one outer seam and one inner seam. Sew.
That’s it! You did it. For under $15 you just made a custom pillow and lived to tell about it! I always look to the dishtowel and placemat section in any home store since the fabric is the right size for pillows and SO easy to transform into custom seasonal throw pillows!
If you like THIS pillow, then you might like another one I made out of a table runner… ninja skills, I tell ya! See the quick vid for that here!





I’ve also made pillows with fabric PLACE MATS…i split the seam at the end of the PLACE MAT, filled with polyfil and resewed…cheap and easy. LOVE the buffalo check. Perfect for spring
Yes! If the fabric’s not too heavy, placemats are perfect too!!
i have to try this one day.New pillowcases are such an easy way to update a room.
The video flows great too, good job!