DIY Bedskirt the EASY Way
Psssst… this post *might* contain affiliate links: see my disclosure here.
Easy DIY Bedskirt Hack
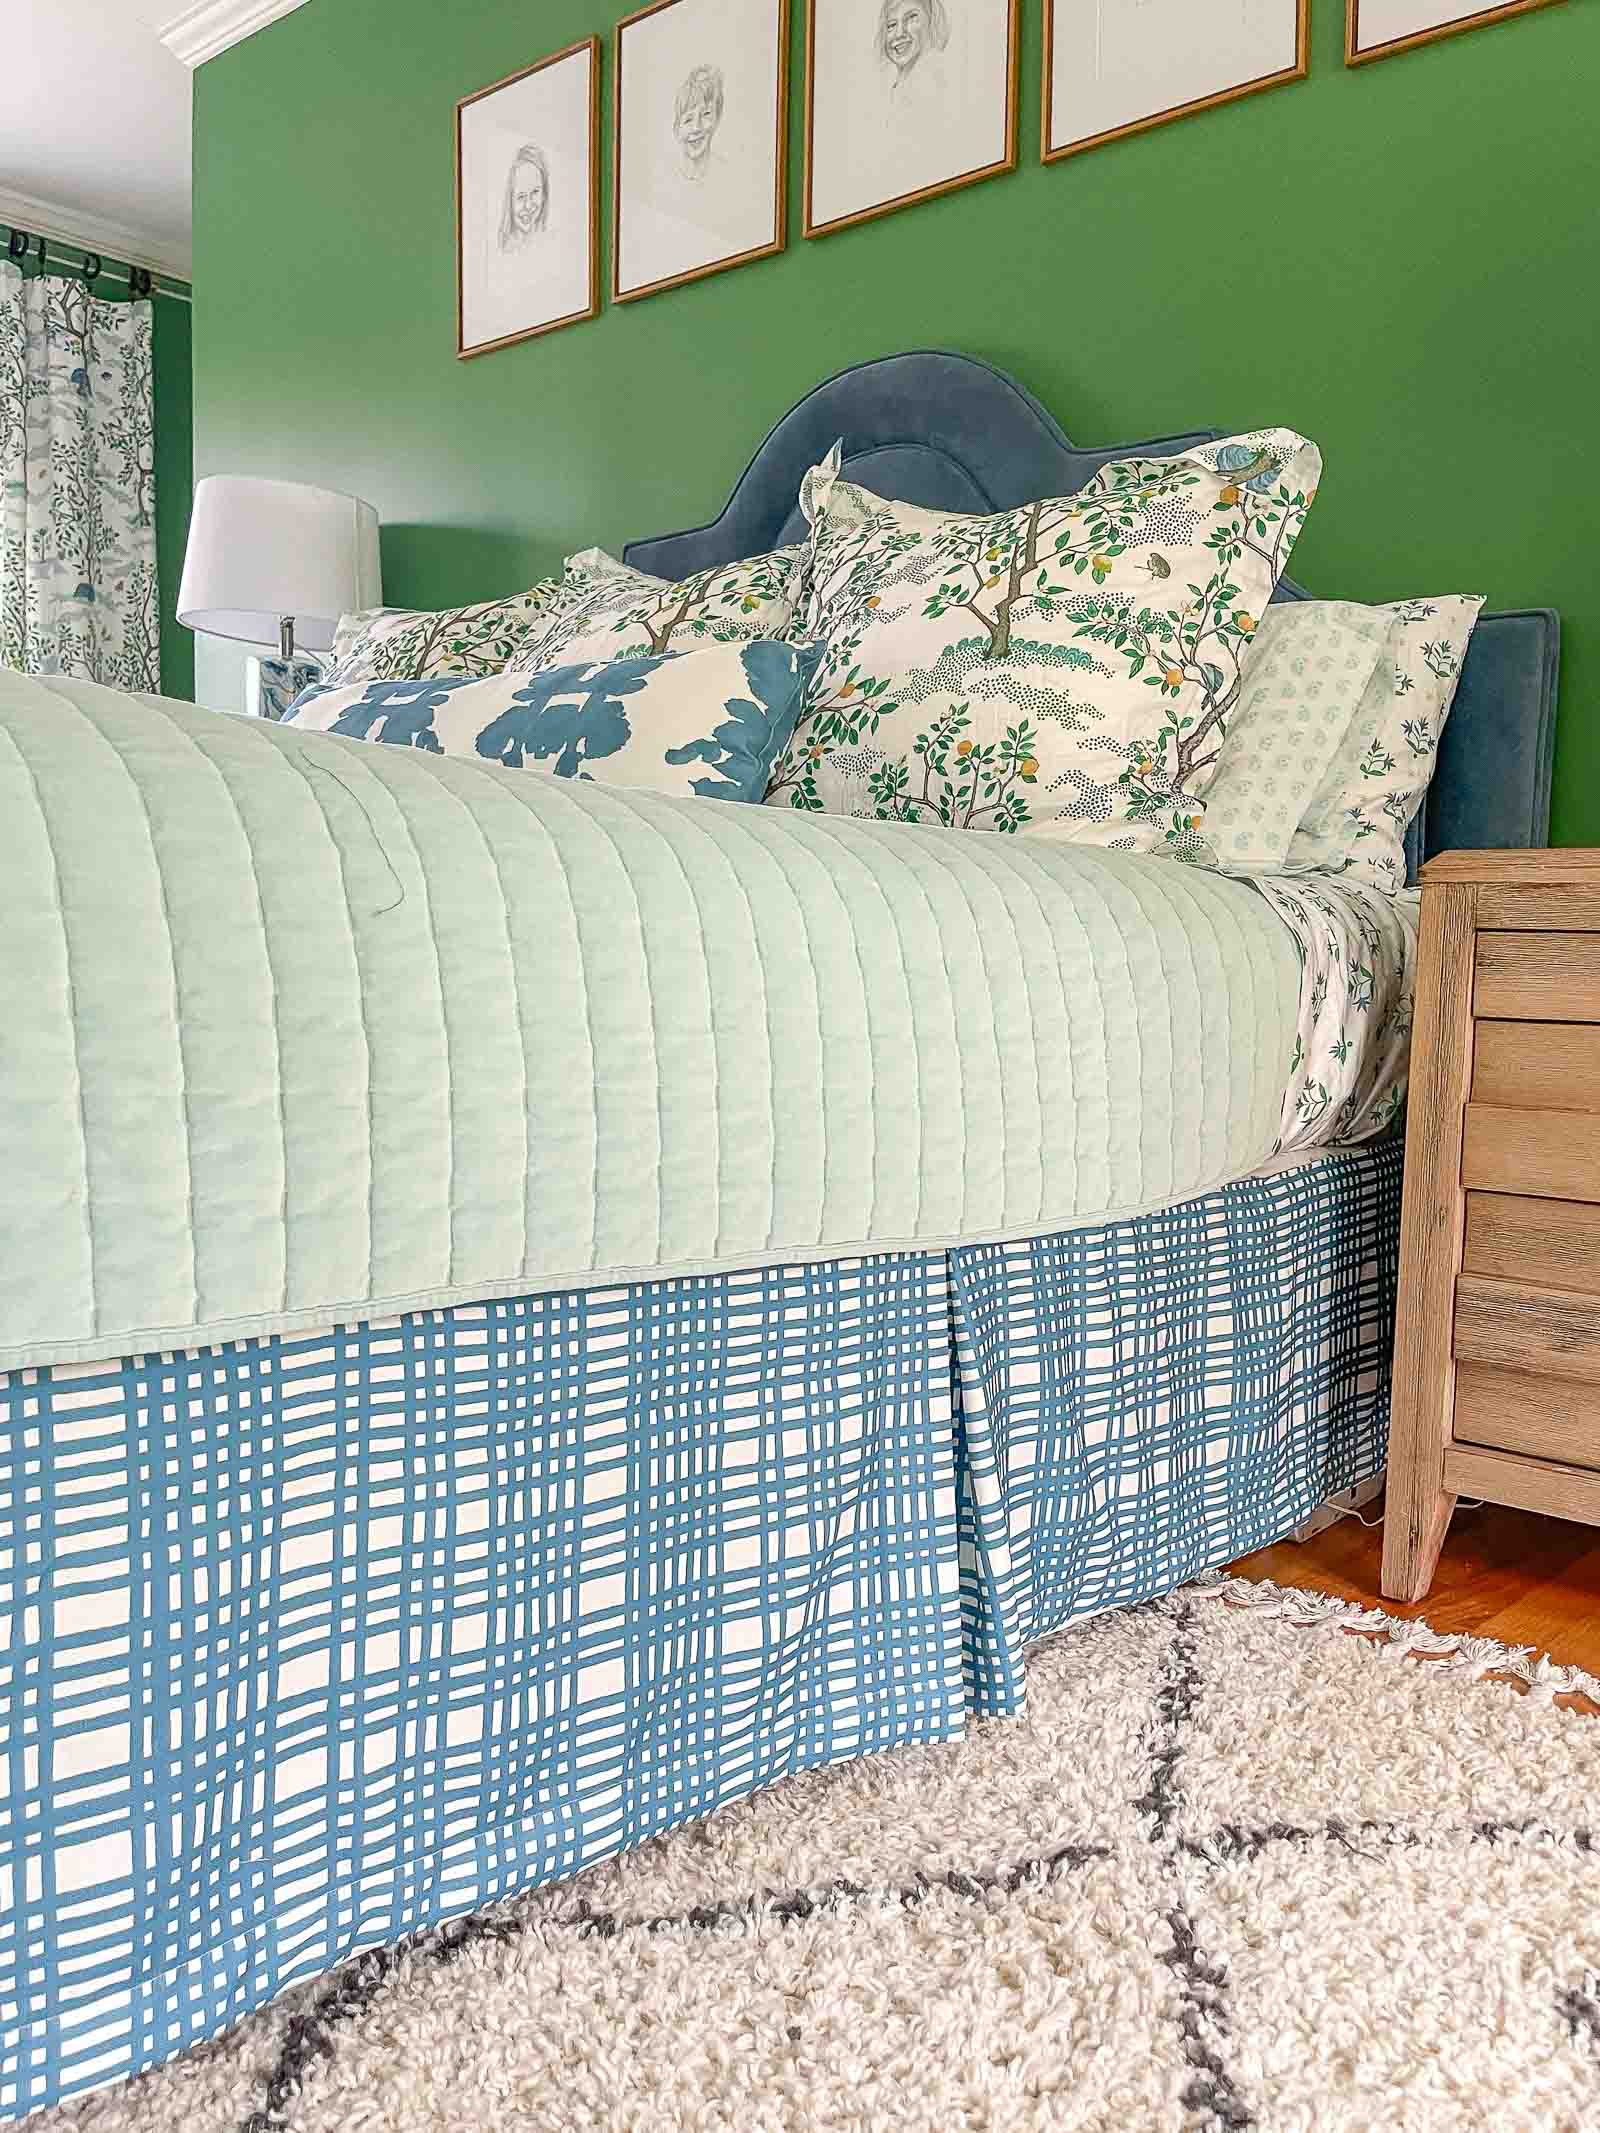
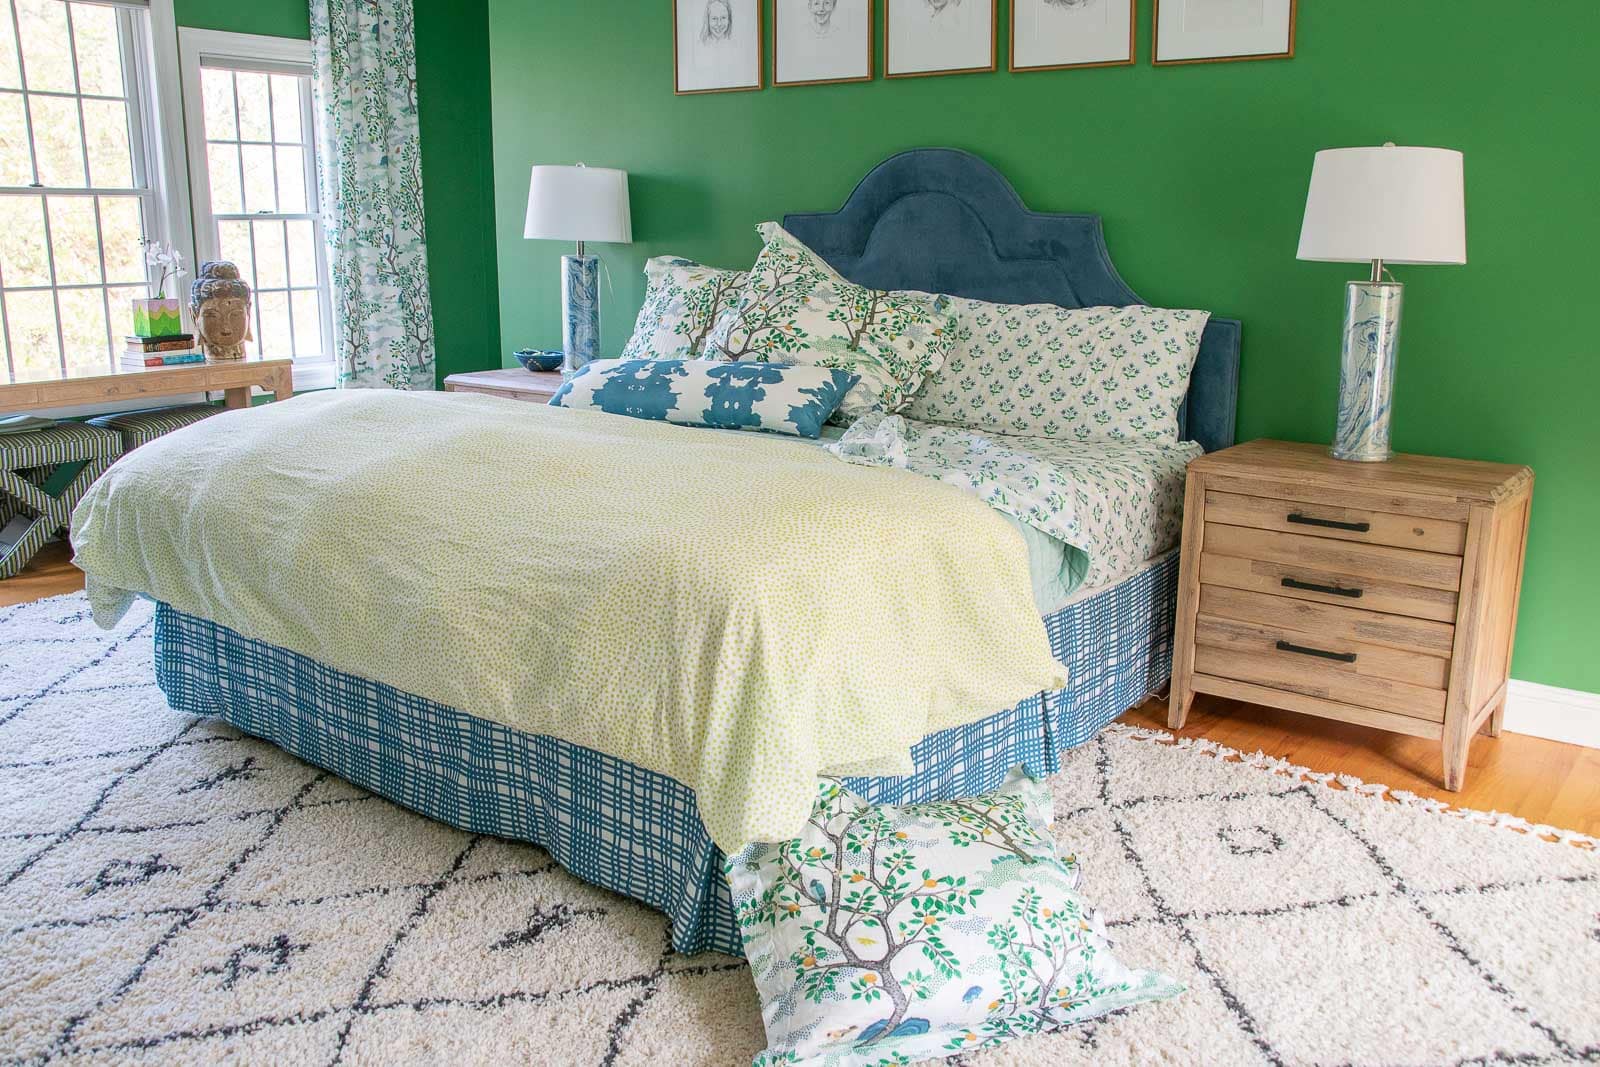
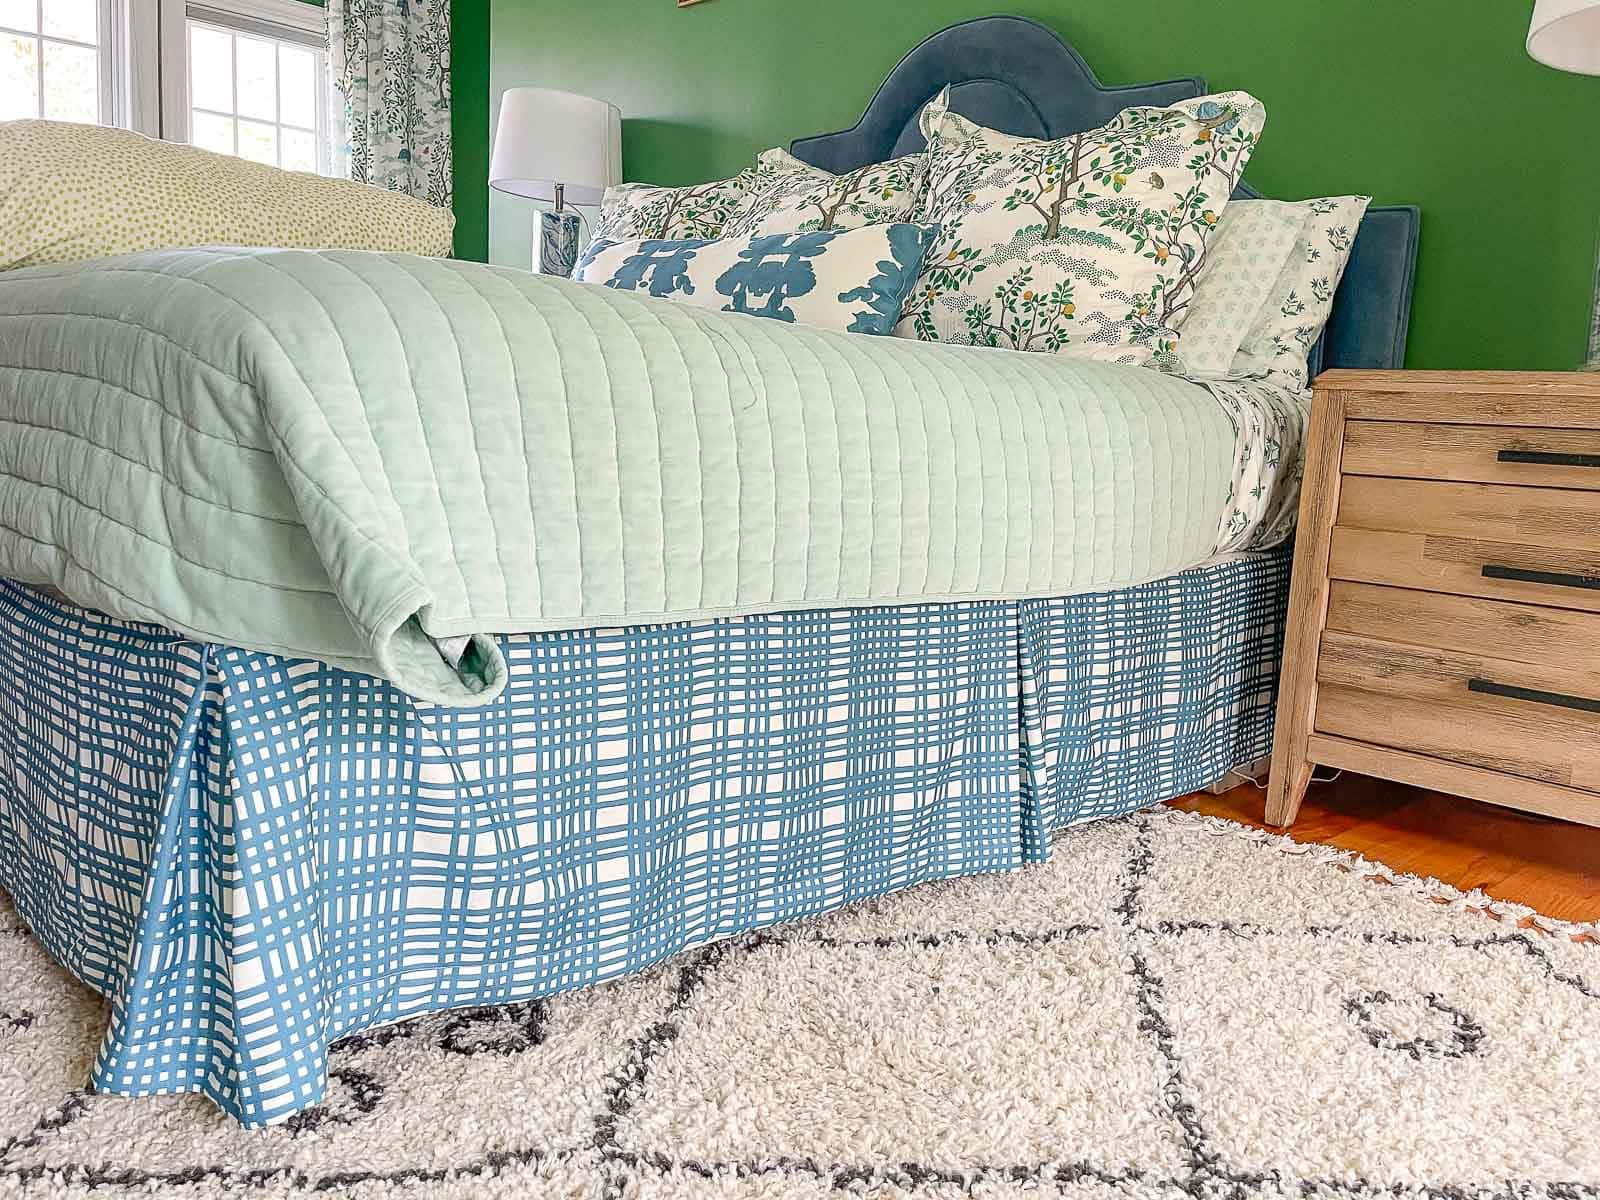
I made this simple king bedskirt for our bed using a trick that made it all super easy!
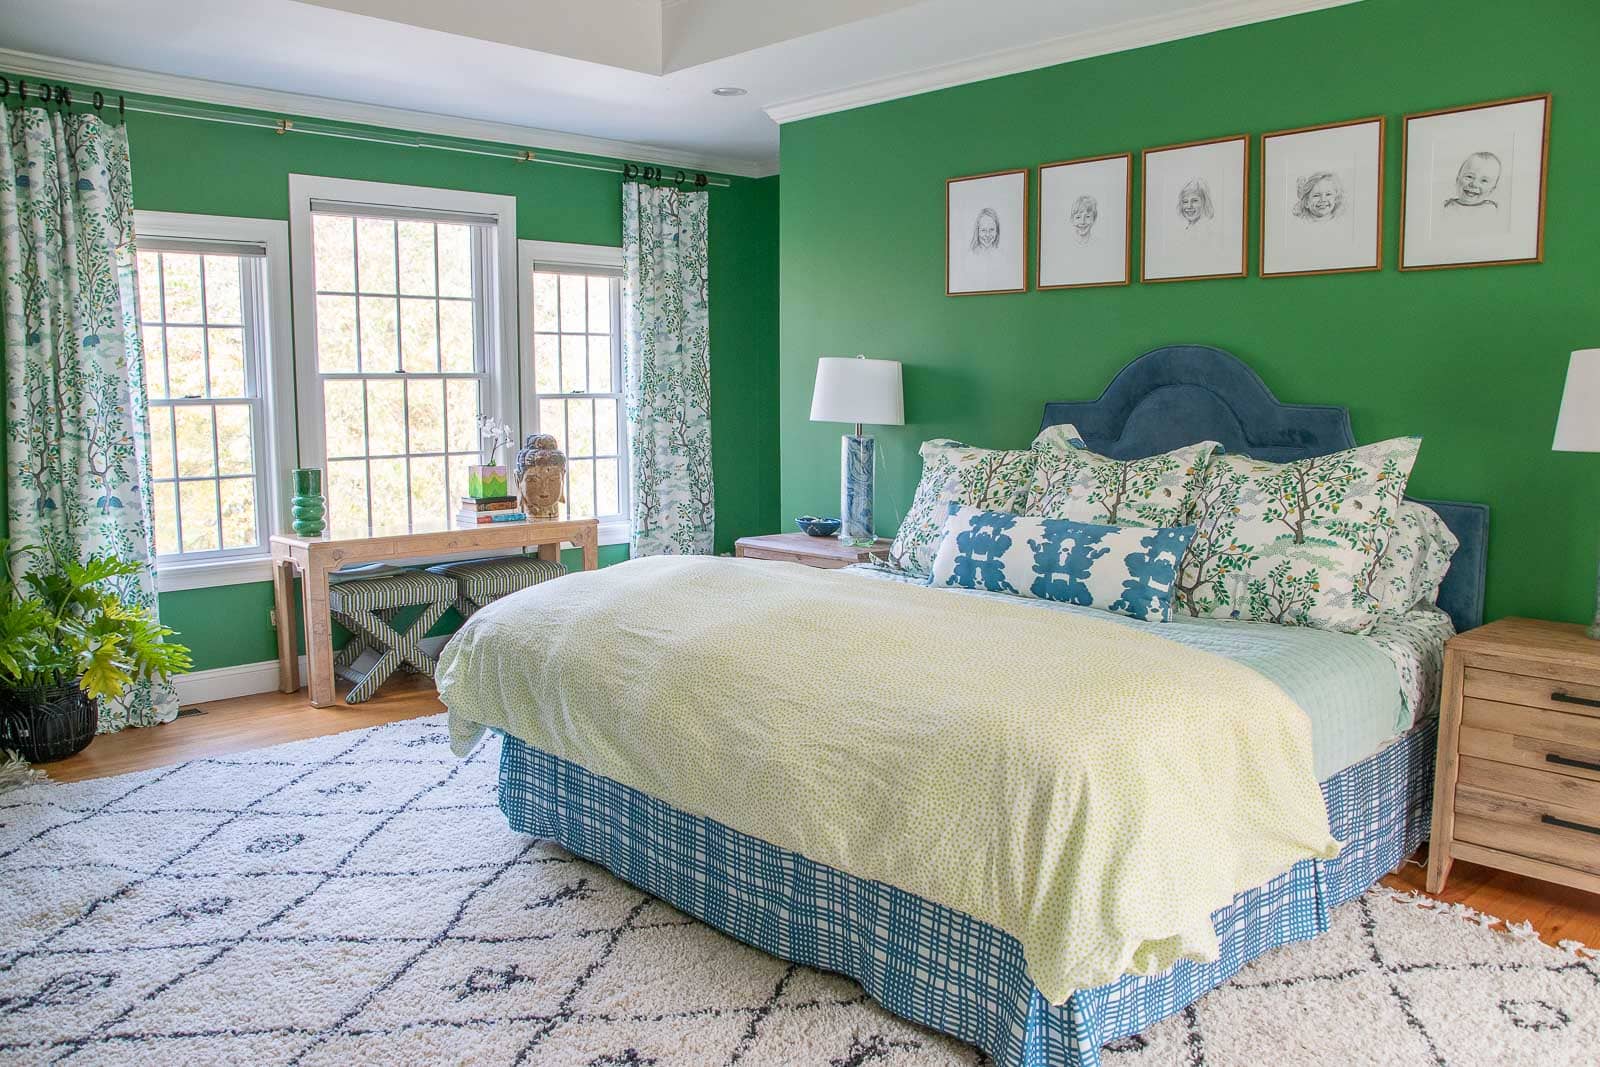
Disclosure: I partnered with Spoonflower for this makeover and they provided me with the GORGEOUS fabric and bed linens.
Shop my favorites!
Our new bedroom is pretty much finished and I couldn’t be happier with it! Full reveal post coming soon but in short… I painted, swapped out some furniture and brought in a bunch of amazing fabric from Spoonflower. The curtains were already made as were the pillow cases and sheets, but the bedskirt was for me to figure out. It bears repeating… sewing is not my strong suit. I can sew a straight line, but anything beyond that can get dicey. So I came up with a hack!
Step 1. Get yourself a cheap bedskirt
In our case, I already had one on hand so I didn’t have to ‘purchase’ one. I’m talking the $15 ones like this one here.
Step 2. Choose the right fabric
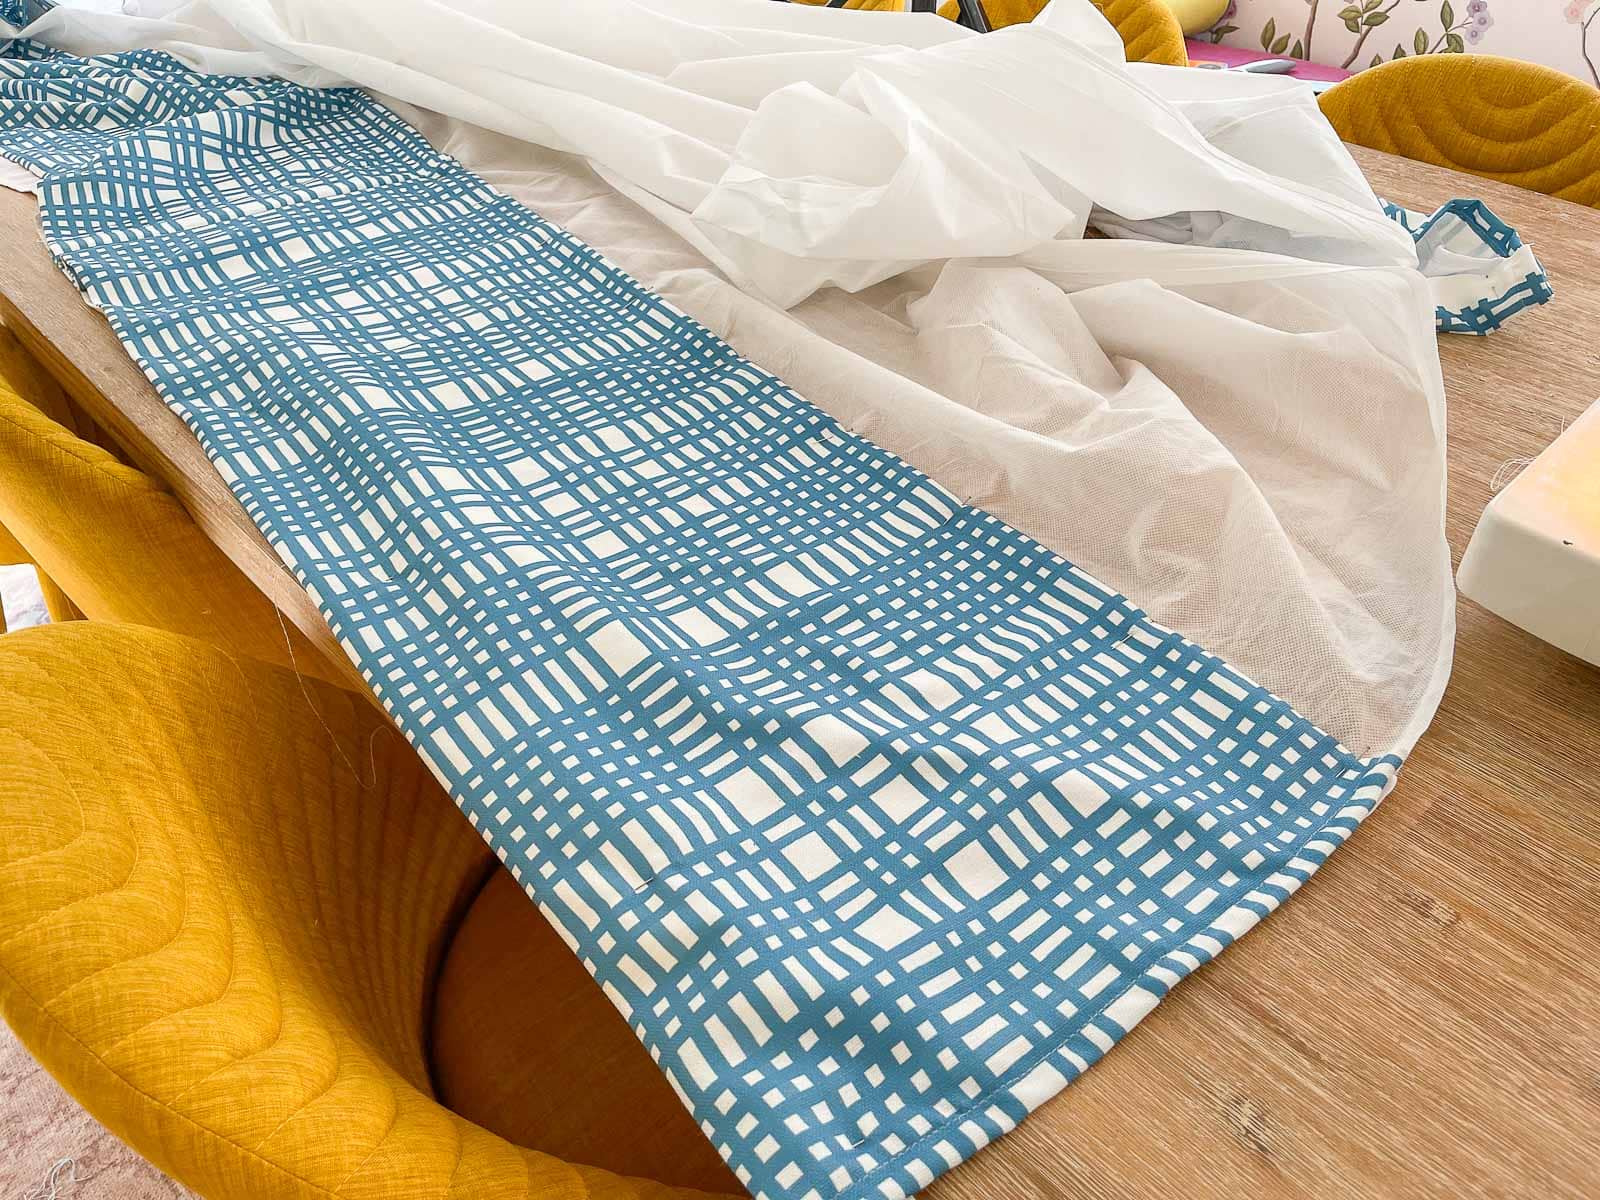
The fabric I’m working with will work in any orientation which is *really* helpful for this hack. I’m doing something called railroading the fabric which means running turning it 90-degrees so it’s headed in the same direction as the roll of fabric. (When fabric is on the roll imagine it like a roll of paper towels so the pattern runs up and down and you unroll it accordingly. BUT… for this, I’m turning it so that the pattern is running the length of the roll.)
Step 3. Measure and Cut
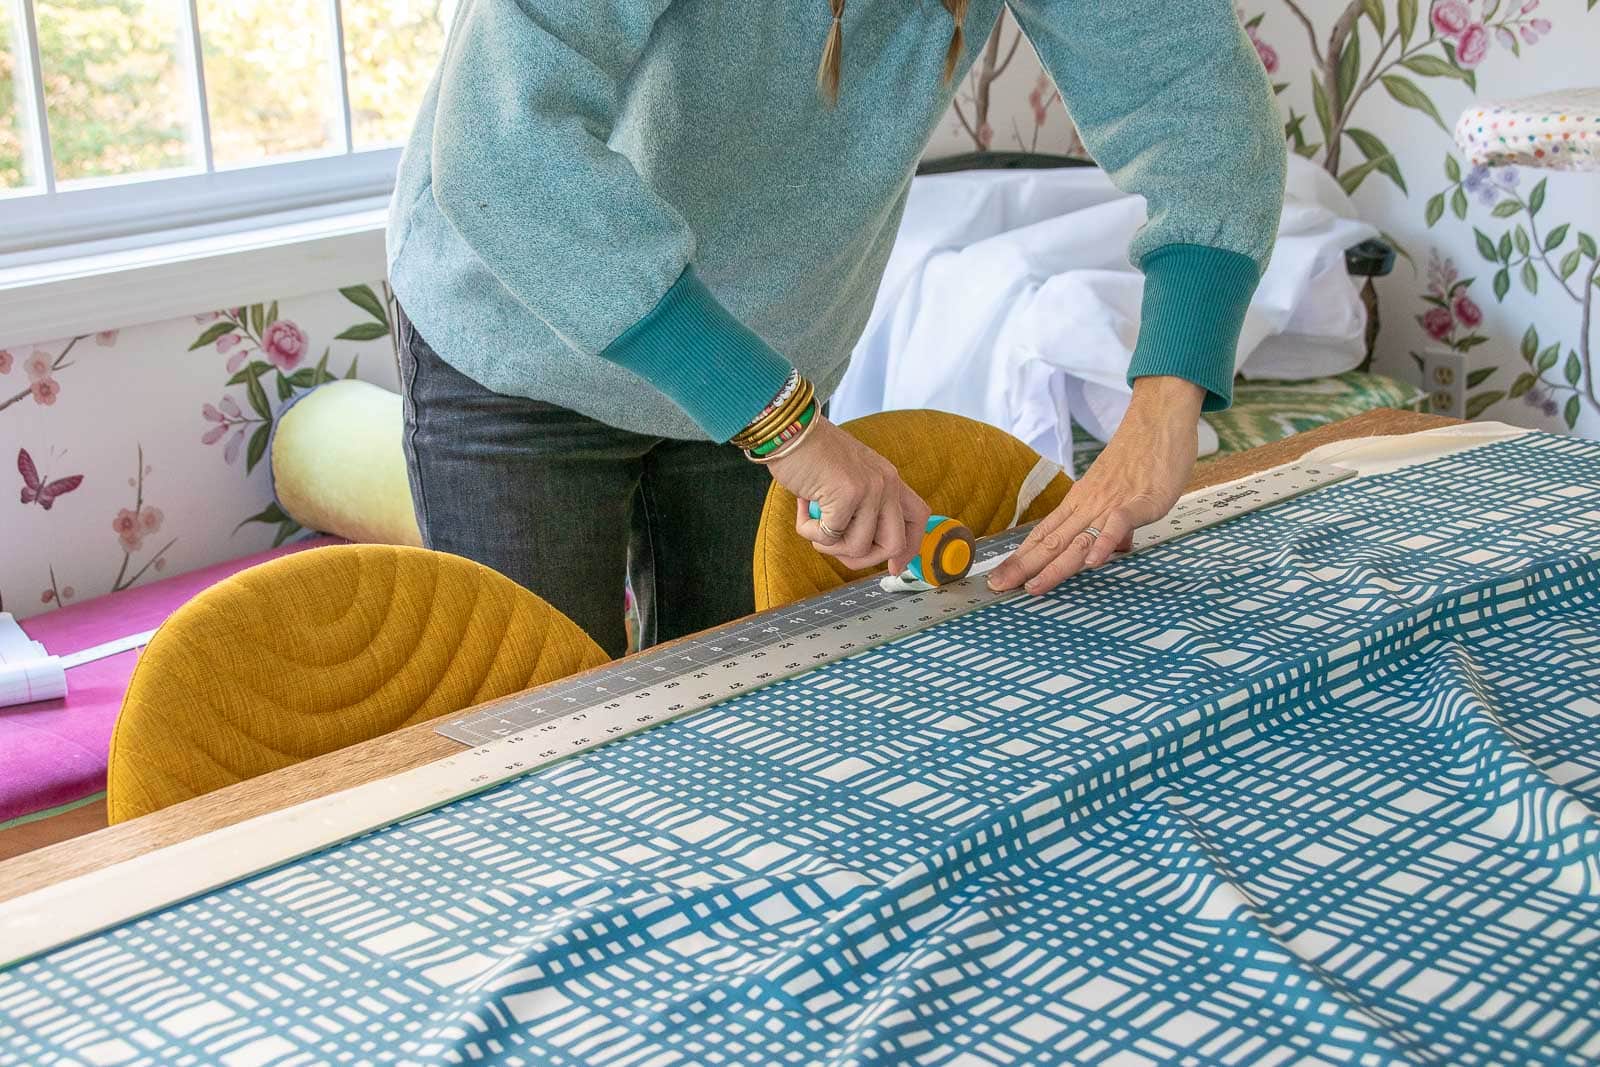
Cut your fabric so that it’s 4 inches longer than the budget bedskirt- probably something like 18 inches. You want it to cover the boxspring and then go down and just touch the floor. We have a king size bed so I had to sew two strips of fabric together ultimately to wrap around the mattress.
Step 4. Iron and Hem
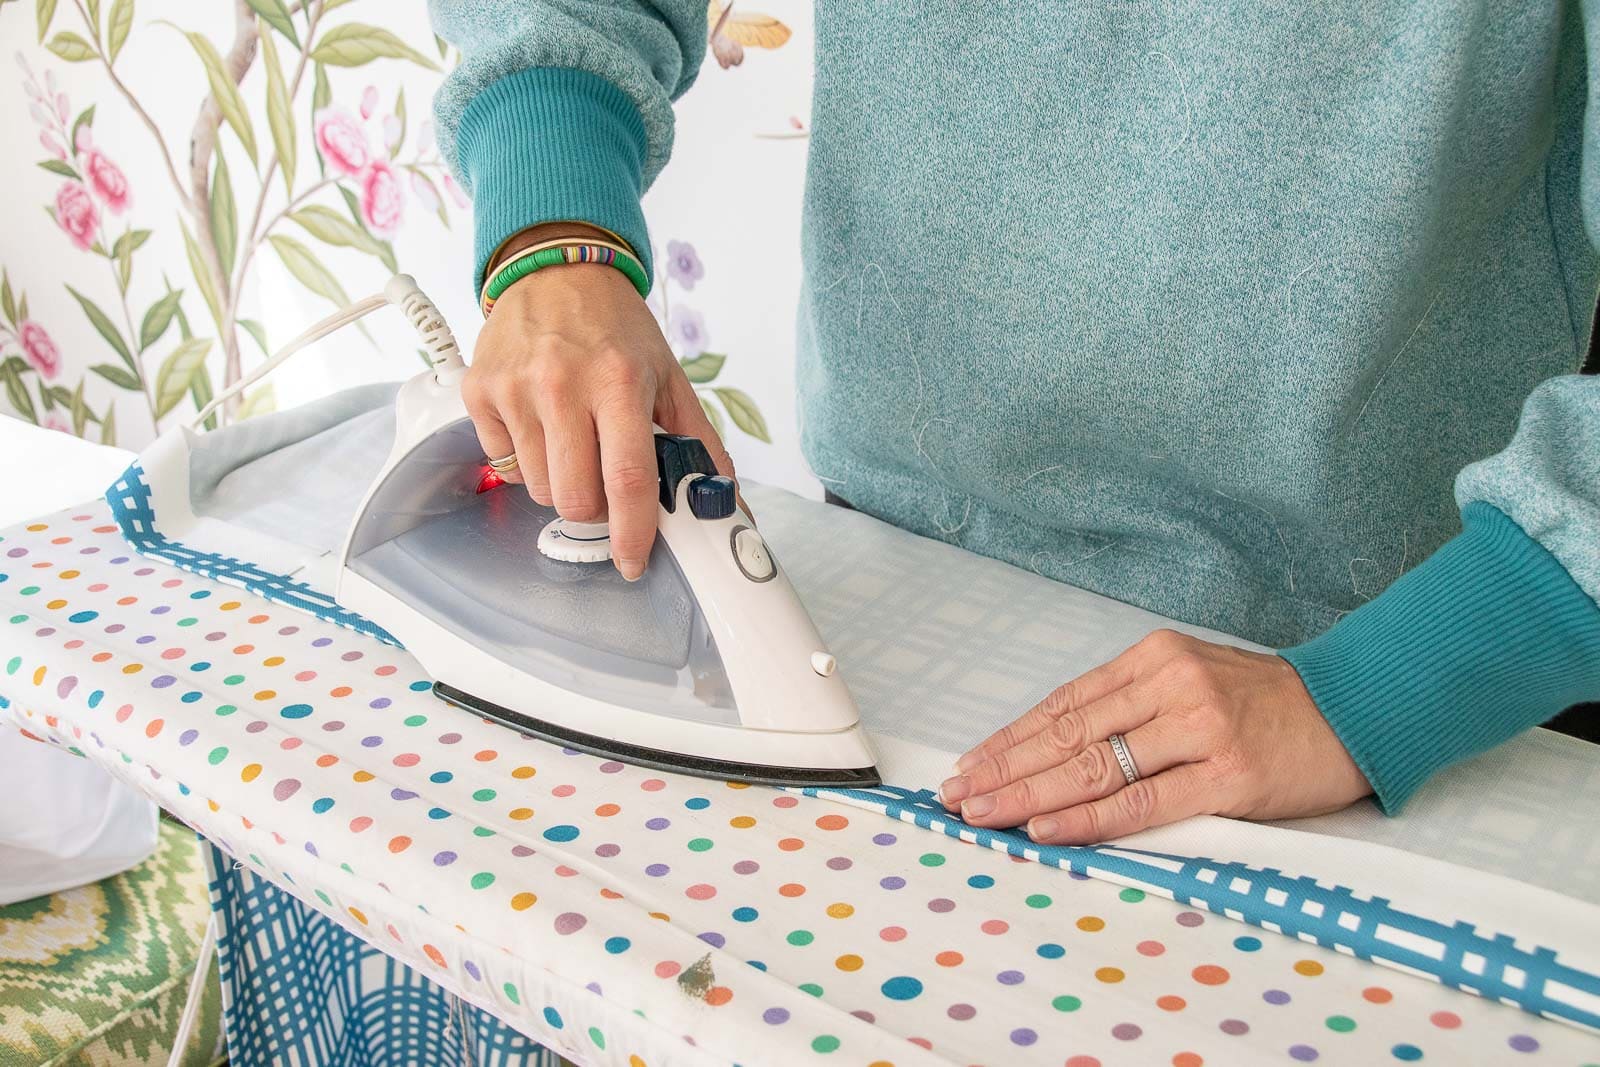
If I have one tip to give when it comes to sewing it’s to iron your fabric before sewing. I folded the bottom edge of the fabric up 1/2-inch and ironed it. Then I folded it over another 2 1/2-inches and ironed/ pinned. This will be the bottom hem. For the top hem, I folded it over 1/2 and inch and ironed. Then folded it over another 1/2 inch and ironed/ pinned. This will go across the TOP edge of the bed skirt.
Step 5. Assemble/ Sew Your Bedskirt
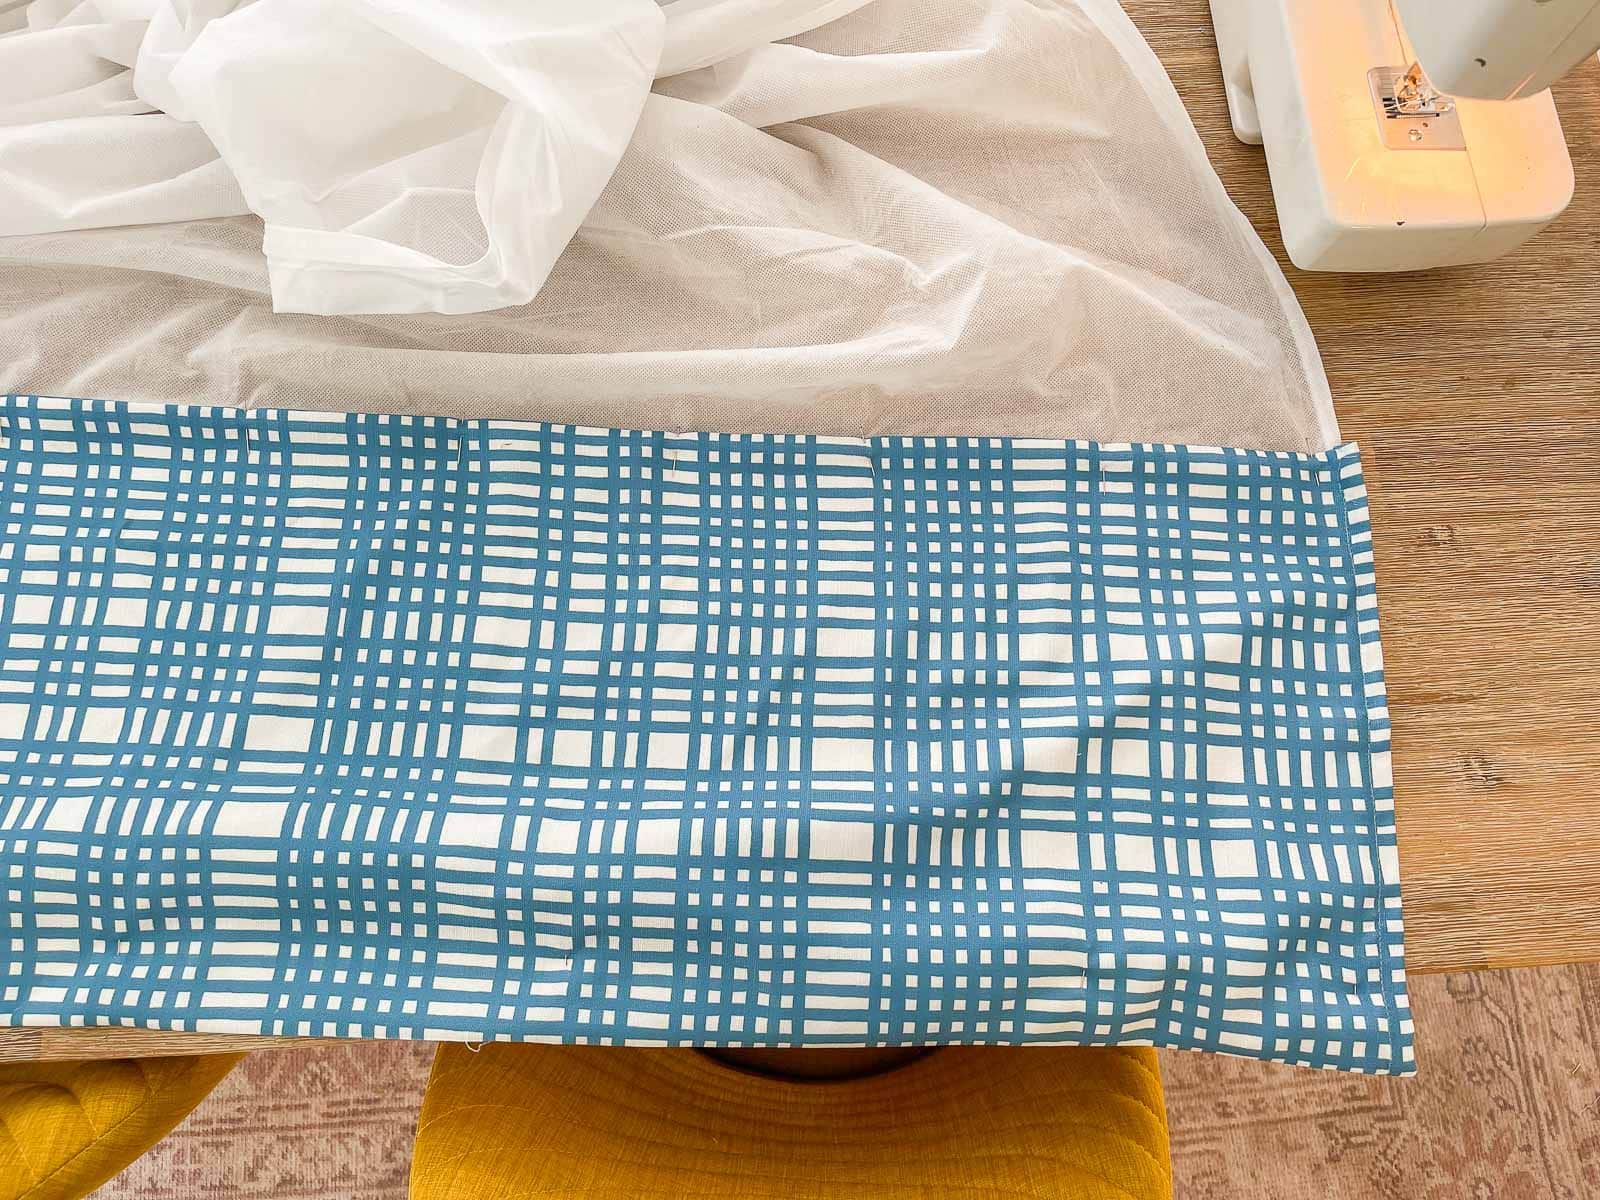
Start by sewing the bottom hem where you’ve pinned it (2 1/2-inches up from the bottom fold). Next you’re going to pin the top edge of the bedskirt to the top of the budget bedskirt. Assuming you’ve measured correctly, the bedskirt you’ve sewed should be the same length as the one you’re covering so when you pin the top seam, the bottom hem will cover the budget version. Originally I was going to wrap the hem of my new bedskirt around the budget bedskirt, but… most bedskirts have a pleat in the middle of each side and then pleats on the corner so it was easier just to have my fabric hanging separately in front of the budget bedskirt.
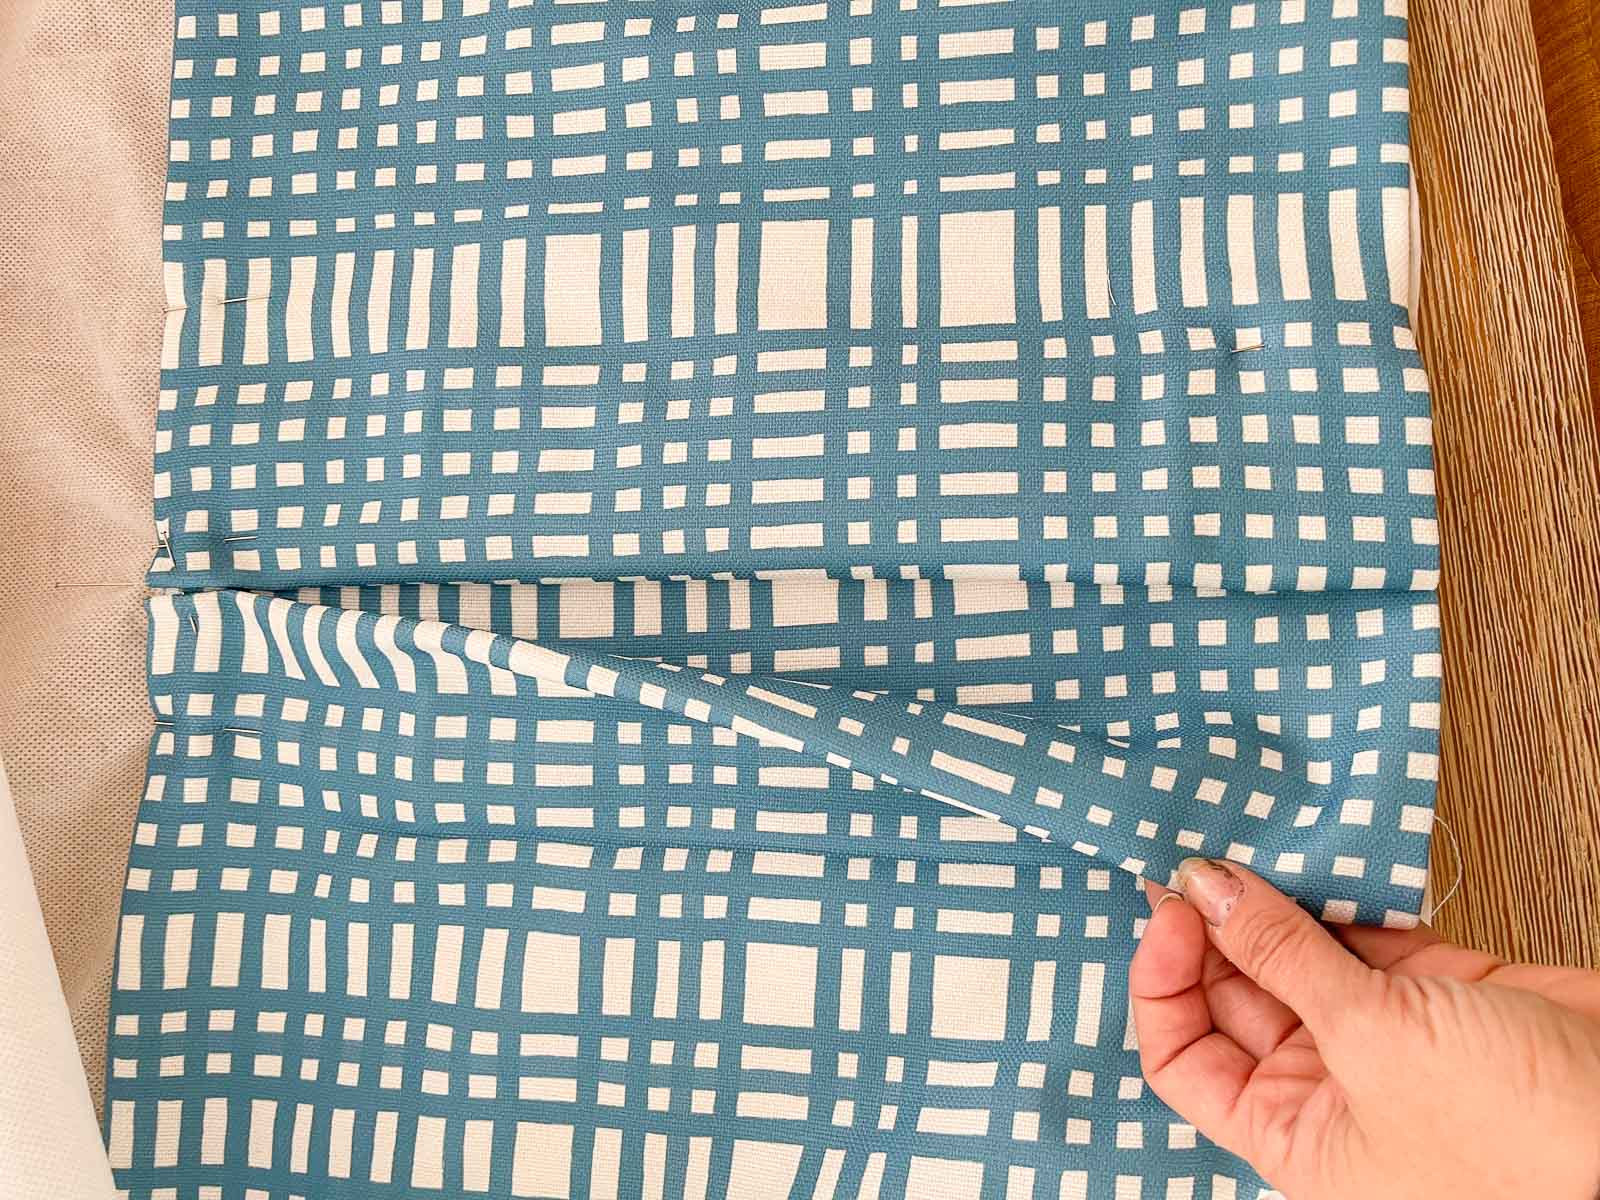
This is where you’ll have to adjust a bit on the fly. Because I needed to sew a few strips of my fabric together to wrap around my bed, I wanted this seam to be symmetrical so… I started sewing at the head of the bedskirt on either side and then when the two fabrics met, that’s where I added the extra fabric and sewed them together. (For me it was just inside the corners at the ends of the bed.) Also… I chose to be fancy and I added VERY simple pleats on my bedskirt to mimic where the pleats were on the budget bedskirt… I simply folded the fabric over and then sewed it in place along the same seam.
This is definitely not the fanciest bedskirt you’ll ever see, but having the budget bedskirt as a guide made this whole thing feel more manageable and accessible. For someone like me, it was super helpful to have something to refer to as an example. Next time, I can probably figure out how to make one without the guide, but for now… this hack made the whole sewing project a home run in my opinion!


Don’t Miss Out
Become An Insider!
Signup for exclusive tips, and tricks from Charlotte’s House!
Let’s chat!
I love comments from you, so feel free to leave your thoughts and ideas below! And don’t forget to follow me on Instagram for even more!