Colorful Classroom Makeover: DIY STEAM Projects
Psssst… this post *might* contain affiliate links: see my disclosure here.
Library Classroom Makeover
I turned an unused library classroom into a colorful place for hands on learning and steam exploration.
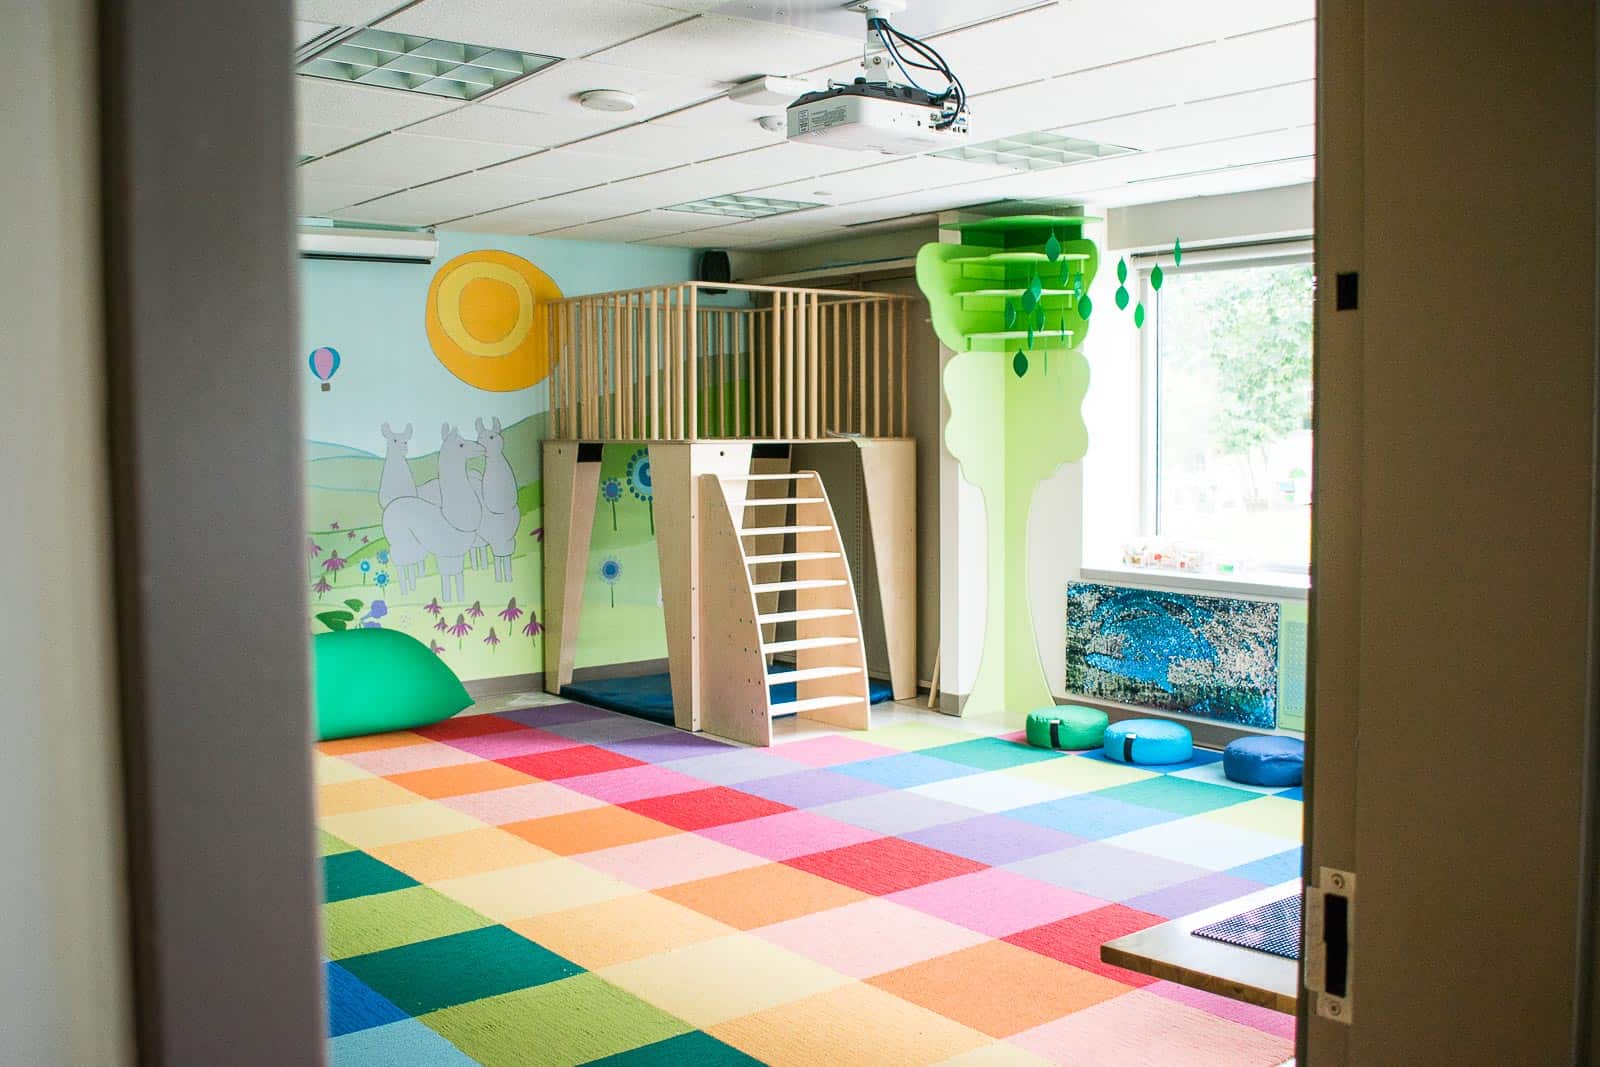
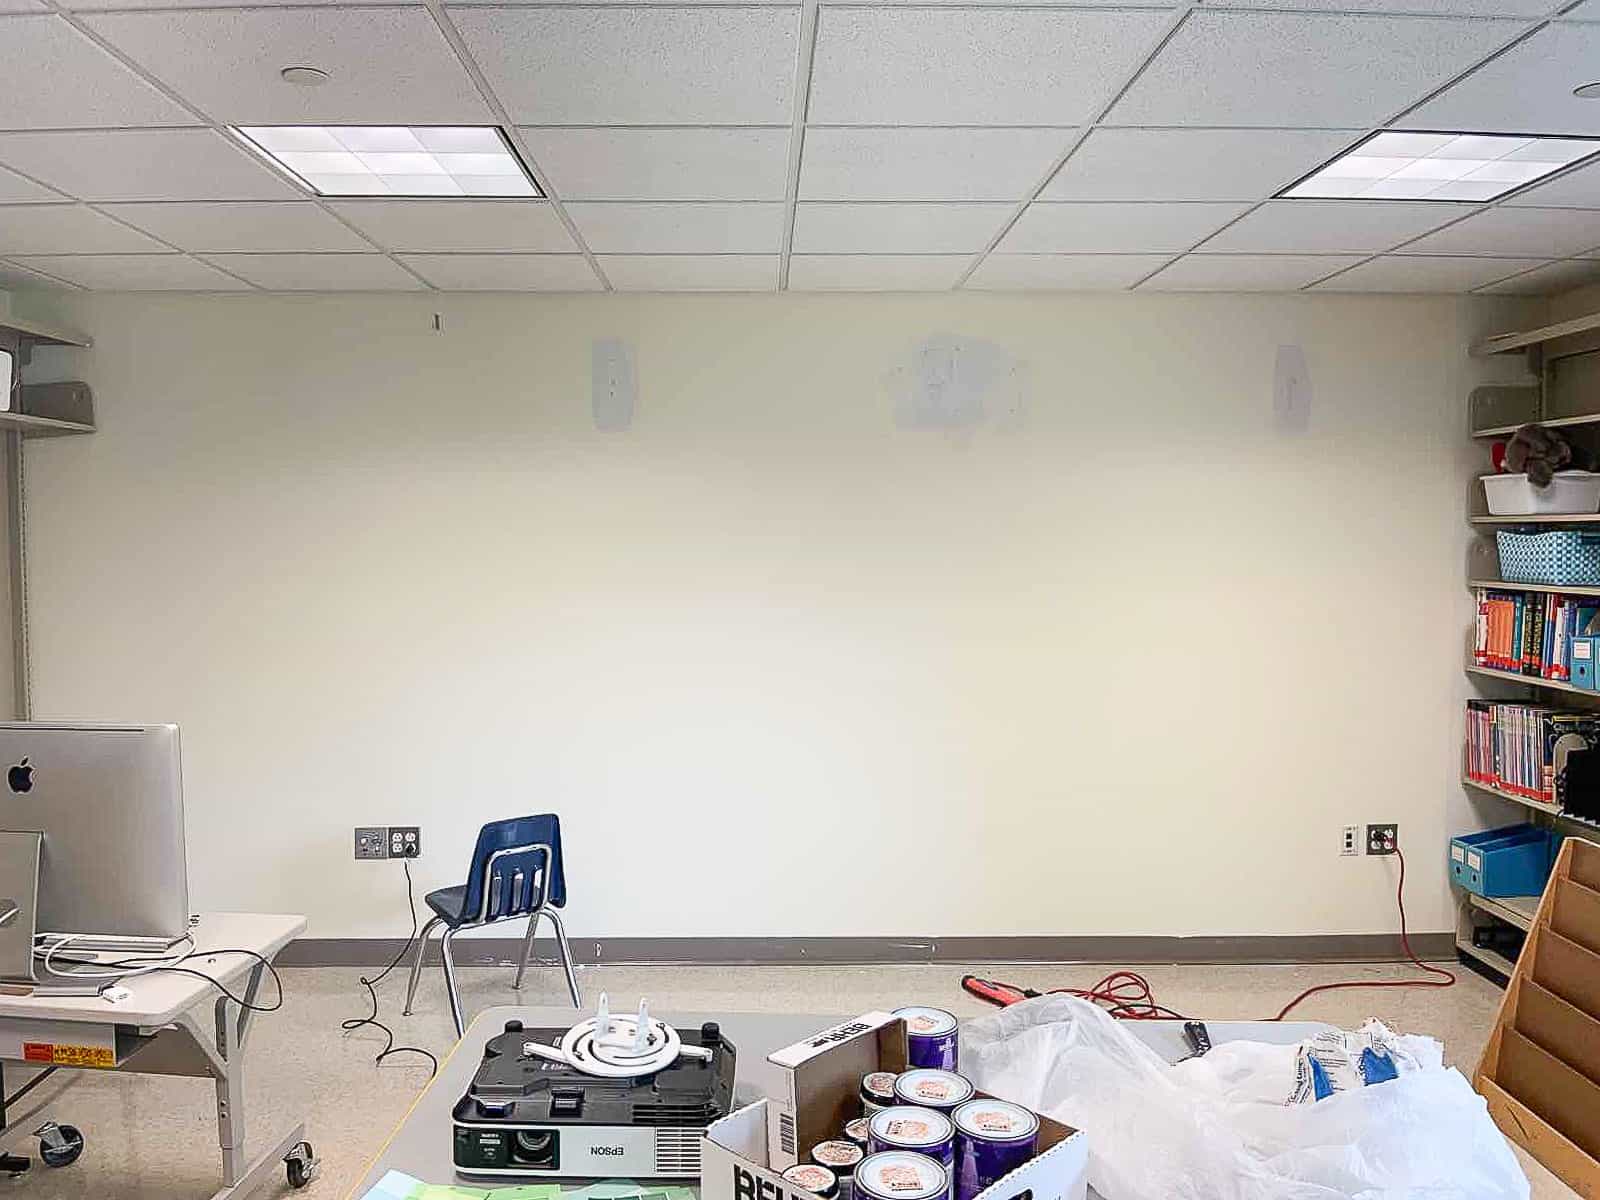
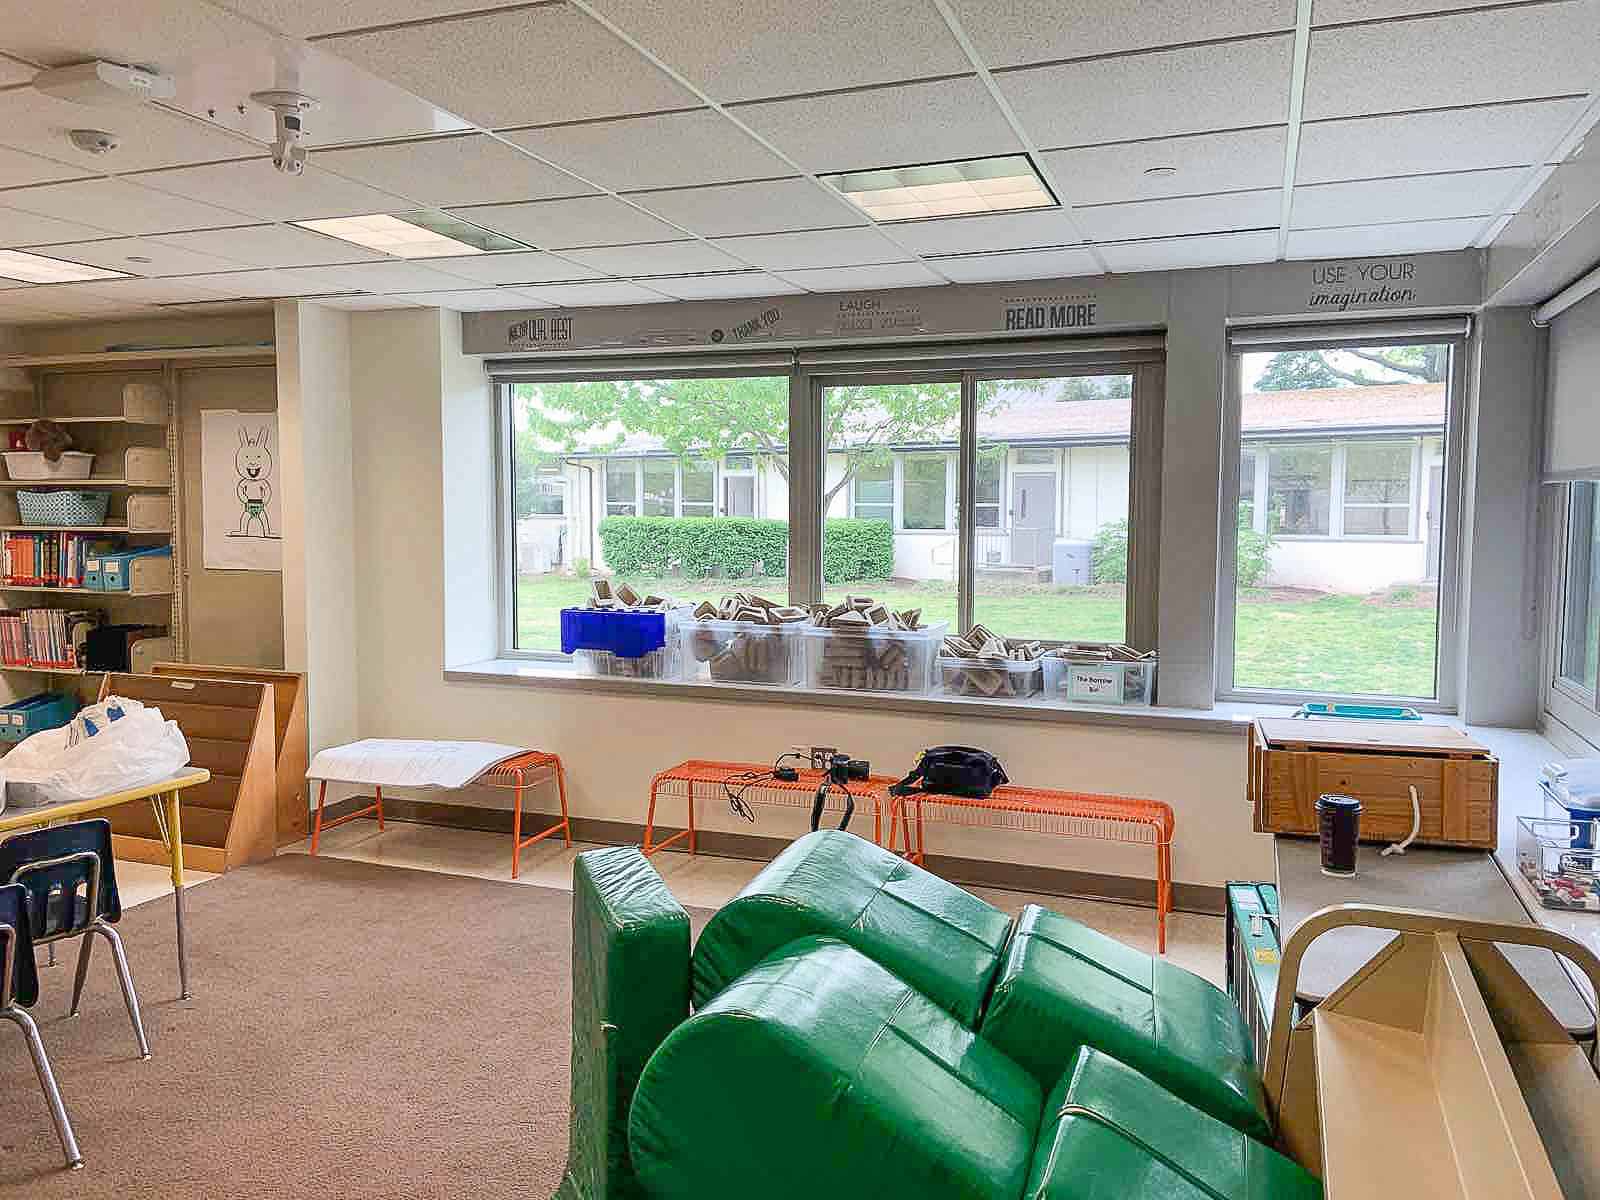
Long before I started blogging… I was a first grade teacher. And one of the great things about being a first grade teacher was that I worked at the same school that I had attended so many years before. So when I had a complete full circle moment and one of my best elementary school friends called me to say she was currently the librarian at our former school and asked whether I’d help transform an unloved forgotten library classroom… the answer was obviously, heck yeah! Here’s how the space looked: drab, cluttered, unused.
Shop my favorites!
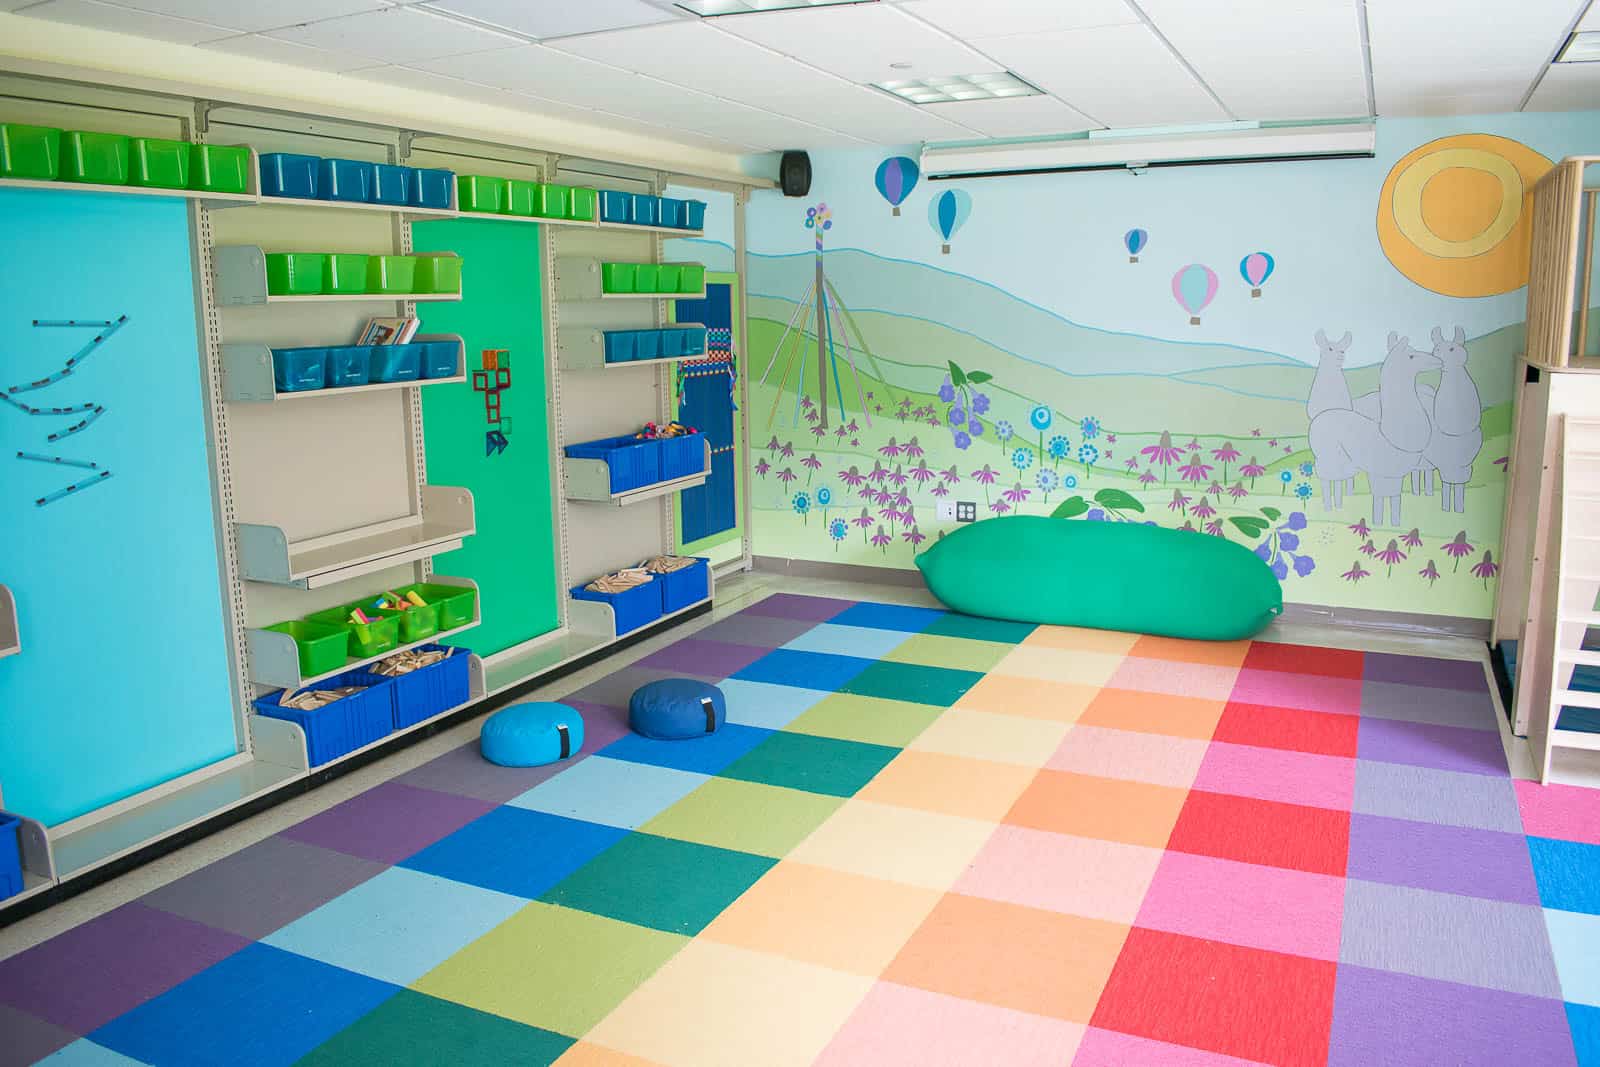
The goal was for this to be a colorful, fun, whimsical place where the elementary schoolers could come to explore and play and imagine. Essentially a ‘tech-free’ maker space. The space had some definite positives: lots of storage possibilities, big bright windows and plenty of vertical space to work with.
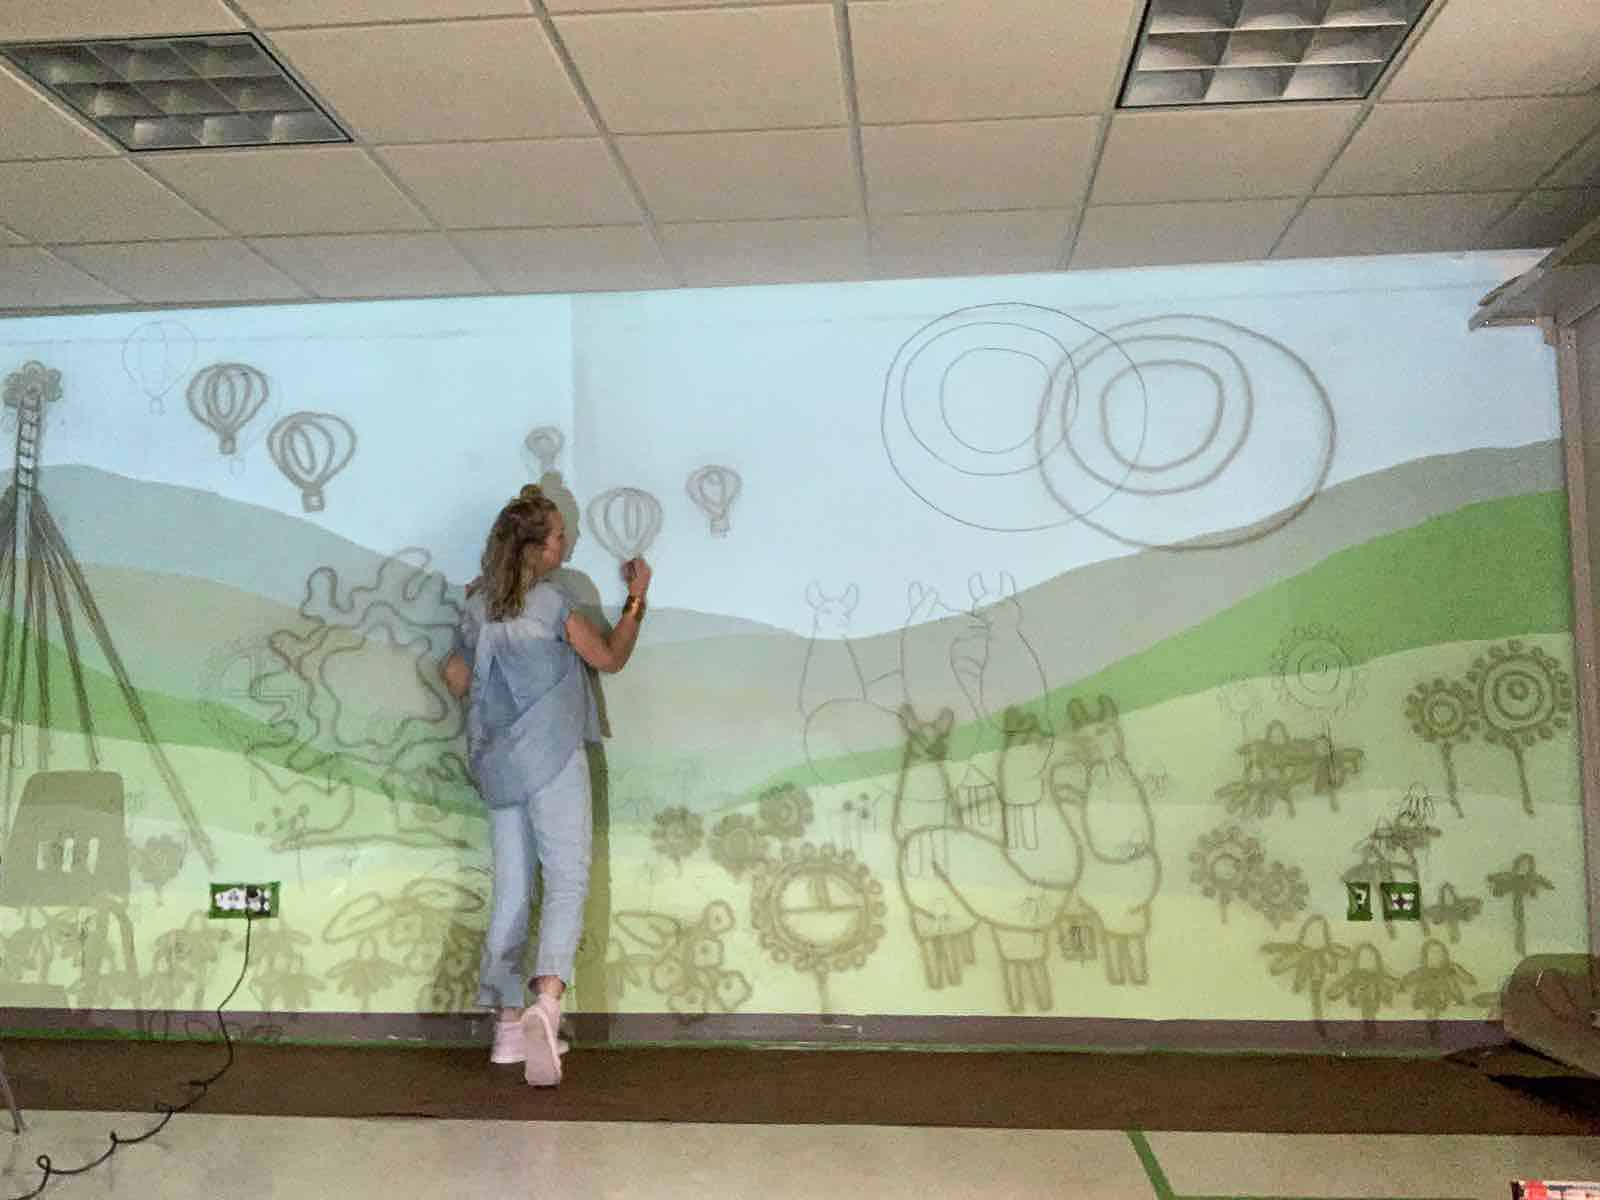
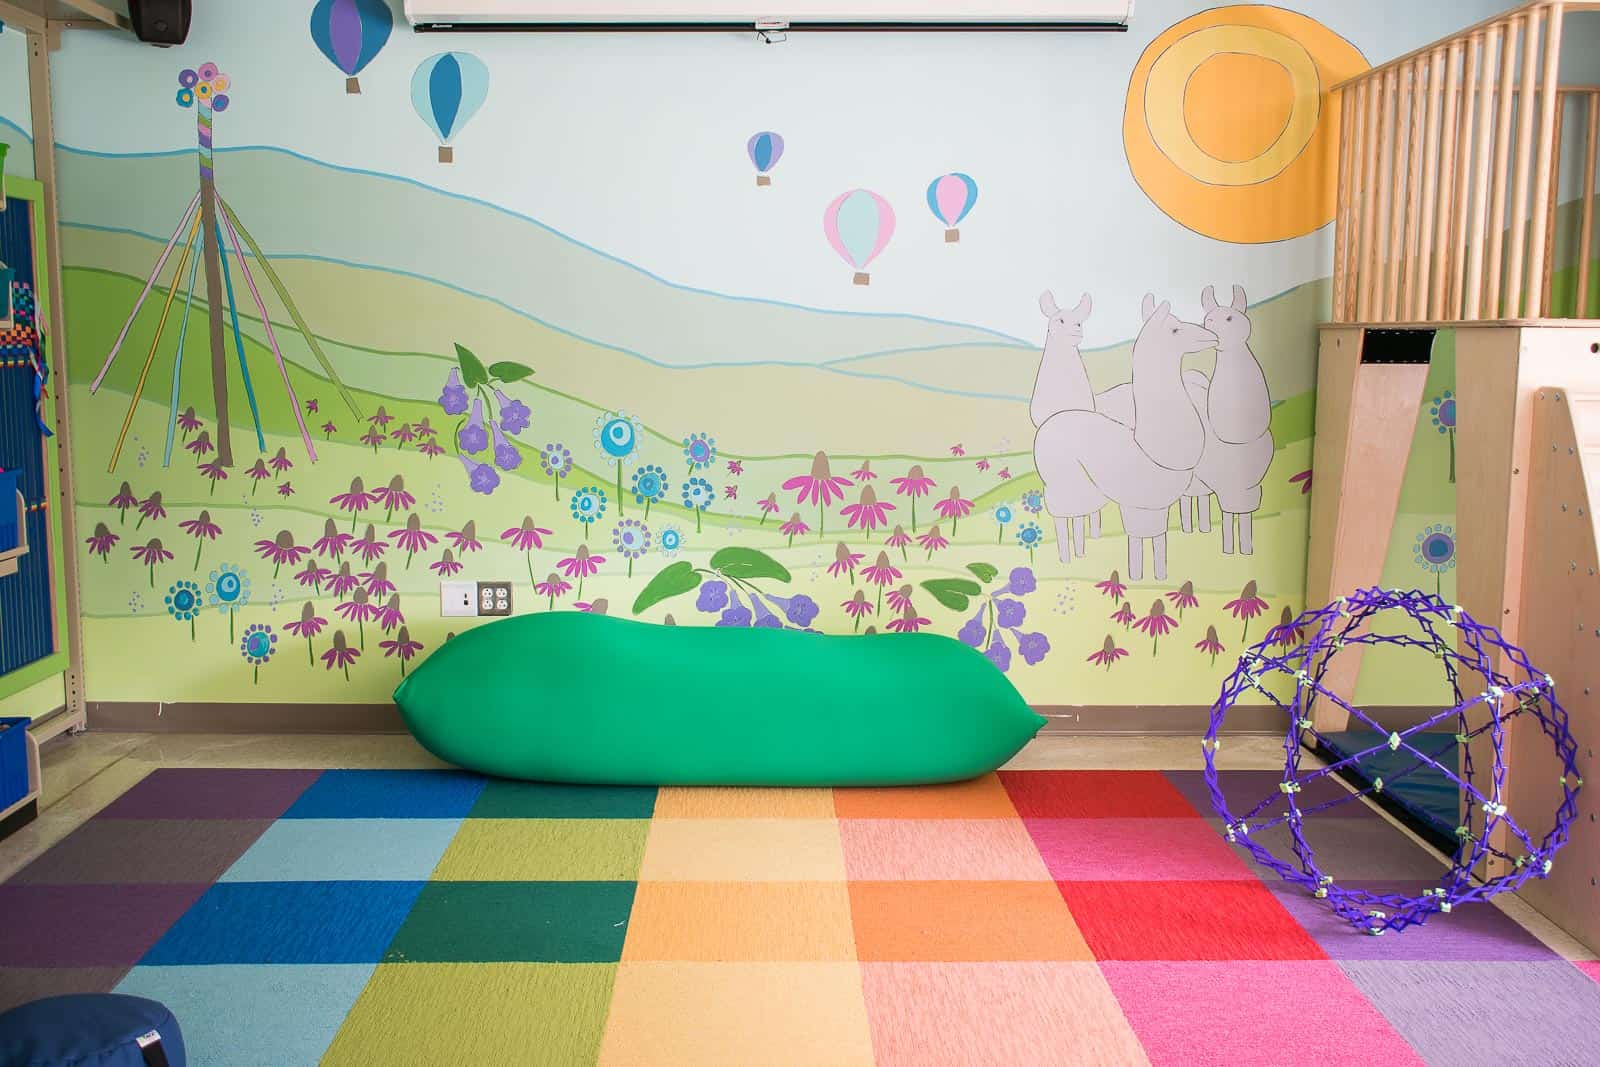
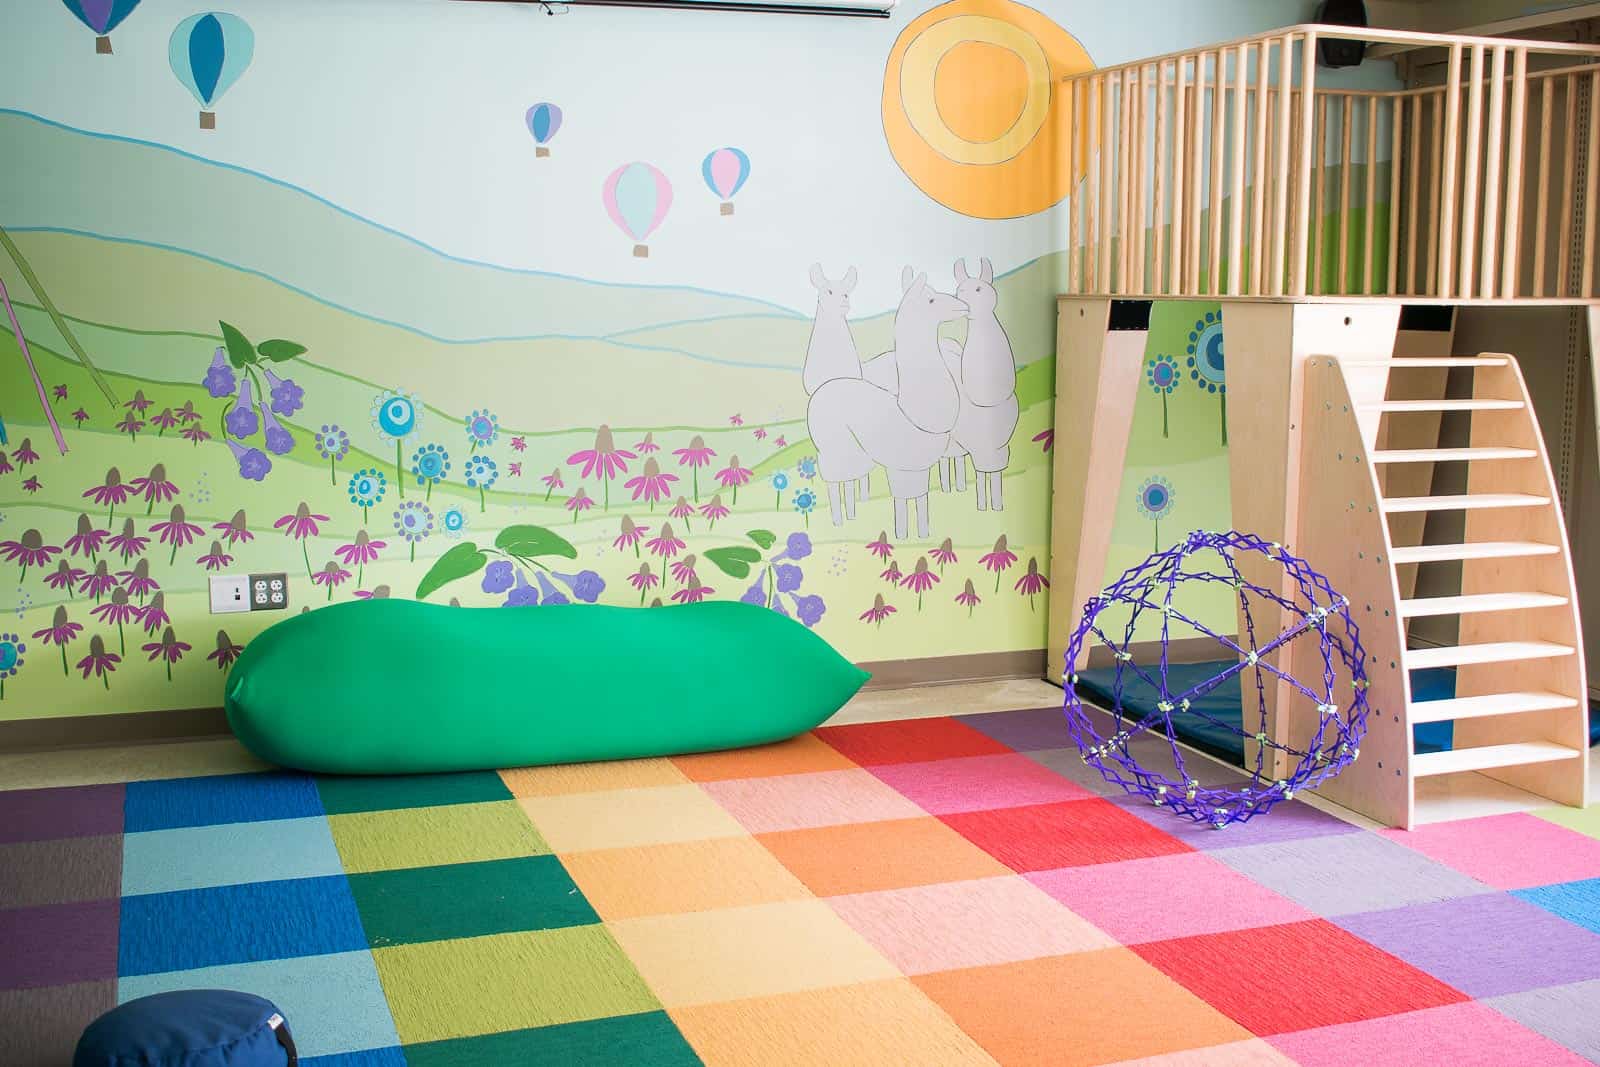
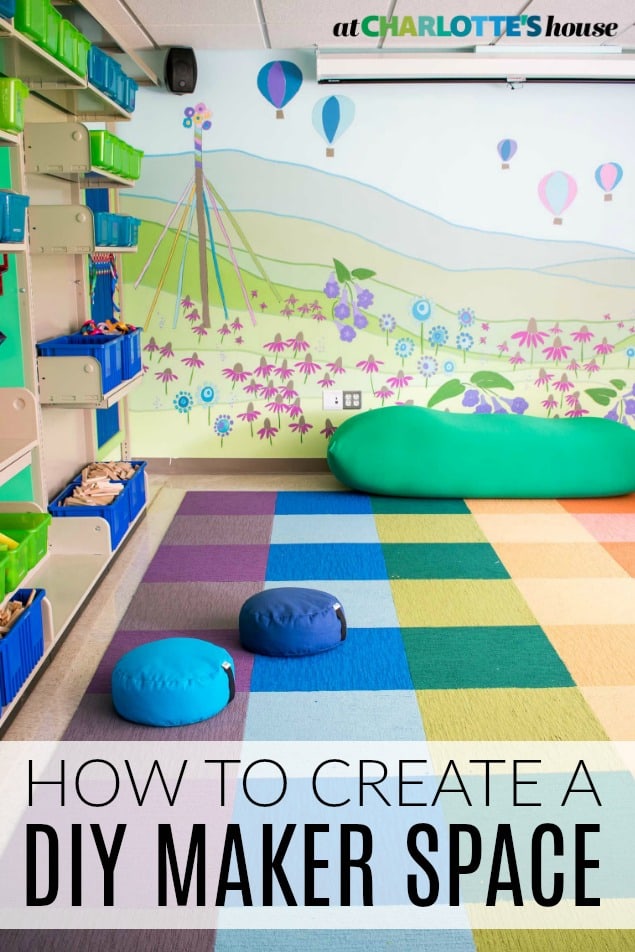
The idea of bringing in a mural seemed like an easy way to personalize the space. I’m not nearly as skilled with murals as I’d like, but I LOVE the work of Colleen Elizabeth Art so I started with her work as the inspiration for the backdrop. Then I layered in some native Virginia flowers and a few significant things from the school. I completed most of the mural back in the spring, but I left not loving where it was.
When I returned last week, I added more flowers and added a contrasting line along each layer of landscape. It’s not going to win any awards, but I love the color palate and it certainly has a playful informal feeling to it… perfect for a kids maker space!
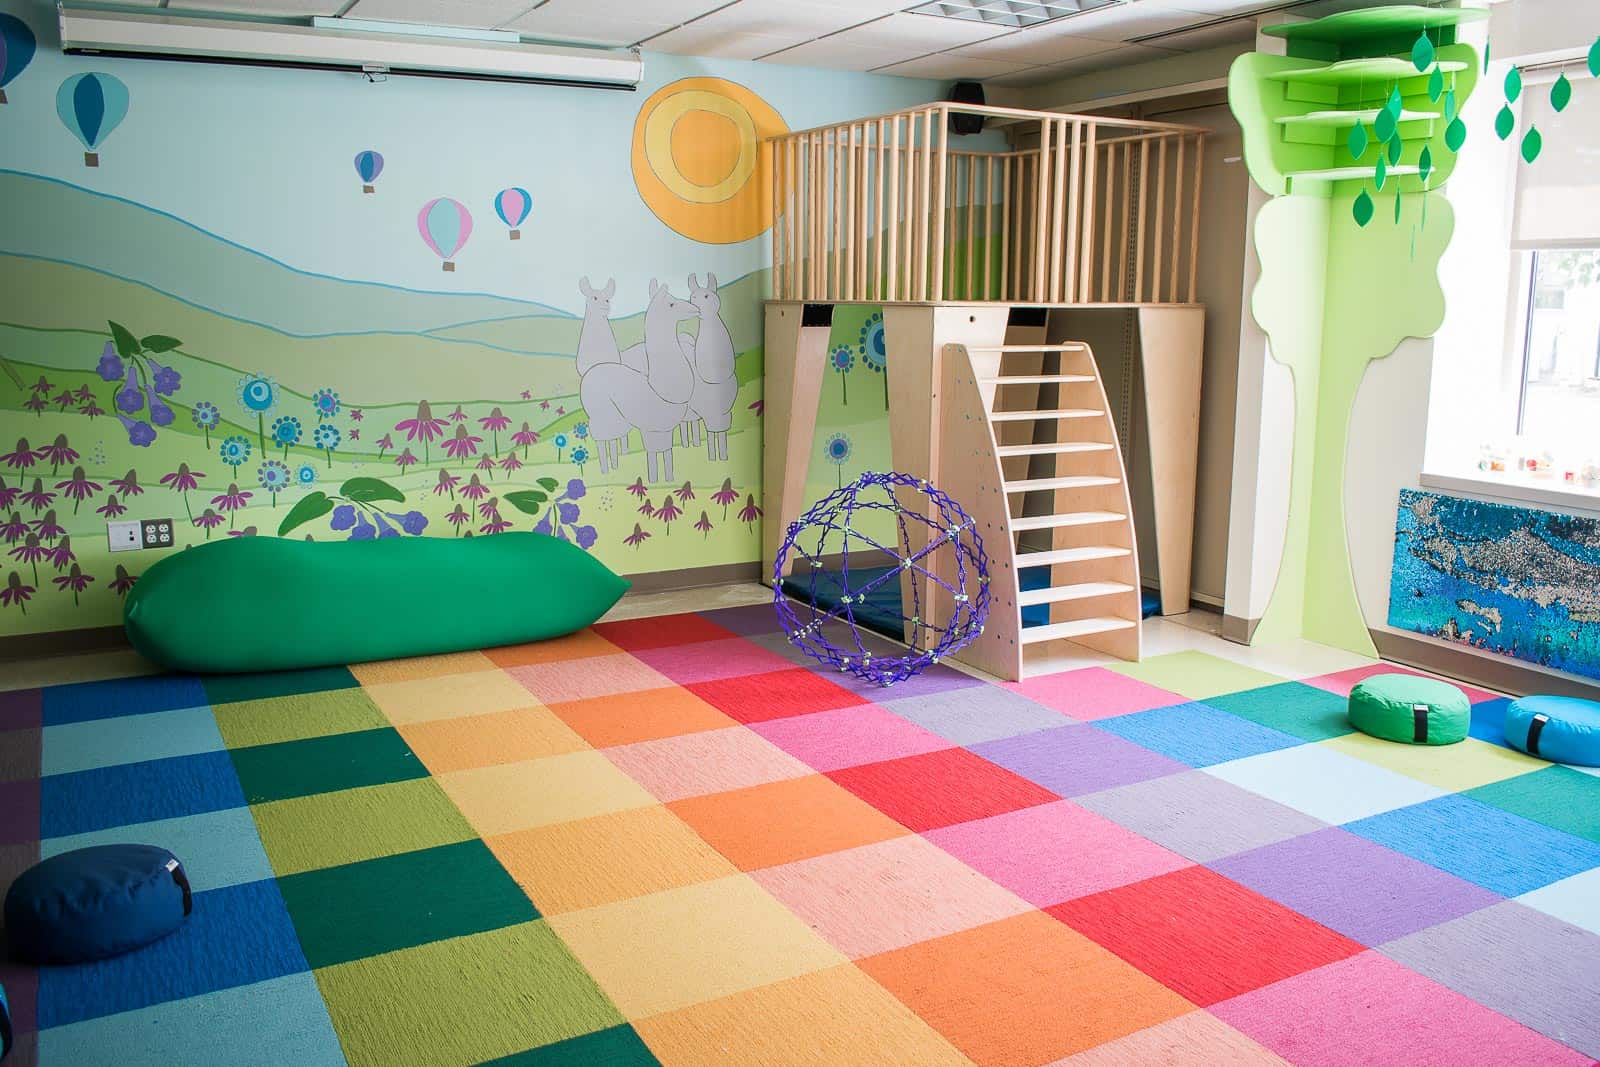
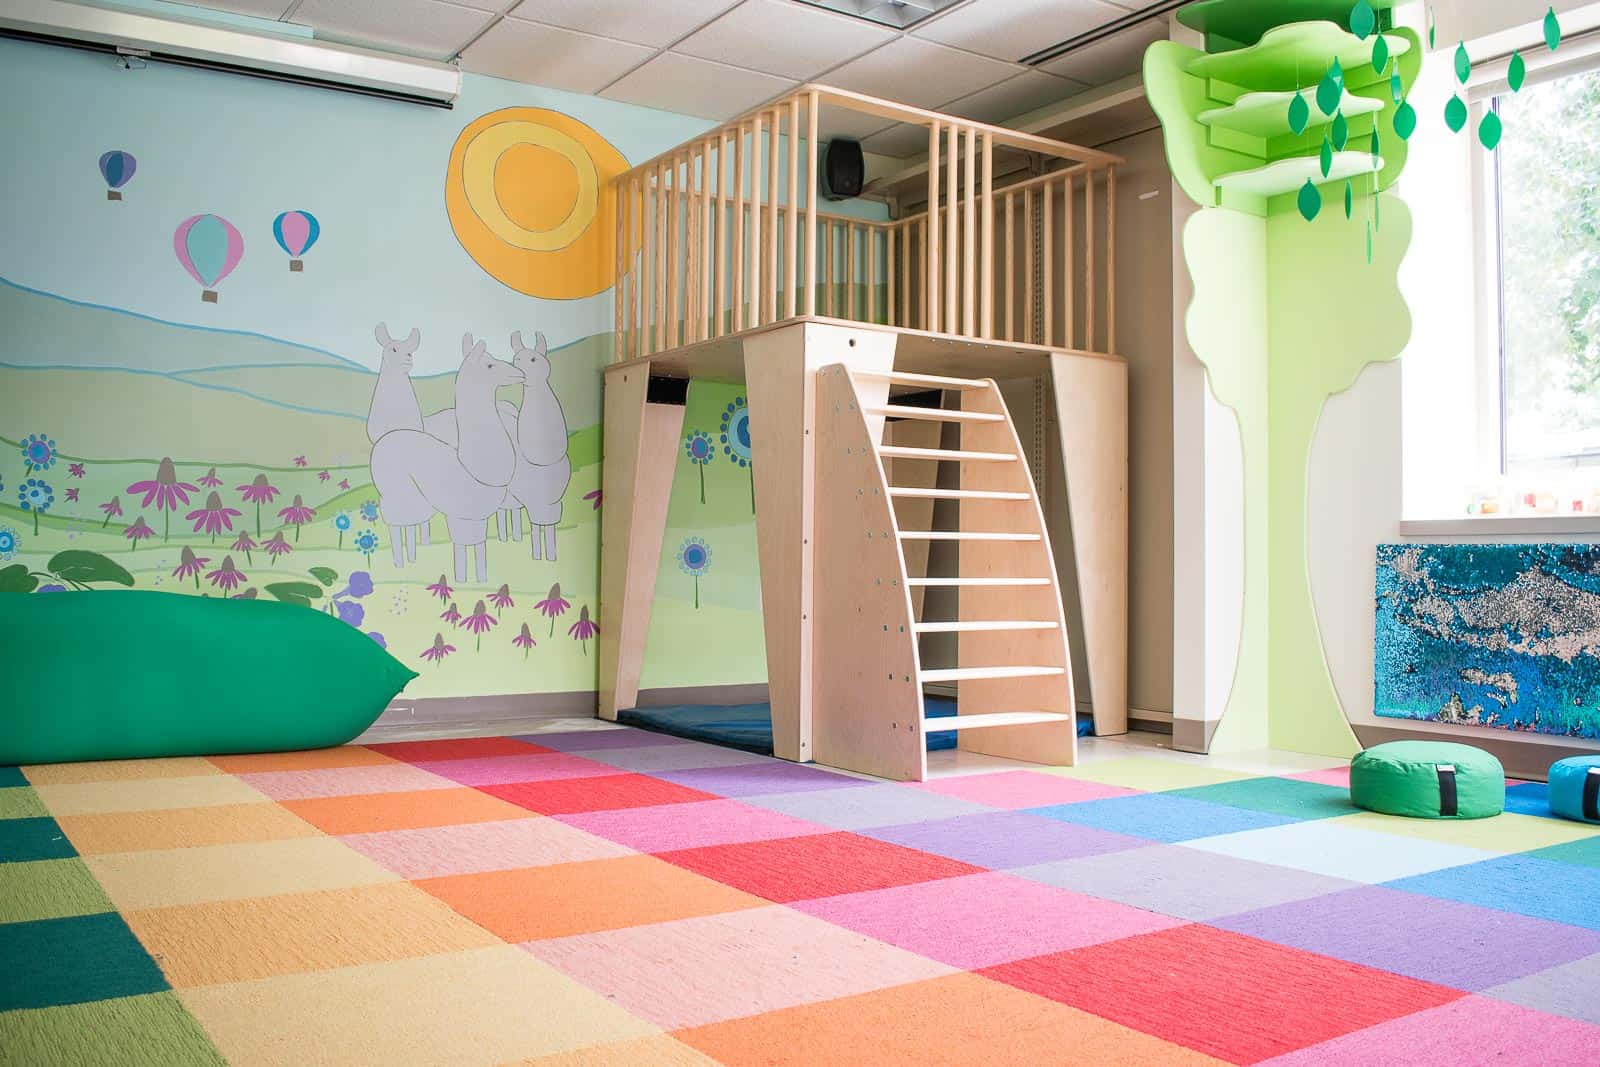
Let’s chat about the rest of the space! I was lucky that the school had a budget for this space so we agreed that a loft in one corner would be really fun for the kids. My friend wanted to create as many little reading nooks and crannies as possible without giving up too much space since they do use the room for grade level gatherings on occasion.
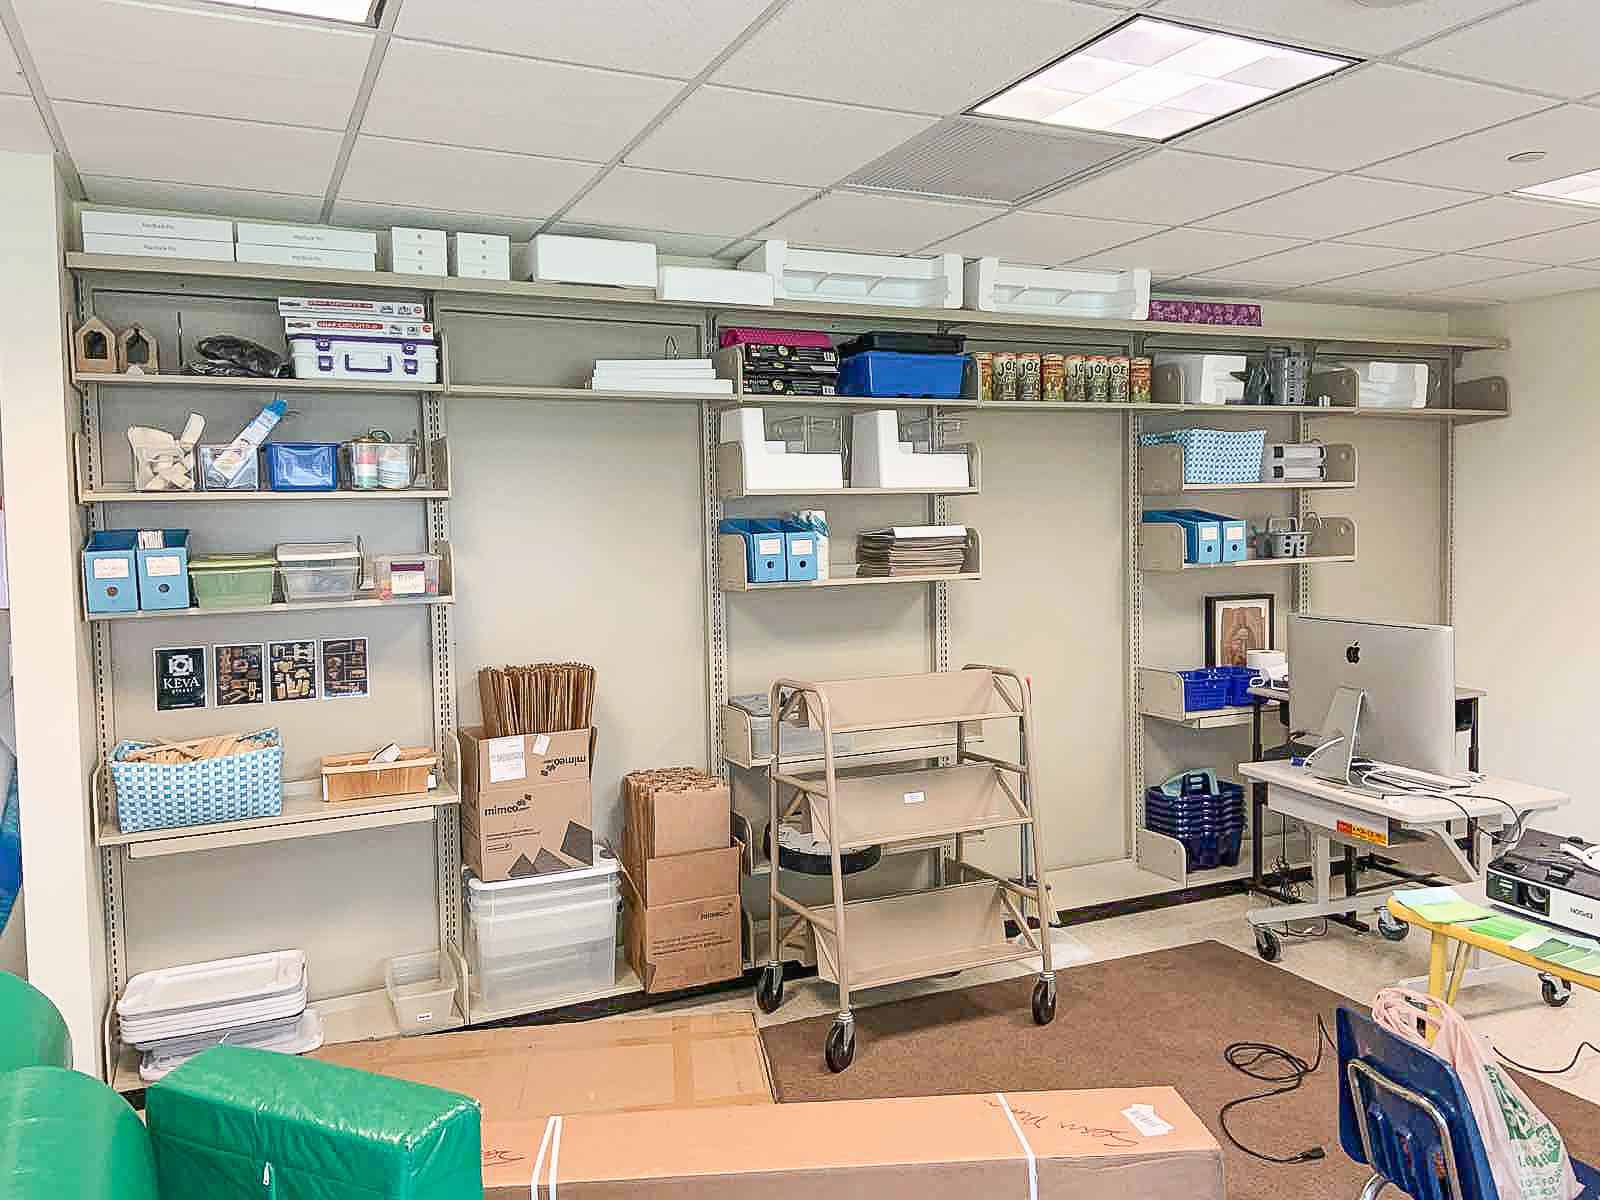
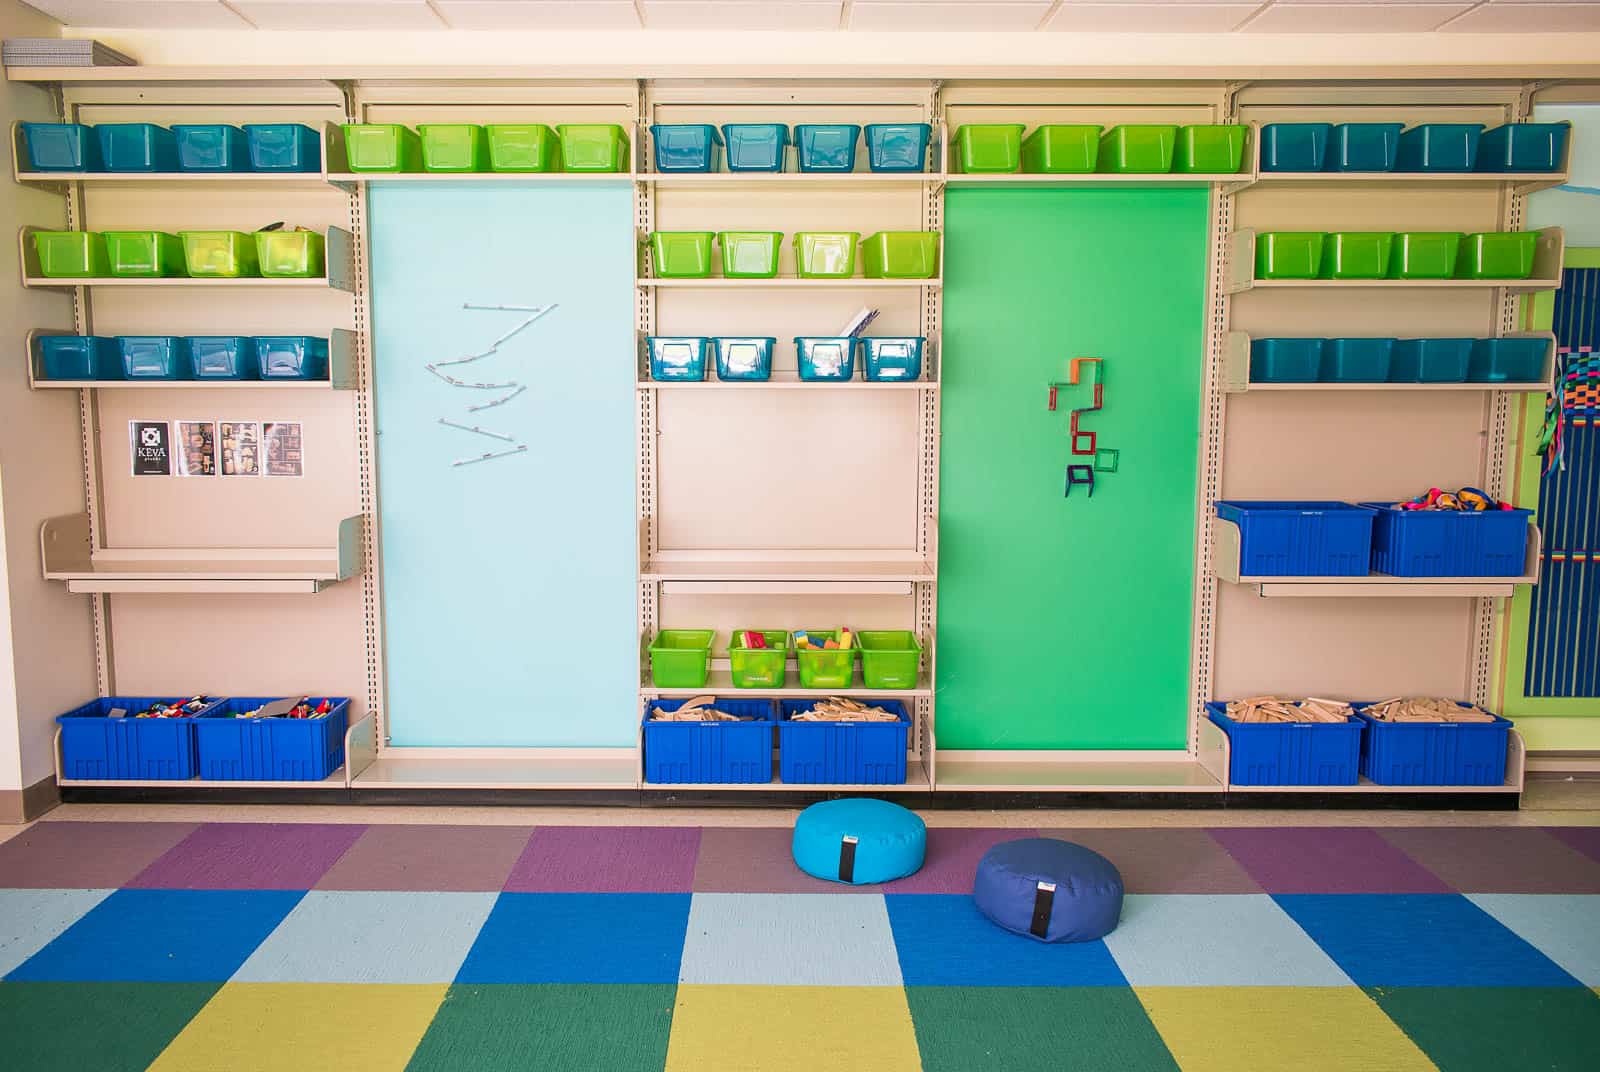
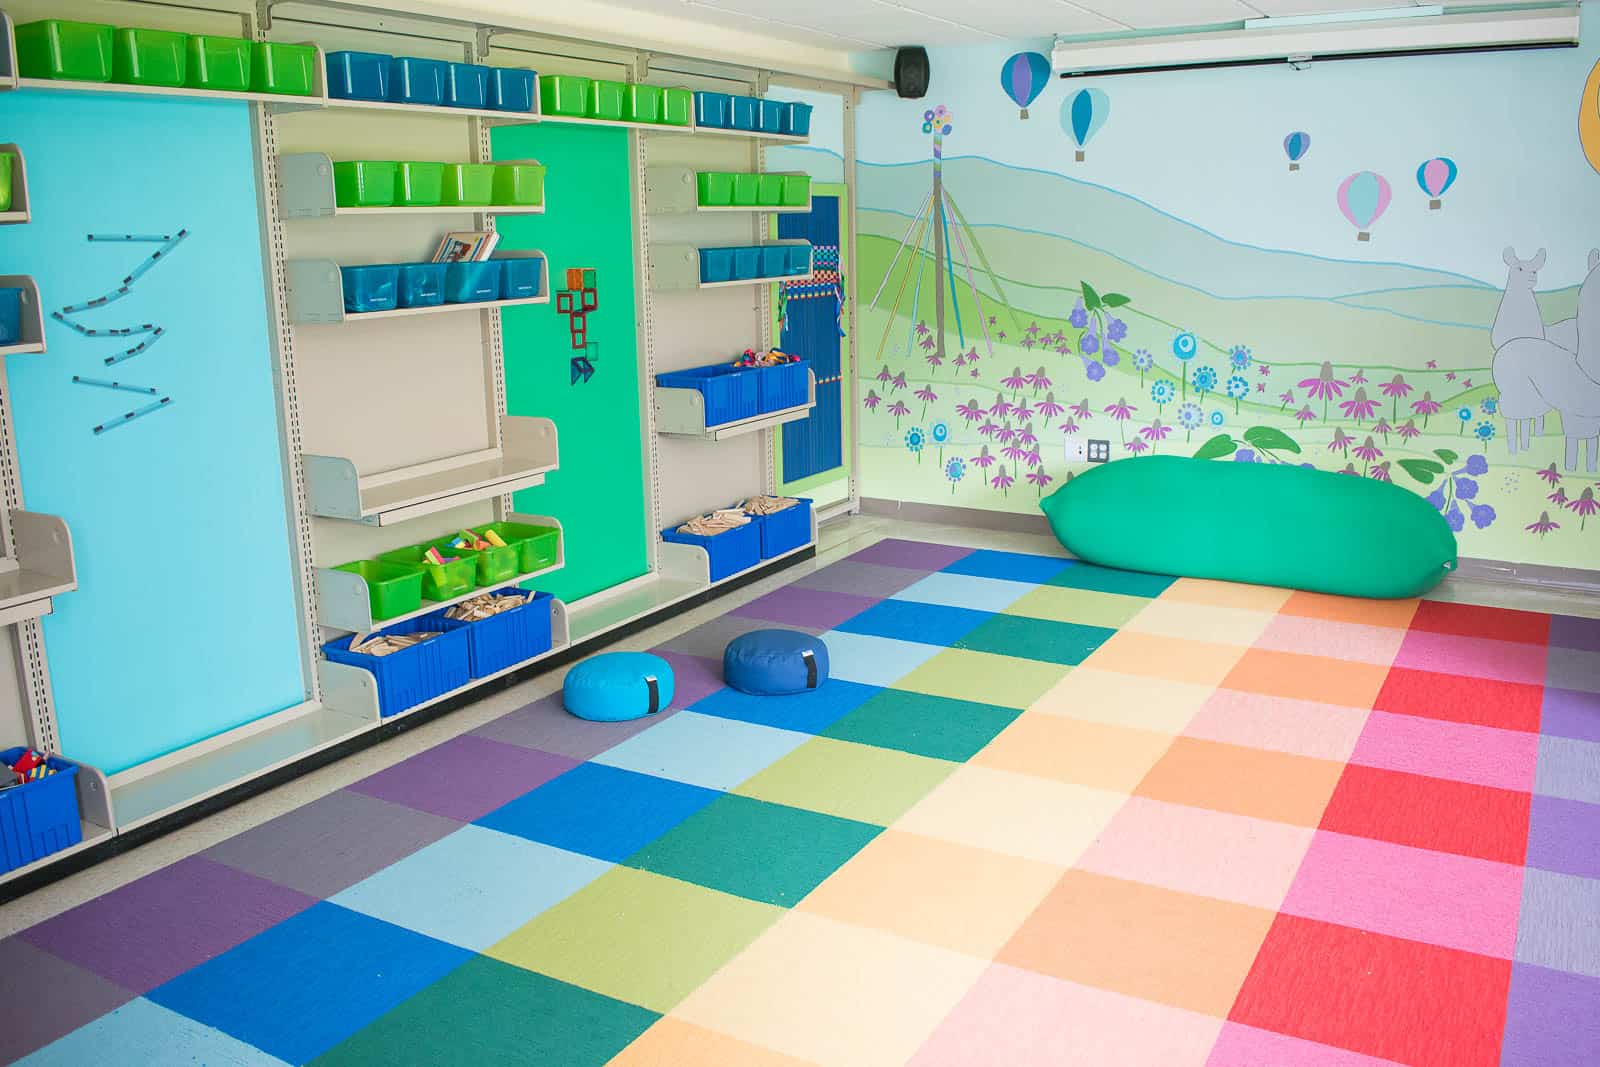
In order to make as many fun exploration spaces for the kids, I decided to use the vertical space as much as possible. I brainstormed lots of activities and materials that could be fun if mounted on the wall. We also had a wall of old metal shelves… There wasn’t any real way to change the color, but adding some colorful bins and contact paper did wonders!
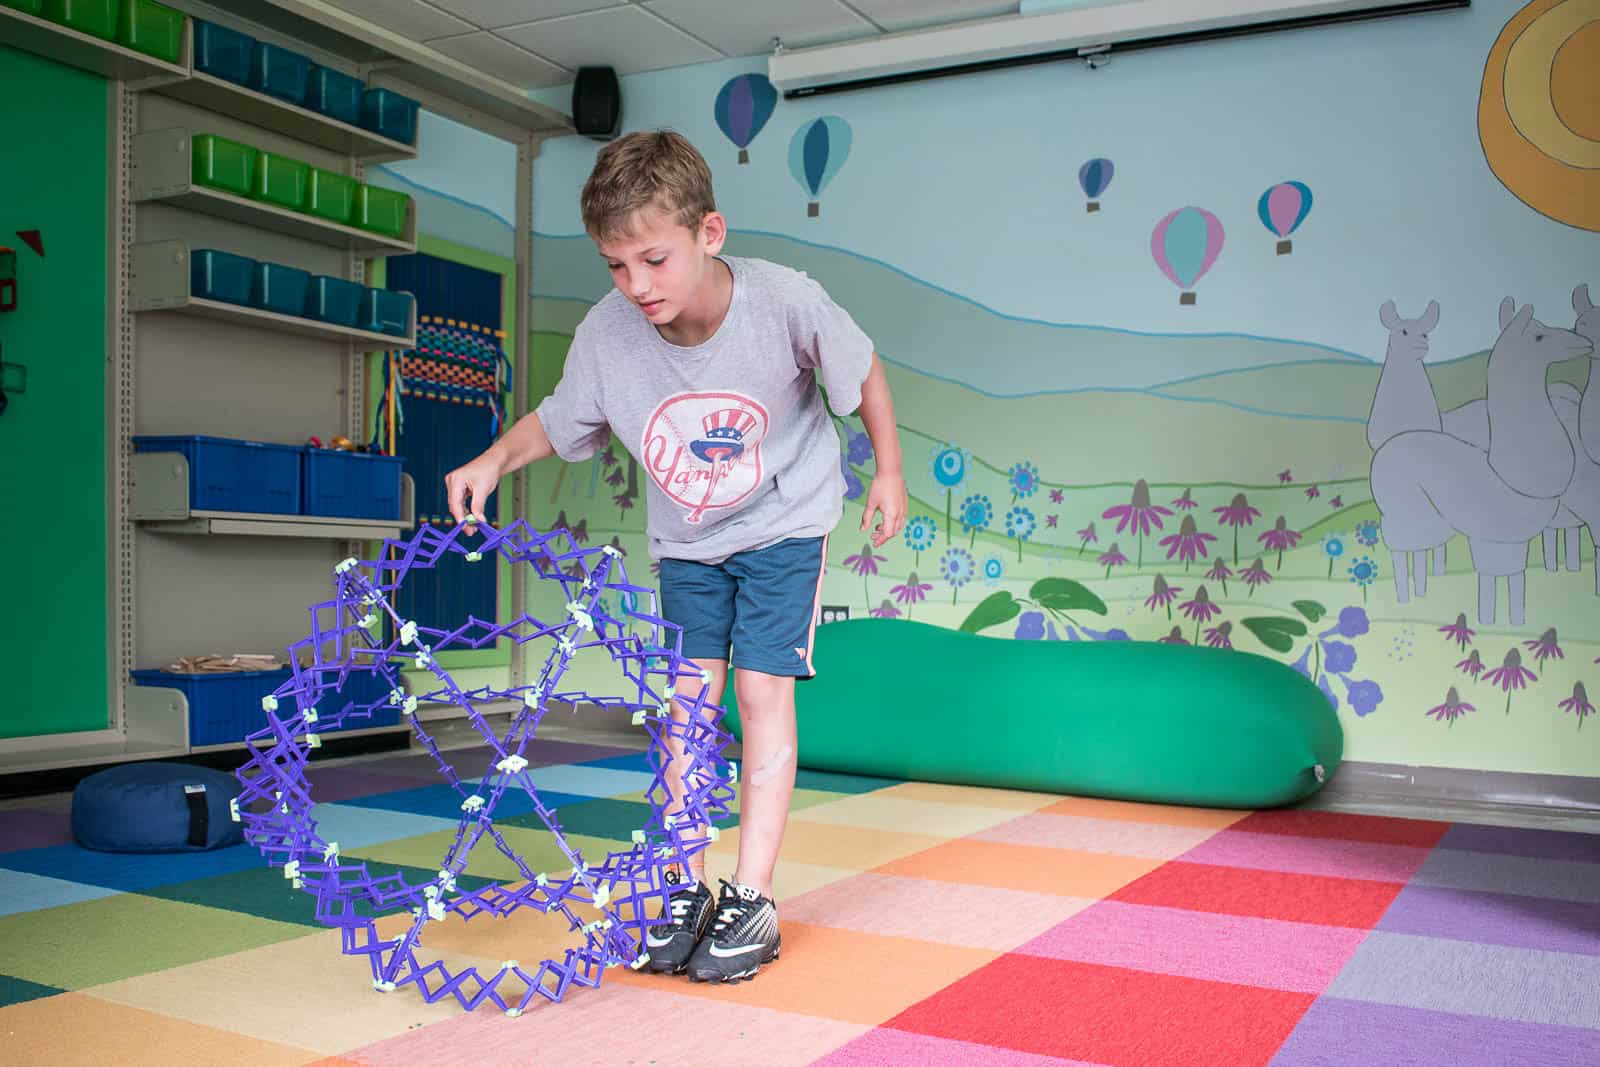
And then the creme de la creme is the carpet. I’ve used FLOR tiles before and they are amazingly fun and simple to work with. Best part for this project was that I could play around with dozens of colors! I opted for a tone on tone rainbow stripe and I’m THRILLED with how much pizzaz it brings to the space! (See materials list at the end of the post for a full break down of the colors I chose… there were a lot.)
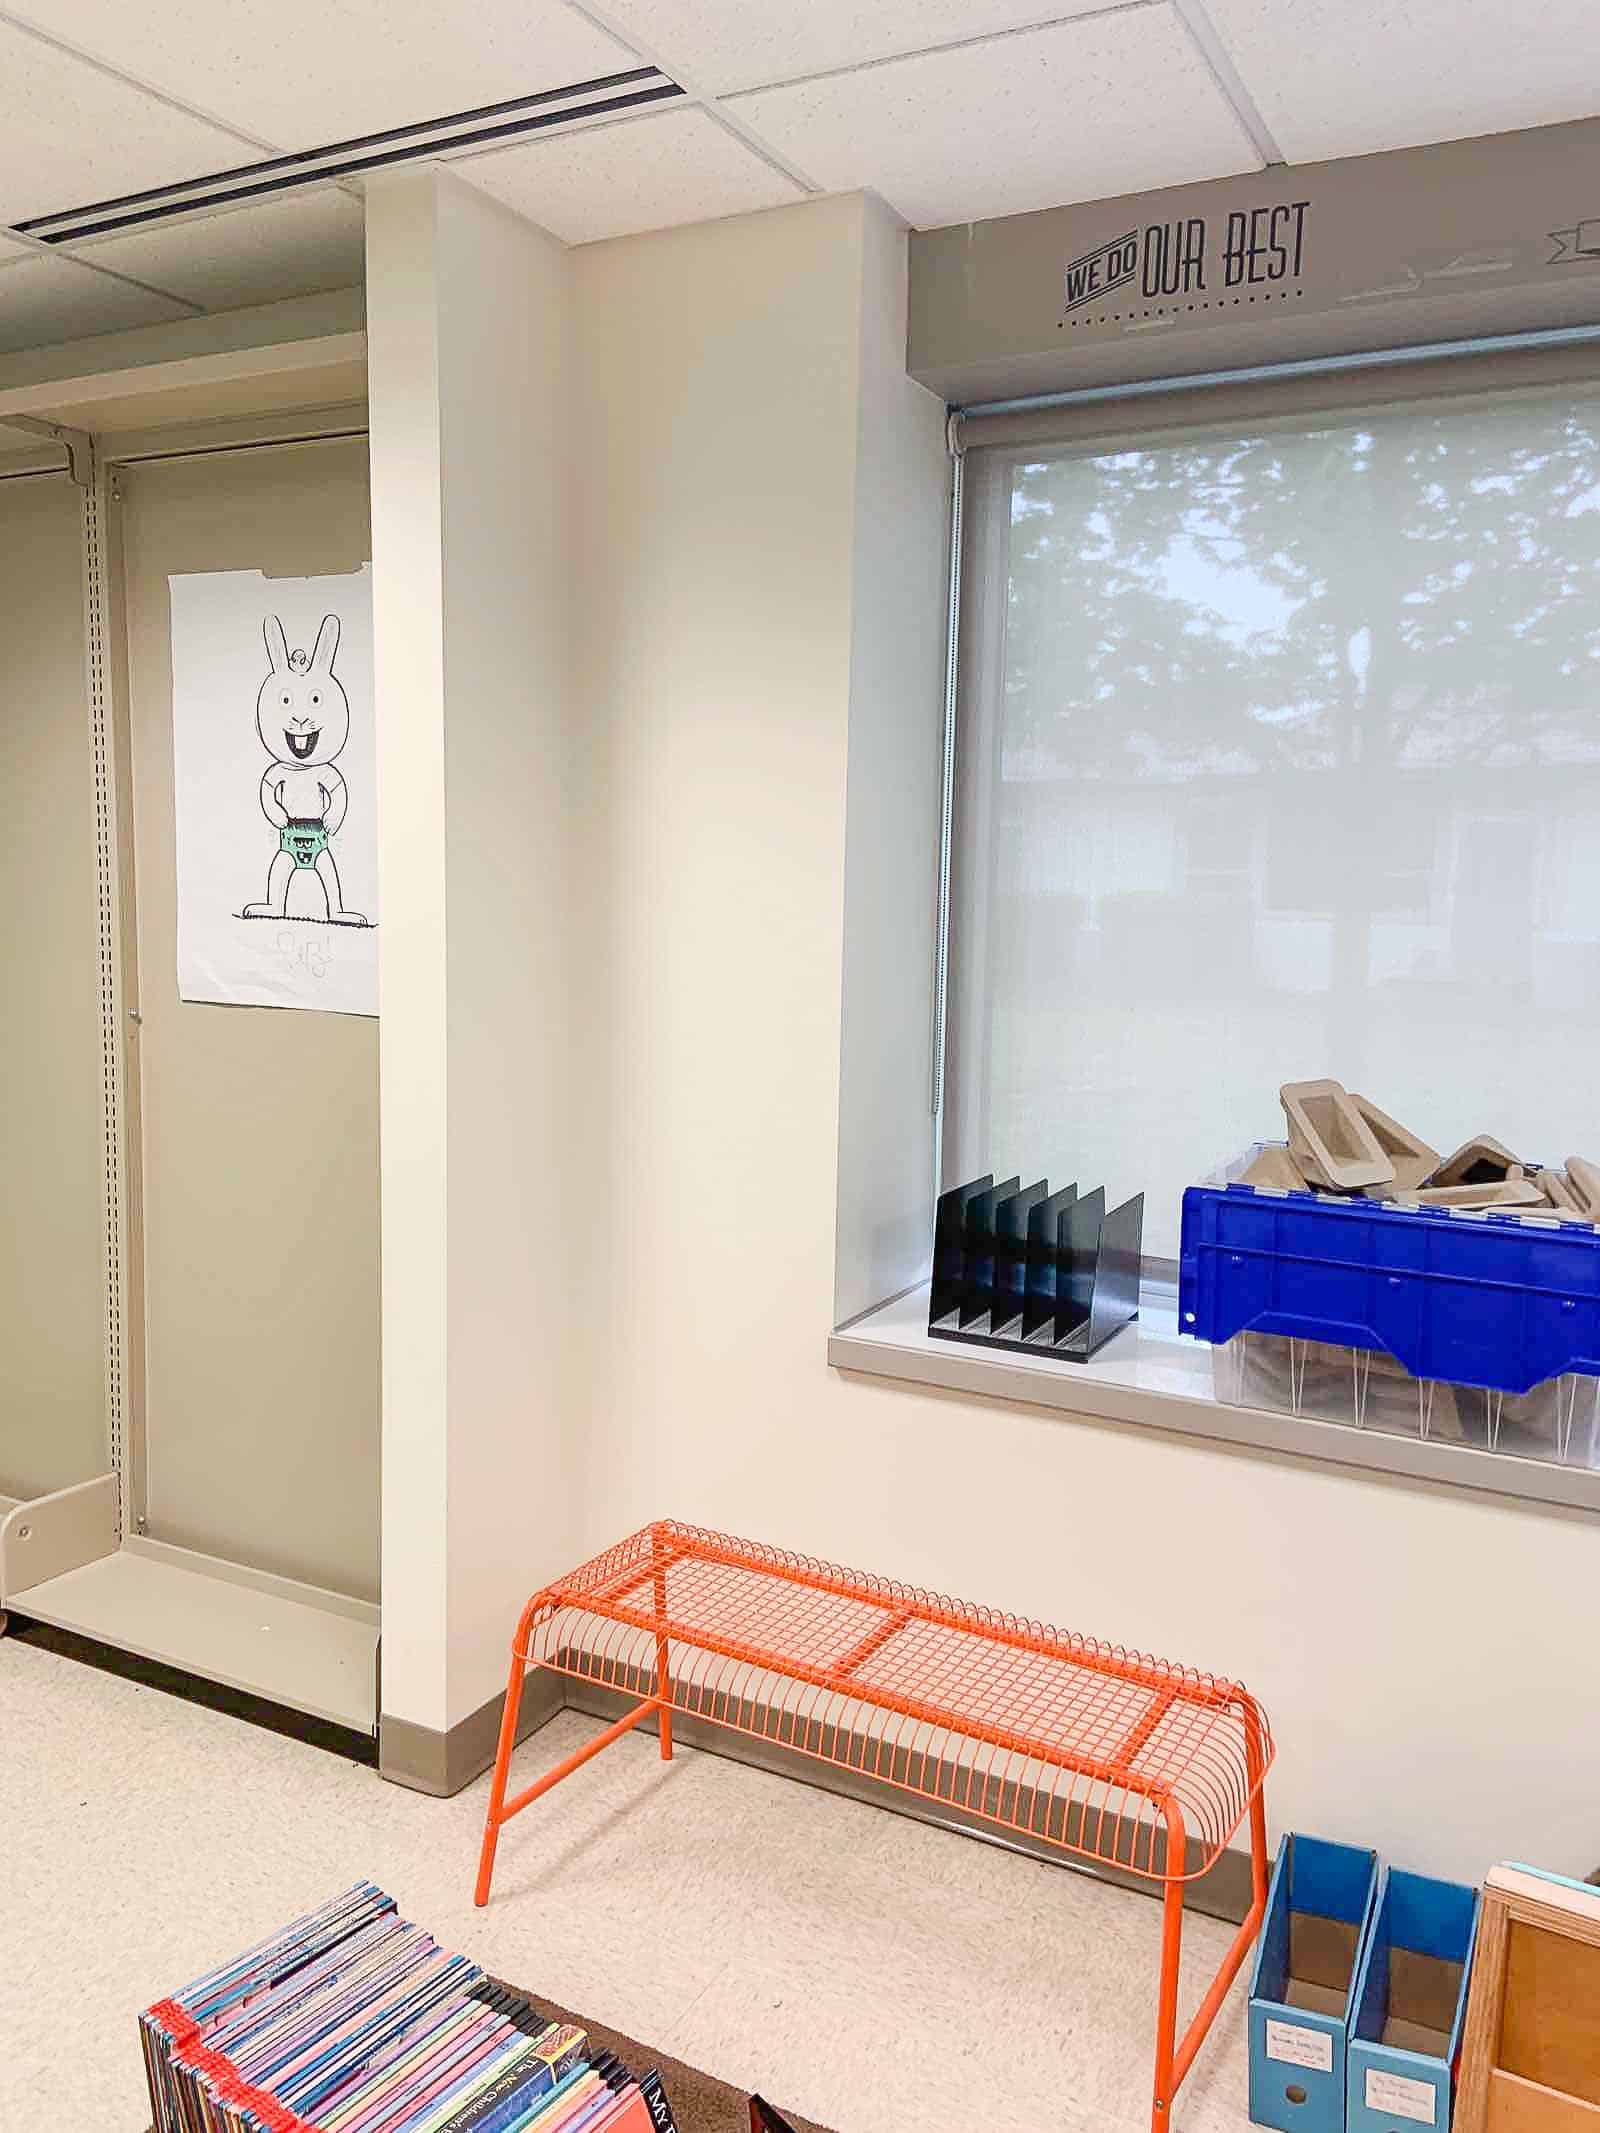
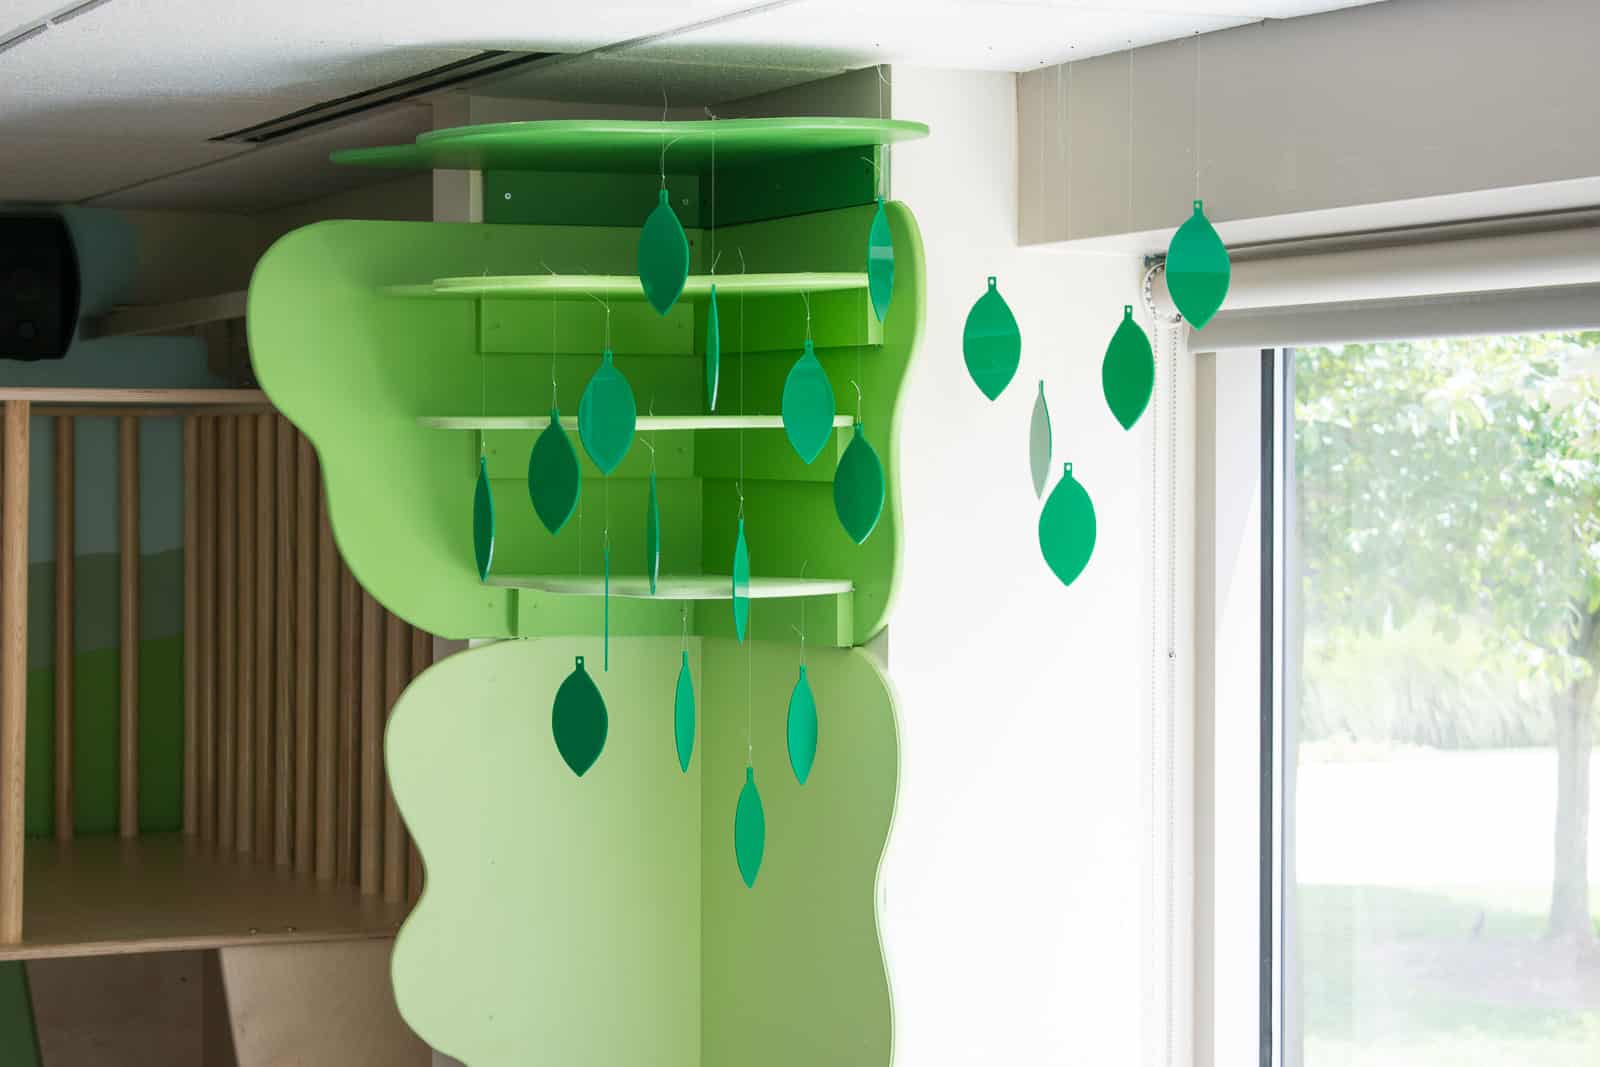
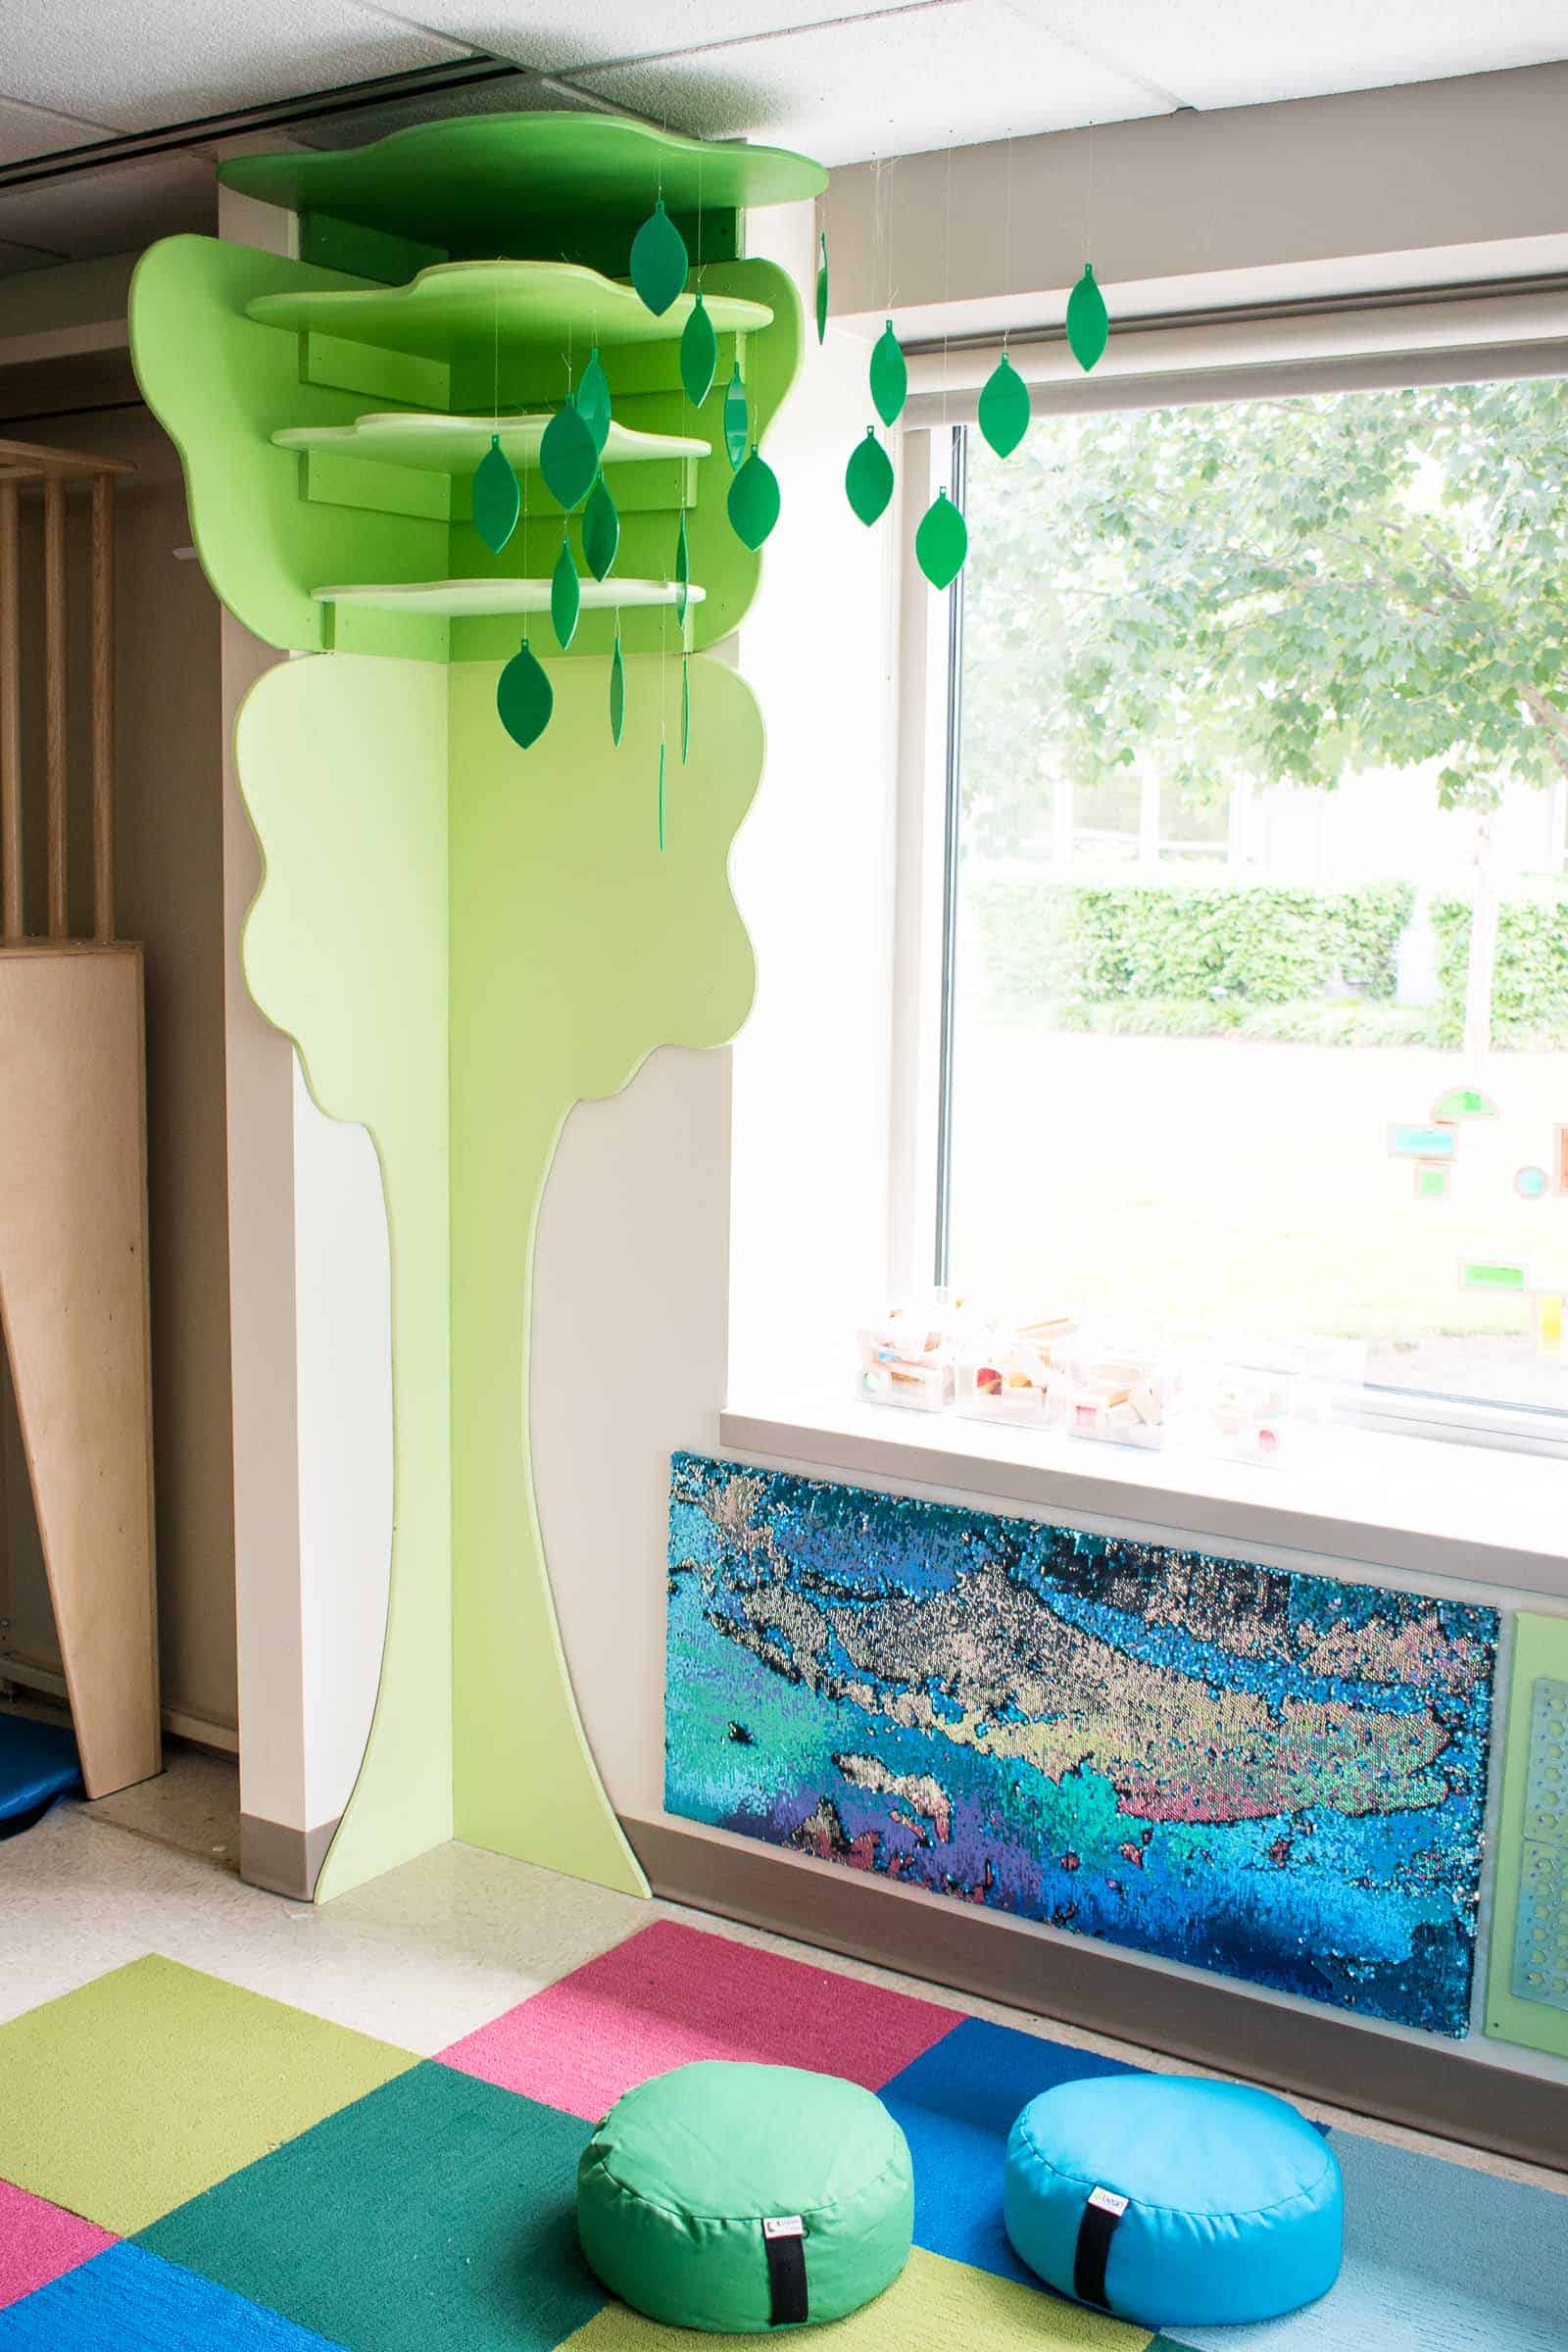
As I was leaving the space in March, my friend suggested a tree or something that might be a little more free-flowing in an otherwise standard classroom space. There was one little corner that seemed like it could work, and after some conferring with friends (thanks, Keith!) and perusing Pinterest, I came up with the idea for this tree. My *original* idea involved fanning the tree truck out from the corner, but I wasn’t sure I could figure out the precision and structure needed for this to be sturdy… the finished product couldn’t have been easier to install and only required my jigsaw, a router and some paint! Icing on the cake? My friend Rebecca cut some fun acrylic leaves on her glow forge… thank you!
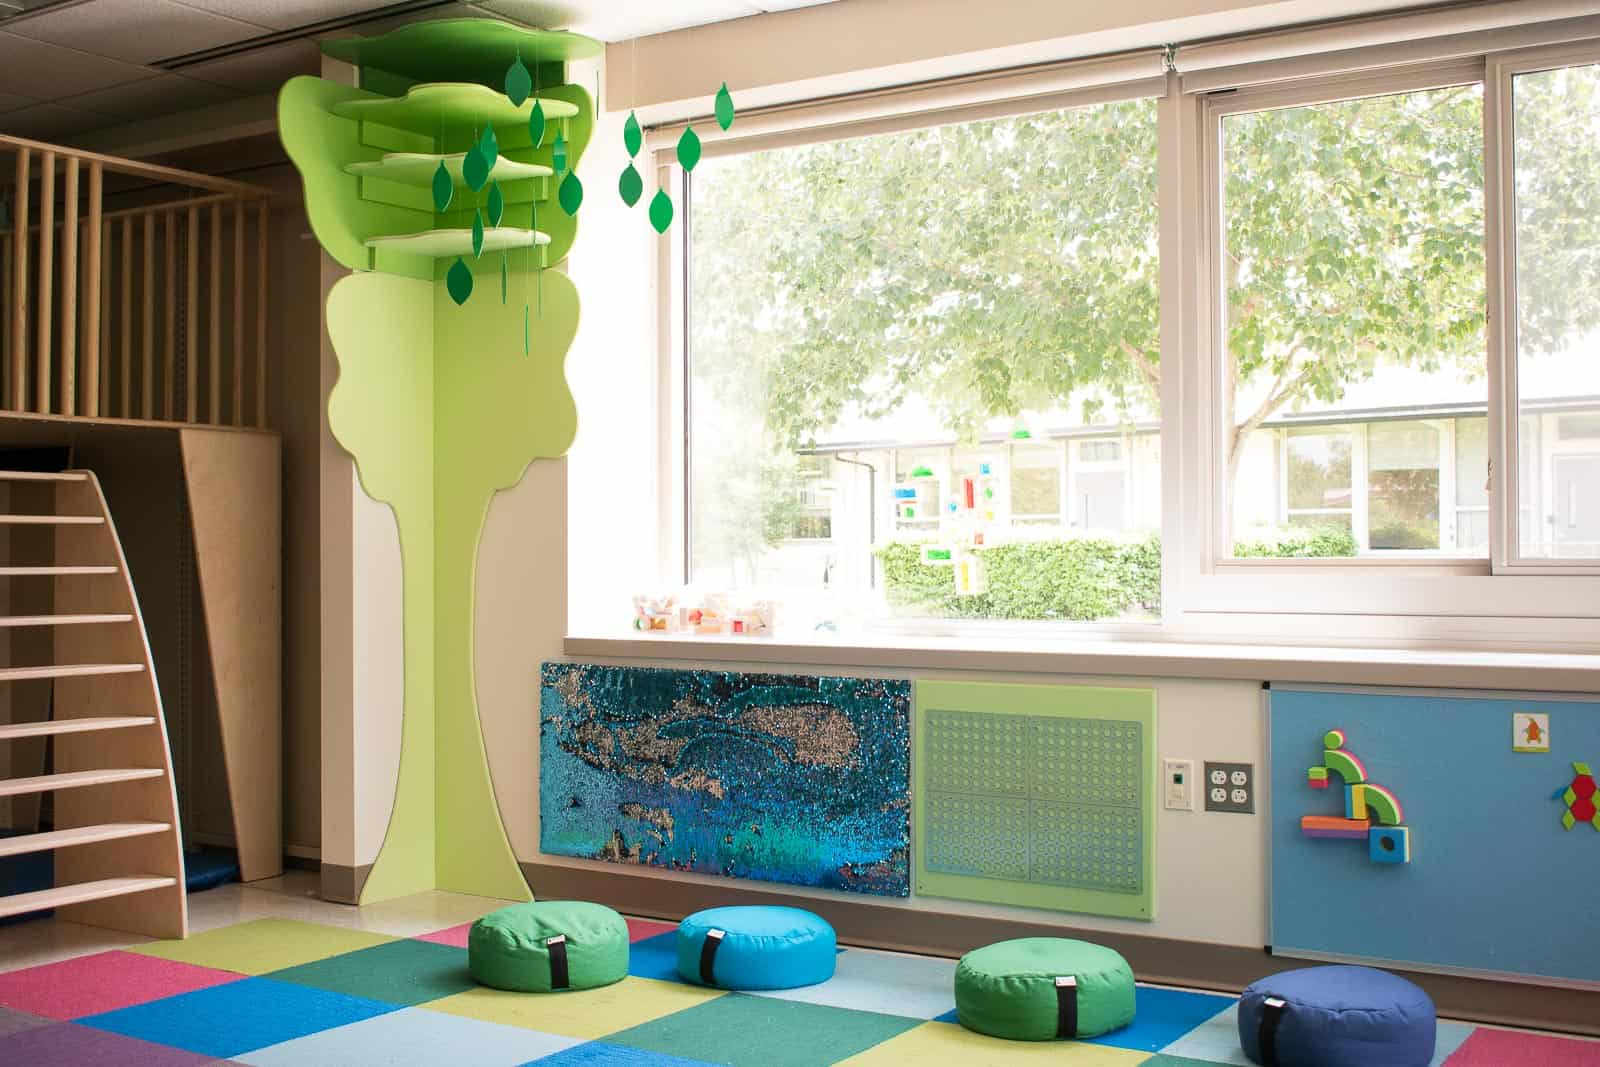
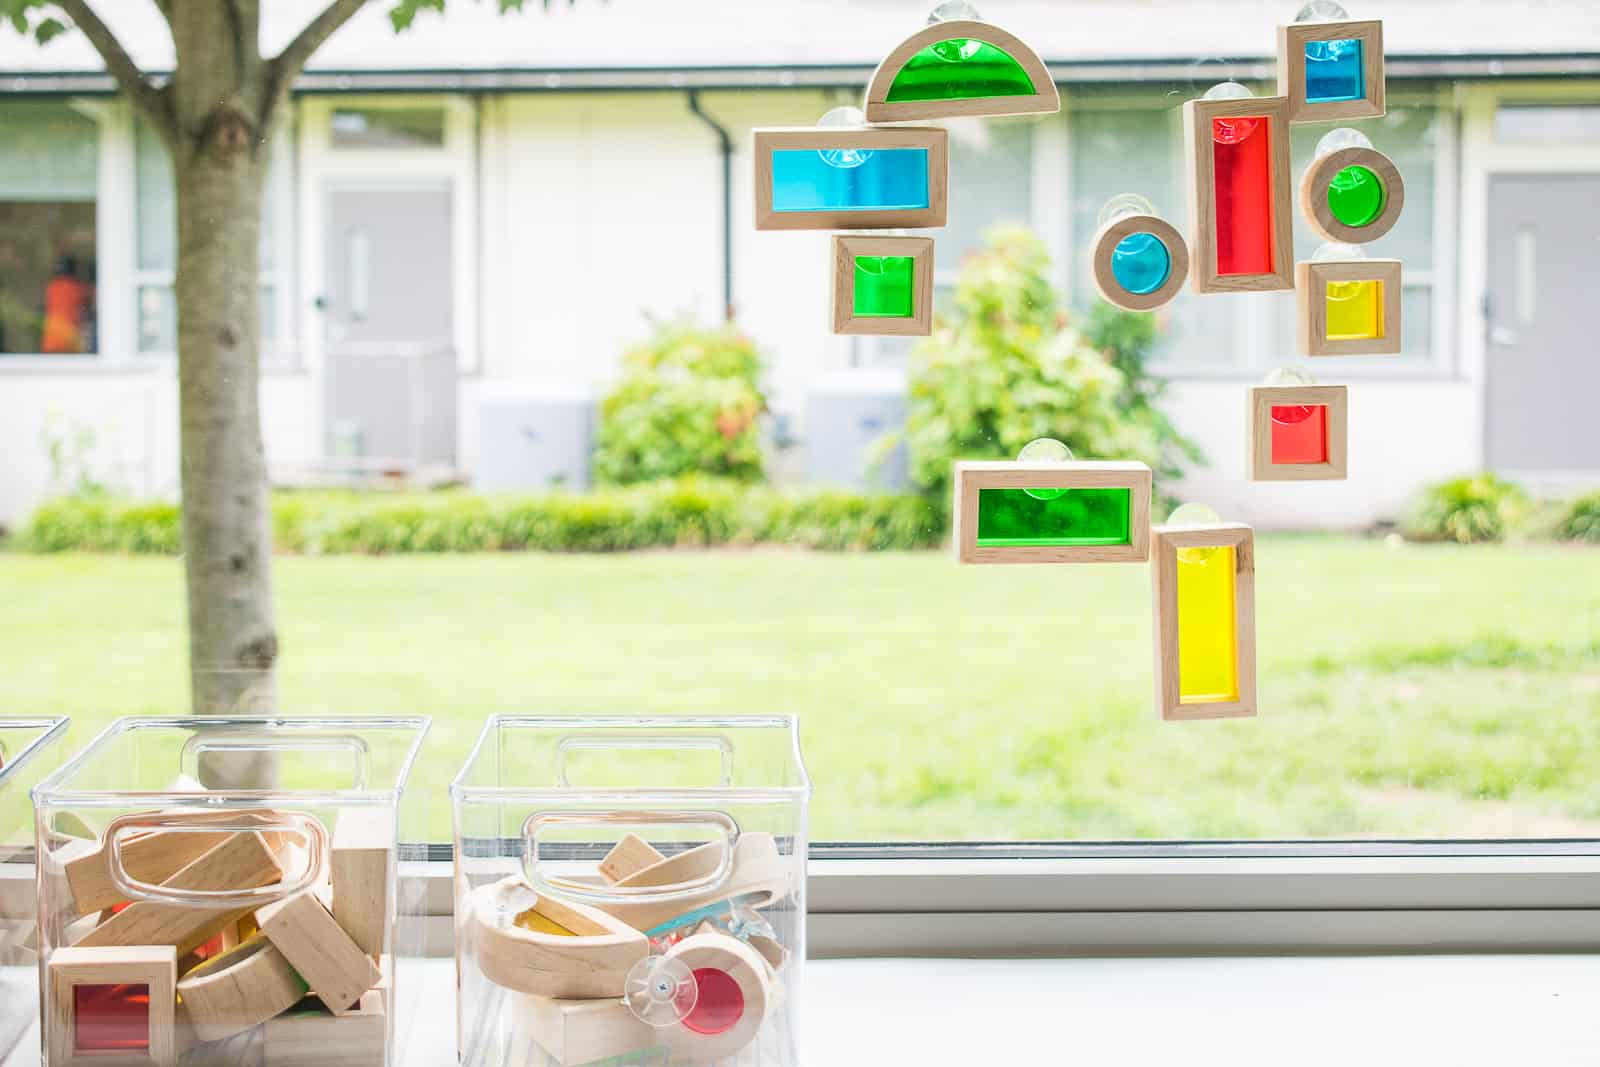
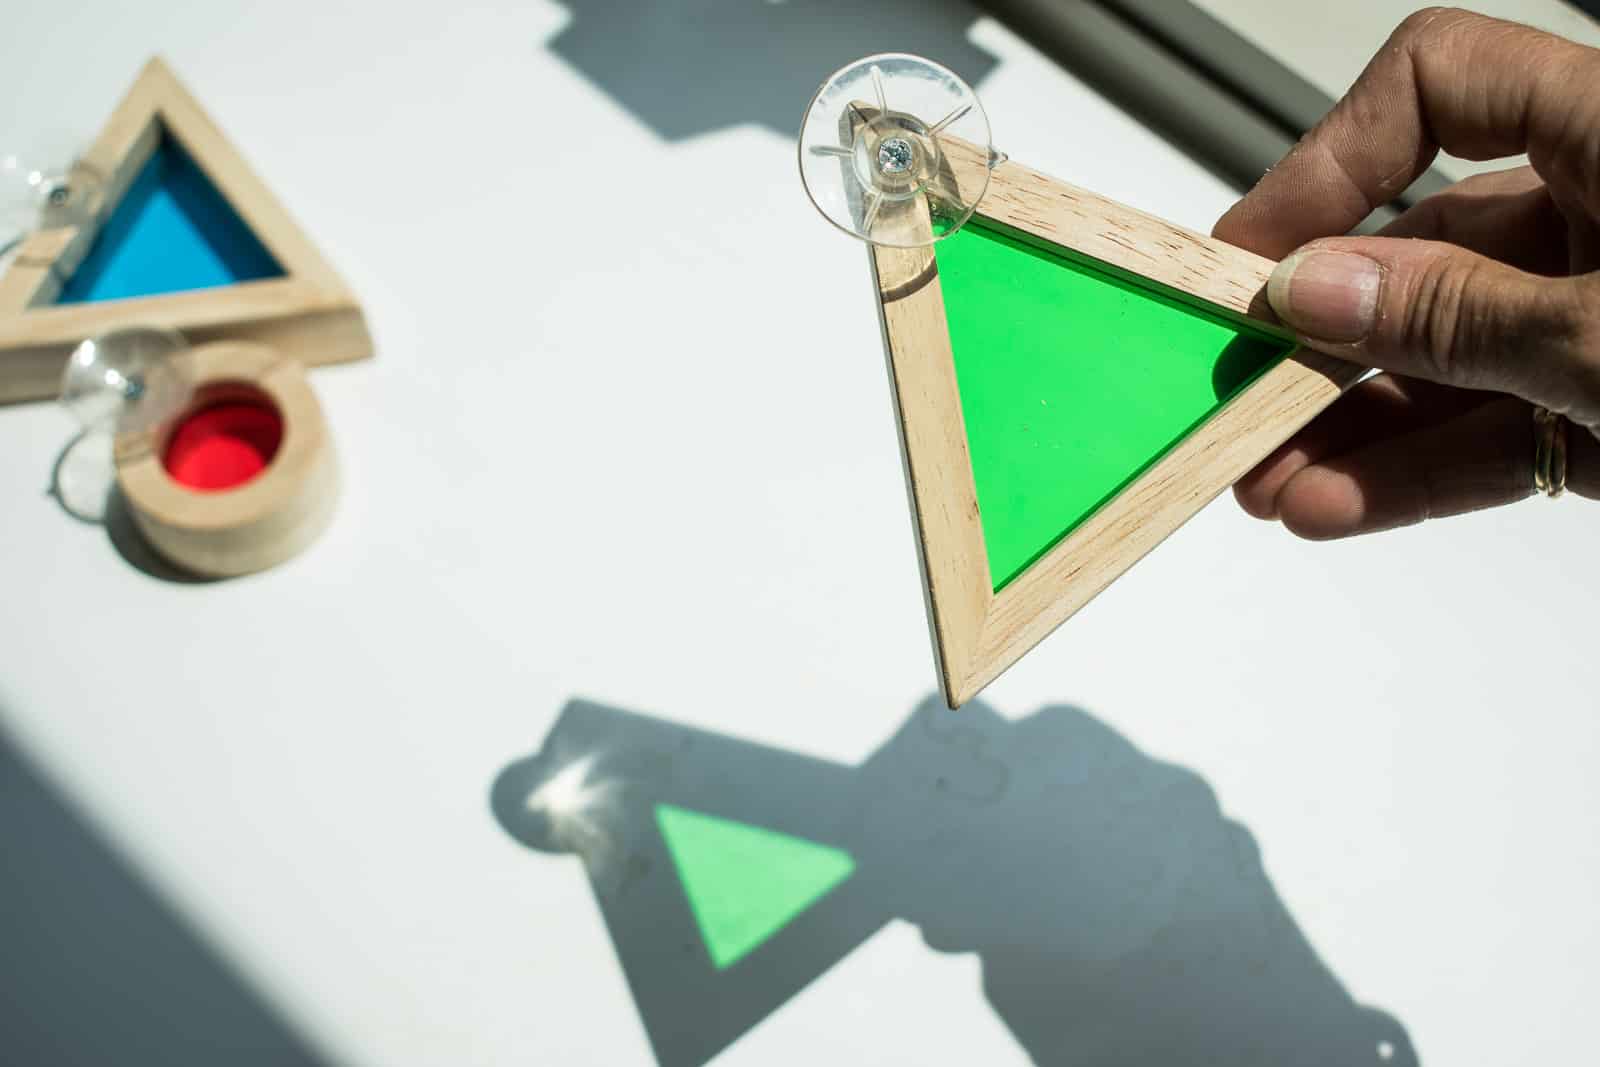
The big bright windows were hard not to take advantage of. I suggested entirely covering each window with transparent colored vinyl but we were a little worried about how it would play with the light in the room. I settled on these lovely wooden acrylic blocks and added suction cups to 1/3 of them so kids would have the option of sticking them on the glass to see how the colors play and mix together.
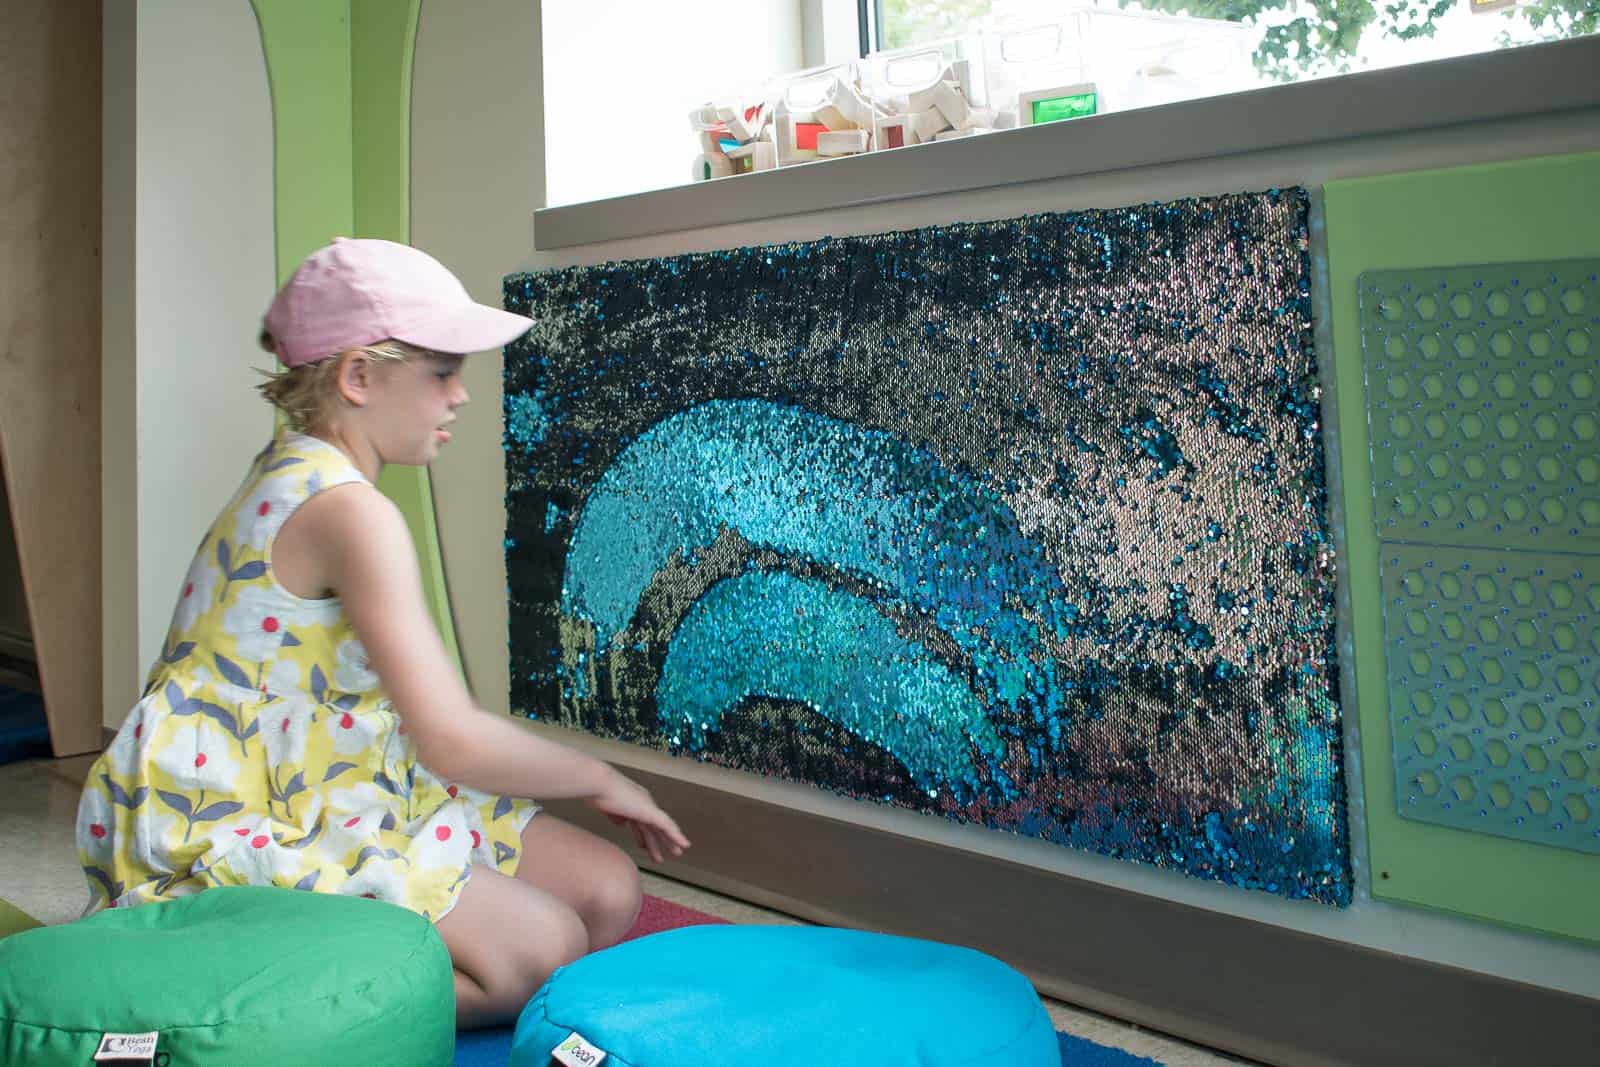
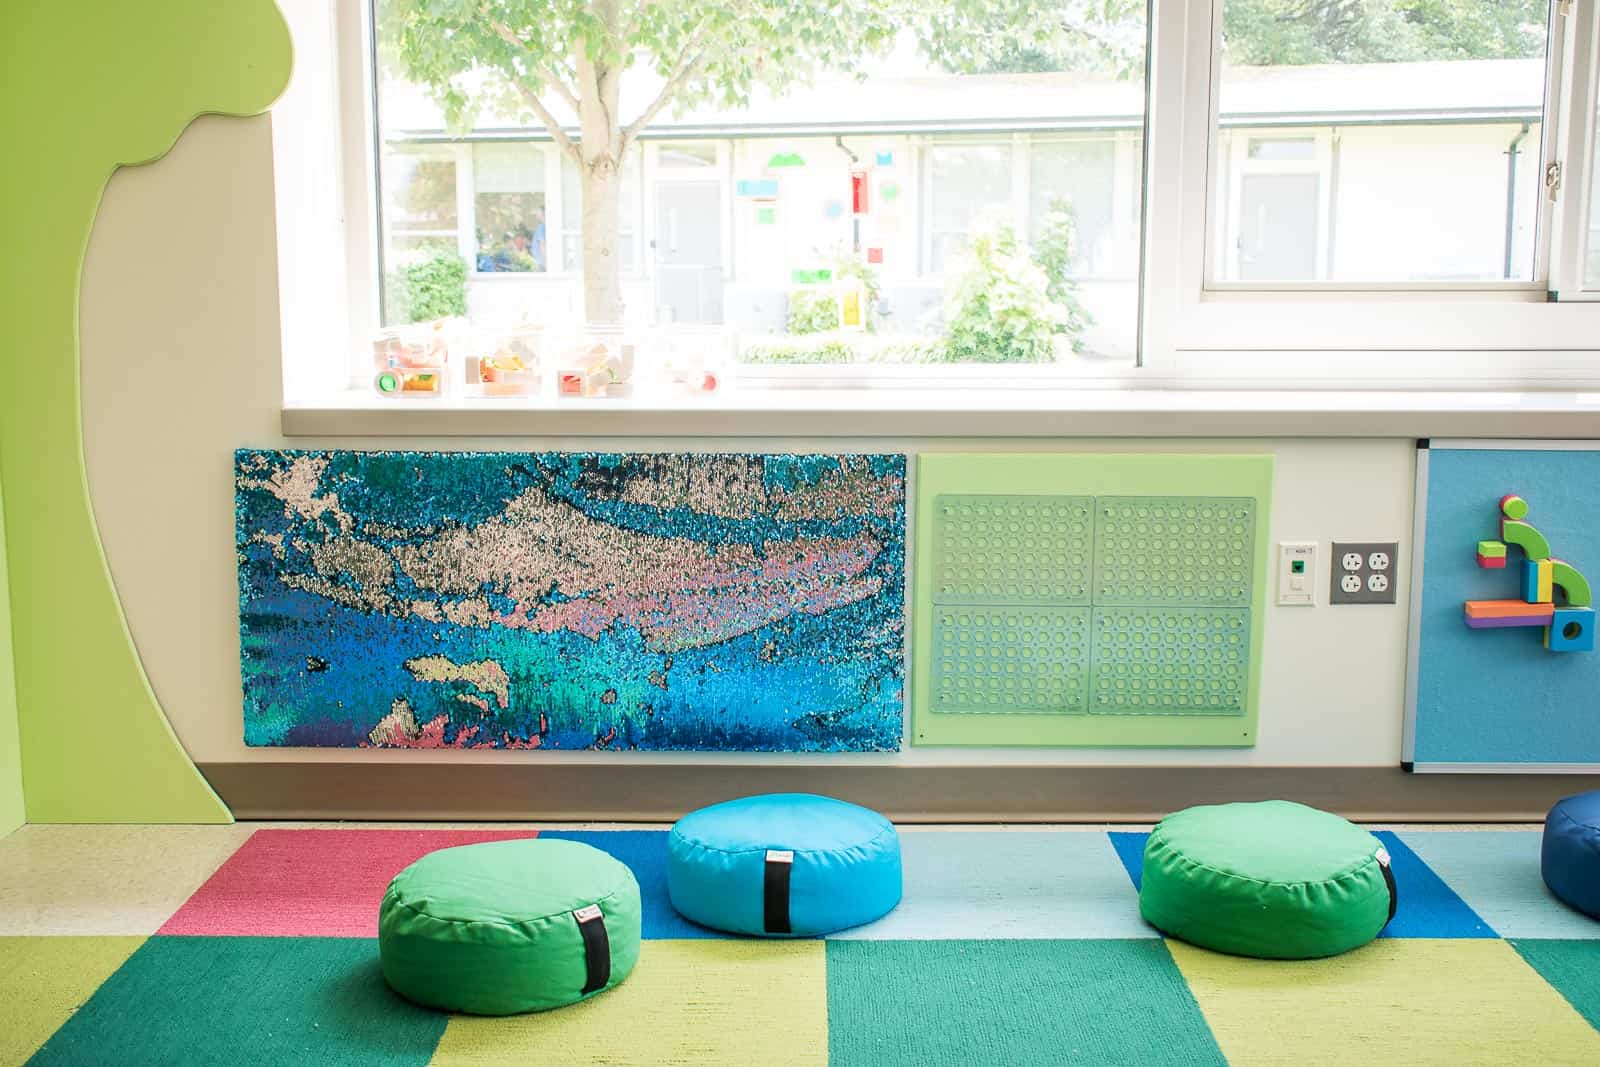
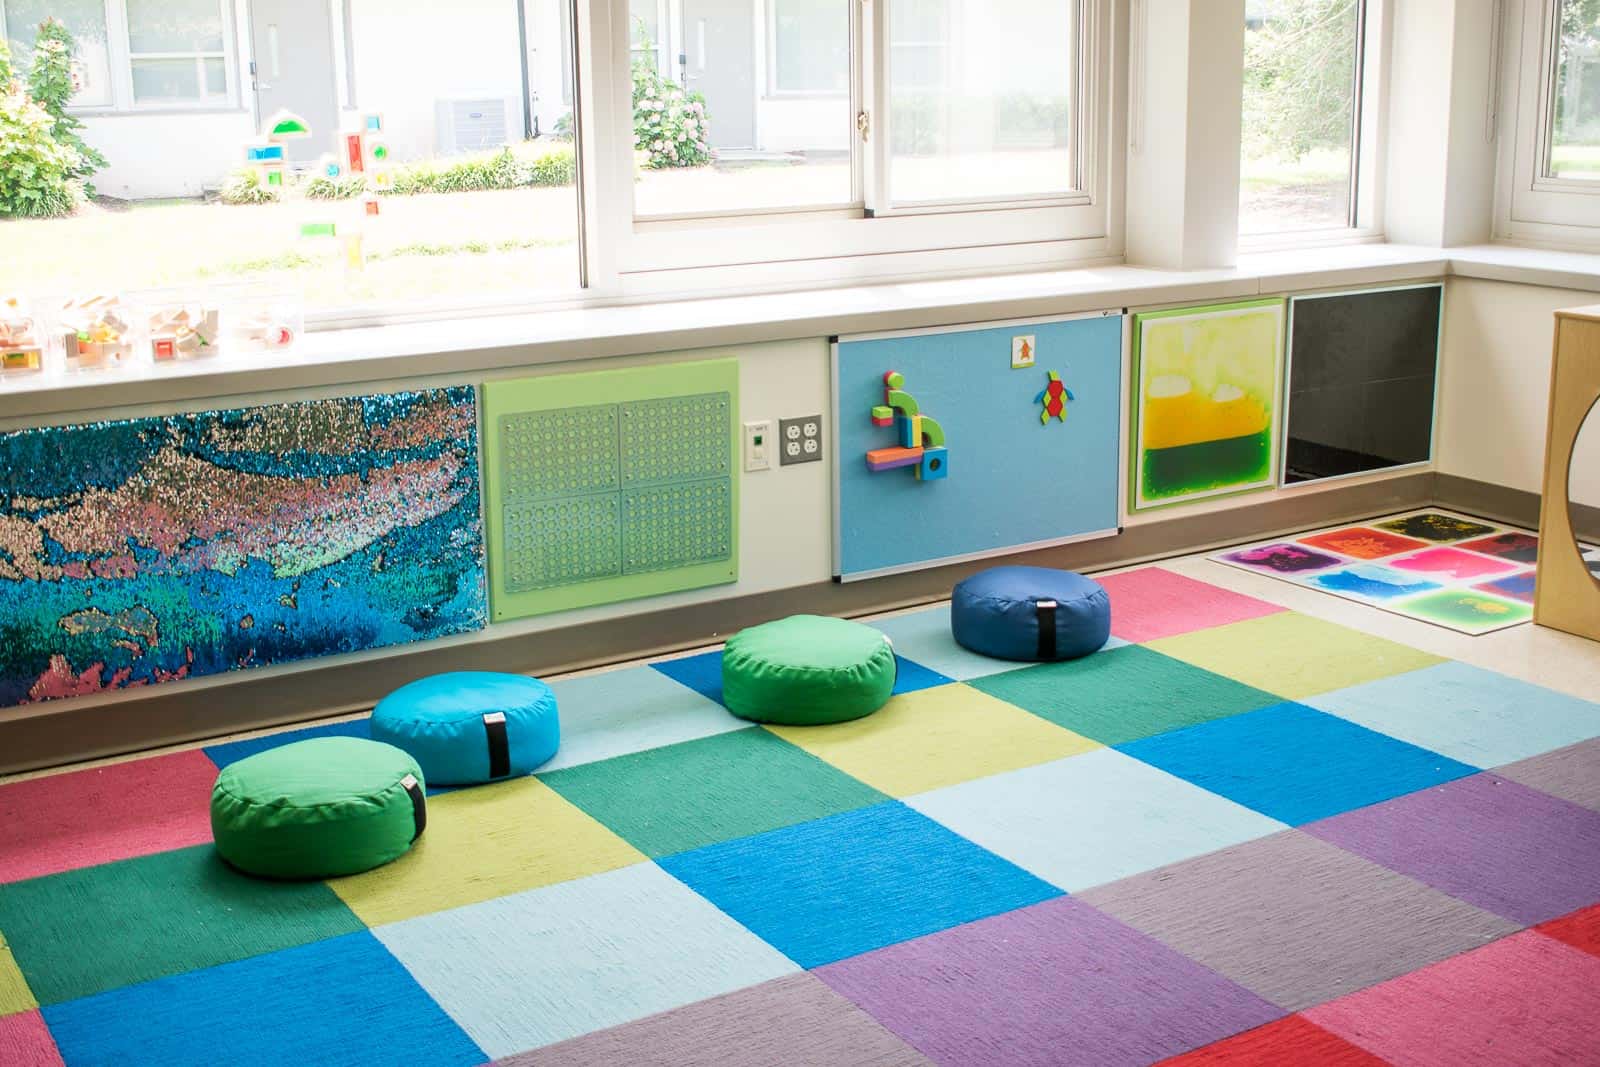
Let’s go over the specifics of these vertical sensory panels. I prepped most of them at home and hoped the measurements were correct. I routed the corners of birch plywood and cut each one to size accordingly. The first one is a good ol’ mermaid sequins panel. I wrapped the board with one layer of batting and then the mermaid sequins.
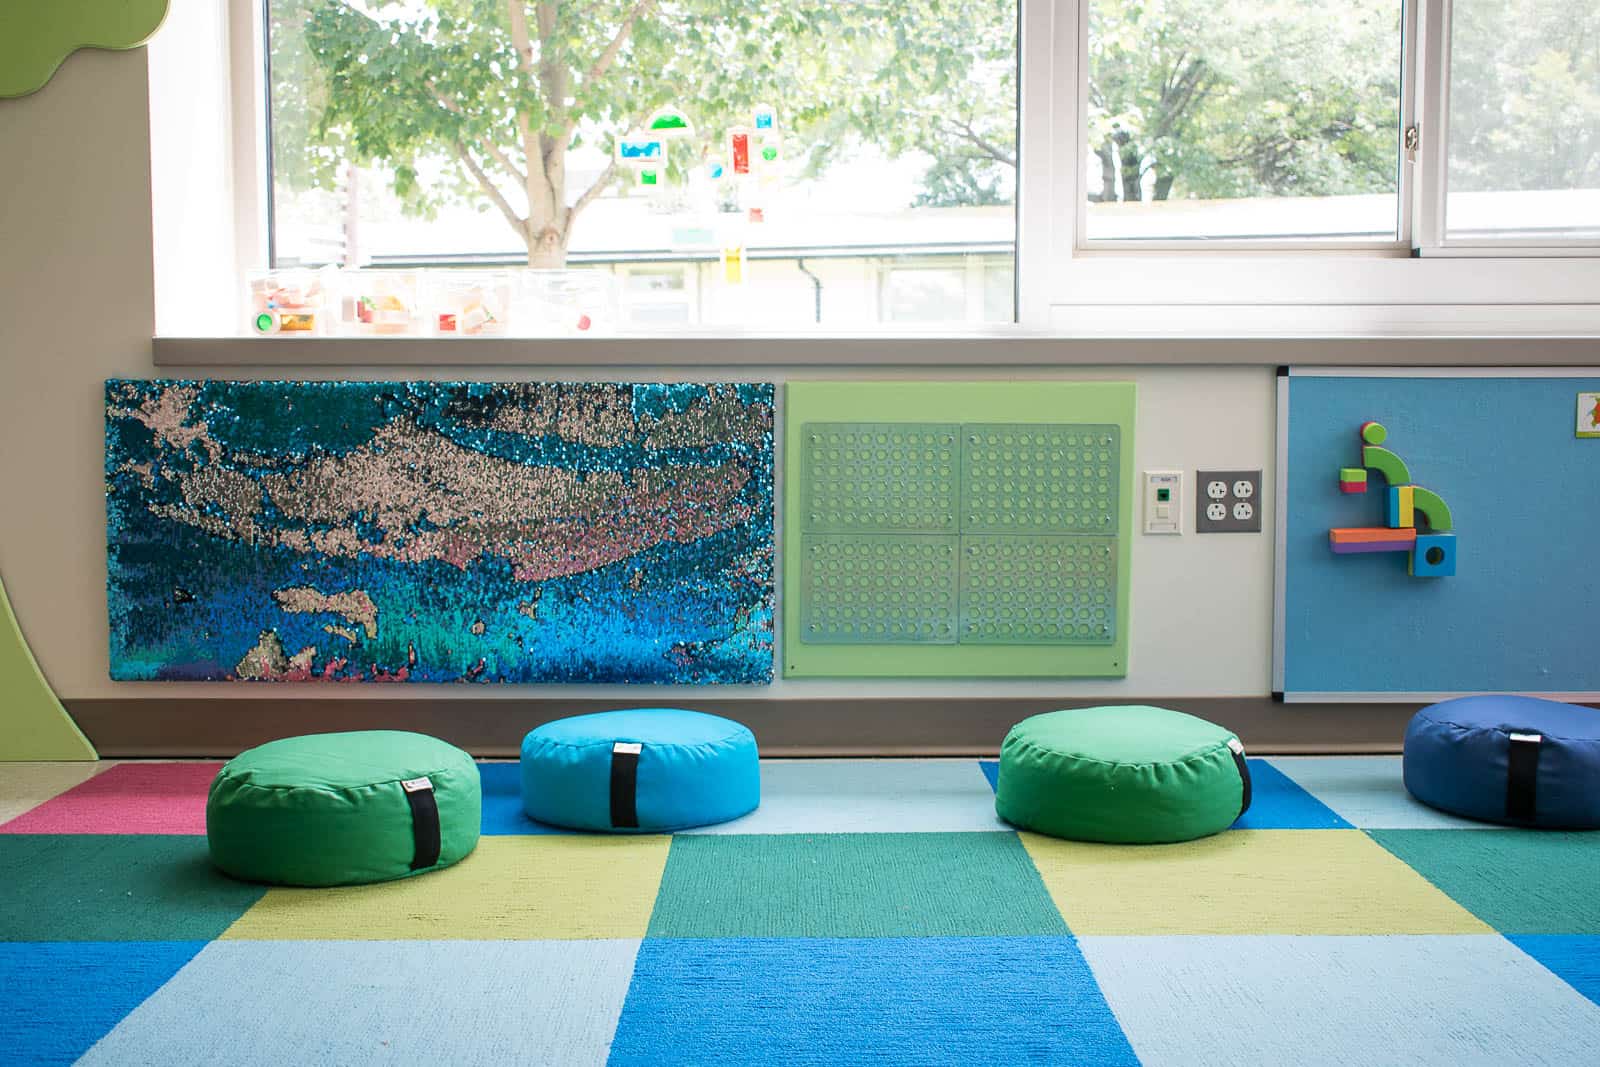
Next to this is a section of snap circuits. My kids LOVE snap circuits and they easily lend themselves to vertical play. This was one panel where the measurements weren’t quite right. I went off dimensions from Amazon (and should have just gone up to Oliver’s room to measure his). What I had hoped would be a pretty tight fight ended up being a little big awkward. Not a huge deal, but because all the panels are 21-inches tall… it meant there was quite a bit of exposed wood around the snap circuits.
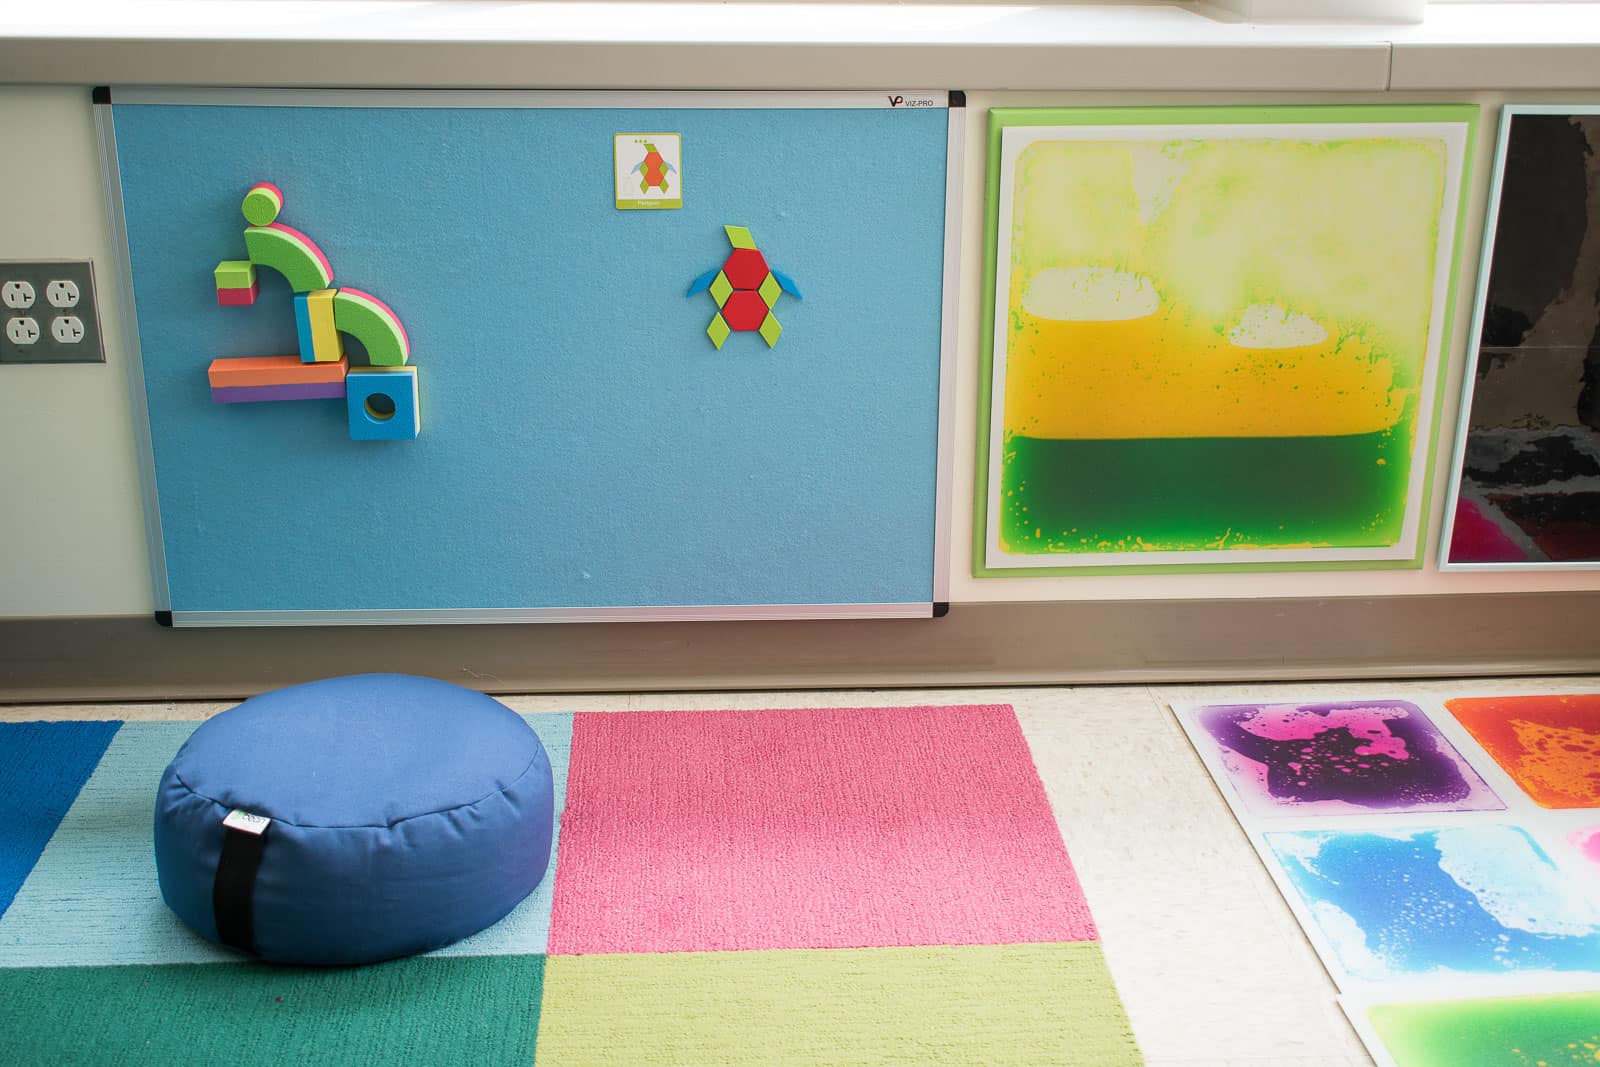
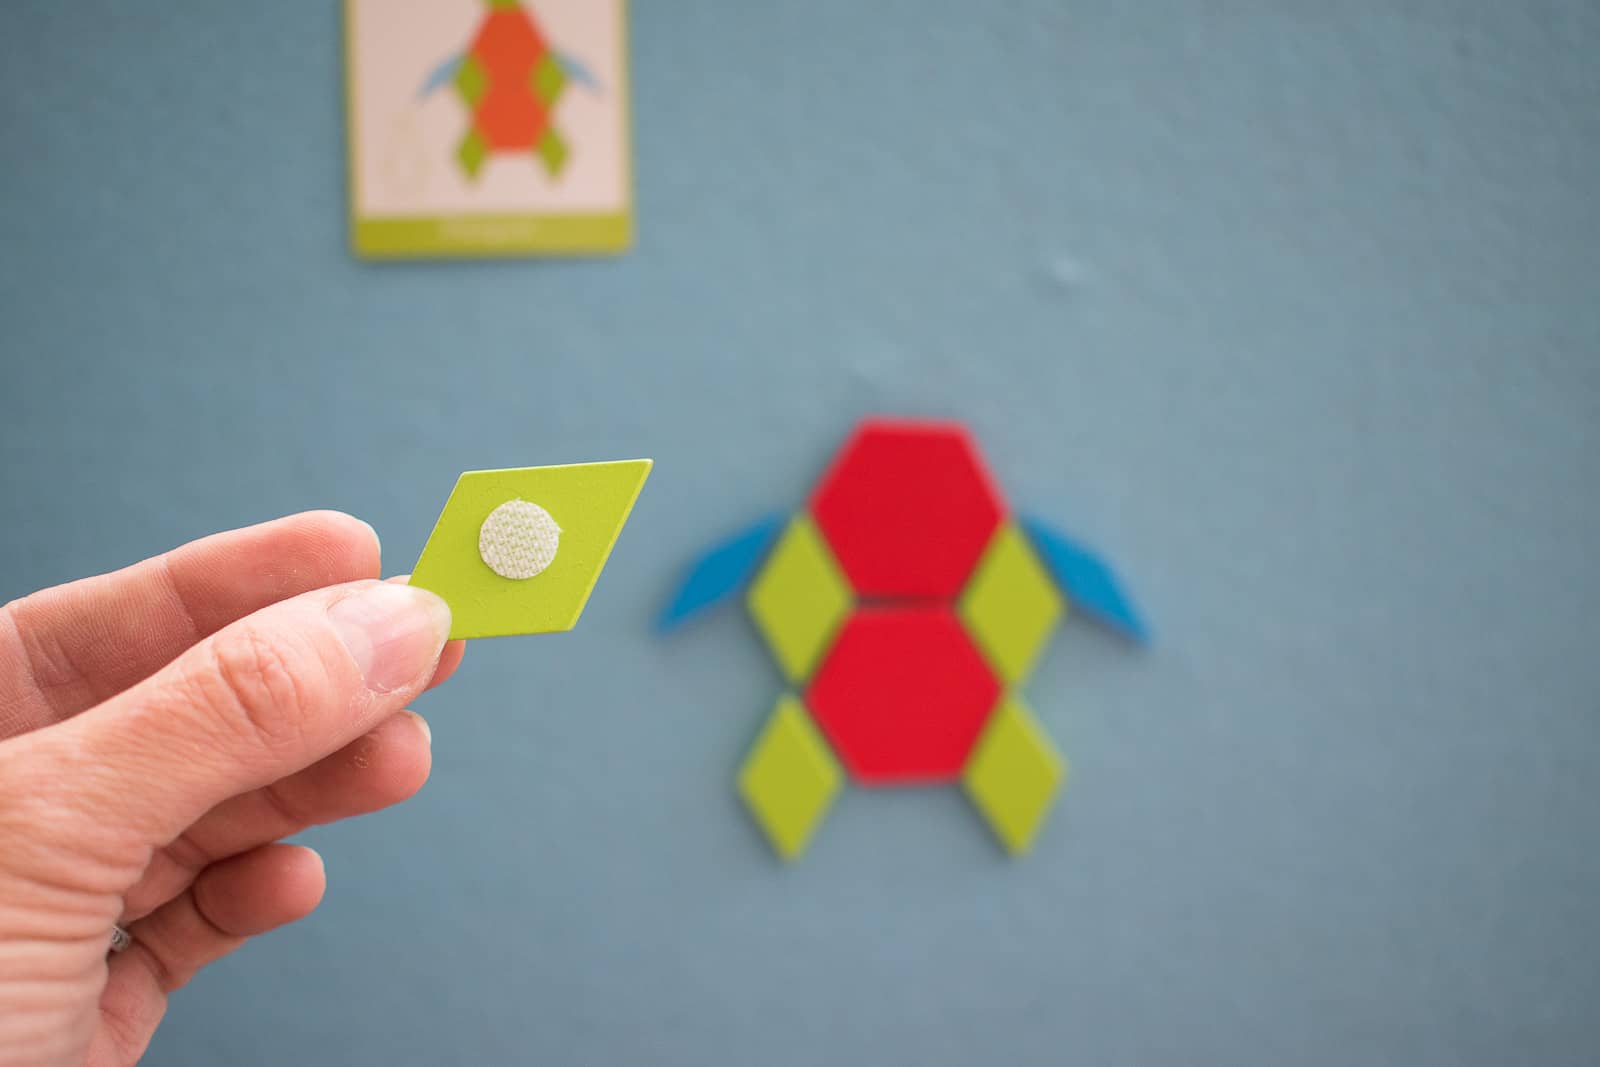
We ordered a $30 felt board that I figured could be used for anything with a velcro component. I added small velcro dots to lightweight foam blocks as well as Tangrams. I’m hoping that there are lots of other things that could be used here moving forward!
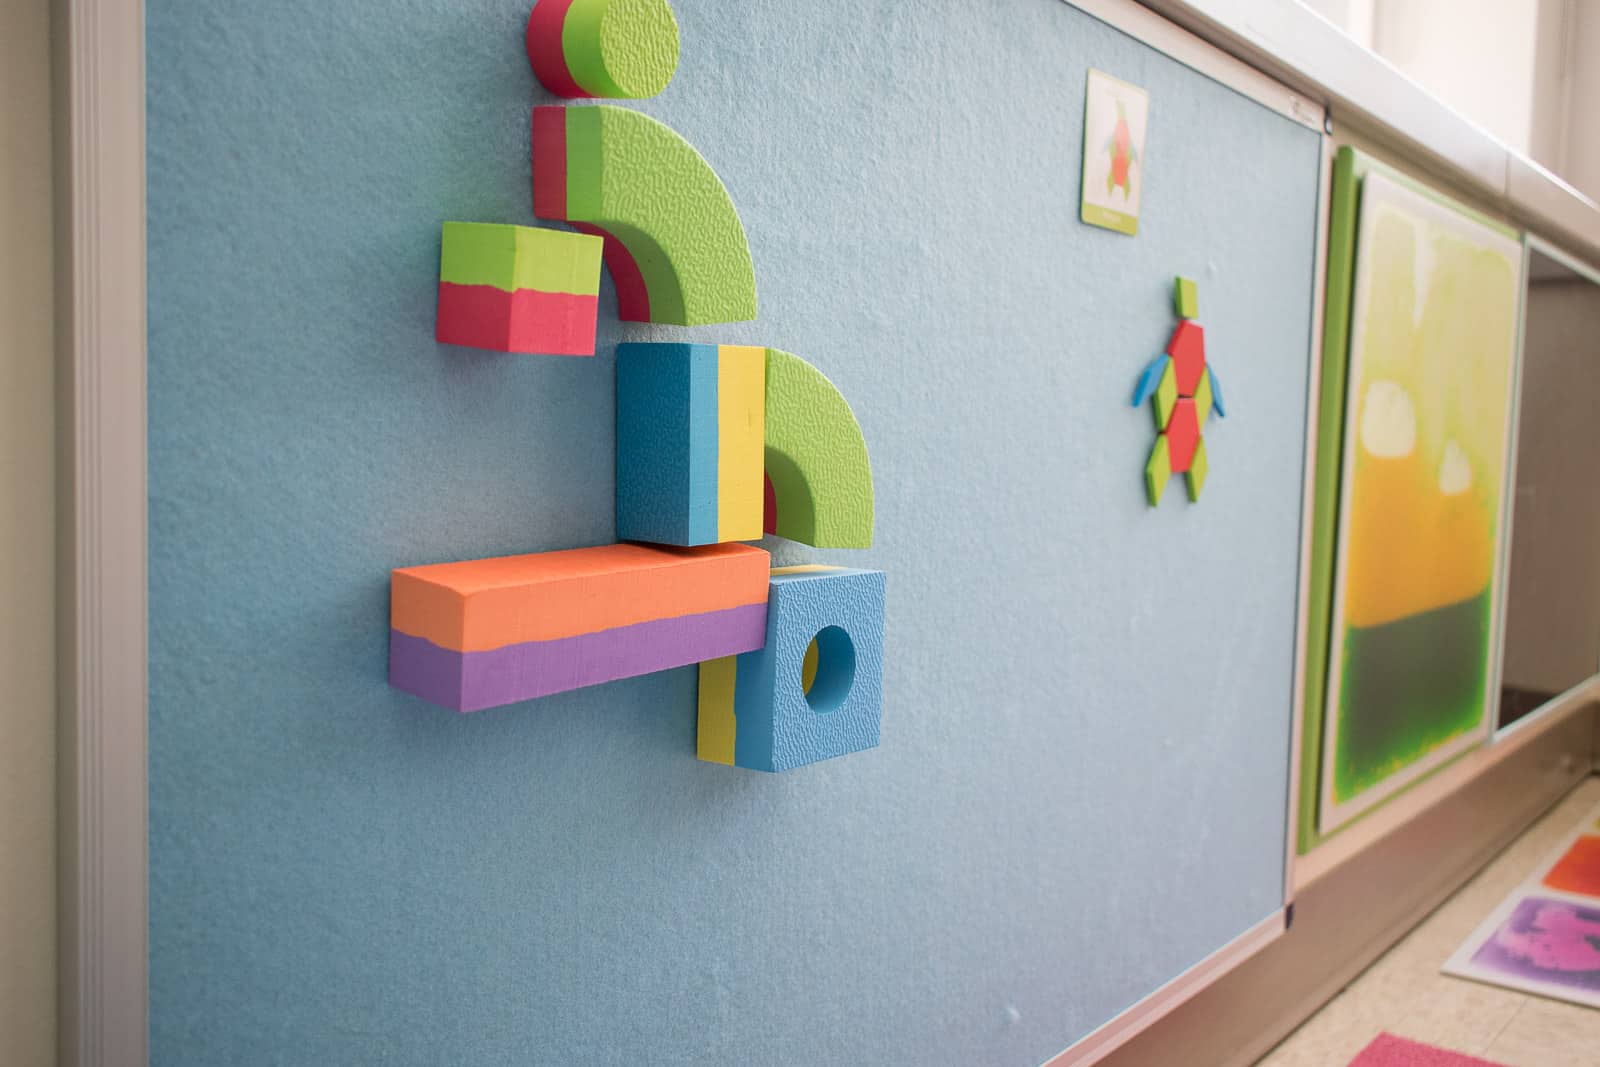
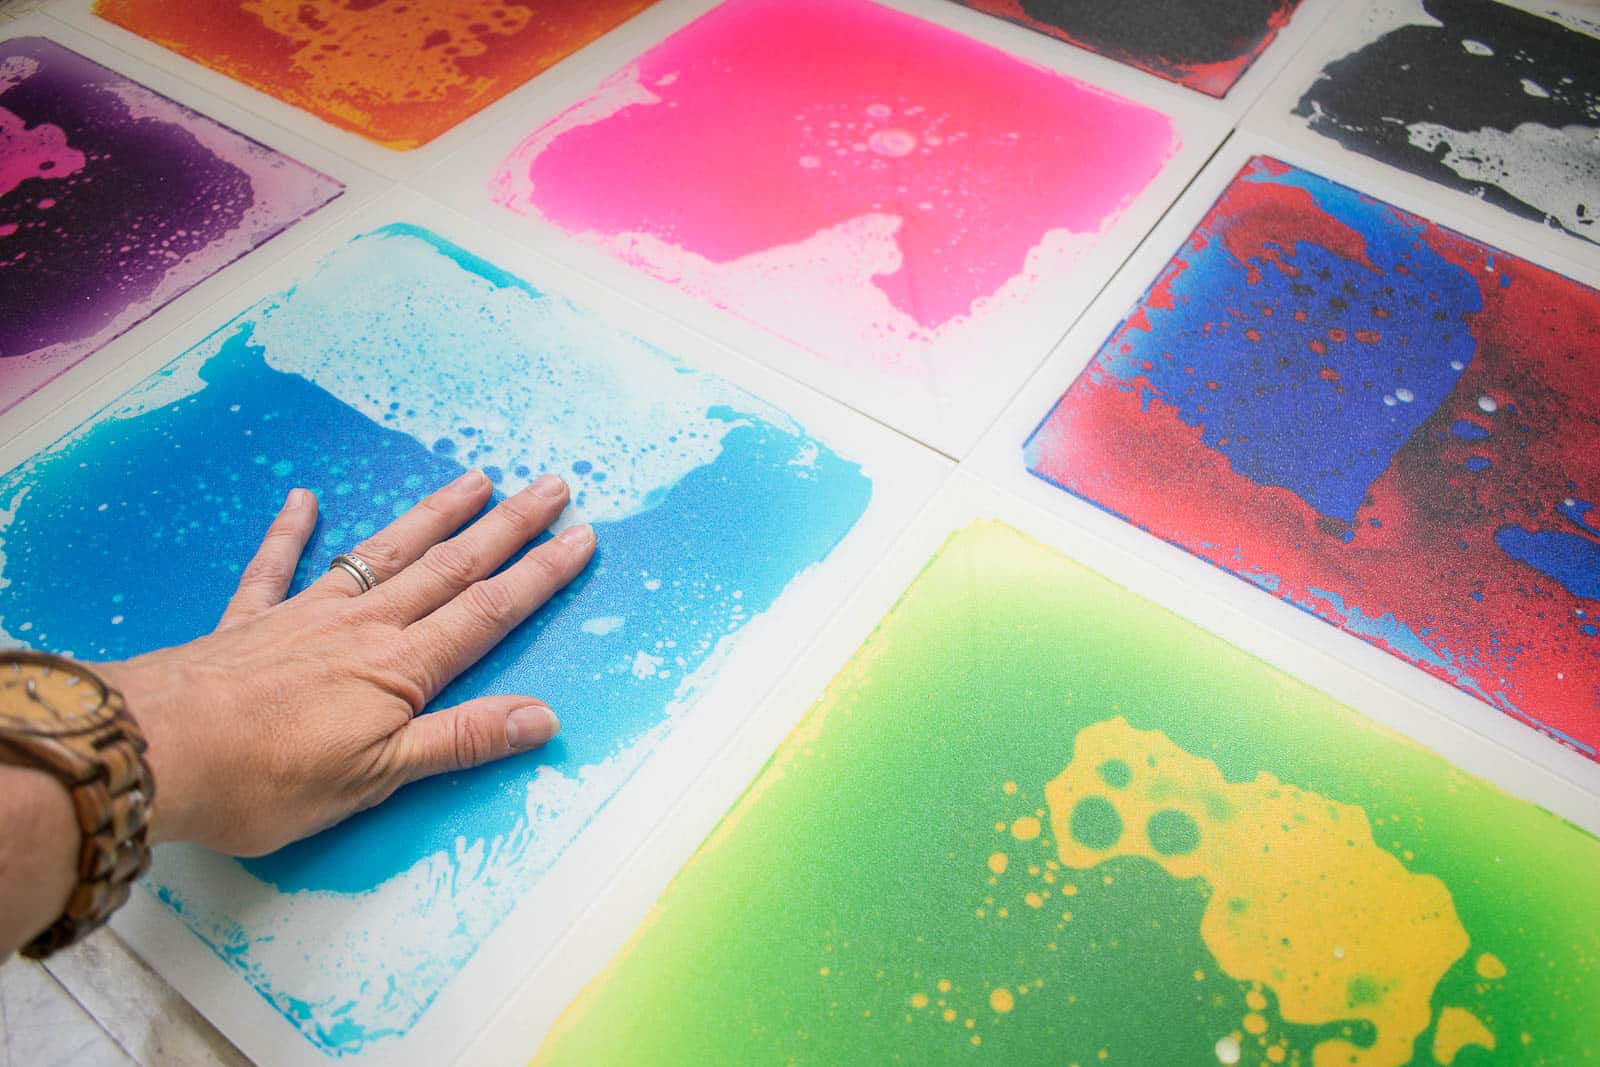
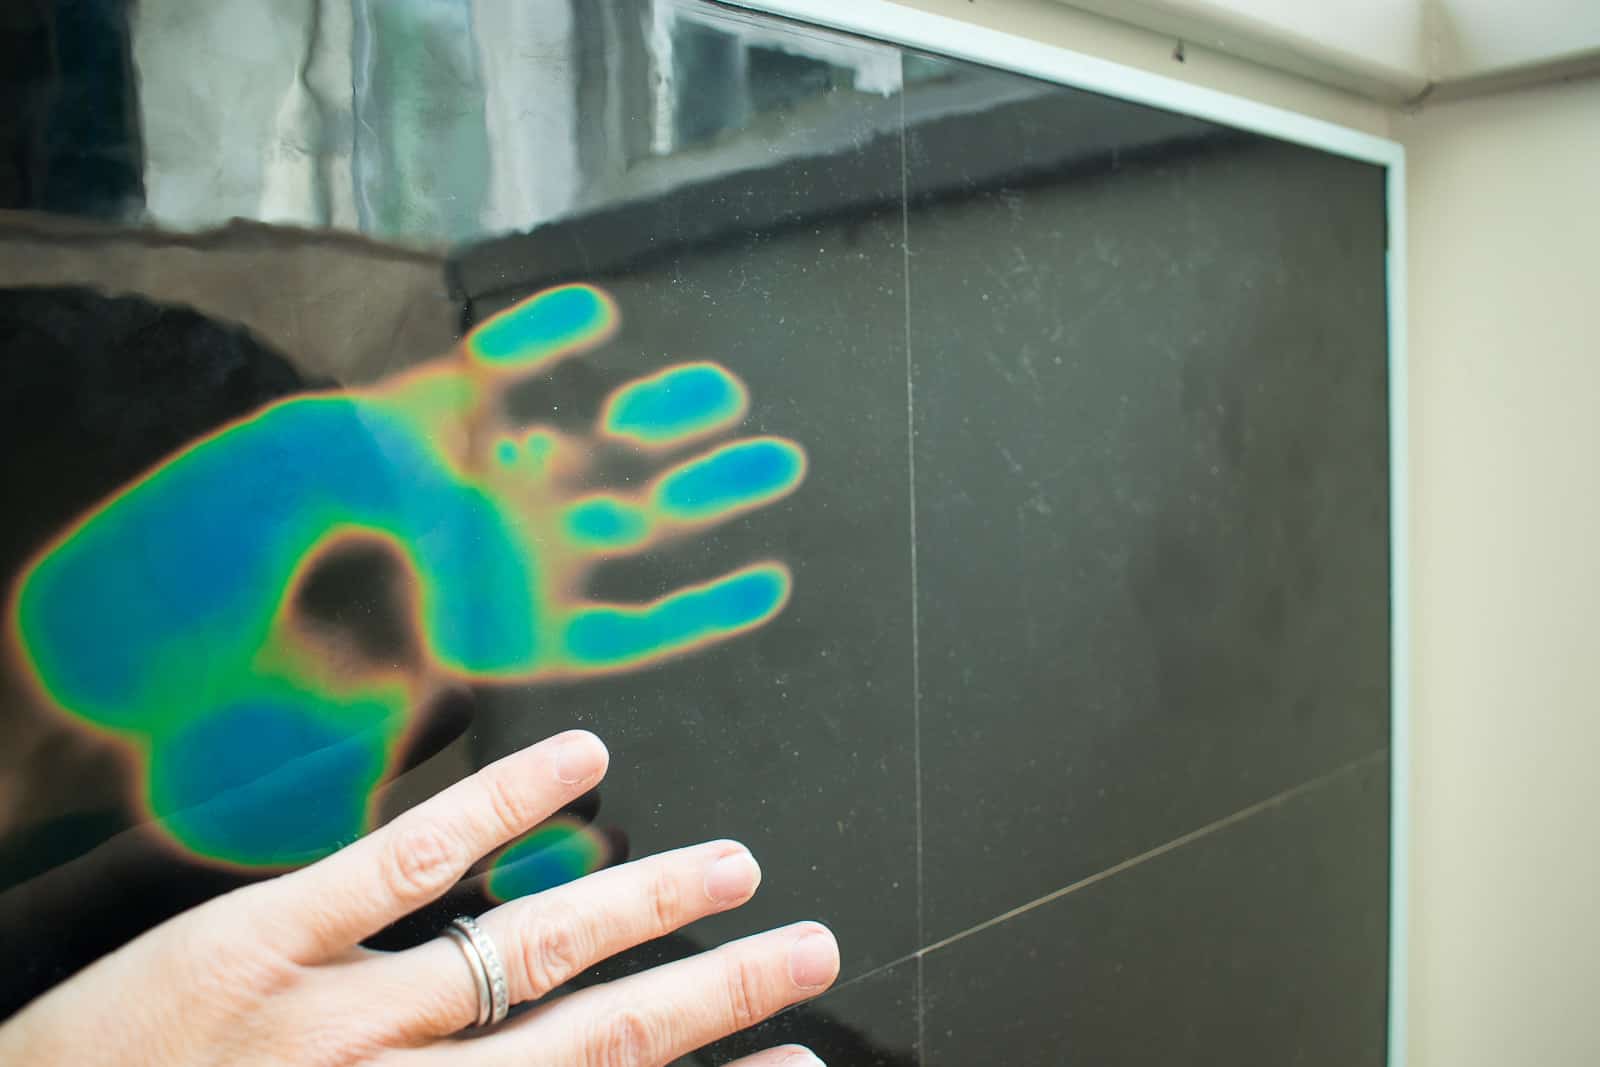
The final two sensory panels are super fun… one is a gel filled floor tile that the kids can press and manipulate and the last one looks black, but it’s actually heat sensitive so that when the kids press their hands against it, it changes color. There are lots of ways to enjoy this as well using warm breath through straws or warm air from steam, etcetera.
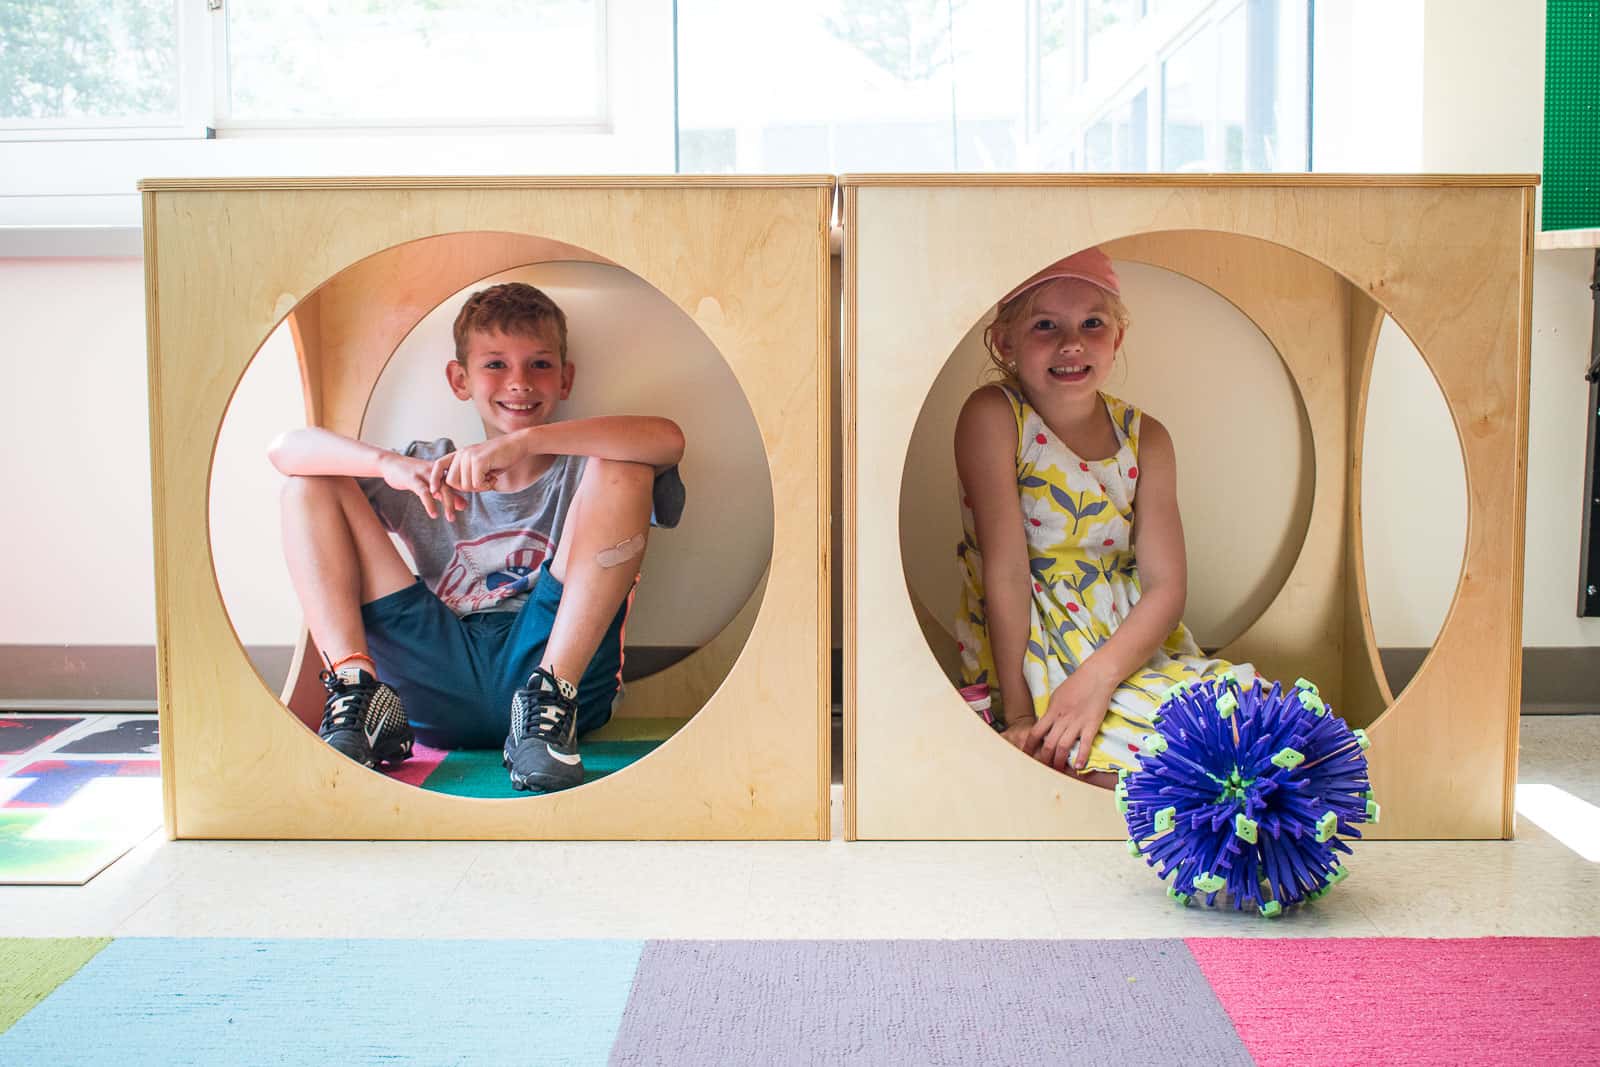
Those two wooden cubes were our solution for reading nooks. Unlike some of the other solutions like portable tents or hanging pods, we felt that these would not only be durable, but also look a little more streamlined in the space. I was worried that some of the other less permanent solutions could quickly appear a bit… higglety pigglety.
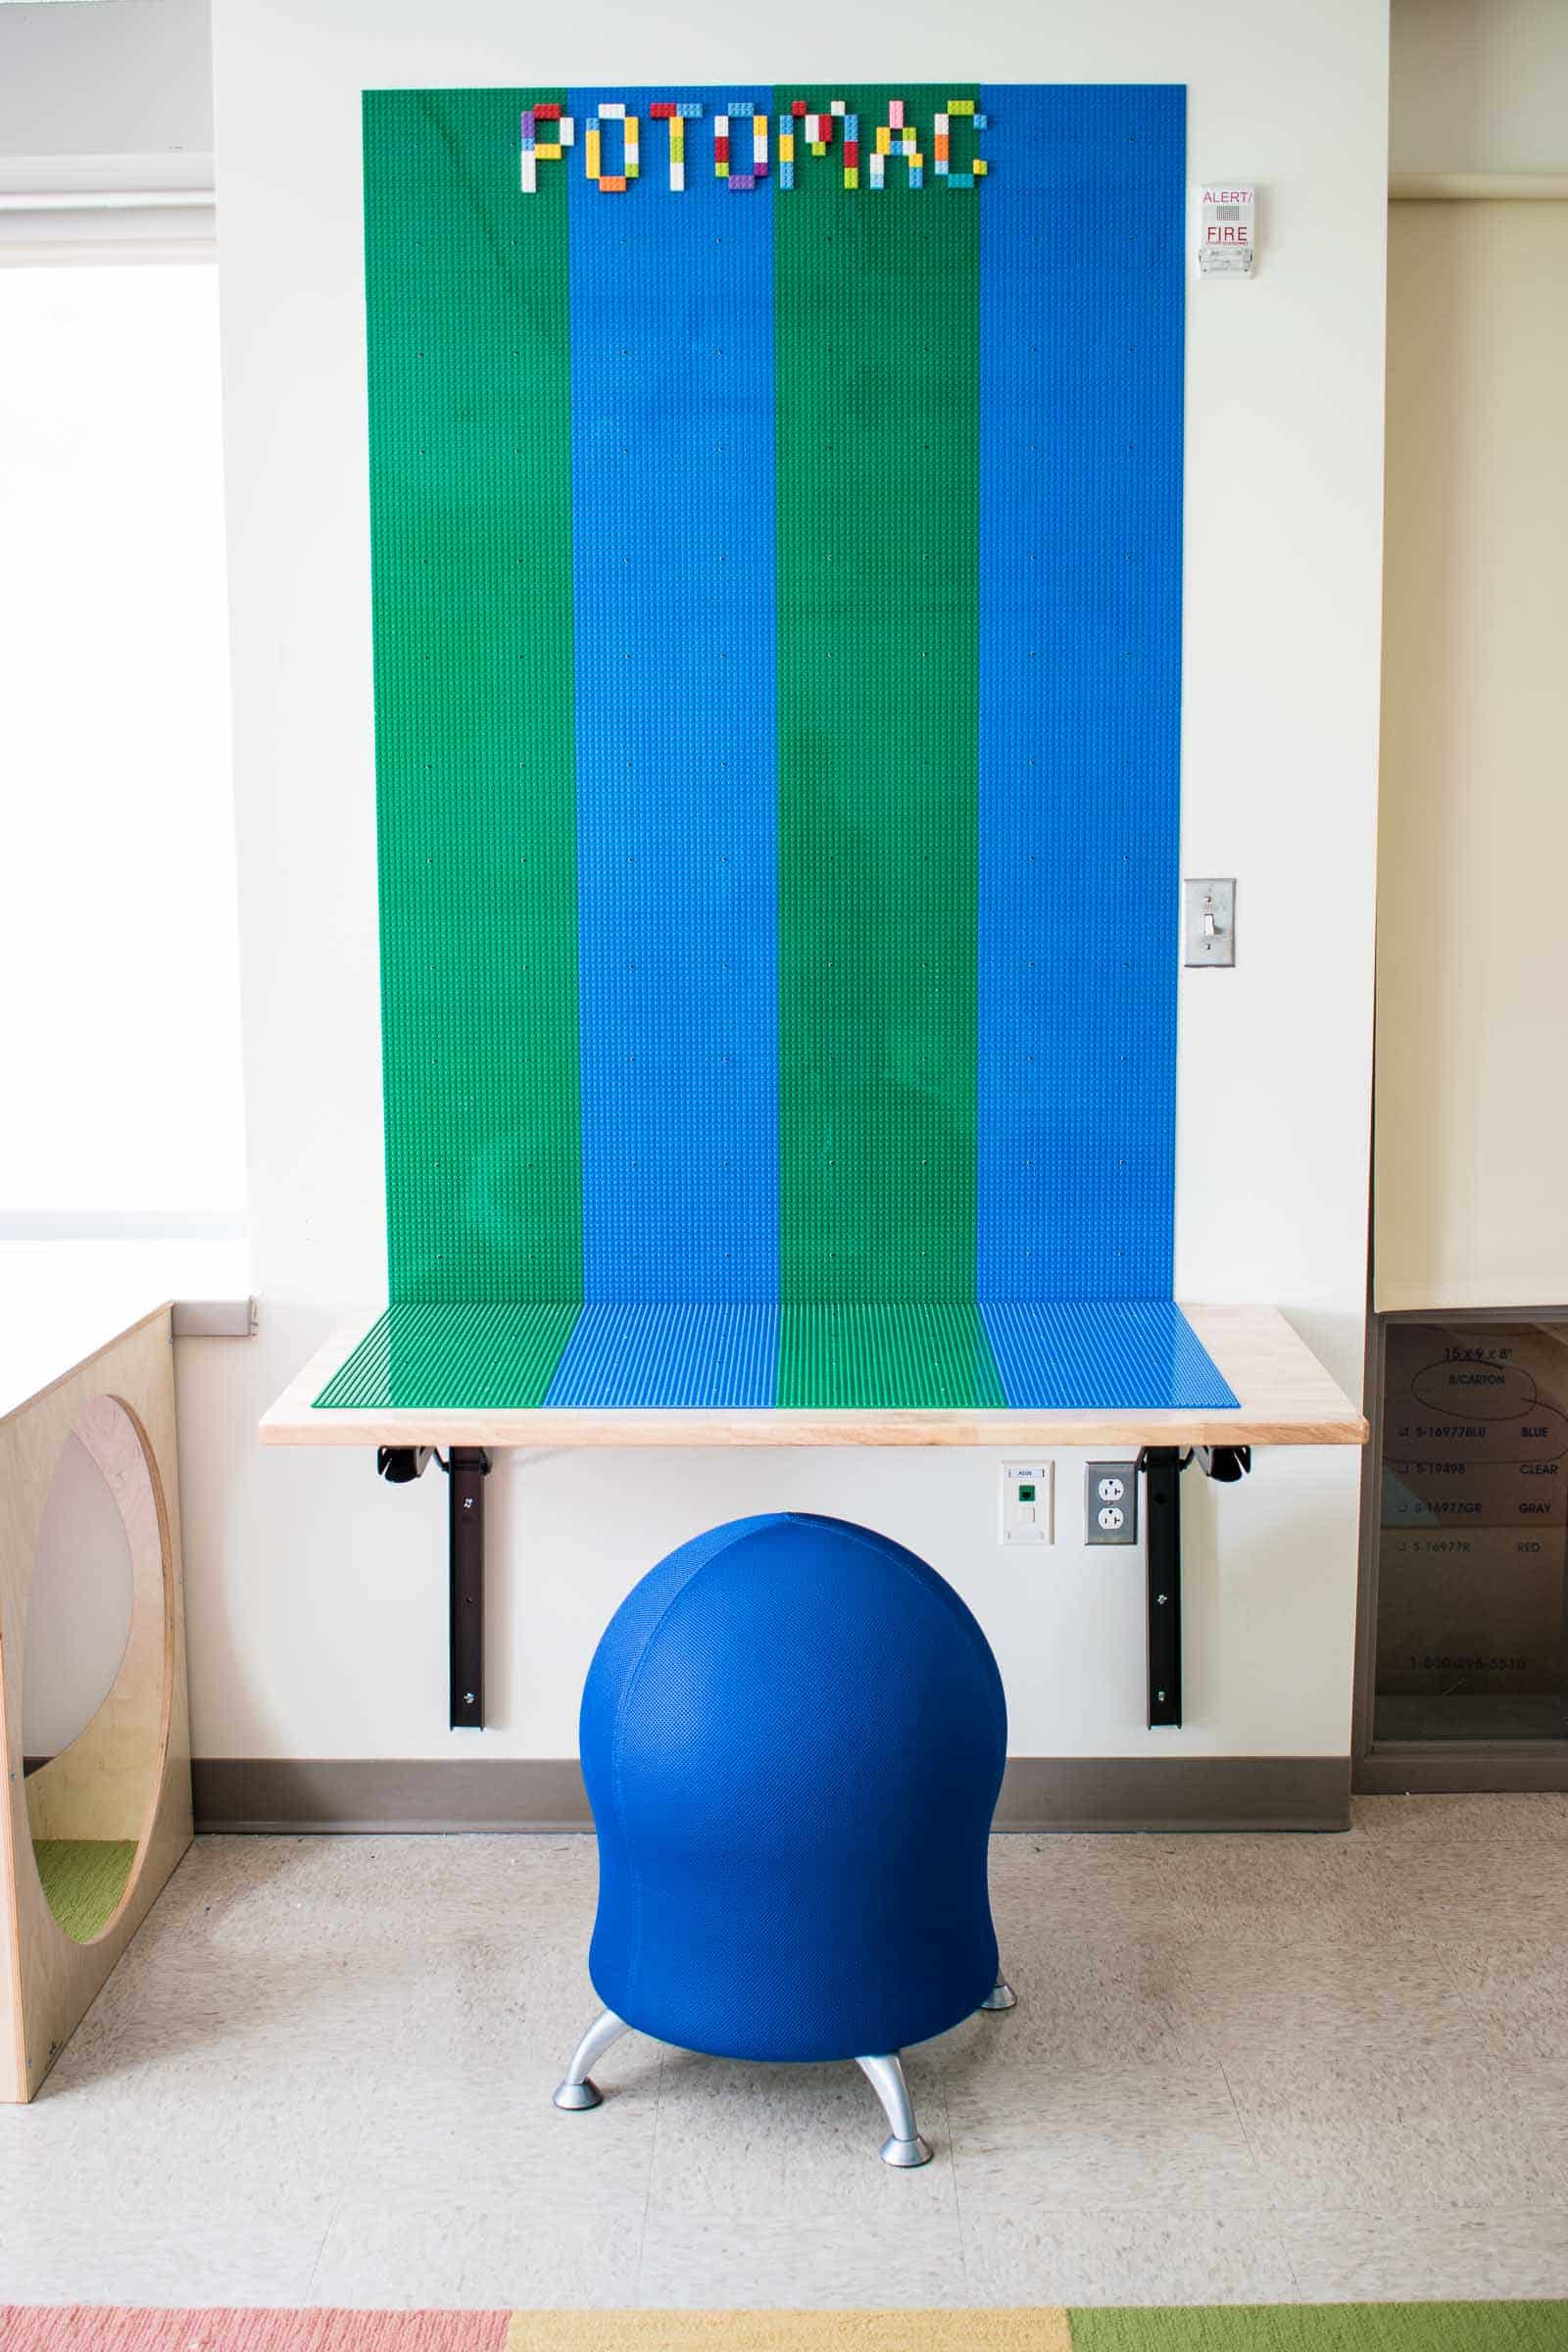
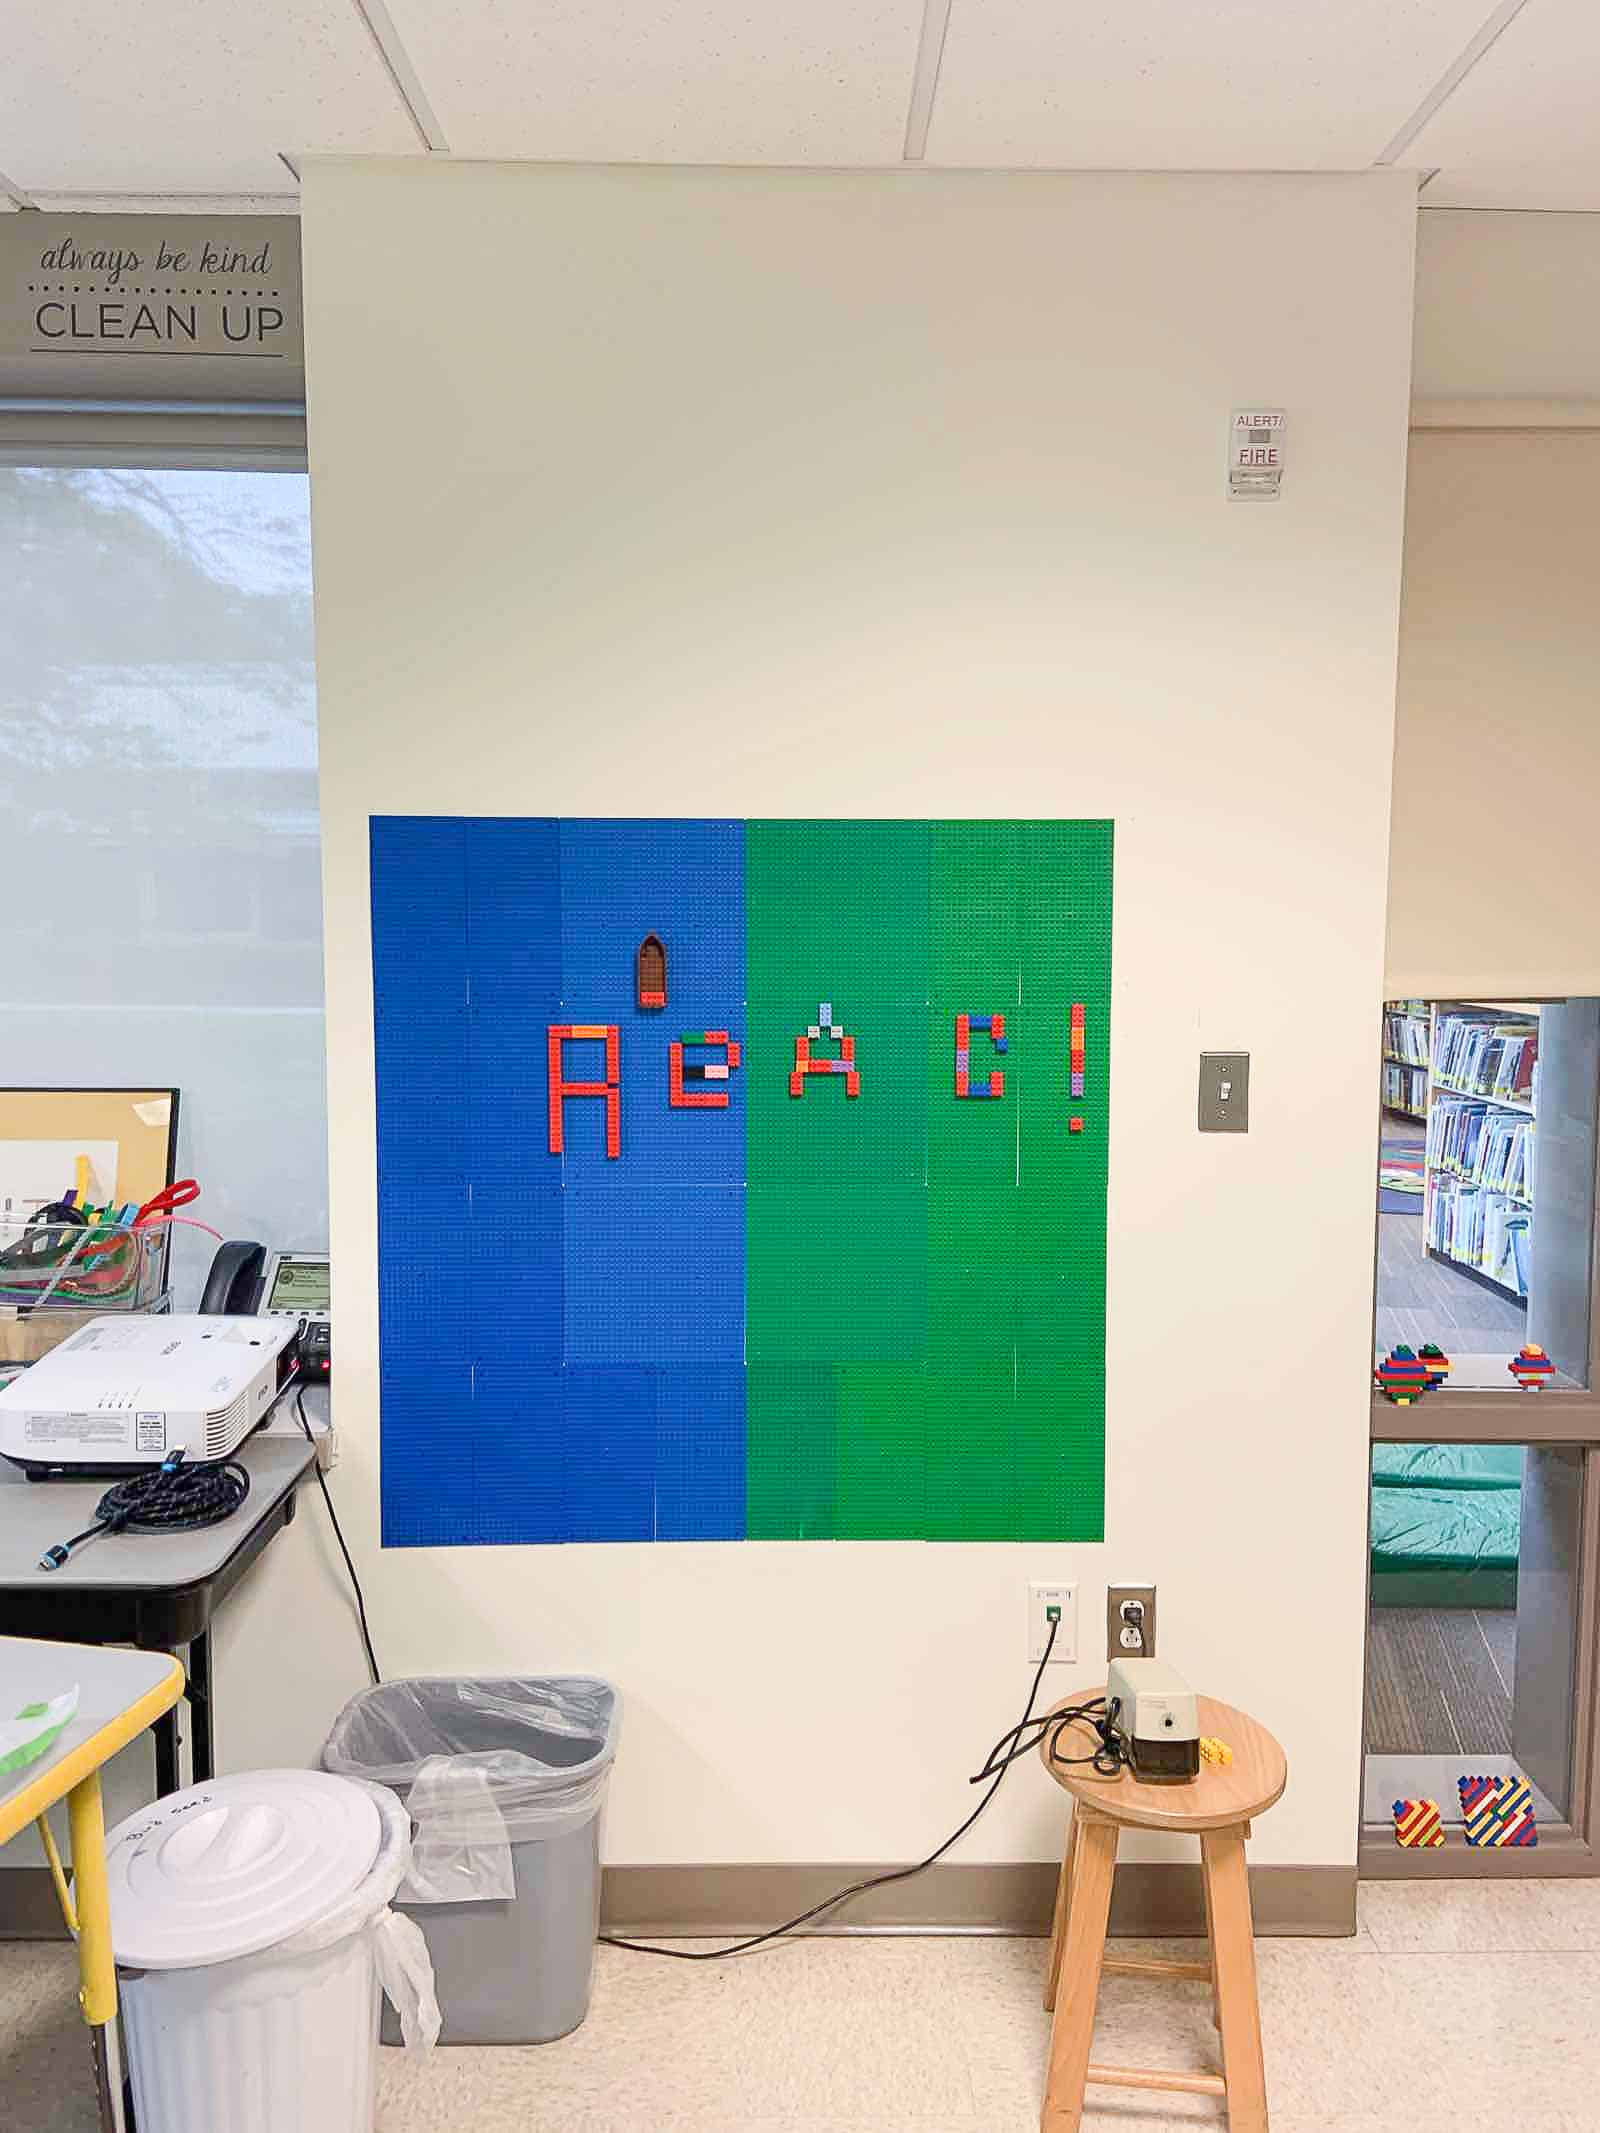
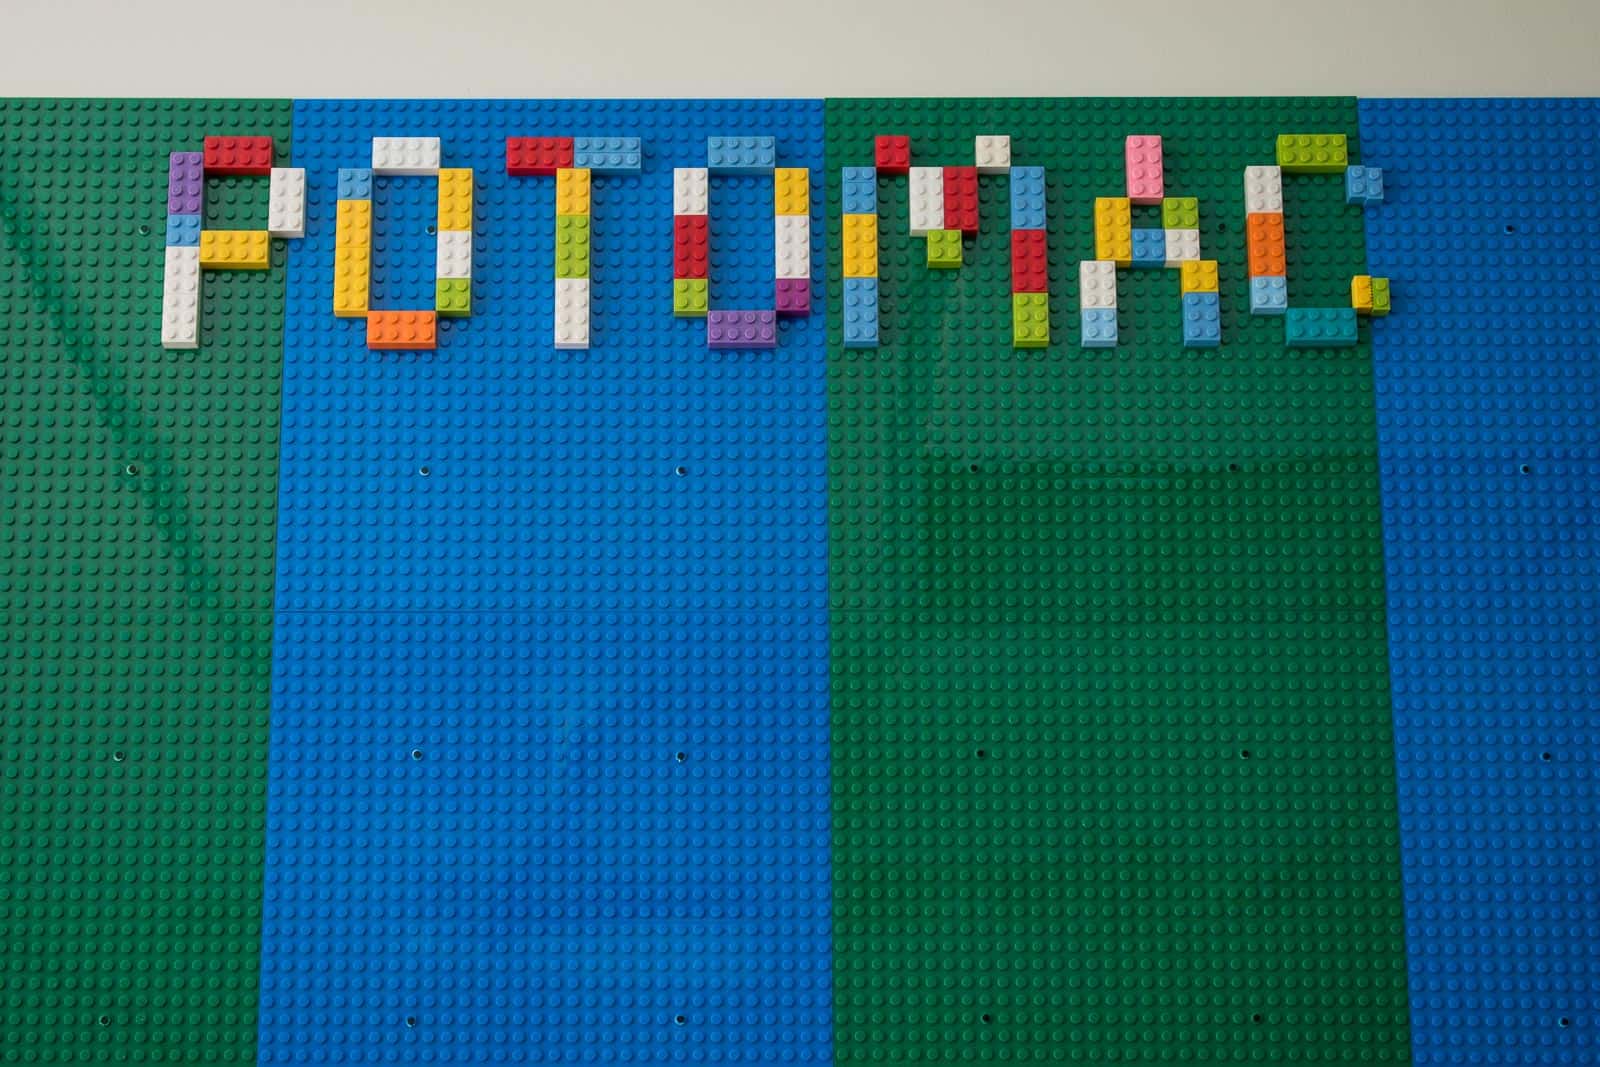
They already had a vertical Lego wall next to the door, but I brought in a folding table and more Lego base plates to really add some visual impact. I made the stripes vertical as well to offset the horizontal shelving; I also figured that way every child could have equal amounts of blue and green base plates to work with!
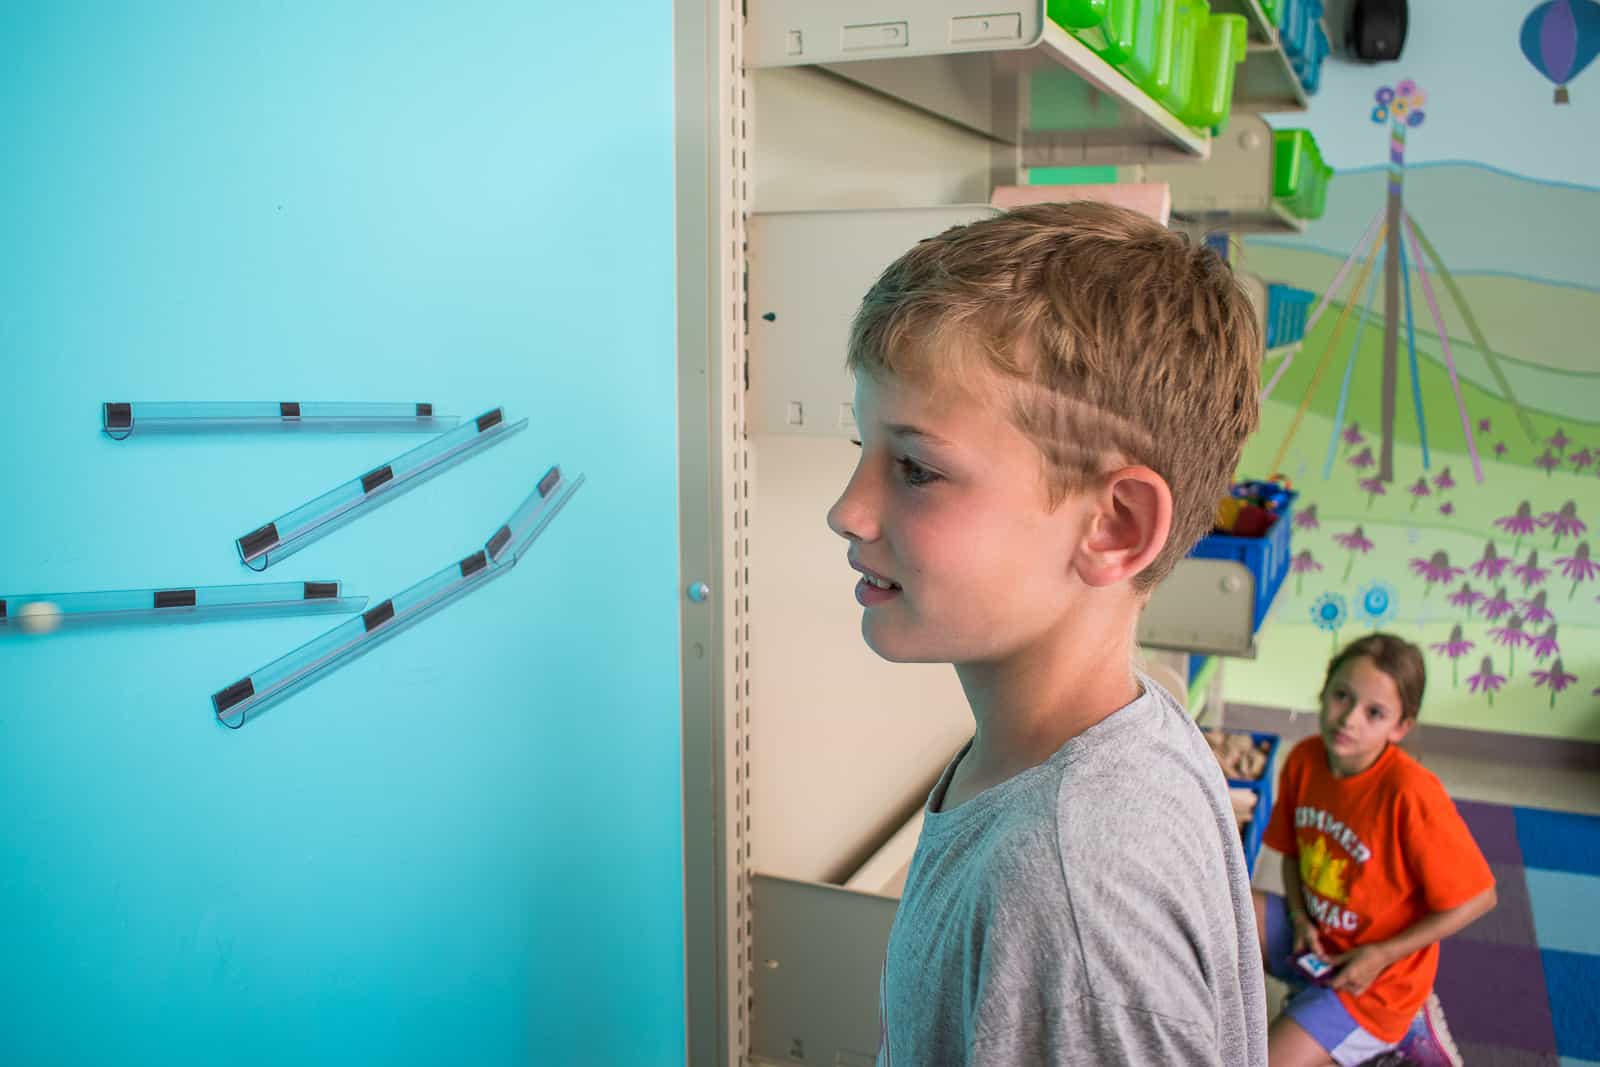
Aside from storage, the metal shelves had metal dividers that ended up being perfect for a few more vertical play zones. The first space has these fun wall coasters. I added magnet tape so they can mount on the wall and the goal is to set them up so that a marble can run down through each tube.
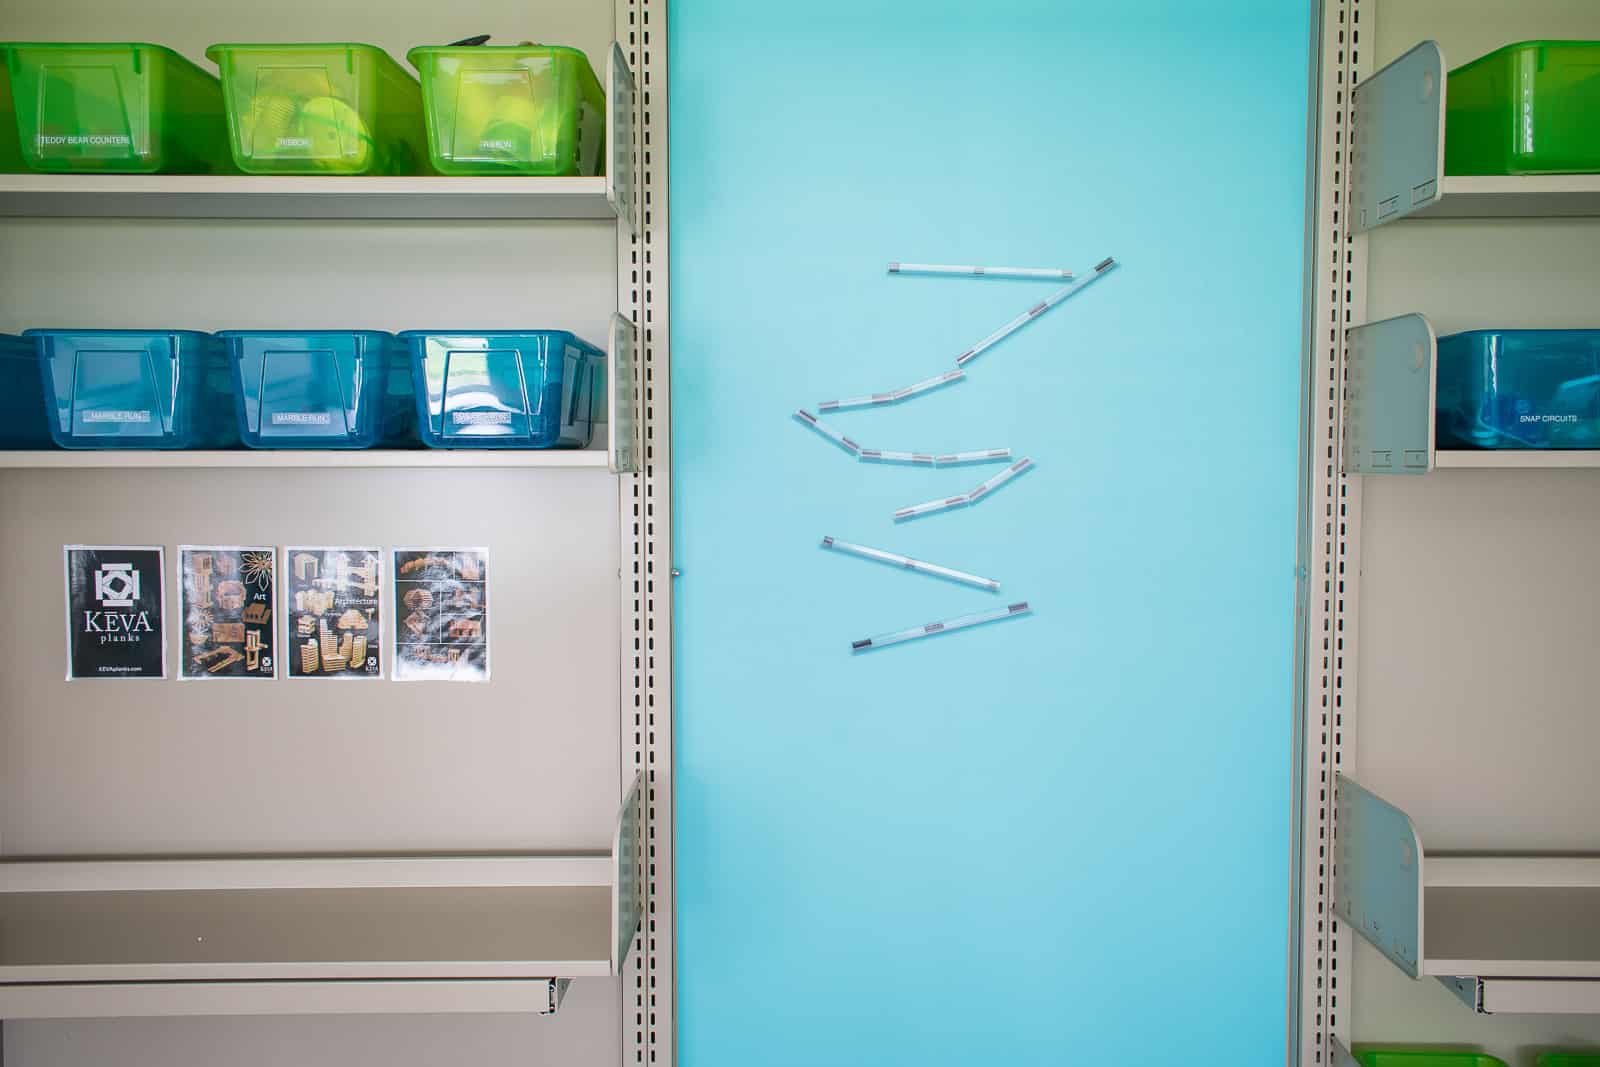
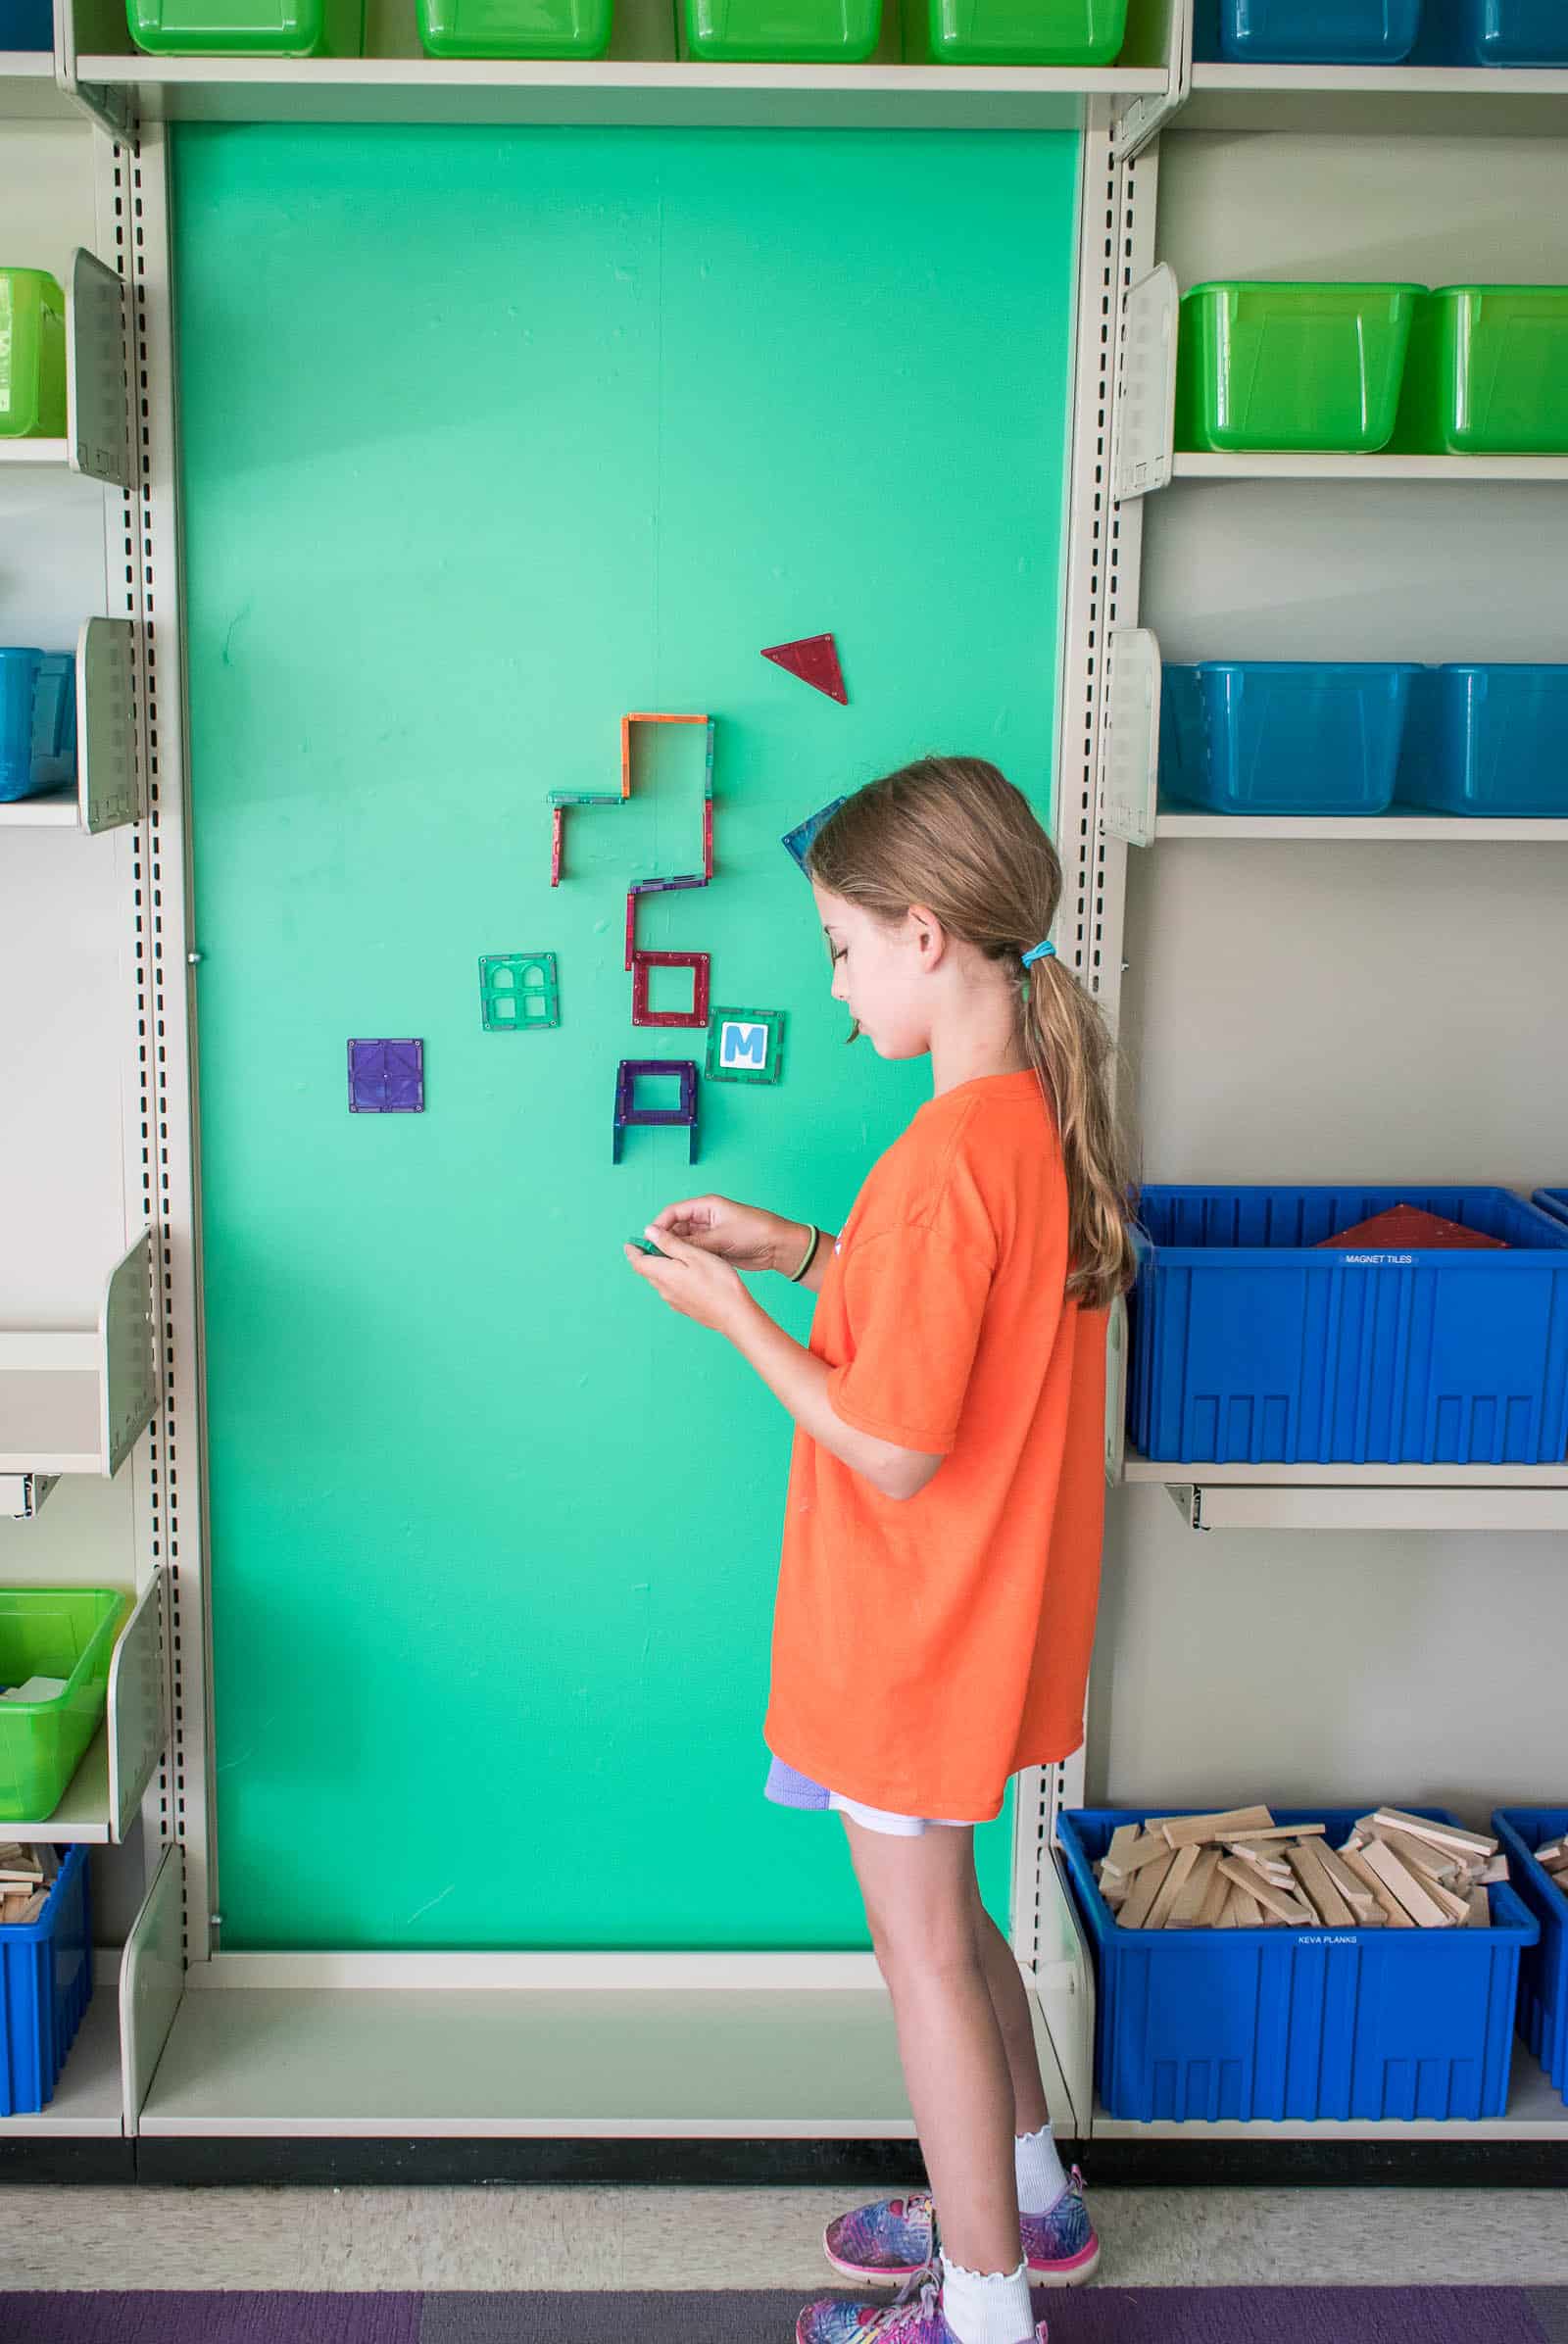
Good ol’ magna tiles are on the middle area. Still some of my kids favorites and even more fun to build on a magnetic surface.
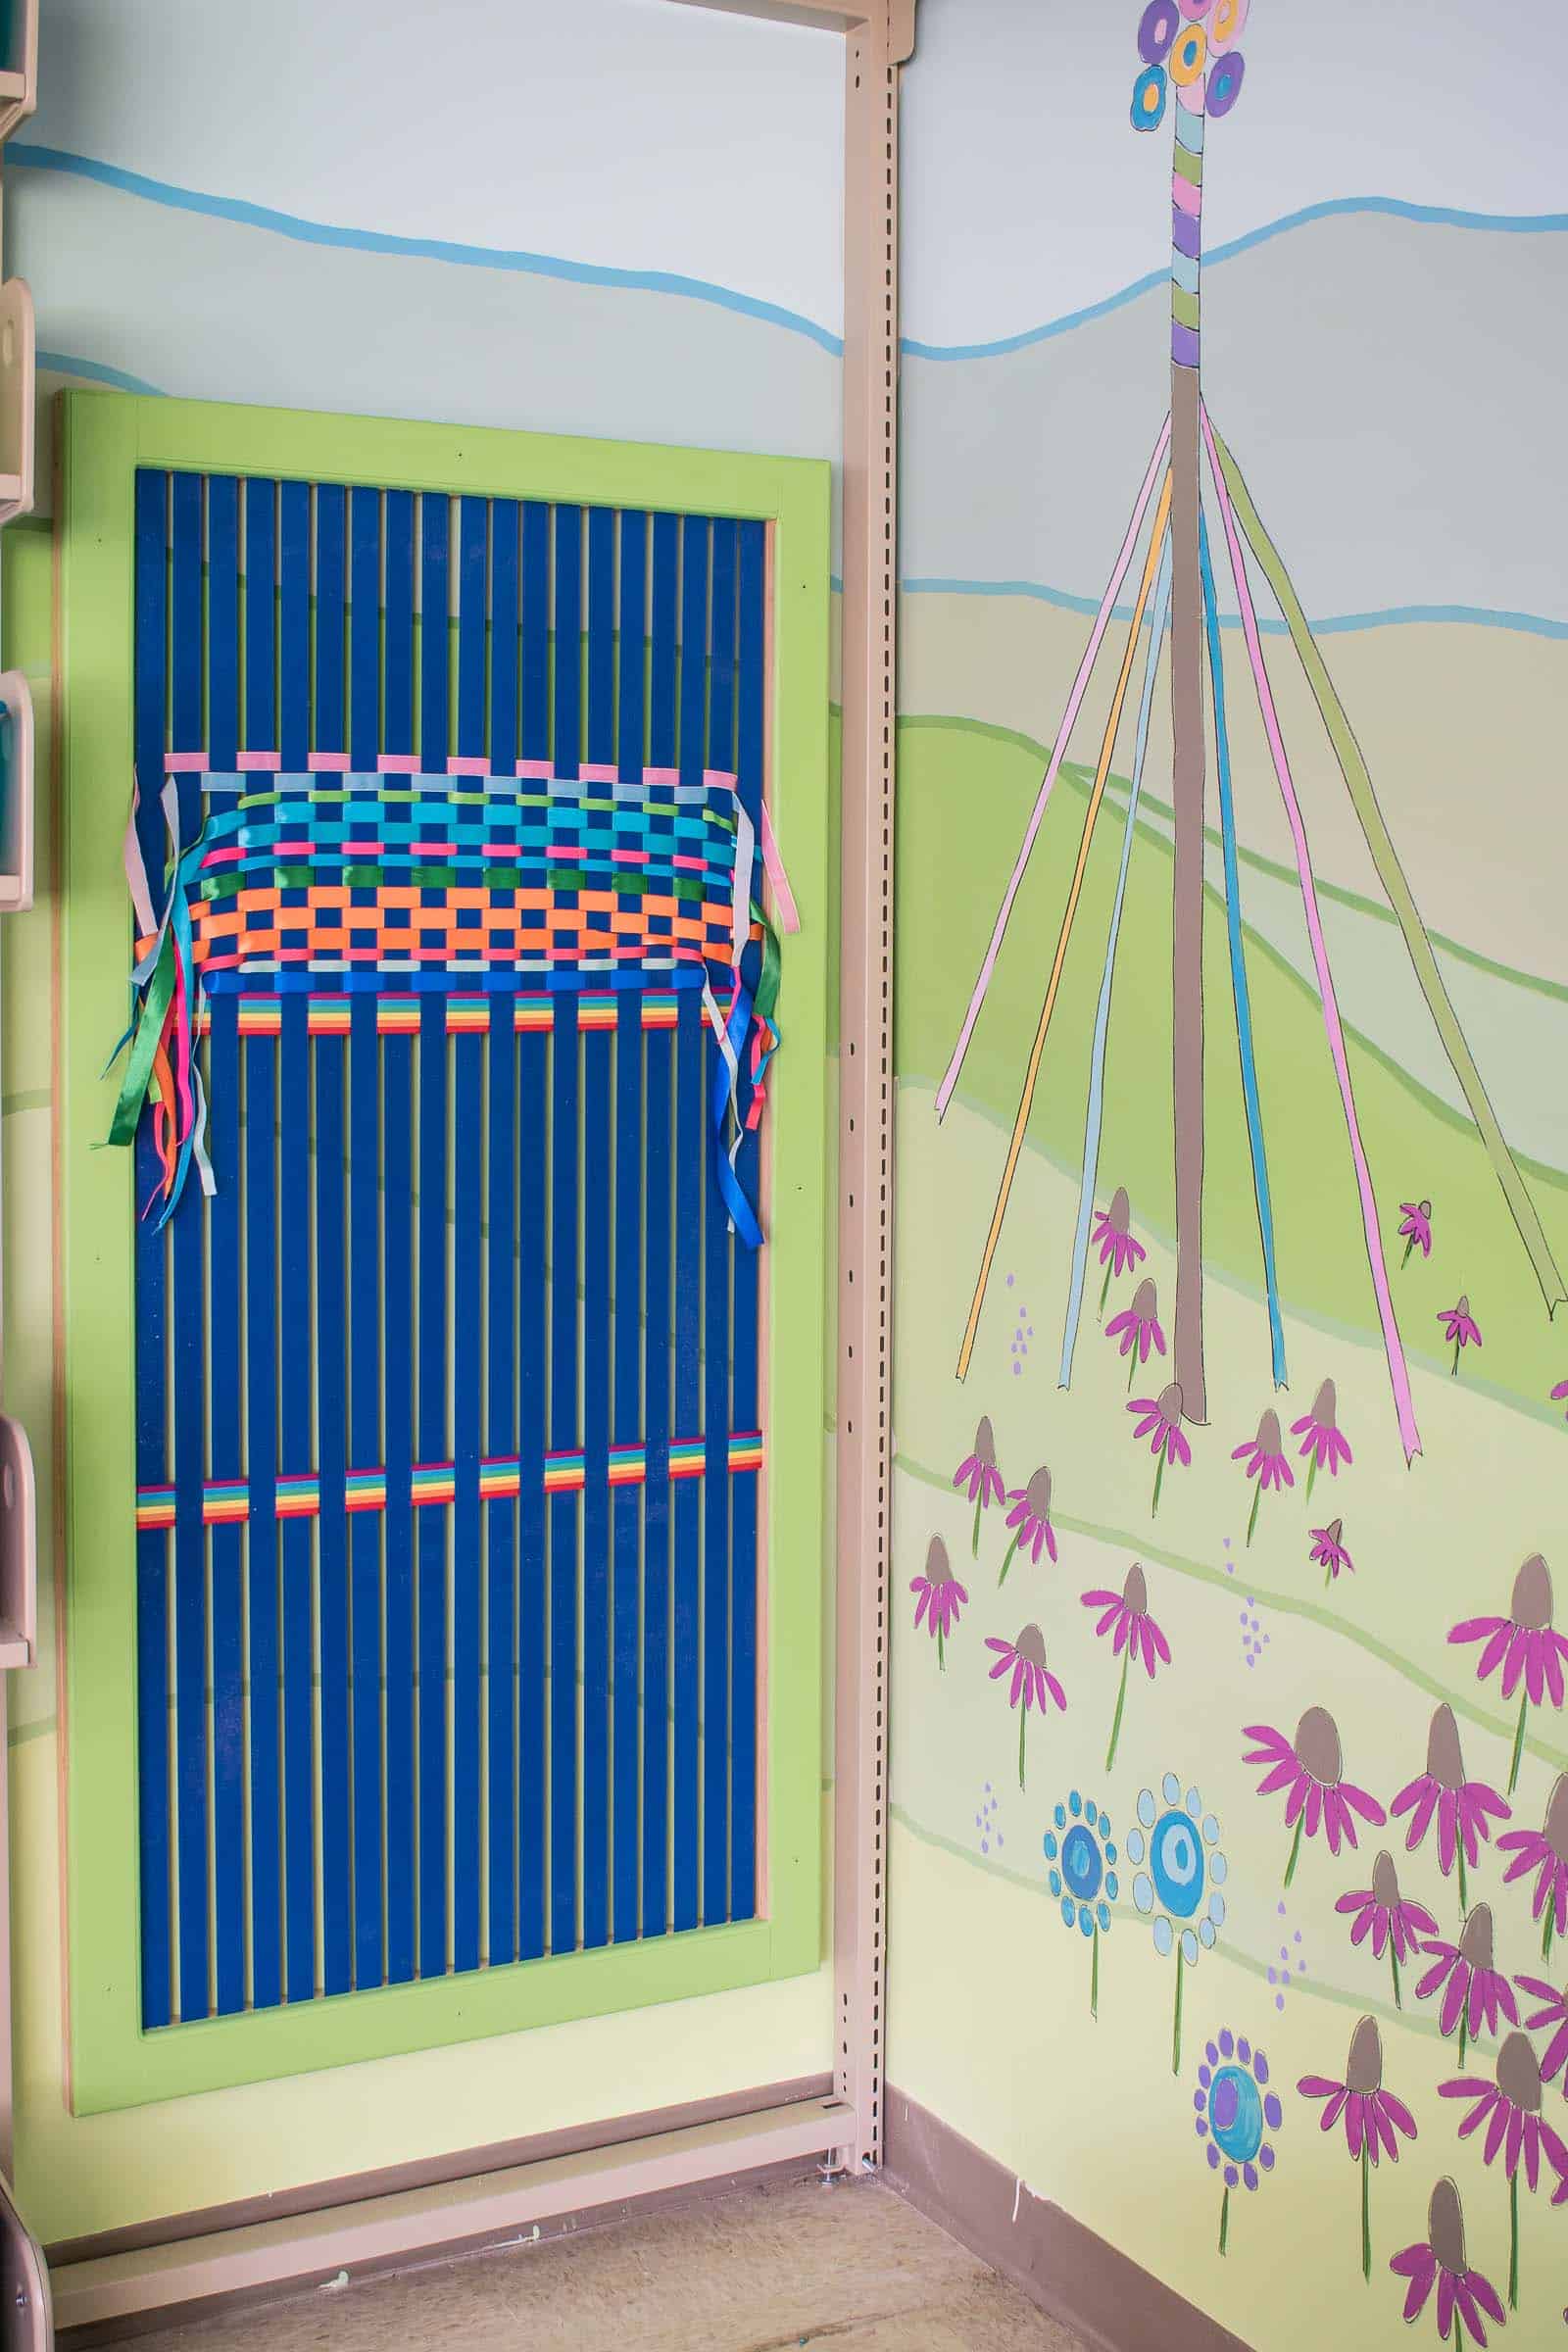
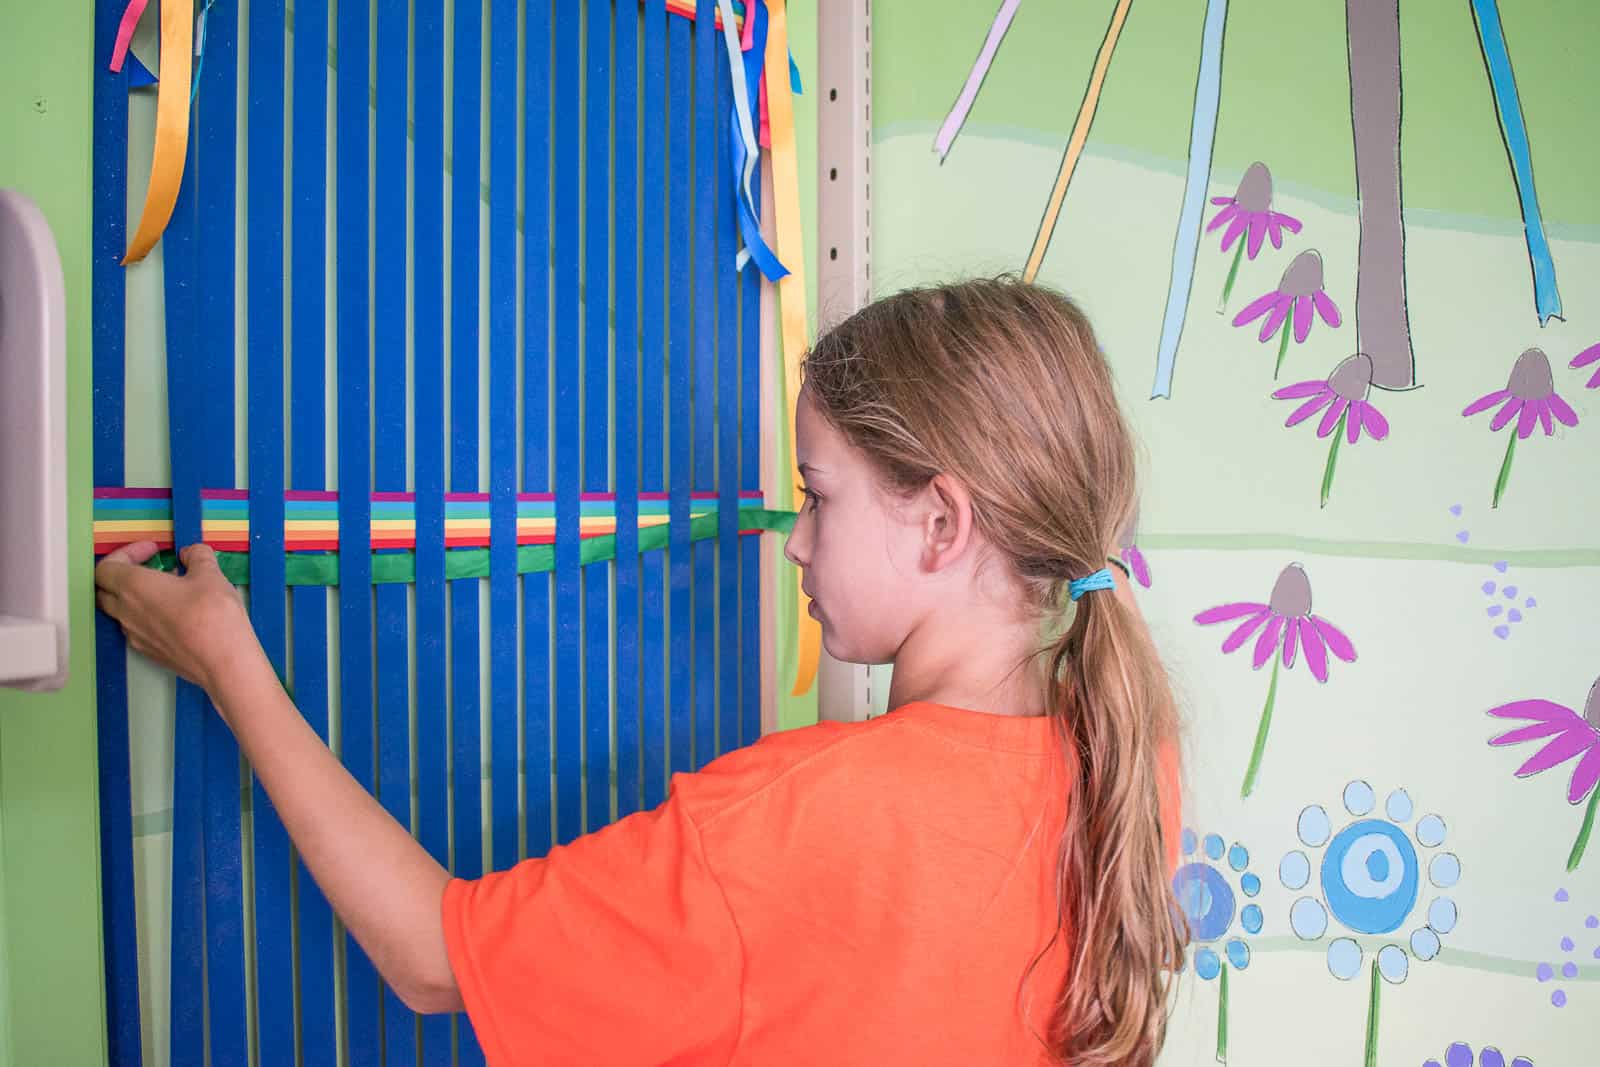
Last but not least, the giant weaving loom. I removed that metal panel and extended the mural. I love how the ribbon from the Maypole ties in with the ribbons on the loom. I got this idea from a similar version I saw at a Children’s Museum on Pinterest. I simply stapled and framed 1″ blue elastic between pine common boards. I added 2 rainbow ribbons to act as anchors so the kids can now use fine motor skills to weave an array of ribbons and ropes in and out through the loom!
I let my three older kids give the room a little test run and they loved it!
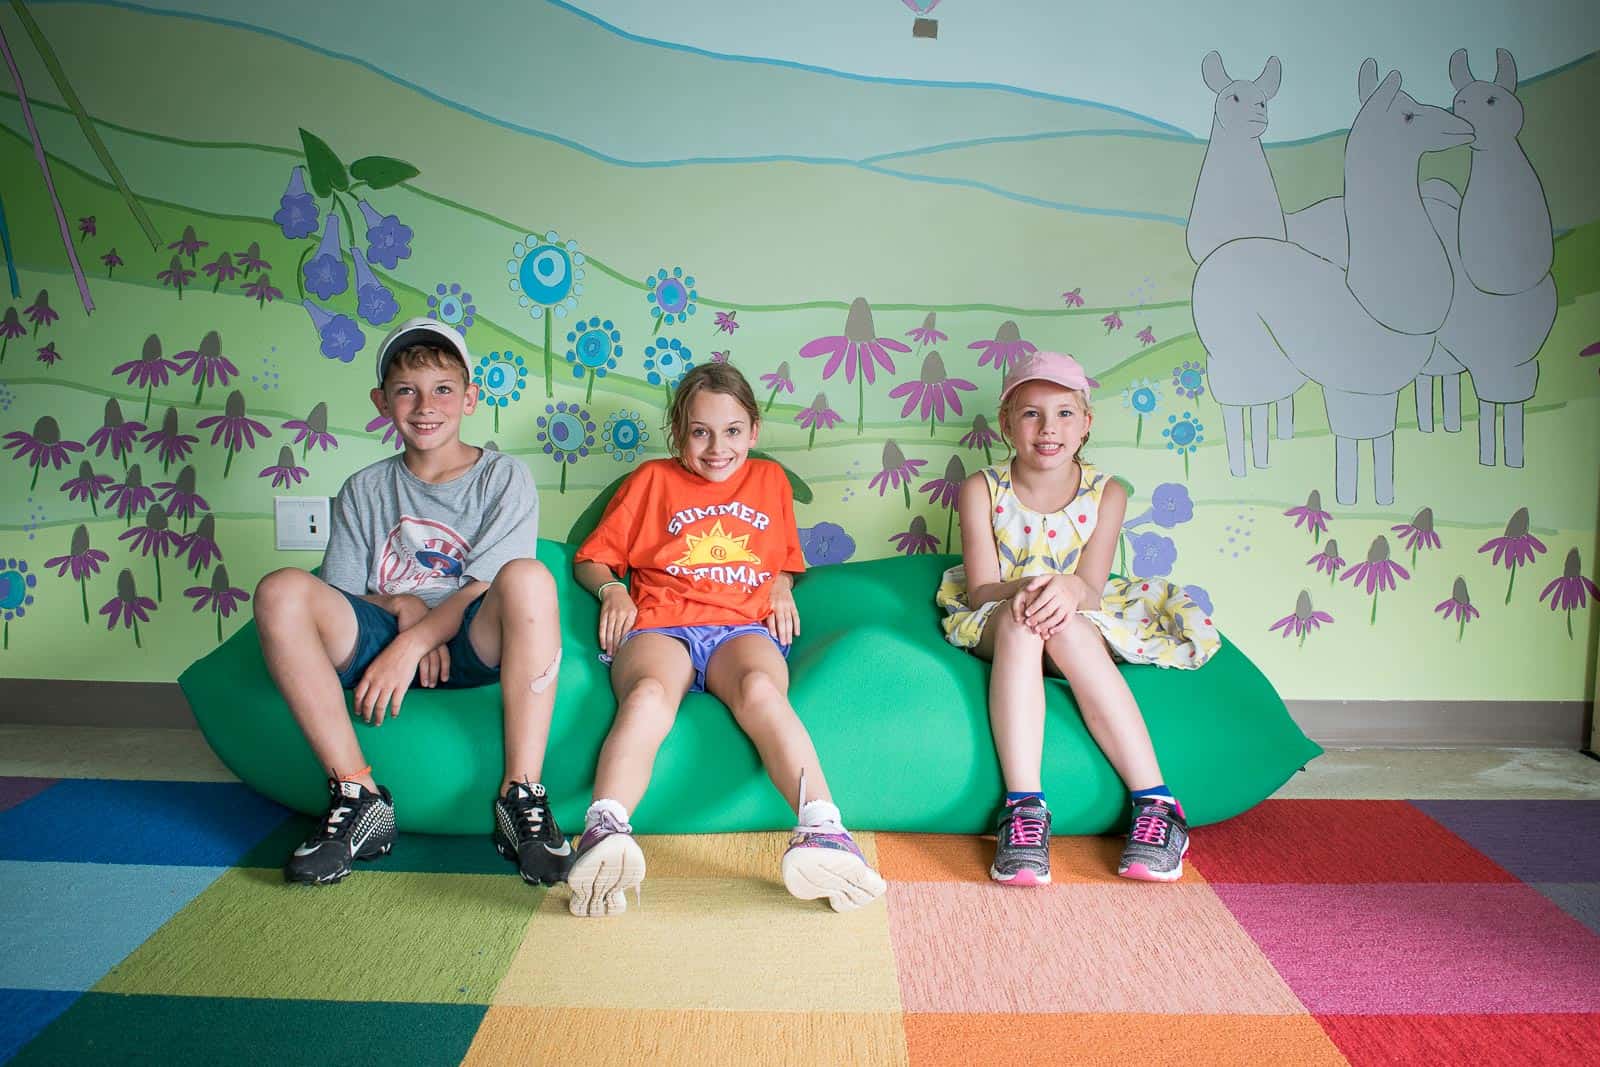
I can’t wait to see how the kids explore and grow into this space. So many amazing possibilities that I know will be nurtured and cultivated! Just to show how far the space came, see all these before and afters! Color is truly a magic wand!
Mural wall before and after
Tree corner before and after
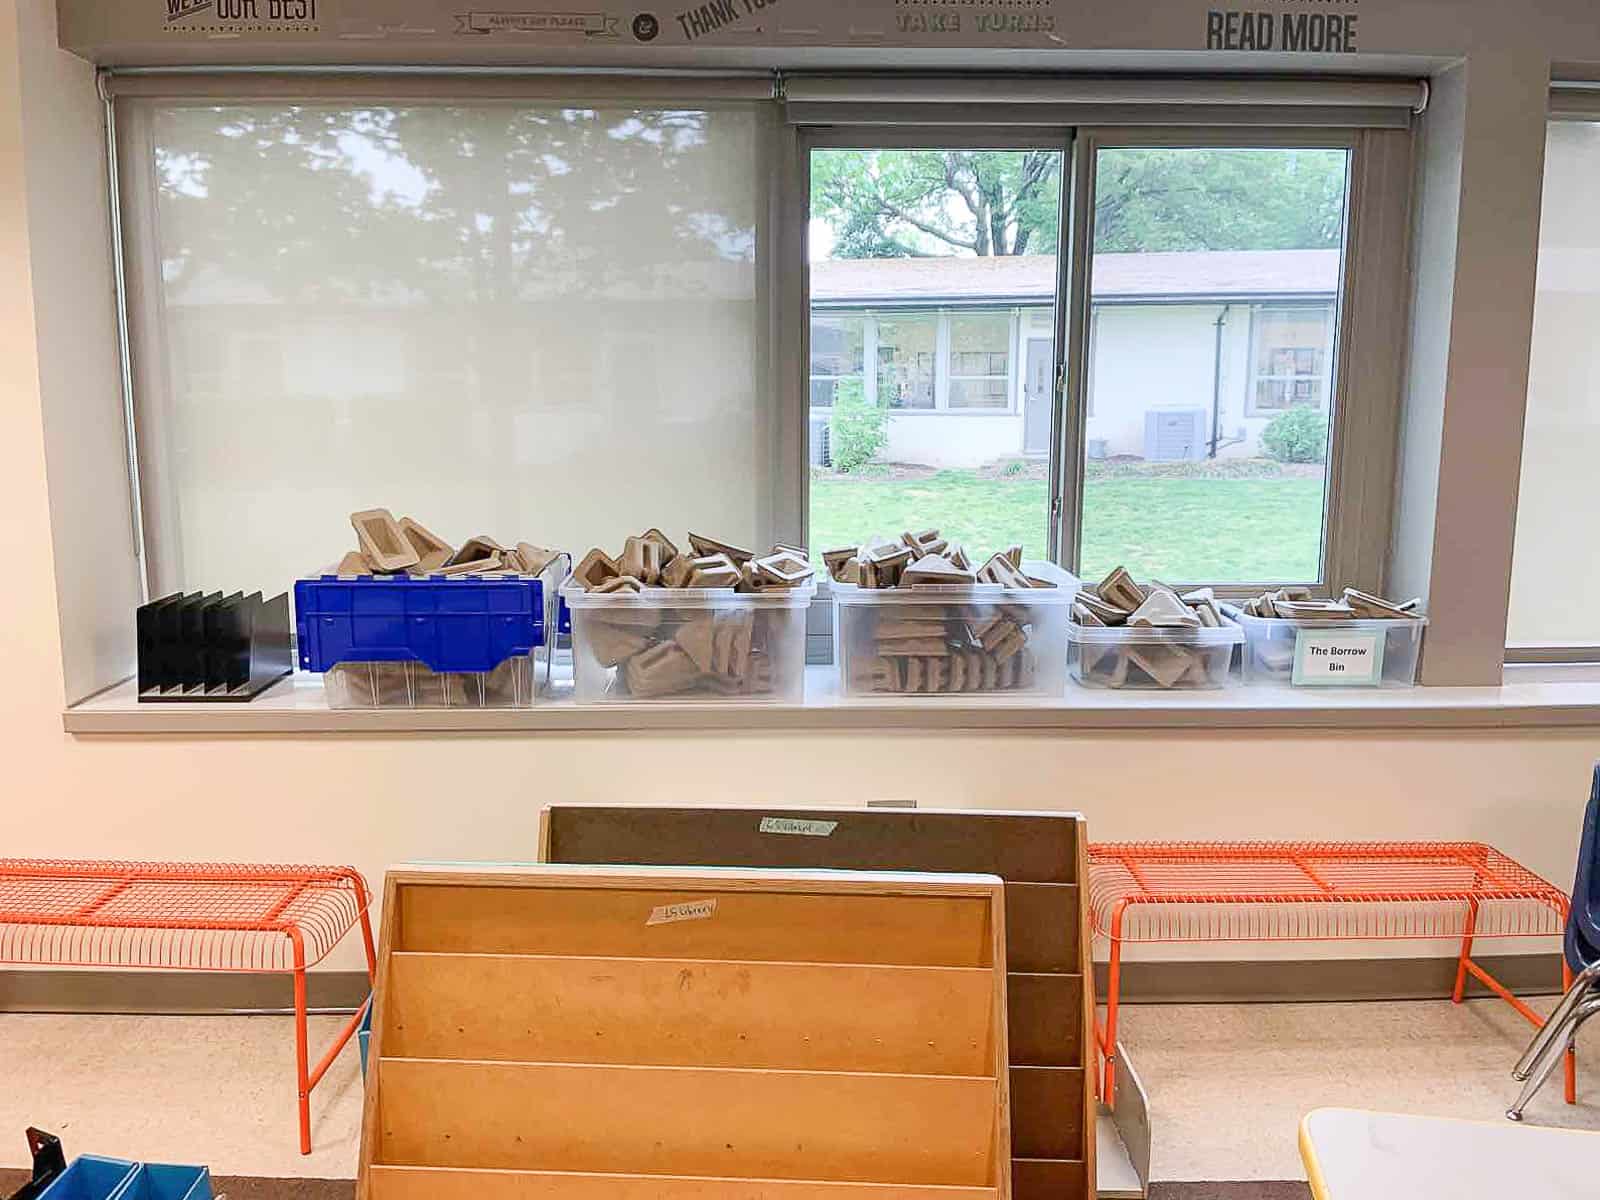
Vertical Sensory Wall before and after
Lego wall before and after
Storage wall before and after
Thanks so much for cheering me on with this project! I had the most tapping into my inner elementary schooler and thinking up a space that would allow for open ended creative play! I can’t wait to see pictures of the space in action!
STEAM Classroom MATERIALS
- FLOR TILES (style: Made You Look) in Blue Jay, Emerald, Kiwi, Light Blue, Marigold, Pink, Iris, Maize, Lavender, Coral, Clementine and Persimmon
- Loft
- Wooden reading nook cubes
- Murphy (folding) table
- Bins
- Floor cushions
Everything else is linked HERE in the Library STEAM classroom part of my Amazon Shop!



This is a magical mix of creativity, ingenuity and function. Well done! These school children are lucky indeed.
I can’t wait to see how they use the space! THanks so much! xx
Charlotte, I am blown away by what you have created in/for this space. It is truly magical. Cheers, Ardith
Thanks, Ardith! This was such a joy to work on!!
This is one of my FAVORITE projects you’ve ever done, the transformation is incredible!
Oh my gosh… thank you! It was BEYOND fun to work on!
This is truly incredible. SO many fun ideas packed into an imagination-inspiring space! The kids will love this for years to come.
Thank you! Truly one of my most favorite projects!