DIY Sliding Barn Door
Psssst… this post *might* contain affiliate links: see my disclosure here.
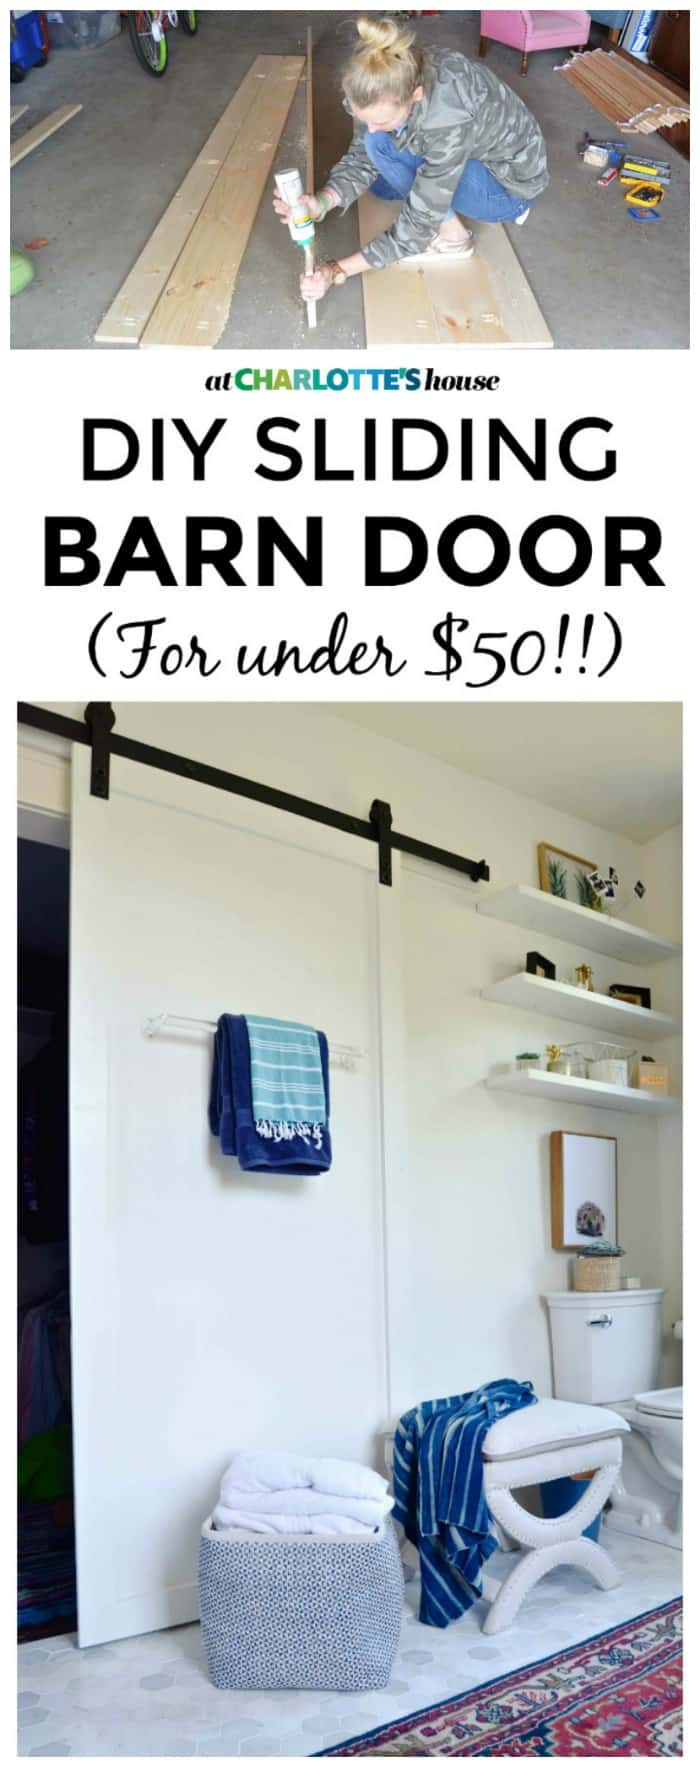
I love you all SO much… your kind words and encouragement and cheering were always in the back of my head during this bathroom project and you got me to the finish line! I love reading all of your amazing comments and am over the moon that the space is FINISHED! Bubble baths for daysssss! One of the projects I finished last in the room was that amazing sliding barn door, so today I’m going to share the tutorial for that with you.
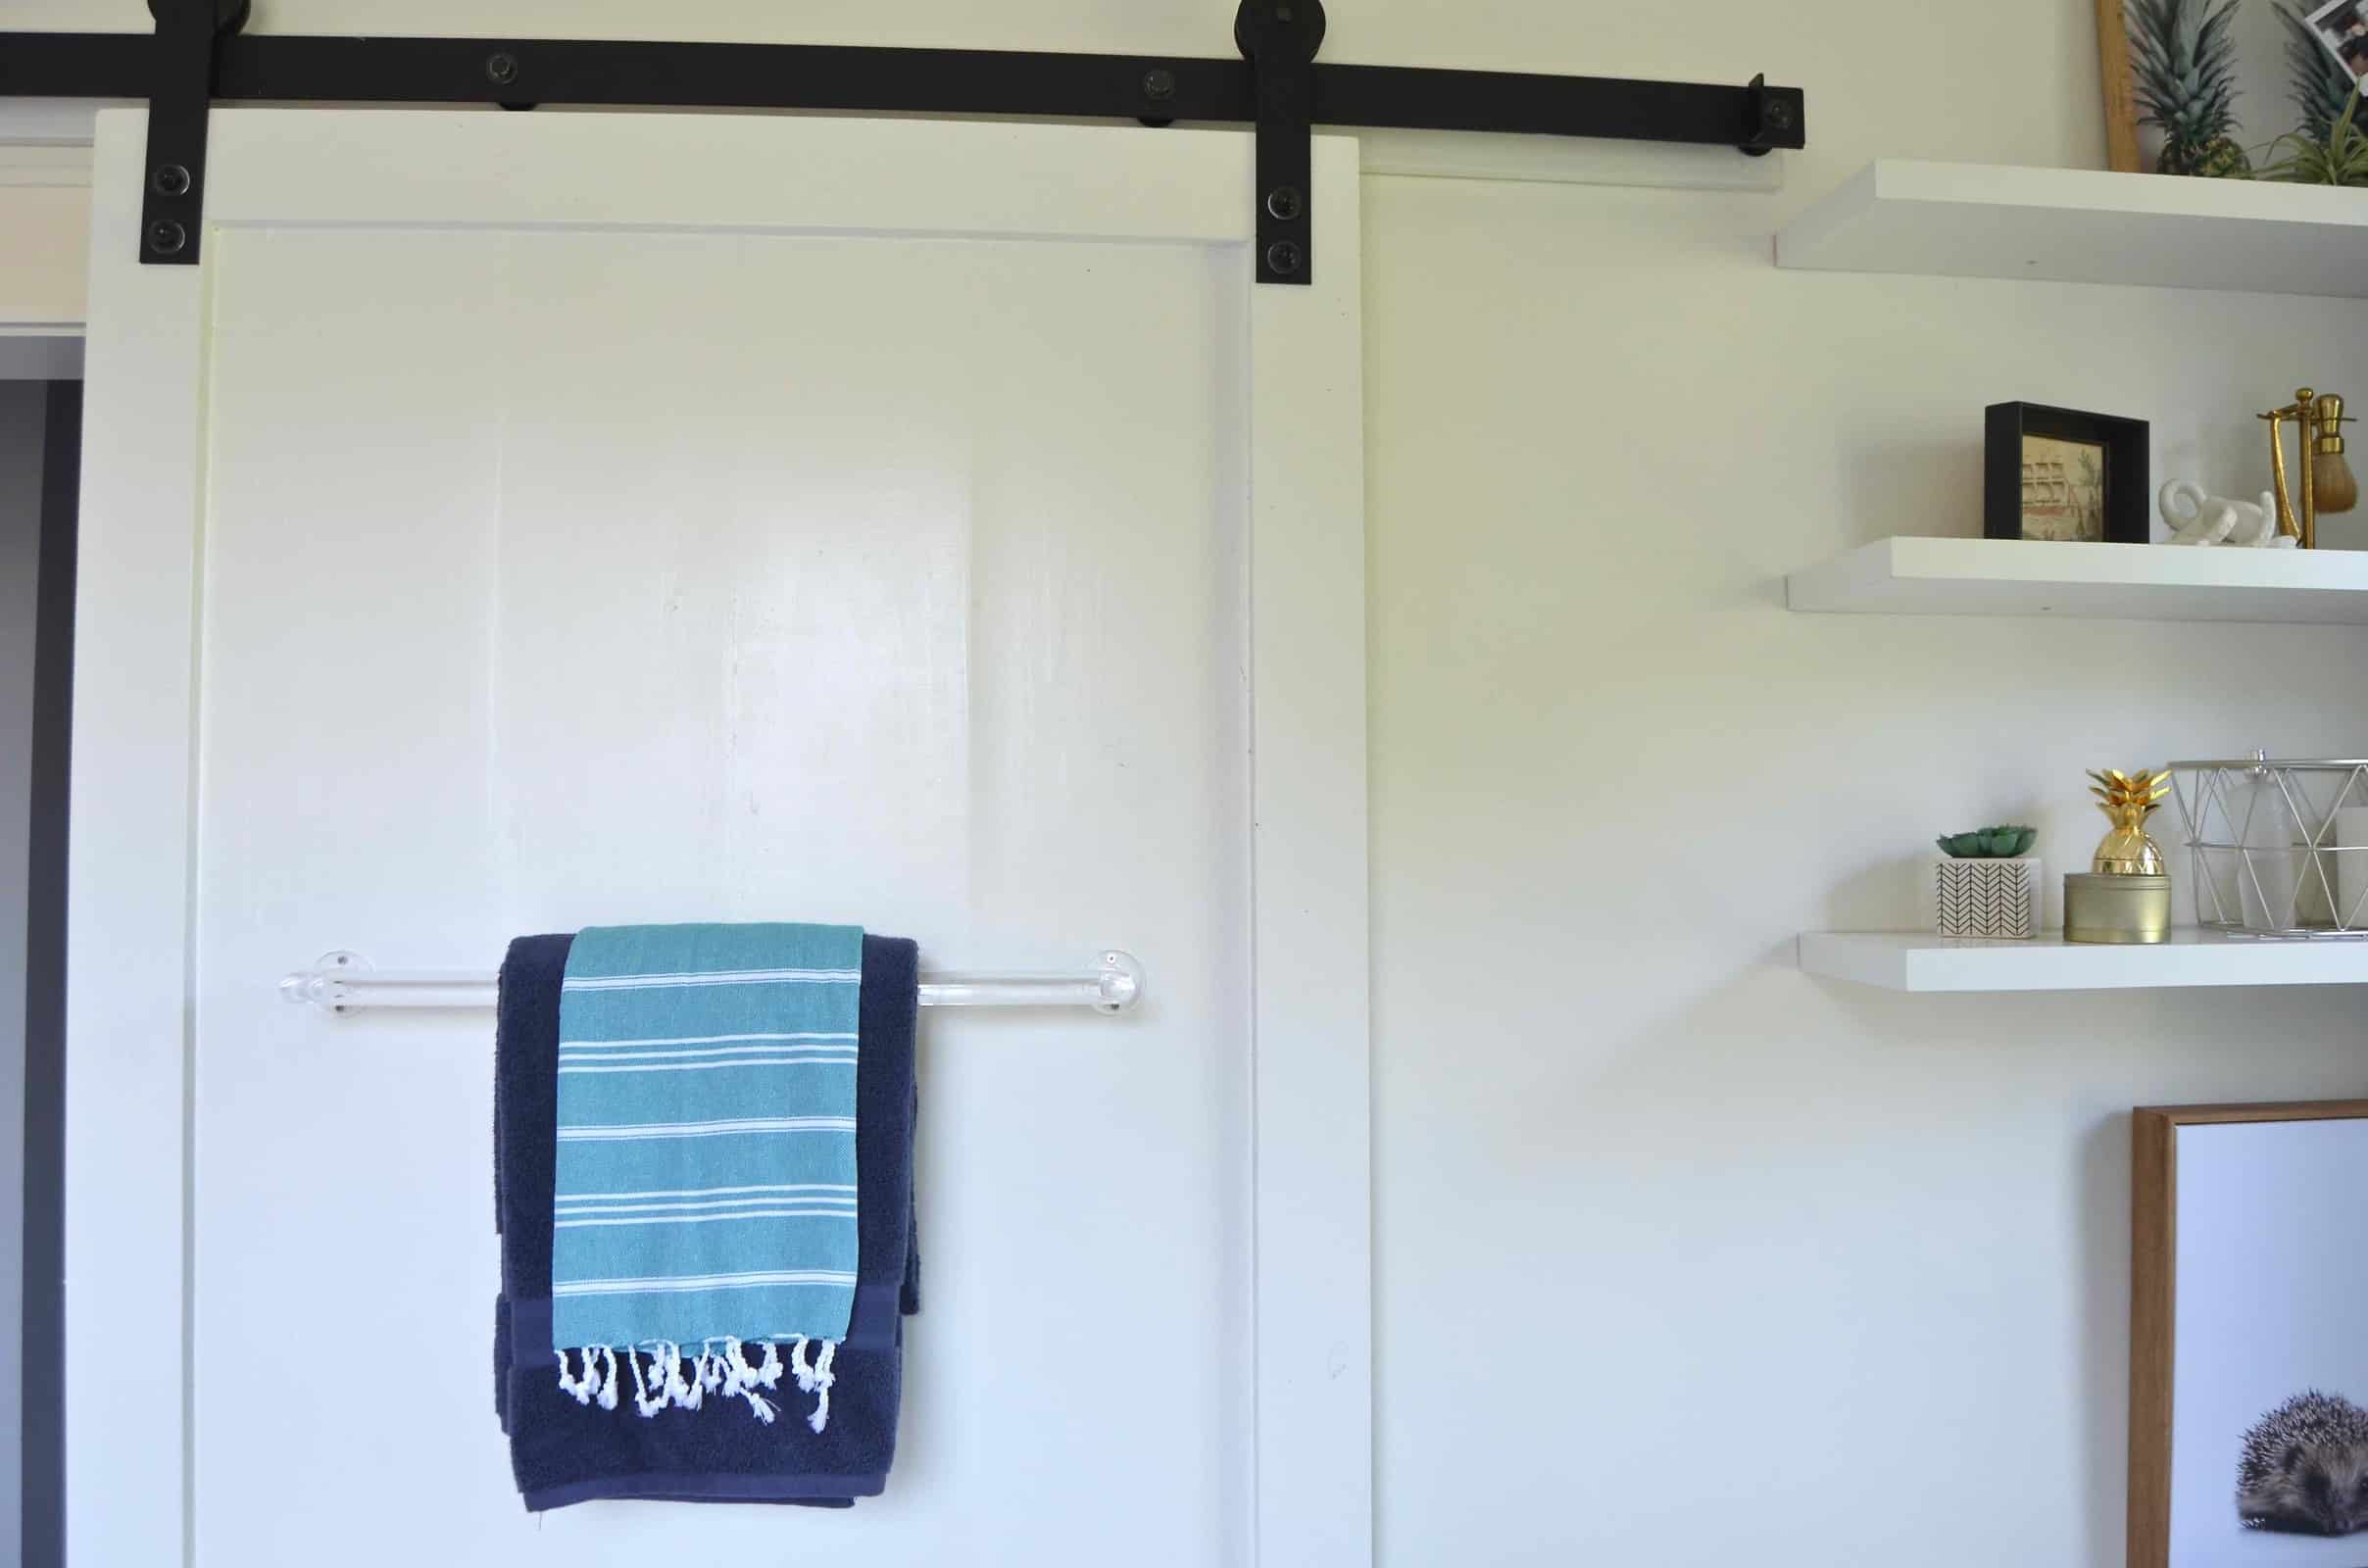
How to Build a Sliding Barn Door
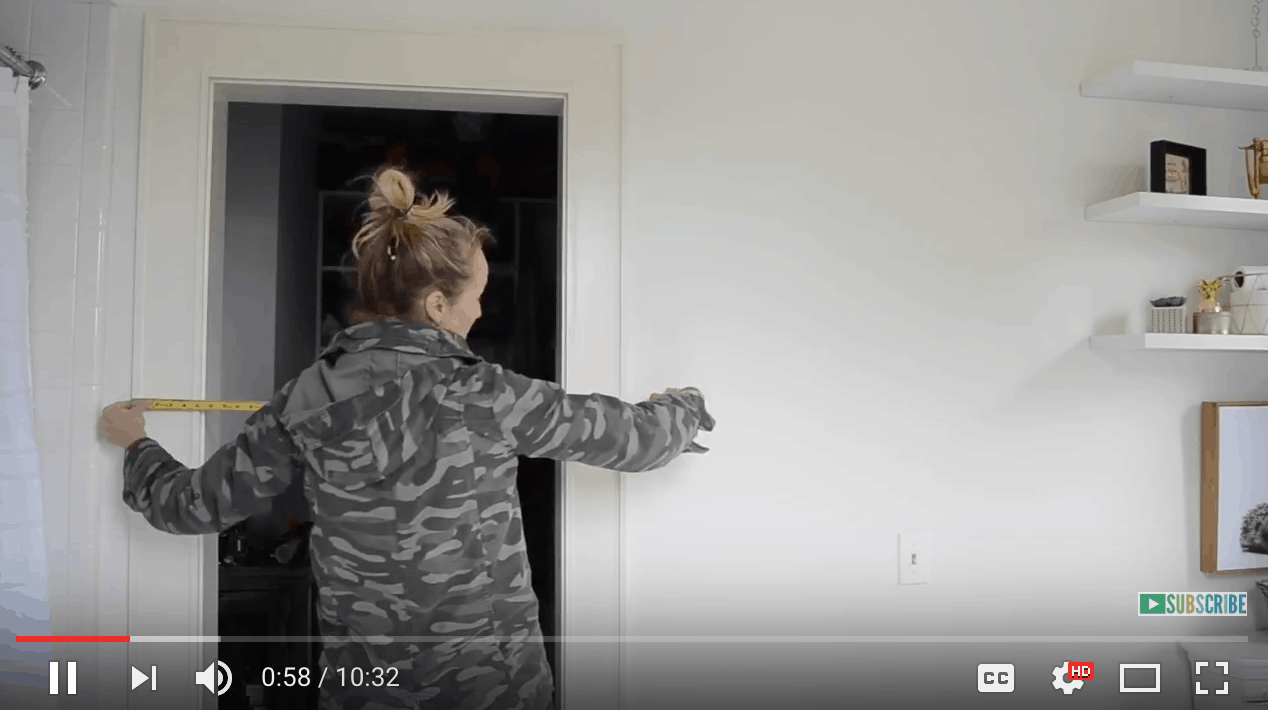
Step 1. Measure
Determine how large you want your door. I scrolled through Pinterest a lot to get a sense of how other sliding doors worked, and ultimately decided I wanted ours to cover the door opening as well as the trim when closed. Your barn door hardware will determine the height of your door.
Shop my favorites!
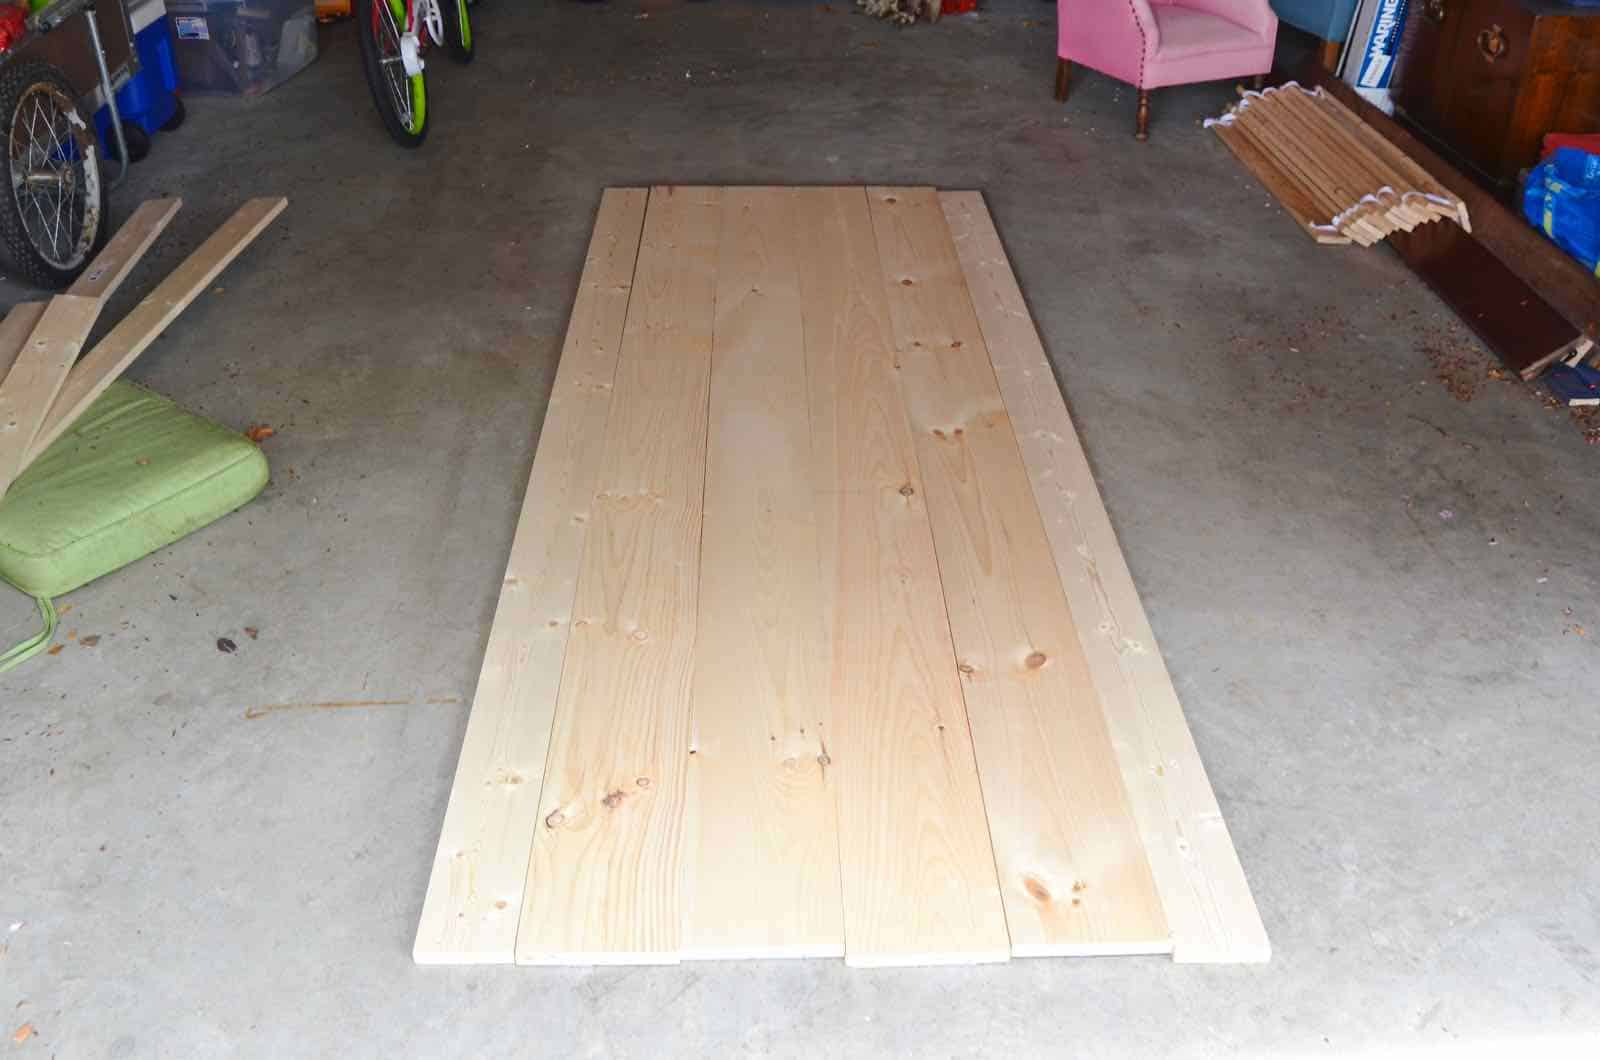
Step 2. Wood
For something like a door, you’ll need pristine lumber which can be easier said than done. Take the time to inspect each board (hold it out in front of you at arm’s length and look down the length) to make sure there’s no cupping or warping or twisting. I’m using basic pine to cut costs, but… it took a little while to find perfect boards. I mixed and matched different boards to get the correct dimension for my door… I didn’t want to rip down boards.
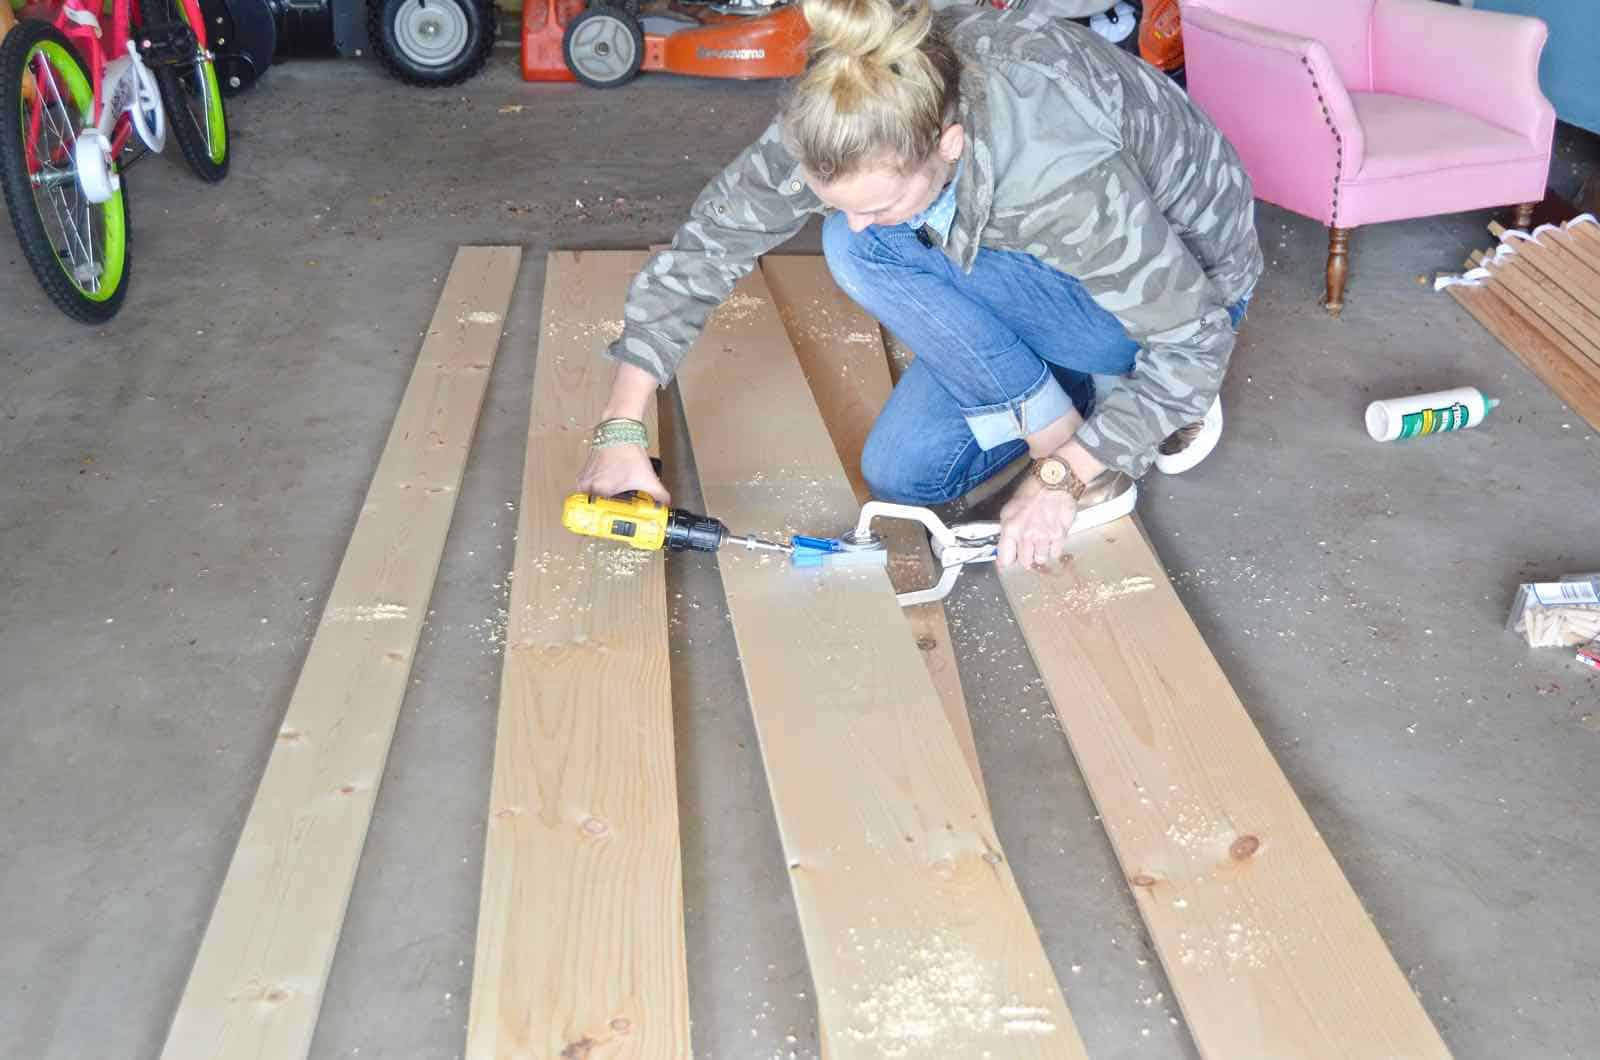
Step 3. Pocket Holes
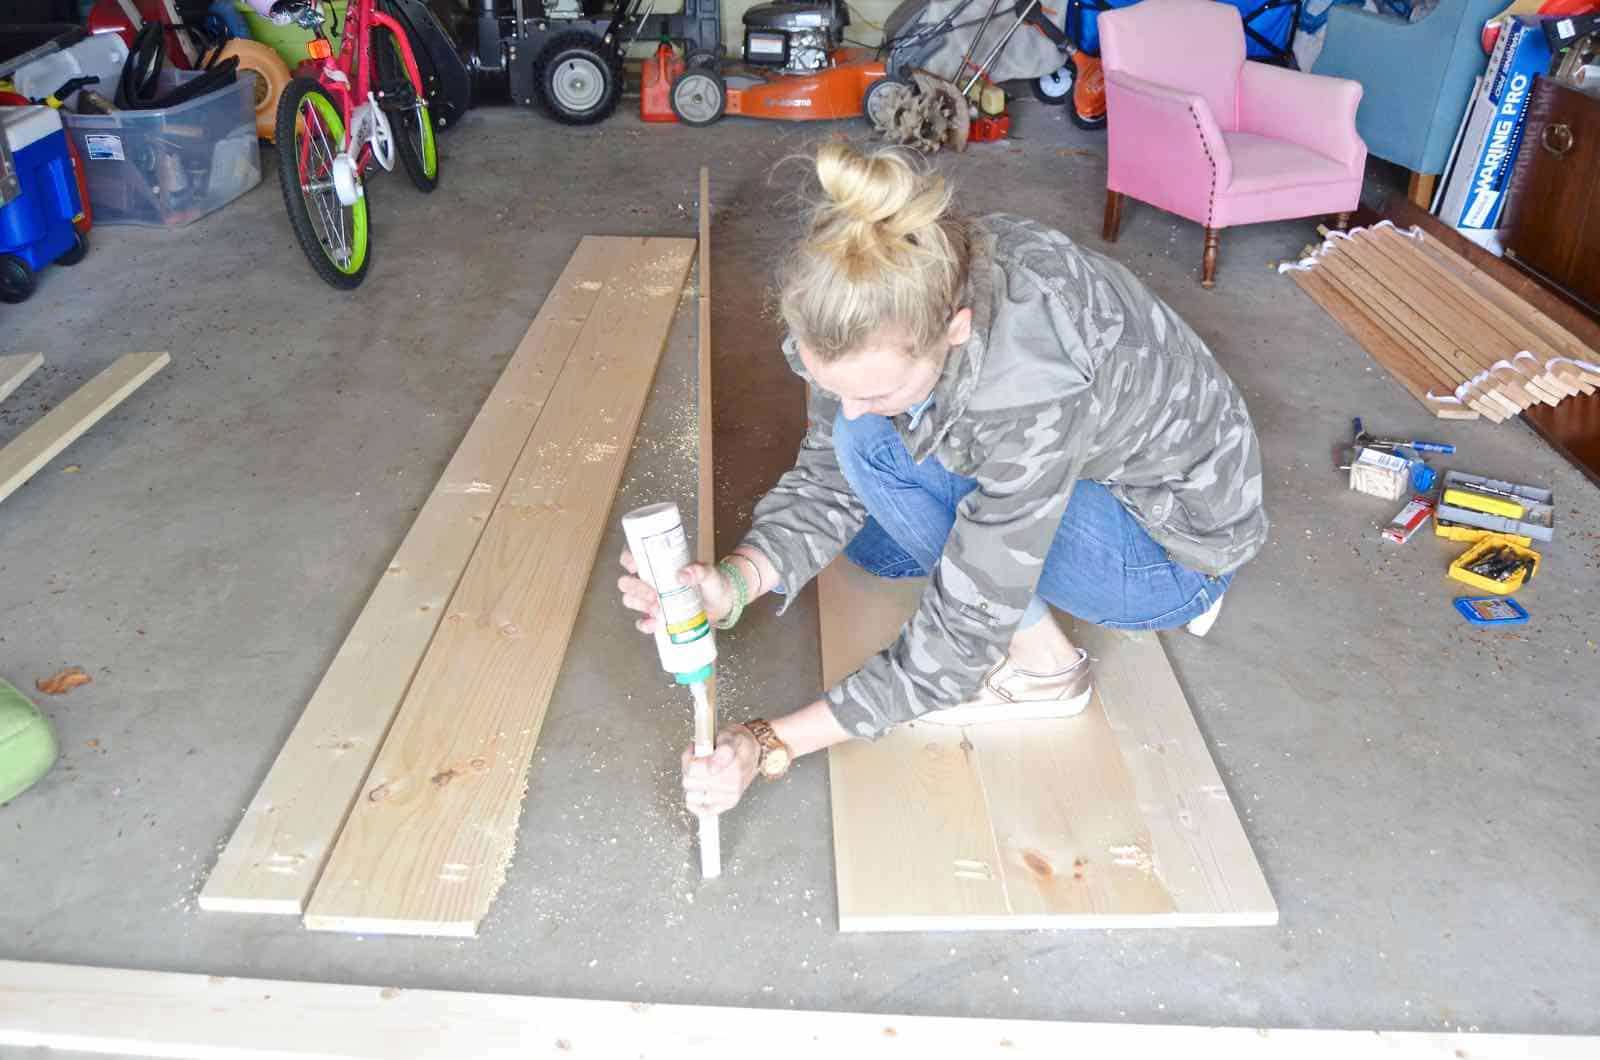
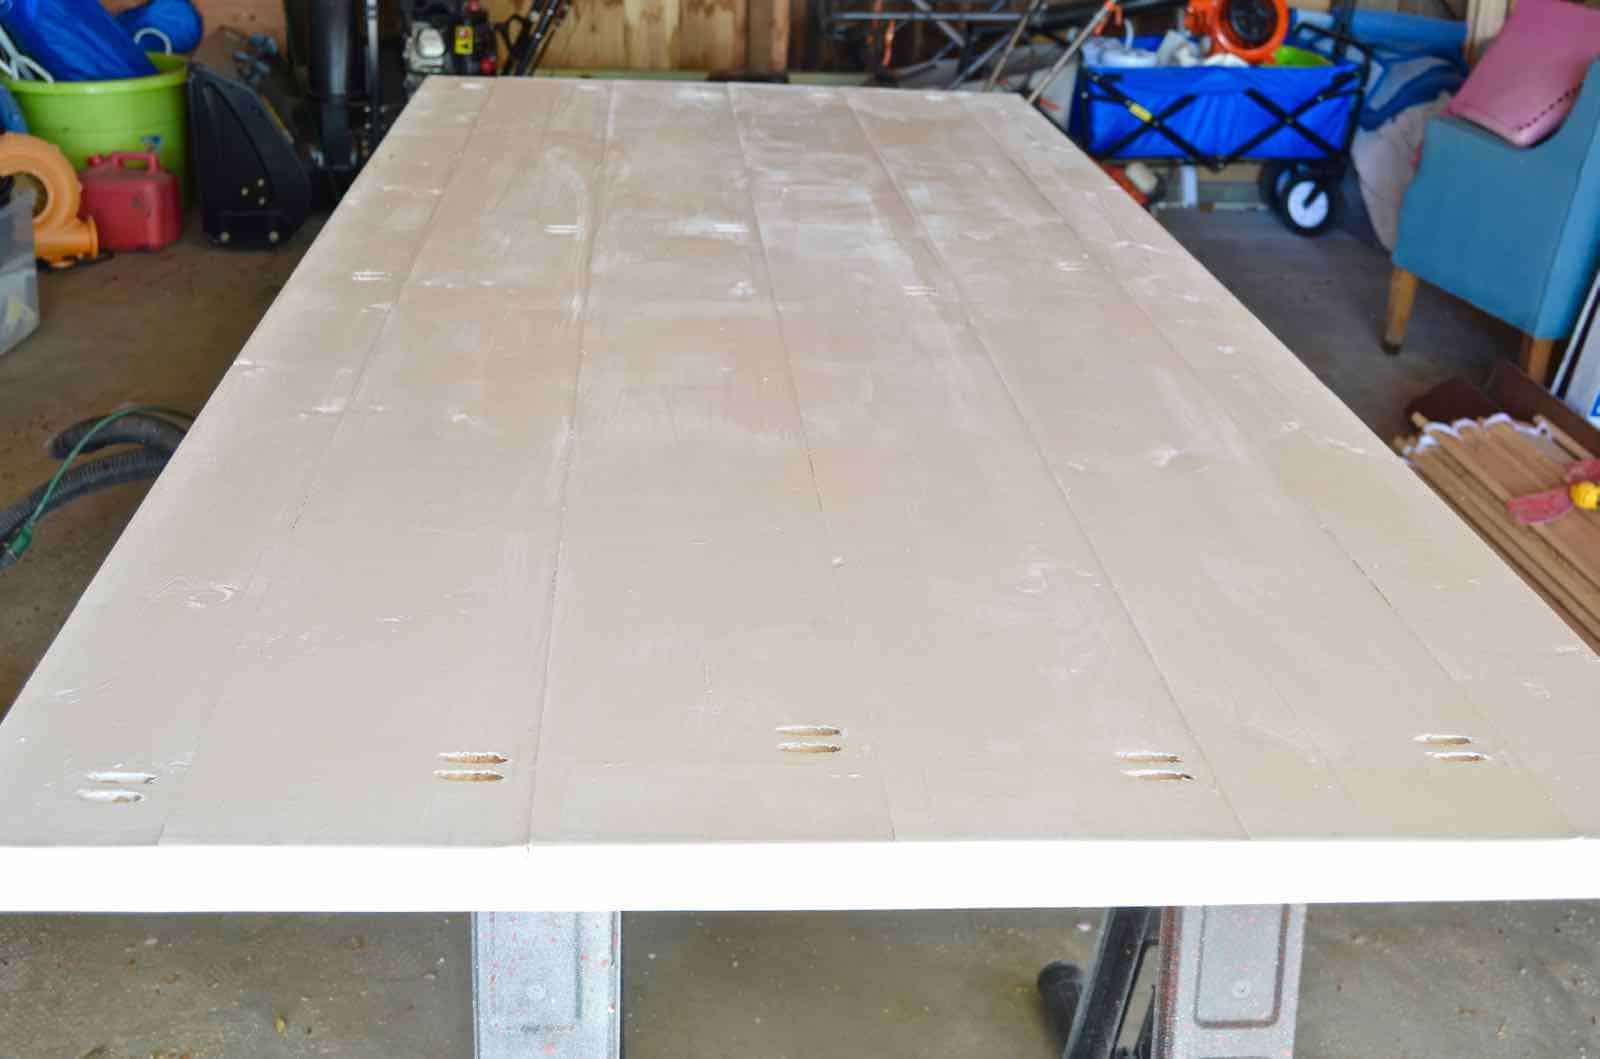
Our door will NEVER be visible from the back so… I used picket holes without worrying about concealing them (yay!). I made 4 pairs of pocket holes in each board and then screwed them all together to make the basic foundation of the door.
Step 4. Cut to Length
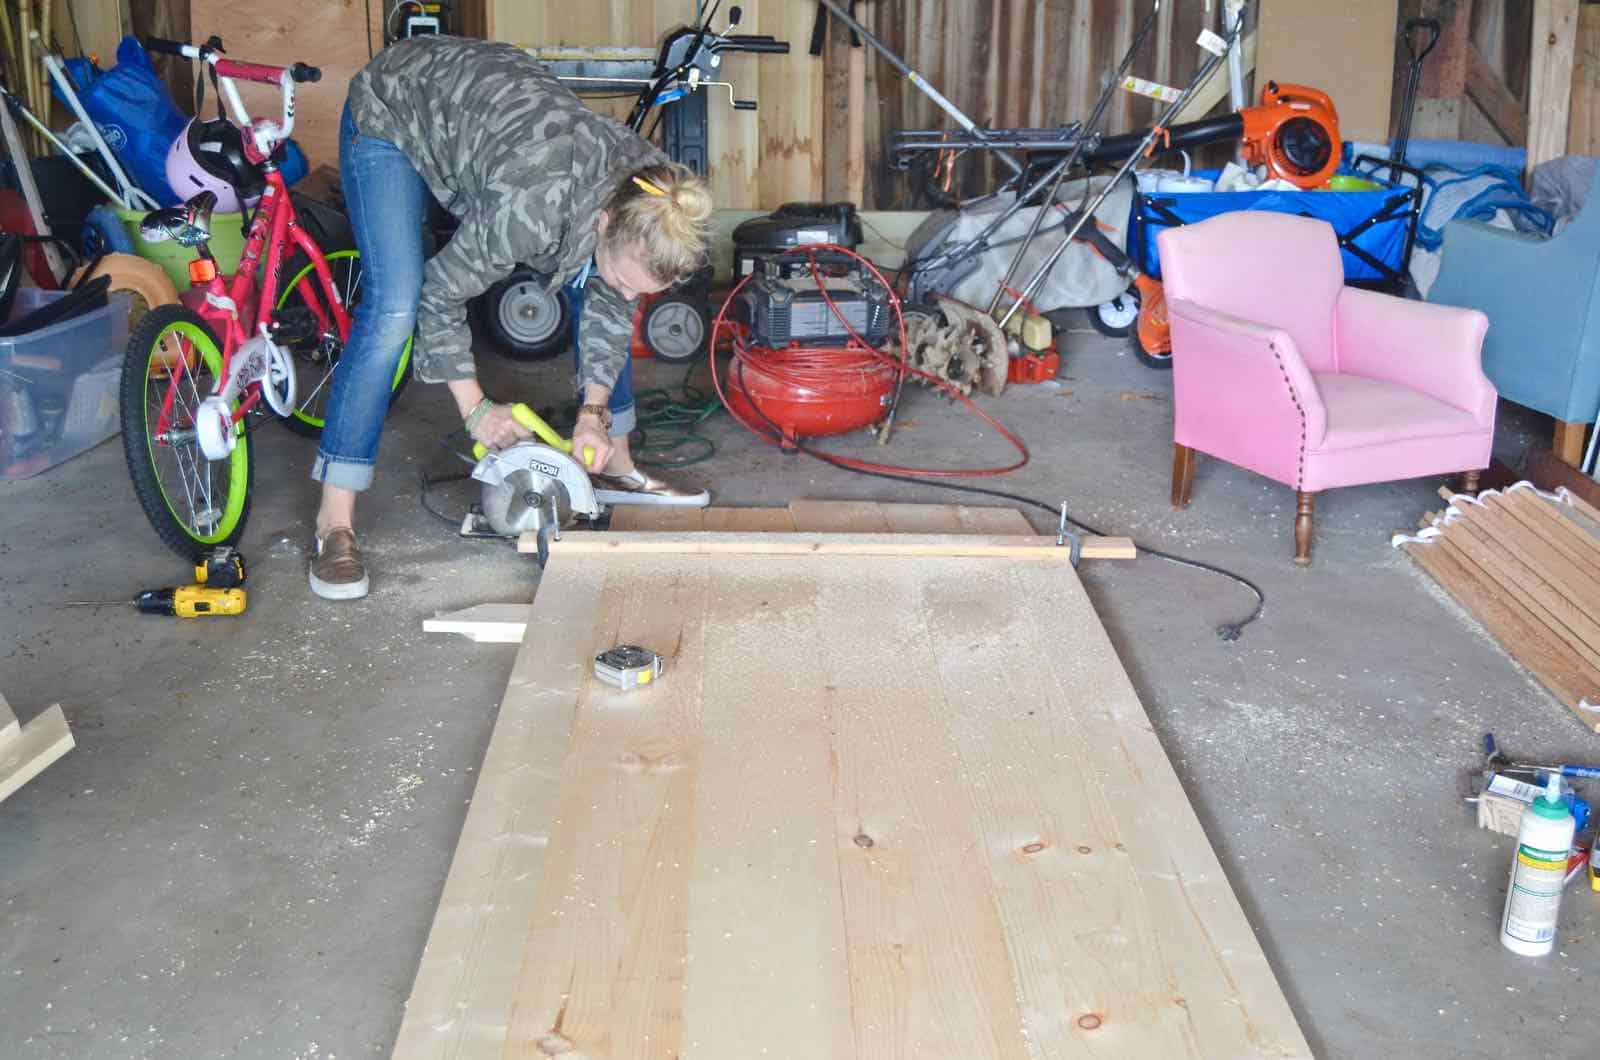
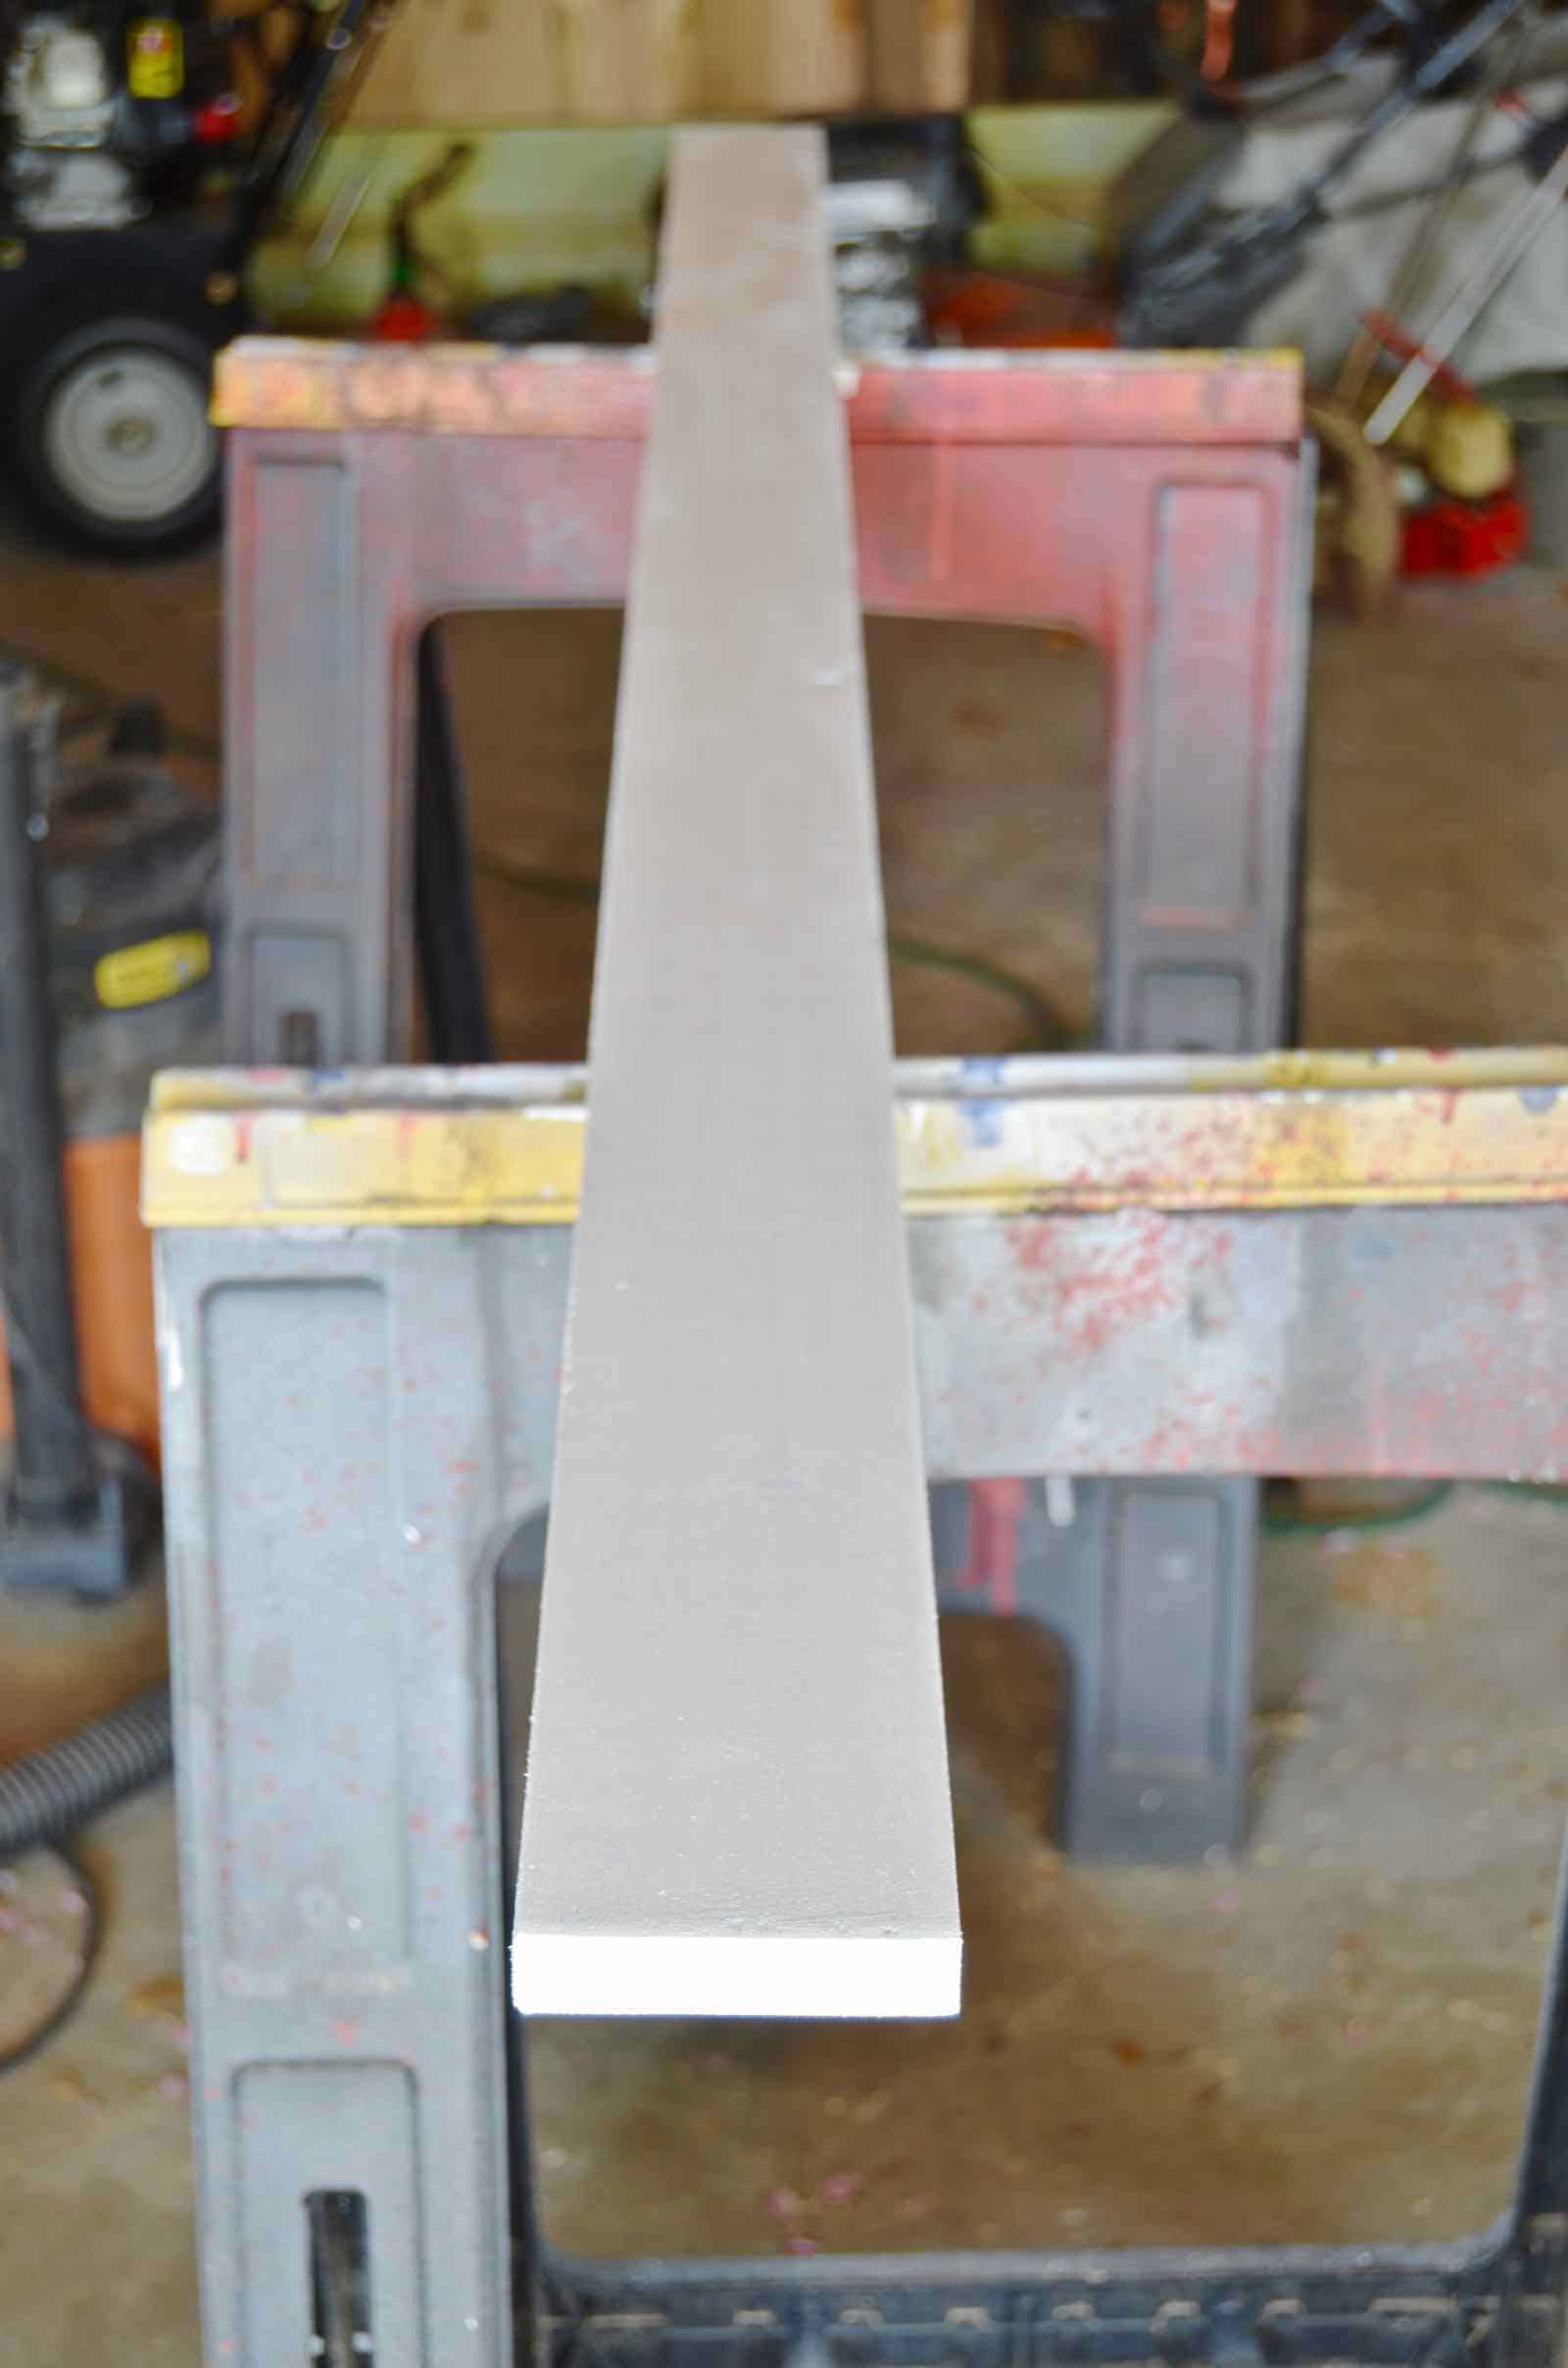
My pine boards were 8 feet long which was too long for my door. I measured my length and clamped a board to use as a guide for my circular saw.
Step 5. Add Trim
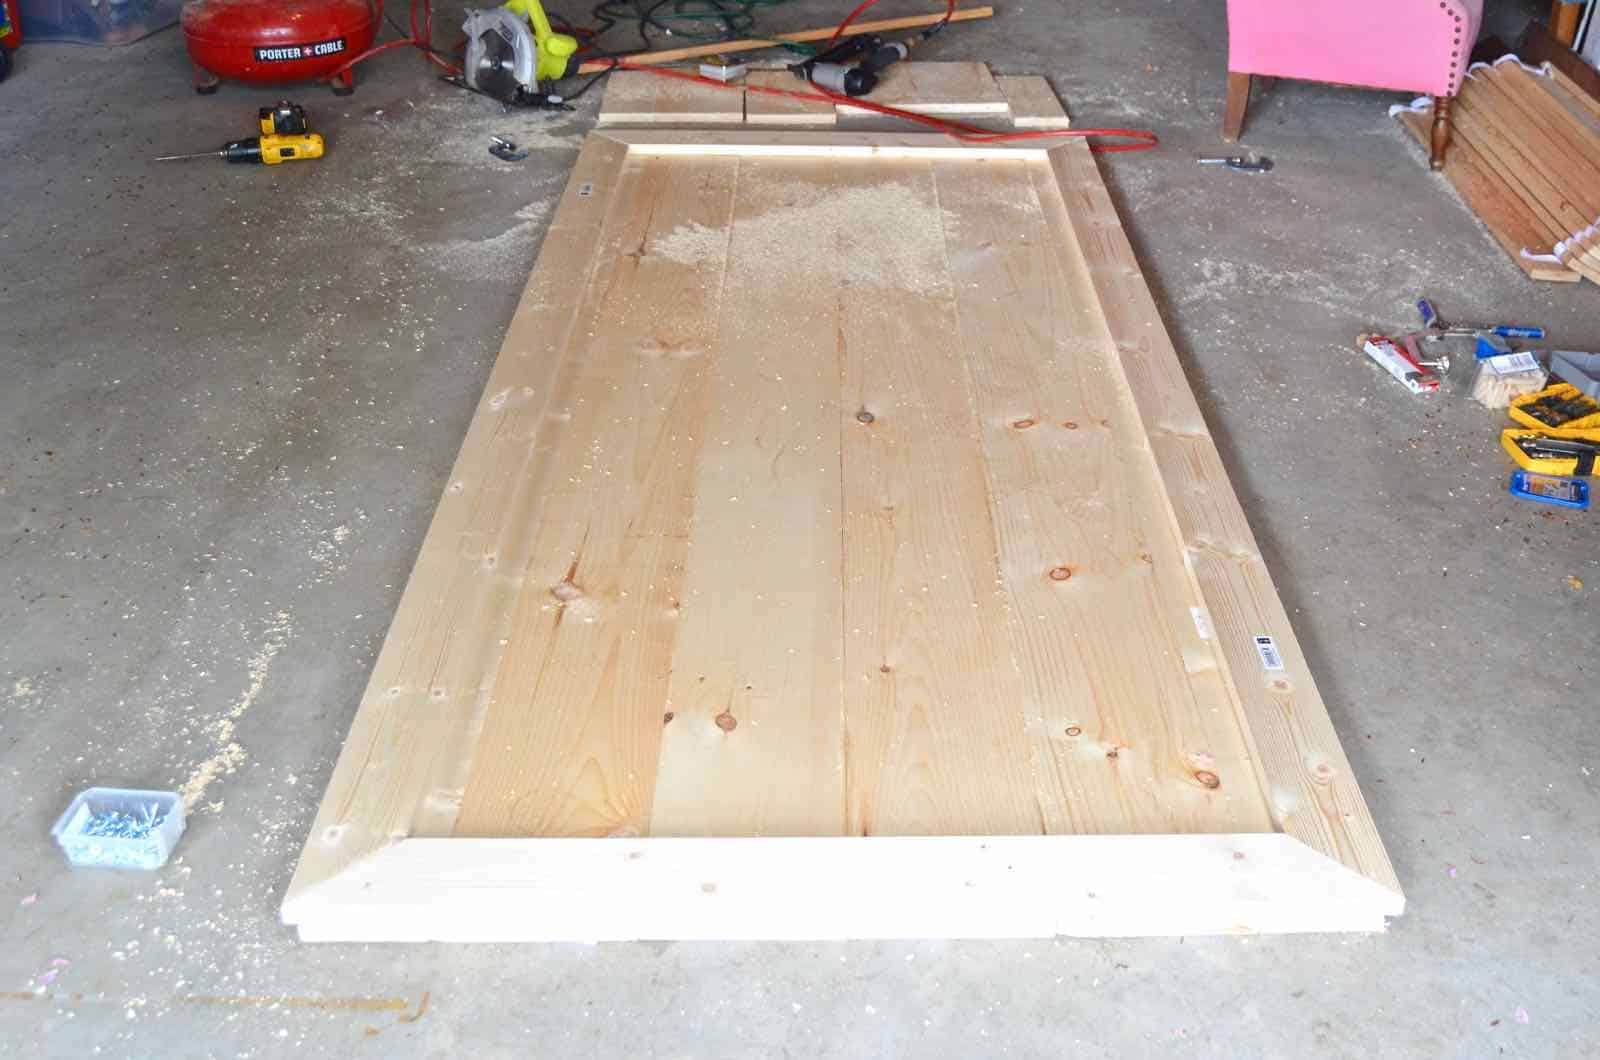
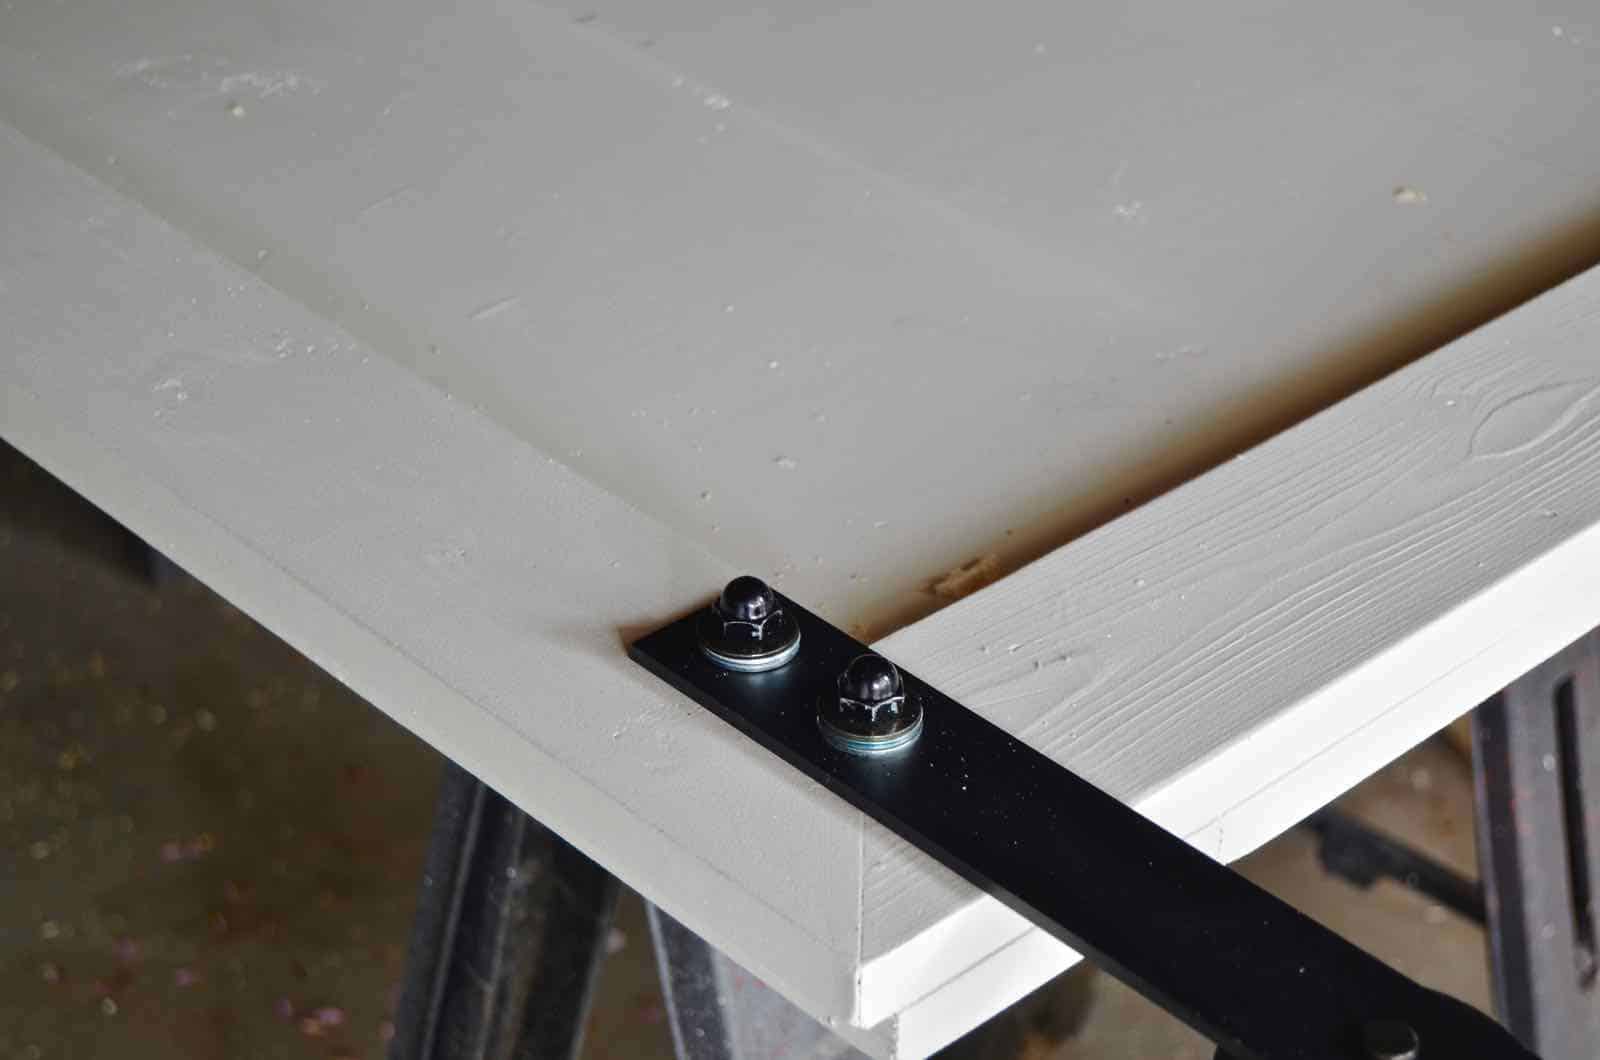
To add both a nice detail as well as structure, I added a frame around the door with mitered corners.I used both wood glue and my brad nailer to attach the frame to the door.
Step 6. Wood filler
I used wood filler to fill in not just the nail holes but also any cracks or misalignment between my boards that were screwed together with pocket holes.
Step 7. Sand
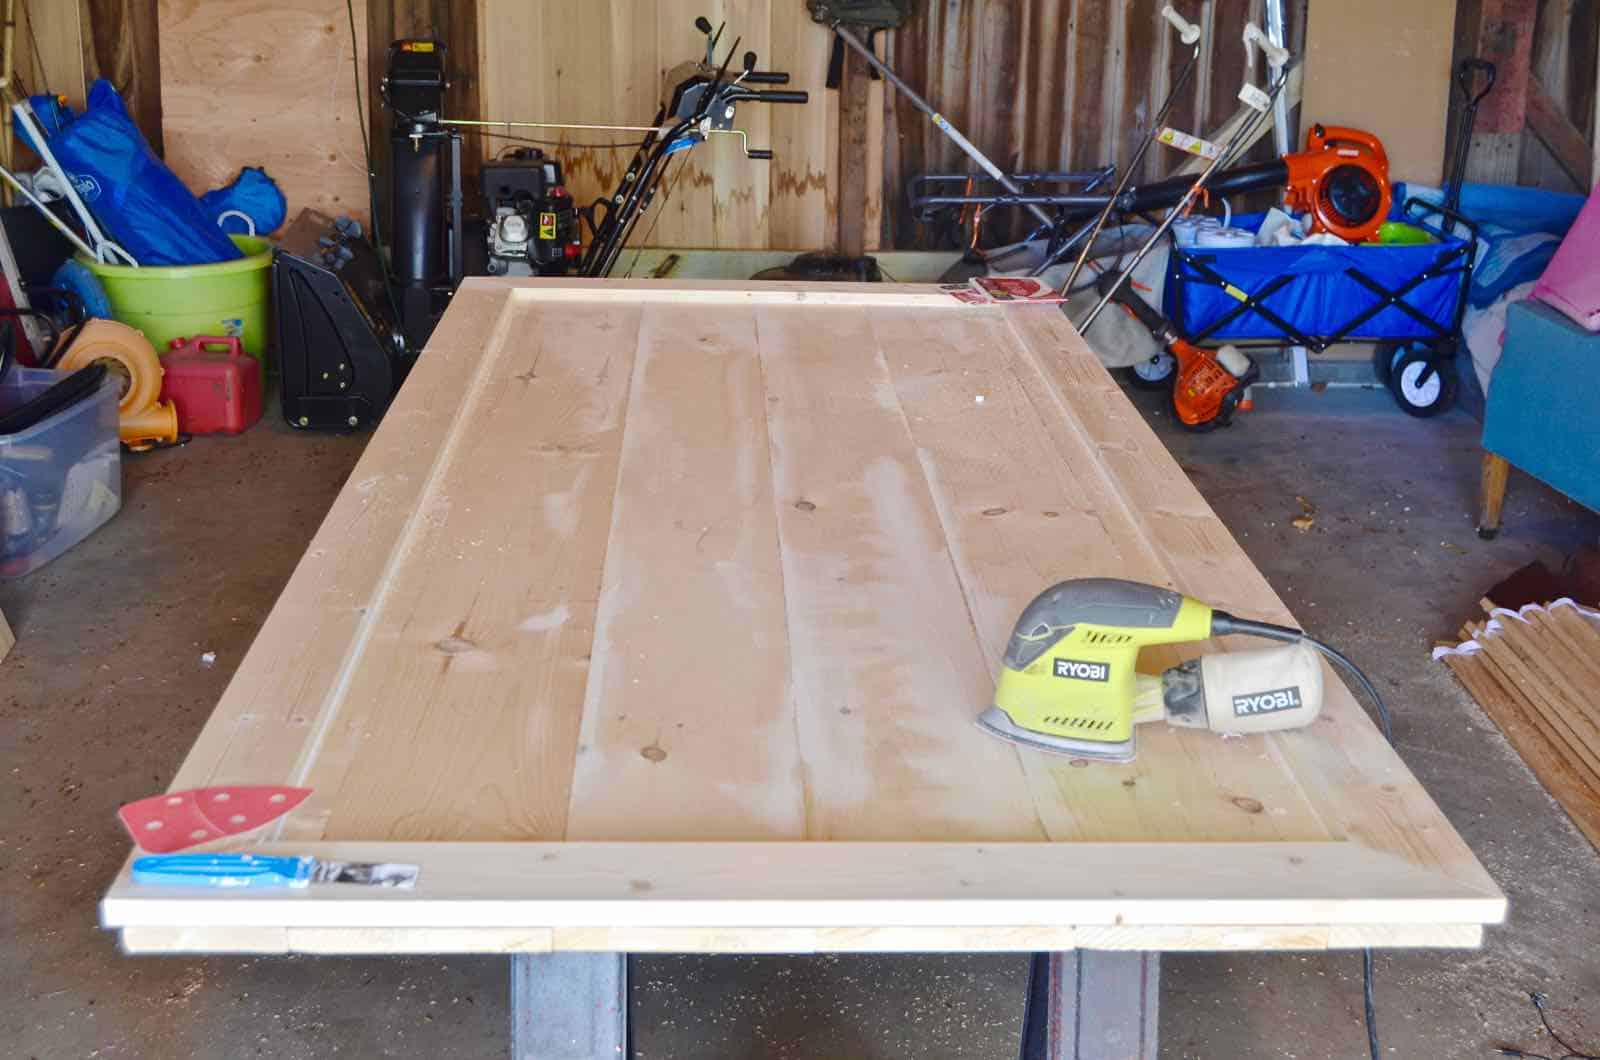
Sand. A lot. I sanded the front and the places where I’d applied fill a ton. (Note: IF you’re planning to stain, then be careful with the wood filler… it will usually look different than the wood when stained.)
Step 8. Caulk
Run a bead of caulk along the inside edge of your door where the trim meets the door.
Step 9. Paint
I painted my door the same color as the walls (BM White Dove), but in a slightly glossier sheen as I would with any trim.
Step 10. Install Hardware
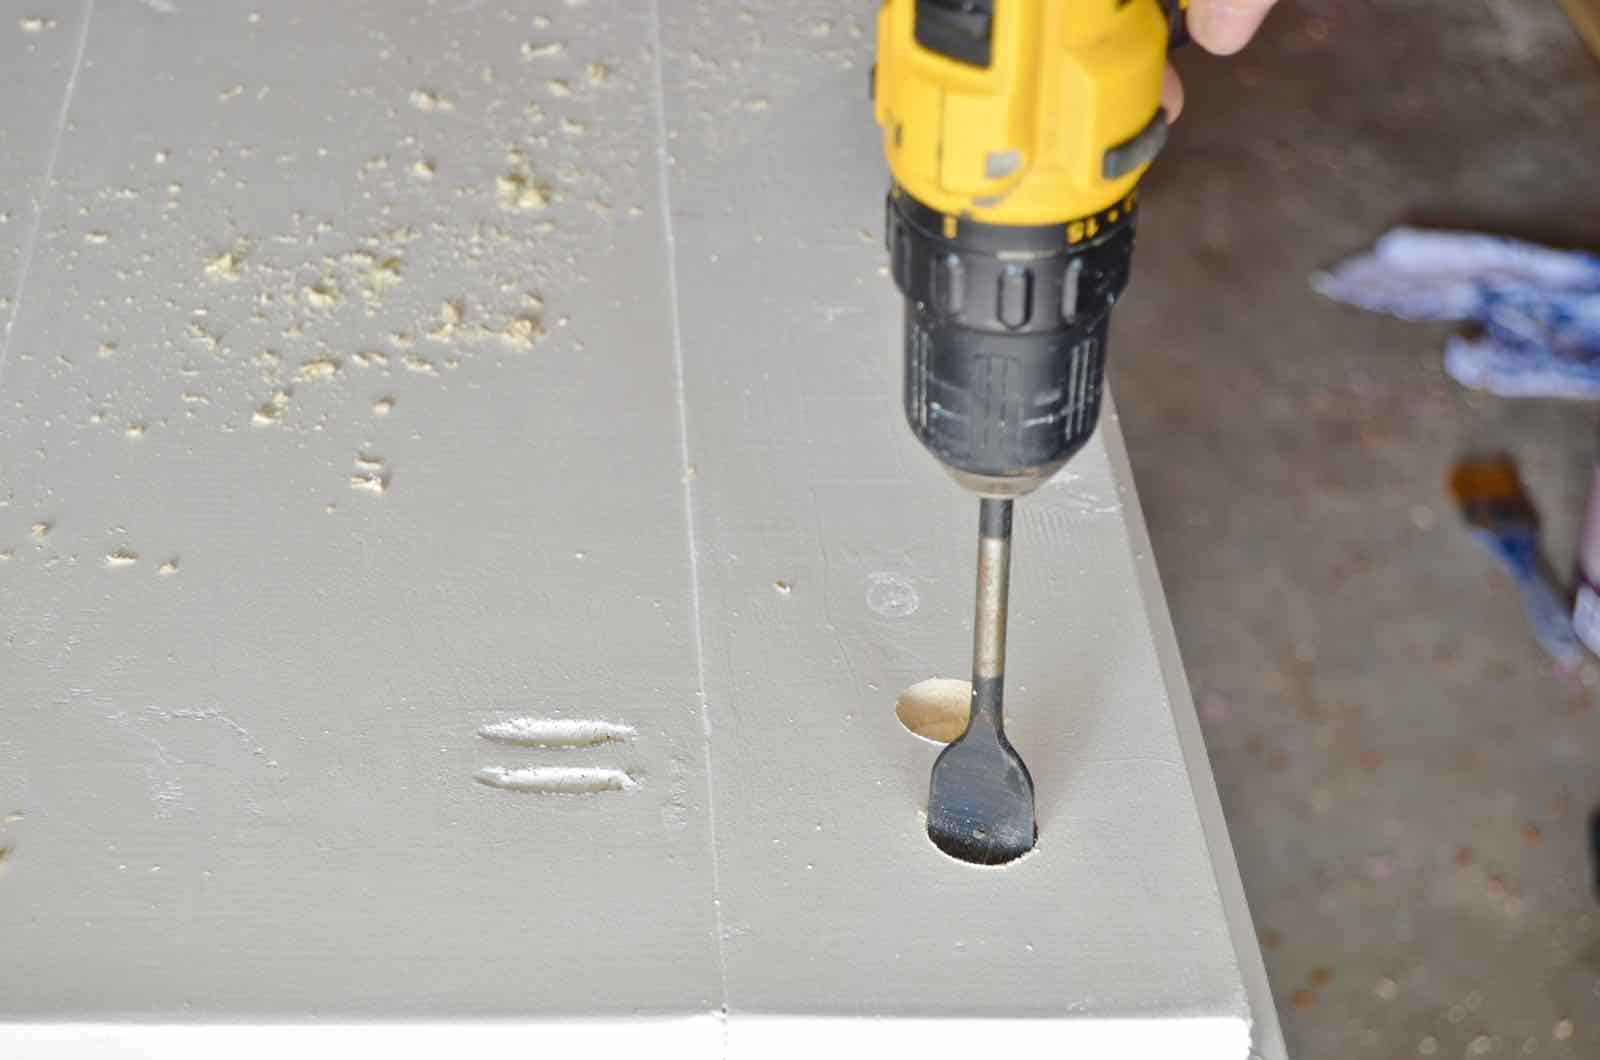
I suspect that all barn door hardware is not created equal, but mine was very simple (I used this affiliate one from The Home Depot). I measured to determine where my hangers should be installed per the instructions and then I drilled pilot holes to act as a guide. One the back of the door, I had to drill a 1″ hole with a spade bit so that my lag screw wouldn’t stick out over the edge of the door. Then I flipped the door over, and drilled another hole (5/8″ I think) to accommodate the lag bolts. With holes drilled, it was easy to attach the hangers and ratchet in place!
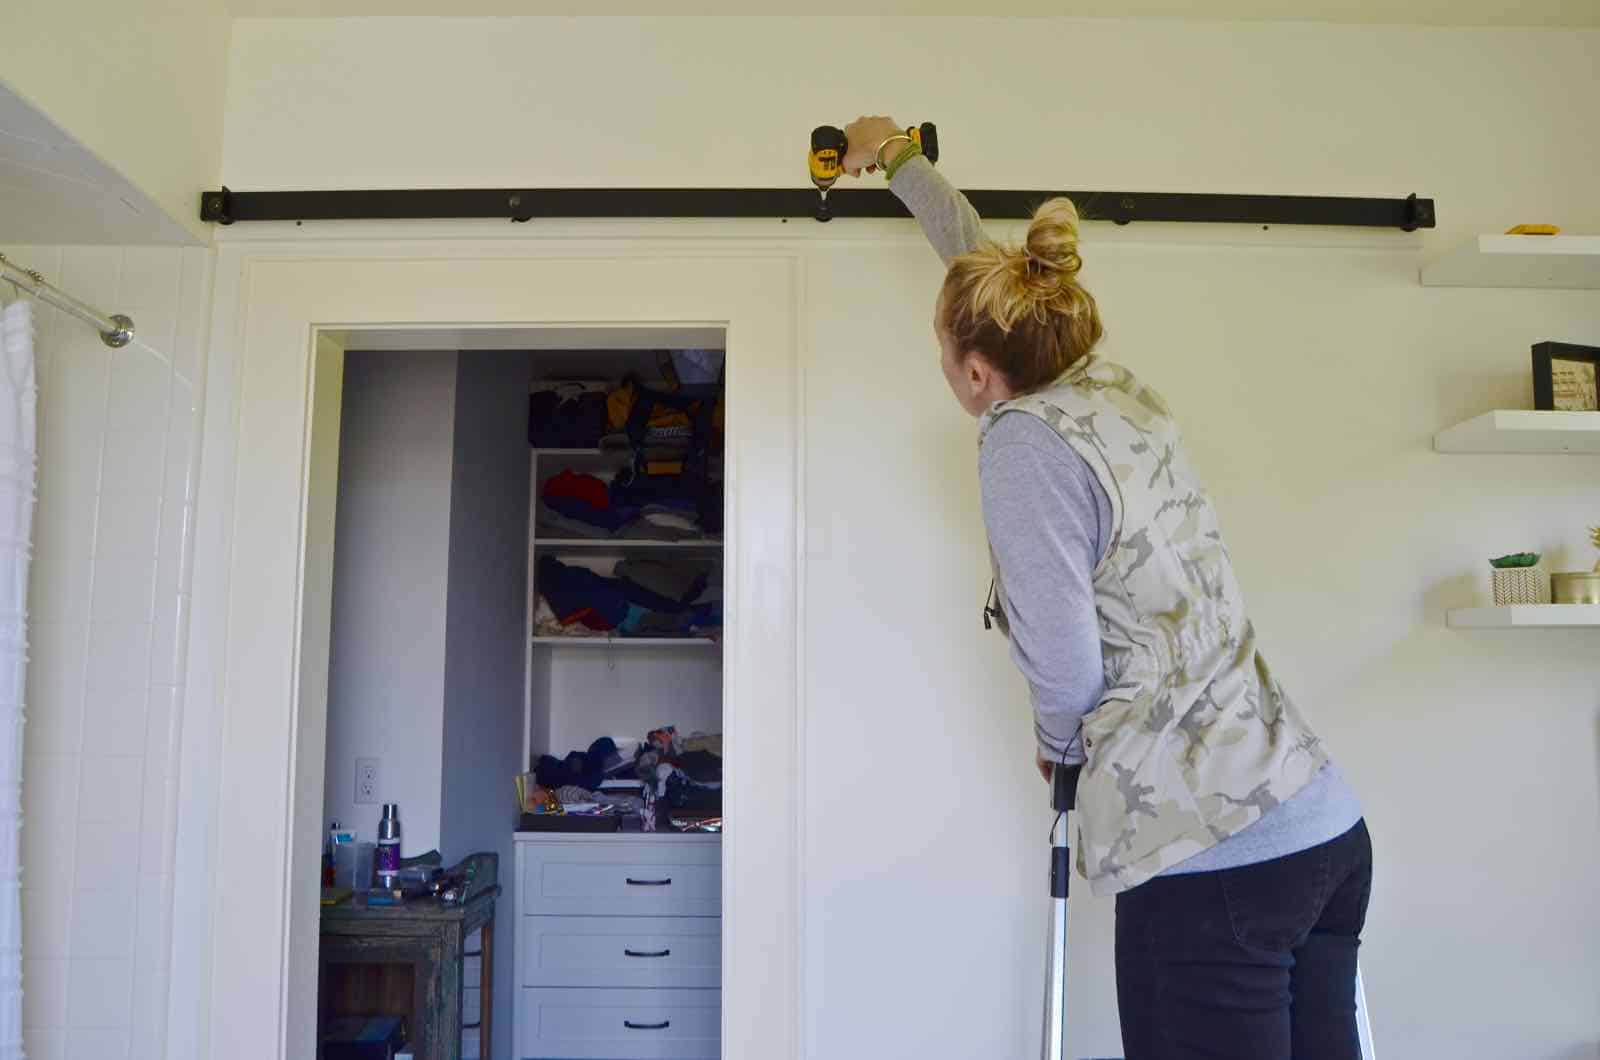
Step 11. Install the Track
My track was pre drilled. But… those holes didn’t align with my studs. But thankfully, the track came with a gorgeous natural wood header. I didn’t need something quite as wide as the included header, so I simply painted a 1×4 the wall color and screwed this into place making sure to hit the studs.
Once the header was installed, I made sure the track was level and screwed it into place along the header.
Other details:
The track has stops on either end to keep the door from sliding off, but I needed to install something into the baseboard to act as a guide for the door to keep it from jumping it’s track. I also caulked and filled in the screw holes on the header so that it blended into the wall even more.
If it’s easier for you to see how I did it, here’s a video of the process:
If you want to see my whole series on this master bathroom makeover… CLICK HERE.
Thanks so much for following along. If you have ANY questions, leave me a comment! Have a great day, everyone!



ChaRlotte, I’m unclear why You chose To do a barN door in this rOOm. I have a den that i’d like to be able To close off from the liVing room – quite a bit wider than your openiNg. Would a reg sized door have worked on yo opening?
Hi Sheila! I wanted the barn door so that I didn’t have a door swinging into the bathroom. As for the custom aspect of it… totally aesthetic so a regular door might have worked! I wanted a door that would cover the trim which made it quite a bit wider than anything I saw at the Restore, but the size is definitely more of a personal preference!
Thank you for the detailed instructions! I would love to do a sliding barn dorr on the outside of our guest bathhroom, but it would have to lock. Do you have any suggestions for how to accomplish that? Haven’t had much luck finding an answer to that question.
Hi! Goodness… the only thing I could think of is a hook and eye on the inside of the room, but I know that’s not wildly ‘secure’. This one DEFinitely doesn’t lock so I’m not sure! Sorry I can’t be of more help!
I love DIYS! I will definitely try to recreate this. thanks for sharing this.
Good luck!