
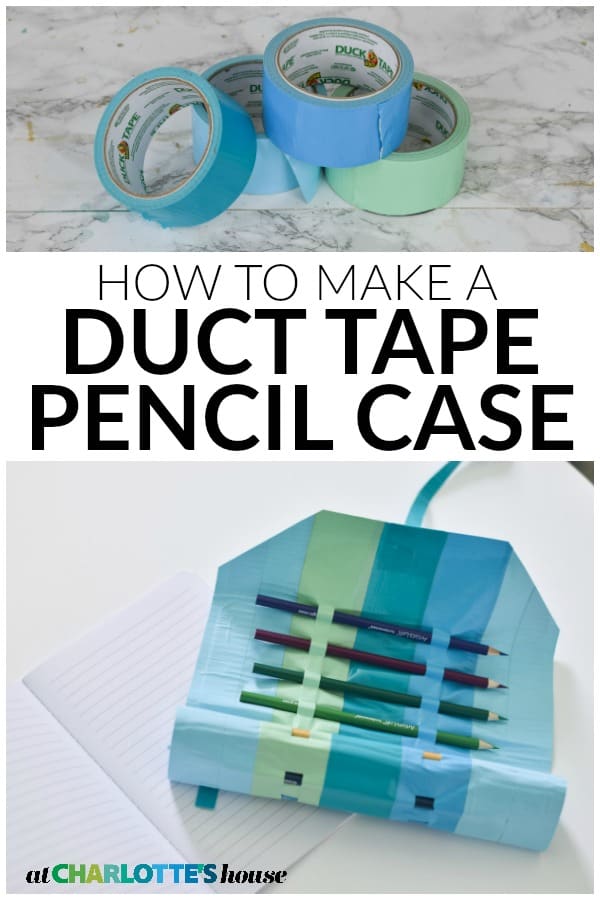
Make Your Own Duct Tape Pencil Case
Psssst… this post *might* contain affiliate links: see my disclosure here.
How to Make a Duct Tape Pencil Roll
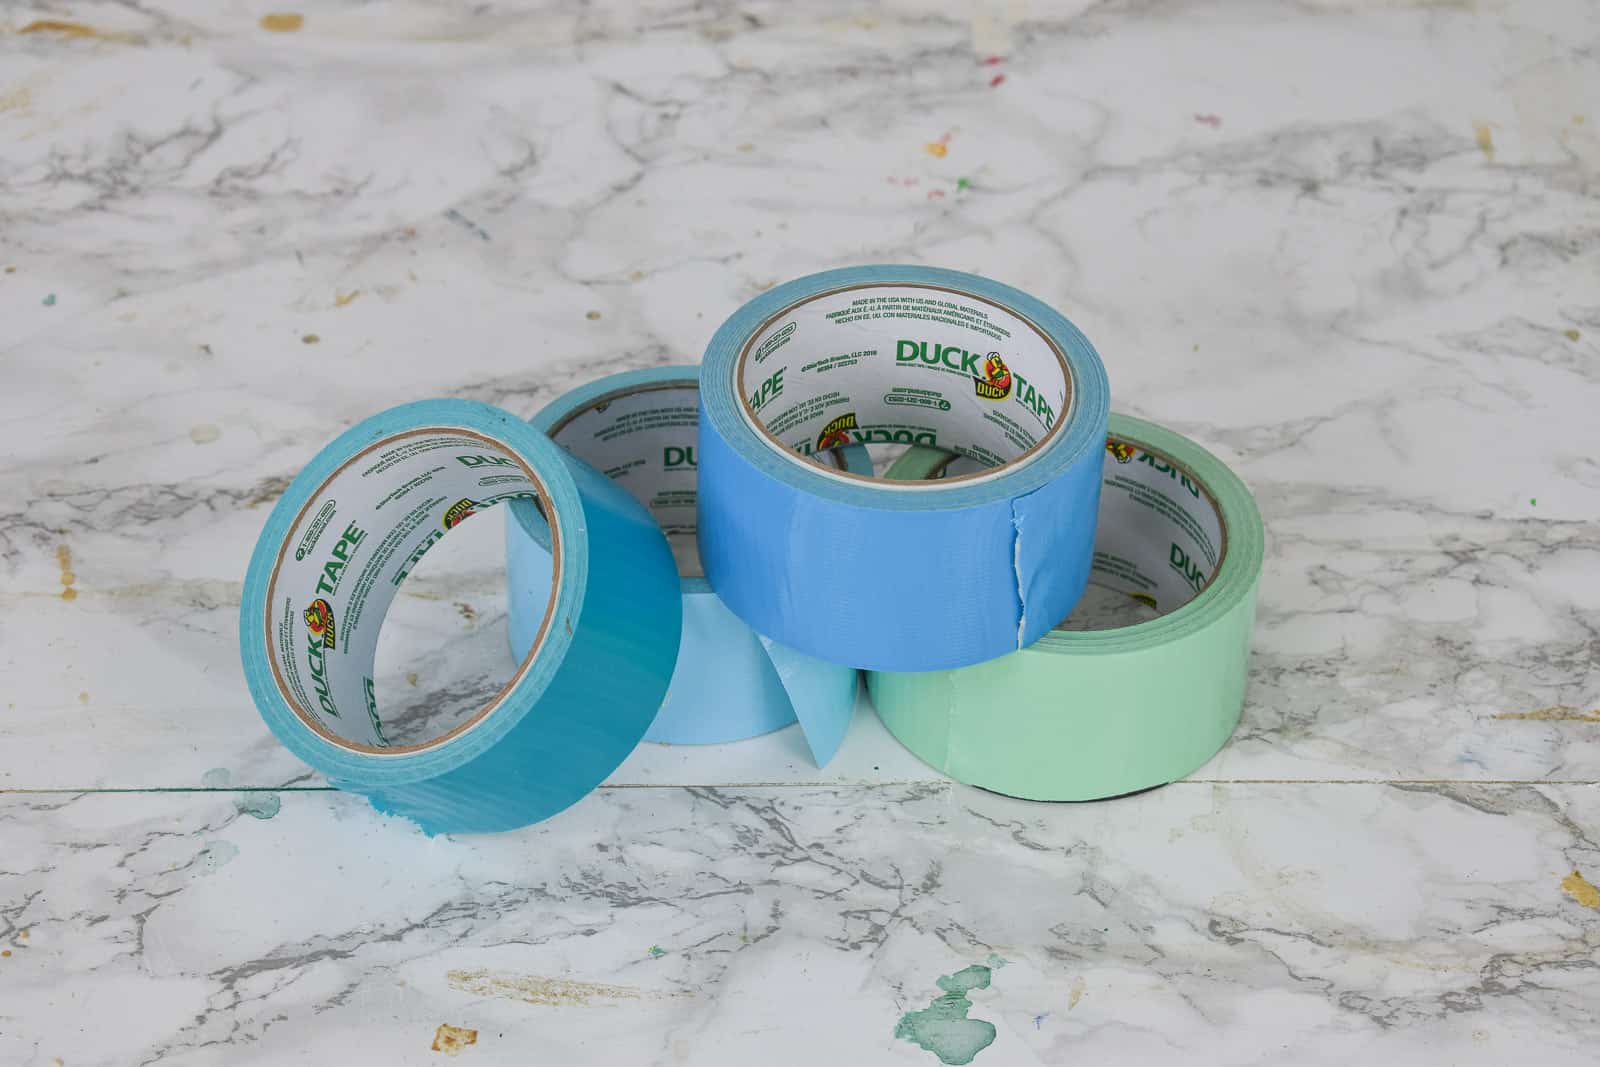
Back to School is upon us and I came up with this really easy, really cool pencil roll DIY to help get the kids back in the school spirit (is there even such a thing?!). Materials are simple: duct tape, a ruler and an X-acto knife! Any color will do, but I picked my favorite blues.
Shop my favorites!
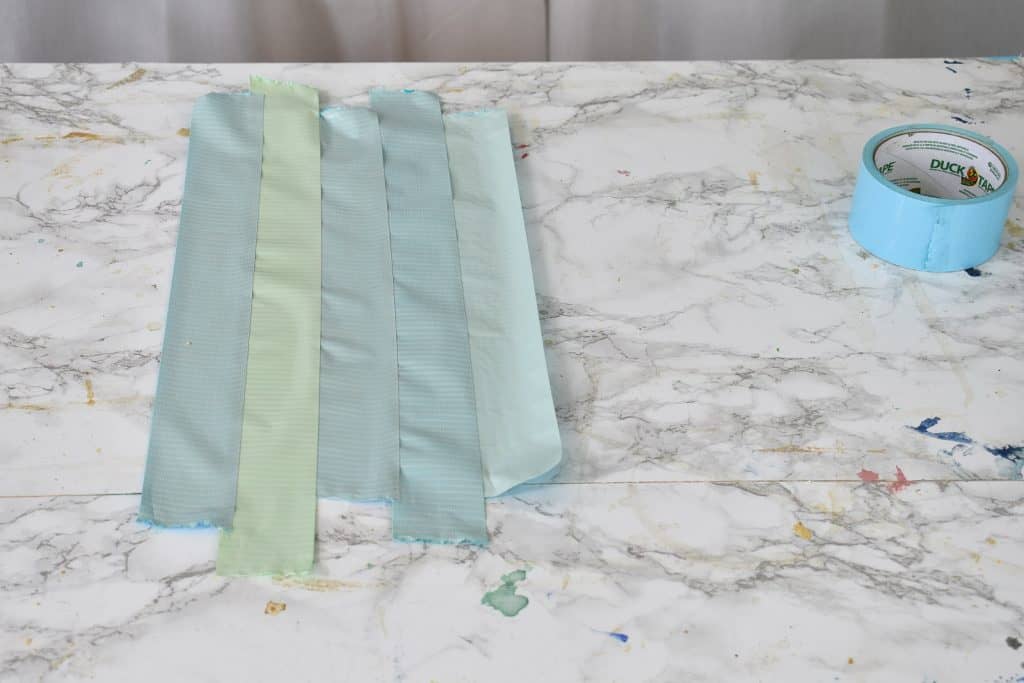
Step 1. Create One Side of Duct Tape Sheet
Unroll one length of duct tape about the length of your forearm. Carefully place it sticky side up on your work surface. Unroll a second length of duct tape. You’re going to place this one sticky side up on the work surface as well but overlap the edge with the first strip. Continue adding lengths of duct tape, overlapping each edge slightly, until you have a sheet slightly wider than a pencil.
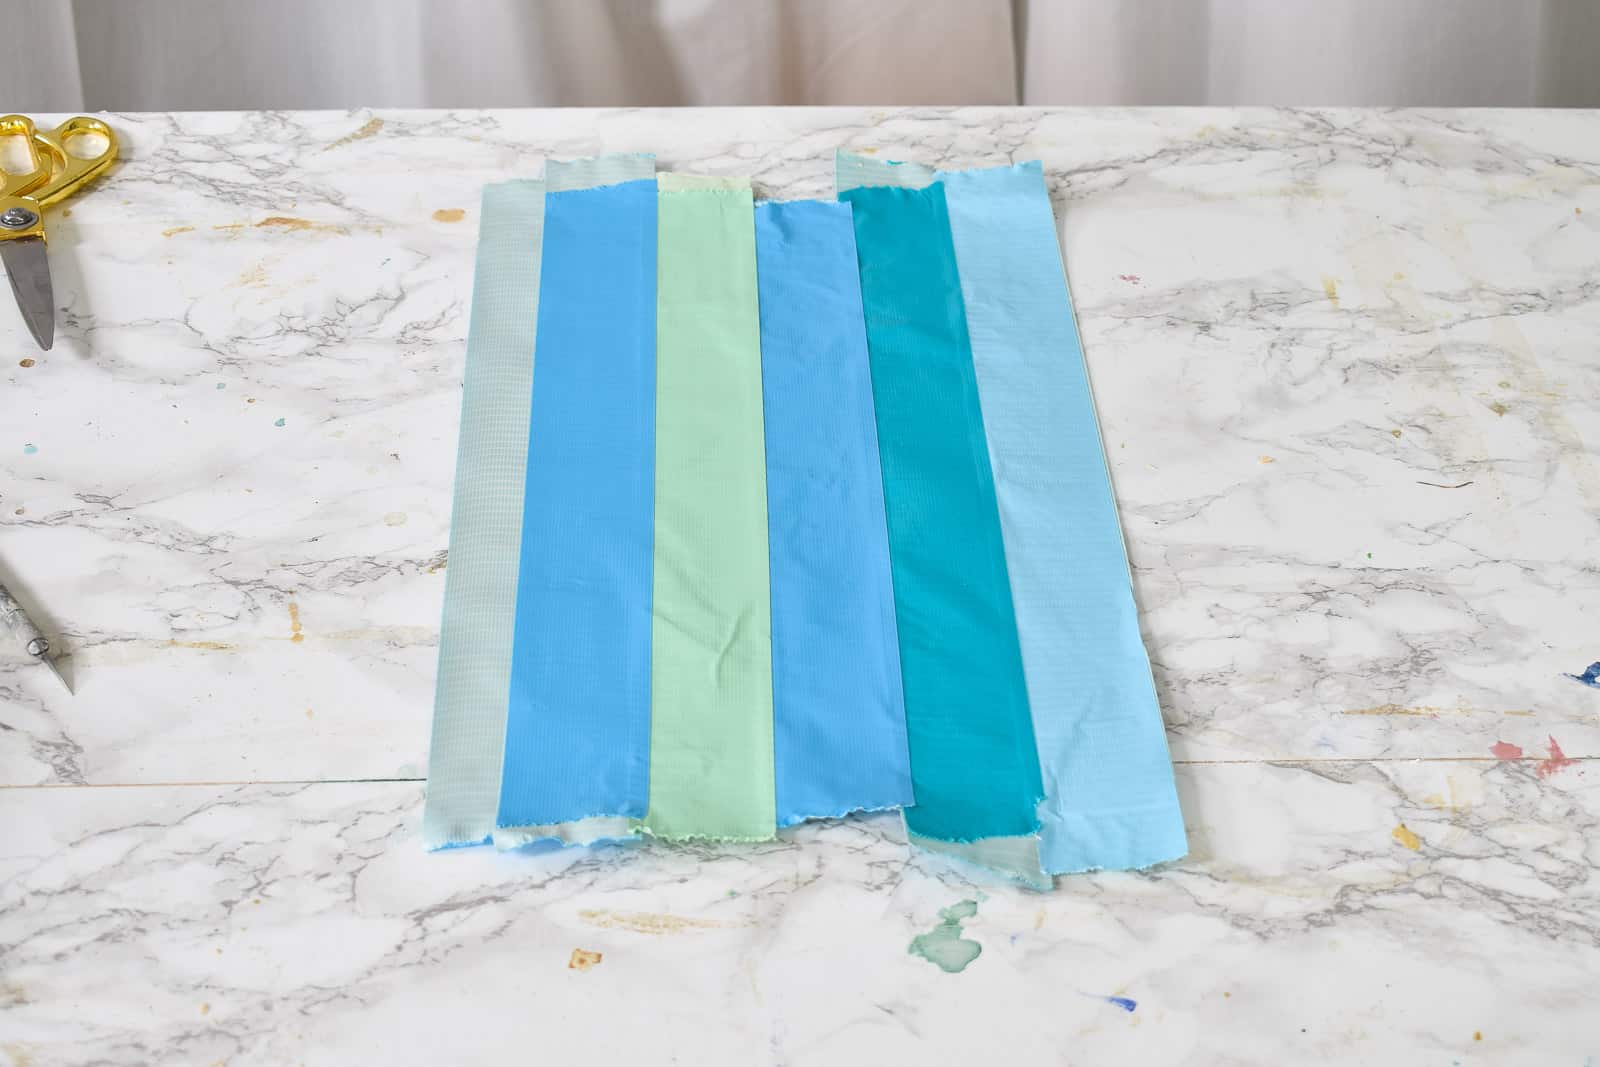
Step 2. Create Second Side of the Duct Tape Sheet
Unroll one length of duct tape about the length of your forearm and *carefully* place it sticky side DOWN onto the first strip of duct tape from Step 1. Unroll a second length of duct tape and repeat. Go slow. Duct tape is almost impossible to pull apart once it’s stuck sticky side to sticky side. Repeat until you’ve covered the sticky side up lengths entirely.
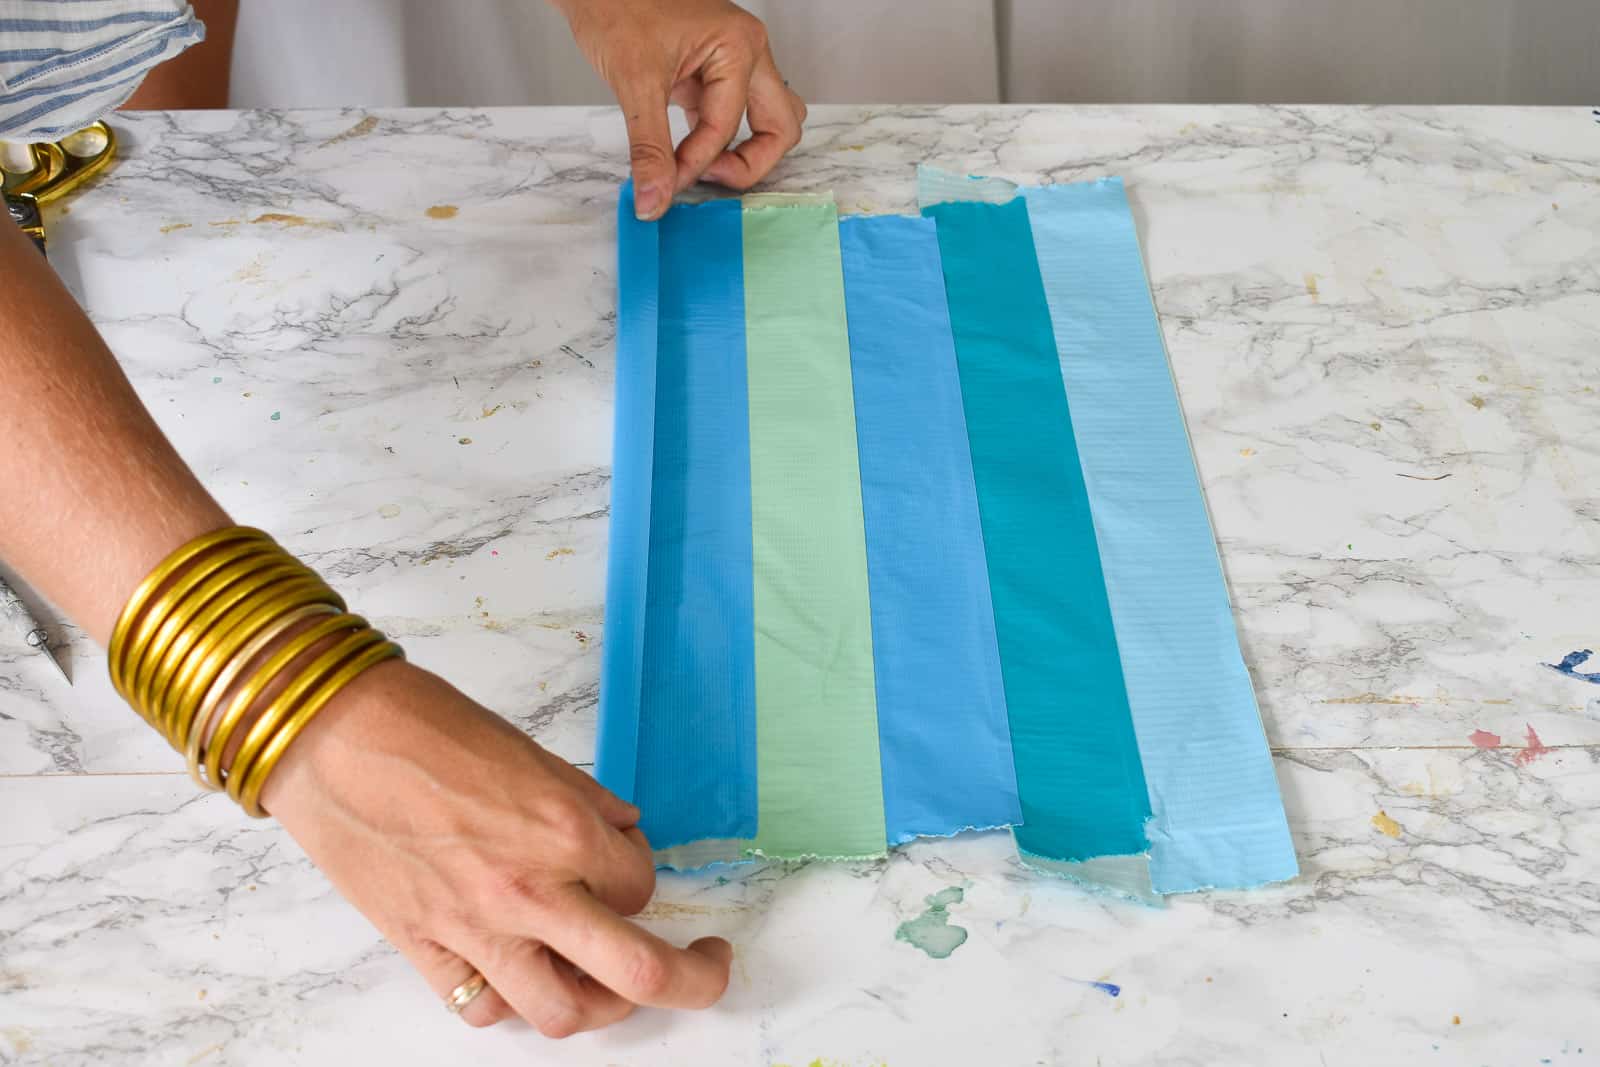
Step 3. Finish the edges
I used the same color duct tape to finish the long edges, but you can choose any color you’d like. Unroll a length of duct tape and place it sticky side up on your workspace. Place the raw unfinished length of your duct tape sheet in the middle of the duct tape. Carefully fold the duct tape in half wrapping the raw edge of the duct tape sheet. Repeat on the other edge.
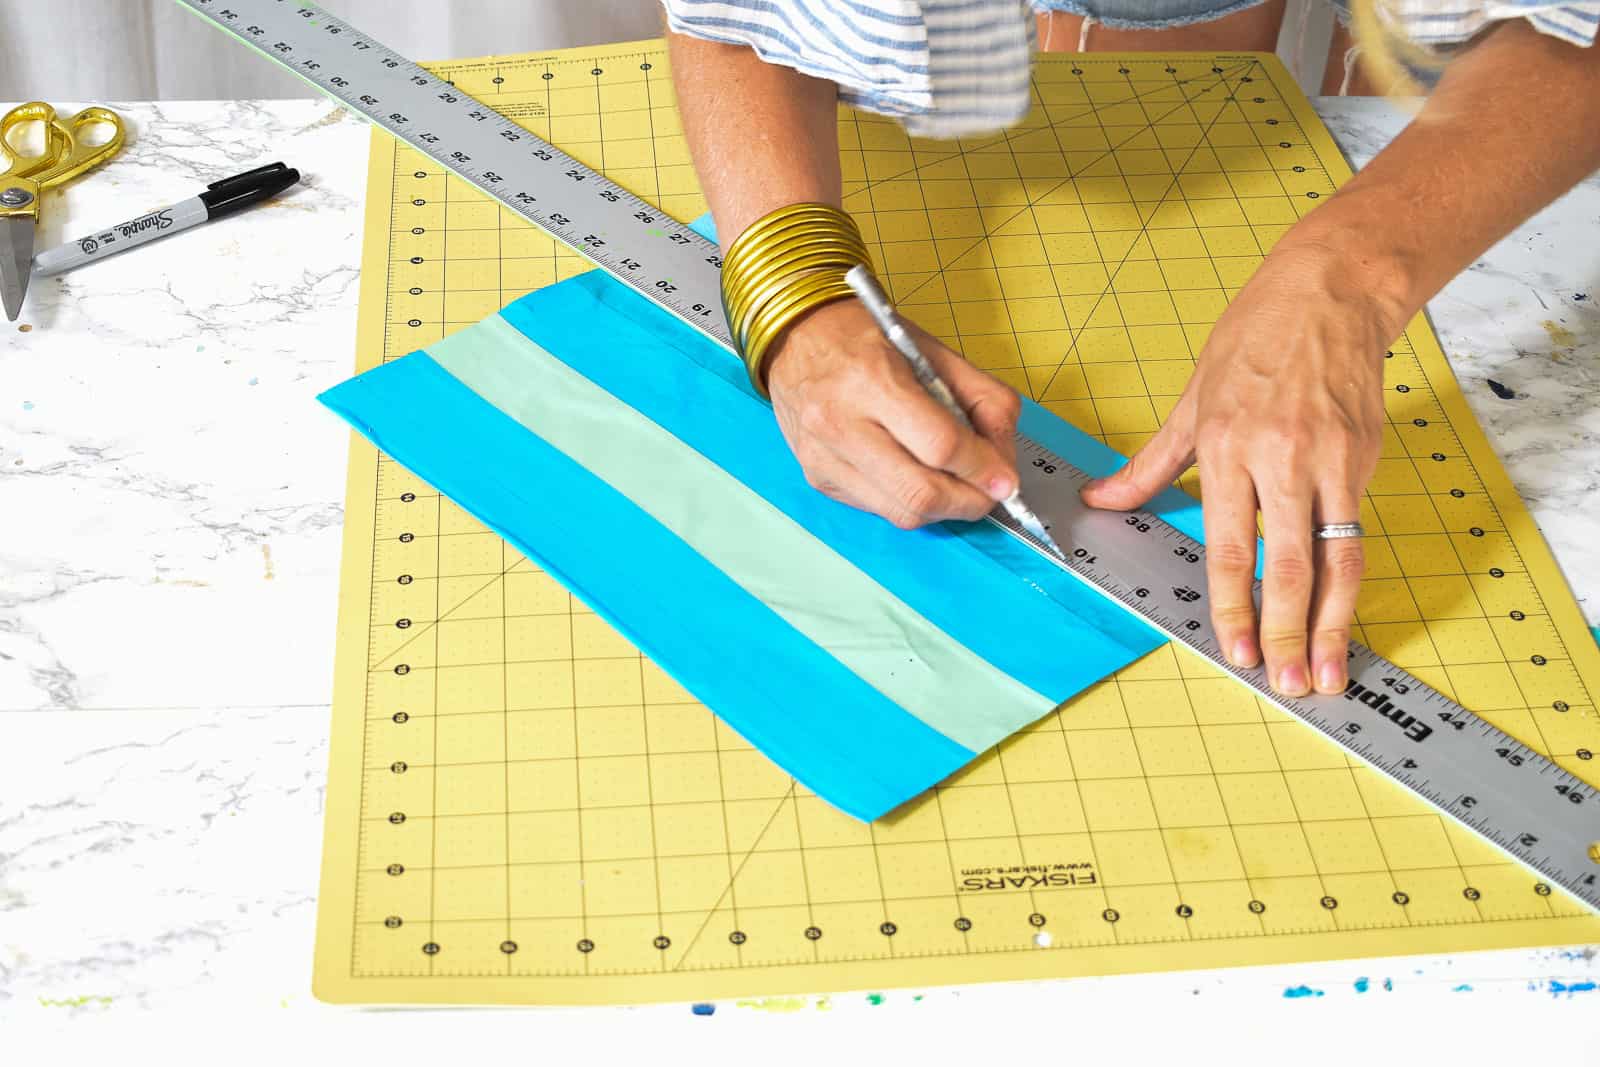
Grab your ruler and trim off the rough edges from the top and bottom of the duct tape. You will have an even rectangle.

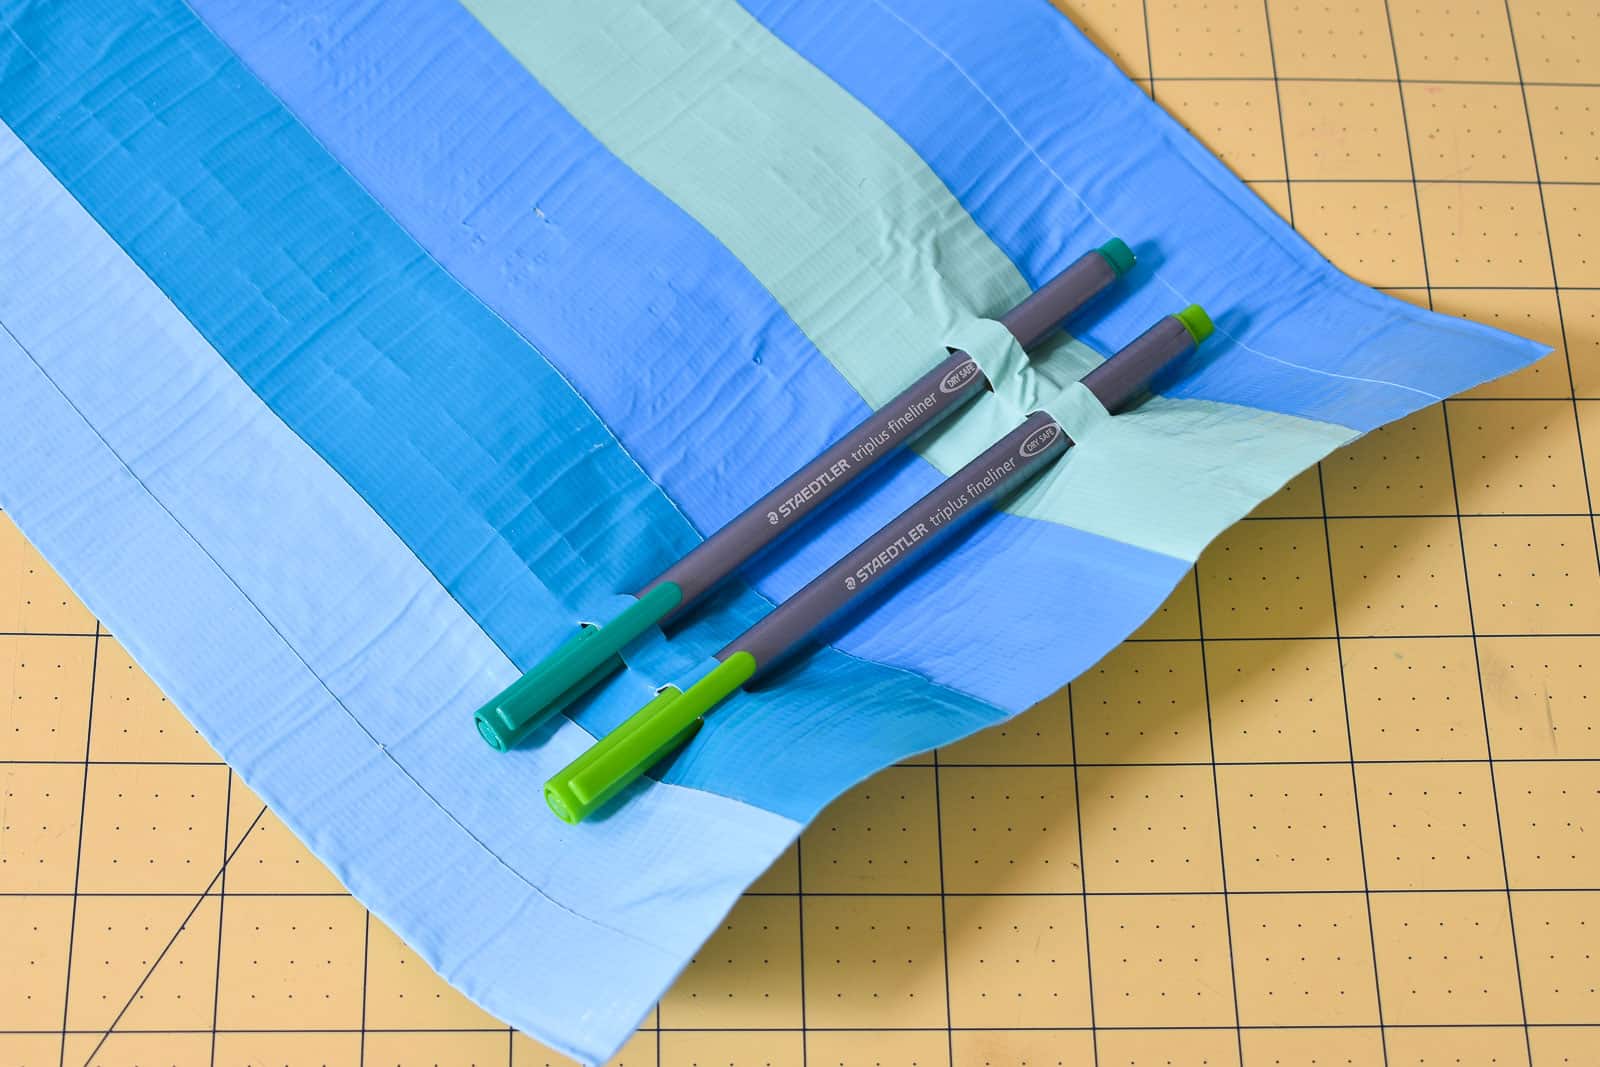
Step 4. Cut Slots for Pencils
To hold each pencil, you’re going to make 2 sets of parallel length-wise incisions, each about 5/8-inches long. It doesn’t matter how far apart each pair of incisions are, but they will have to be carefully aligned. Line your ruler up 2-inches from the side of the duct tape. Make a cut from 3 to 3 5/8 inches. Then make a second cut from 4 to 4 5/8 inches. Repeat until you’re within a couple of inches from the bottom. Shift your ruler over about a centimeter, and repeat.
Move your ruler over to the other side of the duct tape. Come in 2-inches and make a third and forth set of incisions a centimeter apart like the first set.
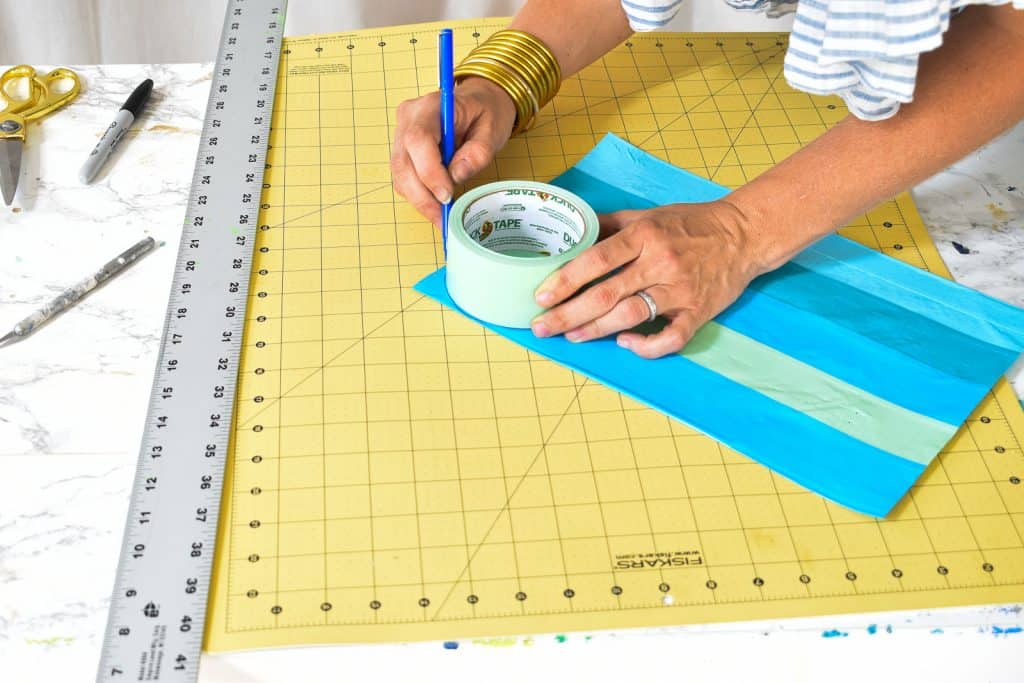
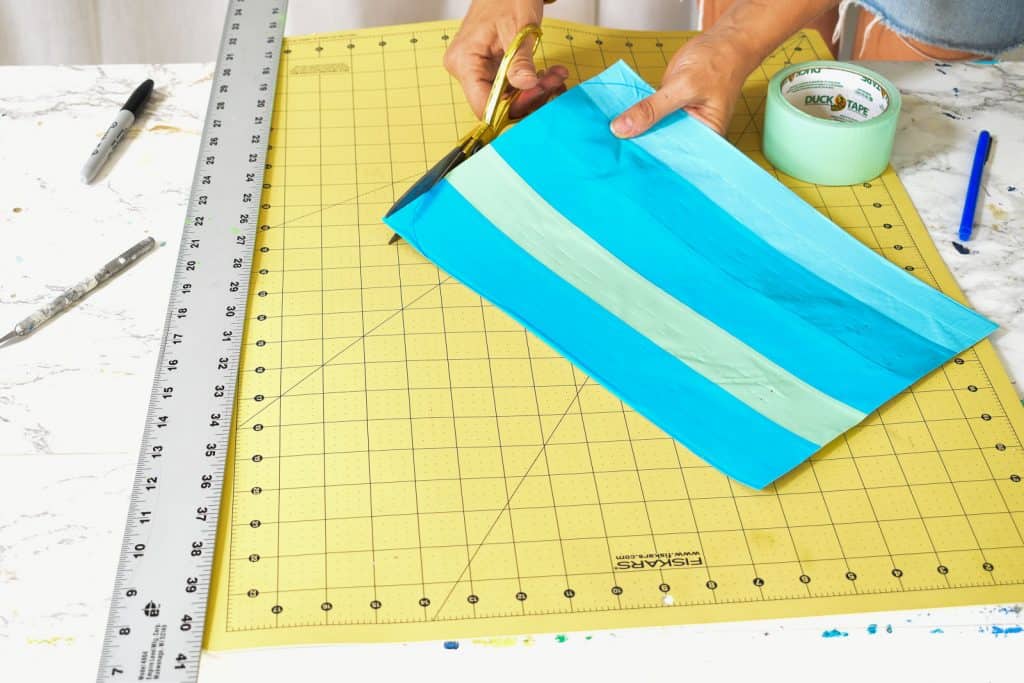
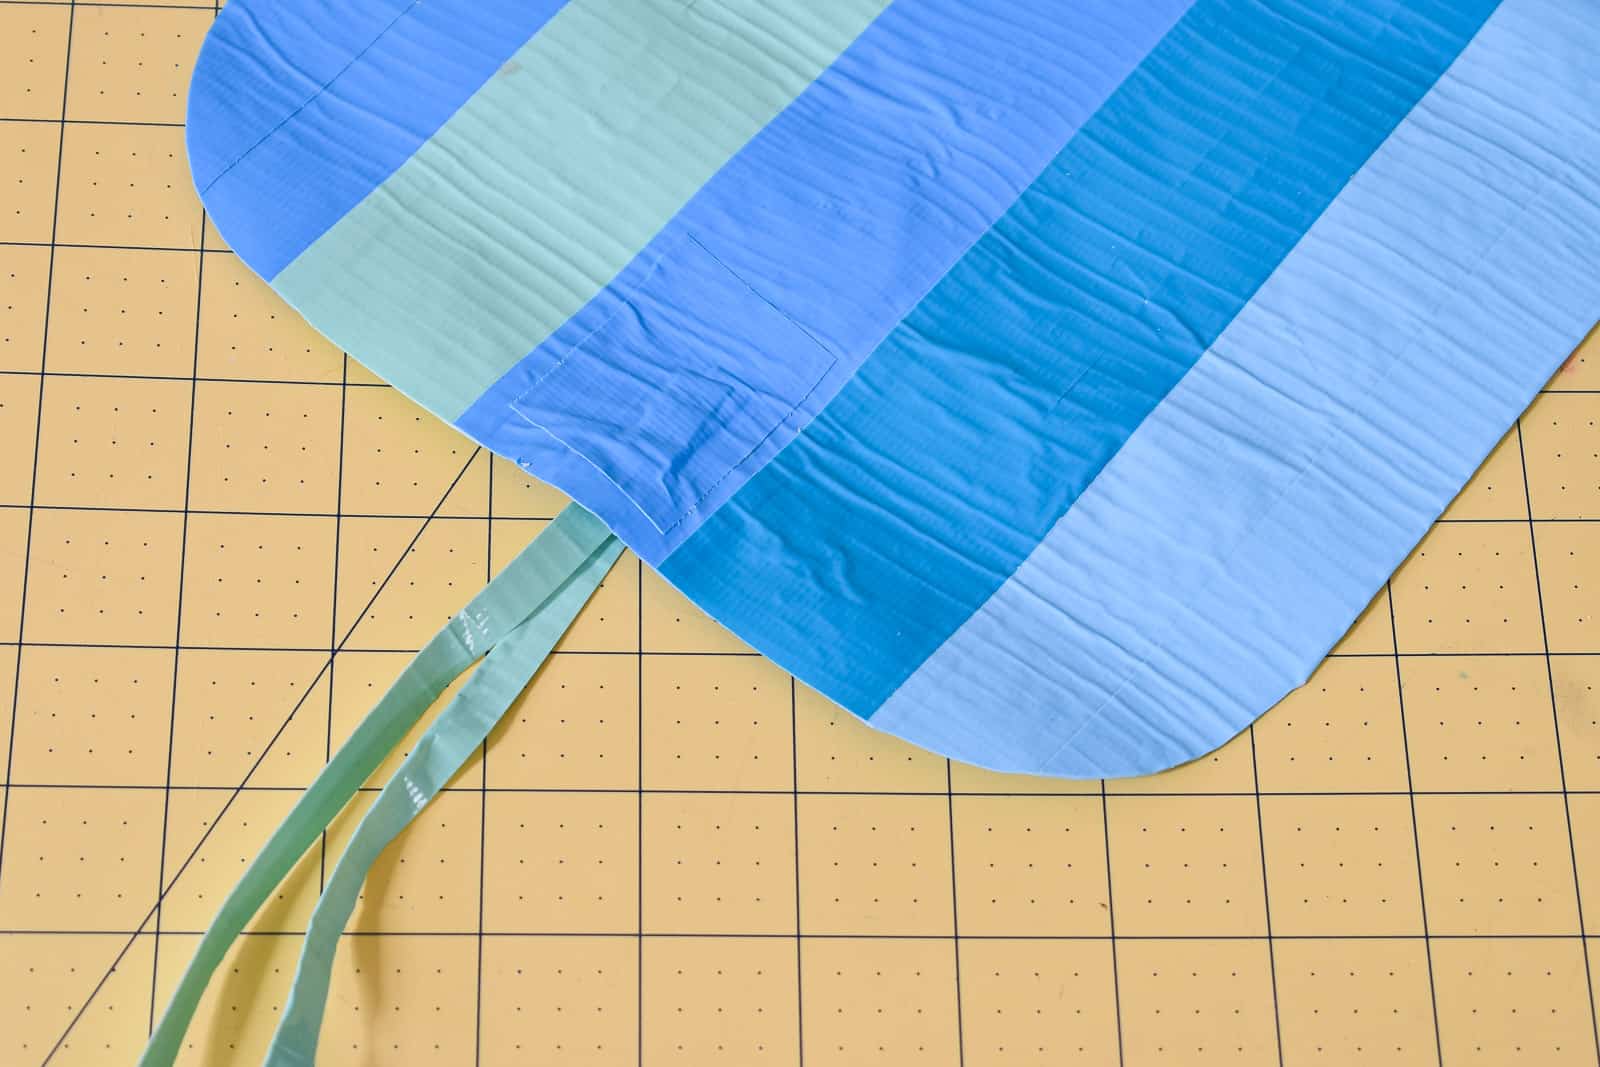
Step 5. Make an envelope flap
I used the edge of the roll of duct tape to trace a curve on the top corners of the pencil case like an envelope. Cut with your X-acto or a pair of sharp scissors.
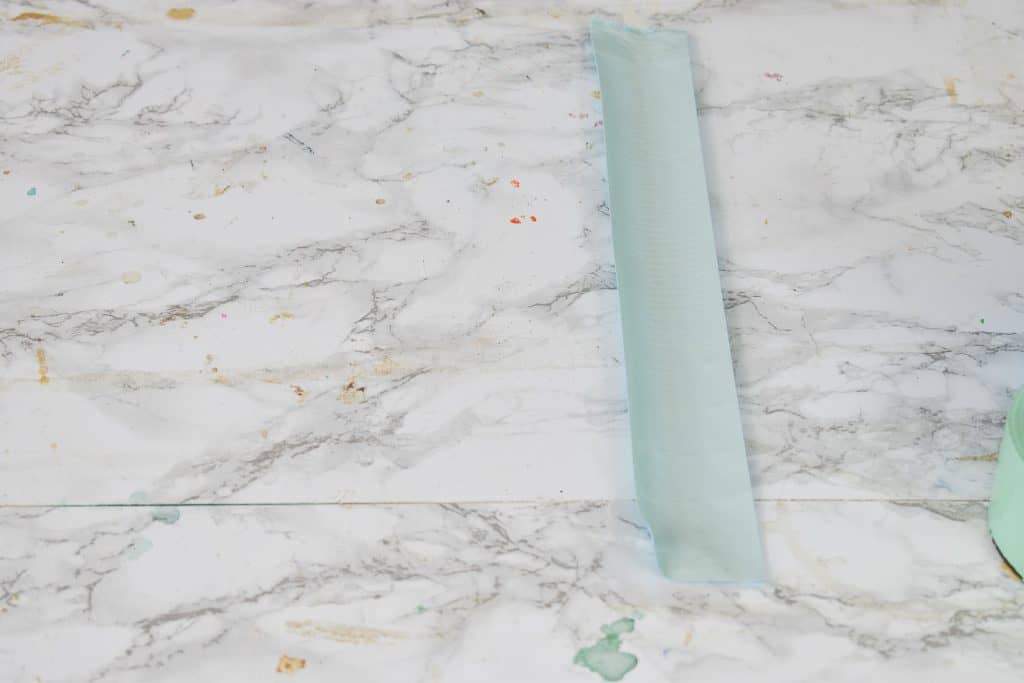
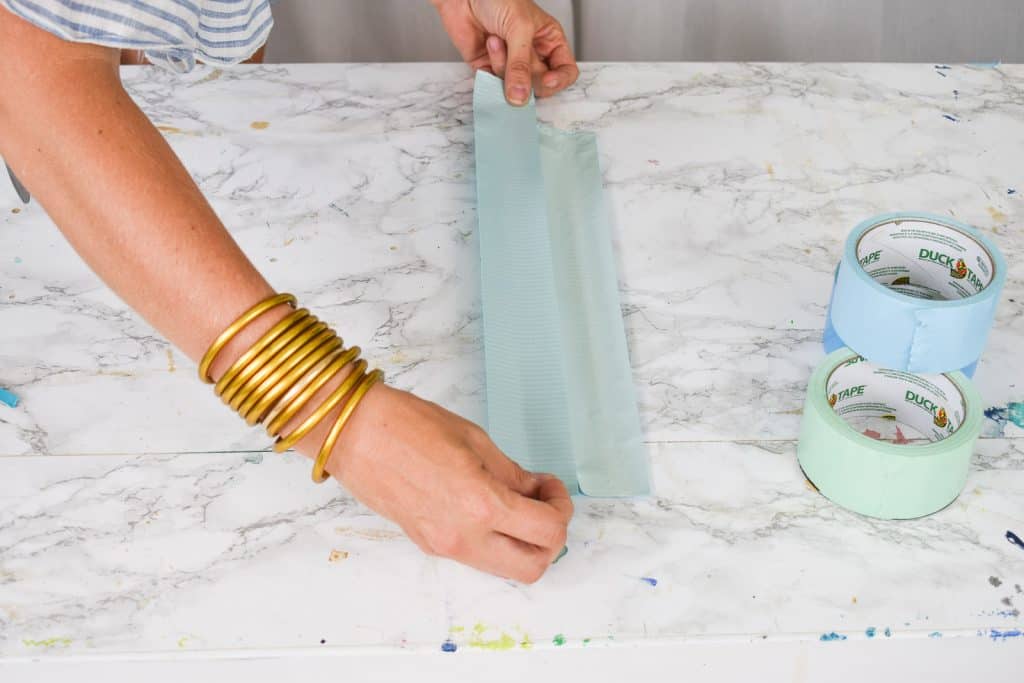
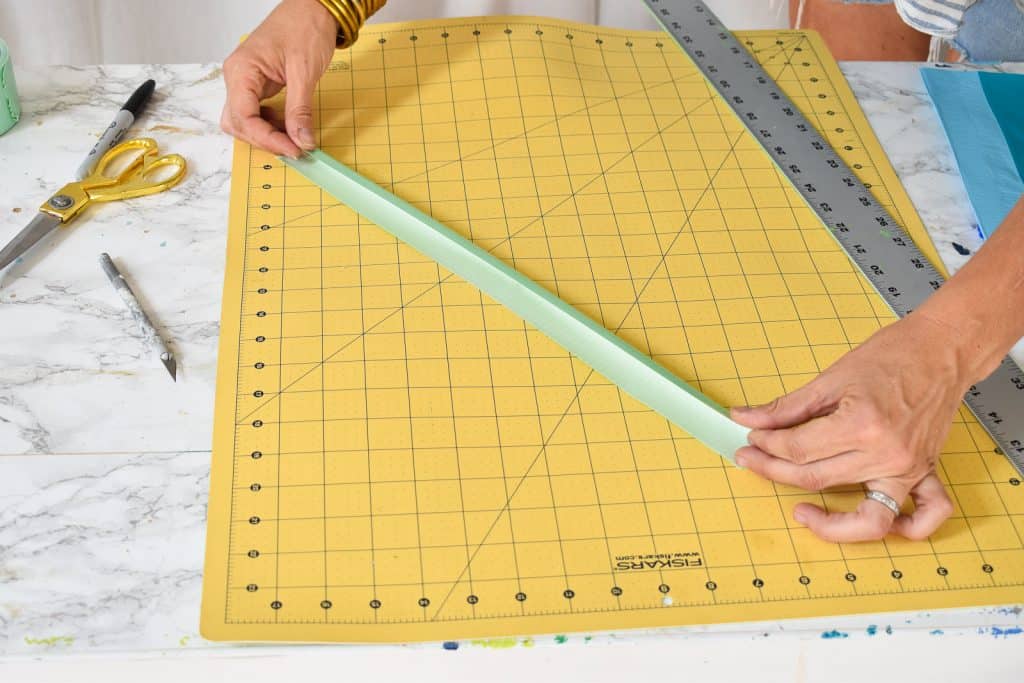
Step 6. Make ties
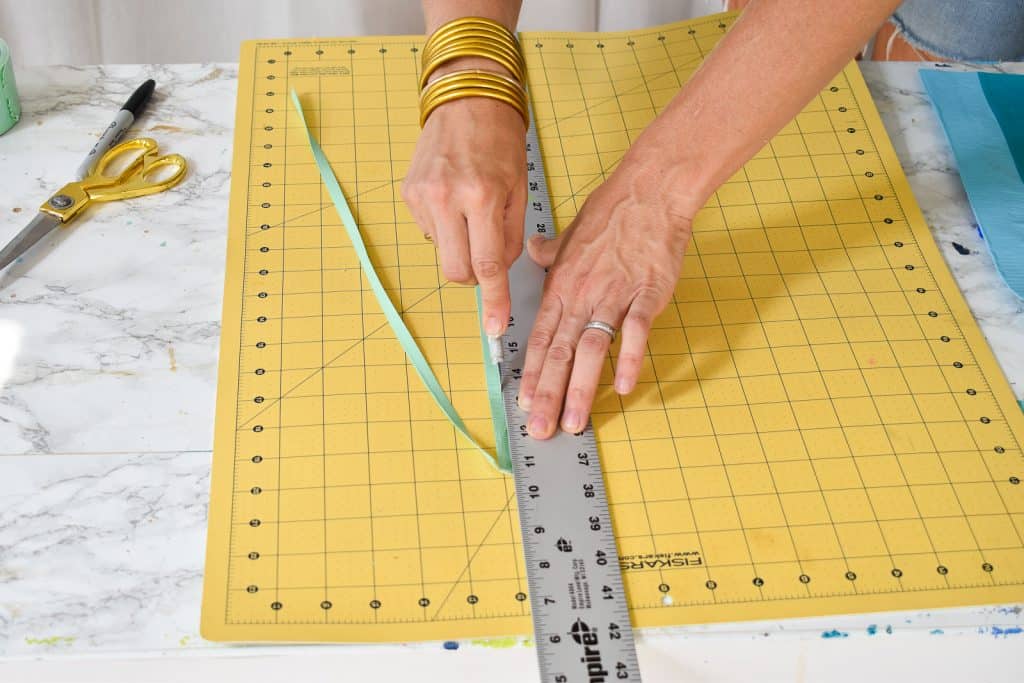
Fold a length of duct tape in half. Line up the ruler with the folded edge and cut a strip 2+ millimeters wide. Repeat to cut a second strip.
Step 7. Attach ties
Make a small incision at the top of the envelope flap. Slide the two strips through the incision so that the ends are on the pencil-side of the duct tape. Fold them over and secure with a length of duct tape.
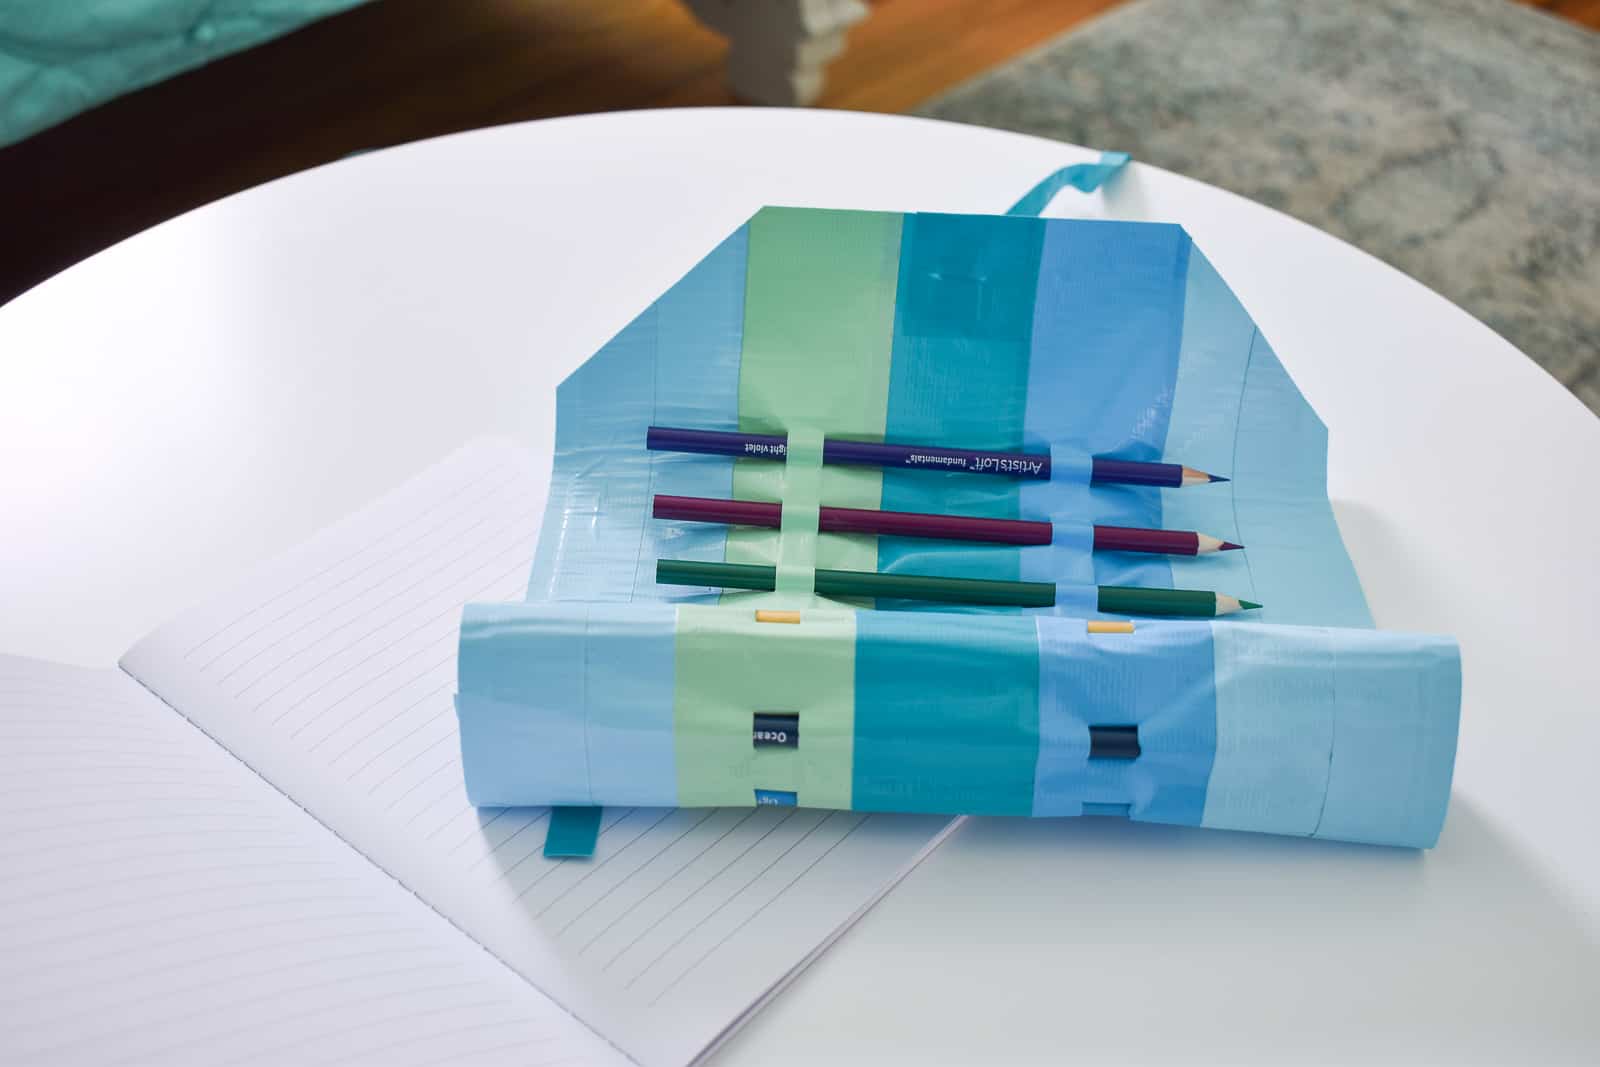
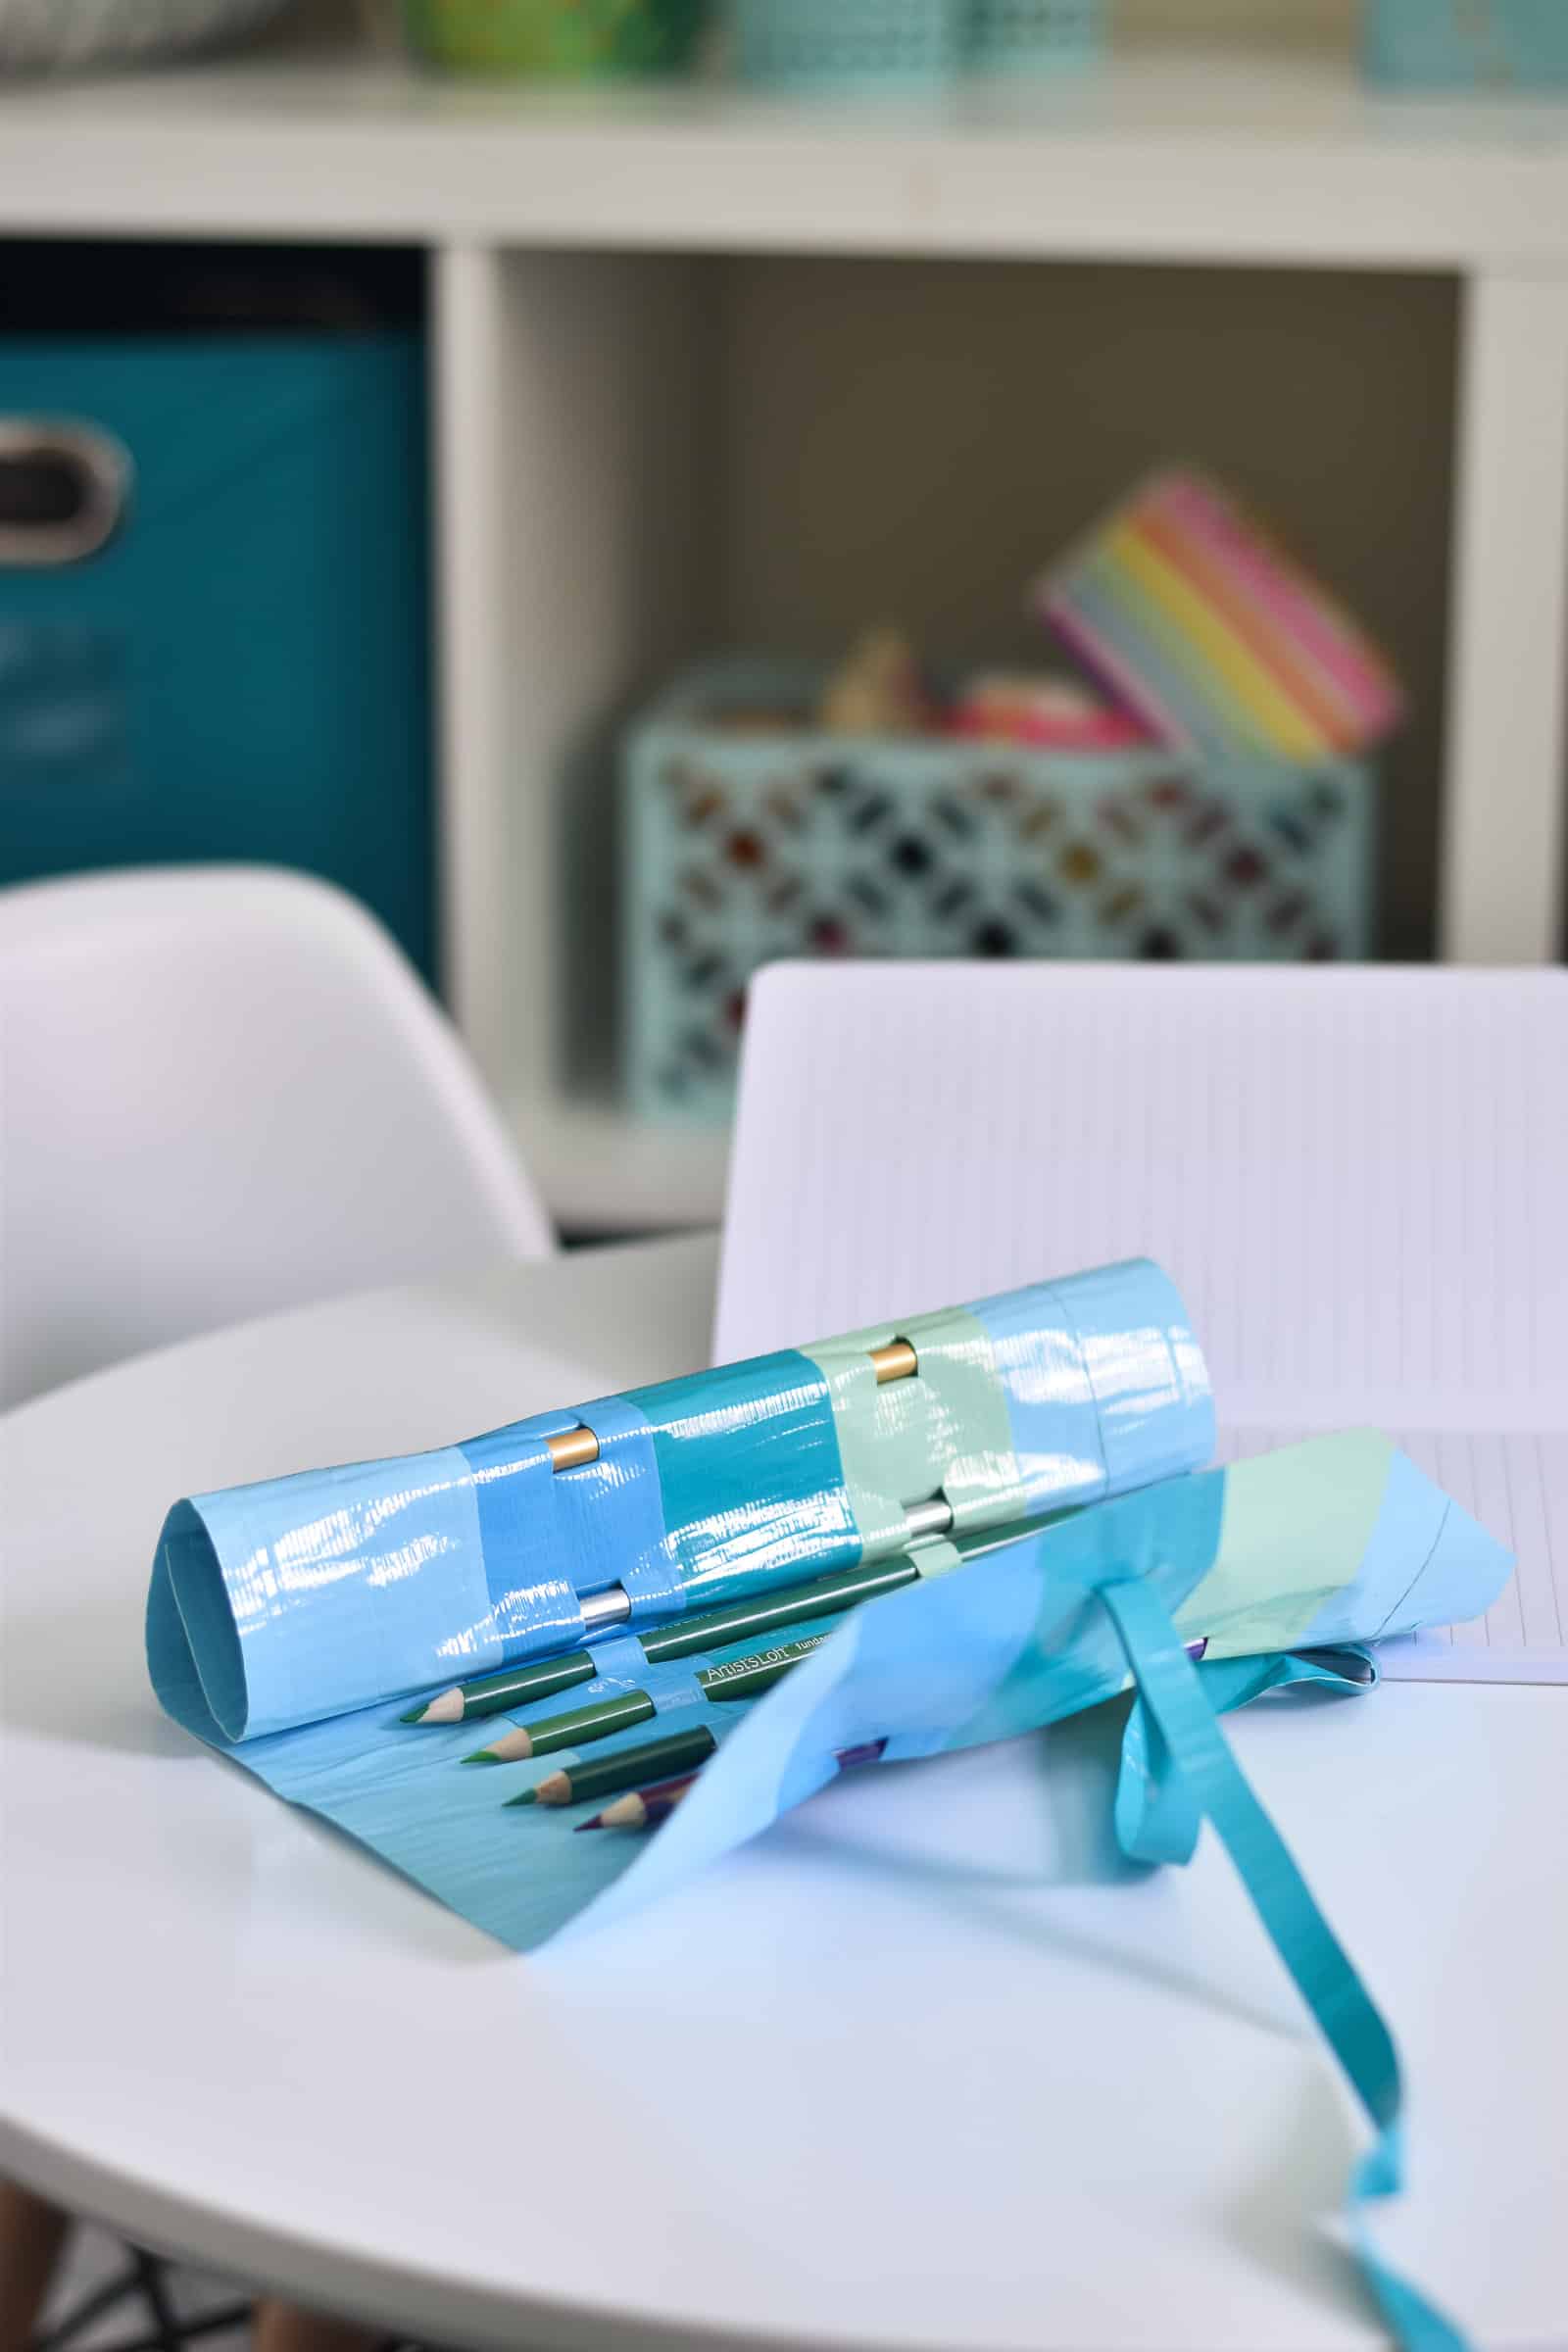
Step 5. Insert Pencils
To insert the pencils, simply slide them through the first set of incisions and then under the second set of incisions. Roll them up and tie in place! This would be such a cute project for older kids to make before school… it can be customized with pattern and color (SO many options for duct tape nowadays). Best of all, it’s a super budget project!
If any of my directions don’t make sense, feel free to watch the video below:


Don’t Miss Out
Become An Insider!
Signup for exclusive tips, and tricks from Charlotte’s House!
Let’s chat!
I love comments from you, so feel free to leave your thoughts and ideas below! And don’t forget to follow me on Instagram for even more!