Etched Wooden Doormat
Psssst… this post *might* contain affiliate links: see my disclosure here.
Sometimes the internet means you can hide behind a computer in your pajamas and tooth whitening strip (hypothetically) and no one will be the wiser, but SOMETIMES… it gives you a chance to virtually hang out with some of your favorite DIY peeps and officially call it a PARTY. Today, folks, is a party day. Thanks to Home Depot, we’re cracking open an iced cold soda and kicking it with some power tools!
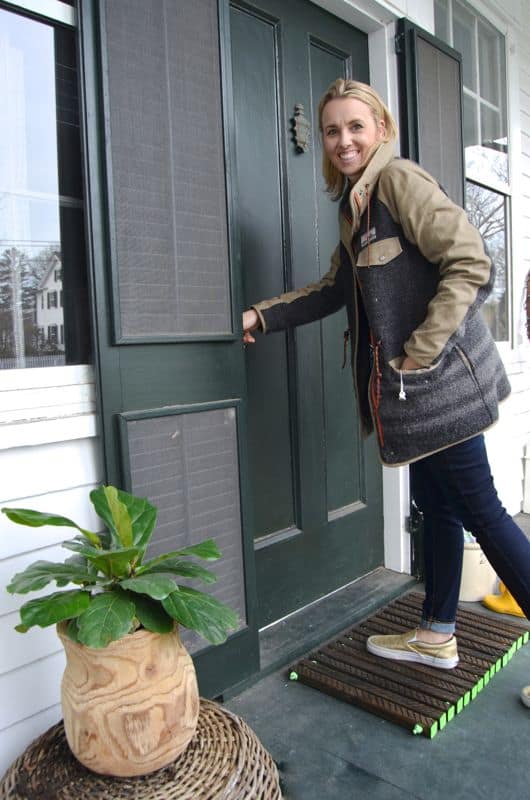
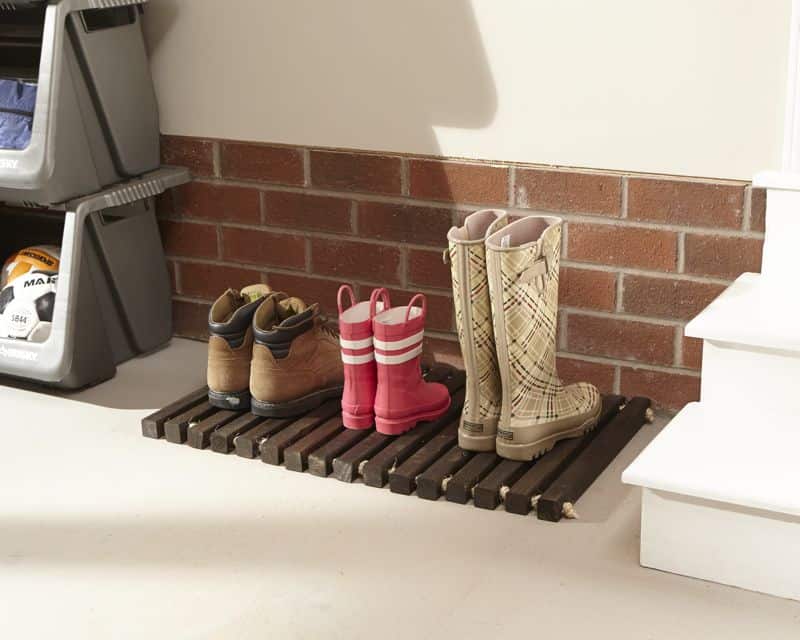
All over the country, Home Depot stores offer amazing workshops: some for everyone, some for her, and some for kids. Click here to get more info. about a workshop in your neck of the woods… there’s something for EVERYONE! Workshops cover everything from using power tools to home repair to decor projects. Today, I’m joining my pal Jaime from That’s My Letter to share one of Home Depot’s workshops: a wooden doormat.
Shop my favorites!
We were all given the same spec sheet, but our challenge was to put our own spin on it! Mine involved some routing and some color. Because duh… color. (Best part is that EVERYTHING came from Home Depot!)
Materials:
• 8 36″ x 2″ x 2″ spindles
• 1/4″ rope
• 3/8″ drill bit
• wood stain, sealant, paint (optional)
Step 1: Cut spindles
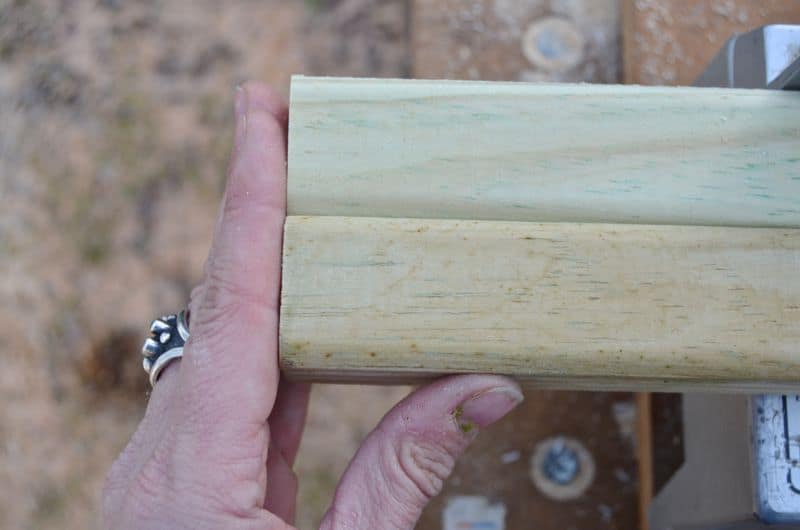
Cut the 36″ spindles in half so you have 18″ lengths. My local Home Depot only had pressure treated ones but cedar would be a great alternative and a little easier to work with ultimately. My tip for cutting identical lengths of wood is to put the two pieces together and feel when the ends are flush… THEN make your cut mark. (vs. relying on measurement to be identical)
Step 2: Drill holes
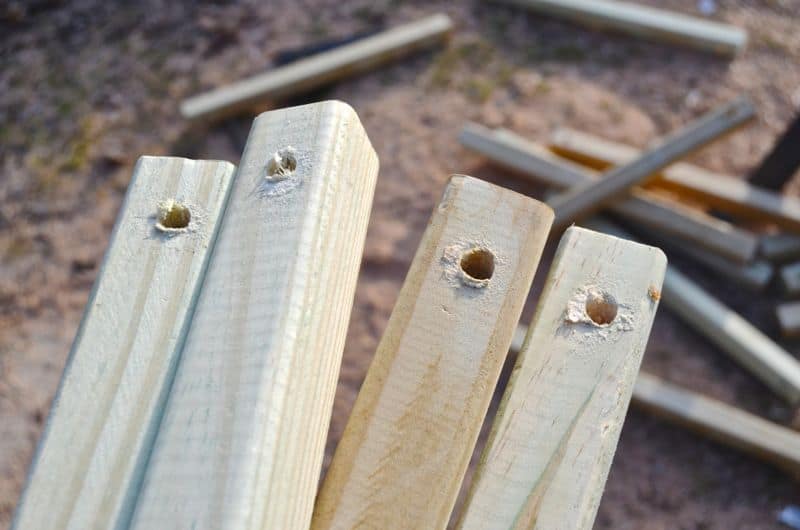
Measure one inch from either end, and use a 3/8″ bit to drill holes
Step 3: Sand around the holes a bit
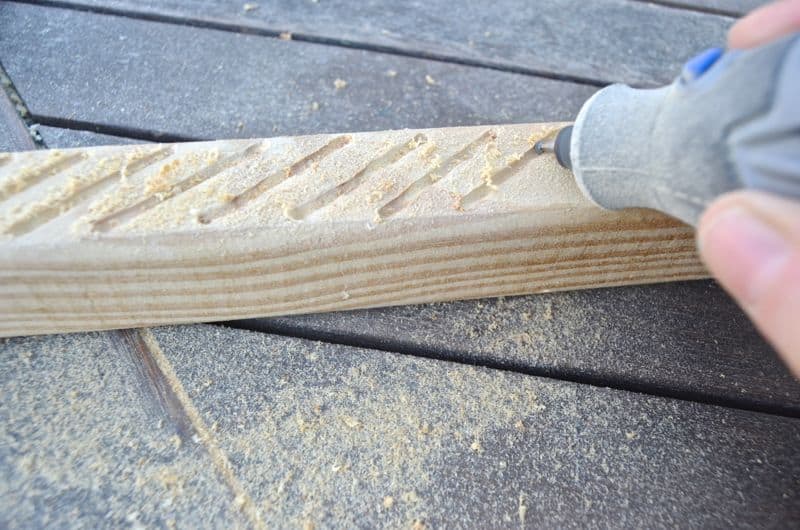
Step 4: Etch
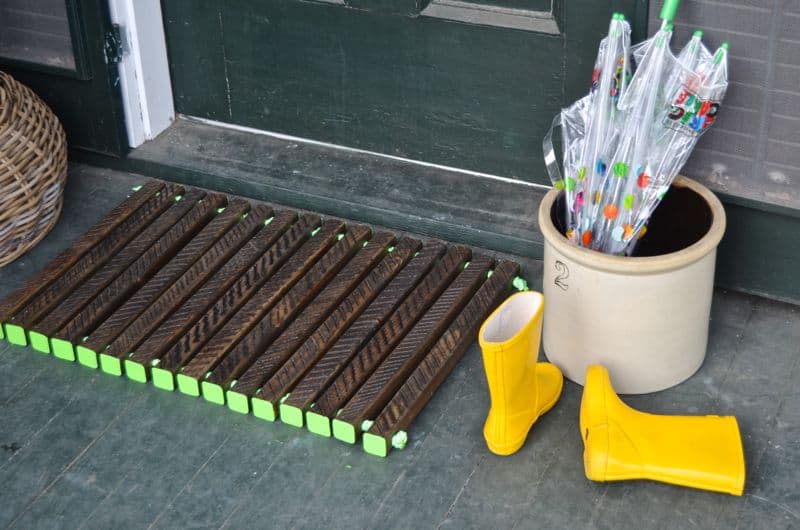
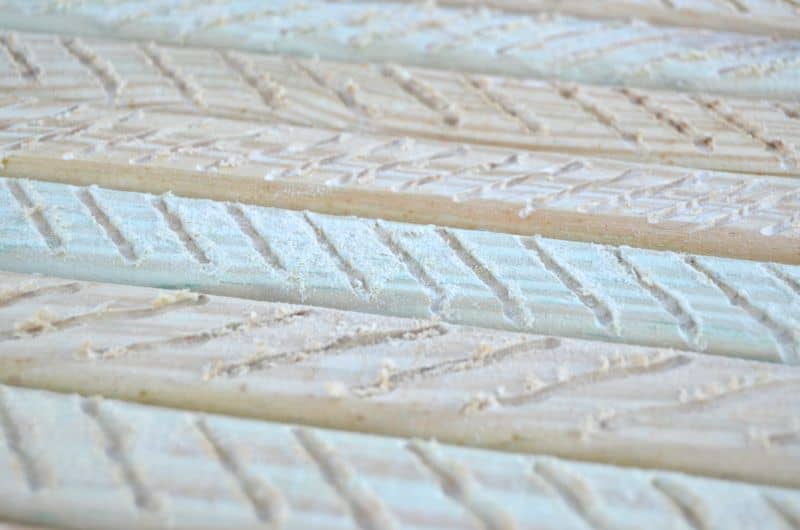
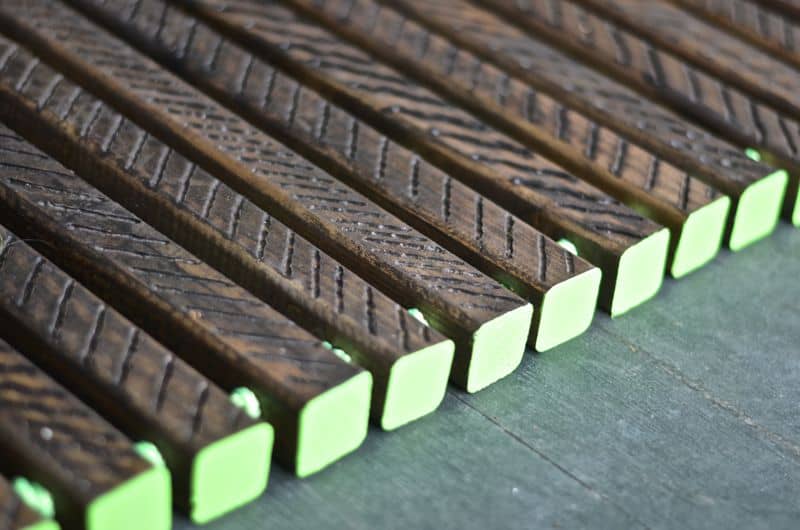
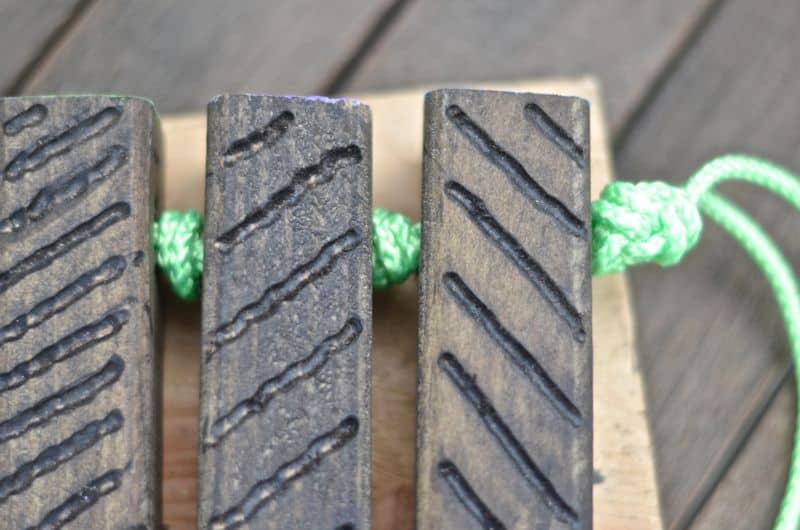
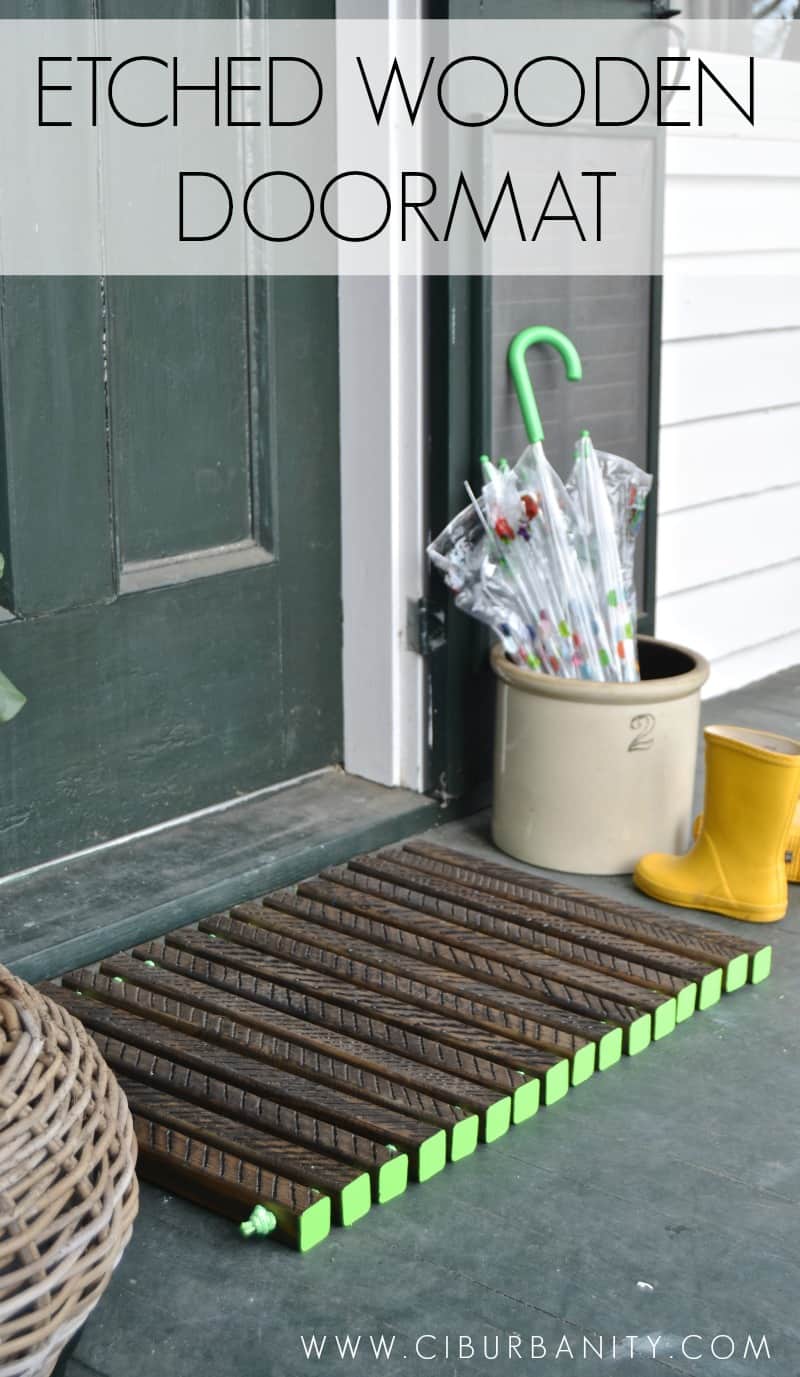
I used a Dremel with the wood carving attachment to make alternating diagonal lines on each of the spindles. The pressure treated wood was hard to maneuver through so the lines are a little wavy, but I still love the final effect of that bit of texture.
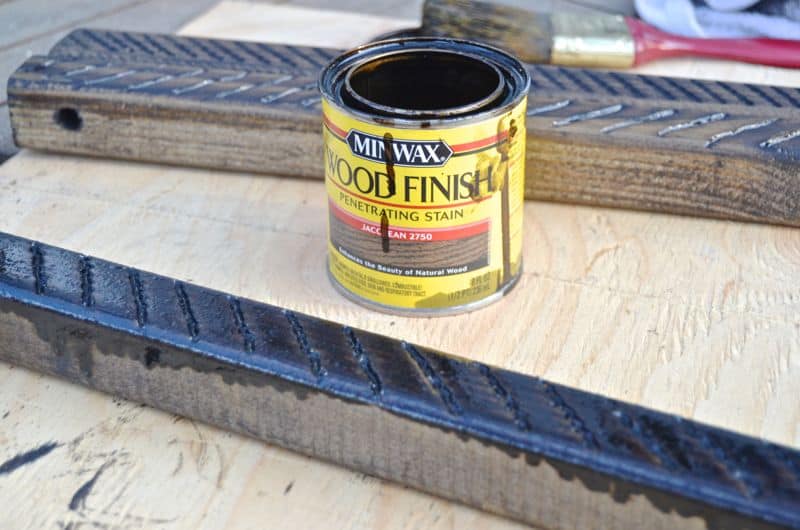
Step 5: Stain, paint or preserve (optional)
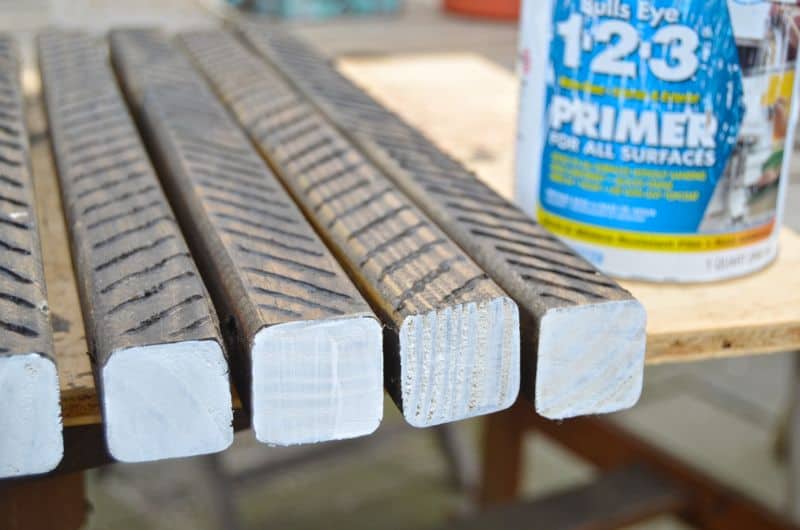
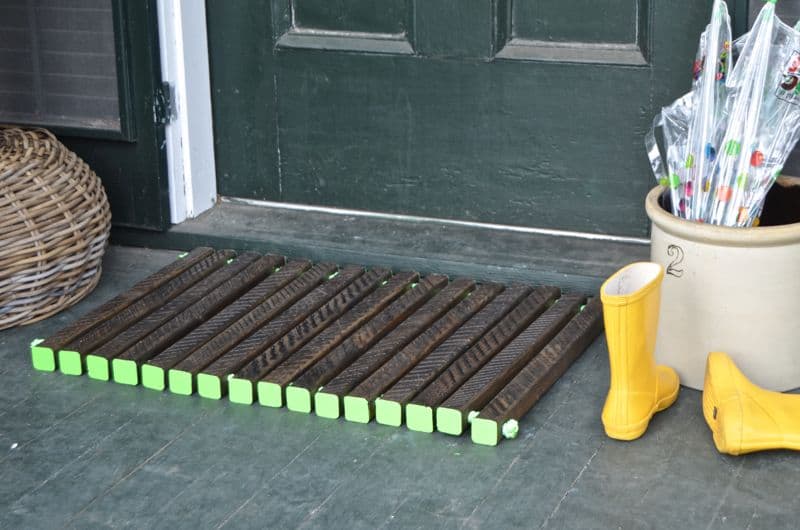
Stain or paint or treat the wood to preserve it a bit from the elements. Because of the etched lines, I wanted to stain mine. I left the stain to soak in a bit in the routed channels, but tried to wipe it off the face of each spindle right away. I primed and painted the ends of each spindle with some leftover green latex paint I had.
Step 6: Thread rope through the holes
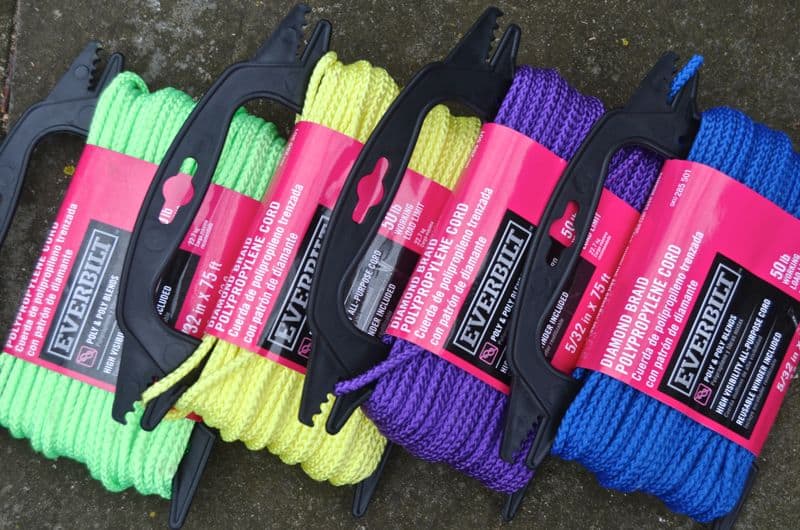
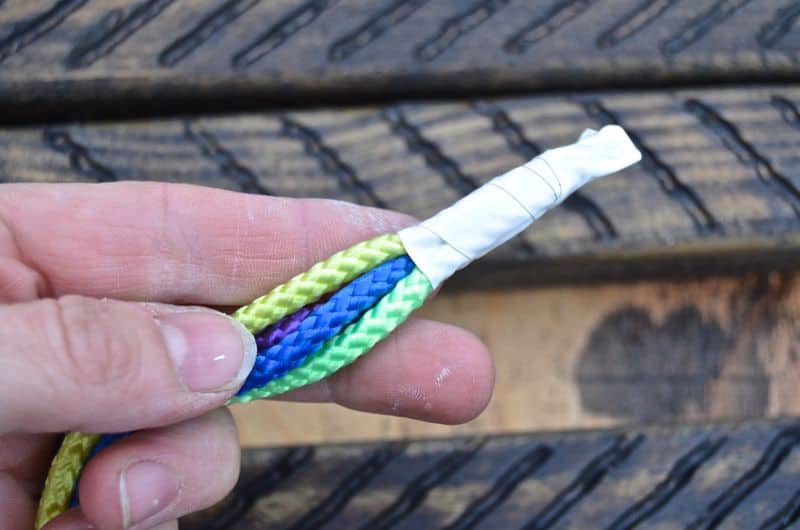
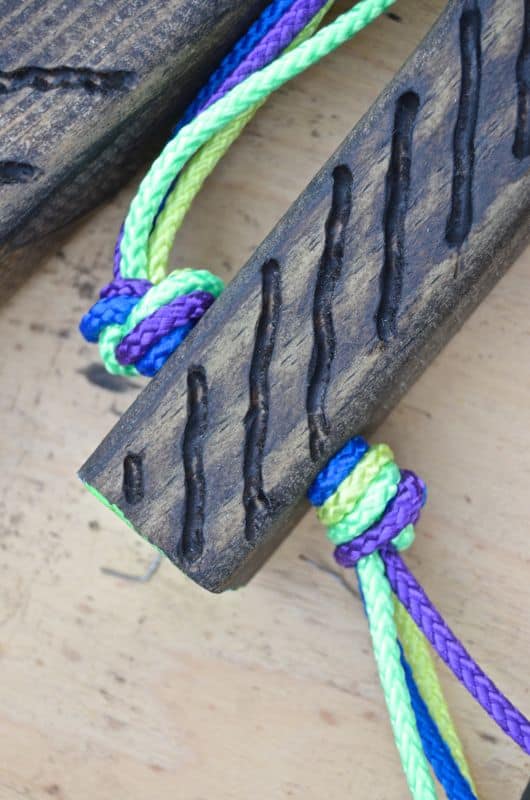
If I were in charge of purchasing at Home Depot, I’d ask that they get this rope in *every* color of the rainbow because that was my original plan. But understandably that may not be their top priority… they only had 4 colors that seemed a little too Mardi Gras when I used them the first time. So I settled for 2 strands of the green. To make it easier to thread through the spindles, wrap the end with tape and then run through each hole and tie a tight knot between each spindle.
(*Note: After threading a few spindles with all four colors, I decided that was too much so I went back and kept it all green.)
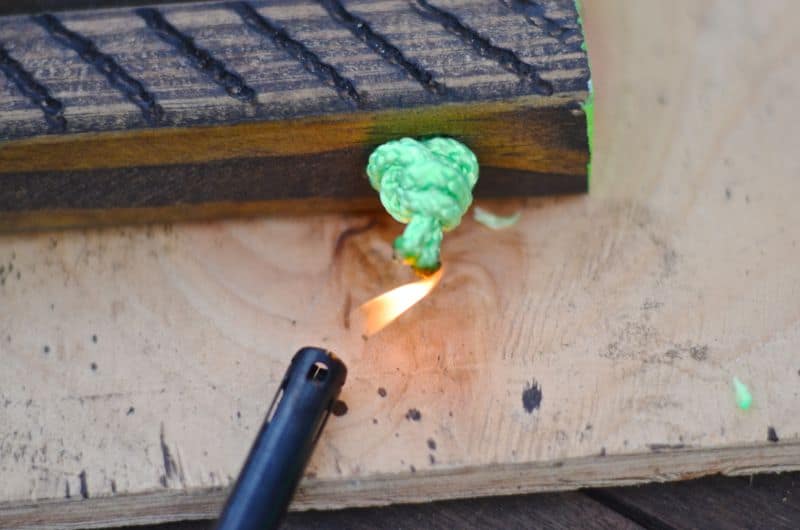
To finish my version, I trimmed and then melted the ends of each knot.
It’s outside our side door and looks AMAZING. Because it’s made out of wood, it won’t blow with a gust of wind OR get icky from rain or snow. I love how the etching turned out… can’t wait to try it again!
Step 7: Ogle!
Click on the links below and go see how AWESOME everyone else’s doormats are!! I wish I could invite you all over to wipe your feet and join me for a real party, but… the house is a mess and the only thing in the kitchen right now is 8 boxes of penne I just got at Costco. I.e. lame party.
Disclaimer: The Home Depot partners with bloggers such as me for DIY Workshop program. As part of this program, I received compensation for my time. The Home Depot believes that consumers and bloggers are to form their own opinions and share them in their own words. The Home Depot’s policies align with WOMMA Ethics Code, FTC guidelines and social media engagement recommendations.



I love the neon green with the etching of the dark wood! Beautiful job!
Thanks, Amber! I’ve been stalking everyone’s doormats and need to drop a comment… The creative minds are NUTS!
Charlotte, this turned out so well! I love the pop of color, too!
Thanks, Jenna! I can’t believe how clever everyone’s turned out! I definitely need to think bigger next time! 🙂
The etched design looks awesome, Charlotte! Great job!
Thanks, Katie! Now I want to etch ALL THE THINGS! 🙂 Love seeing everyone’s ideas!
So stinkin smart to use that cord! Love the pops of color!
xo – kb
Ha! Thanks! Loved your post… we might be GIF spirit animals. I could have a full convo on my FB messenger thanks to the GIF library on there! 🙂 xx
How fun! Love this idea.
Love seeing your new email pop up here! Woohoo! And thanks, girl. 🙂
Yours is so fun, Charlotte! Love it!
Gah! How did this slip through the cracks?! Thanks! I’m still in AWE of yours… the idea alone is insane in the brain!