File Cabinet Flip
Psssst… this post *might* contain affiliate links: see my disclosure here.
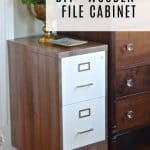
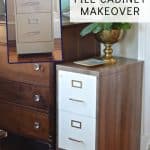
Thrifted File Cabinet Makeover
As most of you know by now, we moved into an amazing historic home last April and I have been working to shake a little bit of the ‘history’ out of it one room at a time. I first fell in love with the old part of the house and the wide floor boards and the high ceilings. We haven’t painted in here so our stuff looks the tiniest bit out of place, but we can’t do everything at once! One thing we *did* need was some added storage for the office. Neither Mark nor I do a ton of work from home, but any family with kids and pets and cars and a house ends up with lots and lots of paperwork and… stuff. Without a closet in site, I had to bring in some furniture to help with the clutter. What’s simpler in an office than a file cabinet, right? What’s uglier in and office than a file cabinet, amiright? I got to thinking that there must be a better way…

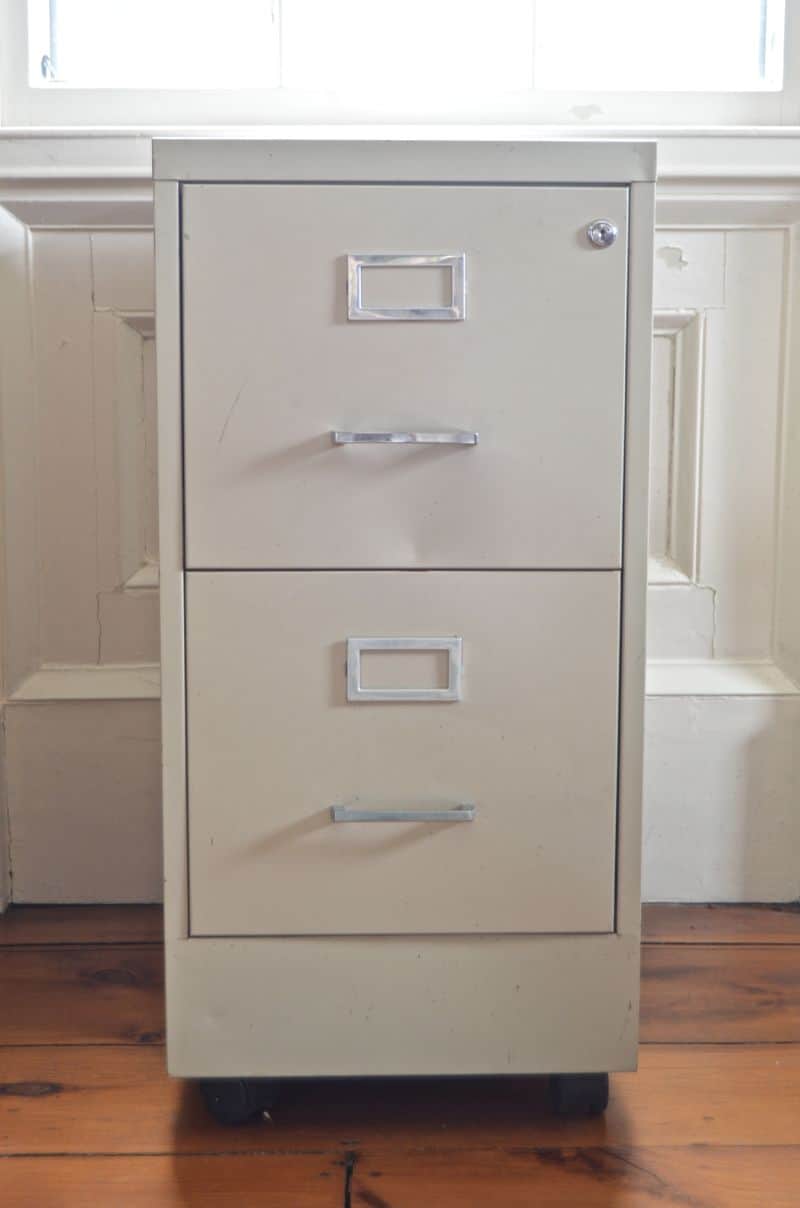
These metal file cabinets pop up everywhere. Thrift stores. Yard sales. Craigslist. I found this one for $20. I was looking for a couple of features that all of them don’t have: I wanted removable hardware (some are attached without screws so you can’t get the handles off), I was hoping to find a way to add legs, and I didn’t want anything enormous.
Shop my favorites!
Tutorial
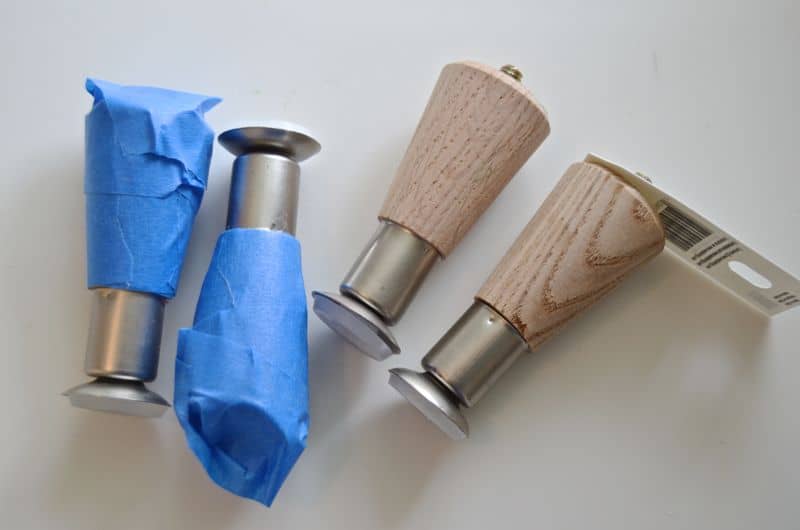
I didn’t even think to take pictures of the first step, but I removed the hardware, cleaned the little guy and then painted drawer fronts with a few coats of antique white chalk paint. To make the file cabinet seem a little more formal, I traded the casters for legs. I ordered these ones online from Amazon and they got a coat of paint too.
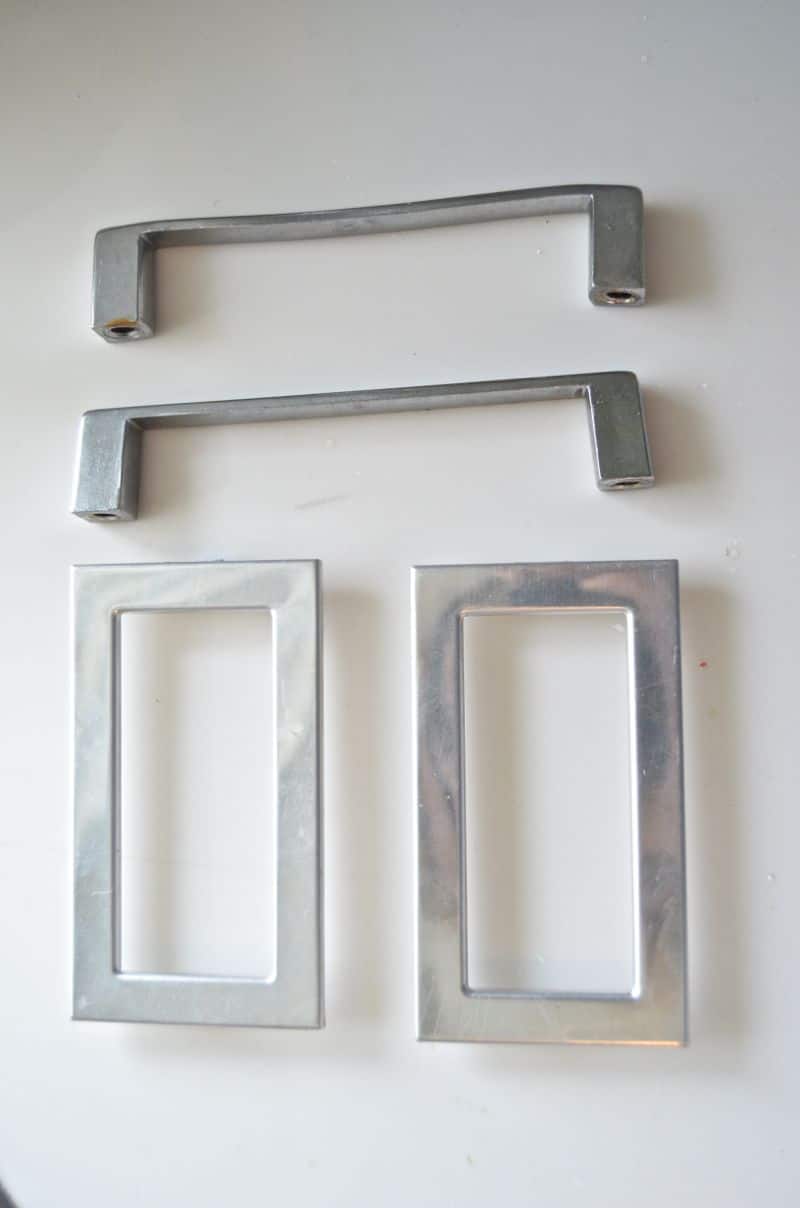
The hardware came off and got gold-ified.
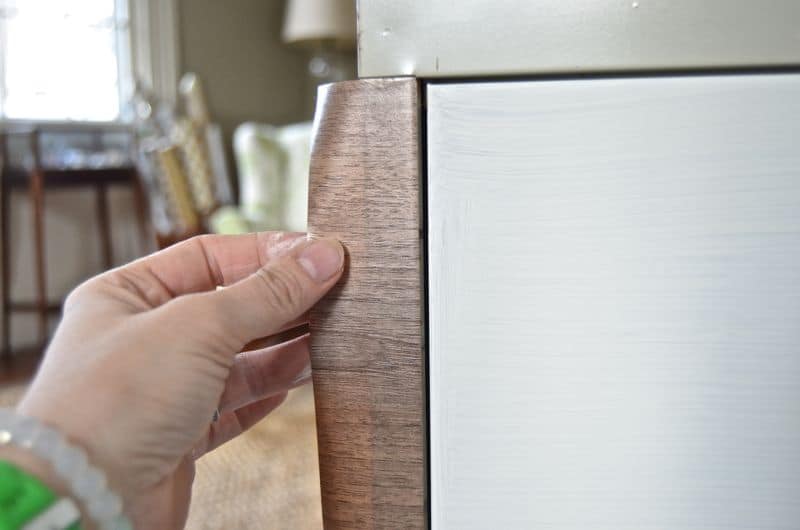
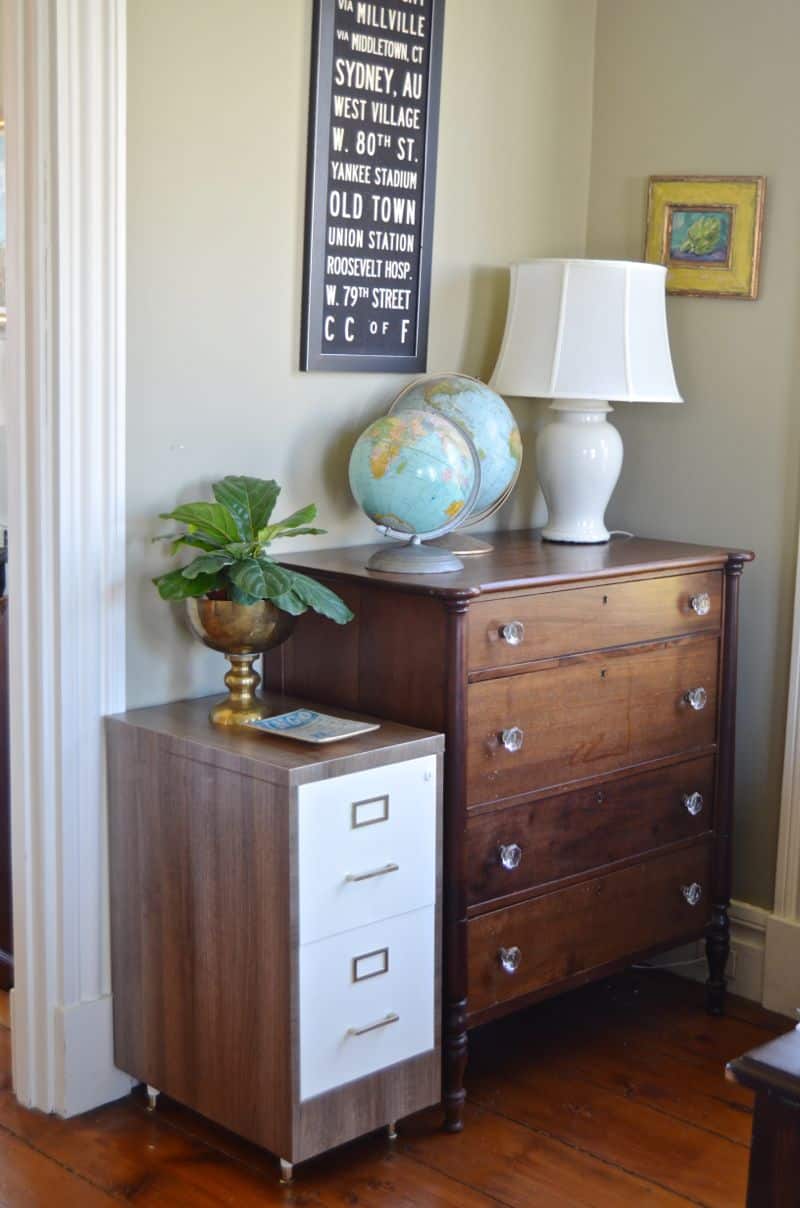
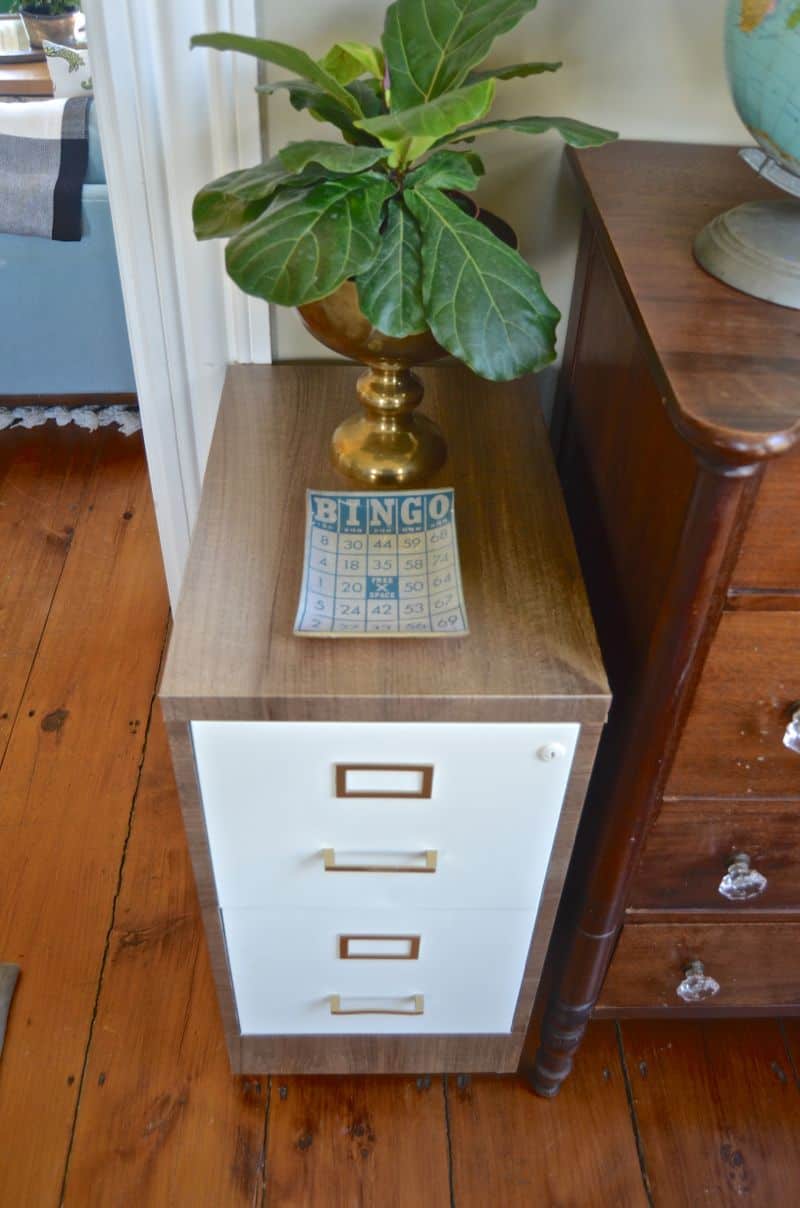
Last but not least, the rest of the file cabinet needed a new look. That’s where this magical contact paper came in. (Full source list at the end of this post!)
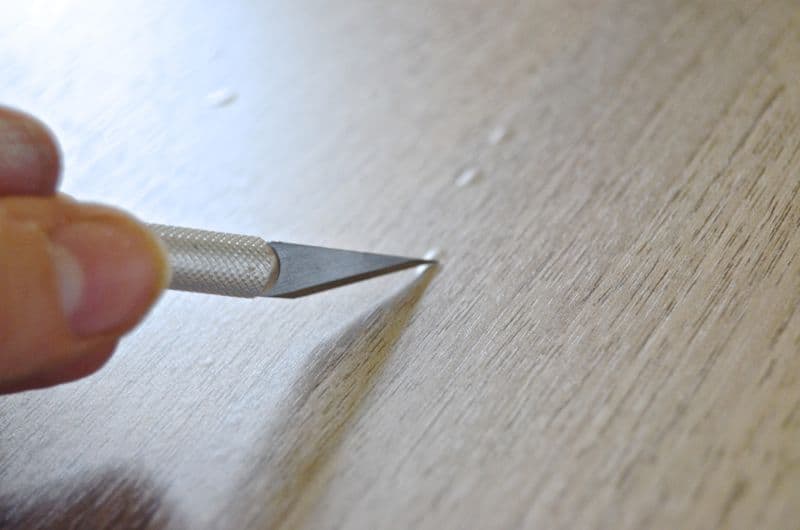
The trick with contact paper is to cut with a sharp knife…
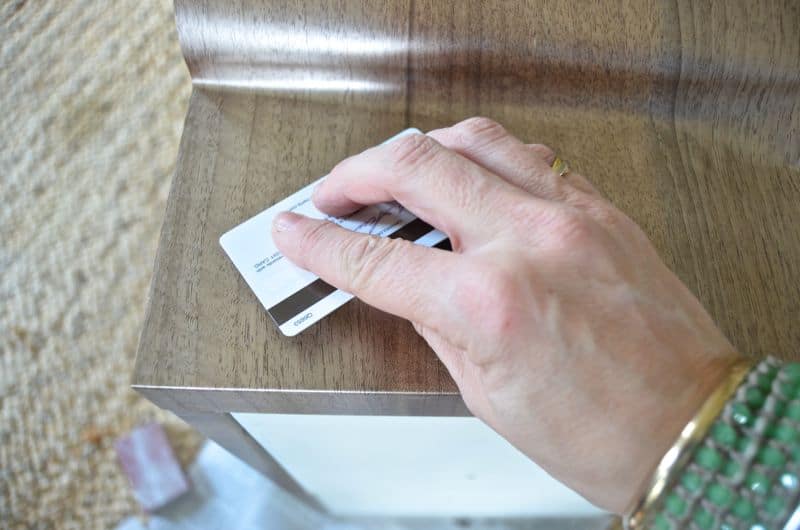
Then slowly remove the adhesive backing paper and use a credit card of flat edge to smooth out the bubbles.
Tip: for any trapped bubbles, make a prick with a sharp edge and go back over with your straight edge.
This file cabinet took 2 rolls of paper and I was careful to measure carefully in order to cover large areas of the file cabinet at once.
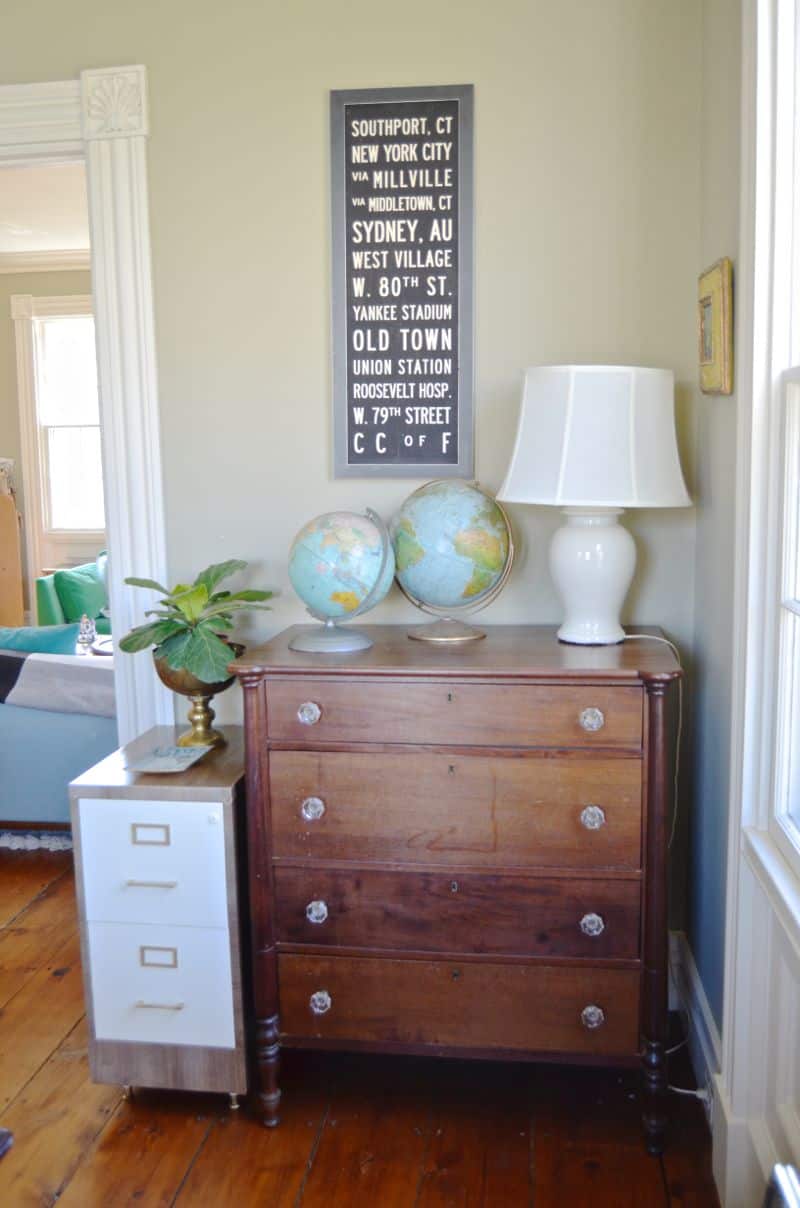
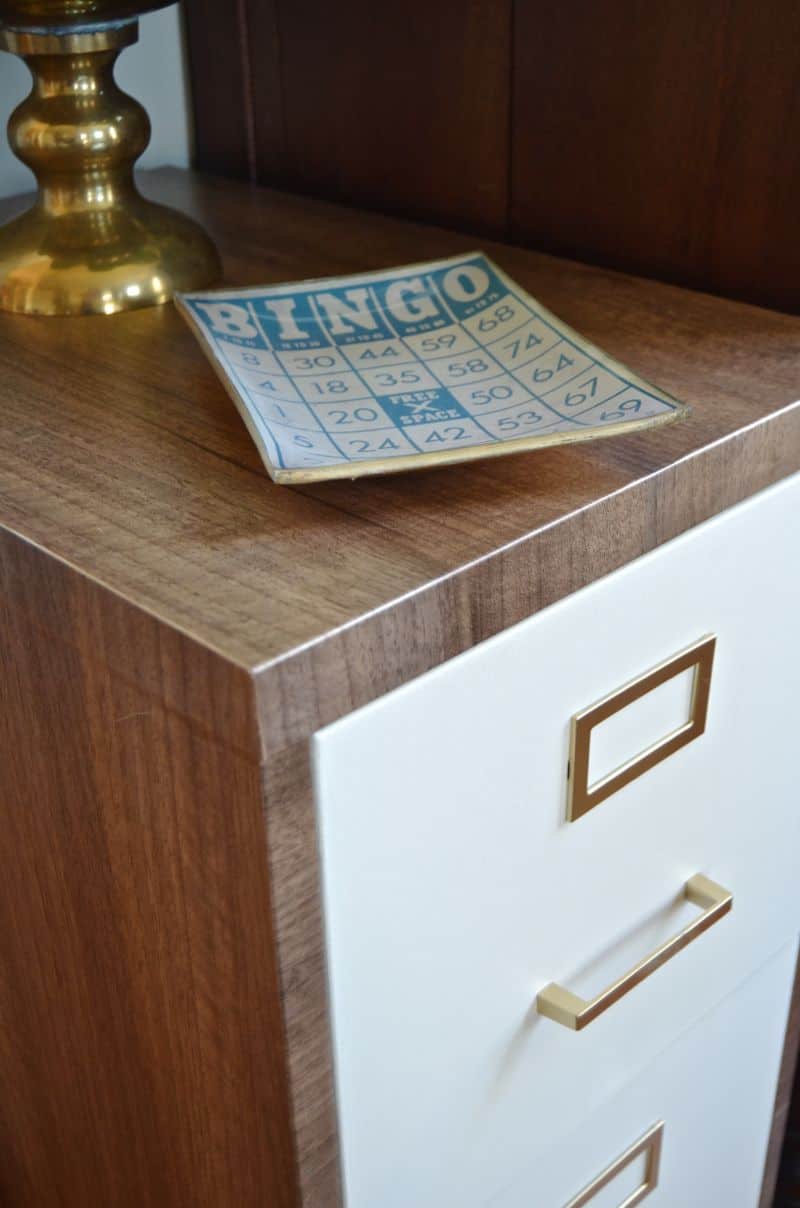
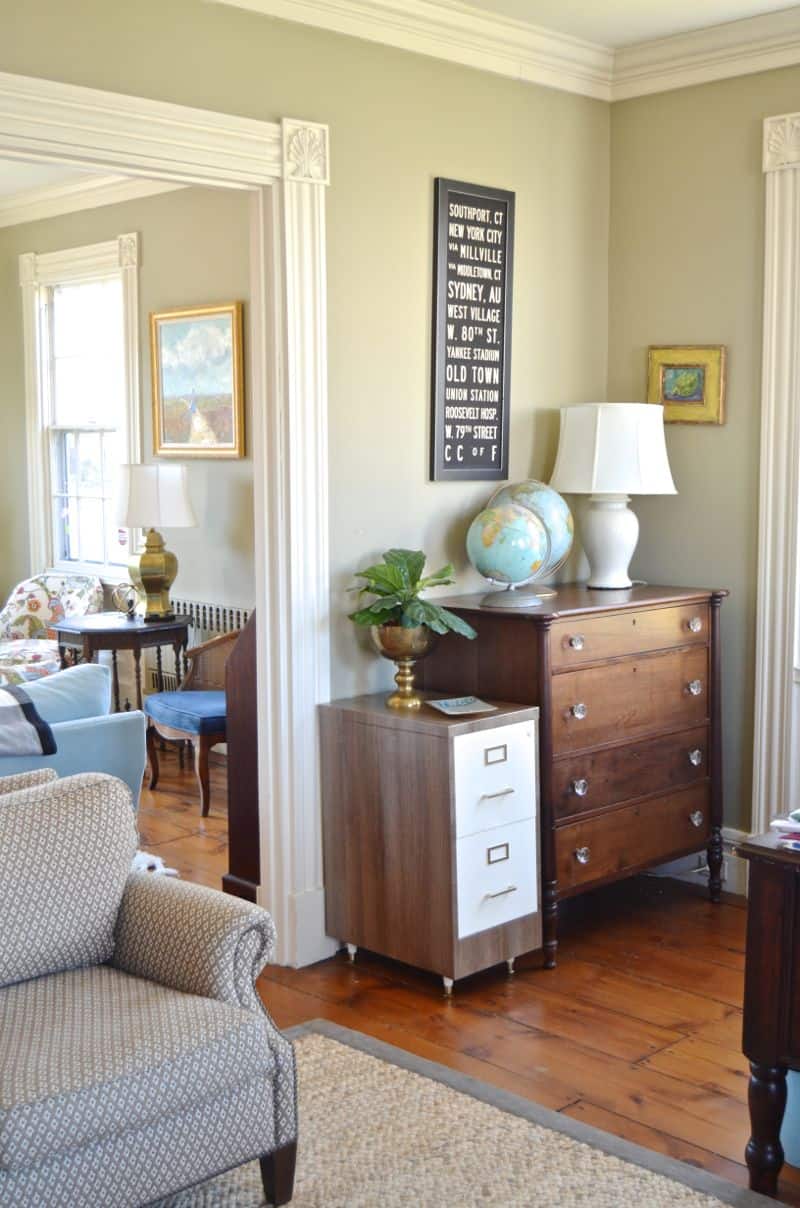
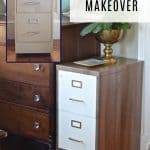
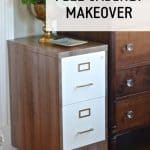
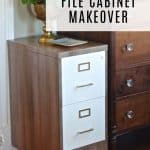
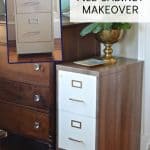
Up close you can obviously tell this file cabinet isn’t real wood, but from any distance it has a cool mid-century modern feel to it and fits the rooms well as any free standing file cabinet could!
Materials:
Contact Paper/ Shelf Liner (There are LOTS of different styles: pattern, faux marble, metallic… if you’re not into the wood grain.)


Kudos to you!! I tried this several years ago and lost patience with this project. Then I tried painting the file cabinet with metallic paint by brush..not very good results. I hid the file cabinet in a closet. You have given me the inspiration to try again. Great job.
Thanks, Vivian! Chalk paint has made my file cabinet game MUCH better! They also make marble contact paper and I love that also!
I love file cabinet makeovers and so nice to see something old put up new use! Yours is one of the best I’ve seen! Great job!
Helen H
Thanks, Helen! This was my first try but I’m with you! Something about reimagining an old metal file cabinet is sort of fun!
There is nothing like contact paper to help transform. I used faux leather on a coffee table to protect it from bachelor messes. It looks great, as does your file cabinet.
Oh my goodness, faux LEATHER?! I LOVE that idea… googling it now. 🙂
Looks grrrrreat! How did you get the dent out?
I placed a board against the backside and tapped it with a hammer! Thanks!