Girls’ (No Demo) Bathroom Makeover
Psssst… this post *might* contain affiliate links: see my disclosure here.
My girls shared bathroom was gray and cluttered so I decided to give them a colorful update to make the space more fun and useful!
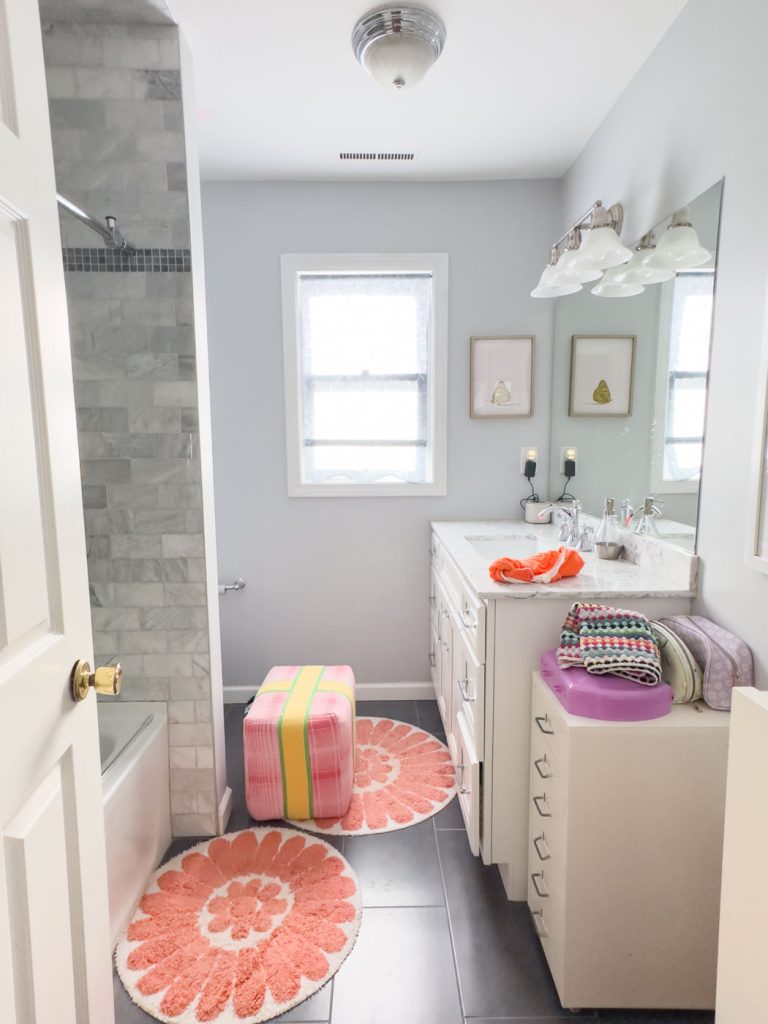
Story time: We have two bathrooms upstairs for the kids… one for the girls and one for the boys. Both are fairly updated so there wasn’t a reason to do anything major like replace the vanity or tiles, BUT… I have never loved how they looked. Until now. It’s no secret that my favorite type of makeover is one that looks fancy but doesn’t cost a fortune AND doesn’t require any major heavy lifting. This bathroom update is just what the doctor ordered!
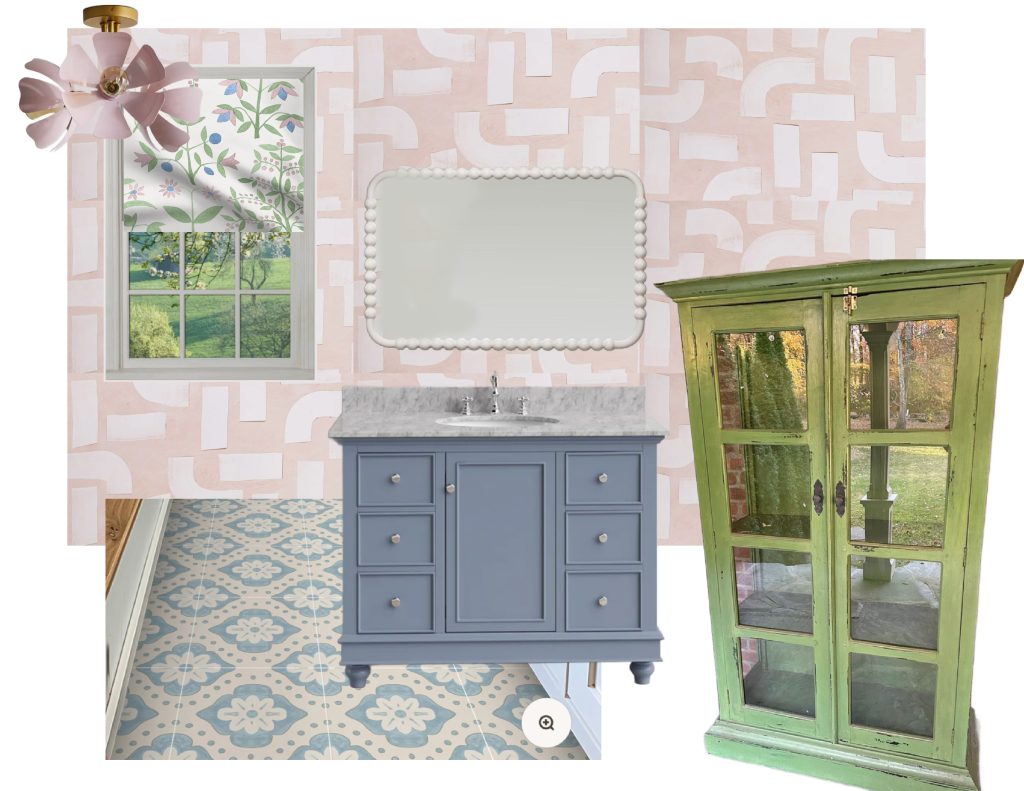
The Design Plan
The plan for this space is to change:
Shop my favorites!
- the walls
- the lights
- the hardware
- the mirror
- the storage
- the textiles
At one point, I wanted to paint the vanity and bring in some adhesive floor tiles but… the vanity actually doesn’t appear to be solid wood so painting means prep I didn’t have it in my soul to complete AND the floor tiles ended up being too pricey. Maybe an addition down the road!
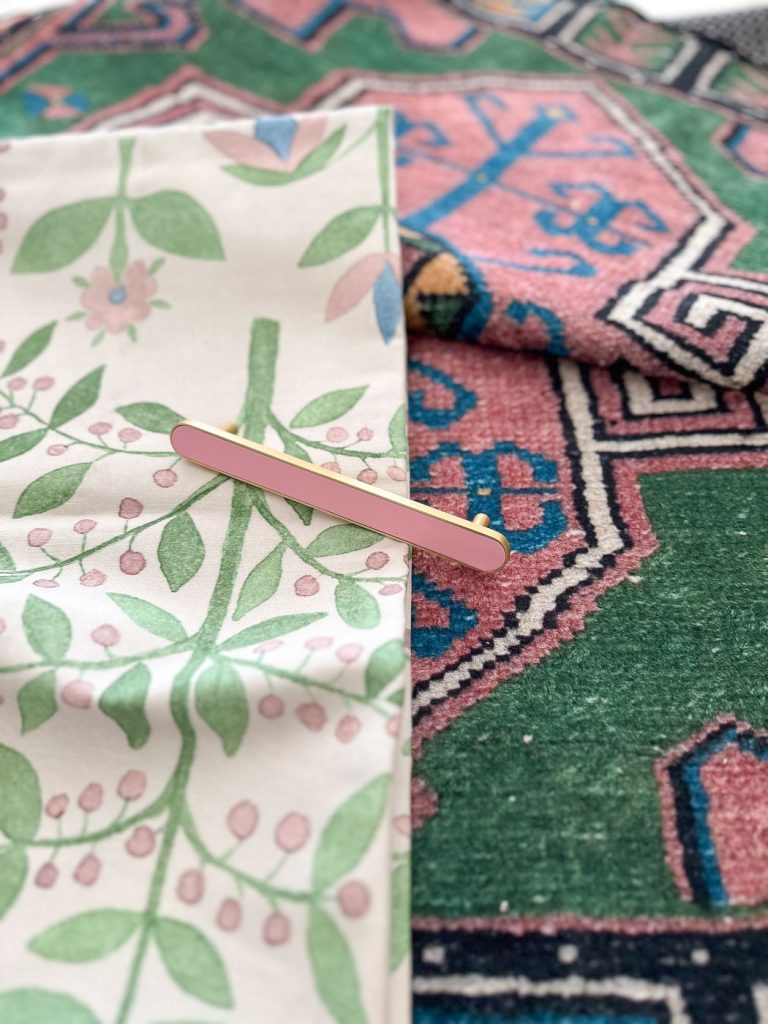
Stage 1- Storage
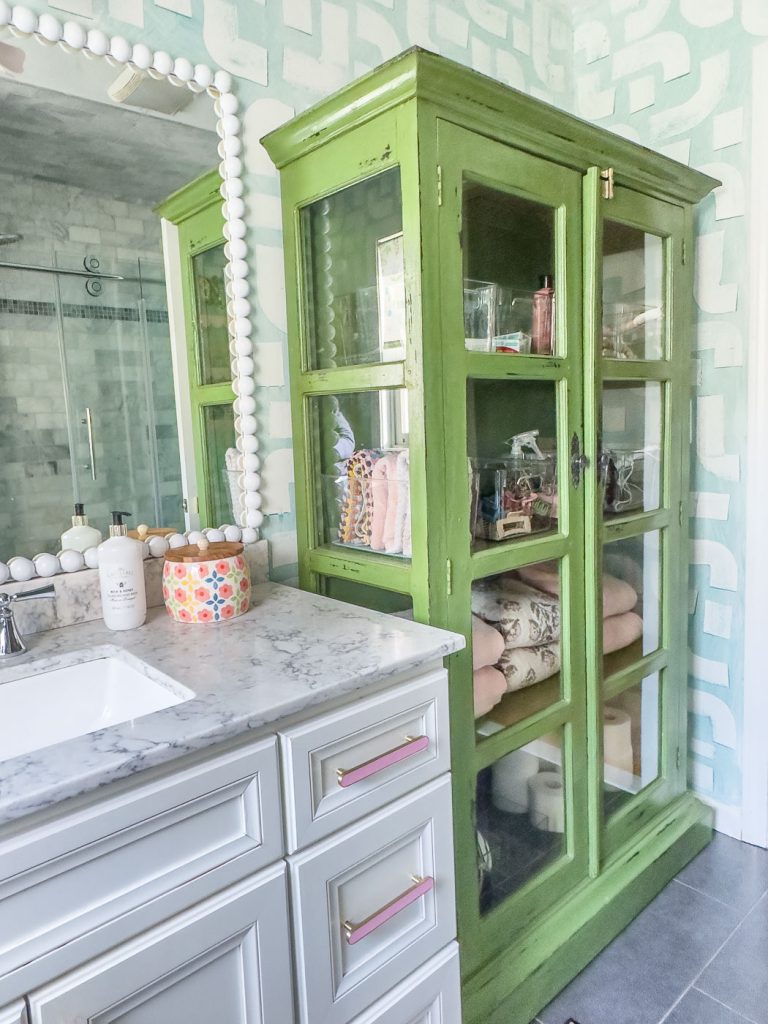
Next to the vanity is a huge empty space, so my first thought was to bring in a cabinet or cupboard for this space. My first place to check is *always* Facebook marketplace and on this day I stumbled across this incredible cabinet that lodged itself into my brain:

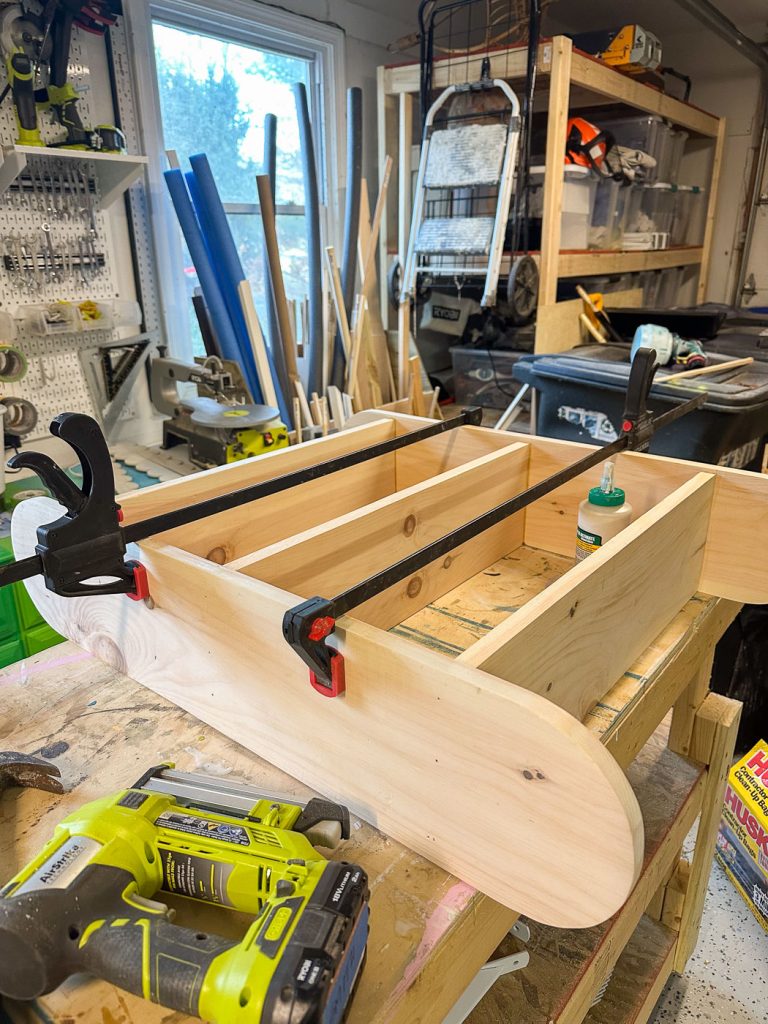
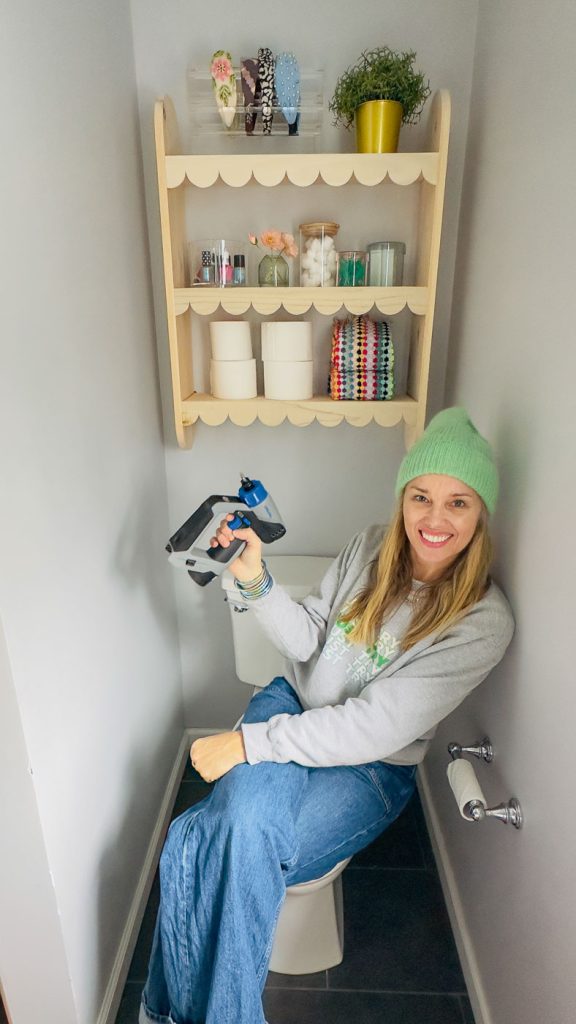
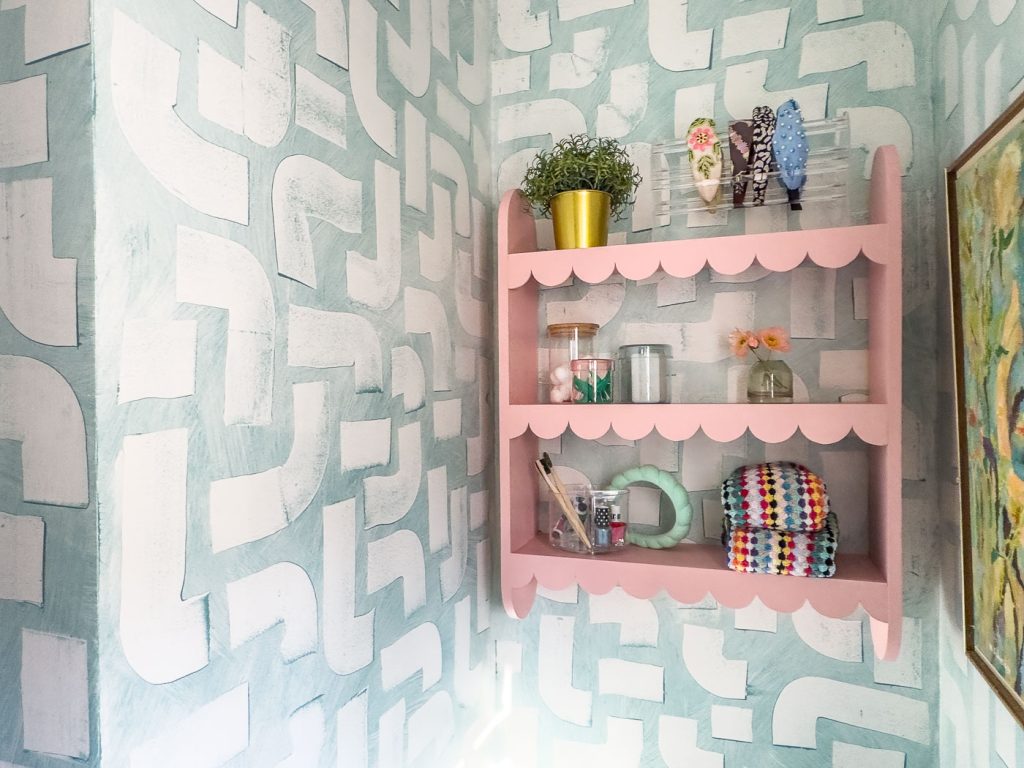
Once I secured this from FB, I also decided to add one of those little shelves to hang on the wall above the toilet. I looked on Facebook for this as well, but ultimately had the opportunity to partner with Dremel and make my own! This is my super sophisticated sketch:
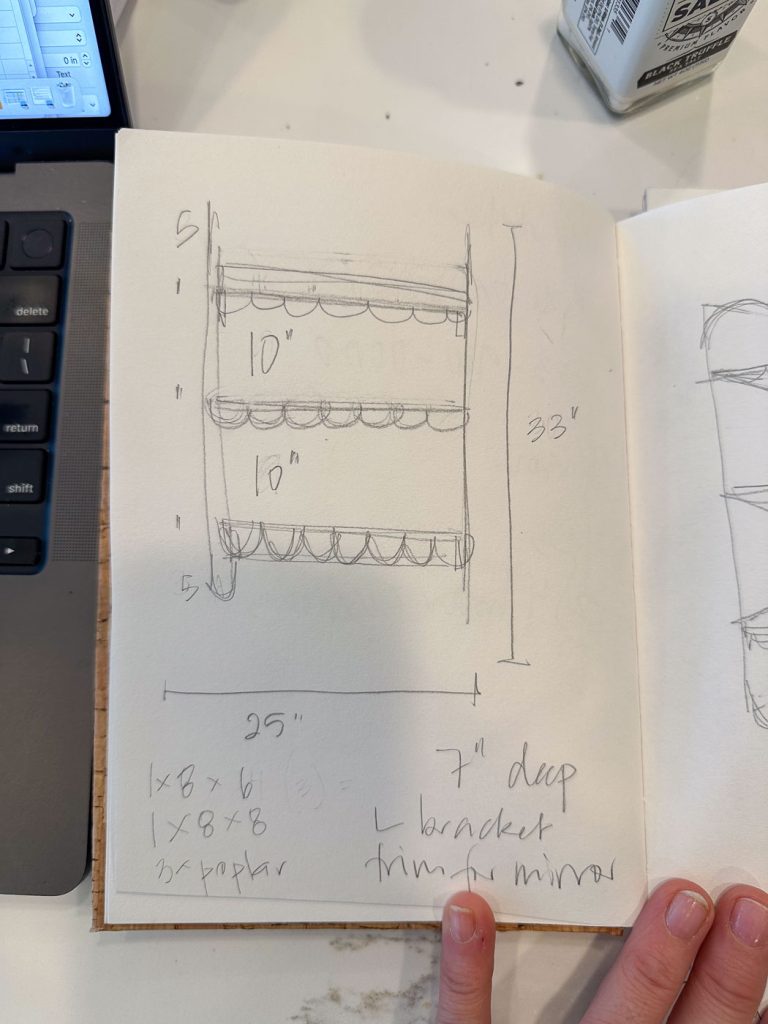
From that drawing, I was able to build this cutie:
Stage 2- Walls
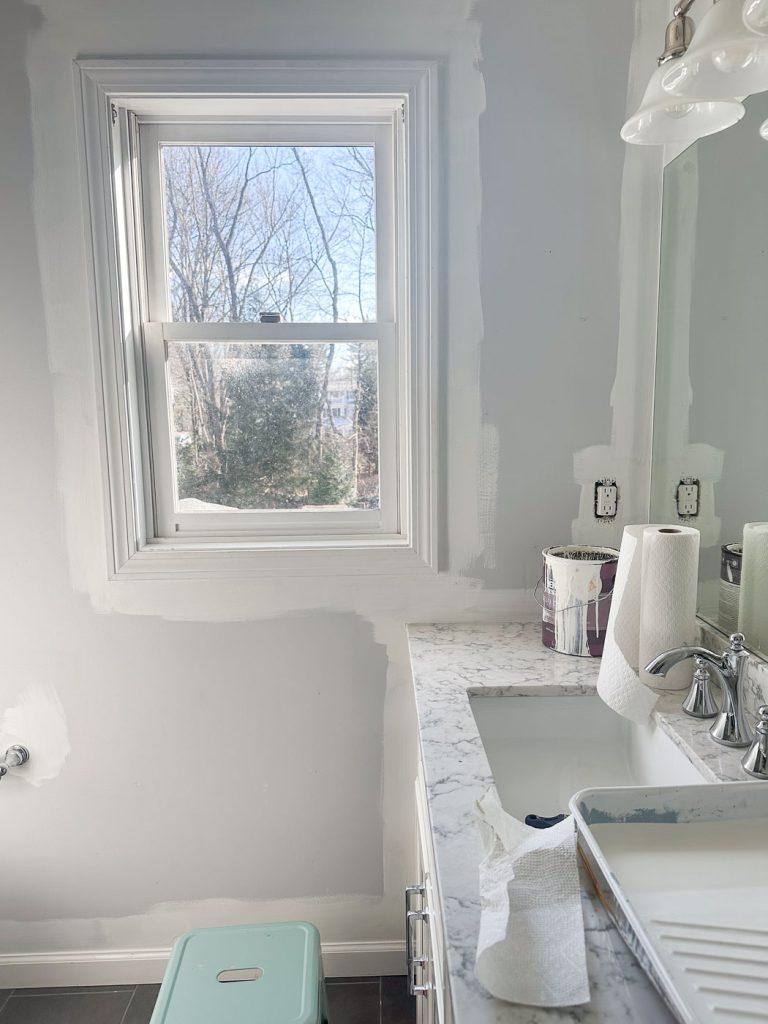
The gray walls have GOT to go. Normally for a small space like this with lots of solid surfaces, I would immediately look for wallpaper. It’s one of the only ways to bring some pattern in here because of the tiles and the floor. However, hanging wallpaper in a space that will routinely get damp and humid is not ideal. Sure… it’s possible and can be done, but with three girls using this bathroom, it felt like an expensive gamble. So using paint to add pattern was the challenge… that meant either a mural OR faux painting. My friends at The Color Shop sell incredible faux painting kits that I used for the flip house powder room so I looked there to see what else they had available. This tunnels kit seemed like a big bold pattern that could look amazing in this bathroom. To start, I had to paint the walls white first.
With white walls, time for the faux painting. I shared an overview of this process on Instagram, but it was pretty easy to get the hang of so don’t be intimidated! You start by painting a wispy coat of glaze onto the walls as a base coat, and then you use the provided squeegee tool to remove the paint in that tunnels pattern.
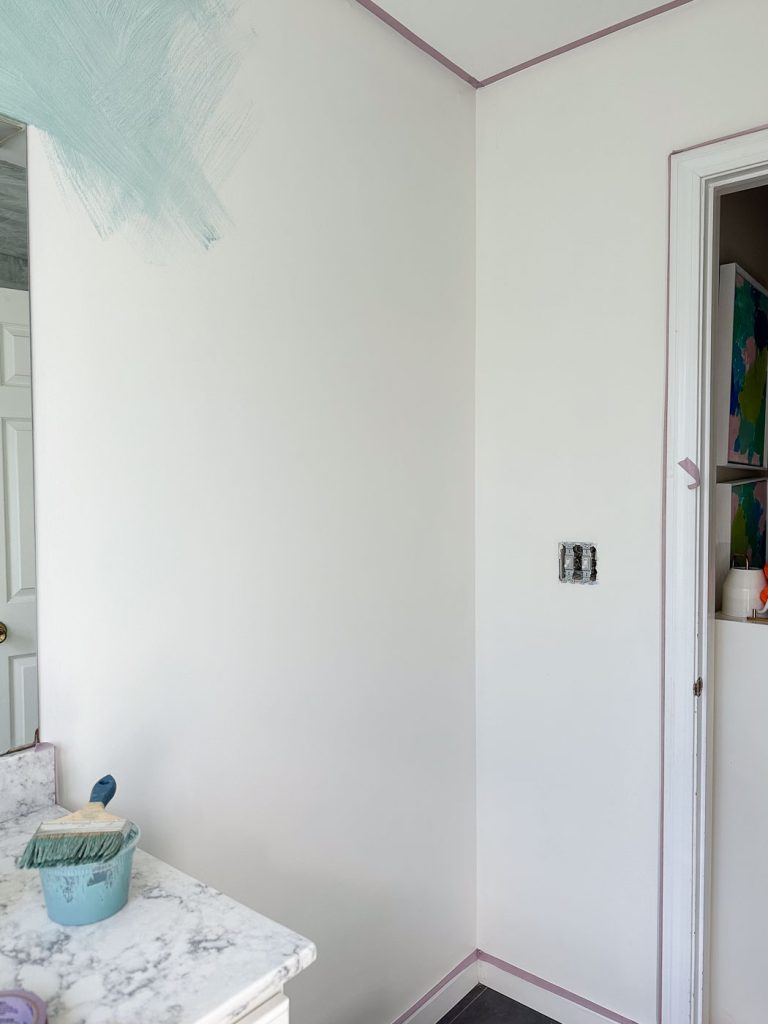
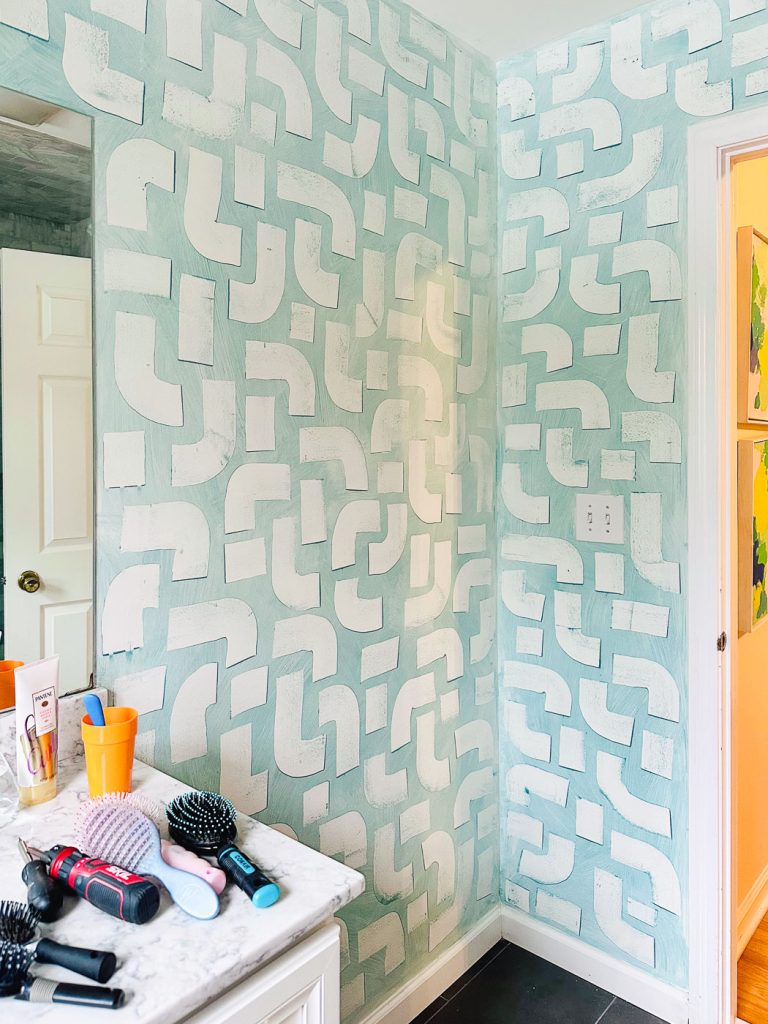
It’s looking SO much better ALREADY!
Stage 3- Lights and Hardware
So…. I didn’t take any still photos of these guys in progress. I shared to Instagram stories but I’ll post the whole source list at the end of this post if you want to know where I grabbed these new fixtures.
Stage 4- Mirror
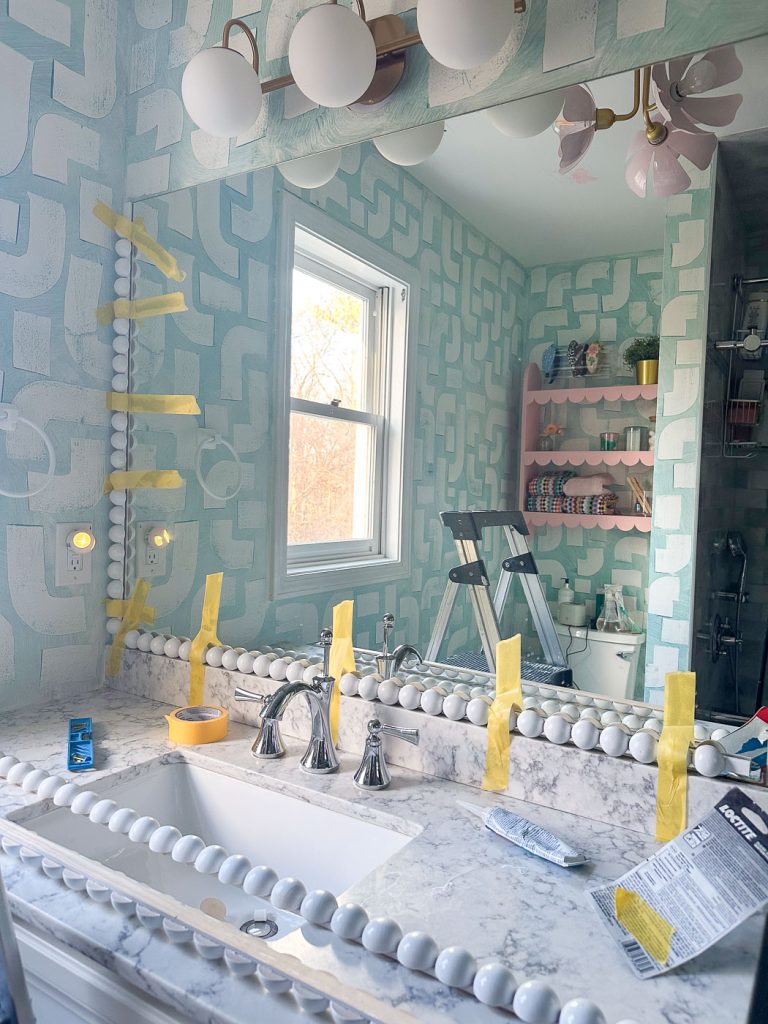
This mirror is basic with a capital B. It’s a simple piece of mirror glued to the wall. In theory, I could pretty easily tape this guy up and pry it off the wall but… I didn’t want this project to escalate and I started to worry that yanking the mirror off the wall might damage the drywall and require me to come in and patch and I didn’t want to. SO… trimming out the mirror was the best bet. This is an easy project BUT notice how this mirror is touching the vanity and barely an inch off the wall? That only means that I can’t just add wood around the mirror and nail it into the wall… there’s just not enough space. I decided to play around with these half rounds and glue the circles onto the actual mirror. Once I got the circles, I wasn’t sure how I could do this neatly without gluing them onto a straight piece of trim first! (I created a full blog post about this project here.)
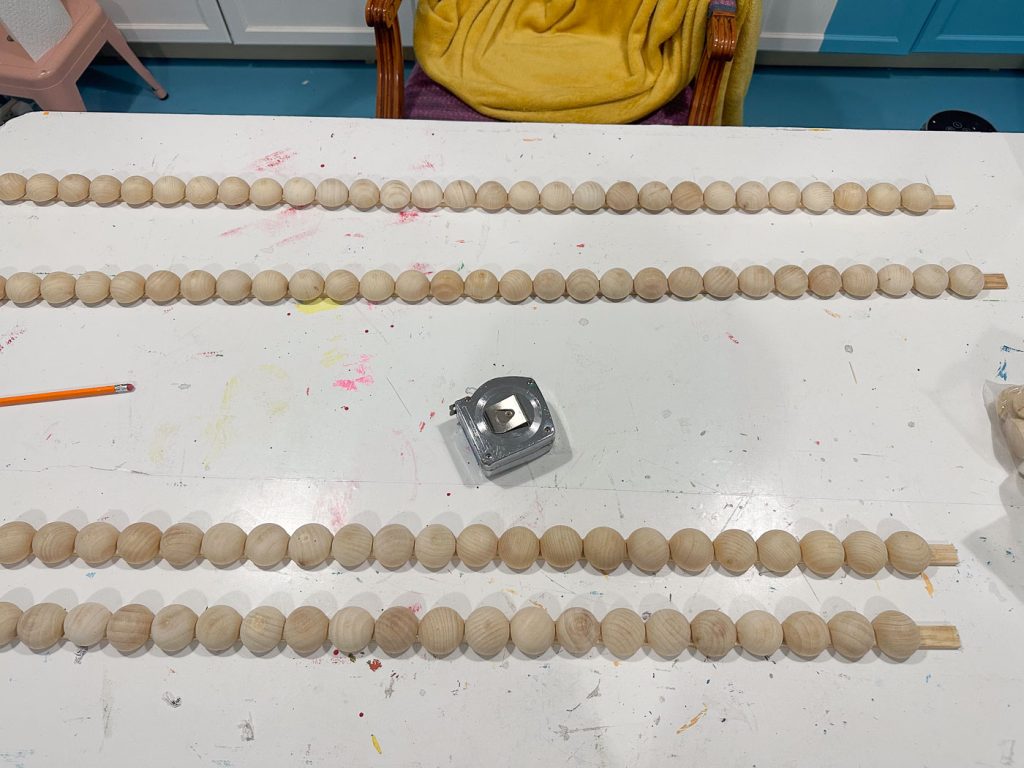
Once they were glued, I was able to prime and paint them. The one thing I didn’t consider was that the skinny trim would warp a little bit… hopefully gluing them and taping them in place will be enough!
Stage 5- DIY Roller Shade
I’ll post a separate tutorial for this one, because it worked and I think it’s helpful, but I was able to DIY my own roller shade for this window. I ordered fabric from Spoonflower and coated it with an iron-on vinyl to give it some rigidity. (I posted a full tutorial on this roller shade here!)
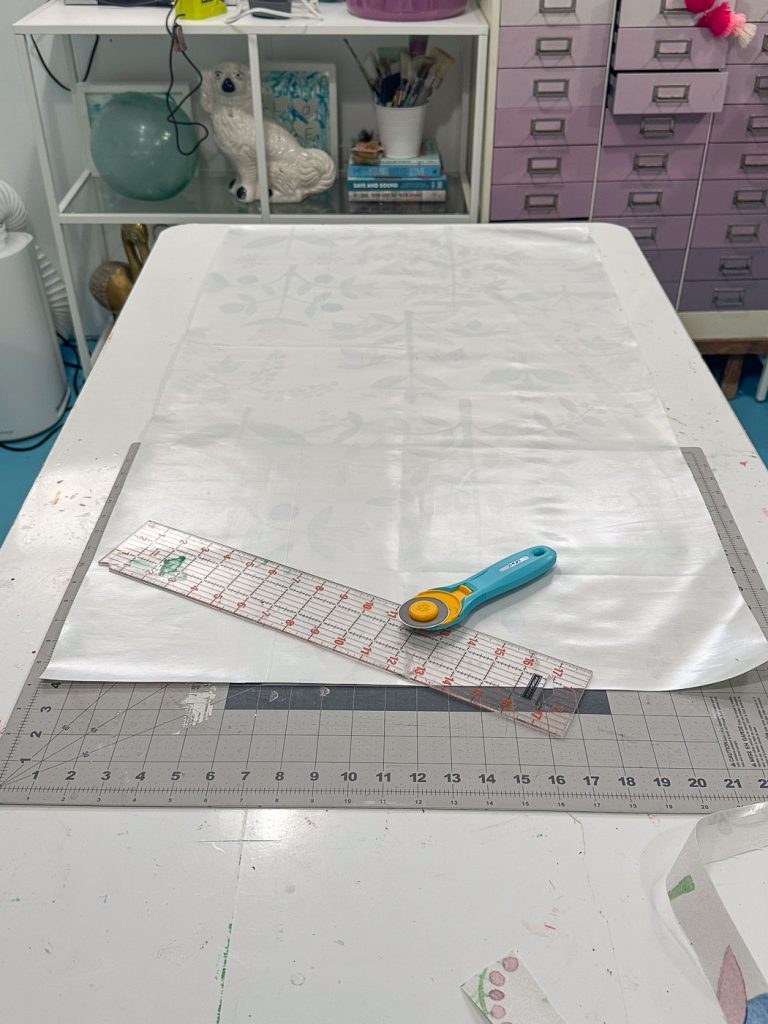
Once the vinyl was in place, I was able to cut the shade down to size and mount onto a roller shade I grabbed on Amazon.
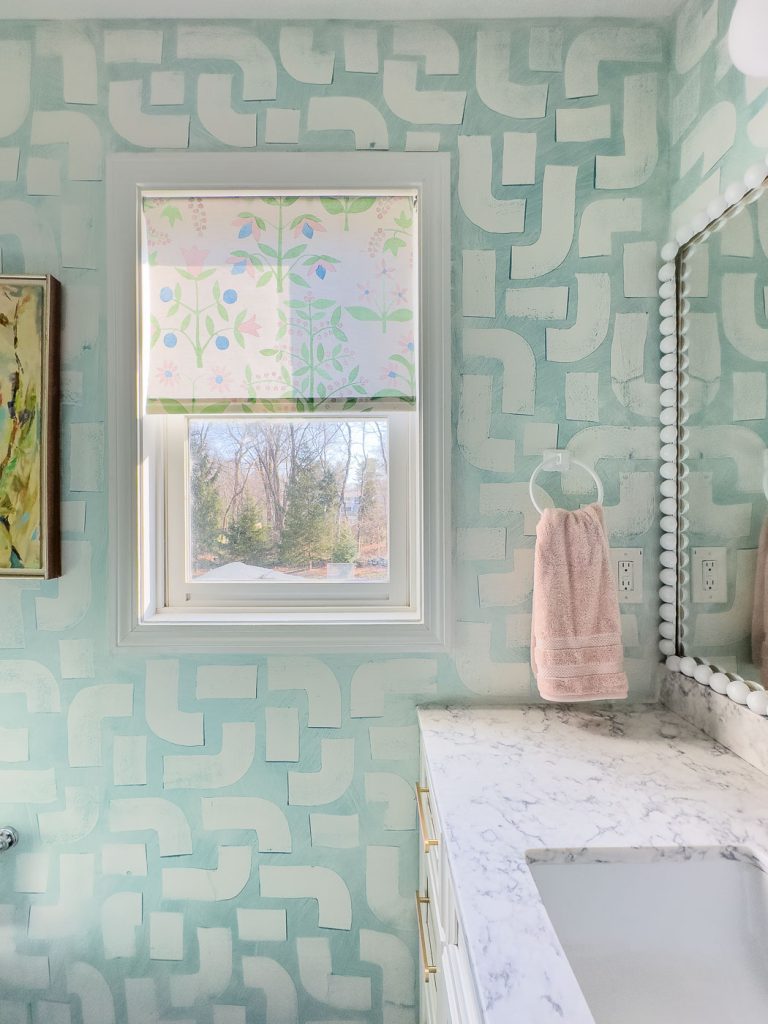
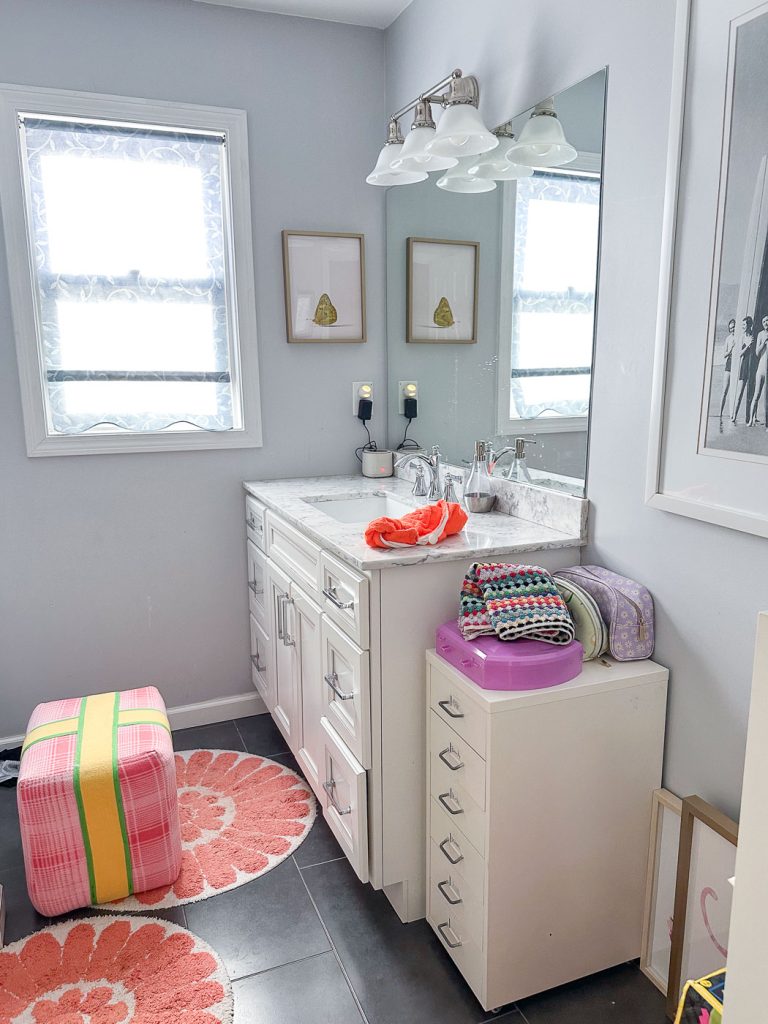
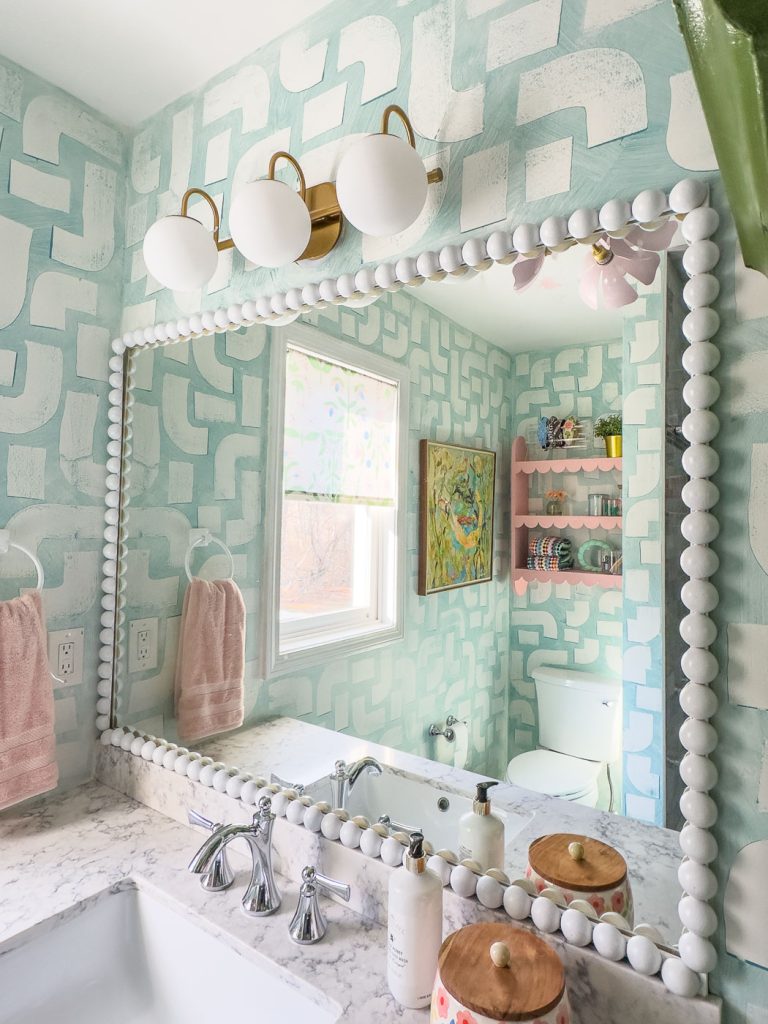
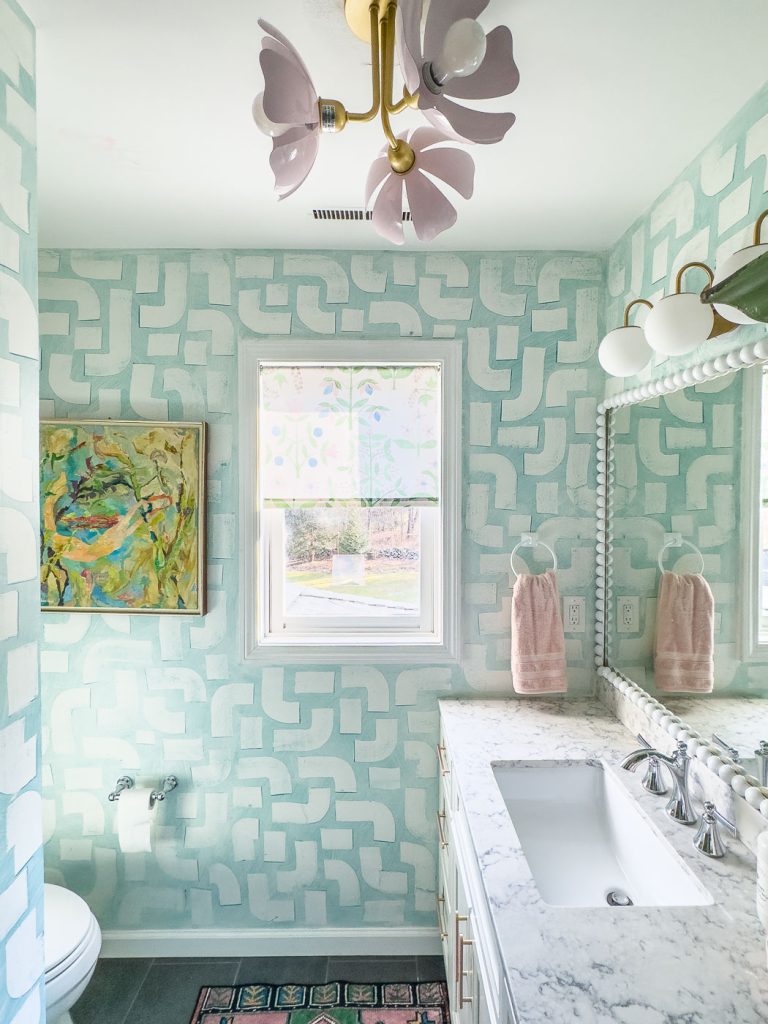
To recap… this gray blah bathroom is no more. I brought pattern into the walls with faux painting. Swapped out the fugly lights. Added so much storage including cute DIY scalloped hanging shelves (painted pink, natch). Swapped out hardware. Added that cute ball trim to the builder grade mirror. And… made a new roller shade for the window. Let’s just remember how this gray paradise looked when I started:
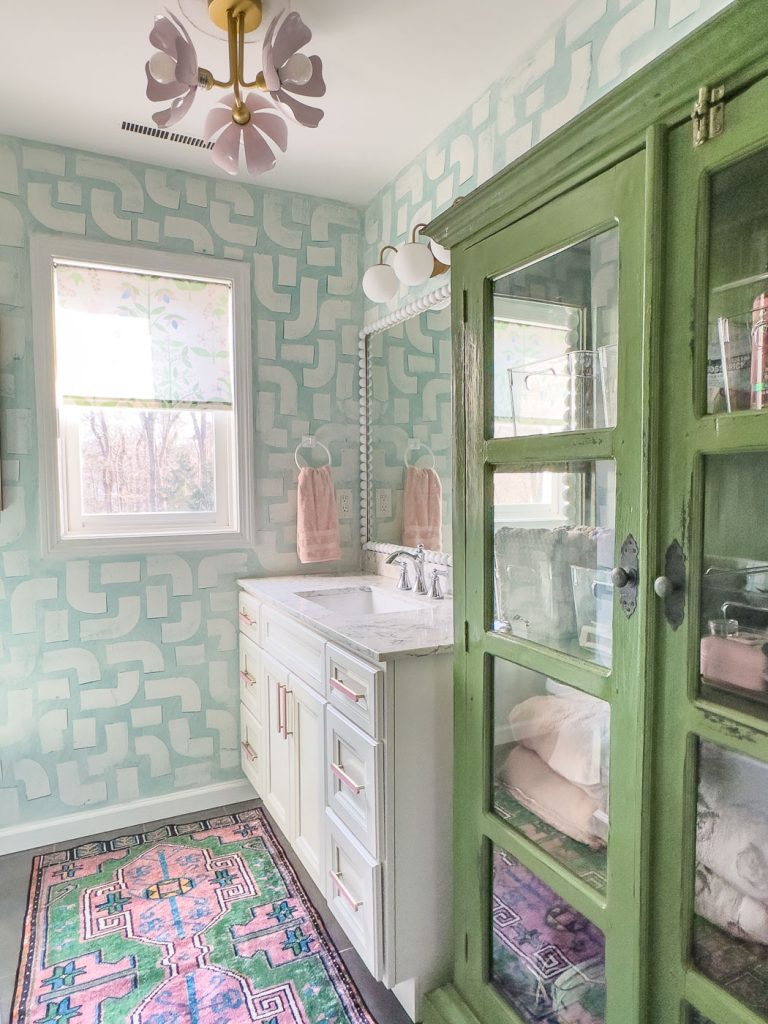
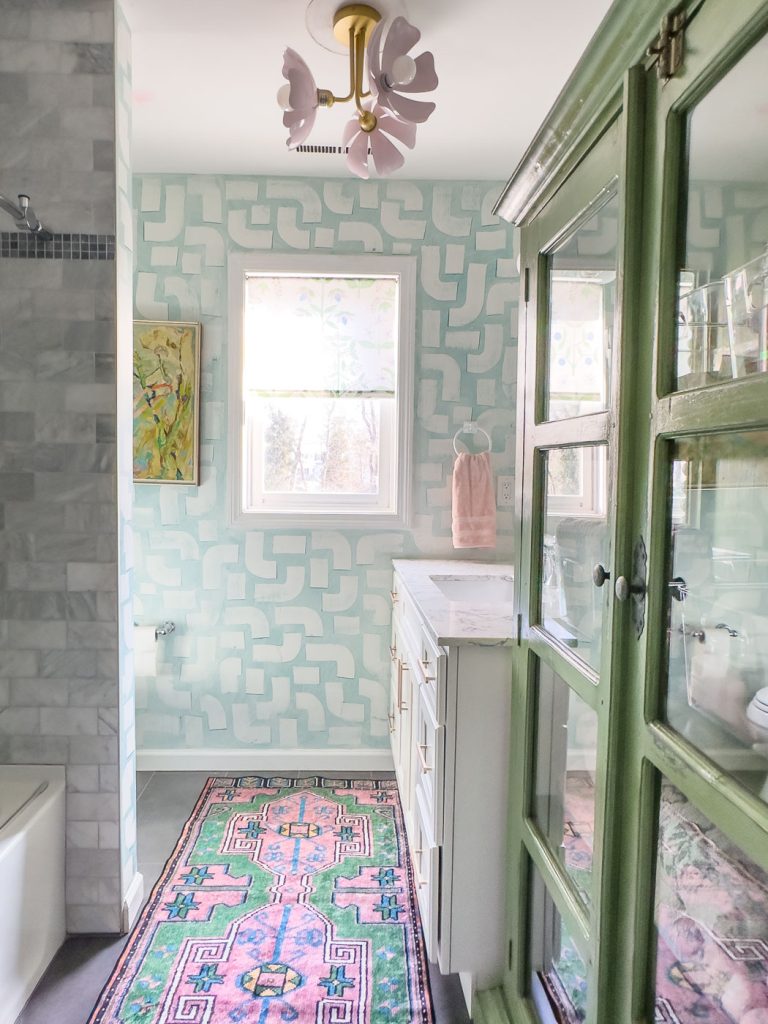
And here’s how she’s looking now!
Source List
- Bath mat
- Drawer pulls
- Faux painting kit
- Vanity light
- Flower Pendant Light
- Half Round Wooden Circles
- Fabric
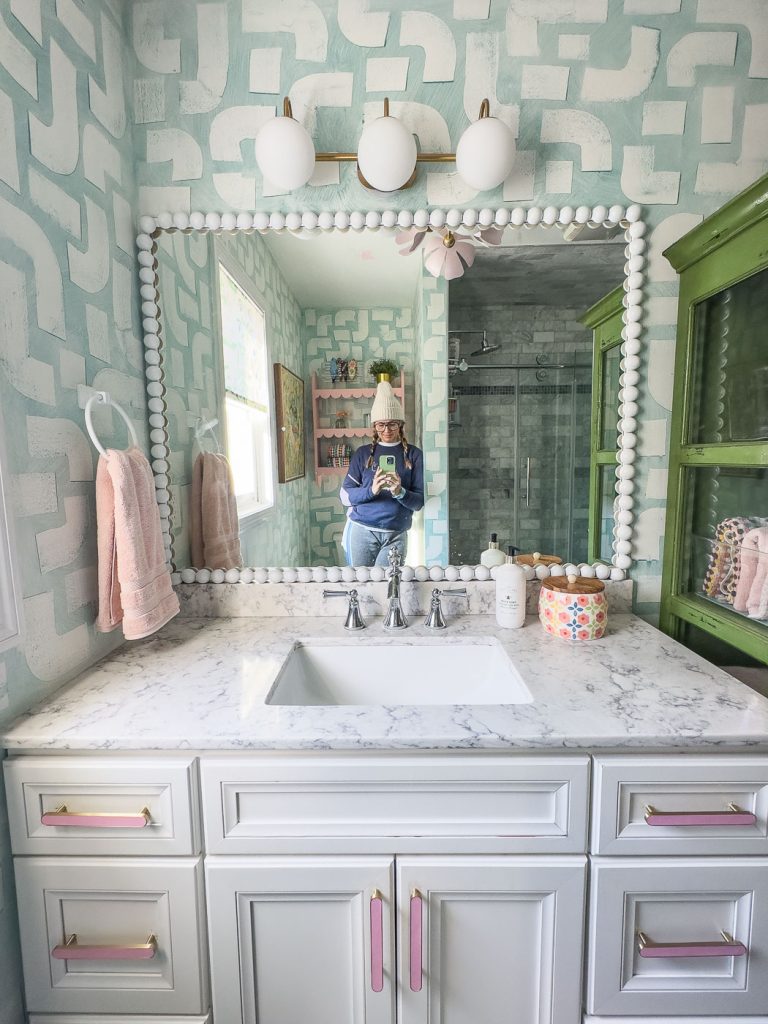
What do you think??? Kind of amazing how series of simple small updates can make such a difference, right? What’s your favorite part?!
P.s. Not that anyone asked, but the girls all actually like this space. That’s always a small miracle when that happens!


I love the little half rounds around the mirror. What a sweet detail to add lots of character.
Thank you!!! I love those too!
Wow!!! I love it all. Every piece! And what great storage, too. 💗
Right?! I would love that storage in my own bathroom!!!