
FLIP HOUSE: BEFORE AND AFTER
Psssst… this post *might* contain affiliate links: see my disclosure here.
I bought a flip house and managed to update every single room to transform what was an old dated house into a bright and cheerful home.
Story time: When I bought the flip house, I obviously ran the numbers and settled on a house that *seemed* to be a safe-ish bet. I told myself that the ultimate goal was not to lose a fortune and to learn a little something. I even went so far as to consider how much I might *pay* for a real-life crash course on flipping a house so, in theory, if I lost 5-10K would that still be worth the endeavor? As you’ve seen for the last 9 months, I obviously went ahead with this whole endeavor and have finally reached the finish line! Phew! Was it worth it? Financially…. not really. Numbers were tight to begin with so a few unexpected expenses was all it took to eat away at any meager profit. BUT… keep scrolling to see all the before and afters and to get a reminder of all the work that went into transforming this sweet old home into a fresh clean space for someone to love!
Flip House: First Floor
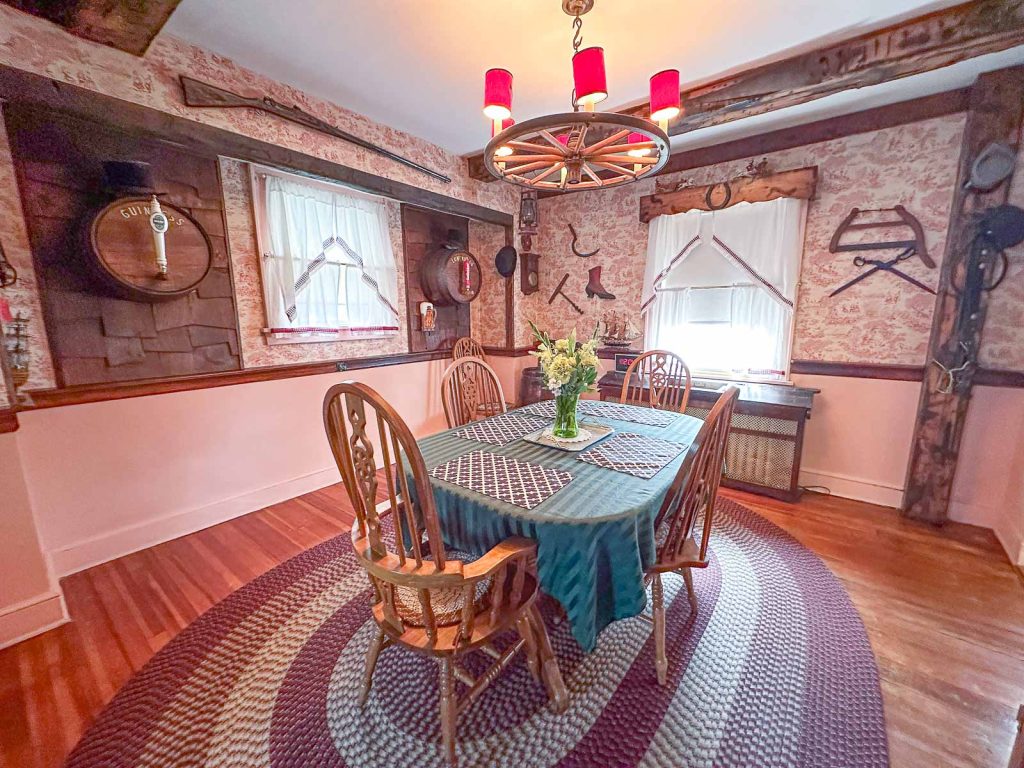
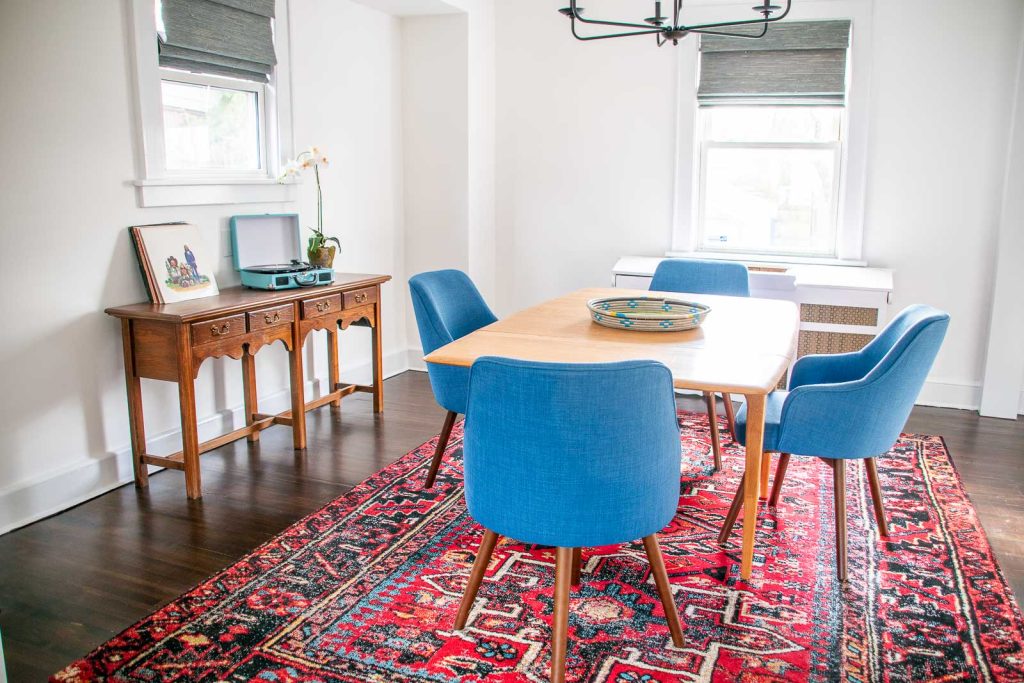
Let’s rewind to the state of this house last April when I closed on the sale. Fundamentally, she had great bones but needed some… love. Getting all the window treatments removed and wallpaper down was the first big challenge. Every. Single. Wall. had layers and LAYERS of wallpaper on it. Some had been painted over, some had been installed directly on raw/ unprimed drywall but this was the first few weeks of home ownership for me.
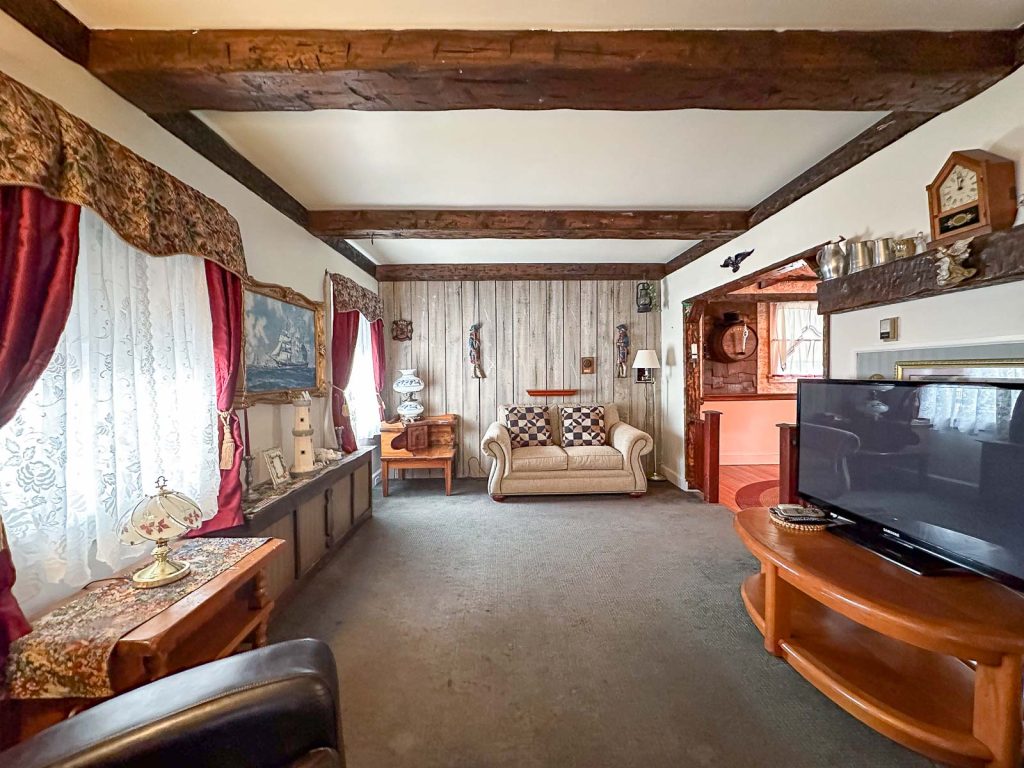
In addition to the wallpaper, there was also a lot of “faux” architectural touches. All those beams and columns? Totally fake and VERY dated. It’s hard to see in pictures but these were some sort of heavily distressed fiberglass situation. The fake barrels and shingling in the dining room was also something to demo which revealed a pair of windows that had been removed and filled in.
Shop my favorites!
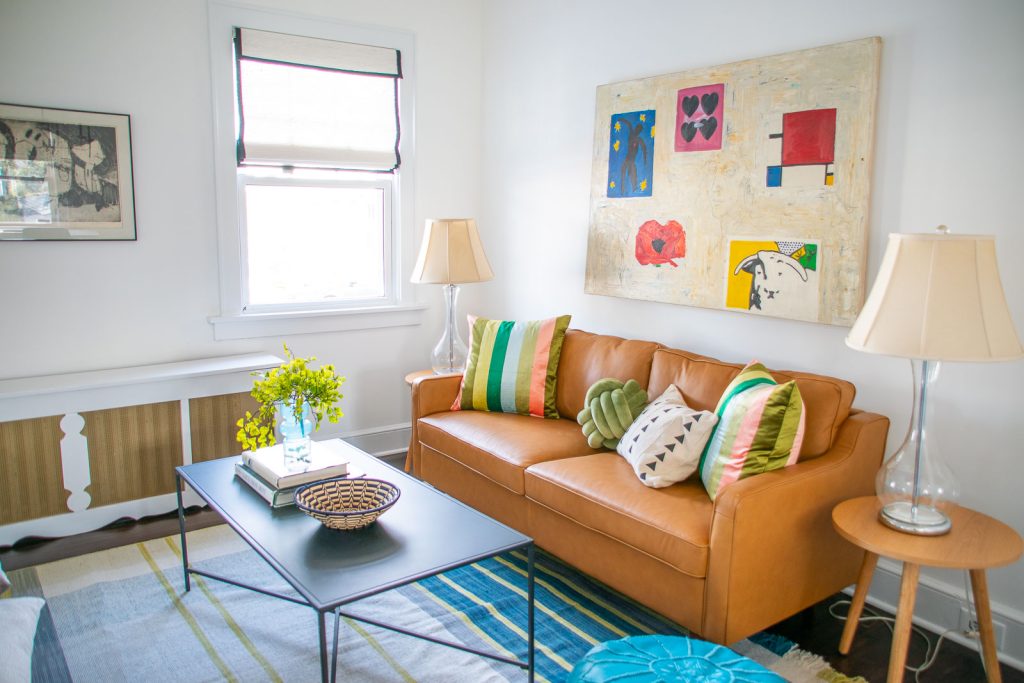
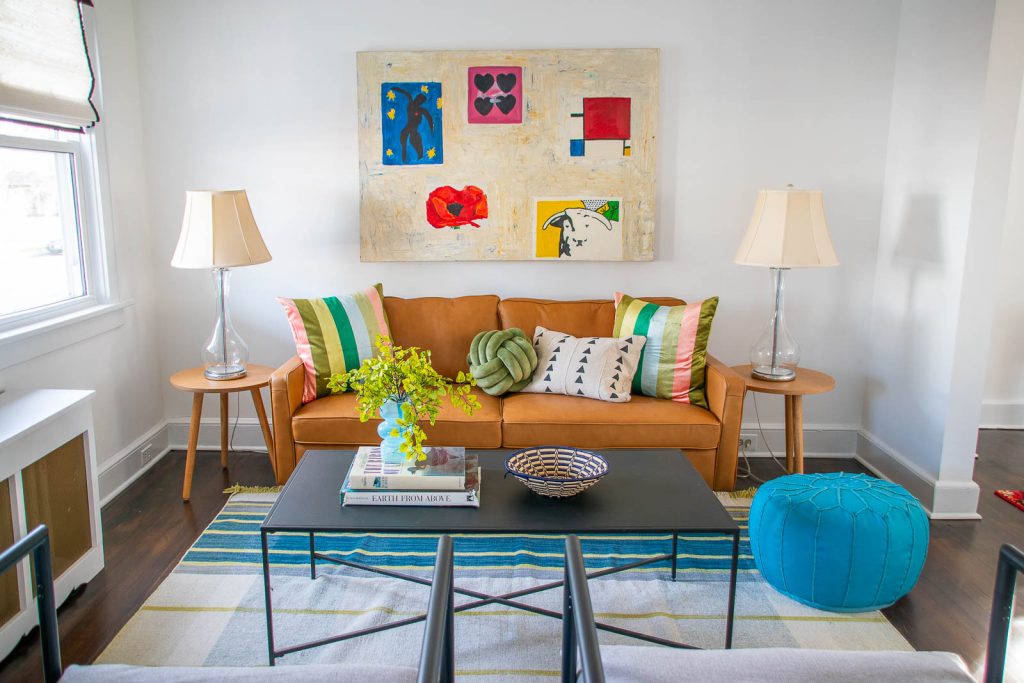
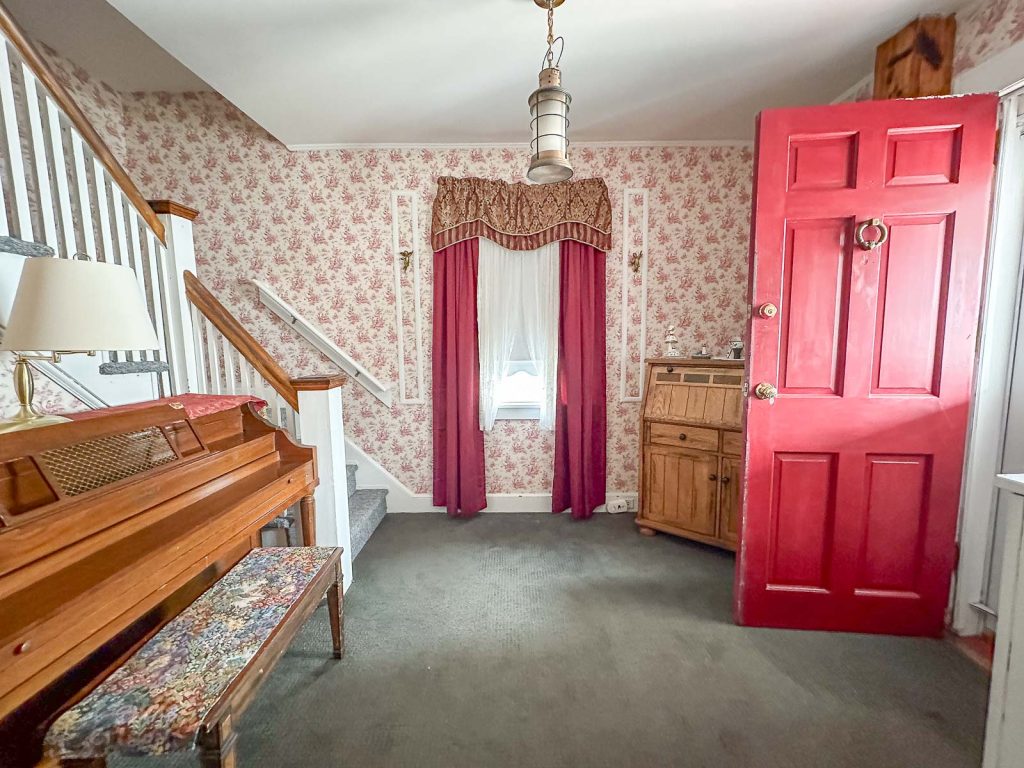
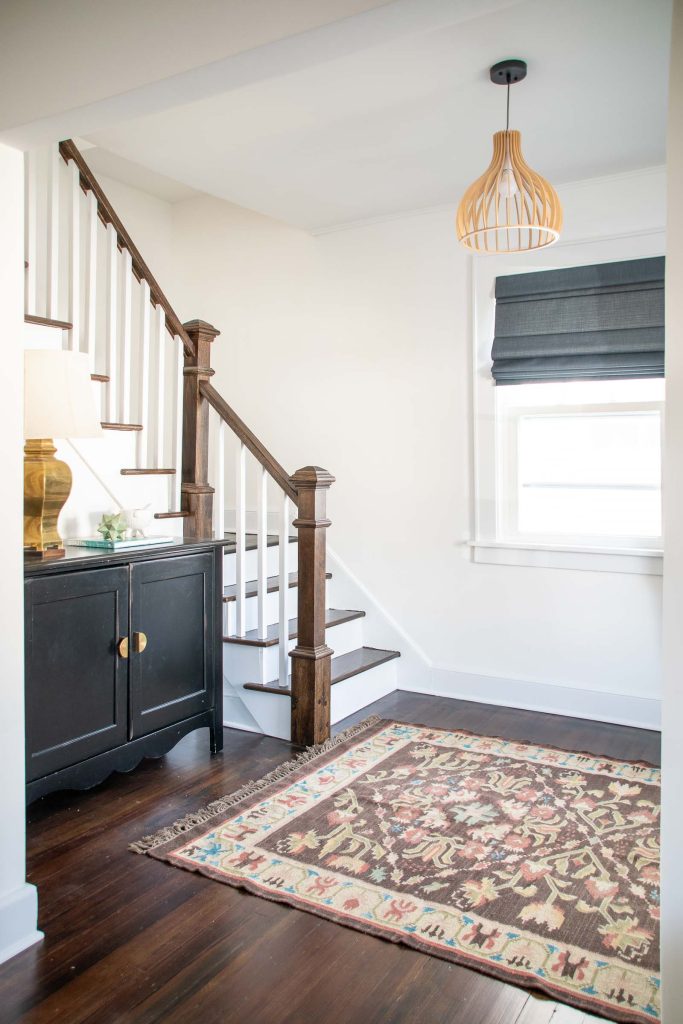
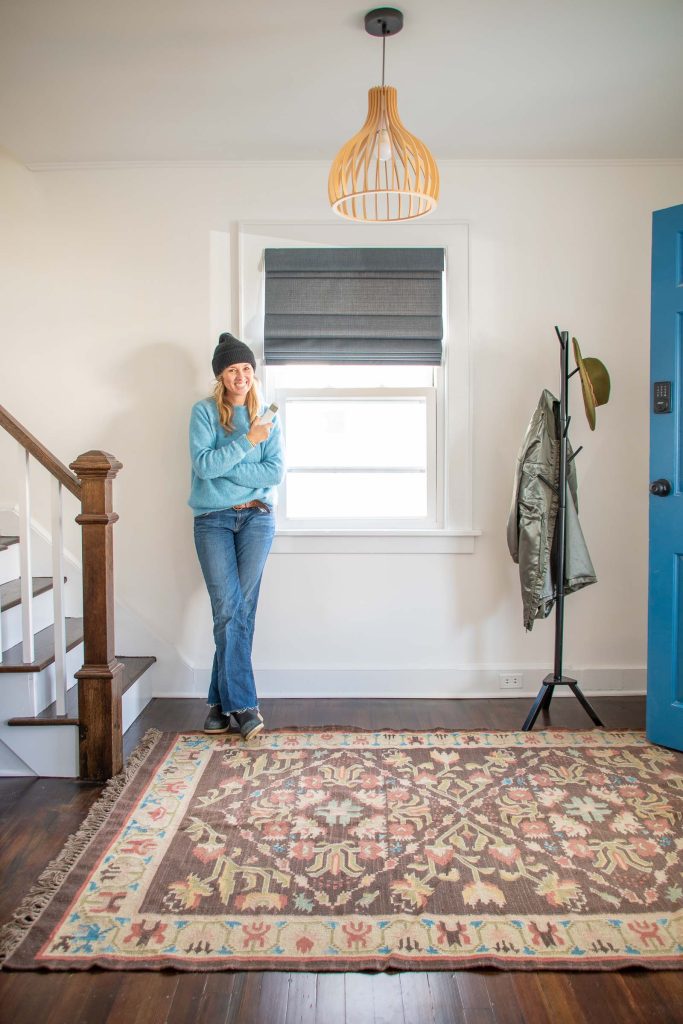
When I first looked at the house, there was so much going on that the whole space just felt stifled. Window treatments blocking the natural light. Faux finishes and heavy decor compromising the rooms and… wall to wall carpeting covering this beautiful hard wood floor everywhere. The front hall had a dated light fixture, a dated front door color and awkward furniture placement. The simplicity of the new light, simple furniture and new paint colors means this foyer is now a welcoming space like this home deserves.
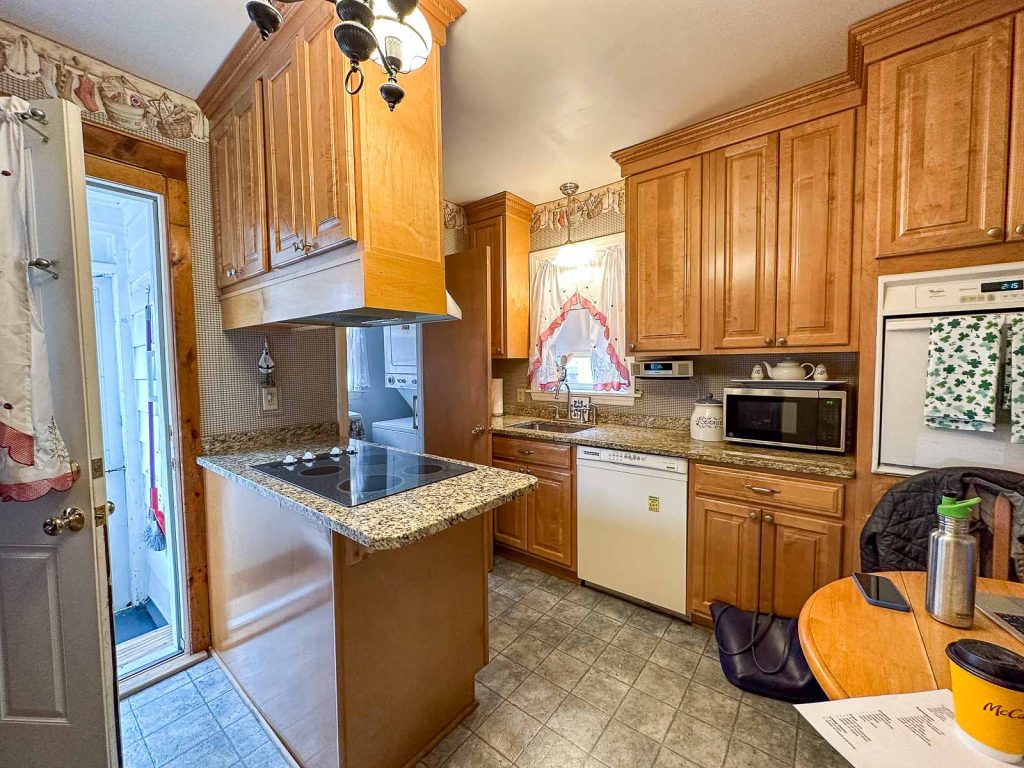
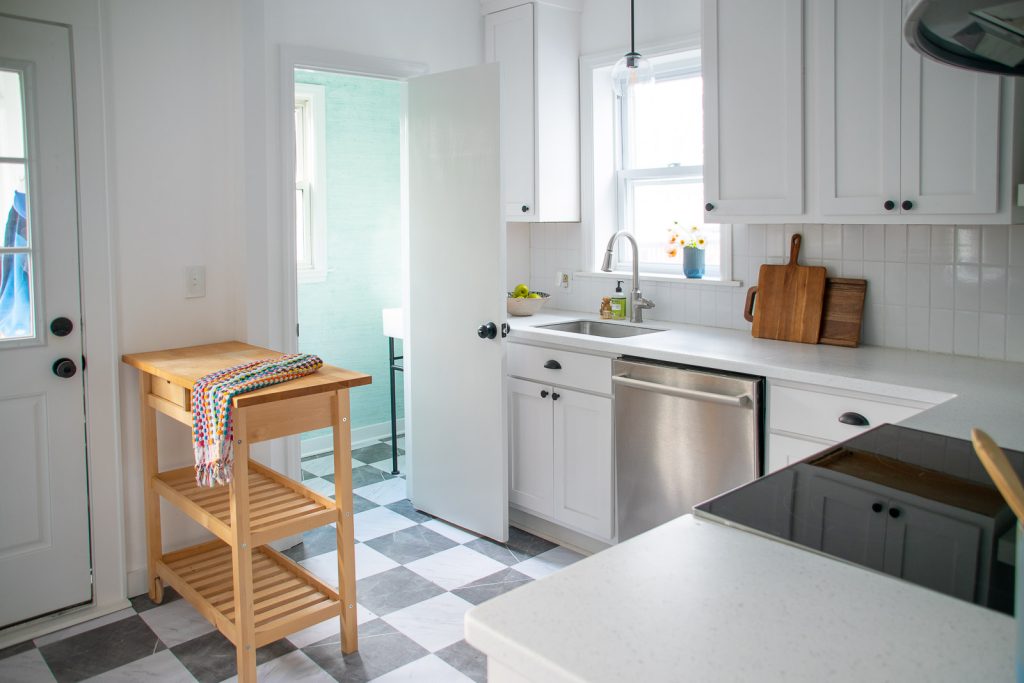
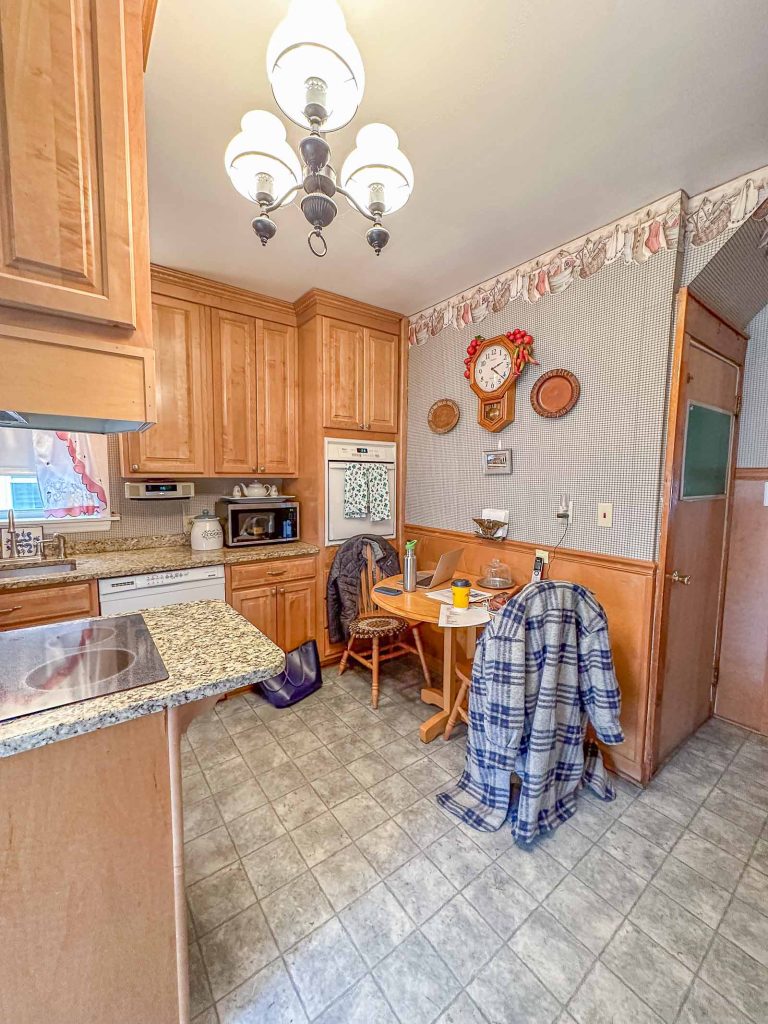
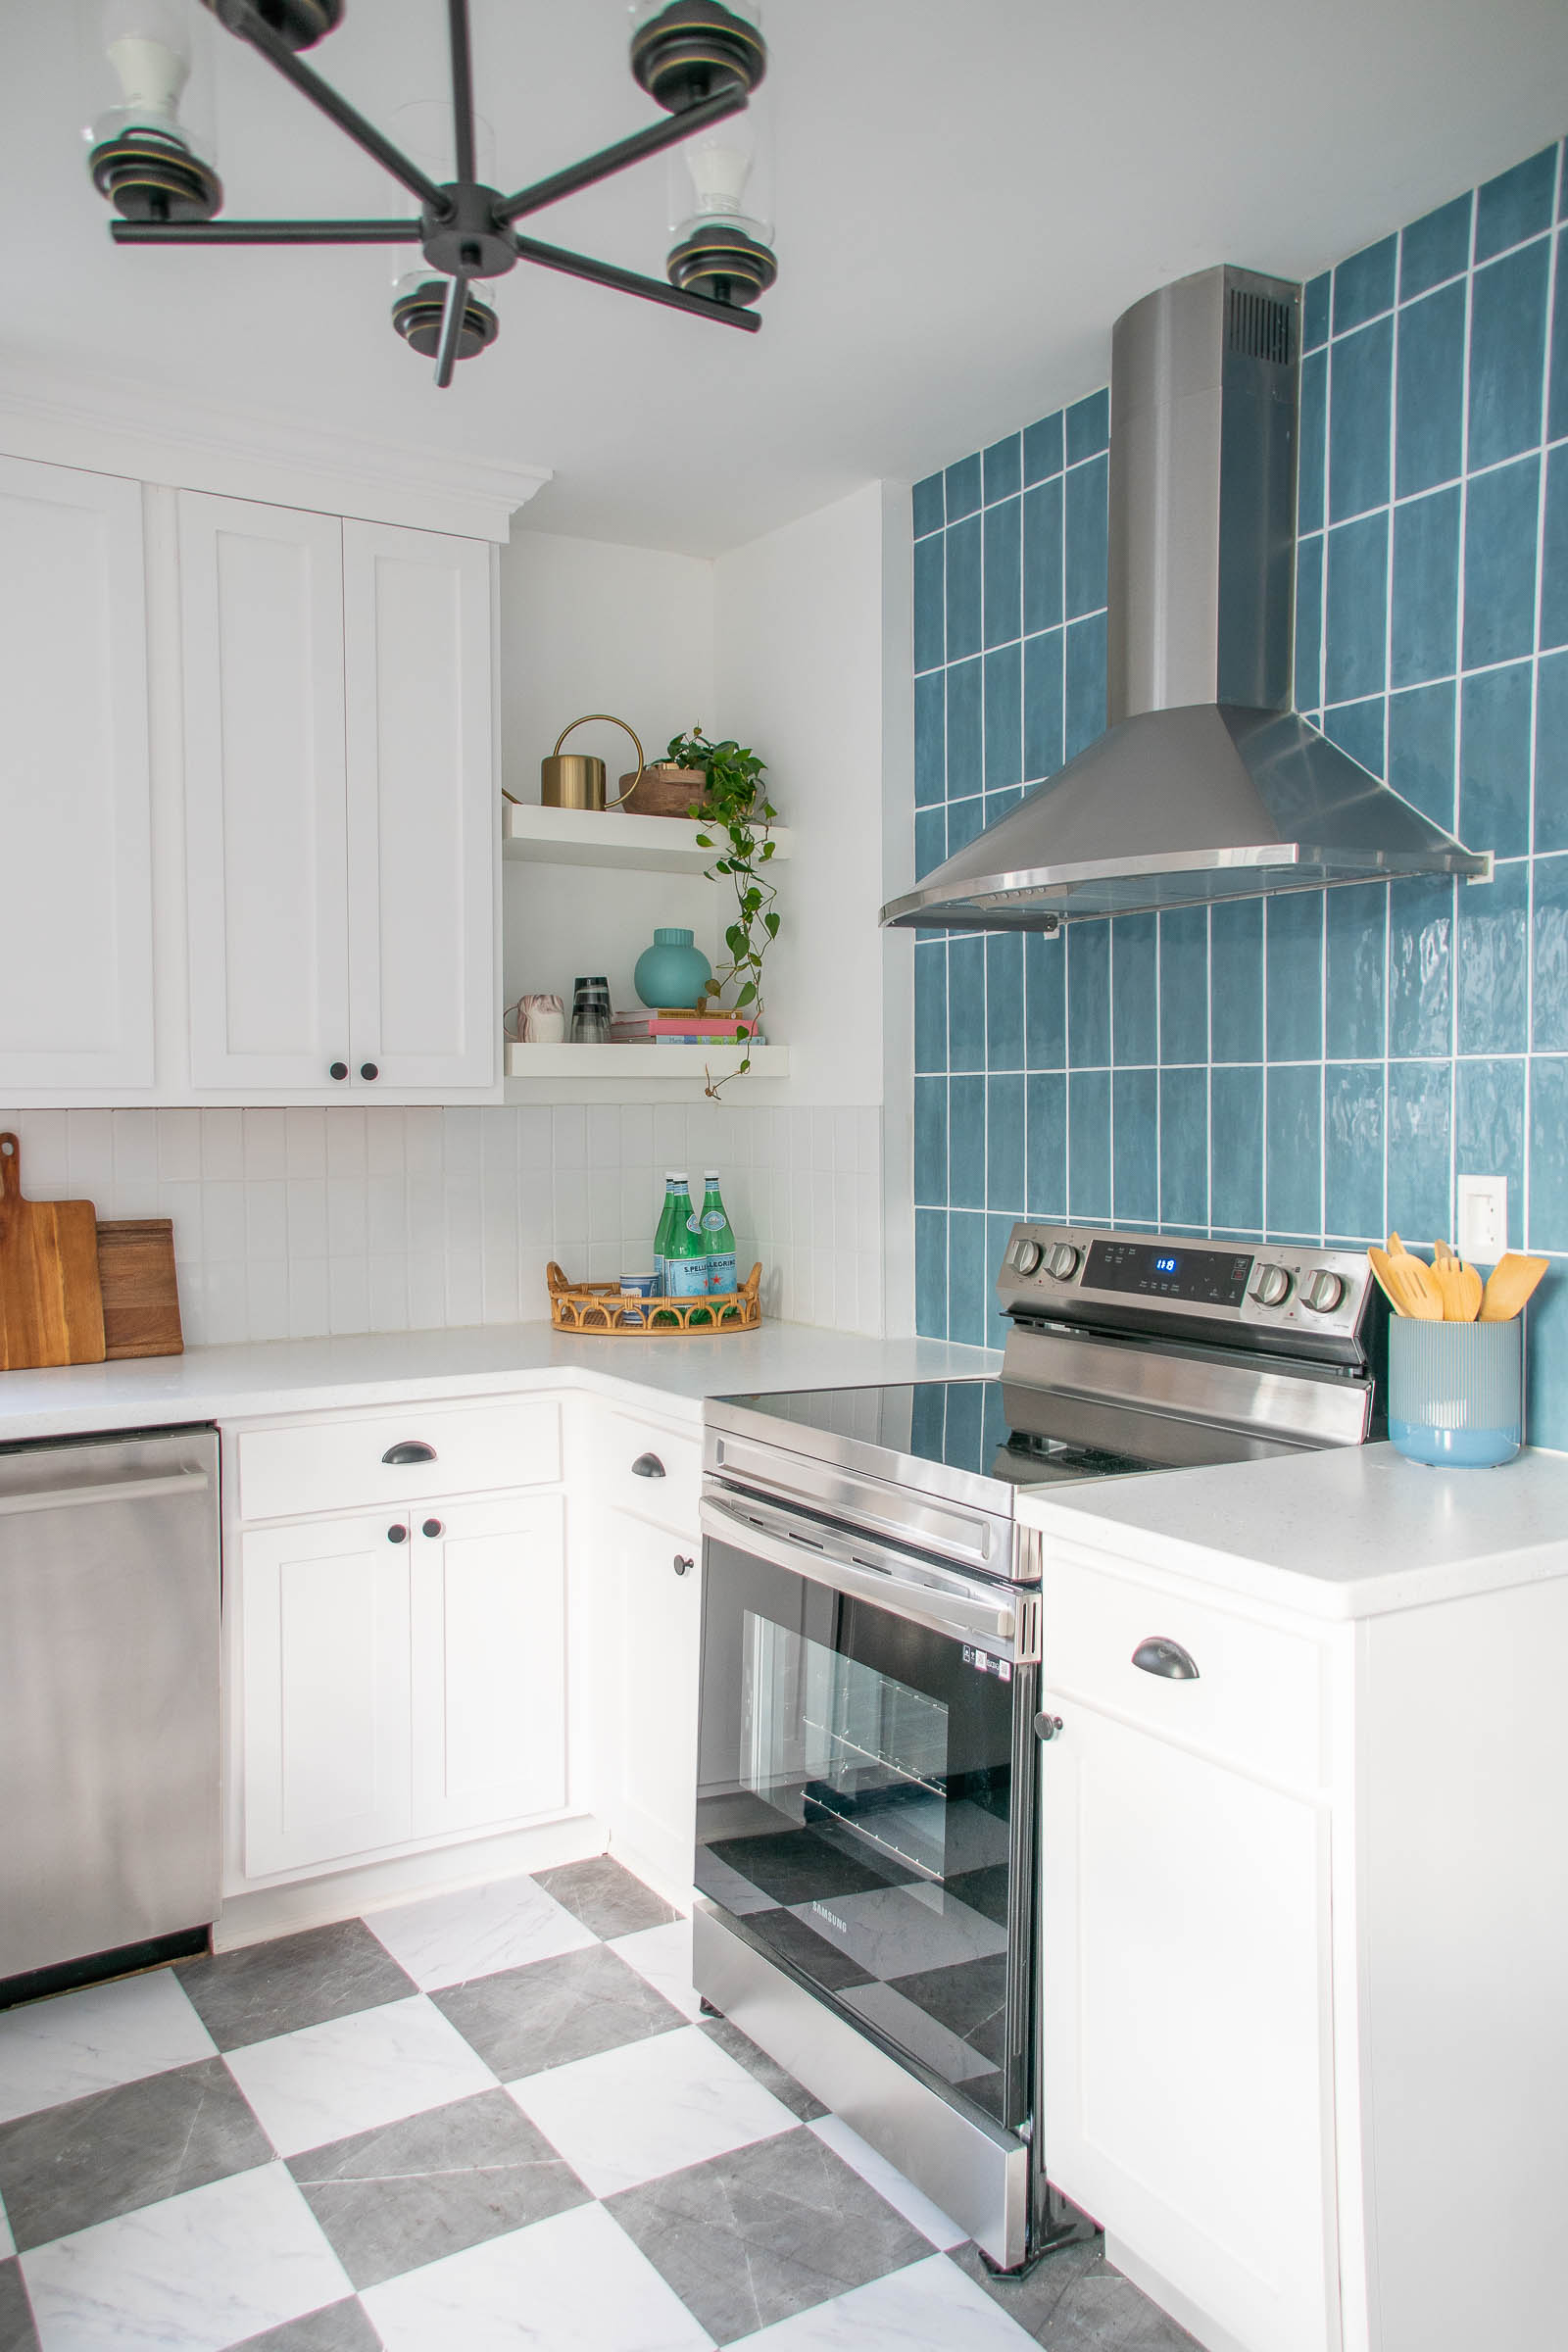
While we’re still in the first floor, let’s move onto the biggest project of the house (aside from the wallpaper and drywall…): the KITCHEN. I didn’t have the budget for a full overhaul but there were some pain points in the kitchen. The awkward cook top and cabinet uppers were pretty much blocking the entire space so I wanted to get rid of those. Without a cooktop, I decided to add a set of cabinets to the one wall and some floating shelves above. All the other changes were major… but cosmetic. New floor, new backsplash, new cabinet doors, new light, new paint, and new appliances.
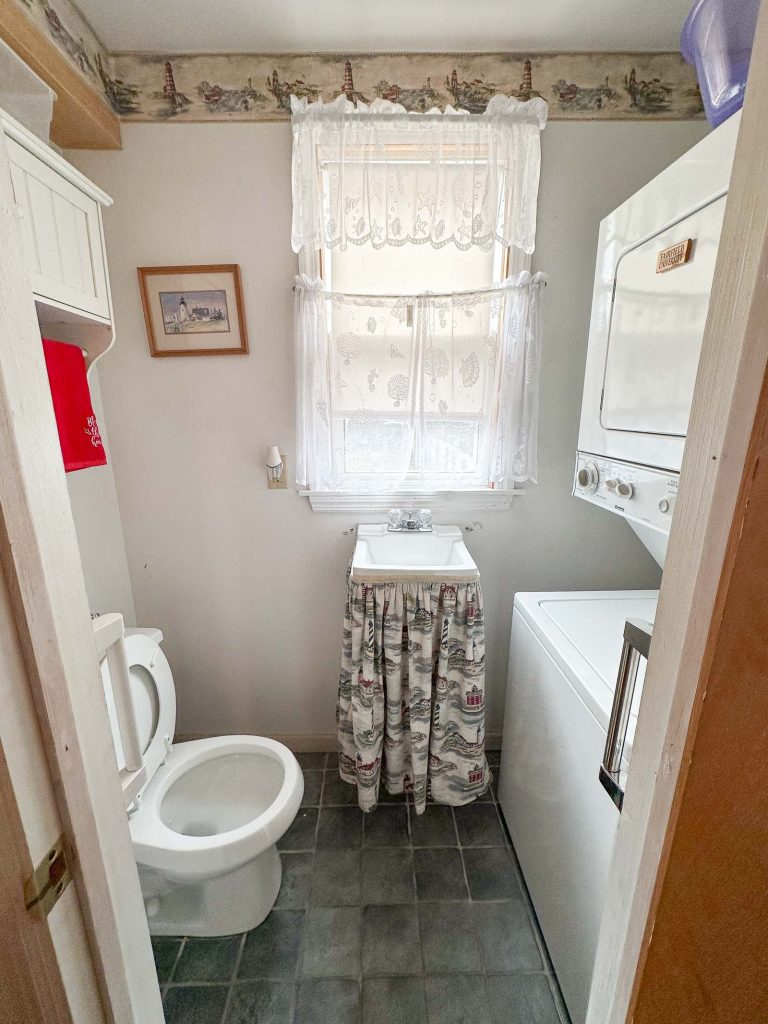
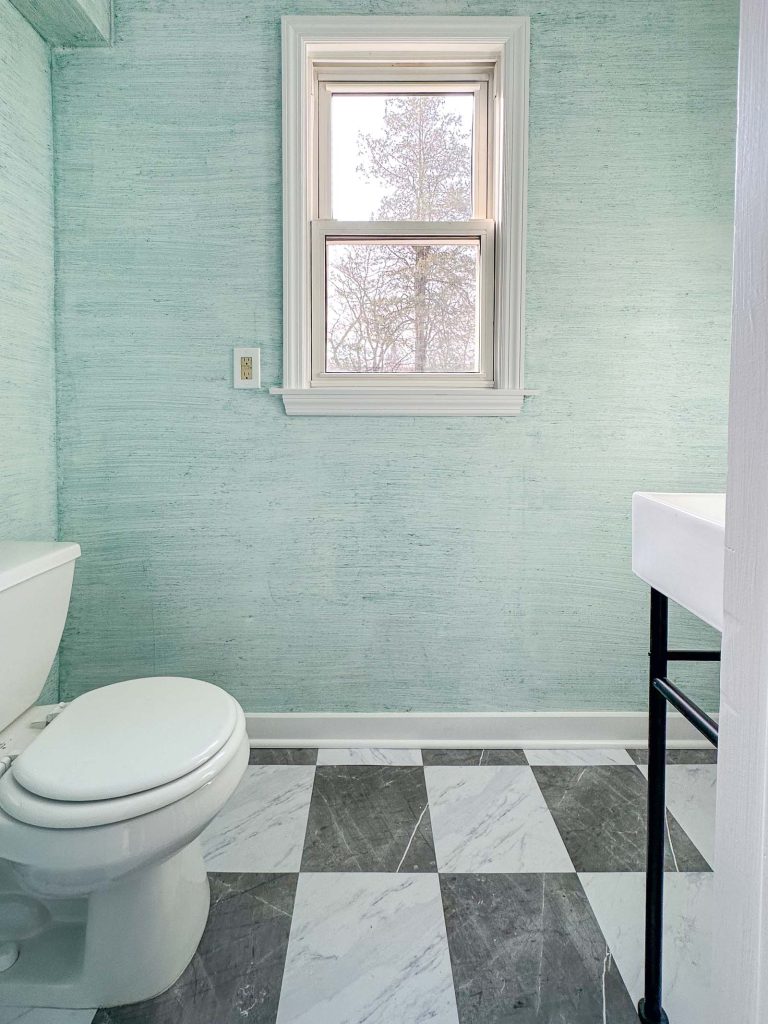
What used to be a pantry was converted into a powder room by the previous home owners. The location is a little awkward but it’s *really* nice to have a restroom downstairs. I was being used as a laundry room, so I pulled out the washer/ dryer and brought in a chic wall mounted sink for the space. I also gave the walls a faux finish thanks to a kit I got from a local company.
Flip House: Upstairs
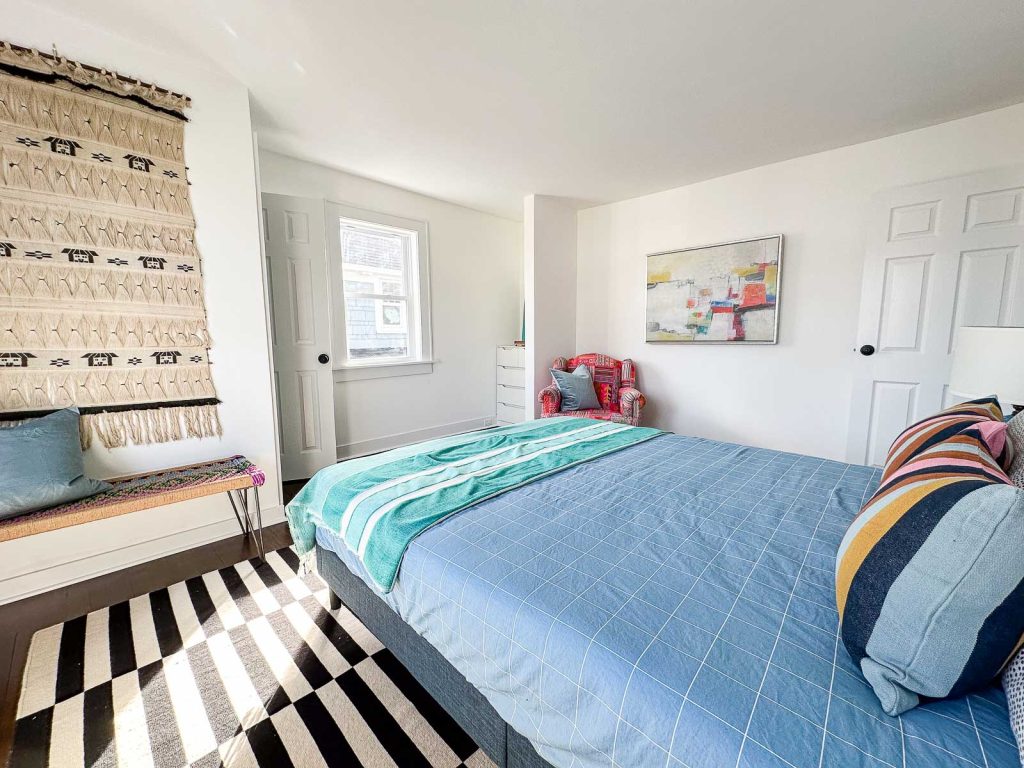
Let’s move upstairs because she got a glow up too! The primary bedroom got the biggest makeover thanks to a new window or, rather, an old window that I had my contractor put back in. The previous homeowner had added an awkward closet with sliding doors to the back of the room cutting off a lot of space and light in the process. I opened the space back up so the original closet is back in use and then we created a built in vanity on the other side. Also… removing the bold purple shag carpet helped. A lot.

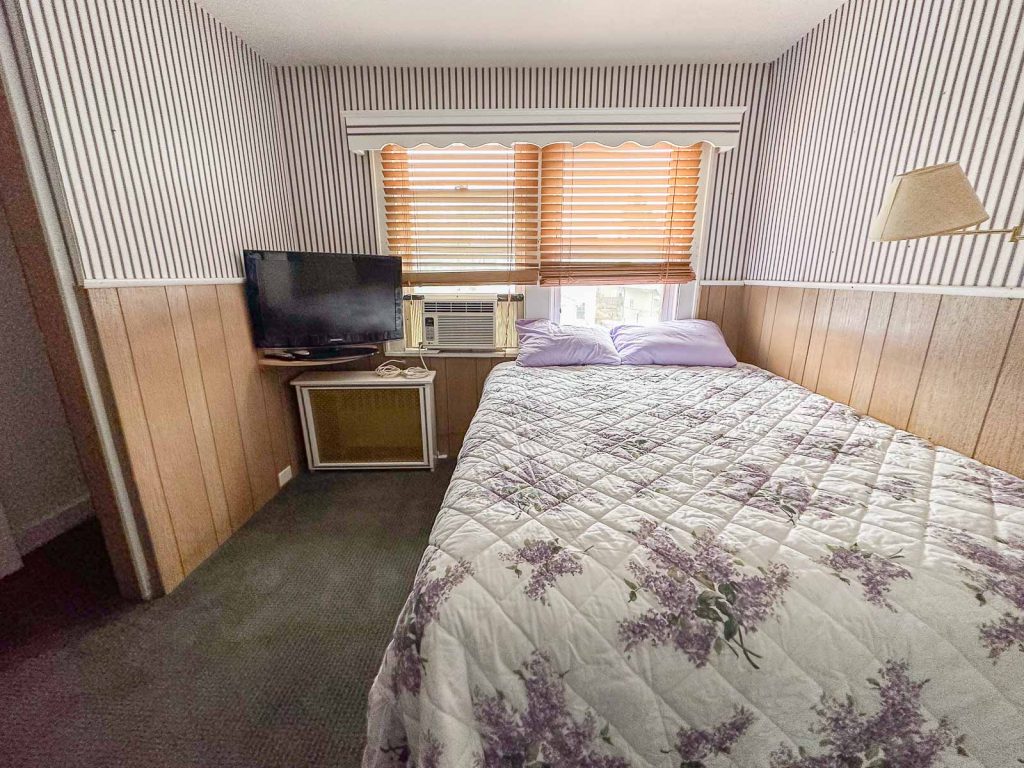
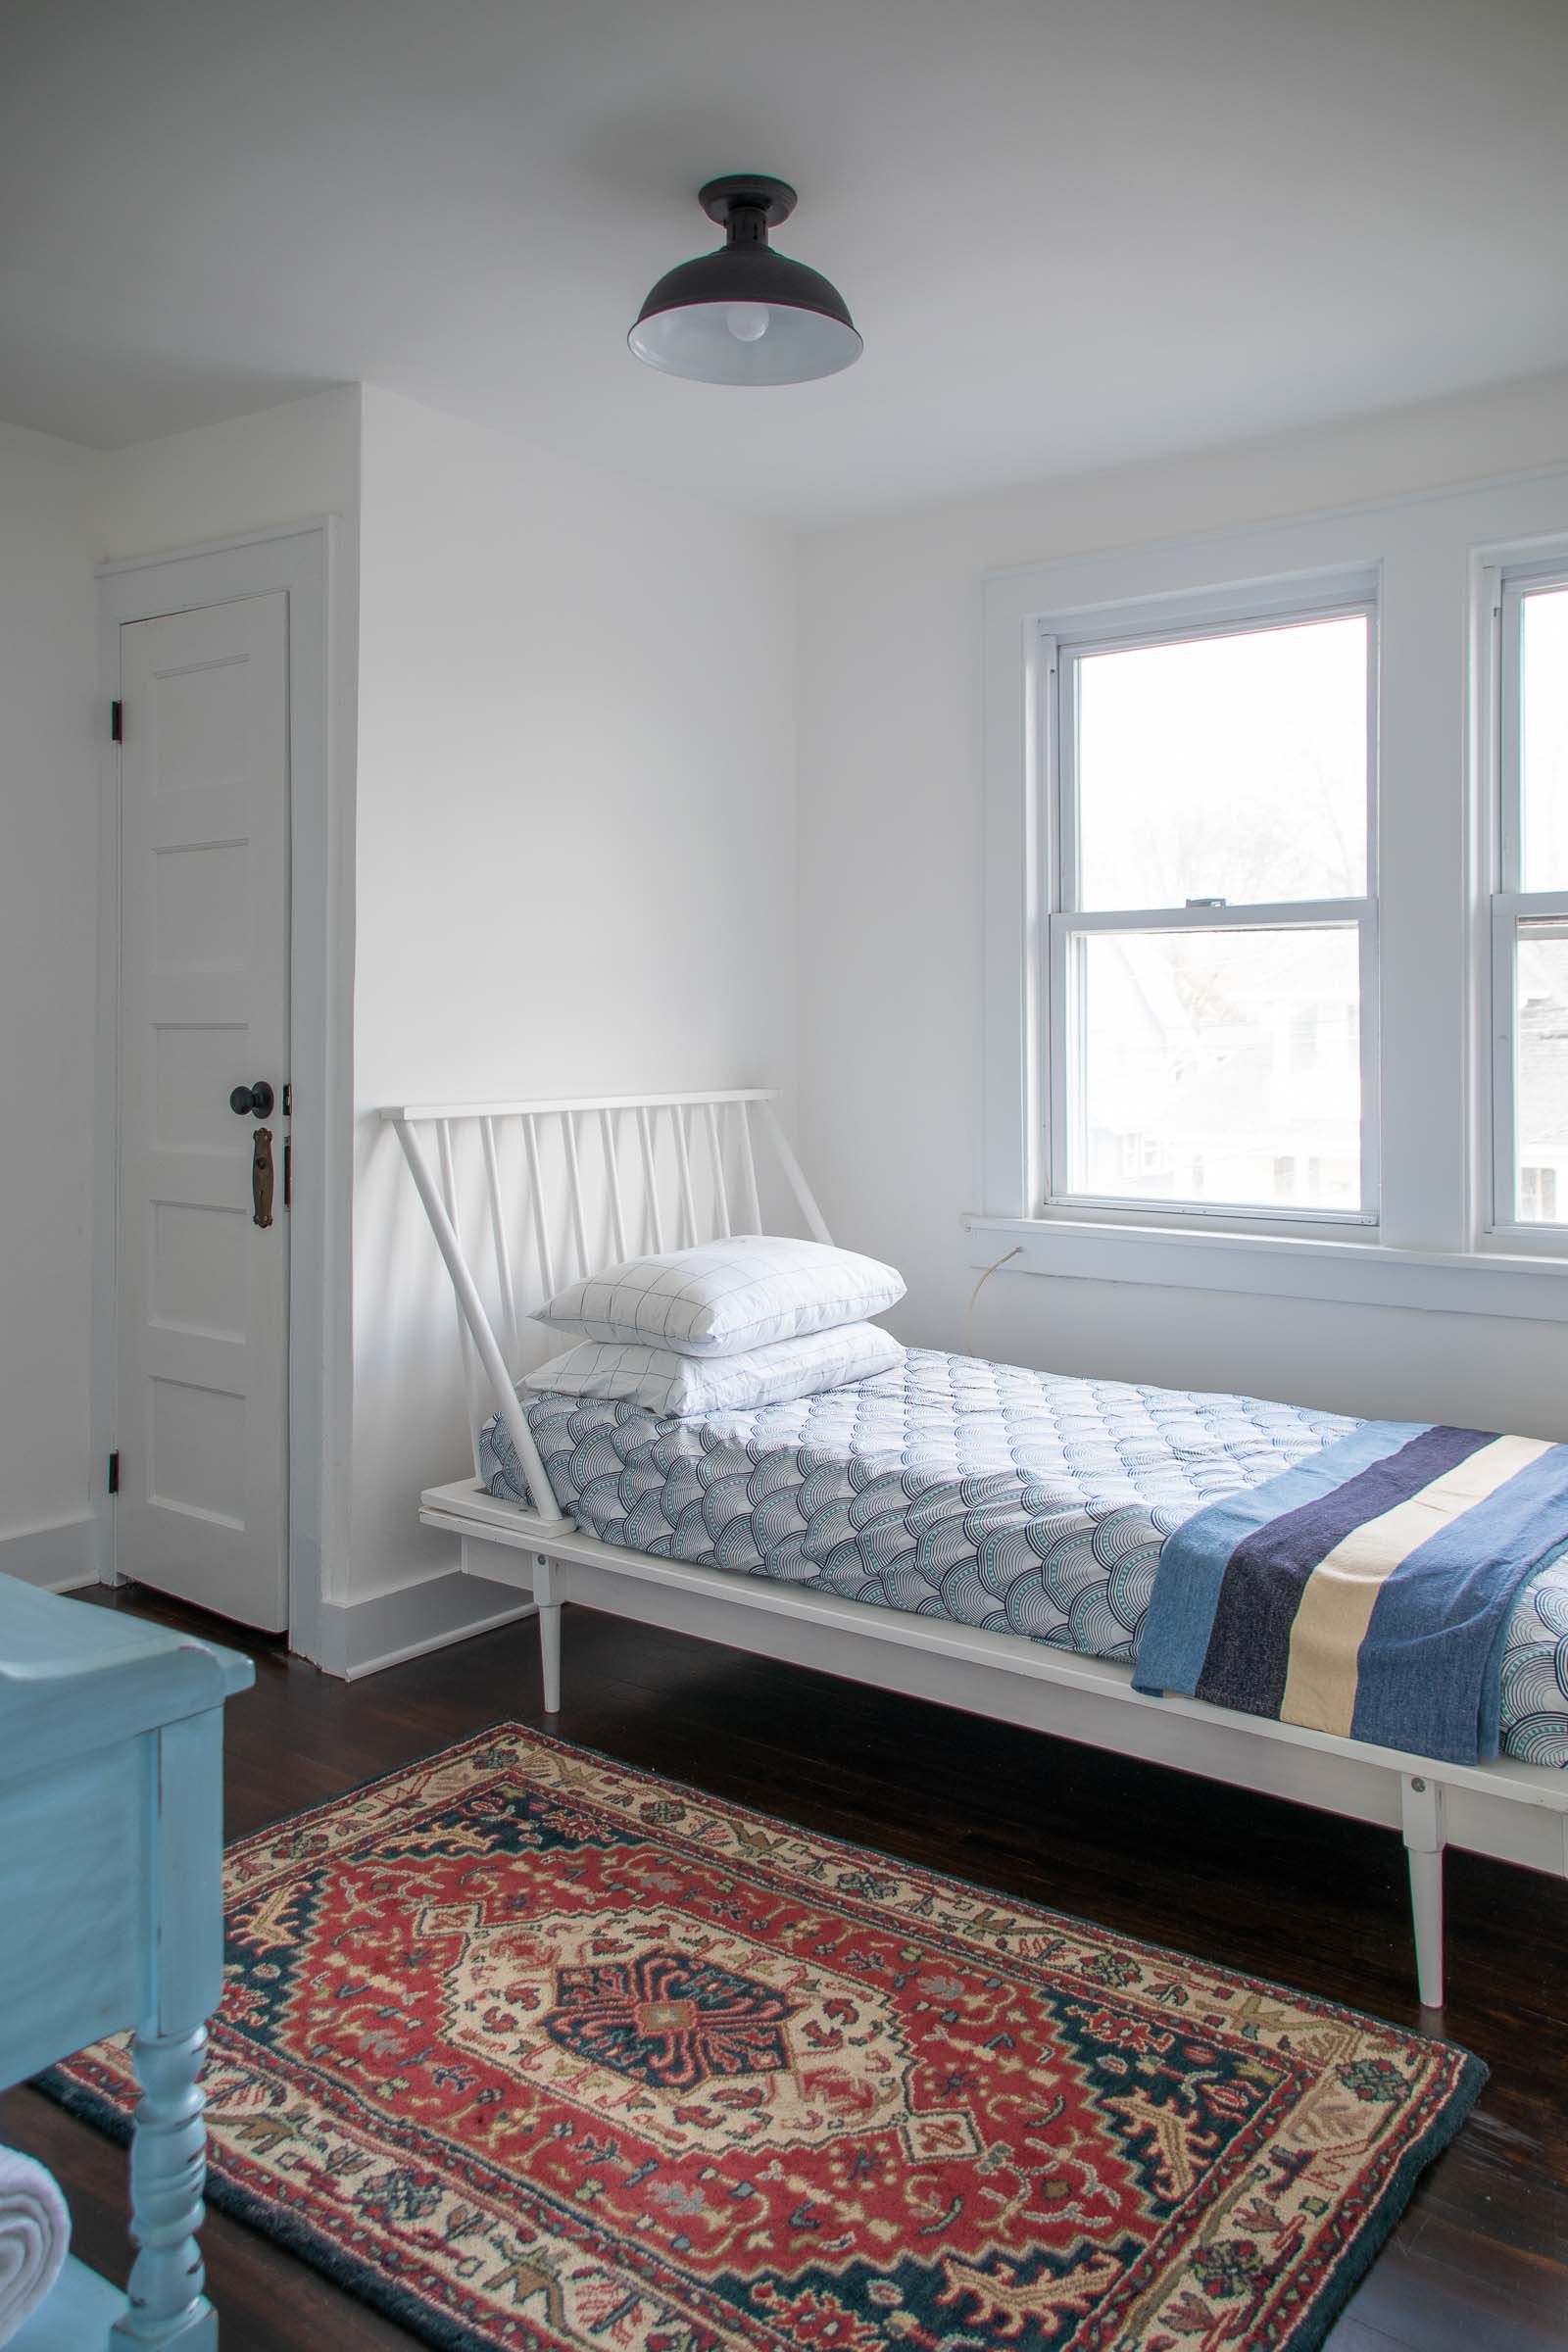
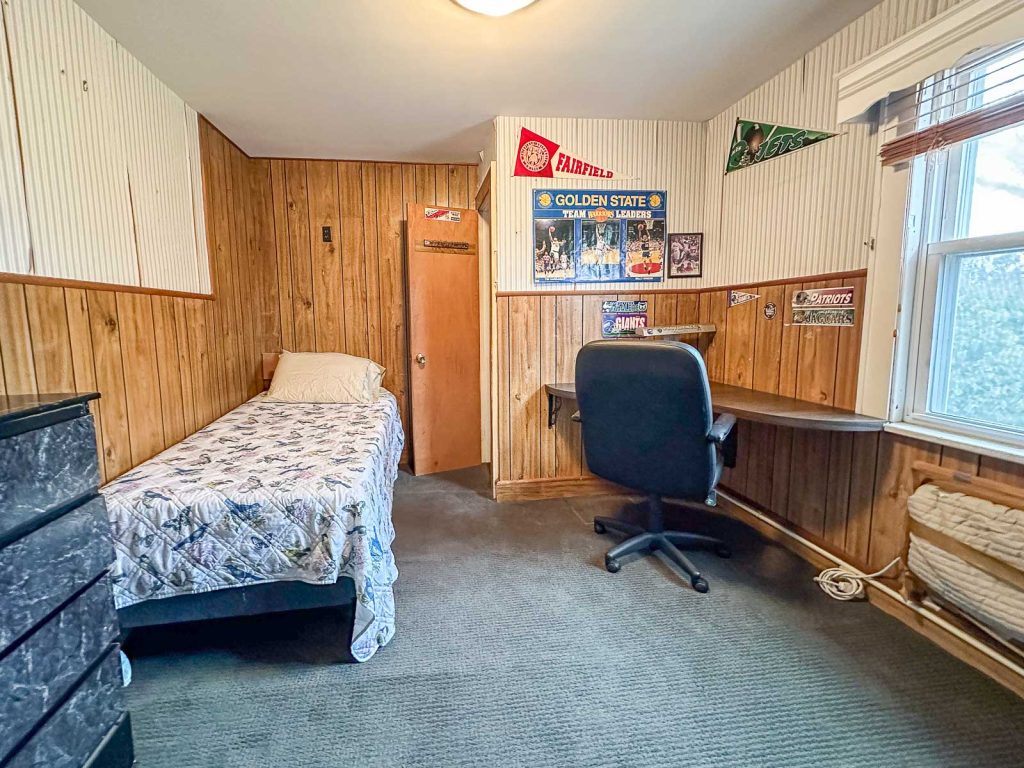
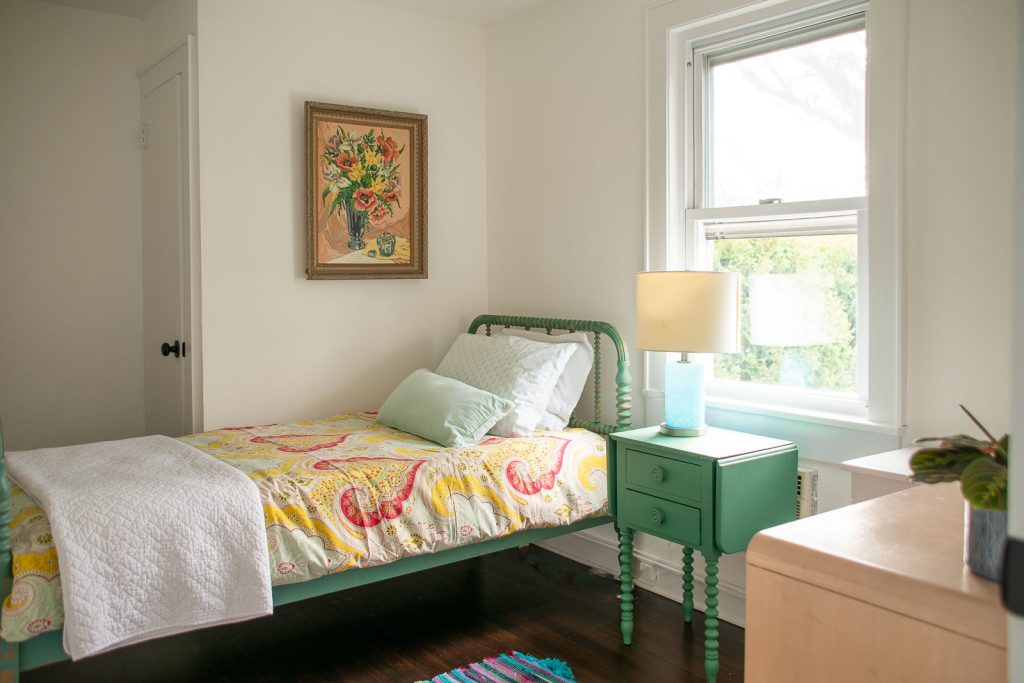
Upstairs there are two other bedrooms that didn’t need much work aside from removing wallpaper, removing carpet, patching walls and painting.
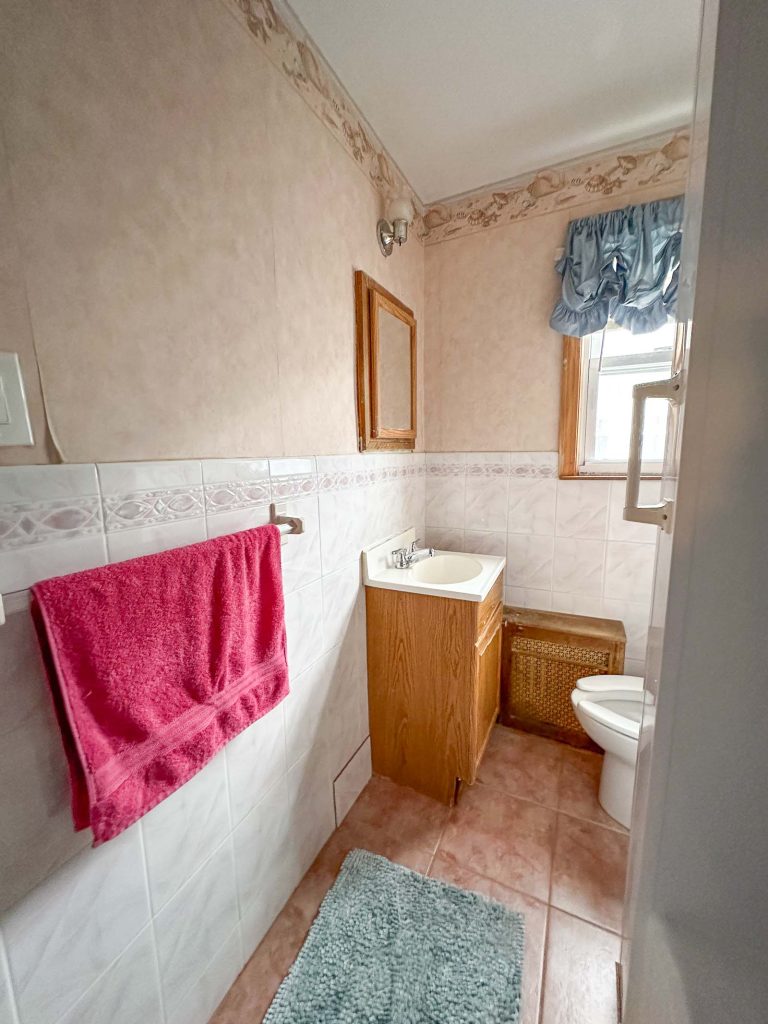
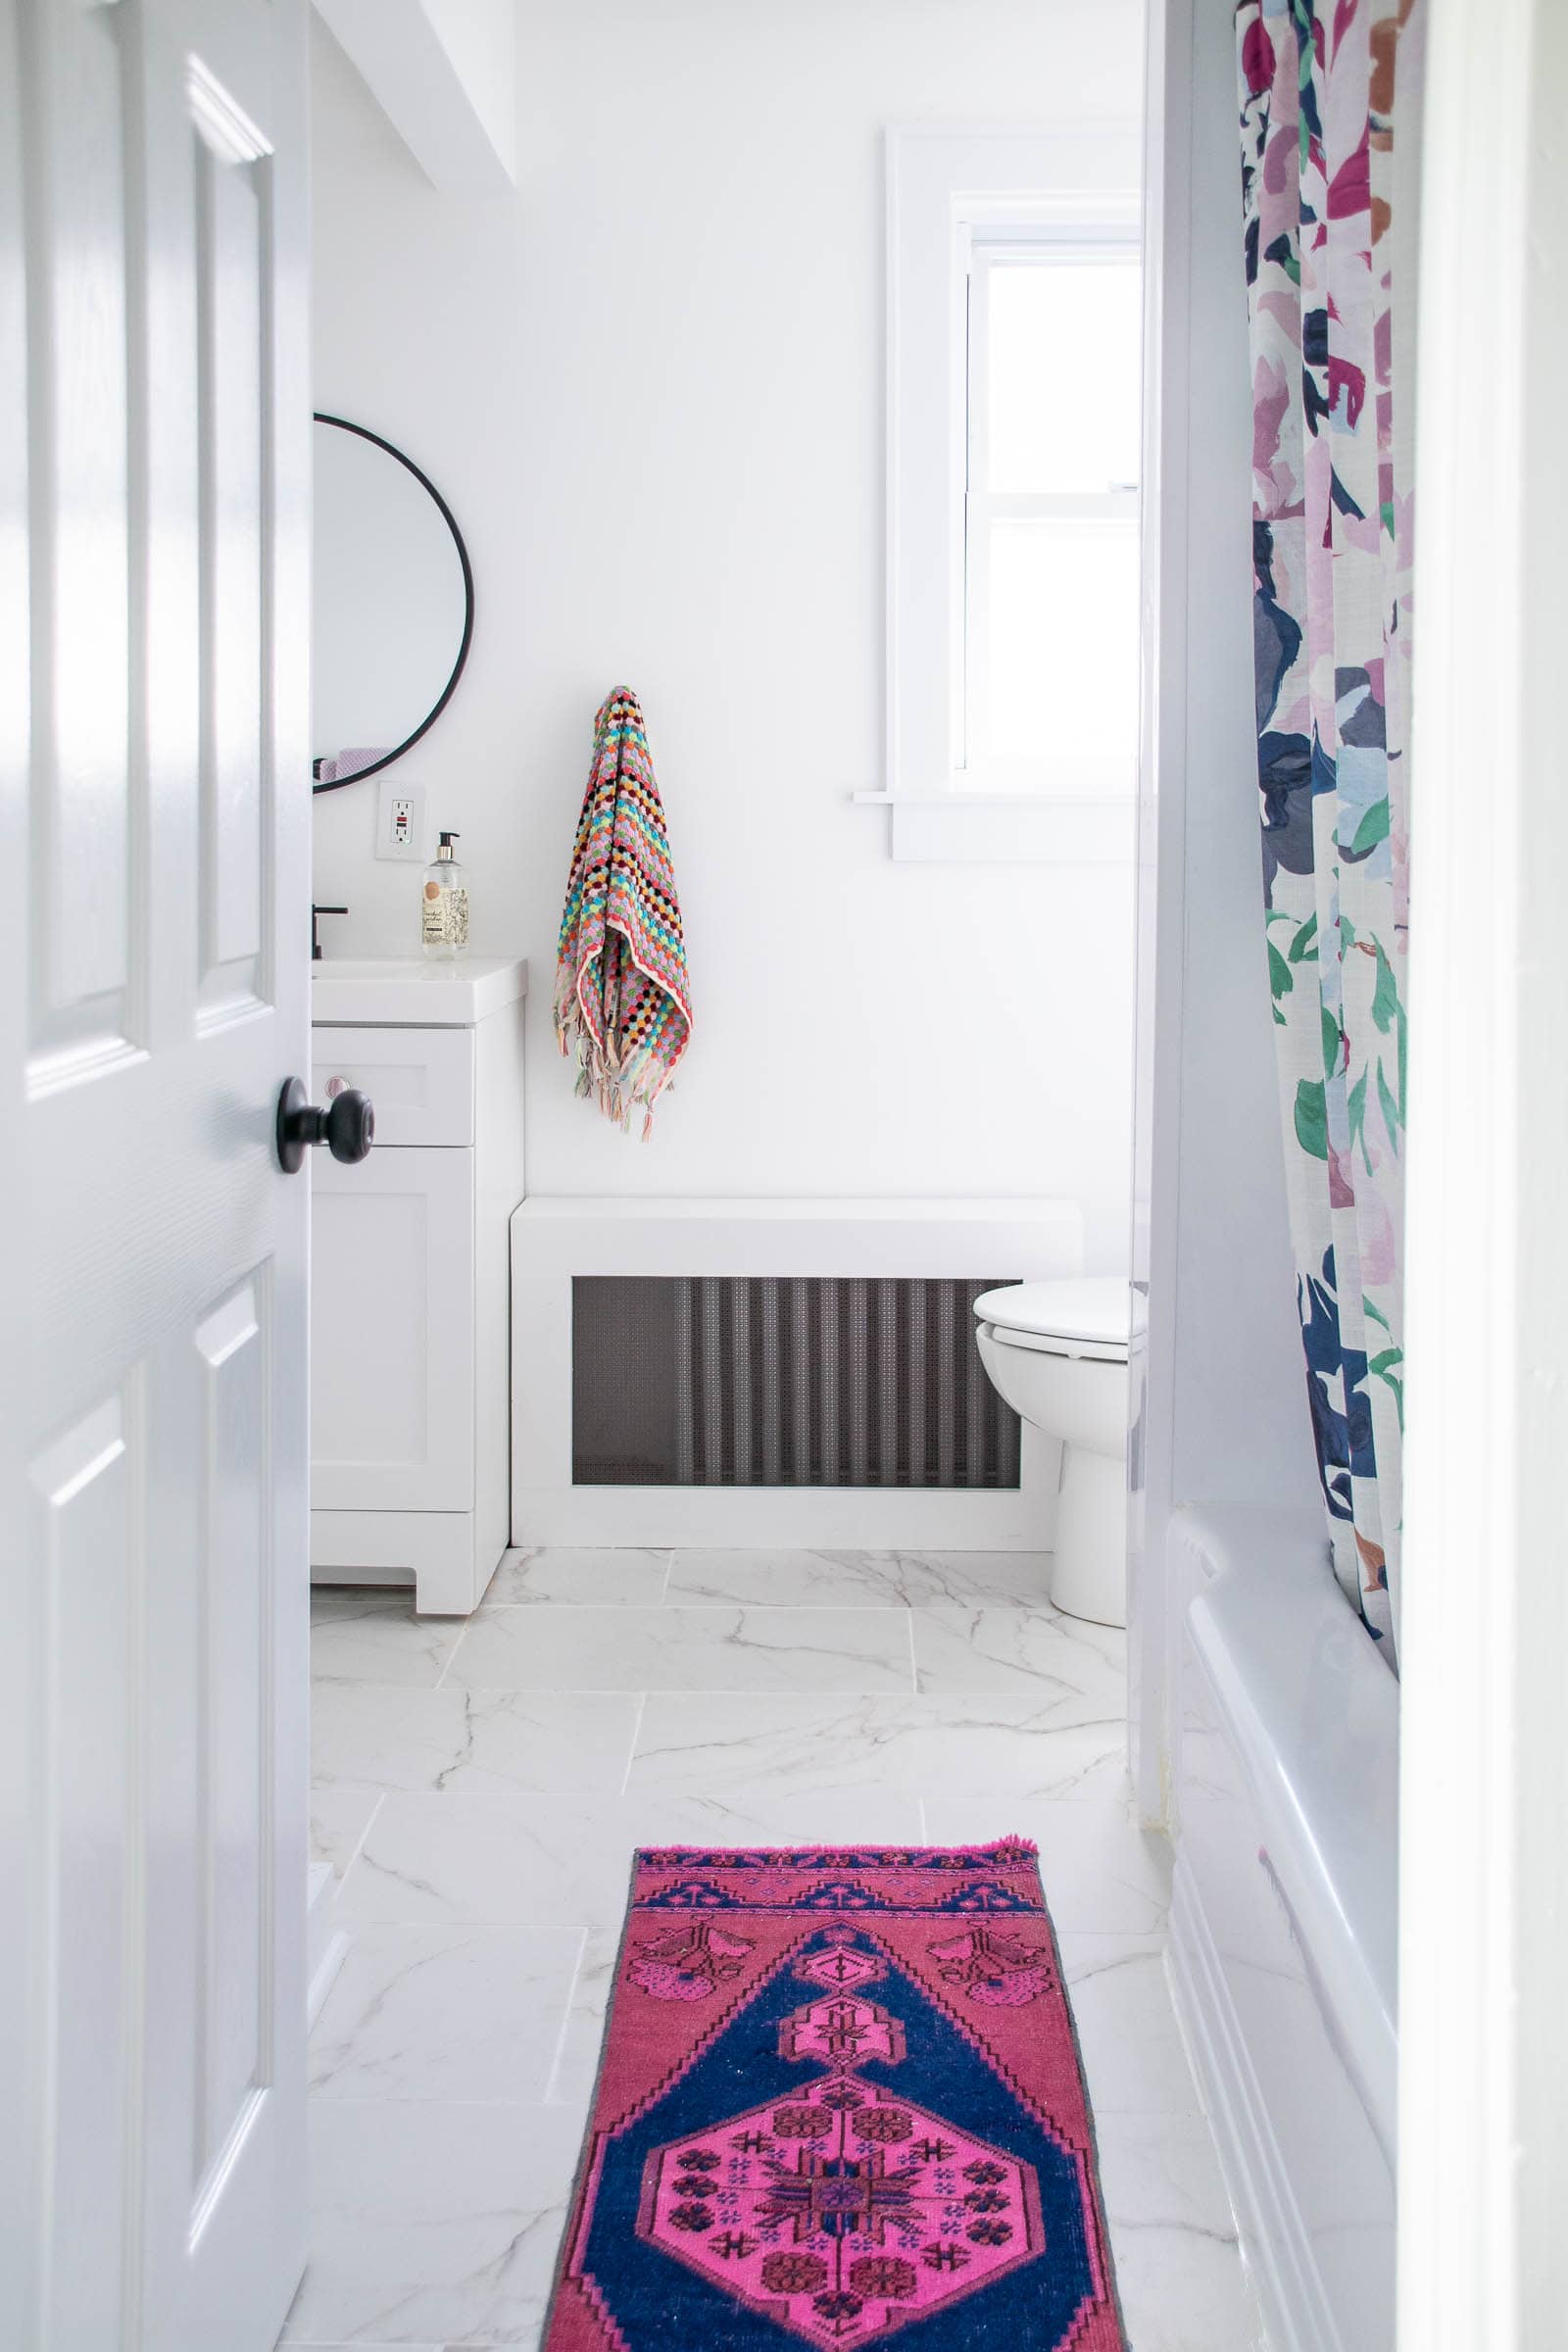
The bathroom upstairs got some MacGyver action. As you can see from the before photo, this bathroom was SMALL. Like you could wash your hands while sitting on the toilet small. If money were no object, I could have taken over the little room at the back of the house and created a brand new bathroom but that would have run me tens of thousands of dollars. As an alternative, my contractor helped me open up the wall behind the sink to borrow some space from the closet behind it. This meant keeping the existing sewage stack, keeping the existing water lines but still getting a more functional bathroom layout. I added new tile and a new vanity and spruced up the shower.
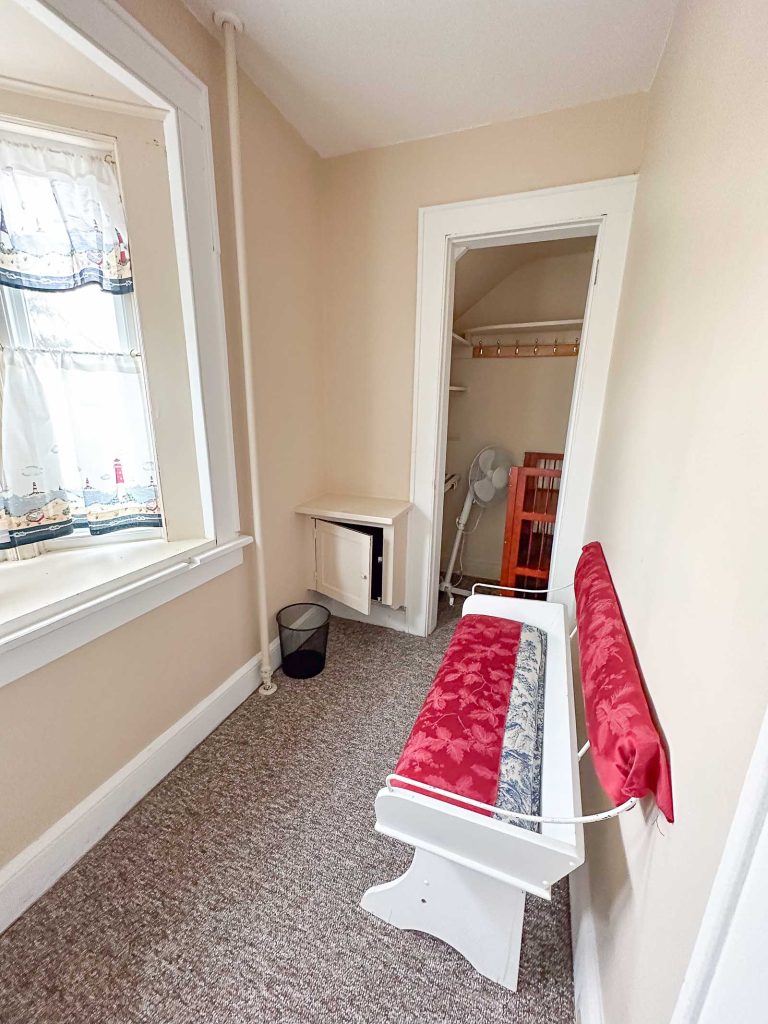
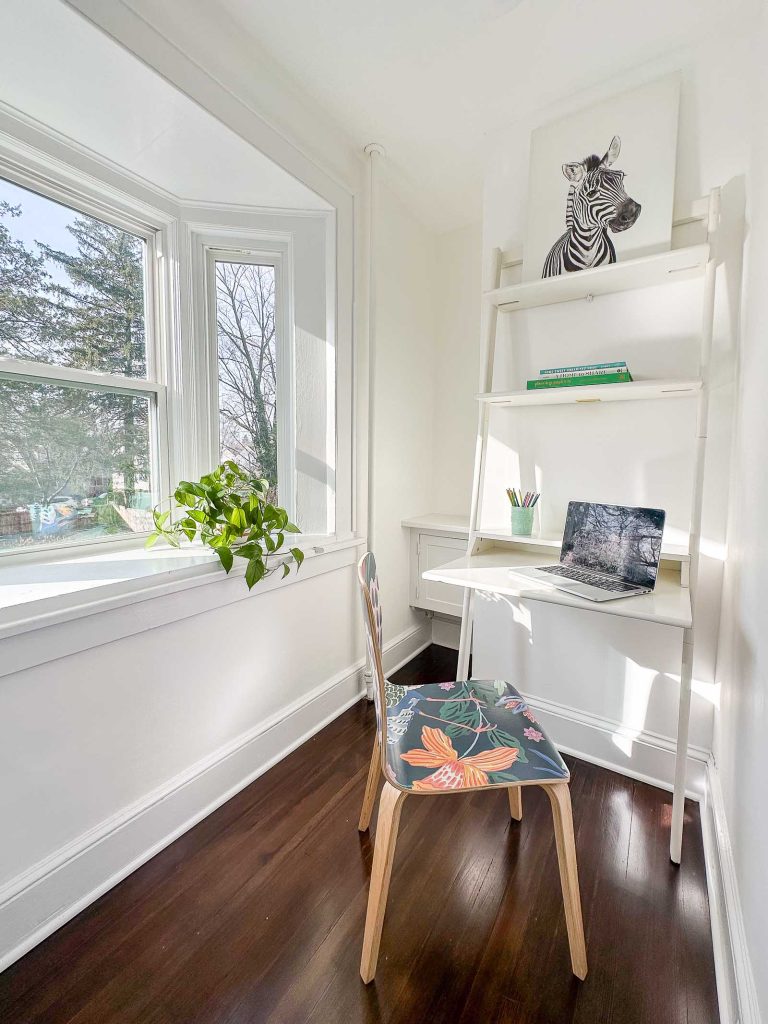
Just to close the loop on the back room upstairs. Take a look at how the room looked before and then check out the after to see where we borrowed the space for the bathroom. Before it was small little room that maybe could have been used as a home office or maybe a nursery. As it is now, still a terrific home office with the best sunny bay window in the house.
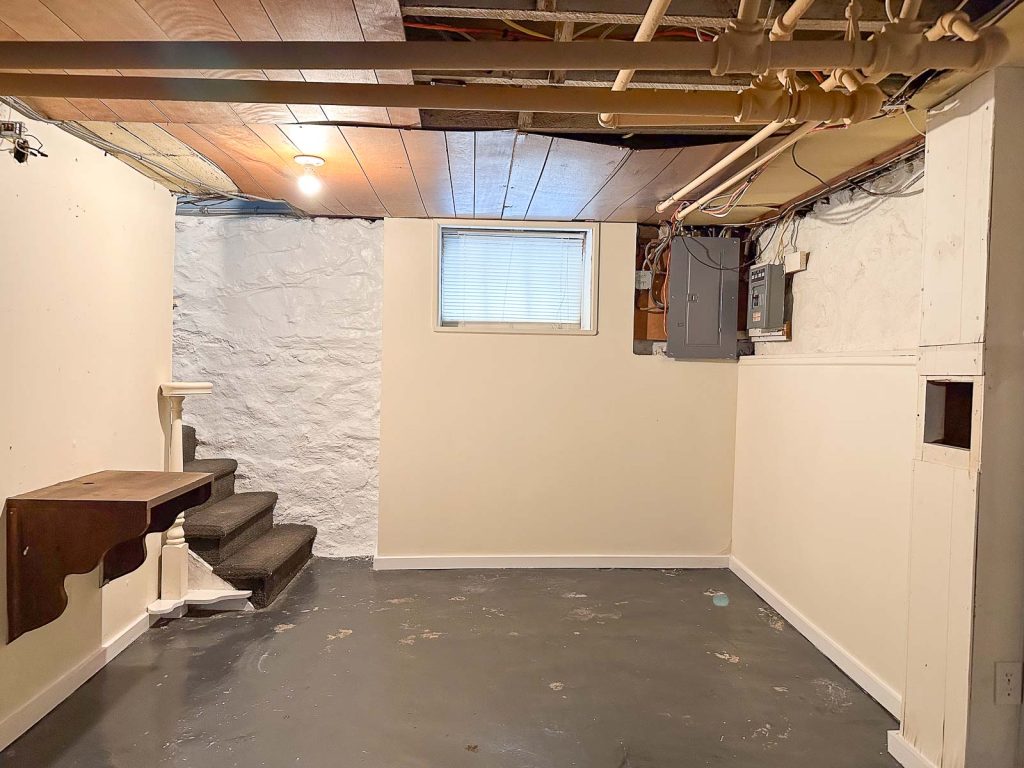
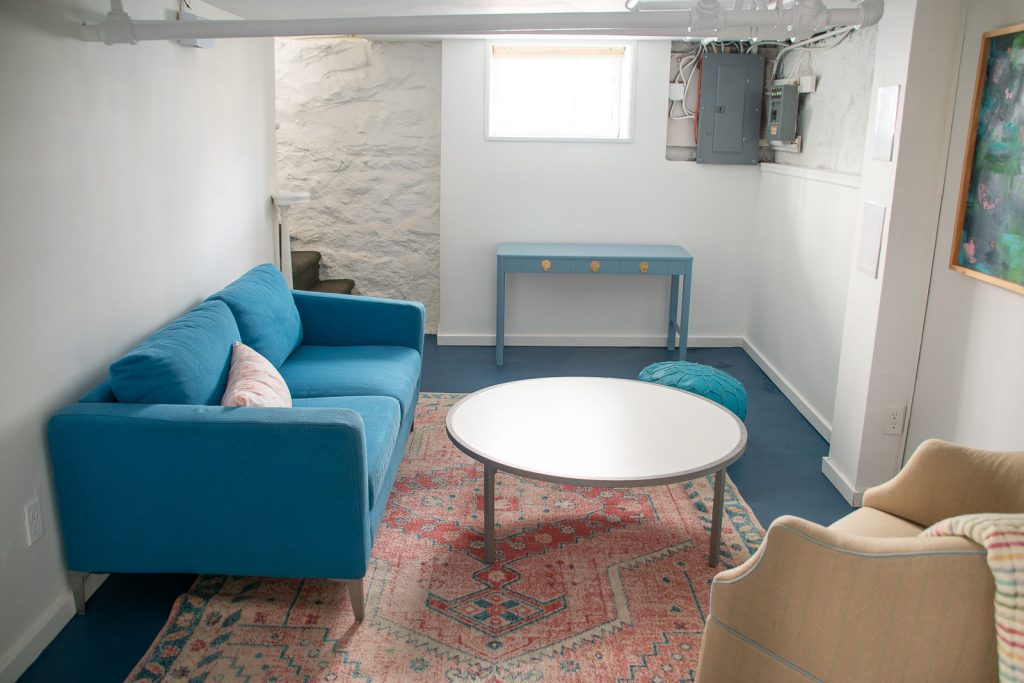
Flip House: Basement
I plan to write up a full blog post about the backyard (and the kitchen for that matter), but for now I’ll try to wrap this post up with a the few remaining spaces. The basement wasn’t an area I had planned on doing much to, but then my agent convinced me otherwise. As an older home, having a finished basement is a real bonus so she encouraged me to make the basement feel like a real usable space. This meant adding drywall to the ceiling, can lights and painting the floor/ walls and windows. Because of the various heating pipes and the poorly done electric from the previous homeowners, this meant rewiring things to make more sense and drywall installers cutting around all the pipes. Fussy for sure, but I think well worth it.
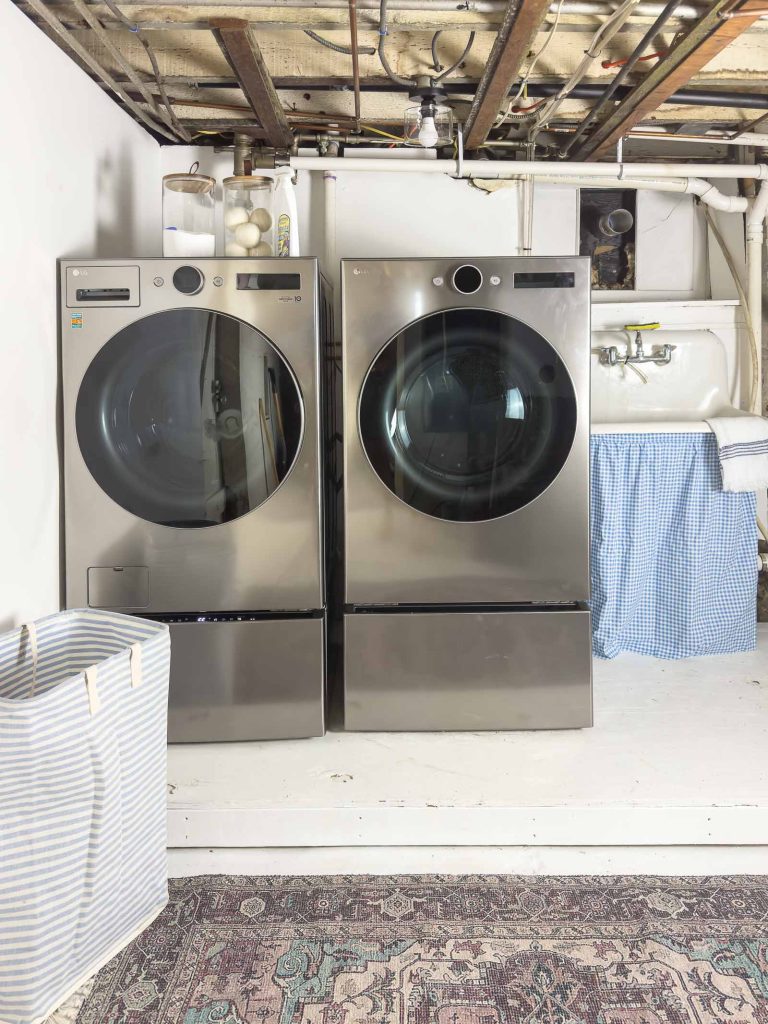
Another area I breathed new life into was the laundry ‘room’. With the stacked washer/ dryer removed from the upstairs powder room, the laundry area downstairs needed an update. I partnered with Home Depot and got this amazing washer/ dryer set from LG. The washing machine has a washing drawer and I’m not gonna lie… jealous we don’t have it at my house!

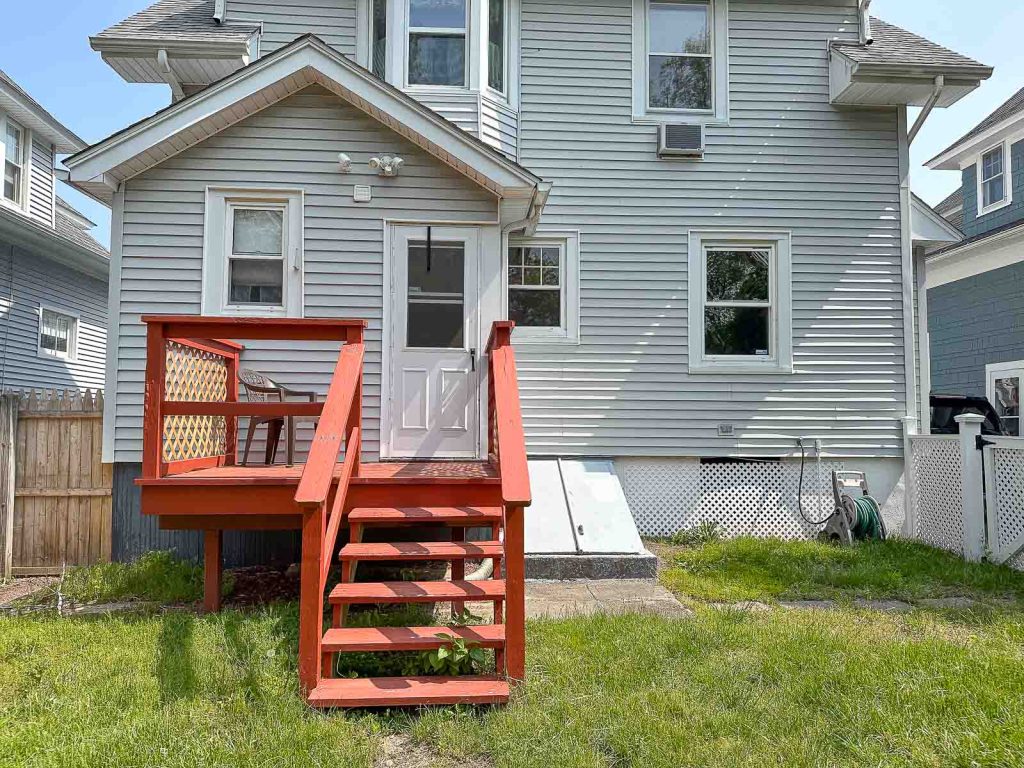
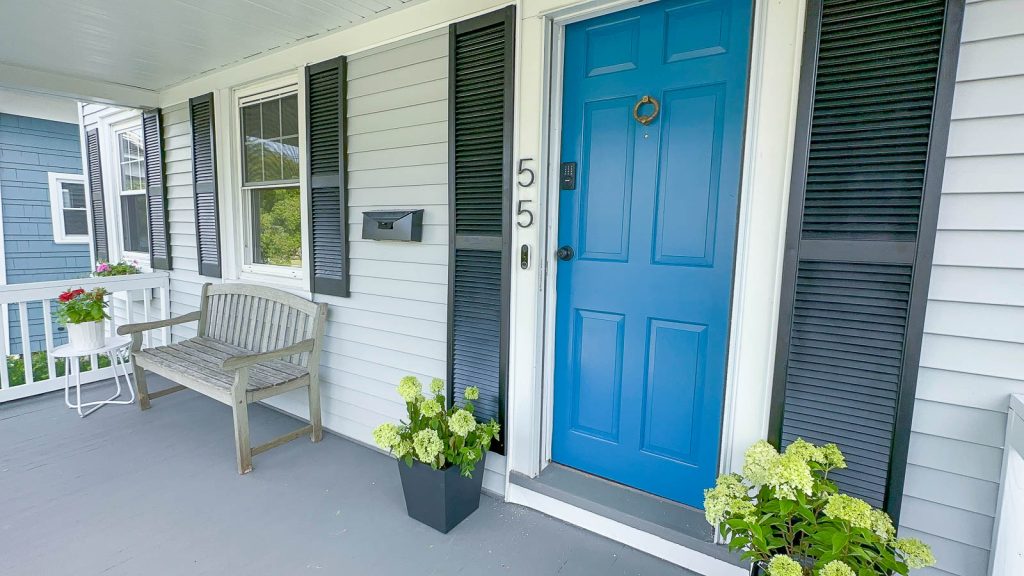
Flip House: Exterior
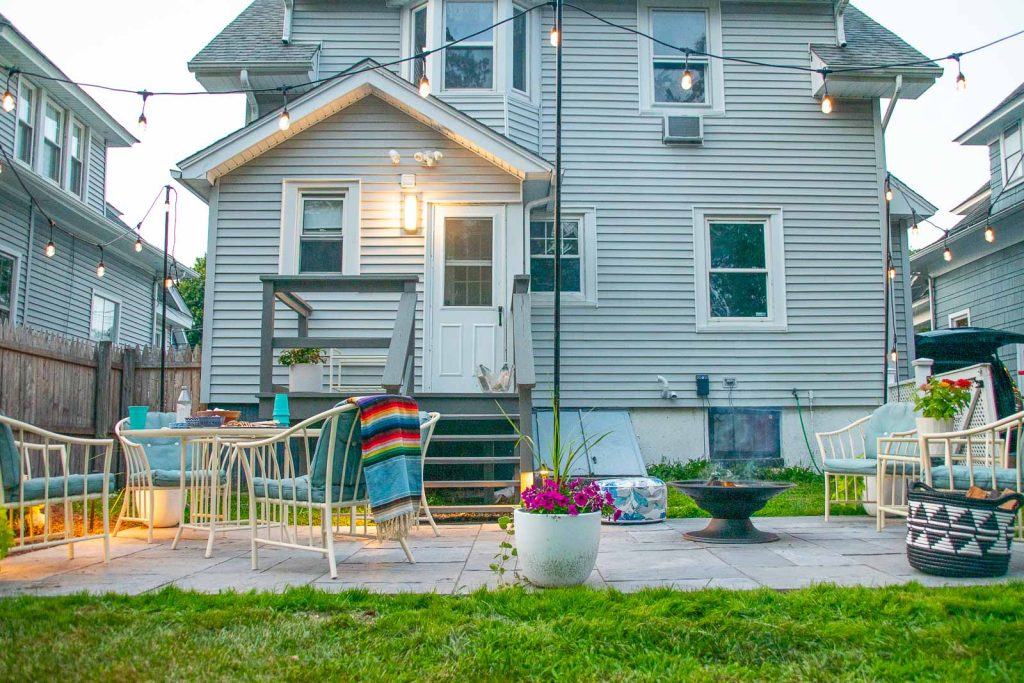
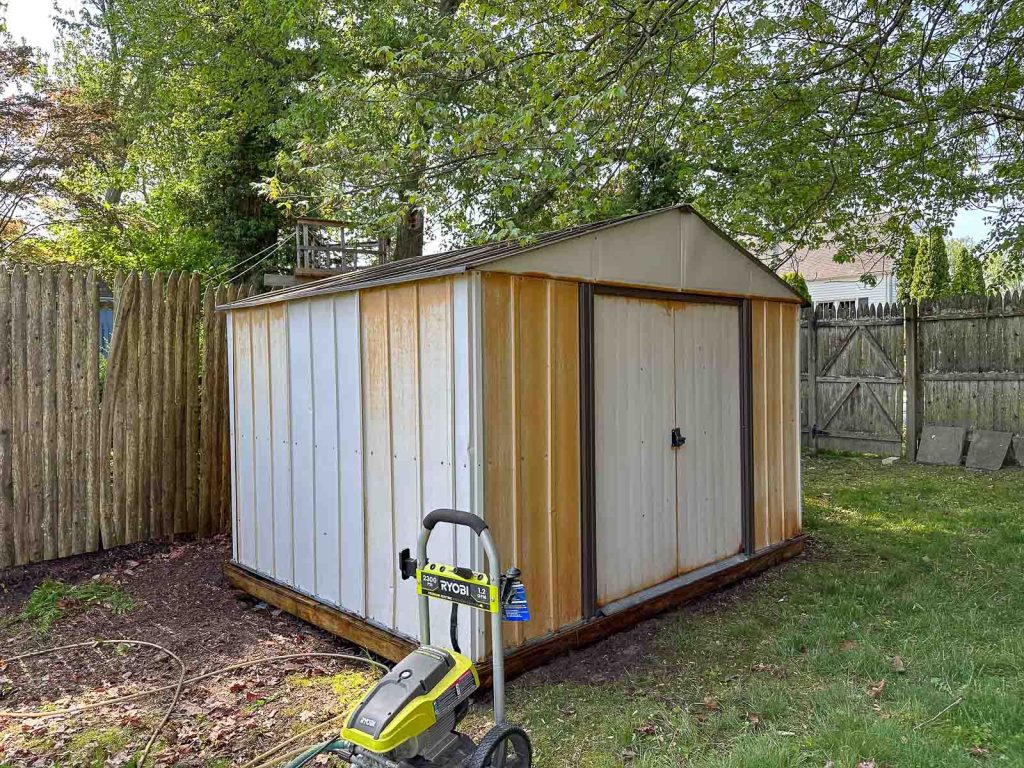
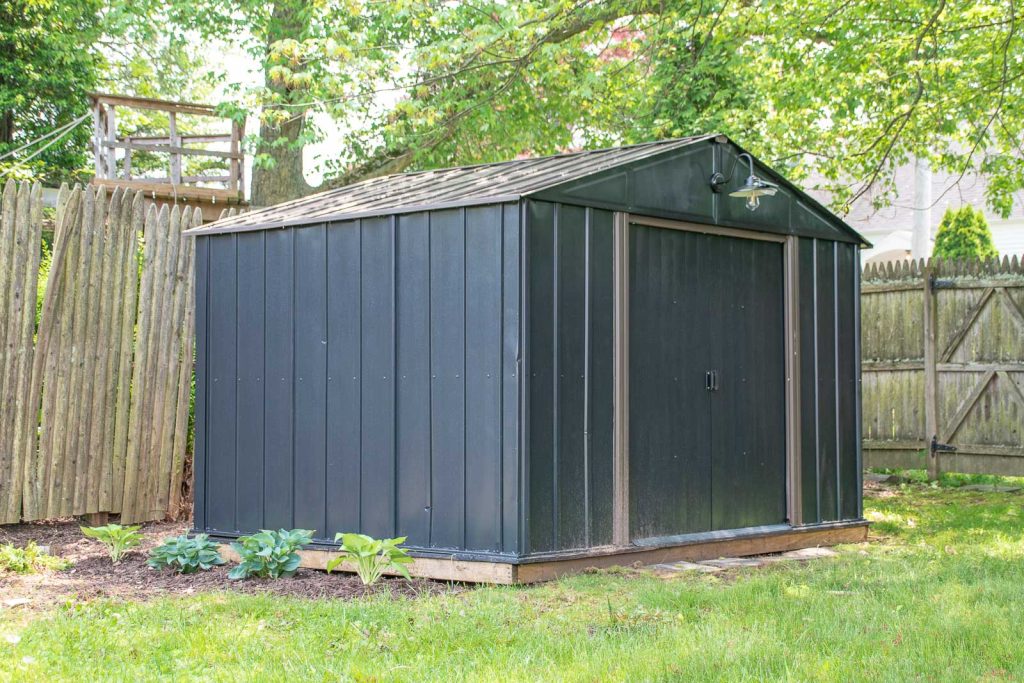
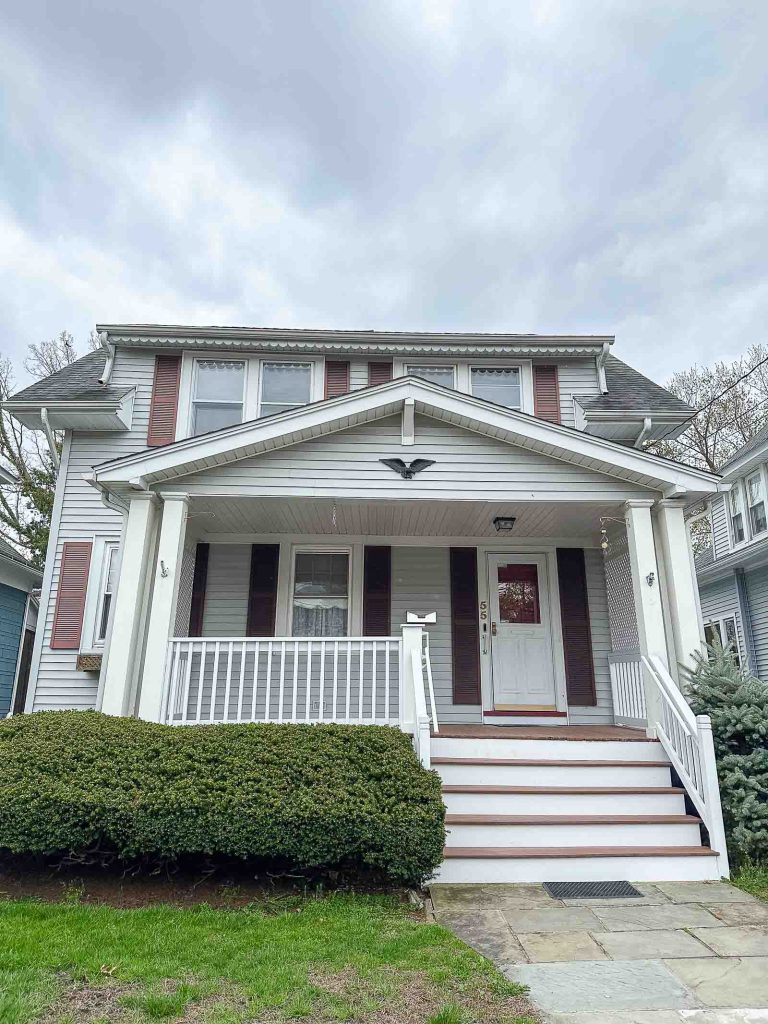
Ready for some exterior shots? I painted the back yard shed, added some flower beds installed a patio (yes, it’s as hard as it sounds) and painted the front porch and shutters. The best part about this house is it has a big a really big back yard that runs the length of the block!
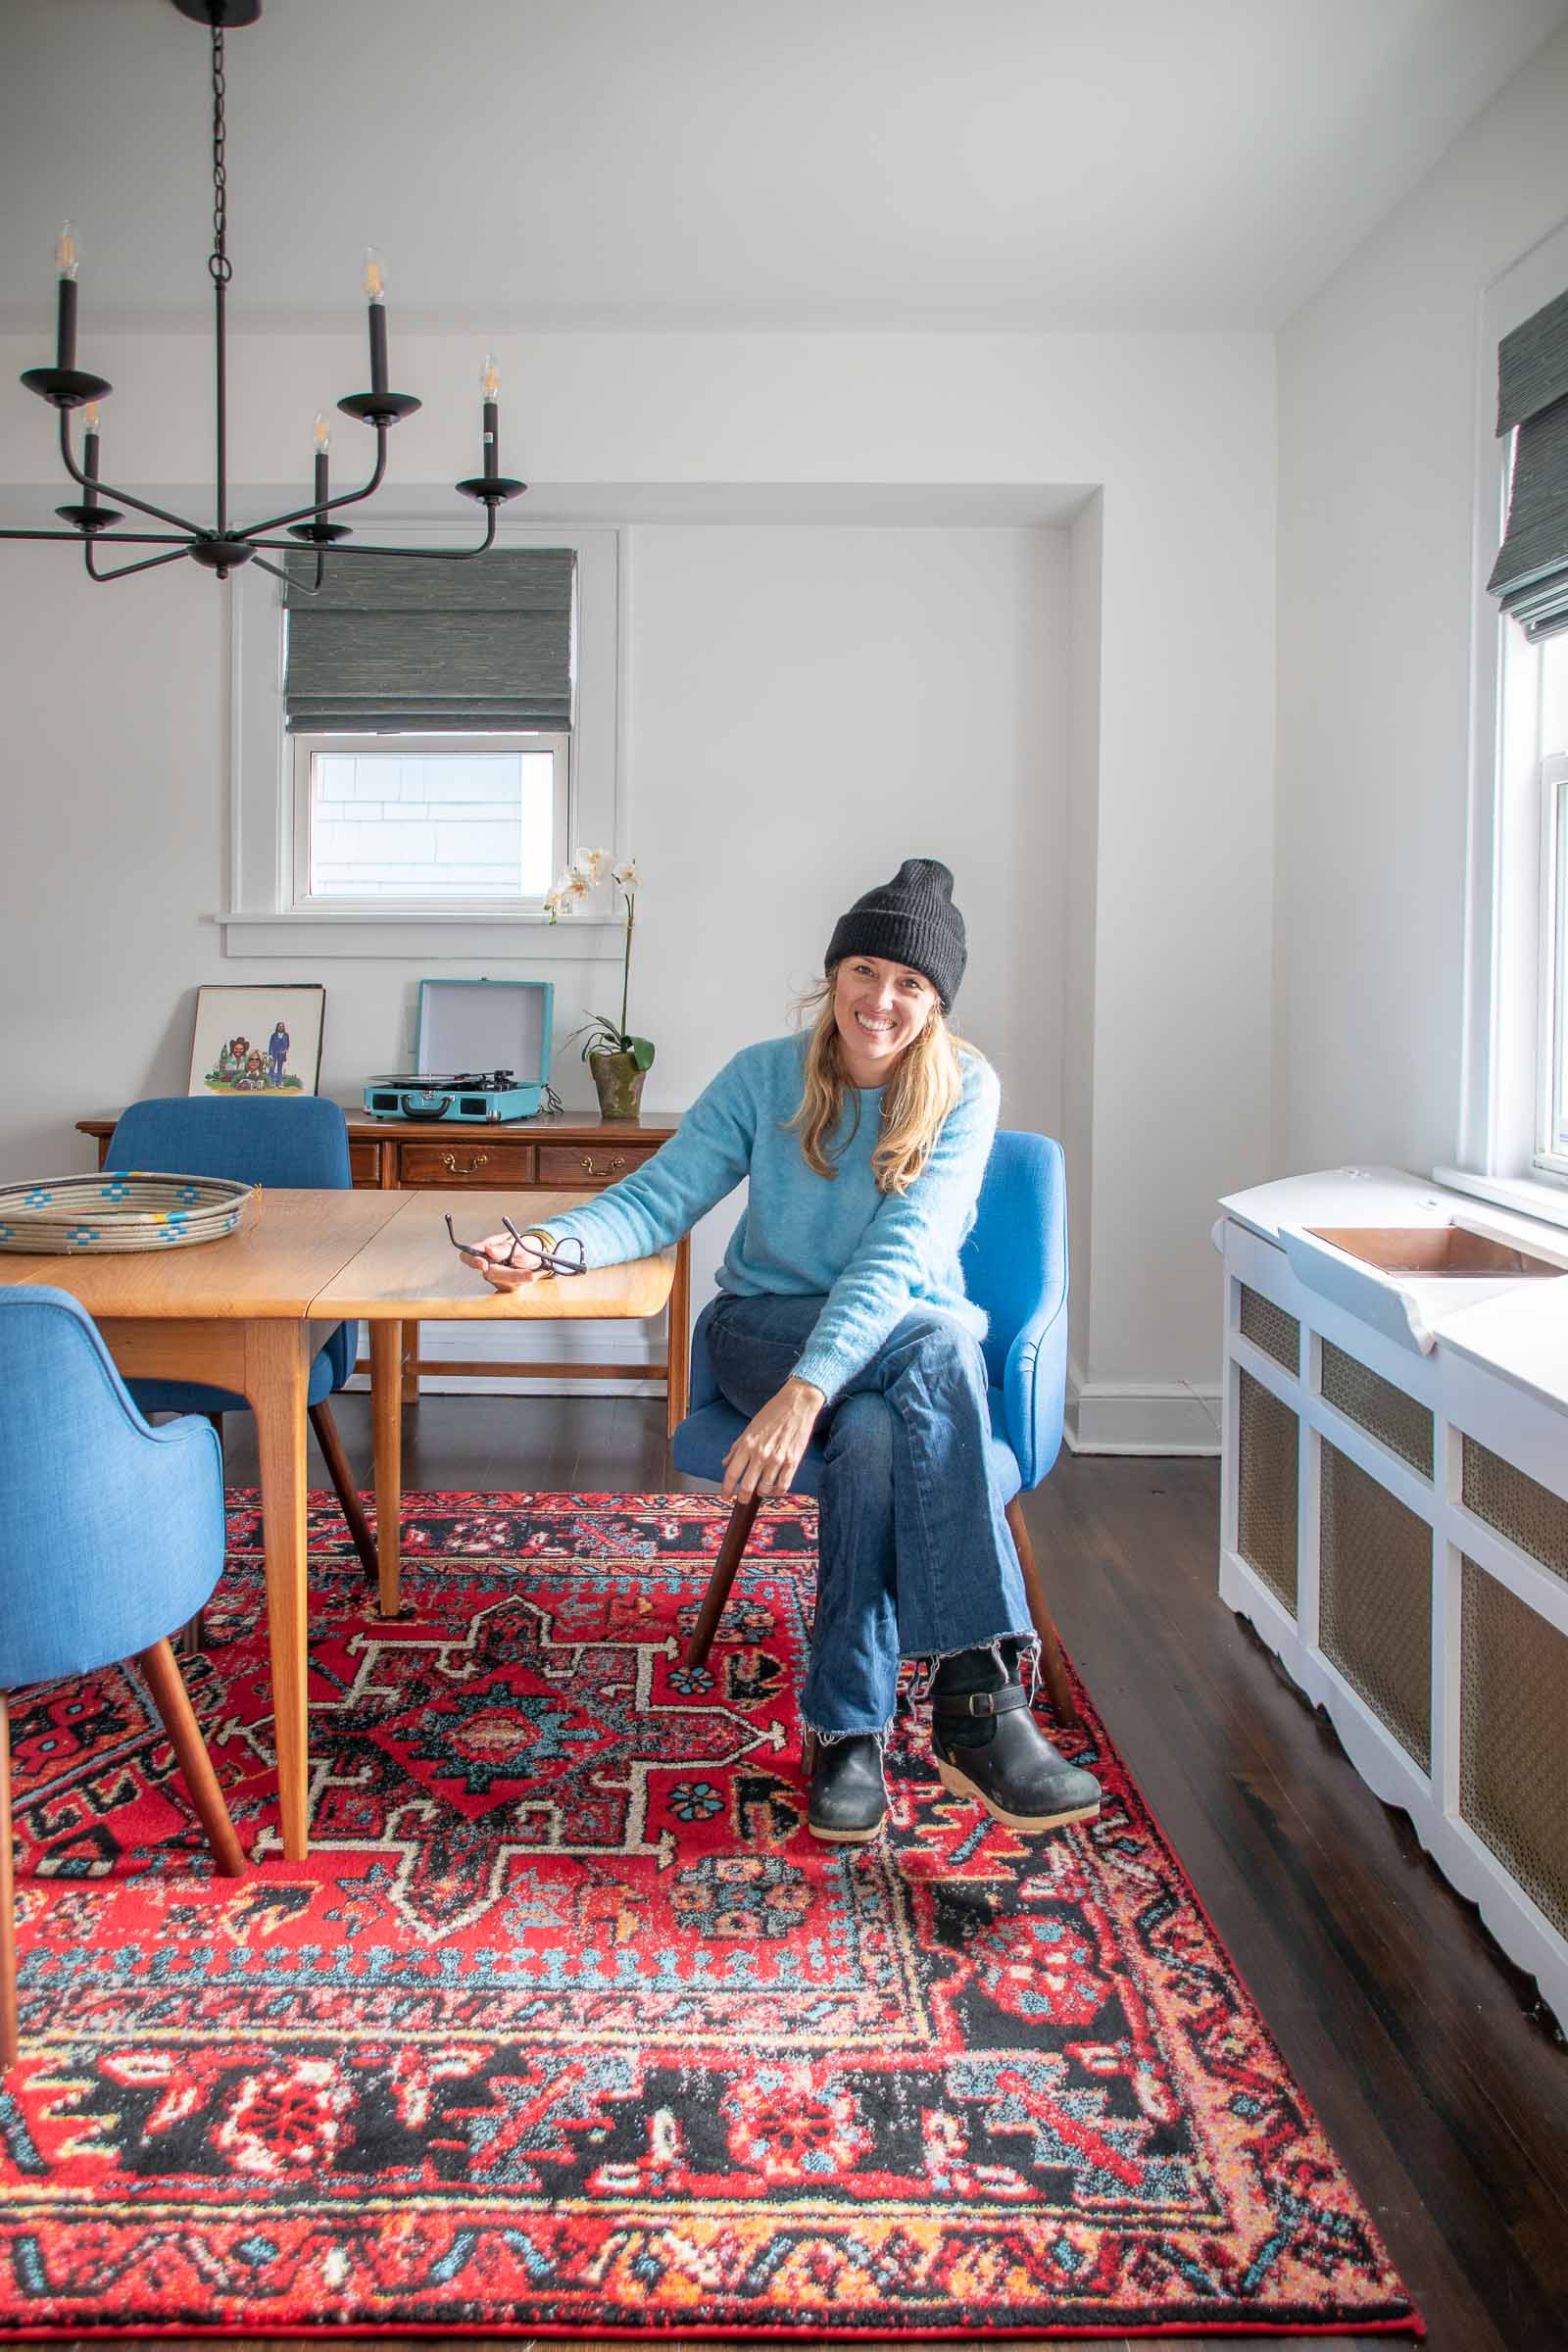
It feels very odd to put the entire nine months of this flip house into one blog post, but everyone has been very sweet about asking for photos. These simple before/ after combos skim past the hours and HOURS of time spent trying to remove wallpaper, problem solve the idiosyncrasies of an old house, installing tiles, painting, setting up furniture… this was the hardest 9 months I’ve worked in a while. I definitely had help from my amazing contractor and then sub contractors he brought in like drywallers, electrician and plumbers, but the decisions and bulk of labor was on me and that was… a lot. Looking at where I started with this house is a great reminder of how much went into this and I couldn’t be prouder! I didn’t cut corners and brought this house back to life and I’m so excited for the next family who will make this their own!

I must admit, I’m a little bummed you didn’t make a bundle of money on this amazing house. What you did was just incredible to me. I know how much hard work and energy go into chipping off wallpaper one little postage stamp at a time, and painting, and scraping, and….yikes. And you had 5 children at home! You did the old house proud, and I believe preserving our historic old homes is so important. I just discovered your channel recently and I’m so glad I did! I’m a fellow color lover, and there’s just not enough content out there to feed my color hungry soul! I will be selling my little 1945 house and moving to an apartment soon so I am getting many renter friendly ideas from you! Thanks, Charlotte, for your vision and inspiration! You are so very talented!
Thank you!!! I knew going in it was going to be an experiment and I’m trying to look at the bright side that I didn’t *lose* a ton of money and accomplished a pretty herculean task on my own. That said… I’m a little (a lot!) more gun shy to try this again knowing what I know now so that’s all part of the learning, I guess. 🙂 THANK YOU! xx