It’s Golden: Gold Leaf vs. Rub ‘n Buff
Psssst… this post *might* contain affiliate links: see my disclosure here.
Hang onto your trend-loving hats, folks, and get ready to jump on the bandwagon, this post is a double whammy: metallic AND agate. Boom. But, just to make things fun and educational… I’m going to do a little research for you, because I’m hardcore that way. Also? I’m the dork wondering what the difference is between gold leaf and Rub n Buff. (Material list at the end of this post for ya.)
Gold Leaf vs. Run ‘N Buff
The challenge: Gold Leaf vs. Rub ‘n Buff (inquiring minds want to know, right?)
Shop my favorites!
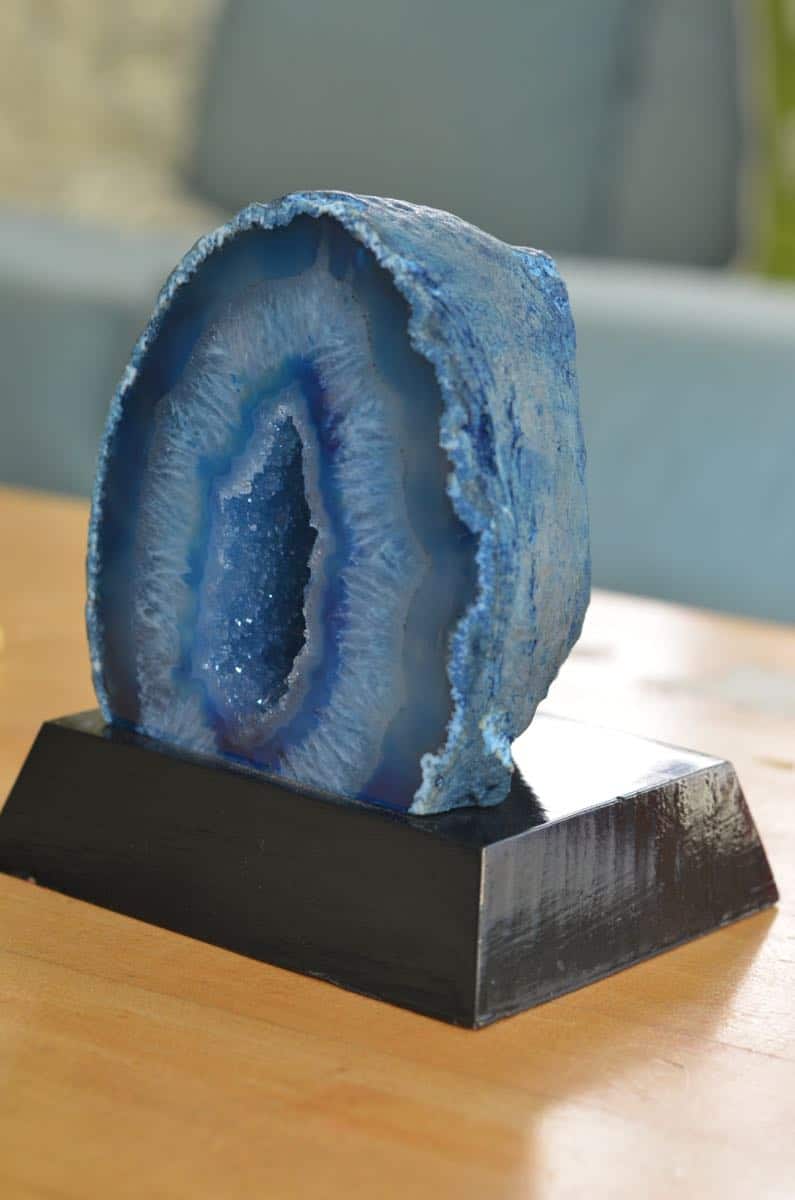
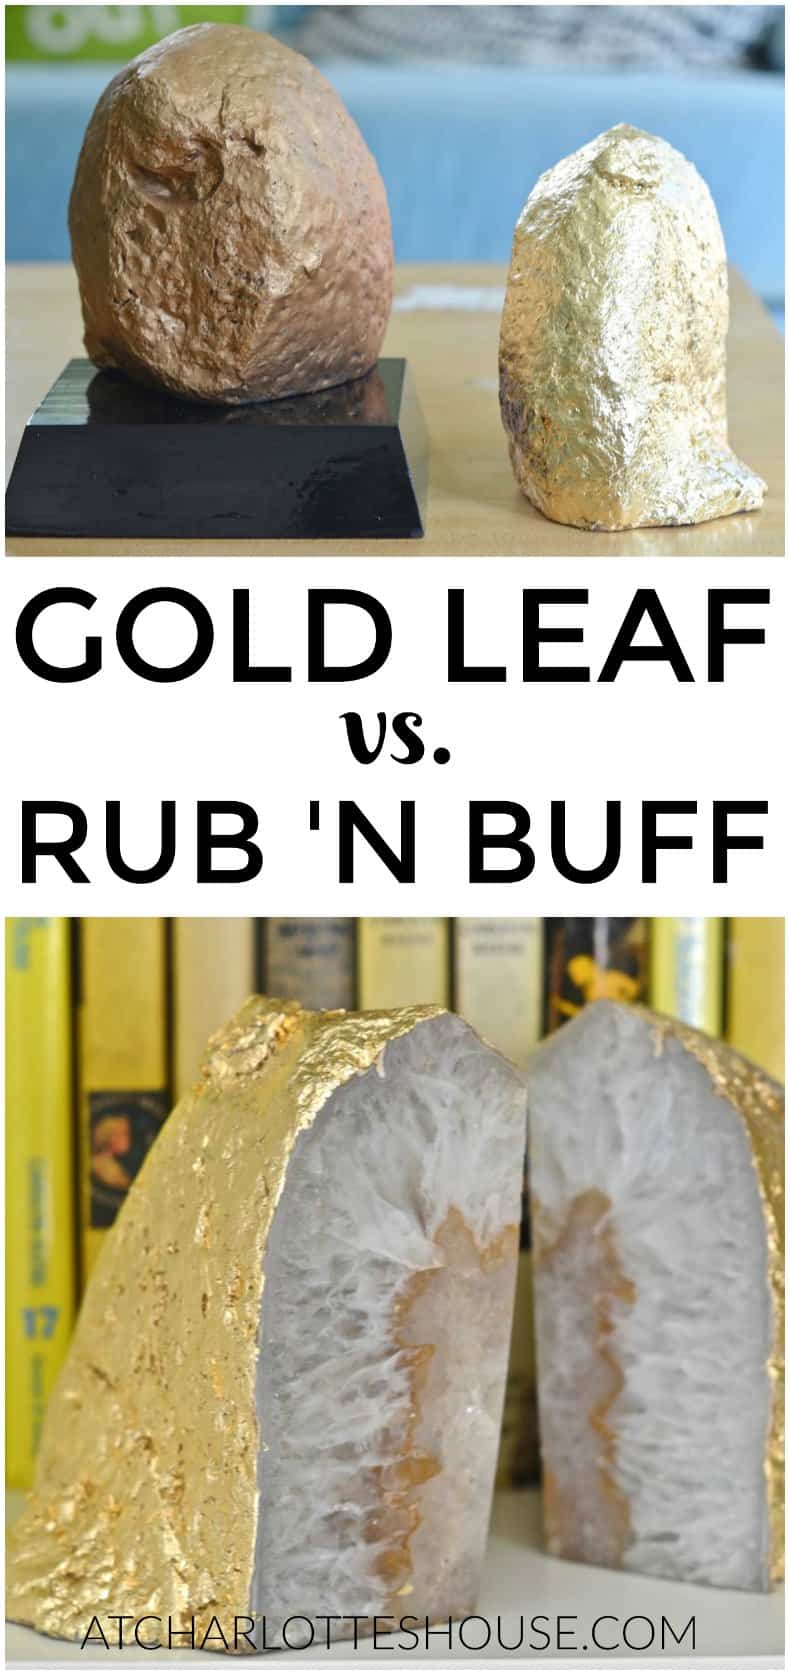
I found my first bit of agate on sale at Homegoods. I don’t love the big black base, but the blue is lovely.
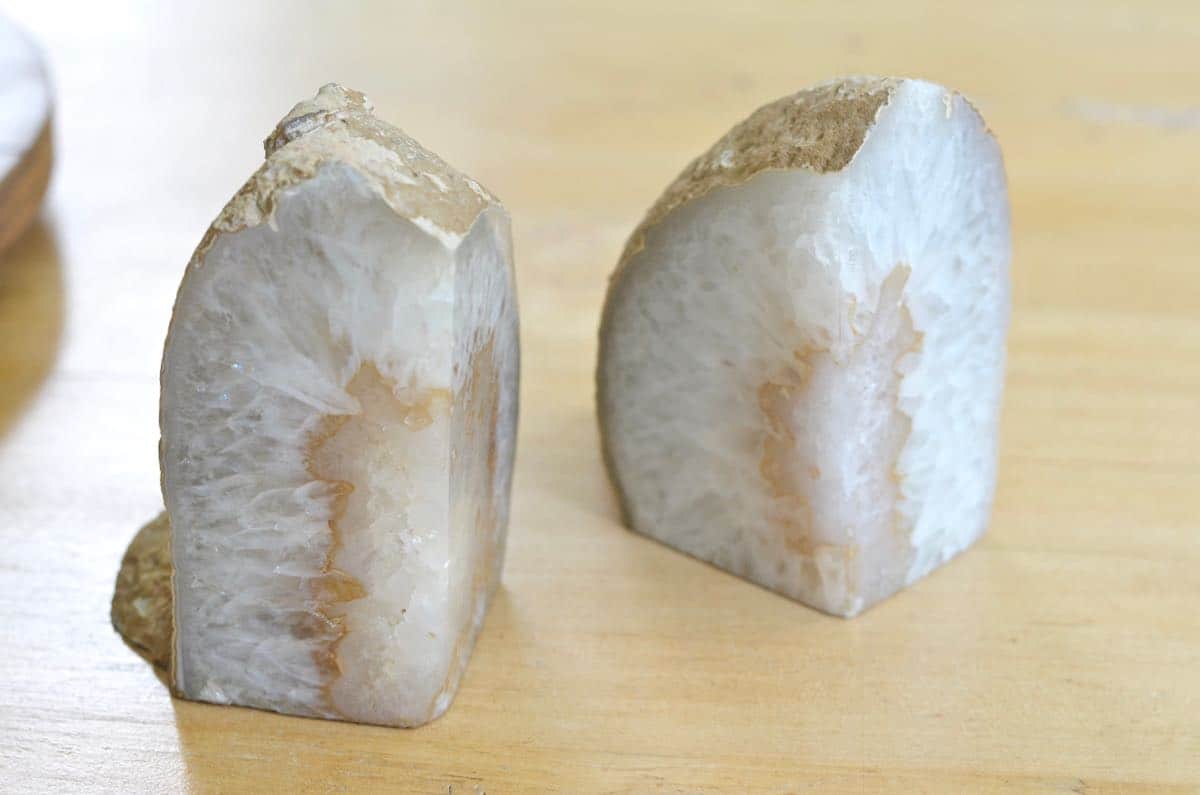
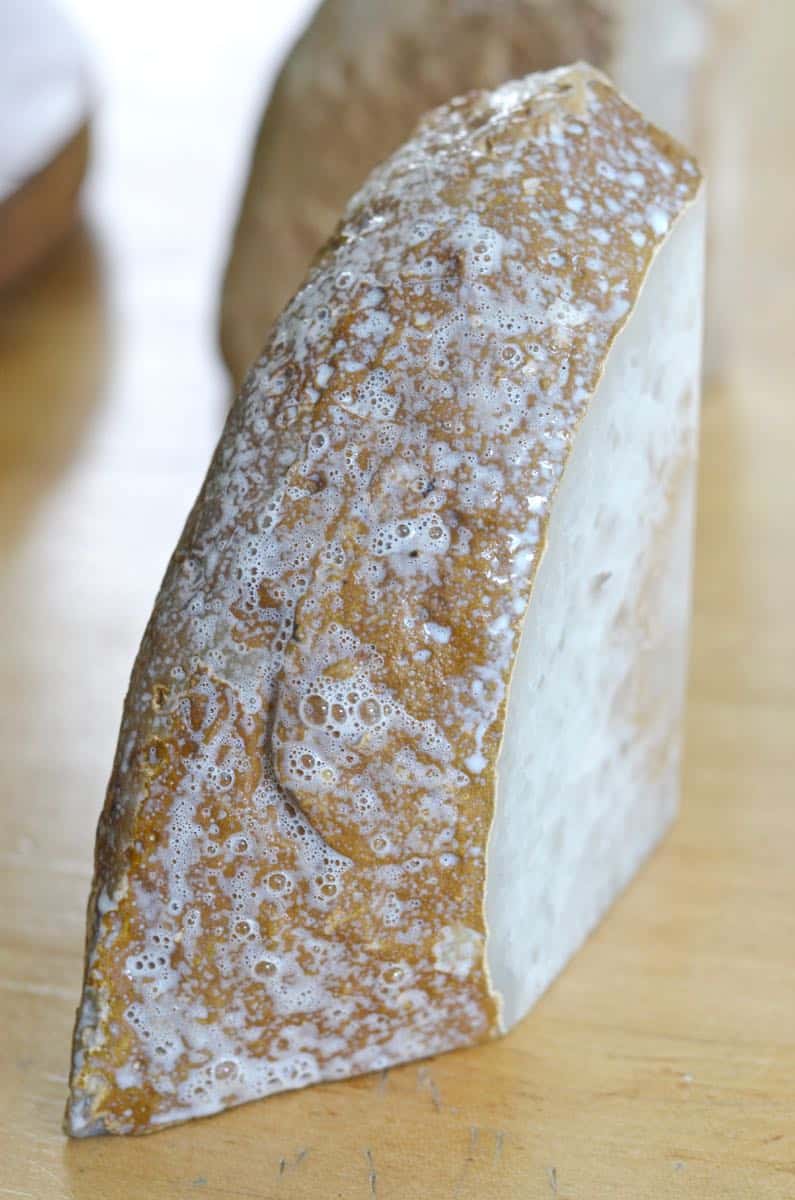
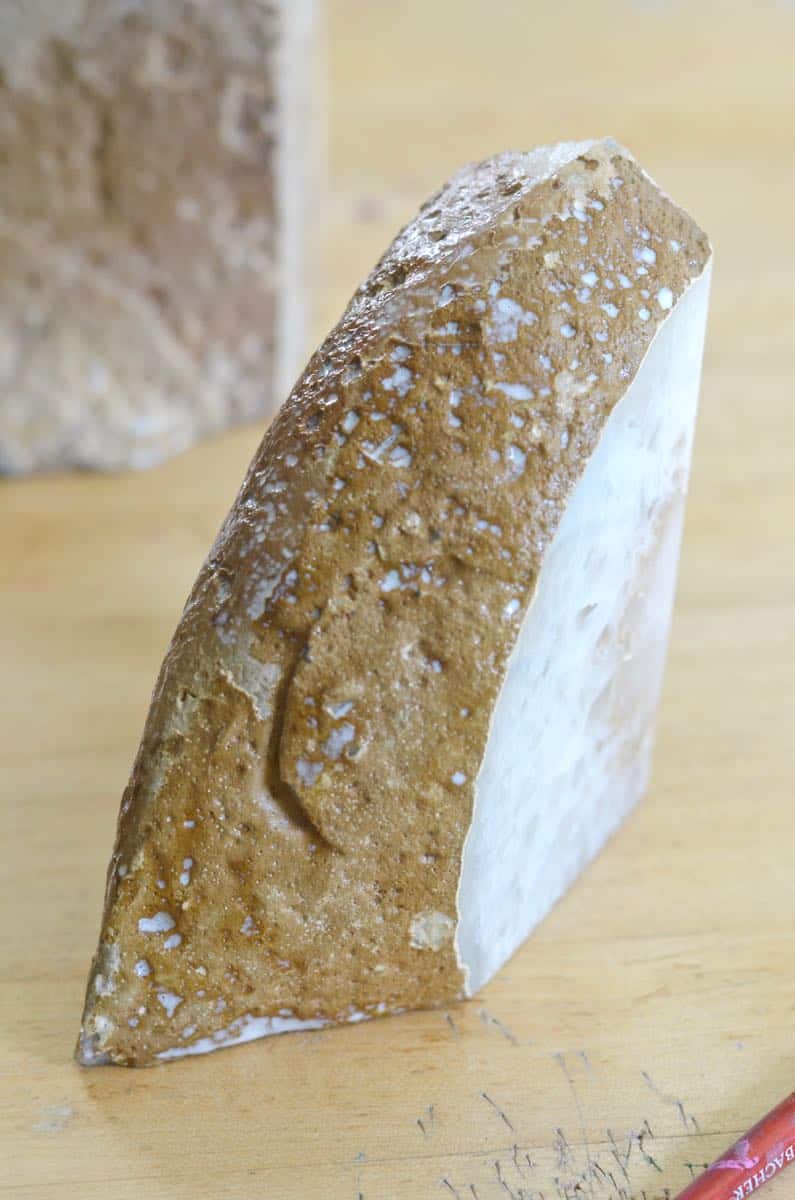
Then I found these two at the flea market.
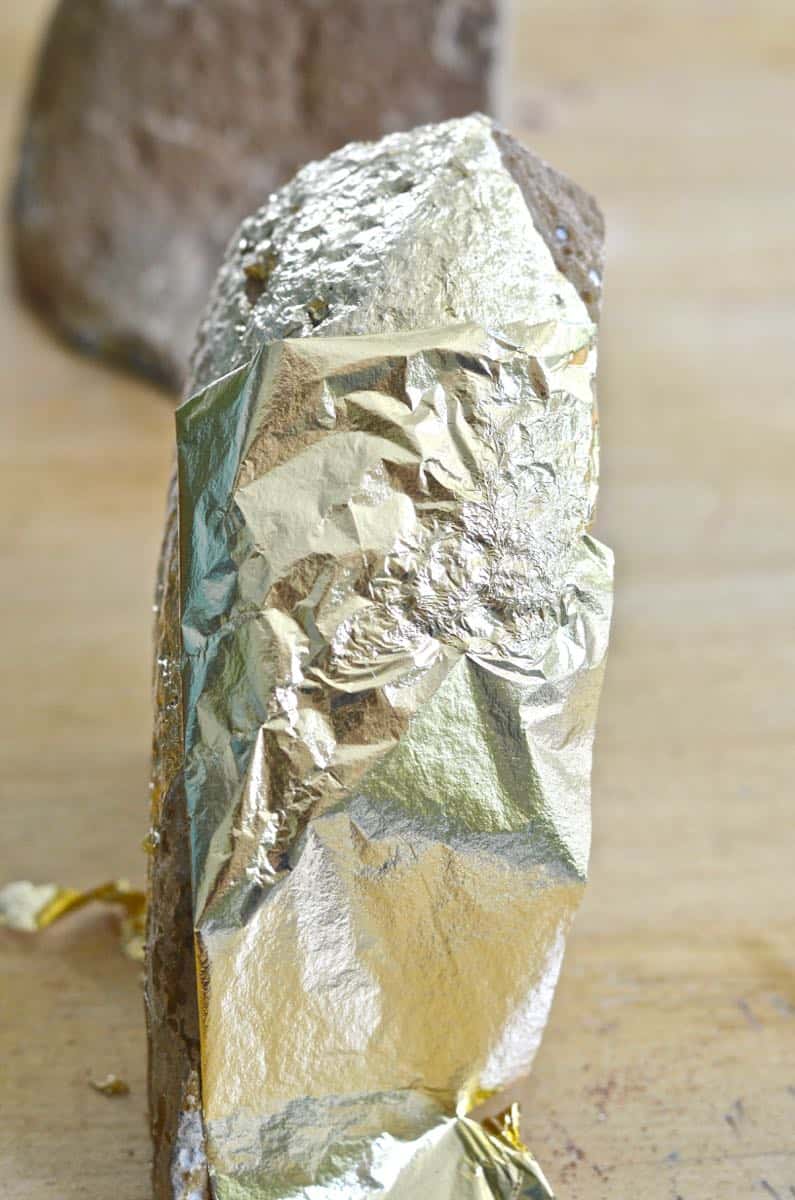
My test subjects were ready. First… the gold leaf. Gold leafing is my new love. Honest. Forget the clothesline wrap, I want to gold leaf all of the things. I know… I’m a fickle crafter, but seriously… this stuff was SO easy. The first step is to apply the adhesive. I had the liquid, but there’s also a spray. Paint the adhesive onto the surface you want to leaf and let it set. When it’s clear, you’re ready to get your King Midas on.
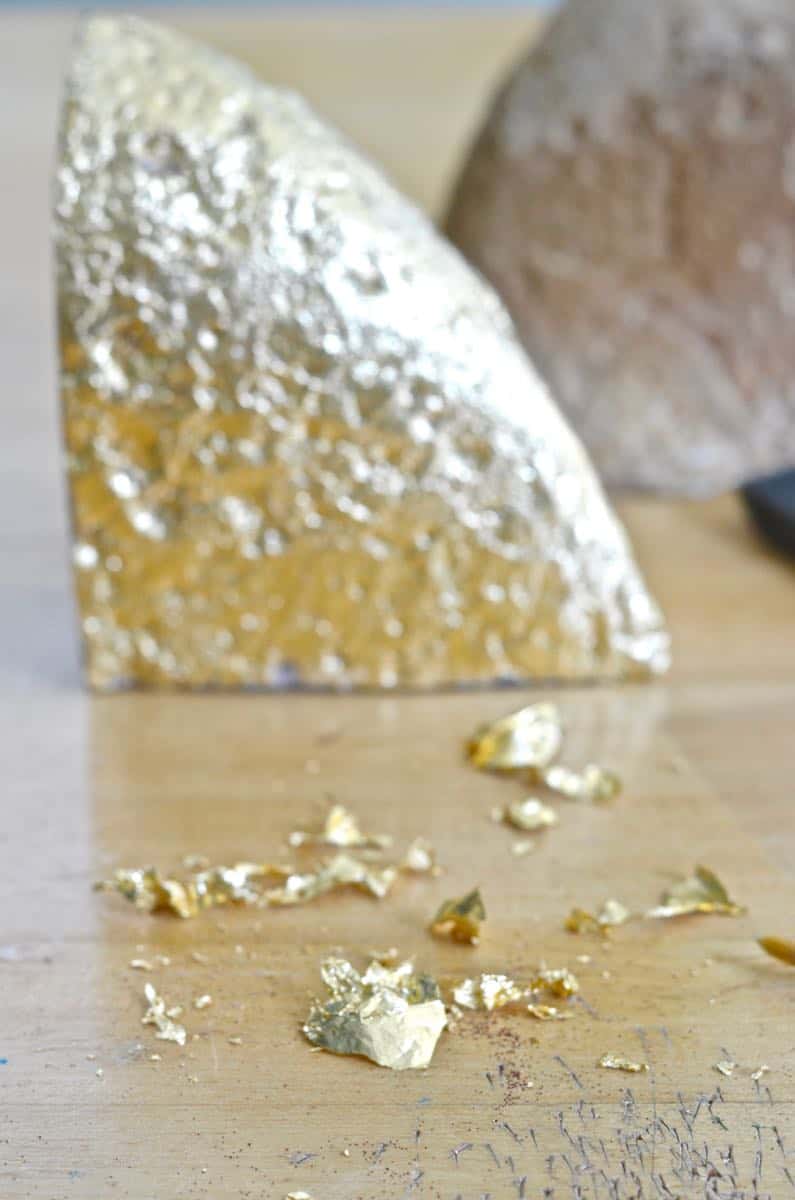
Gold leaf is suuuuuuper delicate so pick it up carefully. (You might want to turn off your fan at this point…) Lay it on top of your adhesive and begin tapping it down. You’ll see that the gold leaf adheres amazingly well to the adhesive. I used a foam brush to tap it down and then went back over with a smaller brush to rub it into the nooks and crannies a bit more. It will easily tear off the edges in a clean line if you run your brush over the corner. Any places you’ve missed, just go back over with adhesive. Yeah. Told you it was simple.
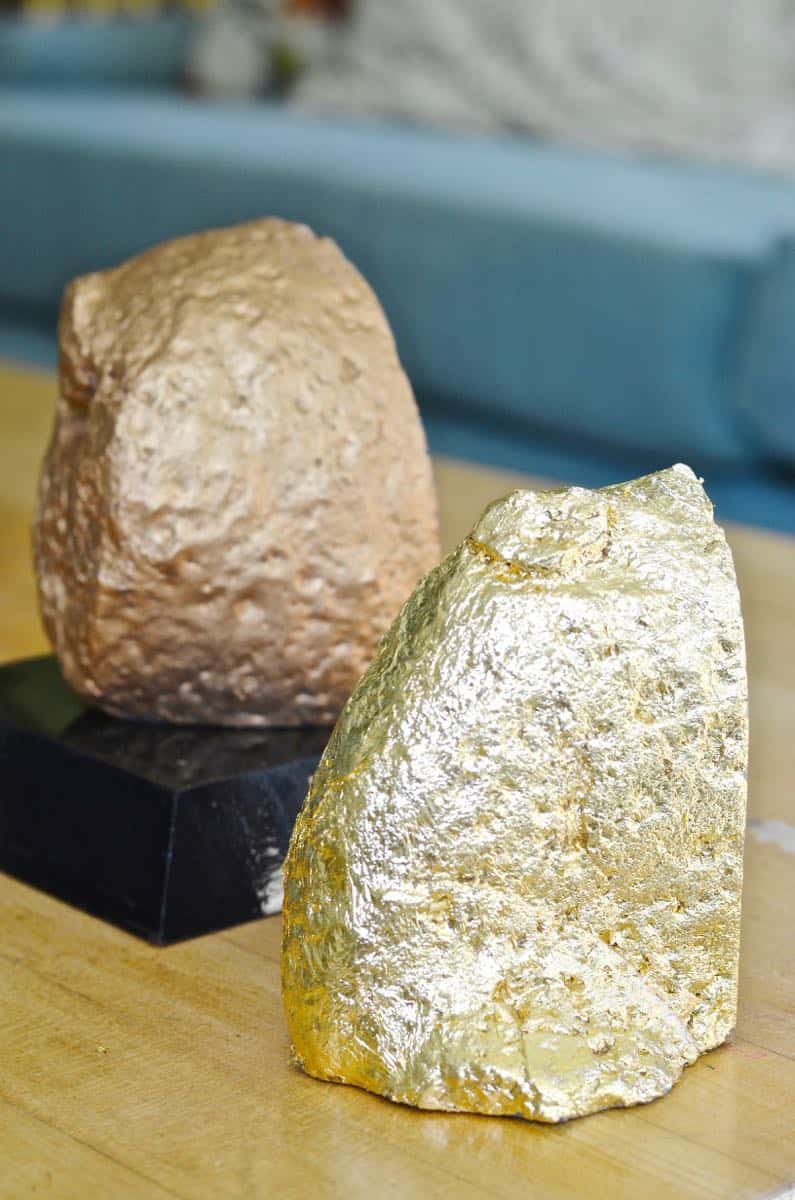
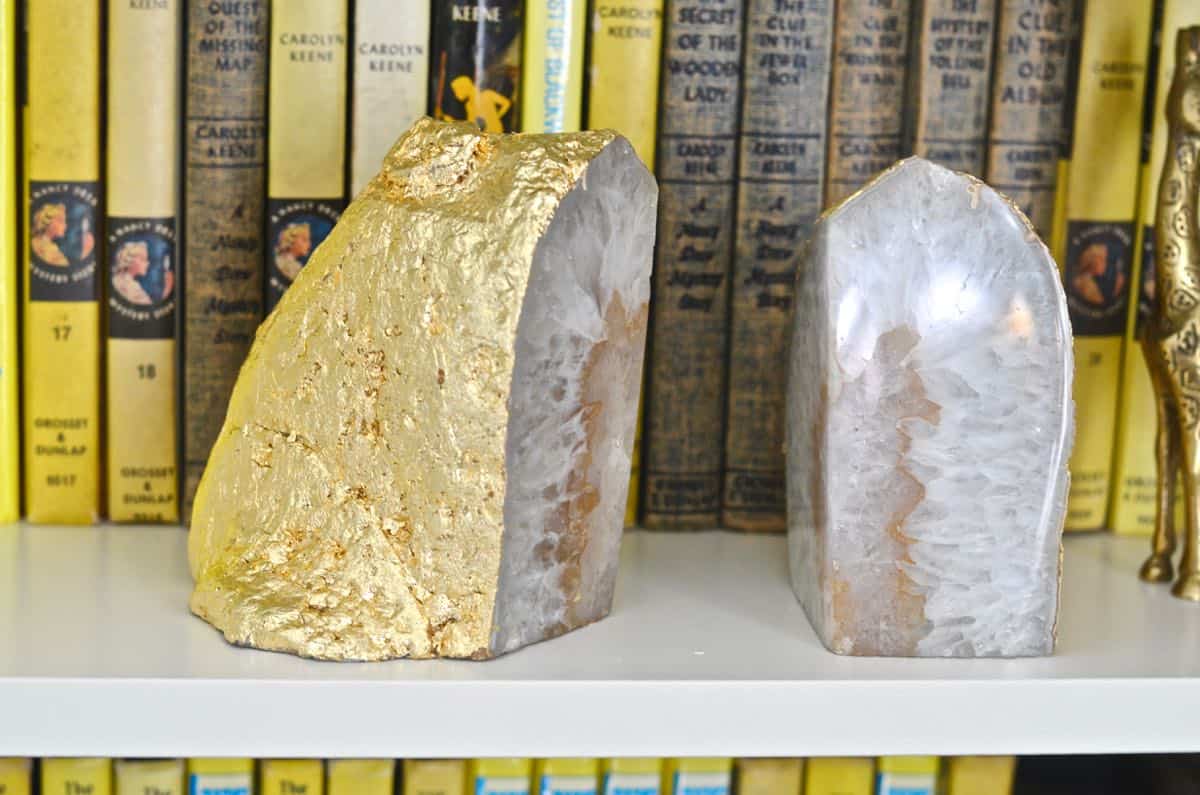
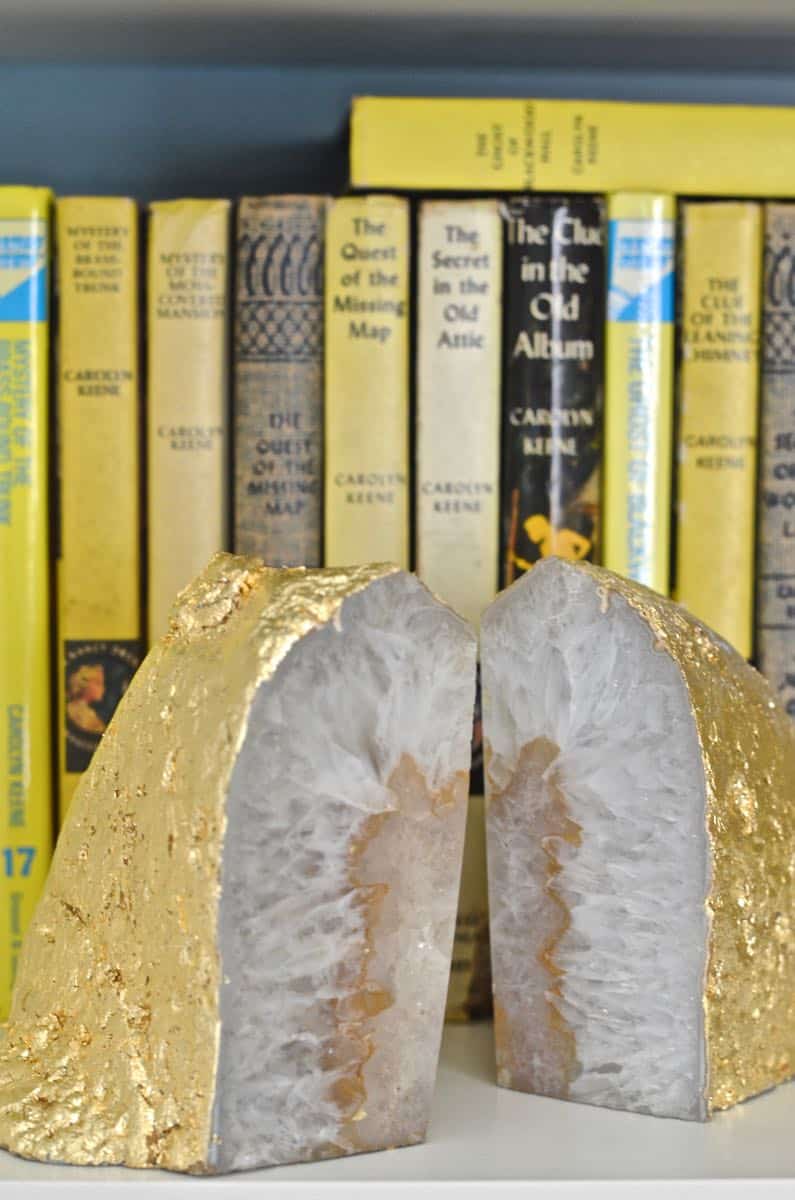
I used maybe 3 sheets of gold leaf for this pair of bookends. You’ll end up with quite a bit of gold leaf flaked off around you but grab them with your brush and use whatever pieces you can to fill in any gaps! I’d say both of these bookends took me 45 minutes.
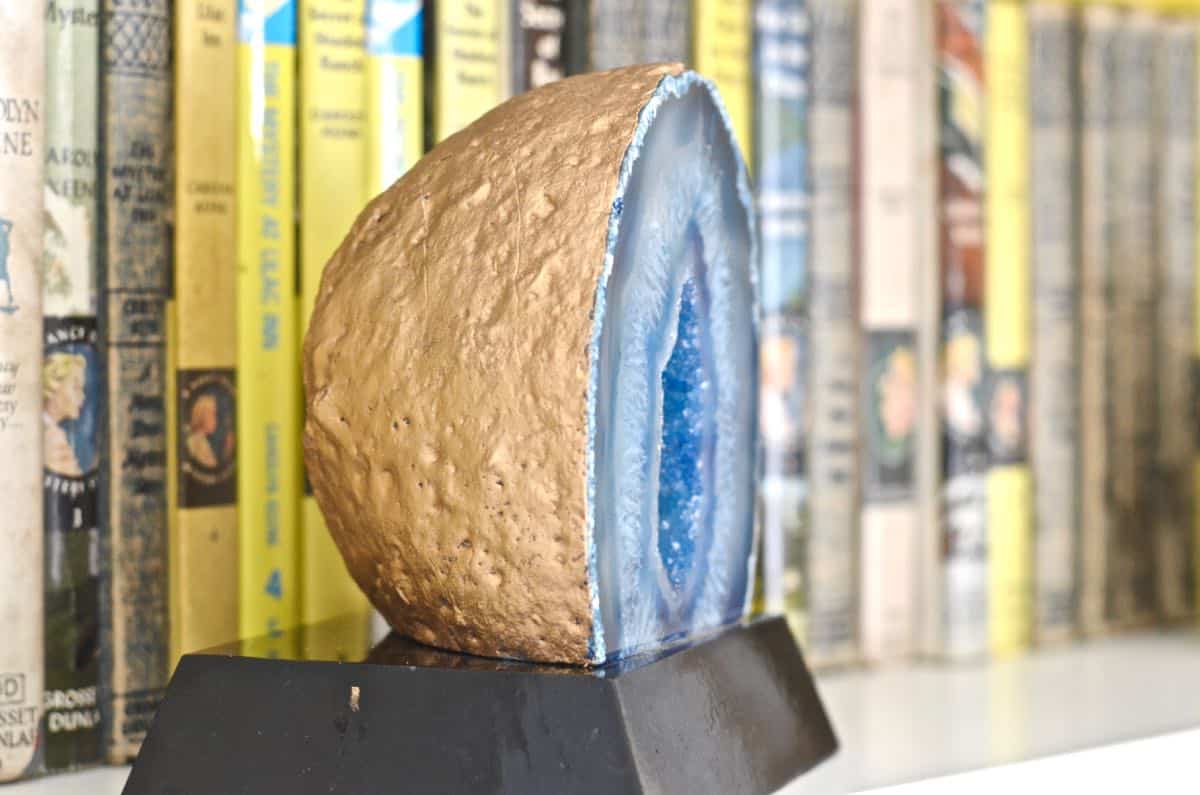
Moving right along to good ol’ Rub n Buff. This is where my “experiment” breaks down a little bit… I’m using Antique Gold, but there IS a Gold Leaf color as well. I used a brush to paint the Rub n Buff on and it took, oh, 8 minutes?
Final Results? Obviously the Rub n Buff is a slightly different color, but… I can’t imagine the Gold Leaf Rub ‘n Buff would ever be as shiny and sparkly as the ACTUAL gold leaf. Chime in if I’m wrong and this is a stupid comparison, but I LOVE how the gold leaf sparkles and shines. Both were totally simple… slight edge to Rub n Buff for ease of use- quicker and cleaner- but as you’ve already read… my mercurial heart now belongs to gold leaf. (Sorry, clothesline wrap, it’s not you… it’s me.)
Gold Leaf vs. Rub ‘n Buff Materials
- Gold leaf kit (includes the leaf and the glue)
- foam brush
- Fine bristle brush
- rub n buff
- agate book ends



I have the antique gold rub n buff, too. I wanted to tone down super shiny yellow gold brass chandelier….but it looked kind of copper to me. So I used white instead…looks kind of frosted and frozen now. I LOVE rub n buff in the Patina color…very easy to get that perfect aqua turquoise color on wood, plastic, metal on frames, etc.
I need to get a few more colors and explore because it works SO well… that patina sounds amazing! Thanks for the tip!
You had me at gold.
Ha! I know I did, girl!
I am trying the gold leaf on a picture frame my mom half-painted white and didn’t like. Hope this will fix it close enough I don’t have to do the whole frame. Personally, I am in love with your collection of Nancy Drew books. I read Carolyn Keene as a child and then moved on to Erle Stanley Gardner. Now I work for attorneys – go figure! Meanwhile, glad to know that the gold leaf is not as hard as it seemed.
THanks, Kathy! I used to work with one of Carolyn Keene’s ghost writers! Should have gotten her signature! Good luck with your gold leafing… I had read up a bit so knew kinda what to expect. It’s super fragile, but pretty forgiving also.