Holiday Gift Card Holder
Psssst… this post *might* contain affiliate links: see my disclosure here.
Friendly public service message that Christmas is ten days away. TEEEENNNN. Which means that if you have any holiday shopping left… it’s go-time. Or… allow me to suggest an easier way. A MUCH easier way. GIFT CARDS, yo! Here’s the funny thing about gift cards… we feel cheesy giving them right? Wanna know what I LOVE getting? Yep. Gift cards. Today I’m teaming up with Home Depot and a bunch of other bloggers to help you ease that gift card guilt… we’re sharing some macdaddy ways to jazz up those gift cards and make them look like a million dollars!
Disclosure: I have partnered with Home Depot for this magic act.
Shop my favorites!
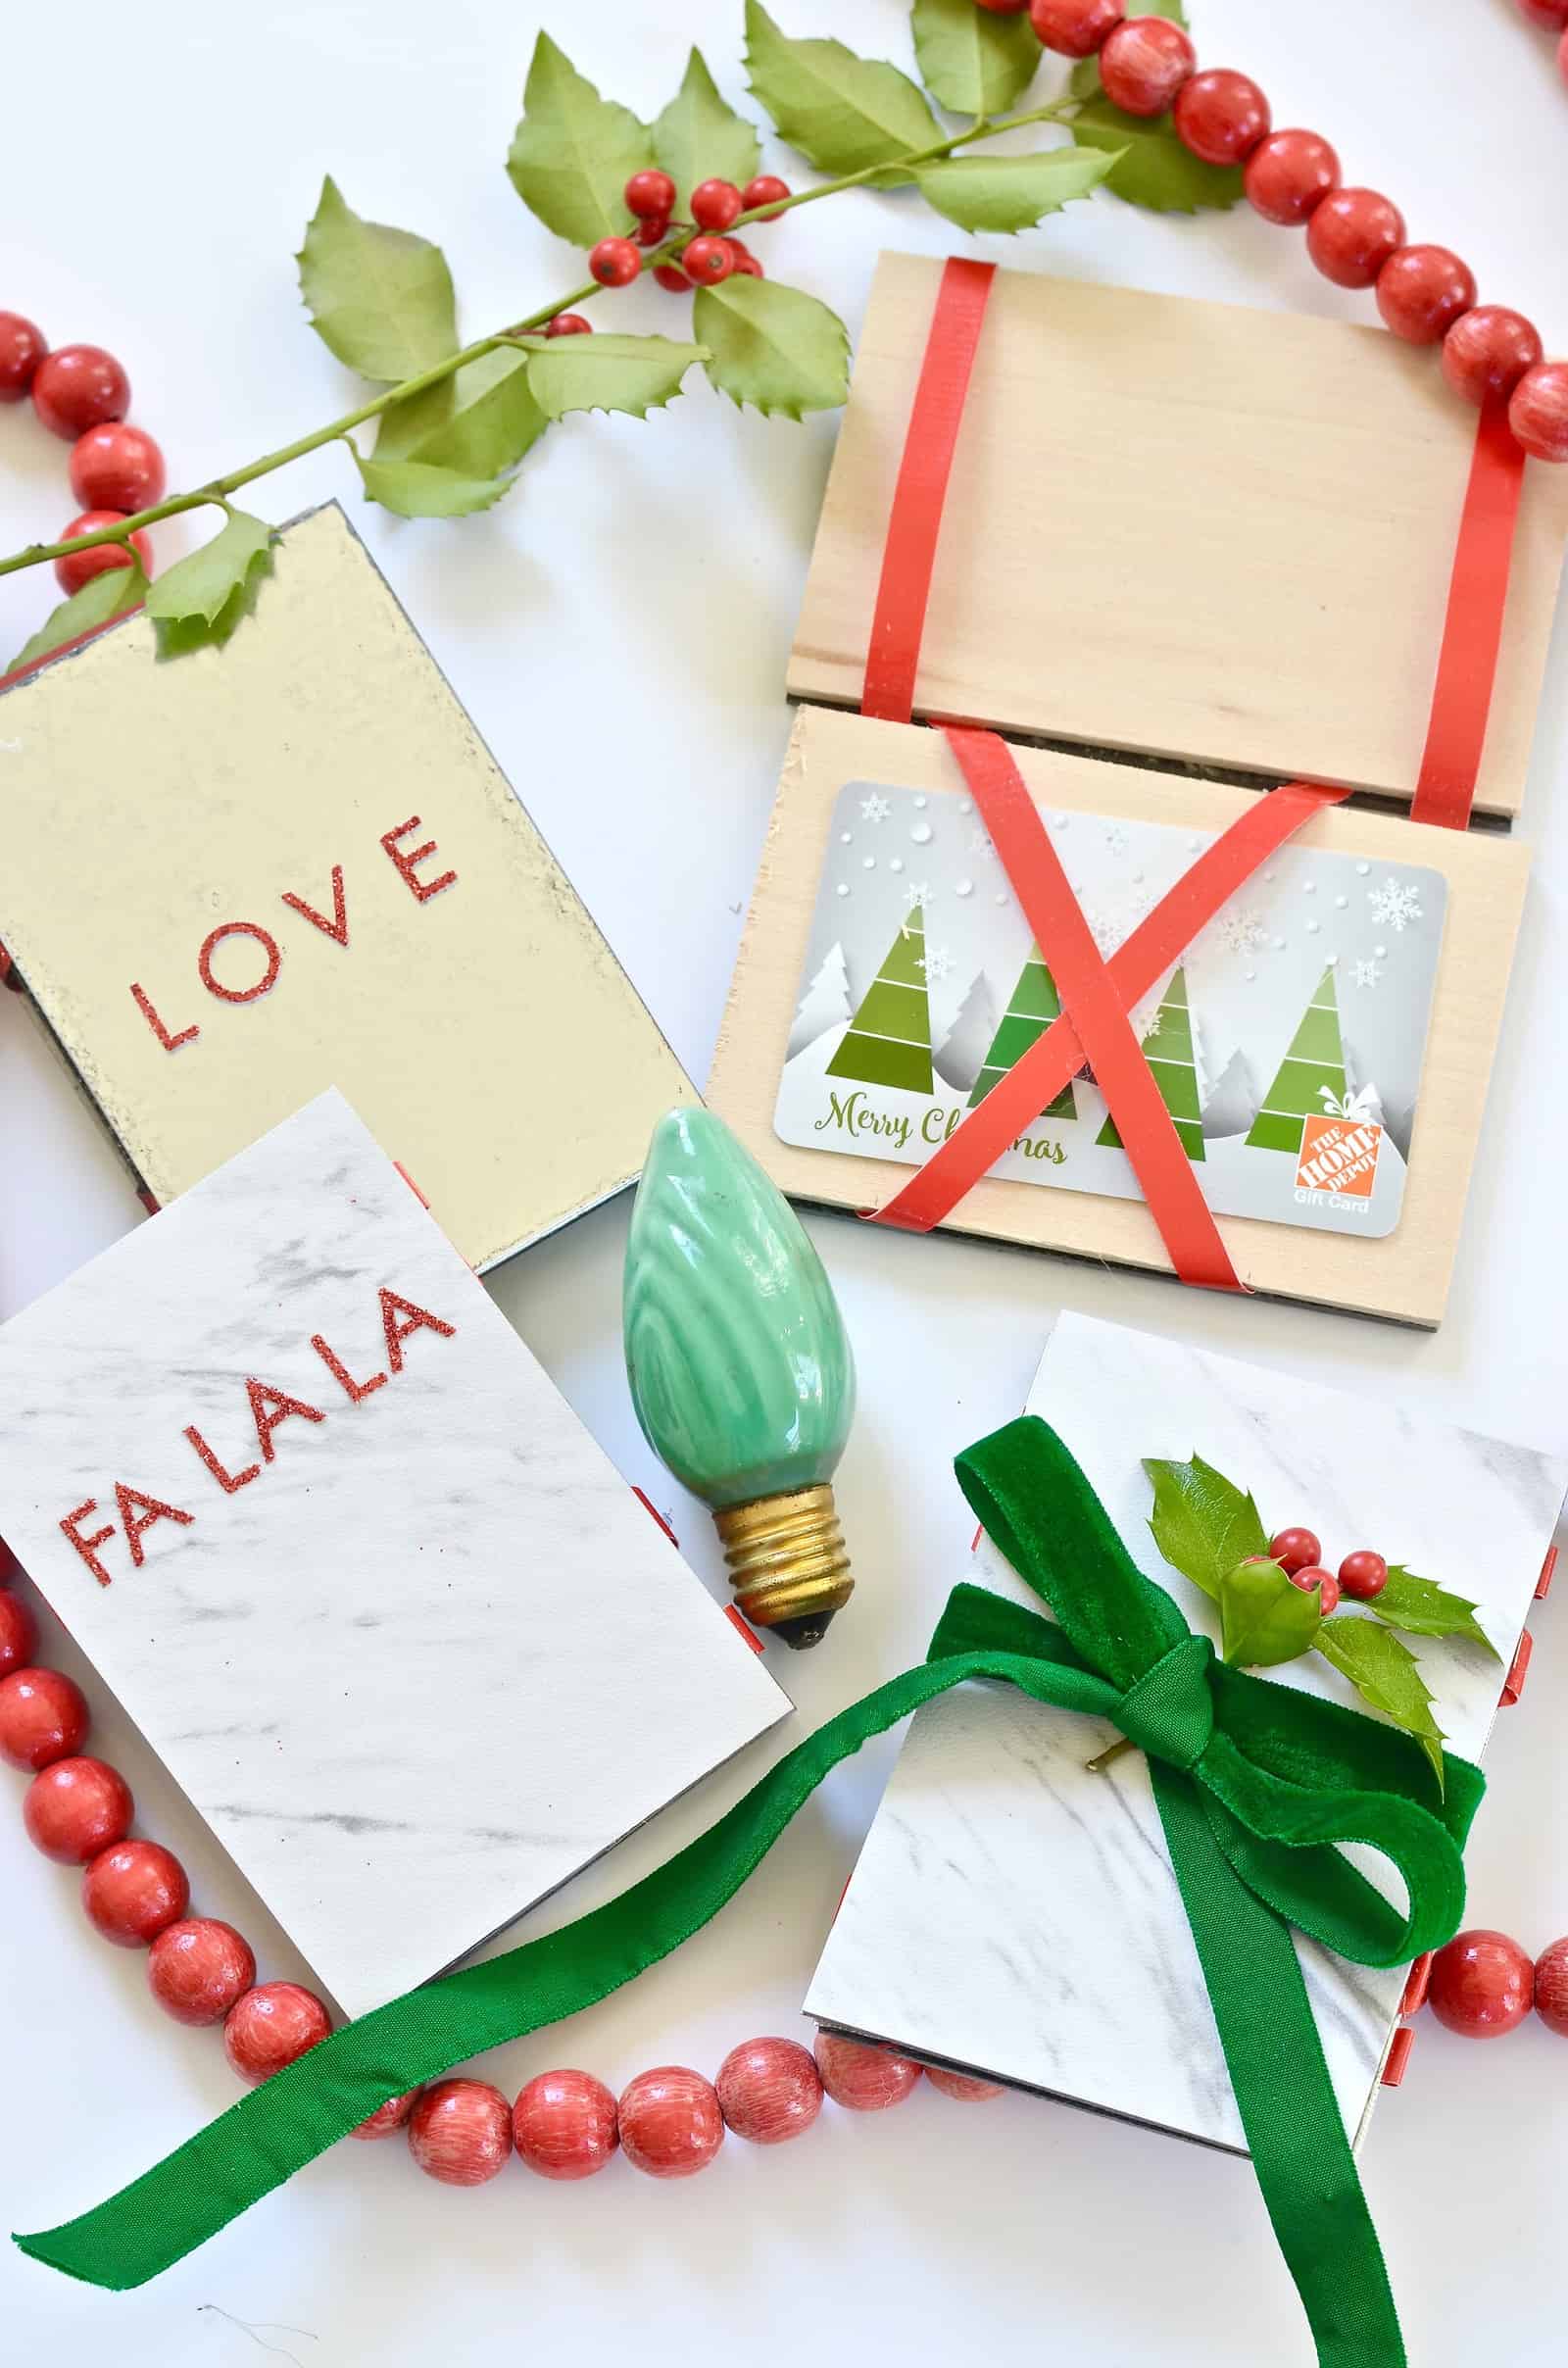
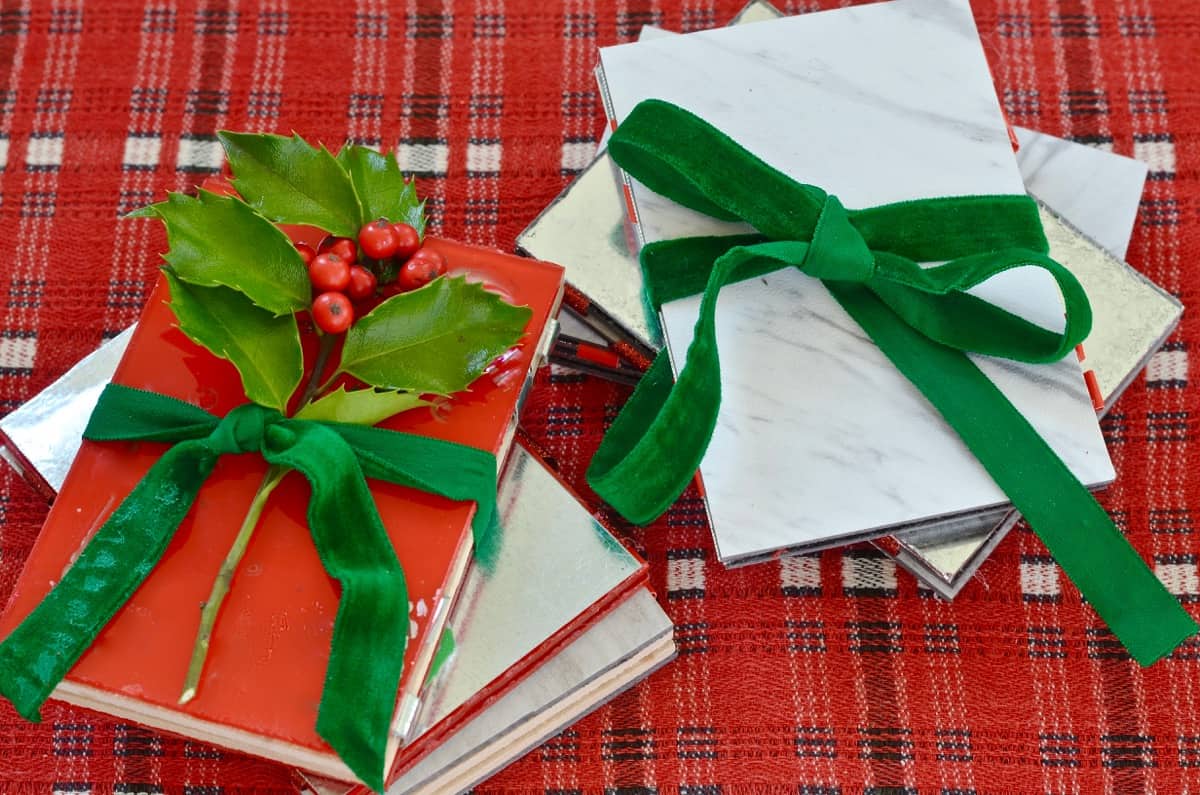
I don’t normally toot my own DIY horn, but this post is as close to MacGyver as I’m ever gonna get and I LIKE it. Back when I lived in New York City, I had one of these cute flippy card holders for my subway card. For these gift card holders, I decided to jazz it up Home Depot Style.
Magic Gift Card Holder
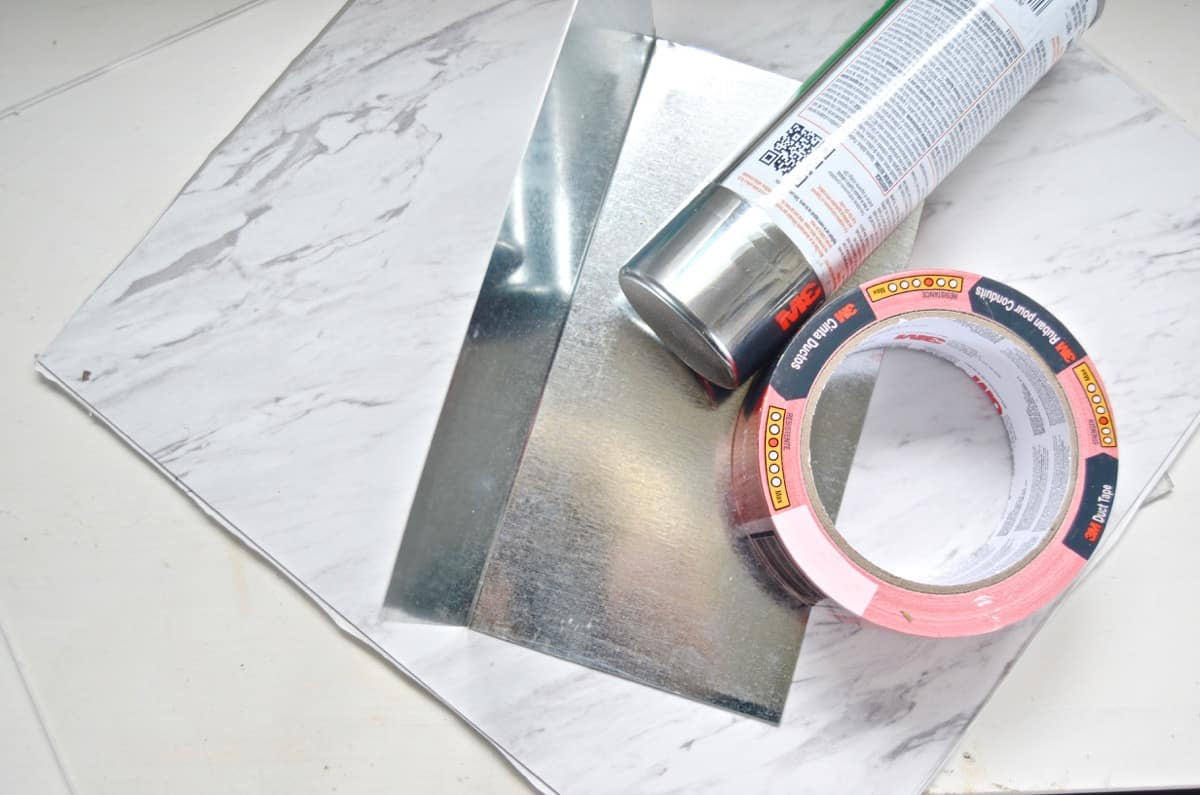
Here’s what you’re going to need:
- Peel and Stick floor tile
- Acrylic sheet
- Roof Flashing
- Tin snips
- Duct tape
- Xacto knife
- e6000 glue
- Hot glue gun
- Tape
- Plastic cutter or table saw
- Looking glass spray paint
- Red spray paint
Step 1
Cut your materials into 2.75 x 4-inch pieces. I started with the acrylic cutter but got impatient so just ran everything through my table saw. I used tin snips for the flashing.
Step 2
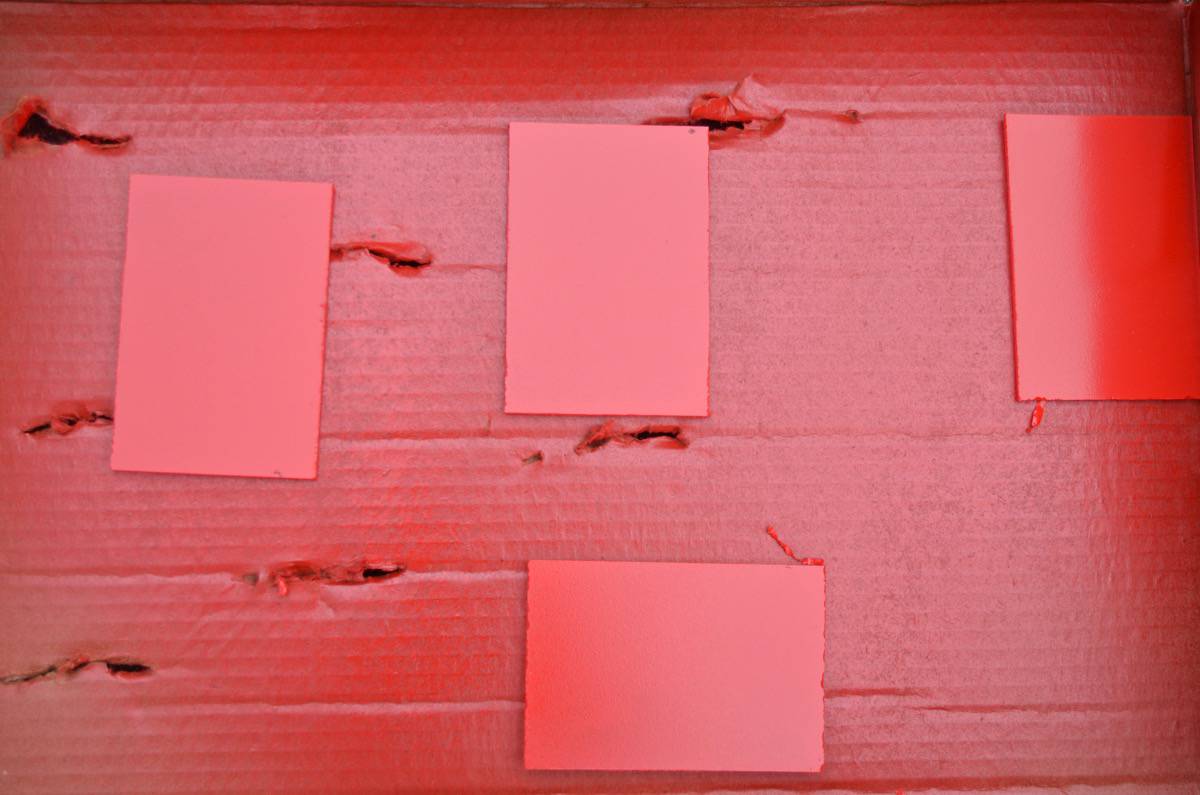
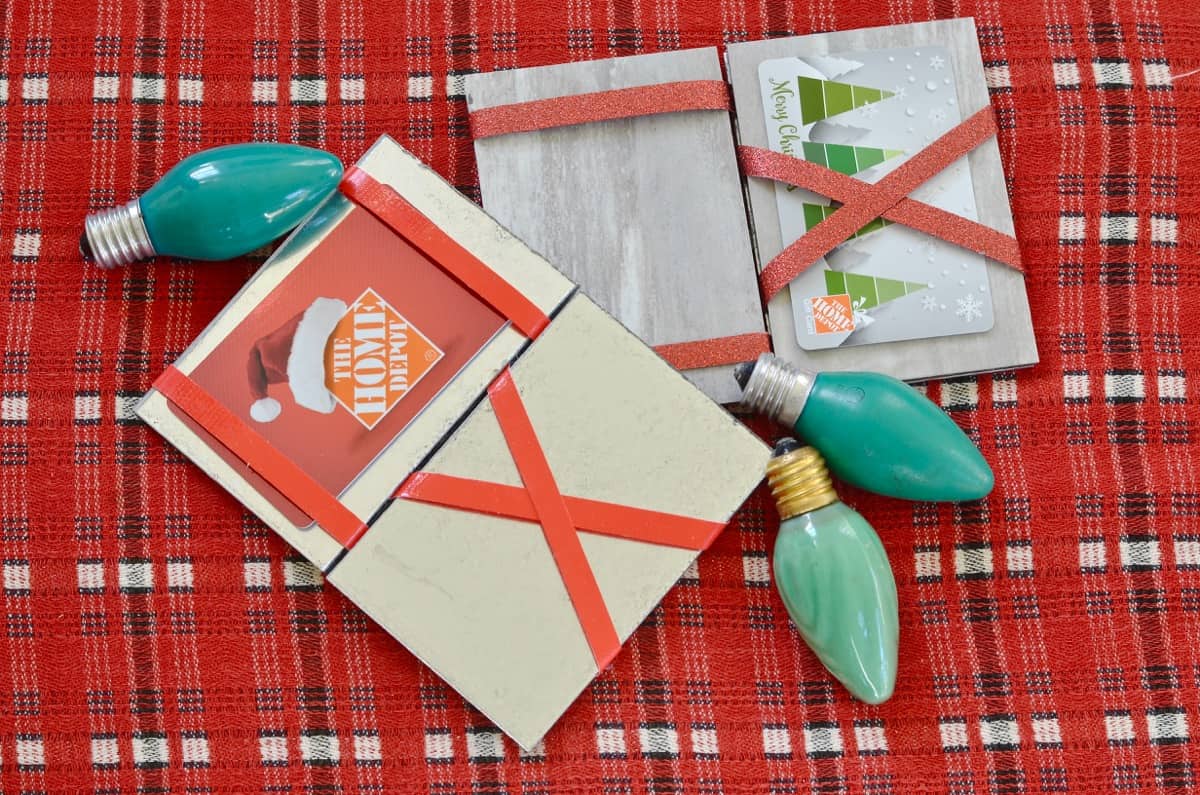
Spray paint the acrylic. I used that amazing metallic looking glass paint as well as this festive red.
Step 3
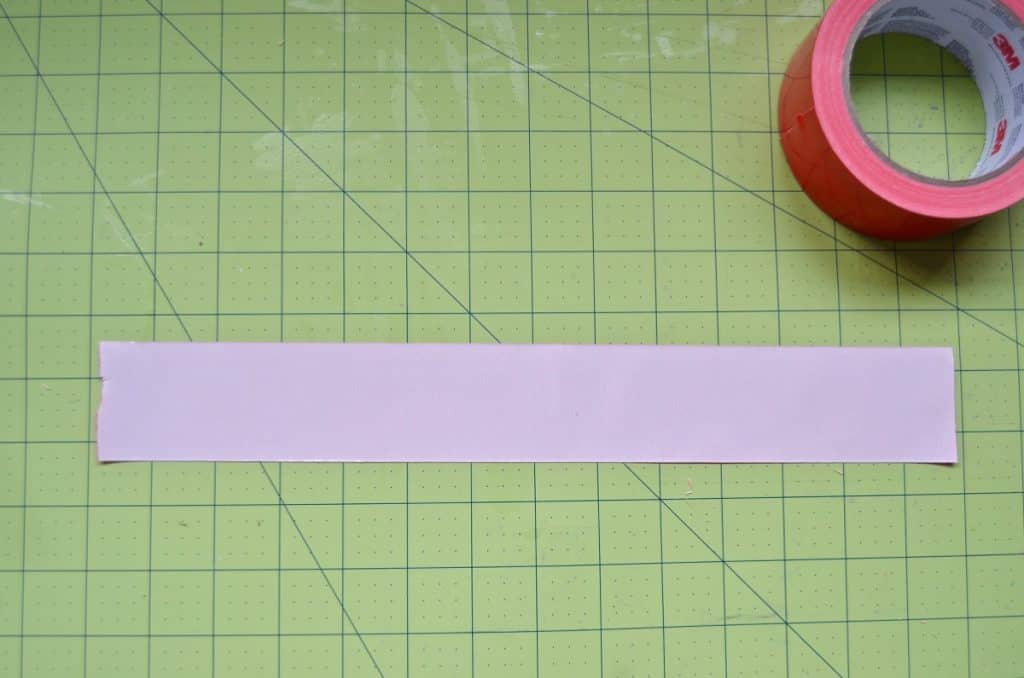
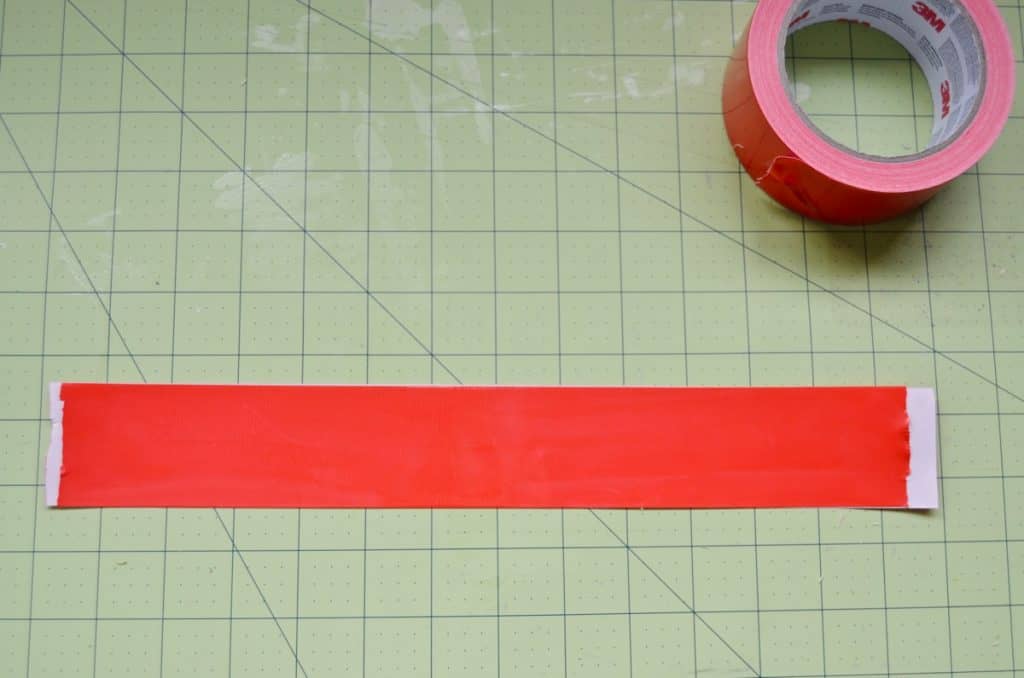
Take two strips of tape and place them sticky side to sticky side.
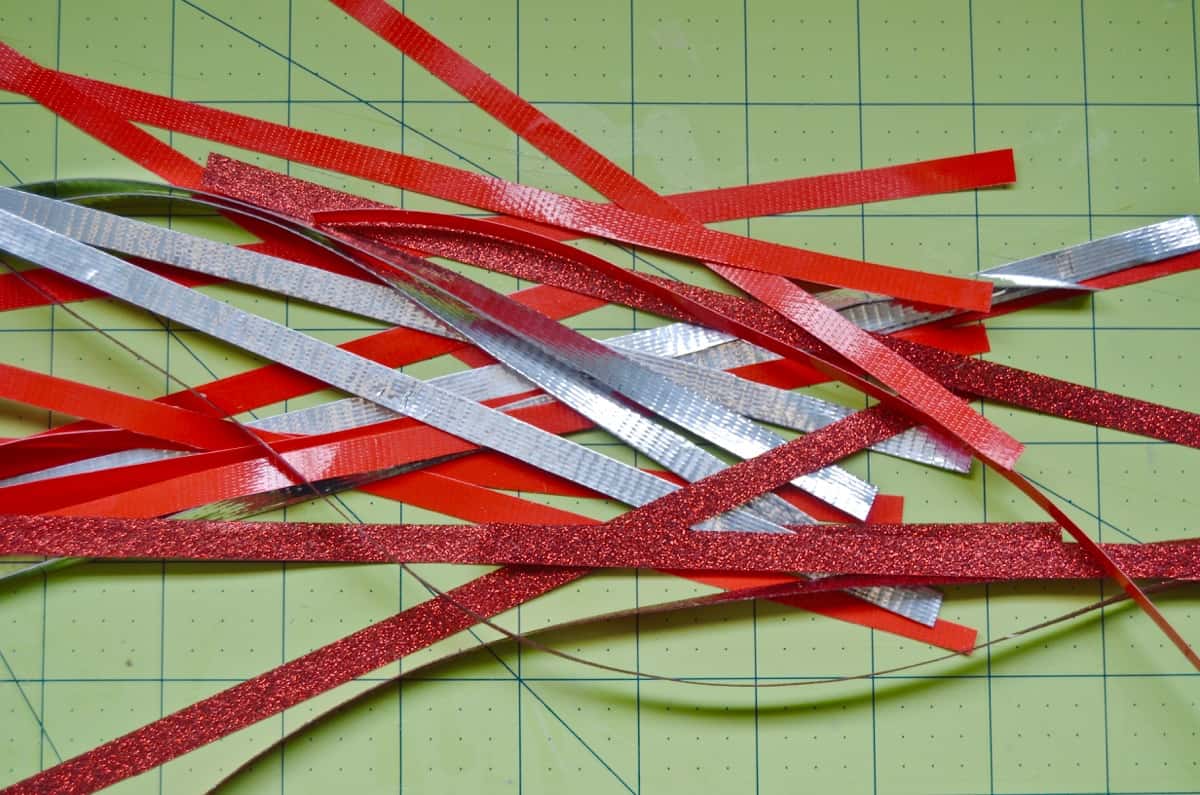
With a straight edge, and a sharp xacto knife, cut the duct tape into 1/4-inch strips.
Step 4
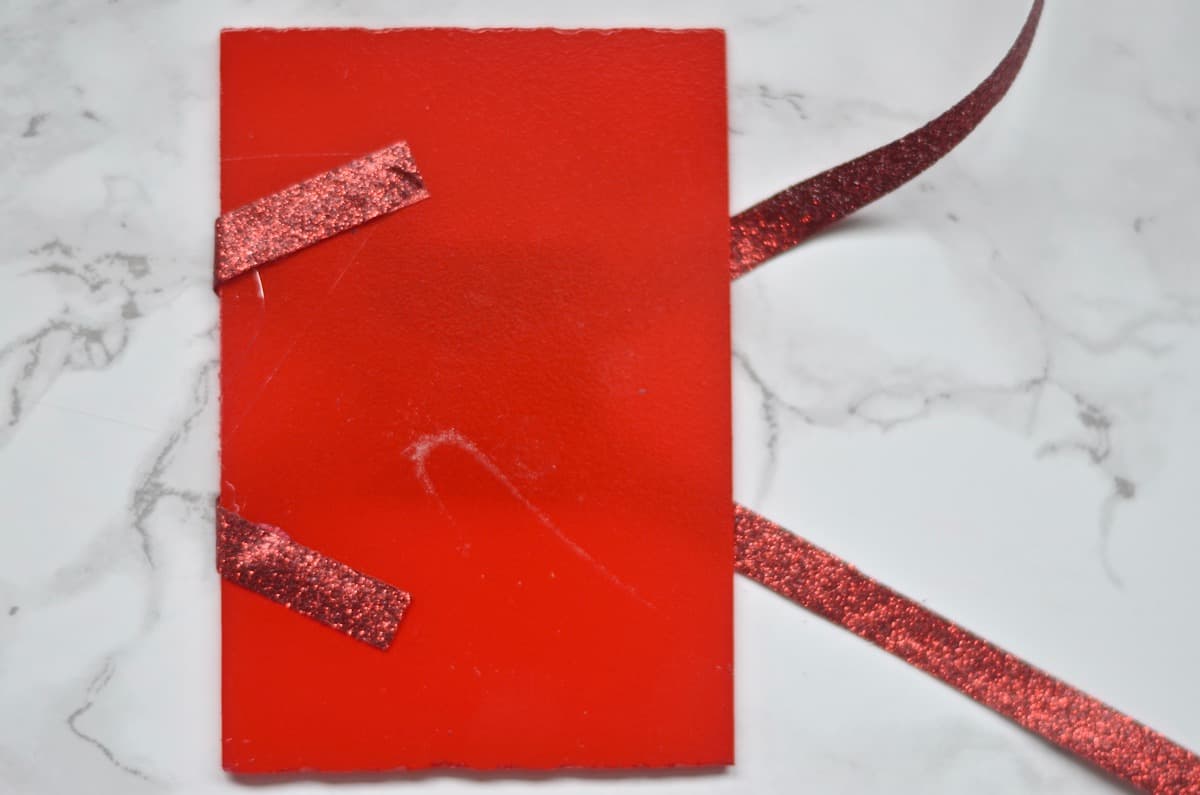
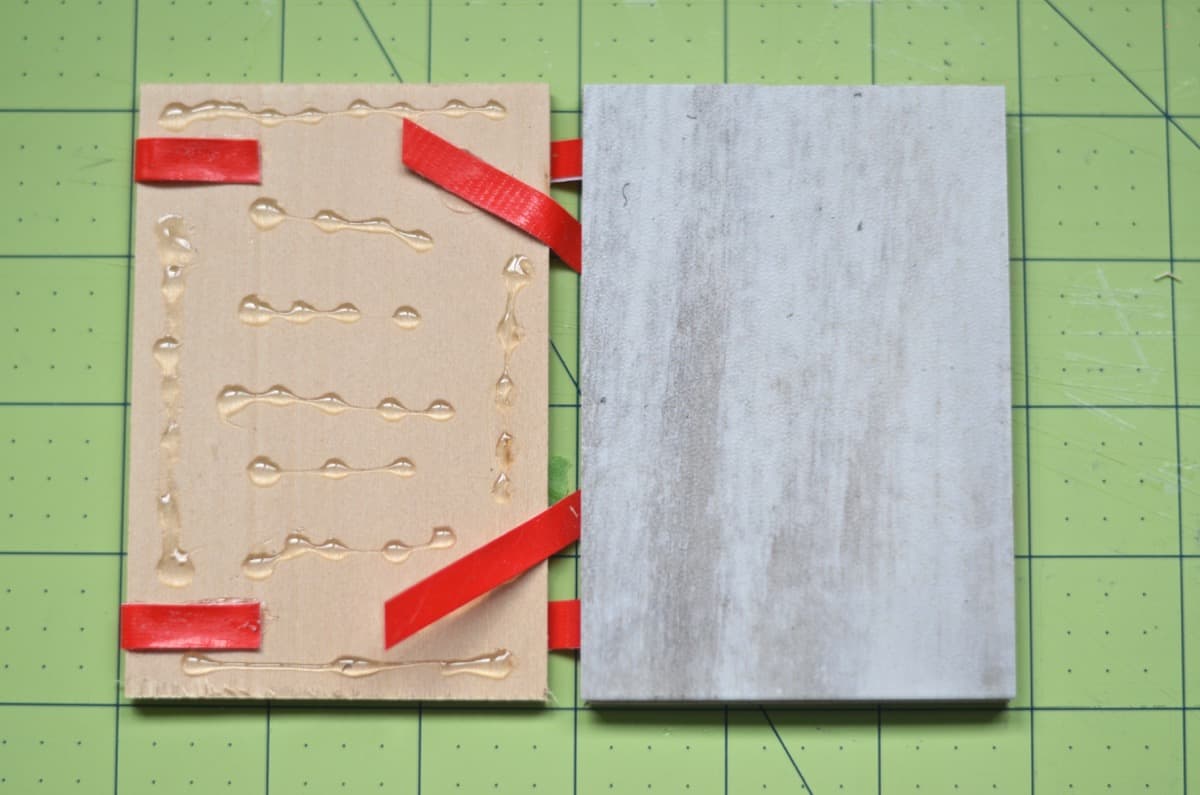
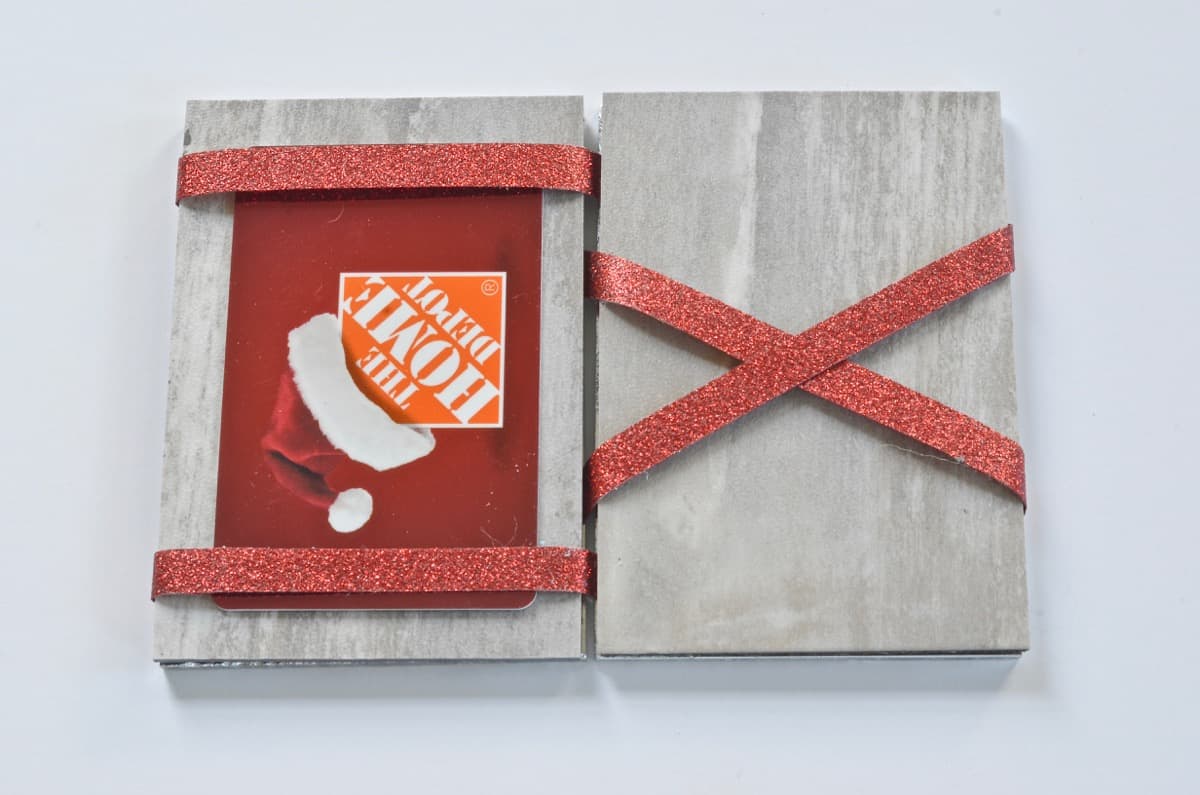
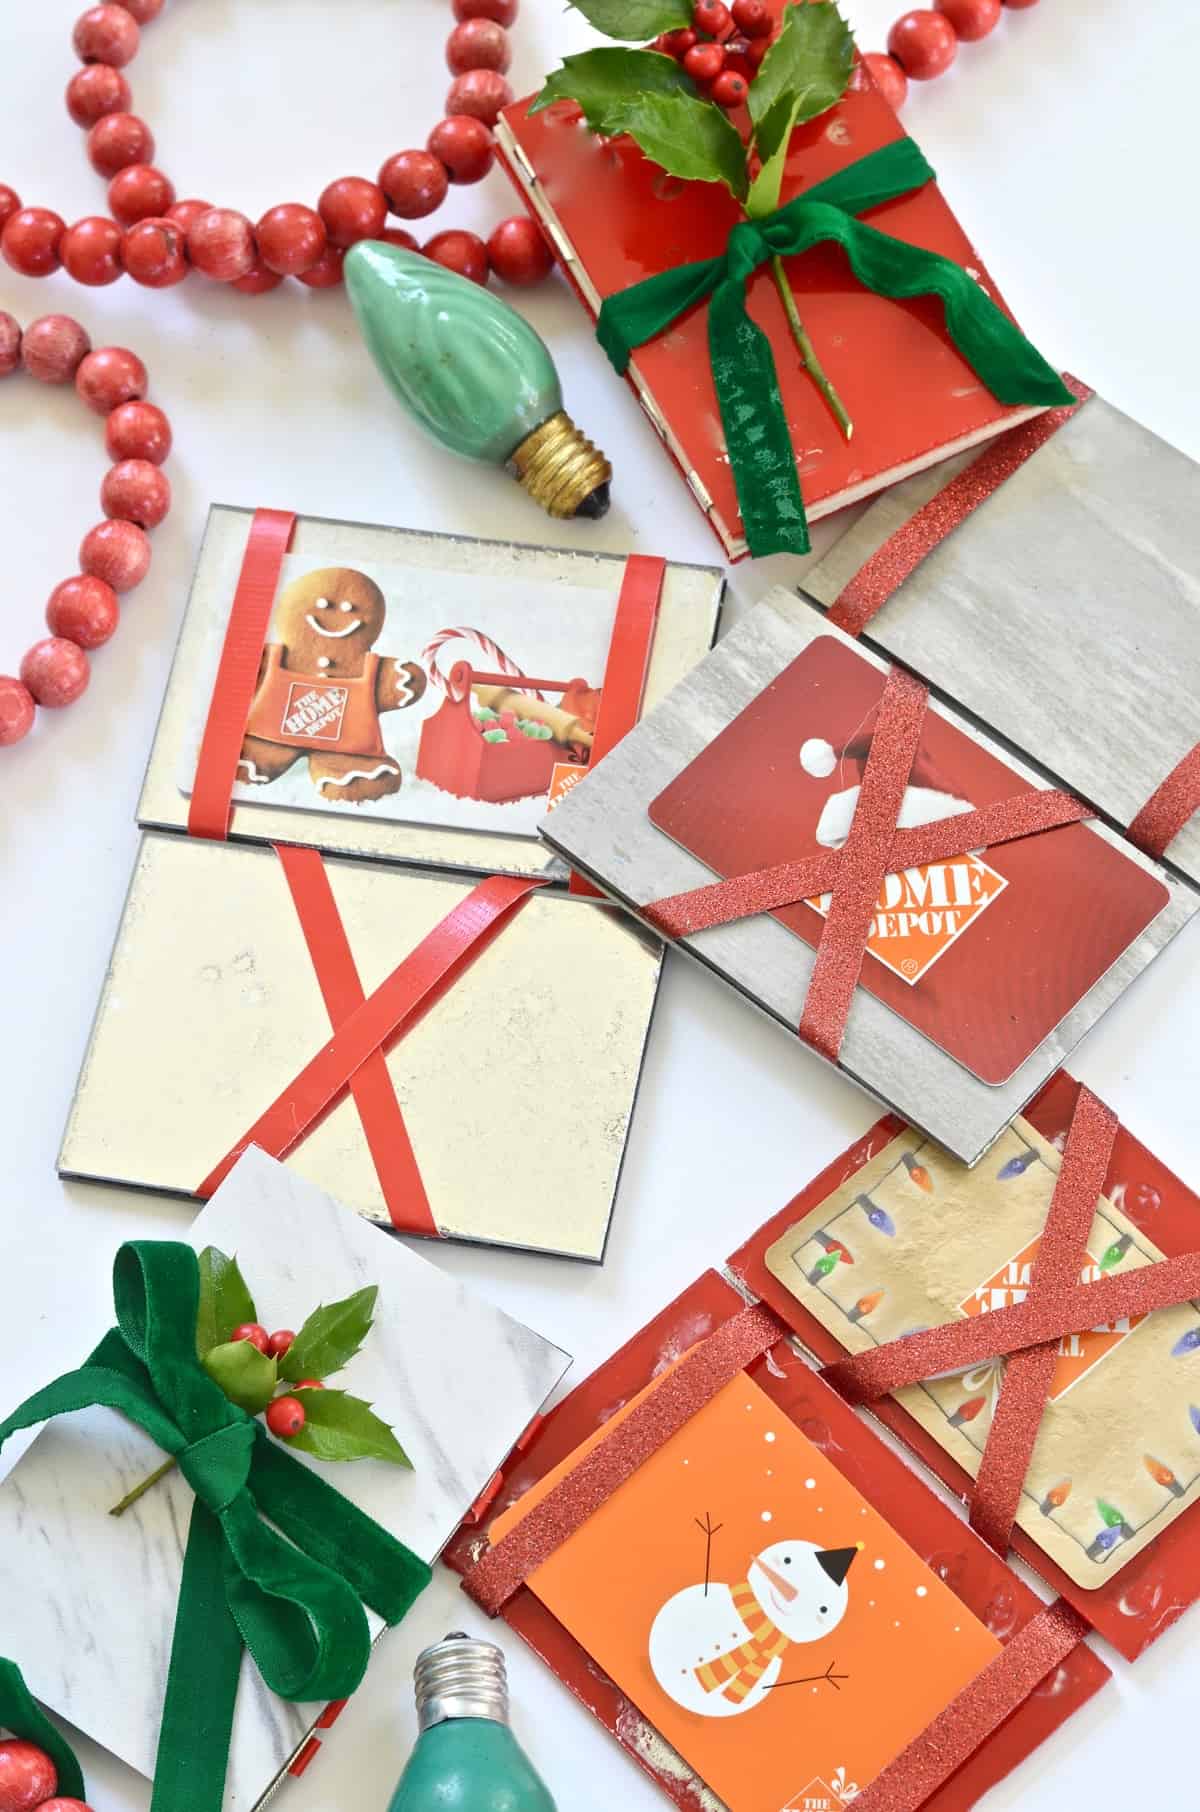
Assemble the card holder. Take two strips of duct tape and make an X. Hold the X in place with tape. Use the glue gun to attach two ends along the length of your first piece of acrylic.
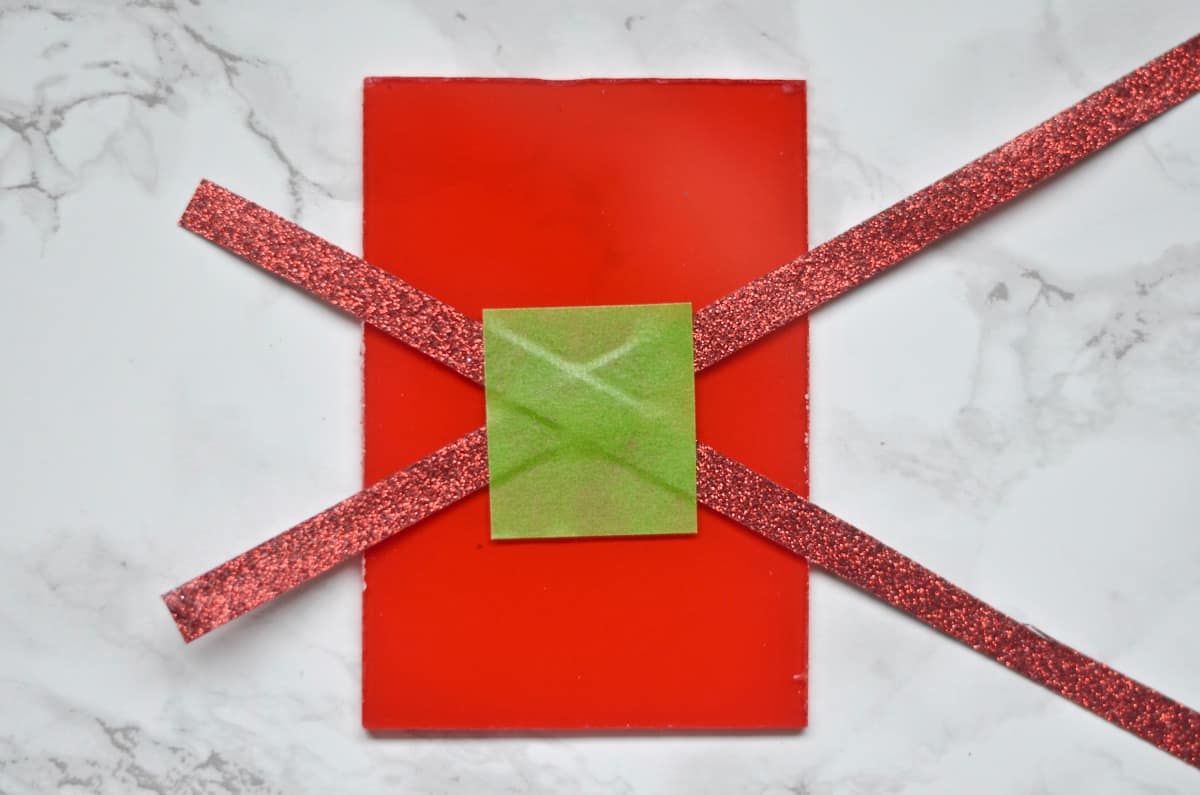
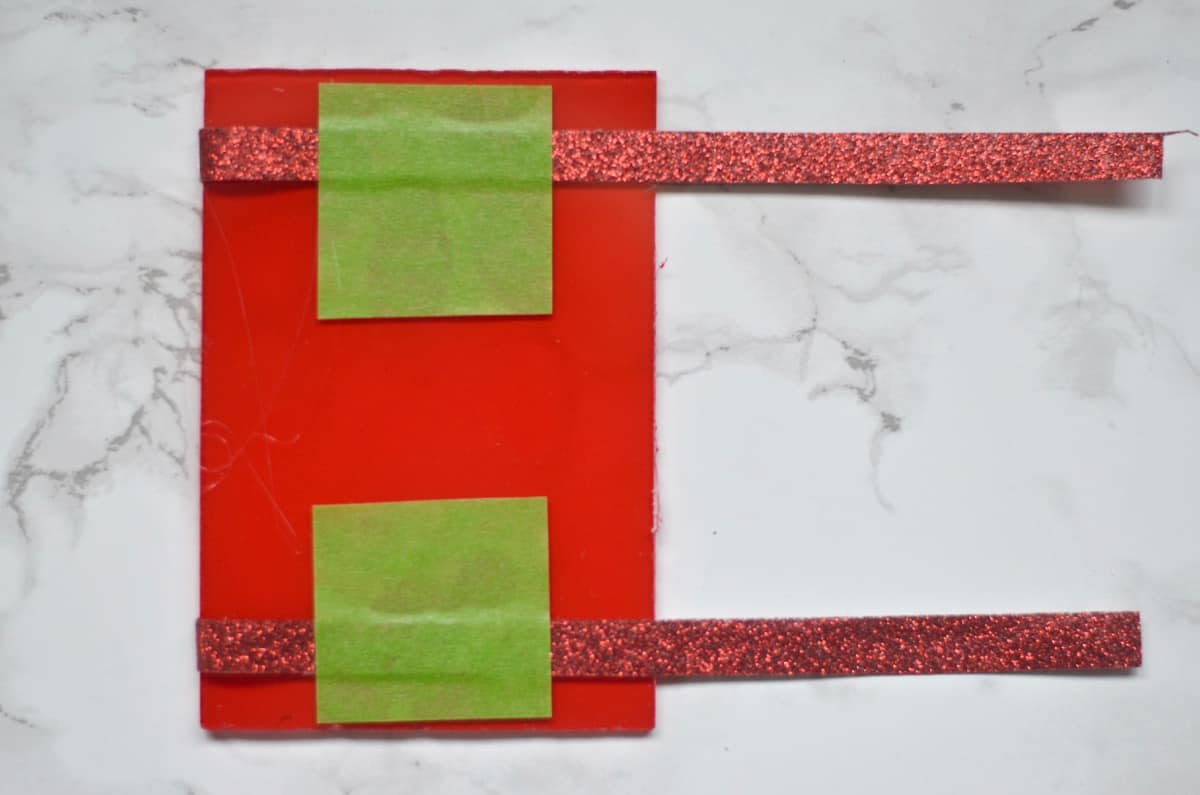
Take two more strips of duct tape, make two parallel lines and glue the ends along the length of a second piece of acrylic.
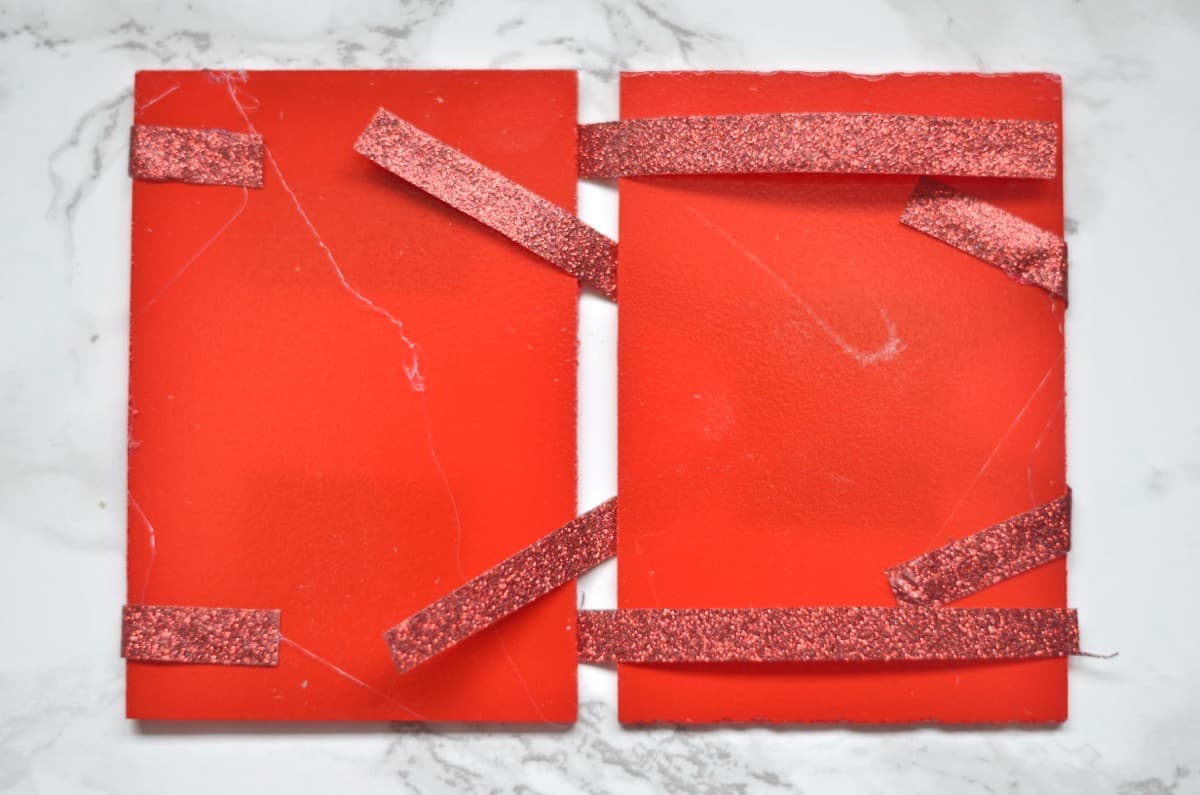
This part is the tricky part. With the duct tape X on the underside of the first piece of acrylic, glue the remaining two ends onto the top of the second piece of acrylic. (The one with the parallel strips glued.)
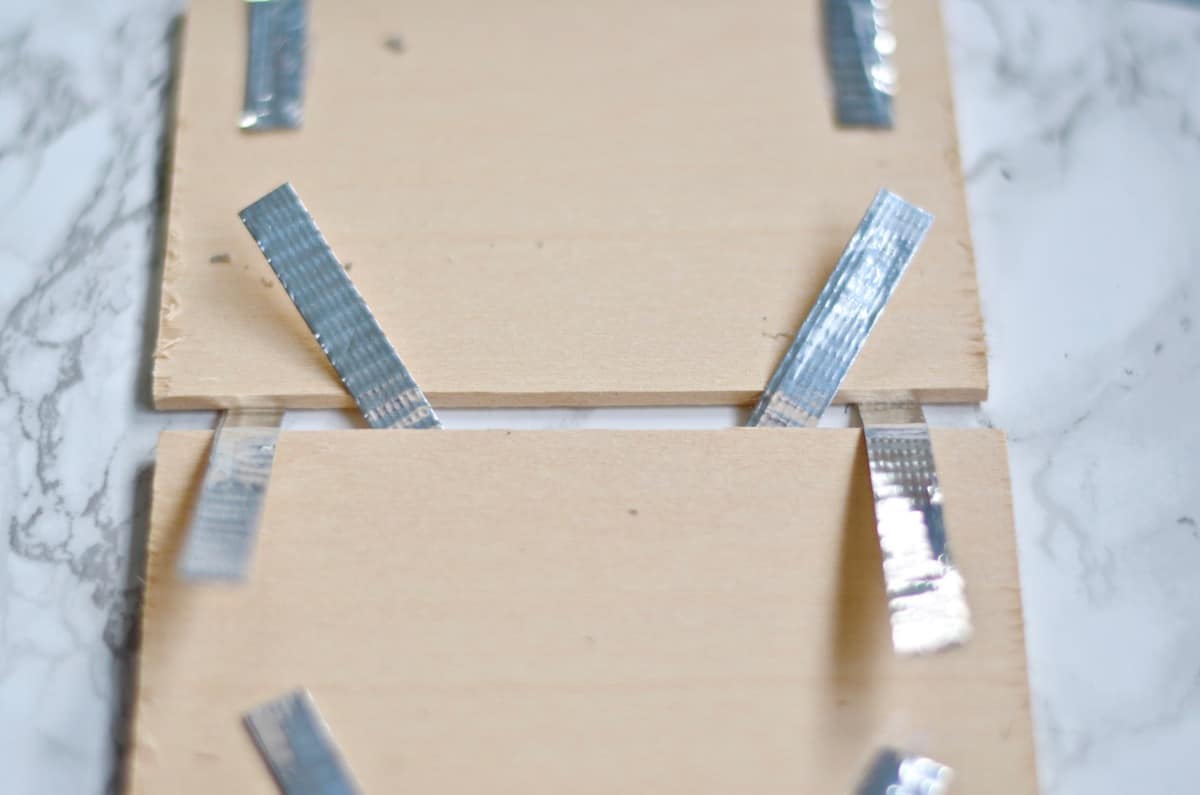
Now… take the parallel strips and glue these onto the first piece of acrylic. (The one with the duct tape X on the underside.) Here’s a detail shot of a second gift card wallet in process.
Step 5
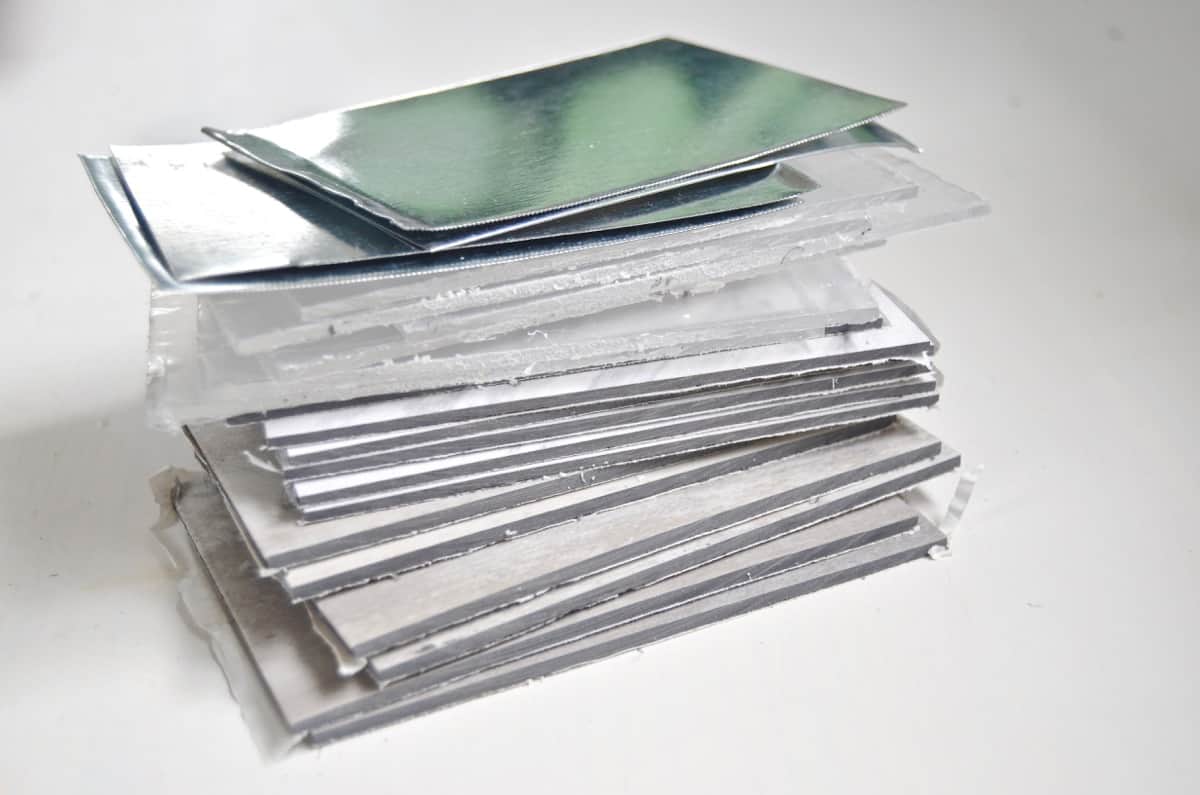
Run a bead of e6000 around the perimeter of both pieces of acrylic and sandwich the duct tape with another piece of material (flashing or flooring or acrylic.)
Place something heavy on top of each sandwich and allow to cure a few hours.
Slide your card into the holder and prepare to earn brownie points!
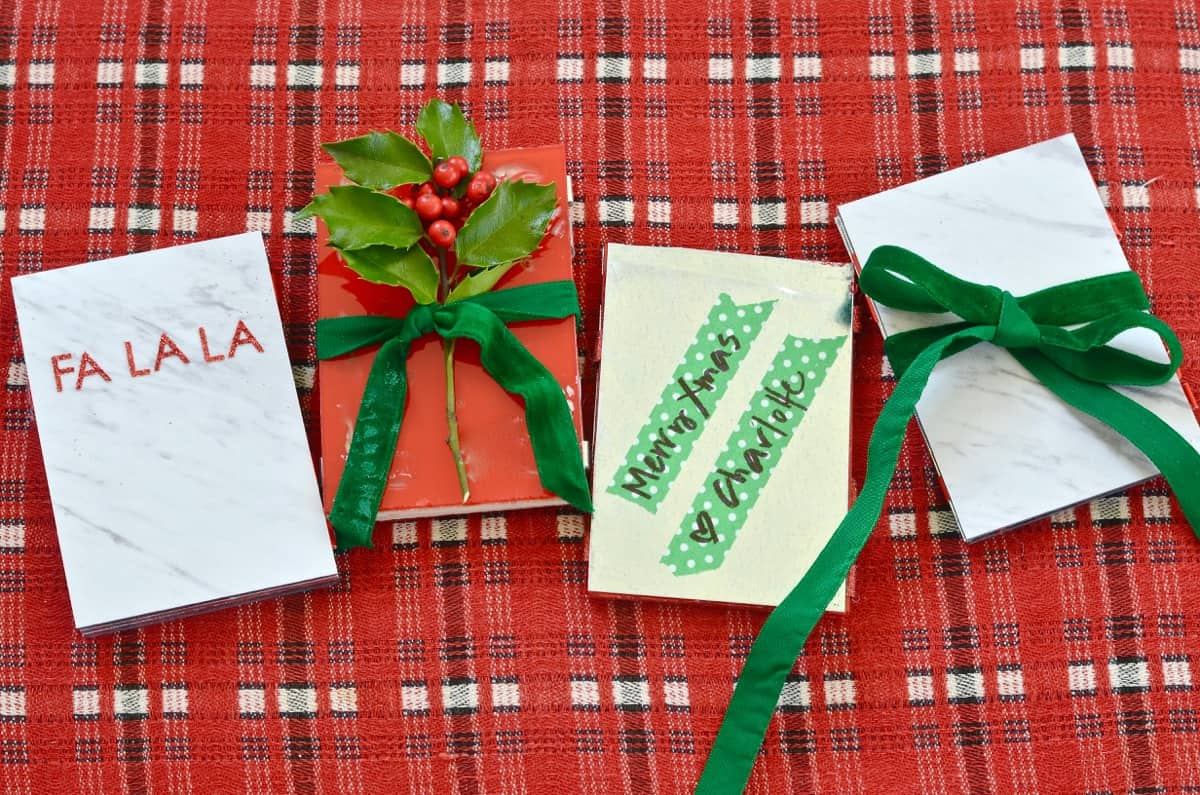
I customized mine a bit with some fun stickers, but sky’s the limit with this really… patterned paper under the acrylic… stencils… Everything I used came from Home Depot and the cost was maybe $20 for a whole bunch of card holders.
Pro tip: Some Home Depot locations carry small sheets of copper. Copper AND acrylic? I’m just sayin’…yes, please!
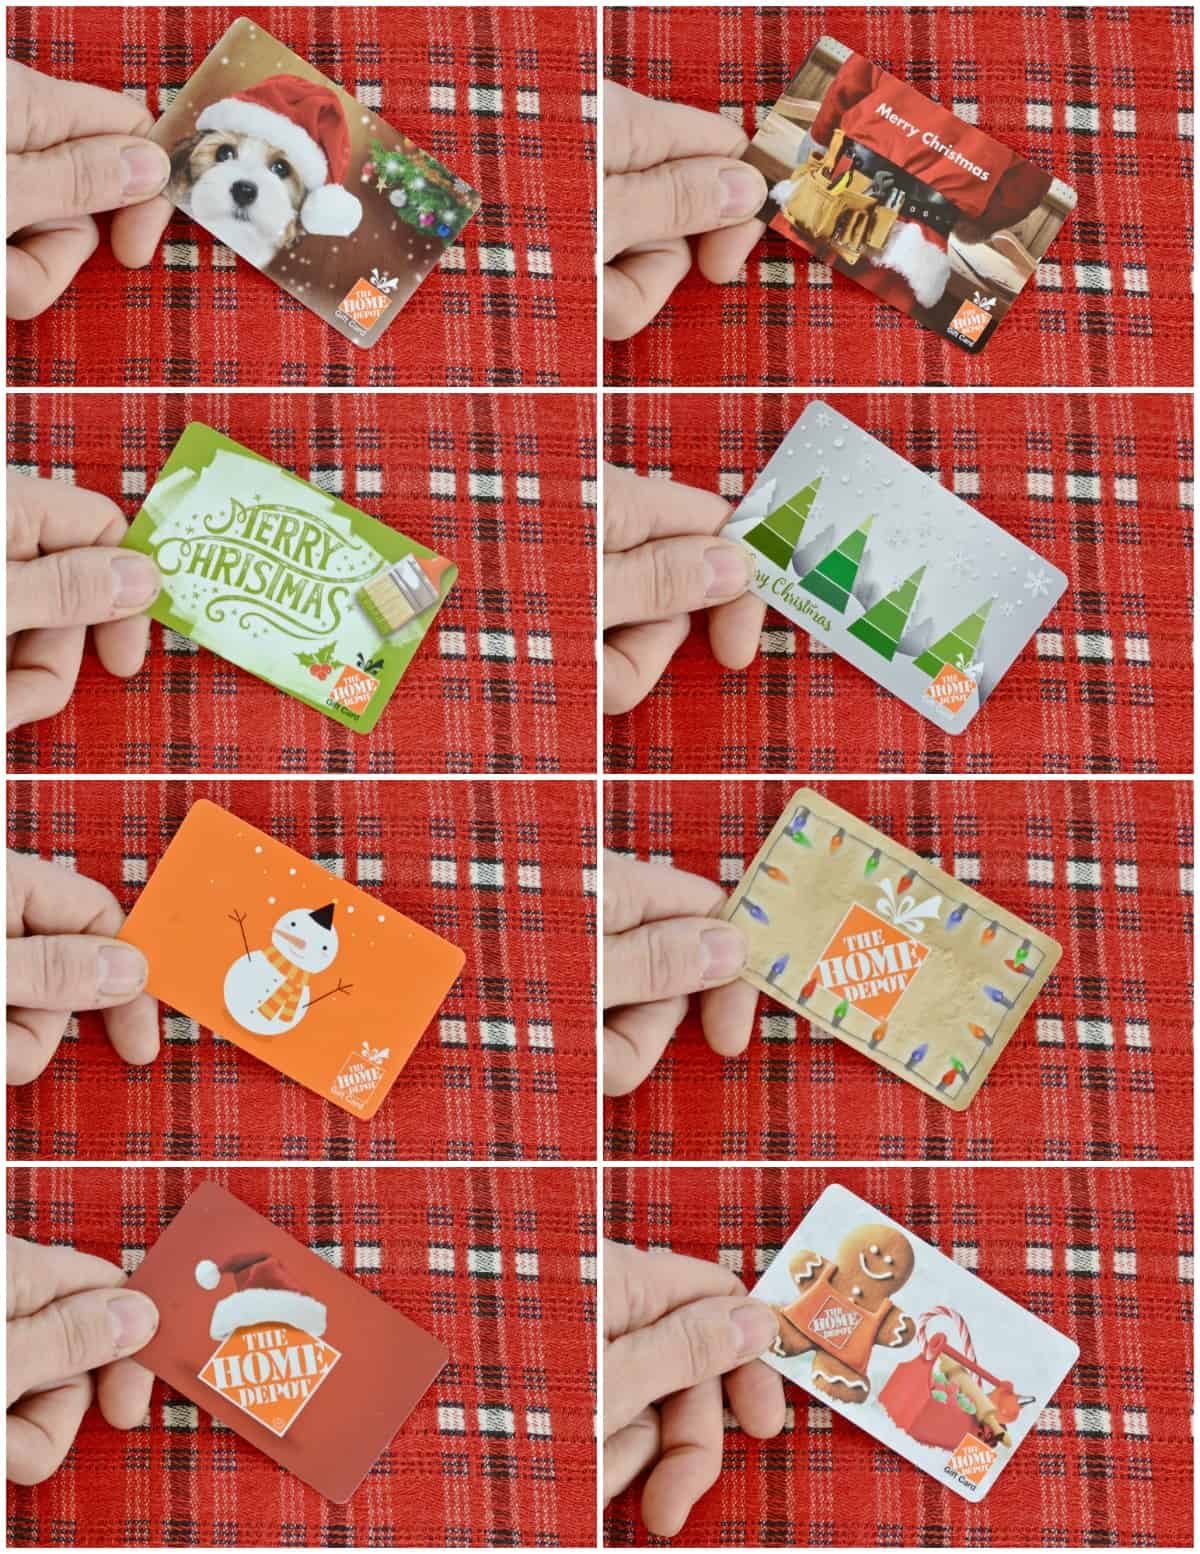
Aside from being useful for just about everything in life ever, these gift cards are refillable, available online, aaaaaand there are tons of cute patterns… although once you make these magic flip wallets, the designs will quickly become the understudy to the star actor, amiright? (CLICK HERE to see all the great card options!!)
So go on and pick up a stack of gift cards and get to crafting these fun magic flip wallets. And just to further motivate you to close out your shopping list with one of these cuties… see what everyone else has dreamed up for their gift cards! I can’t wait!
The House of Wood
Ciburbanity (That’s ME!)
DIY Huntress
That’s My Letter
Just Destiny Mag
Sawdust 2 Stitches
My Sweet Savannah
Look Linger Love
Finding Silver Pennies
Love & Renovations
Petite Party Studio
Classy Clutter
Mr. BuildIt
Proper Blog
All Things Thrifty
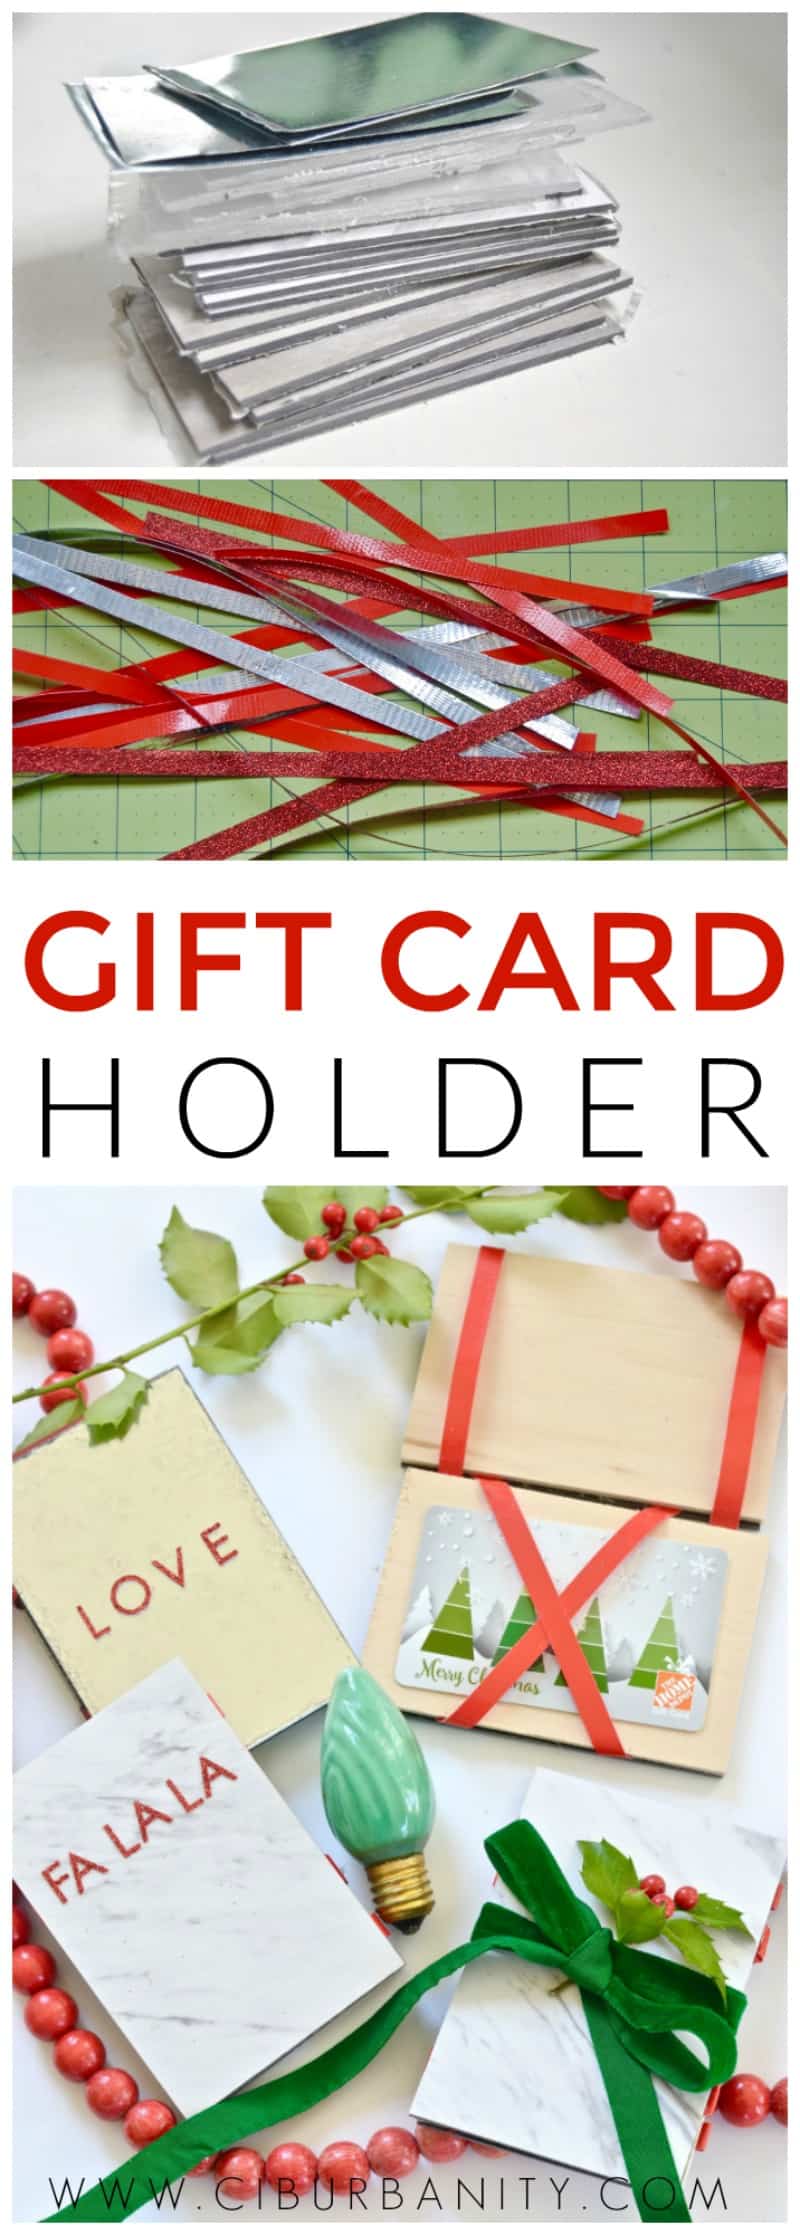
PIN IT for later!! –>
I acknowledge that The Home Depot is partnering with me to participate in this Holiday Gift Card Program (the “Program”). As a part of the Program, I am receiving compensation in the form of products and services, for the purpose of promoting The Home Depot. All expressed opinions and experiences are my own words. My post complies with the Word Of Mouth Marketing Association (WOMMA) Ethics Code and applicable Federal Trade Commission guidelines.


So cute! Great idea!
THanks, love! xx
I will show this to my daughter and will help her in making this.