Holiday Stocking Post- Home Depot DIY Workshop
Psssst… this post *might* contain affiliate links: see my disclosure here.
A week ago I received an email with the cutest DIY I’ve seen in a while. Did I mention the email was from the uber talented Jenn Largesse at Build Basic and she wanted me to join her and Home Depot for a party. A super cool virtual party with holiday decorations and power tools and dark chocolate (I added the chocolate part). Obvy my response was HECKYEAHIMIN. We needed to follow the basic outline (shown below) of the DIY, but the challenge was to personalize and generally make our post feel like the prom queen.

The best part about this project is that it’s just one of Home Depot’s three types of DIY Workshops: Do-It-Yourself, Do-It-Herself and Kids. They’re a great way to learn about power tools or home improvement techniques like tiling- this stocking post will be the workshop coming up on November 19! Our local store has a kids workshop once a month and Oliver cannot stop talking about the helicopter he saw at the last one. Click here to see what DIY Workshops are being offered in your area… trust me. Once you’ve worked a jigsaw, you’ll never feel the same! Are you ready to see my stocking post in all its glory?!
Shop my favorites!
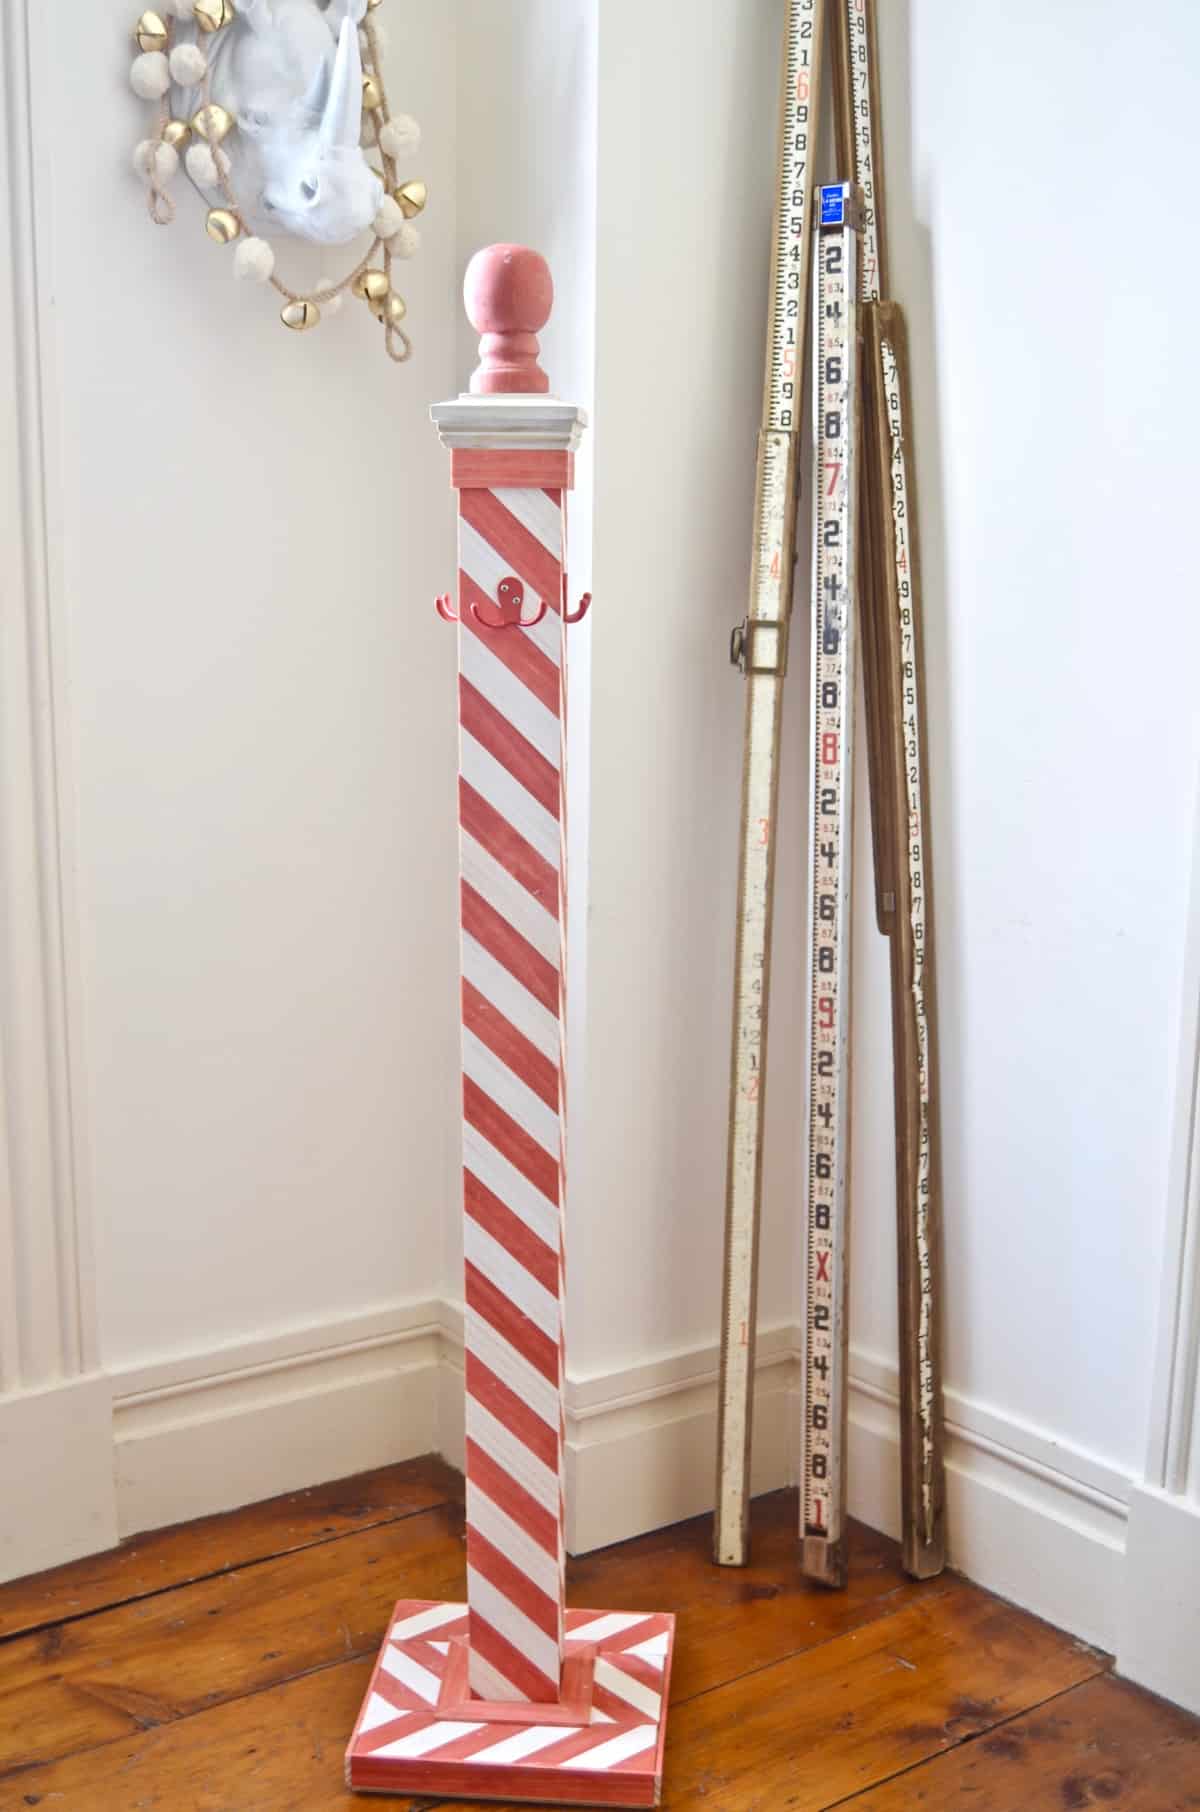
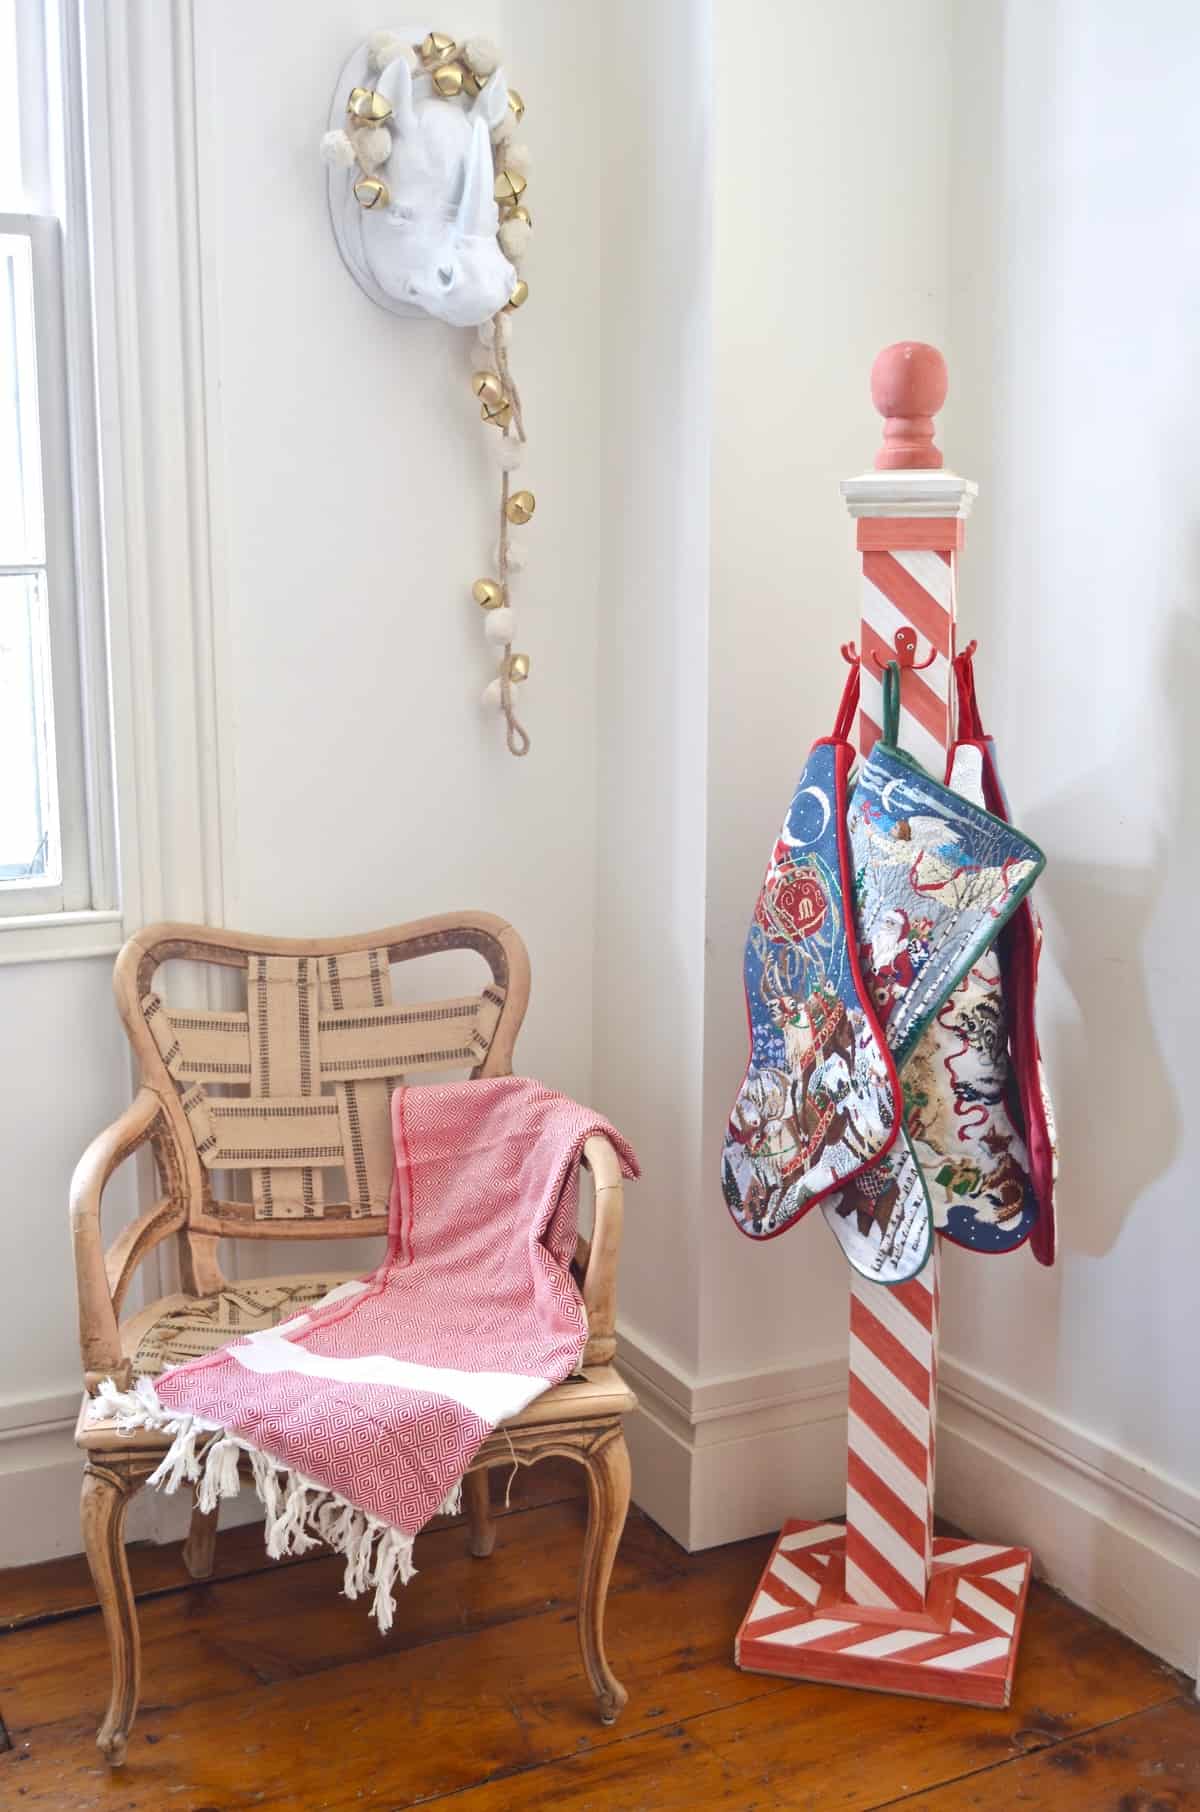
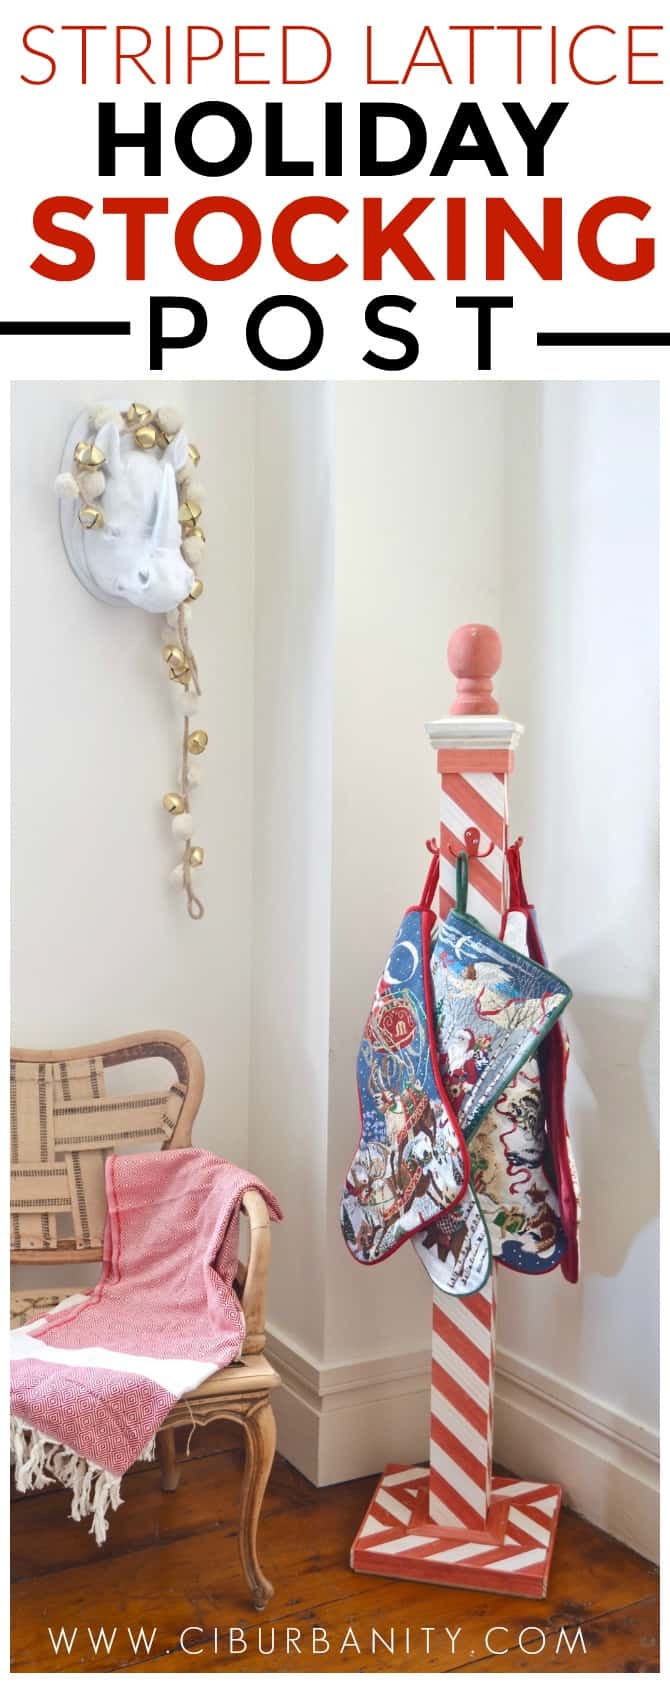
Holiday Stocking Post
All of the materials are from the Home Depot, and it only took a morning to put everything together. You’ll need a miter saw to make the angle cuts, but the rest is just good ol’ wood clue and clamps!
Materials
- 6 8-foot sections of wooden lattice
- 1 4 foot length of pressure treated 4×4 deck post
- 1 wood flat-top post cap
- 1 pine ball top finial
- foam brush/ rags to apply the stain
- Rusteoleum 2x spray paint (Glossy Apple Red)
- 4 double prong robe hooks
- 1 sheet of 22/32″ 2’x4′ sanded plywood
- Minwax water based stain (White Washed)
- Minwax water based stain (Crimson)
- Wood Glue
1. Stain
Use a foam brush to apply stain to lattice. This project required 24 feet of lattice stained red and 24 feet stained white. I also stained the cap white washed and the finial crimson.
2. Cut the lattice
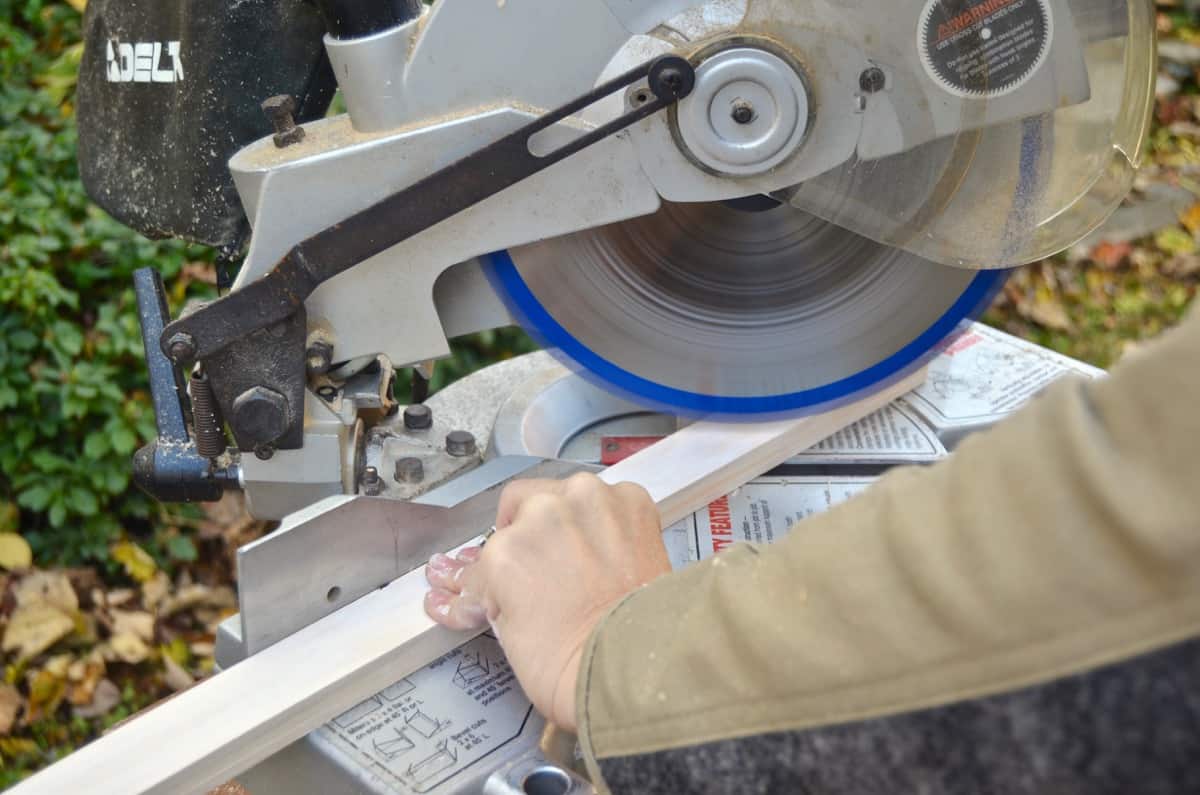
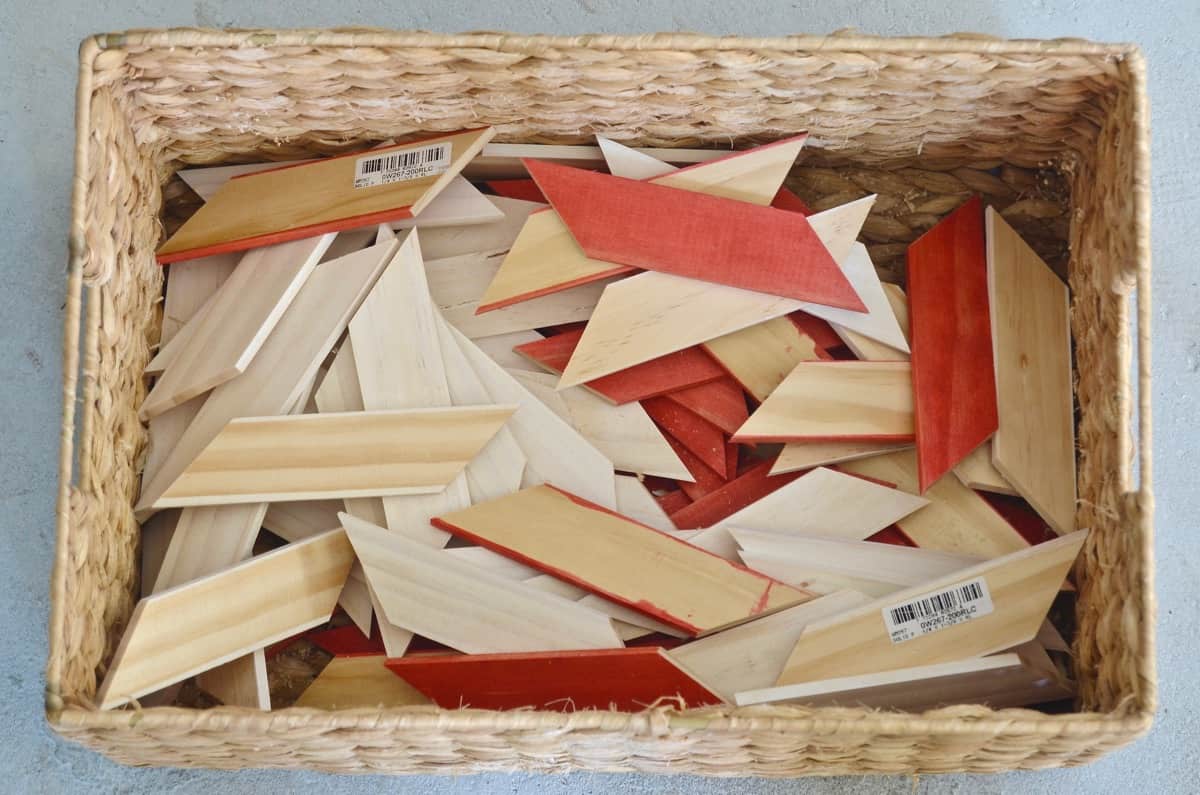
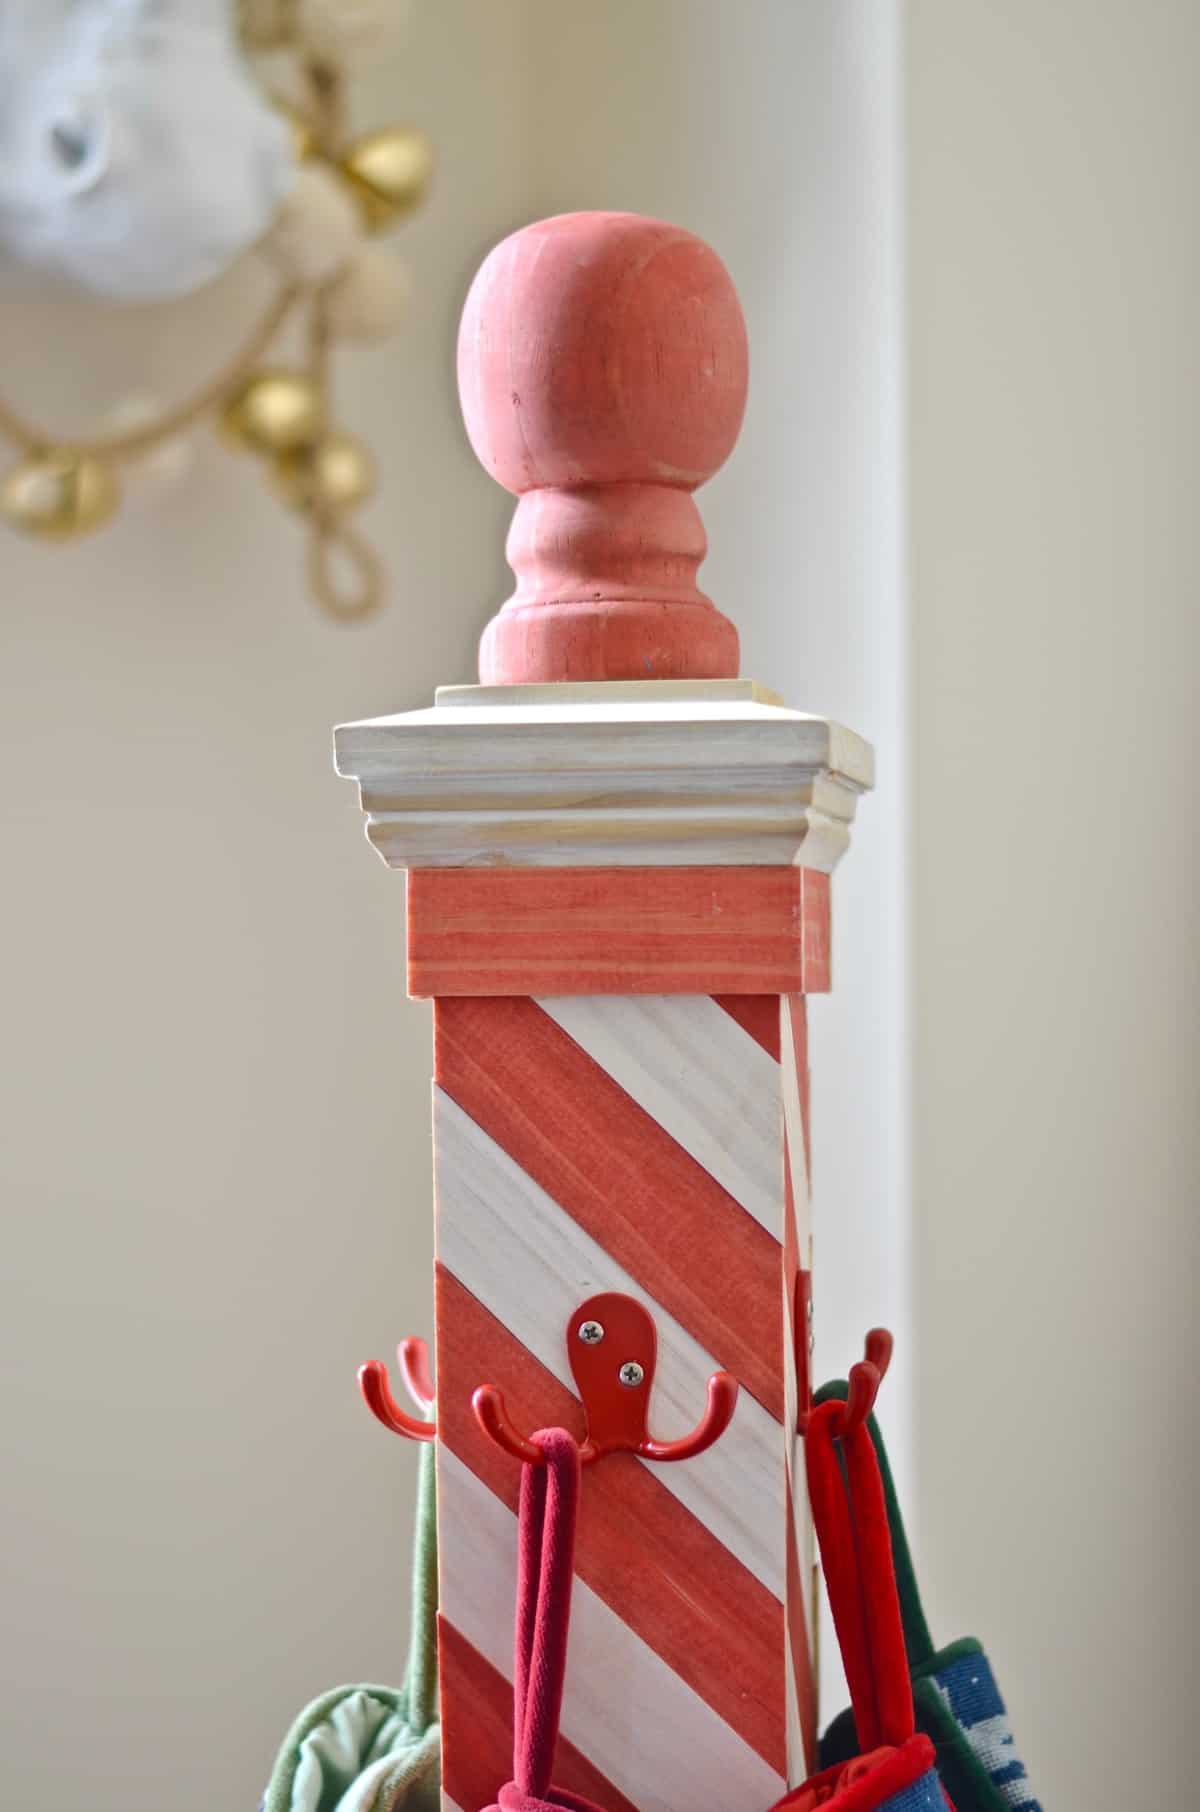
Hold the lattice diagonally against the deck post and mark the cut lines on either side. I made a mark on my miter saw as a guide to help me cut the pieces more easily. I found it was safer to cut the lattice for opposite sides of the post and then measure and cut the remaining two sides for a clean fit.
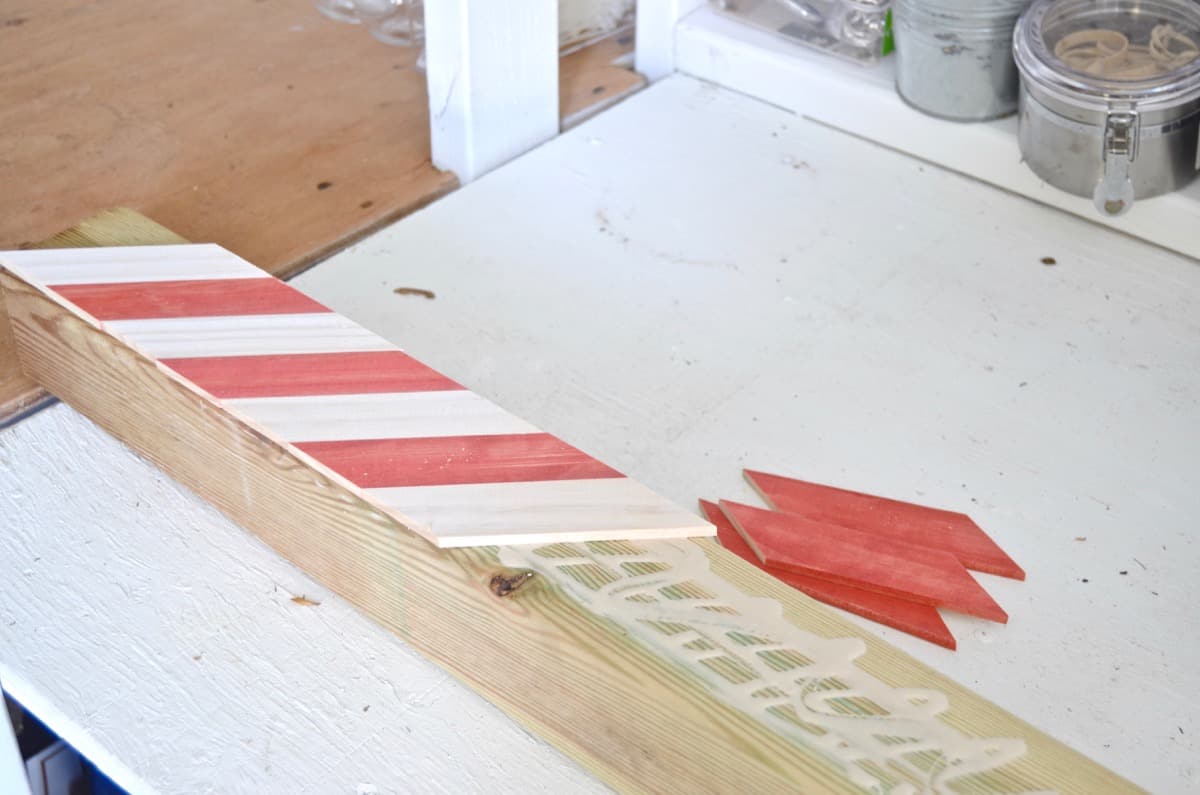
3. Glue
I used a 1×3 to help line up all the edges and then glued one side at a time to keep the lattice properly lined up.
4. Make the base
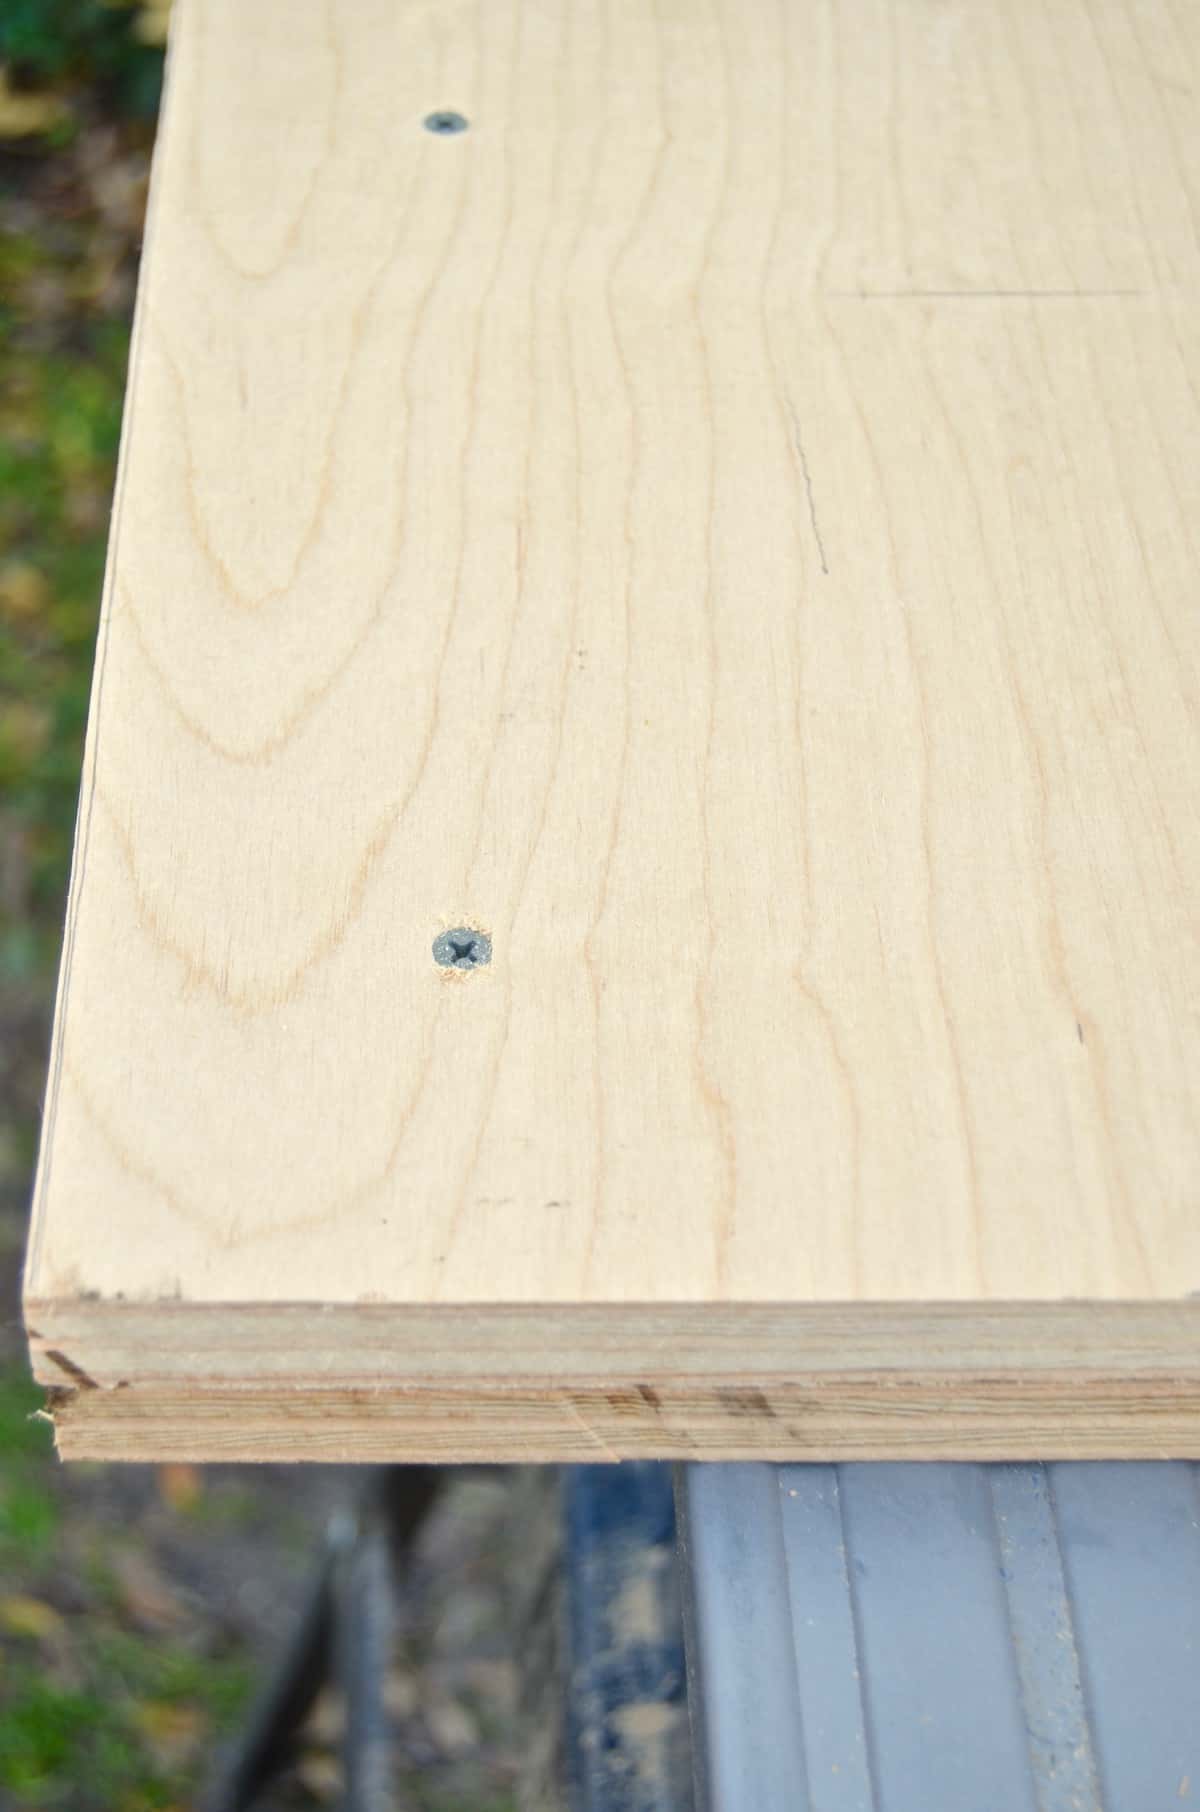
I cut my plywood into a two 12 x 12 inch squares and secured these with wood glue and four countersunk screws.
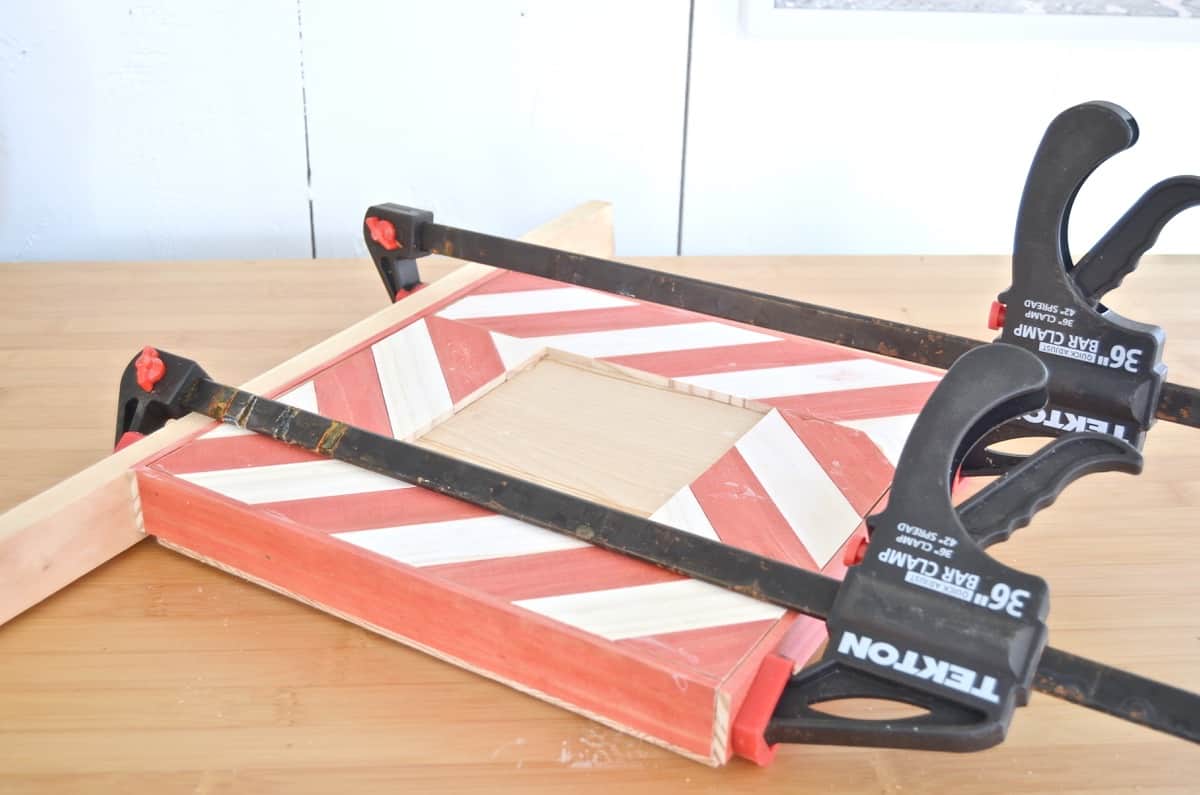
For the pattern on the base, I played around with the lattice and landed on a similar stripe with straight pieces to cover the edges. I left room in the middle of the base for the post and affixed the lattice around the perimeter.
5. Assemble the post
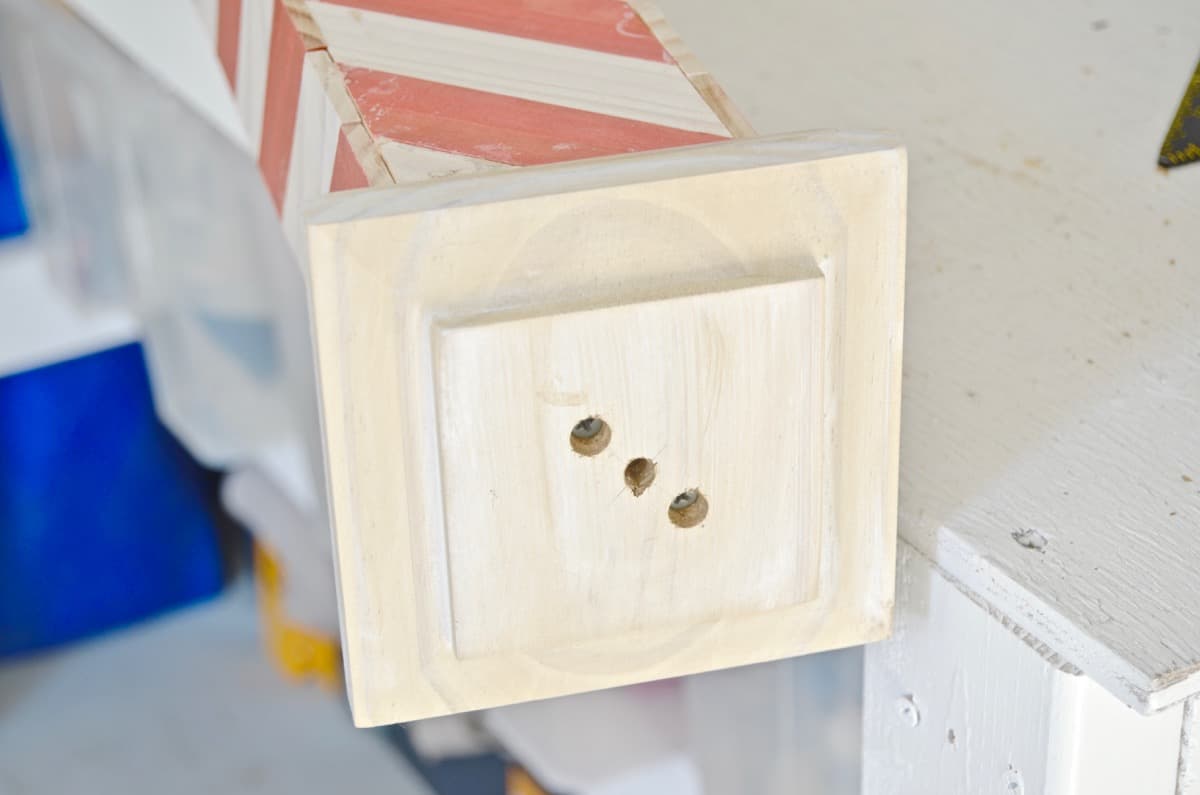
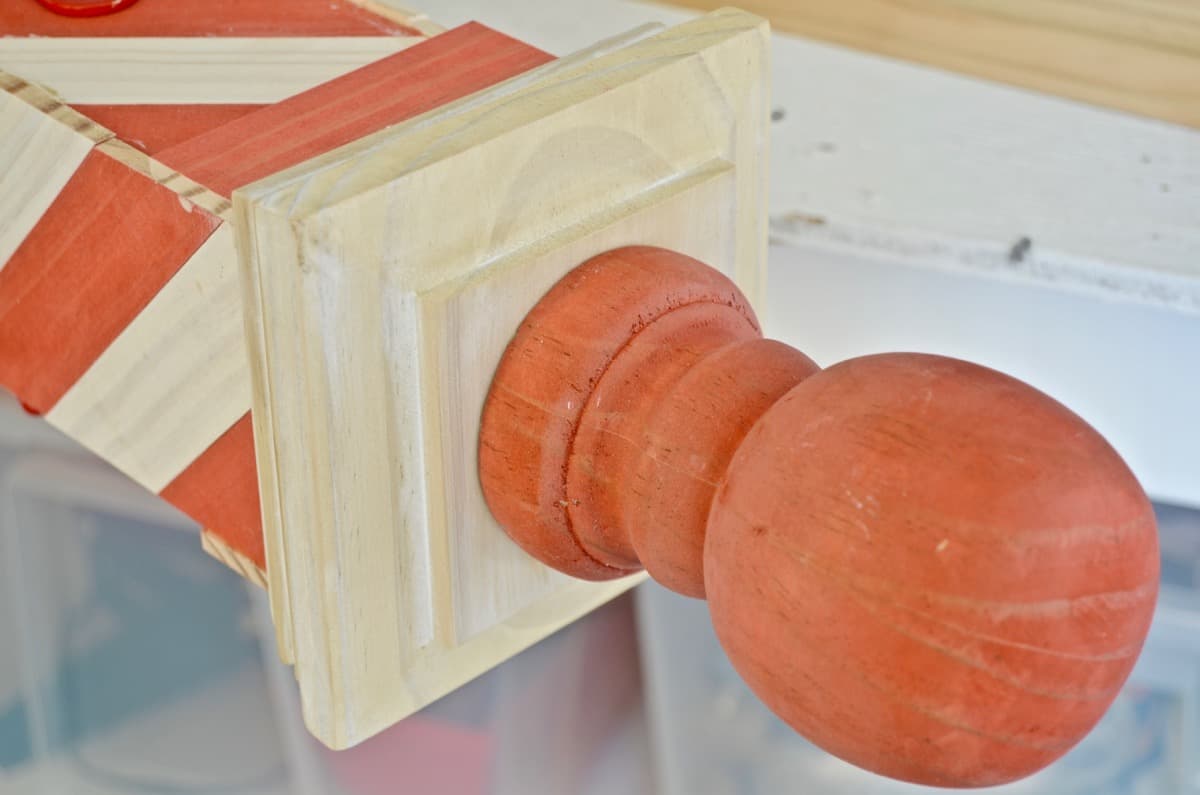
Glue the cap in place and secure with a couple of wood screws close to the center point so they will be covered by the finial. Mark the center of the post, predrill and screw in the finial.
Mark the middle of the base and predrill. Using screws that are long enough to go through the base and well into the post, attach the post to the base in a few different places.
6. Hooks
We need a lot of hooks in this family, so I used four double robe hooks and sprayed them a bright shiny red.
To say I’m a little bit obsessed with this stocking post would be an understatement. My amazingly patient and talented mother has needlepointed ALL of our children their own gorgeous stocking and it always feels unfair that they only come out a few days before Christmas. Not anymore! These babies are on FULL display in our front hall. We’ll leave them by the mantel on Christmas Eve, but for now, they’re getting the spotlight they deserve!
Head over to the Home Depot to get details and to sign up for a DIY Workshop in your area. There are SO many good ones this holiday season! If you don’t believe me, check out some of the other holiday DIYs that this talented group of bloggers put together for our virtual party today! (Don’t forget the chocolate!)
Disclaimer: The Home Depot partners with bloggers such as me for DIY Workshop program. As part of this program, I received compensation for my time. The Home Depot believes that consumers and bloggers are to form their own opinions and share them in their own words. The Home Depot’s policies align with WOMMA Ethics Code, FTC guidelines and social media engagement recommendations.







That could be cute to use for birthday presents too…put in gift bags or sacks and hang from post on birthday morning
Yes!!! Adorable idea!
Adorable!!! Those stockings are exquisite (not sure I’ve ever really used that word, but it’s all I can say!!) and the post you made is great to be able to have them out all season!
Aren’t they! They have the most amazing mix of threads… from metallic to furry to shiny. I don’t have the patience my mother has, but they are truly a work of art! Thanks!
I love the candycane pattern you picked for your project! Very festive!
Thanks so much!