How to Add Ball Trim to a Builder Grade Mirror
Psssst… this post *might* contain affiliate links: see my disclosure here.
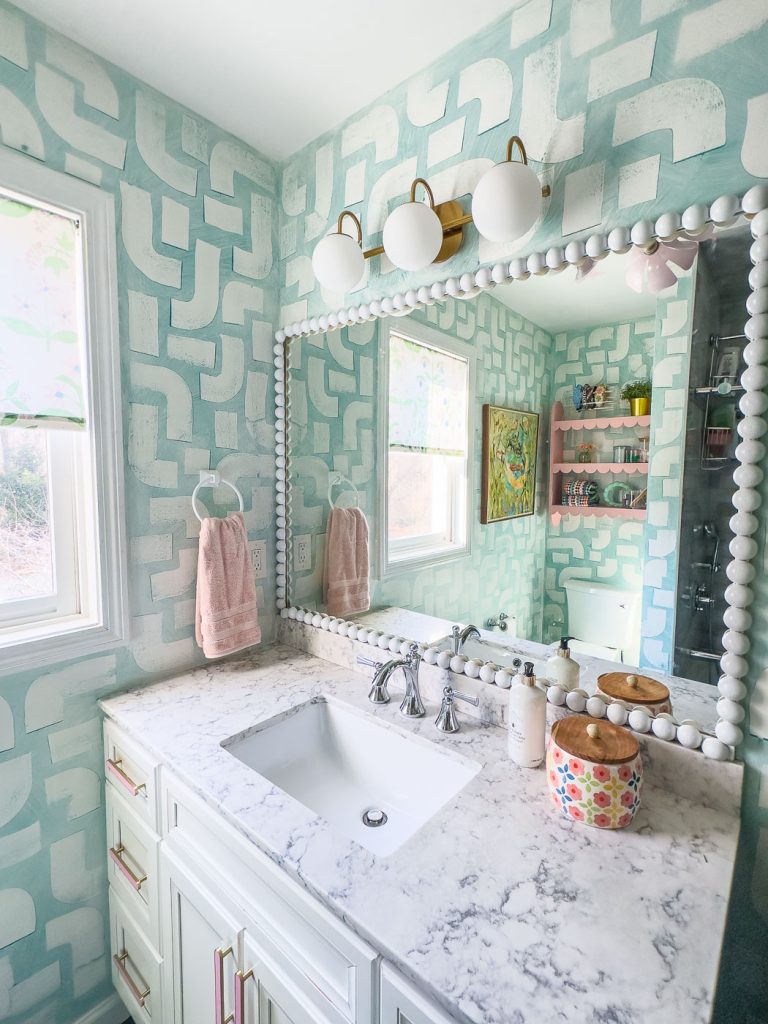
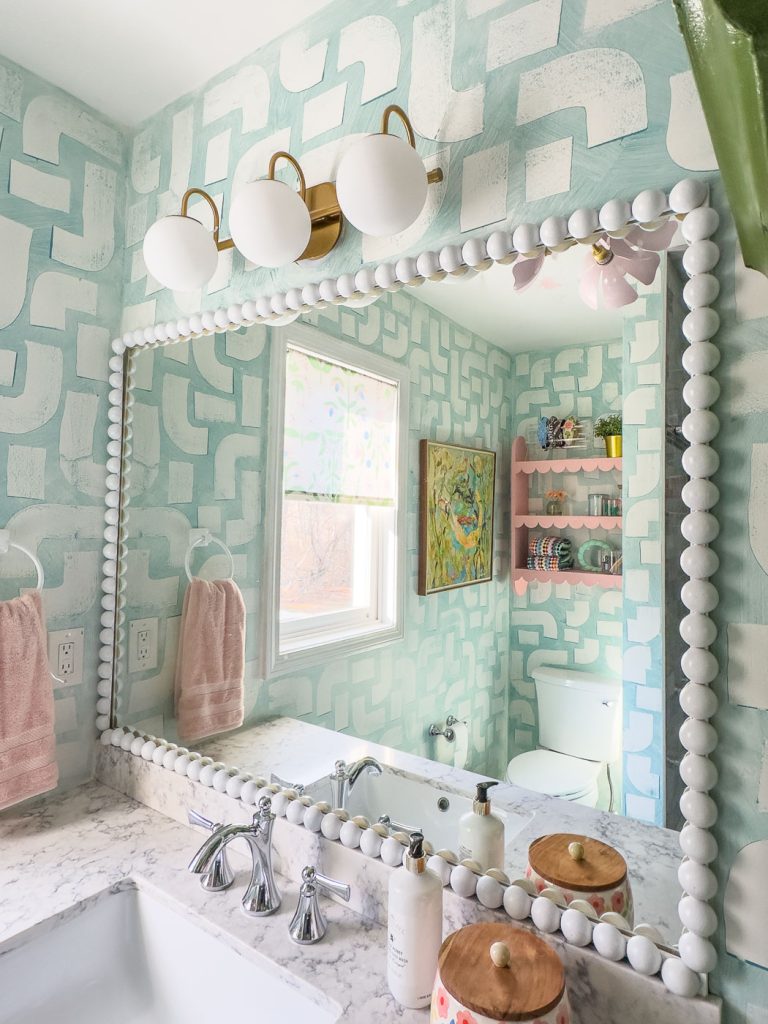
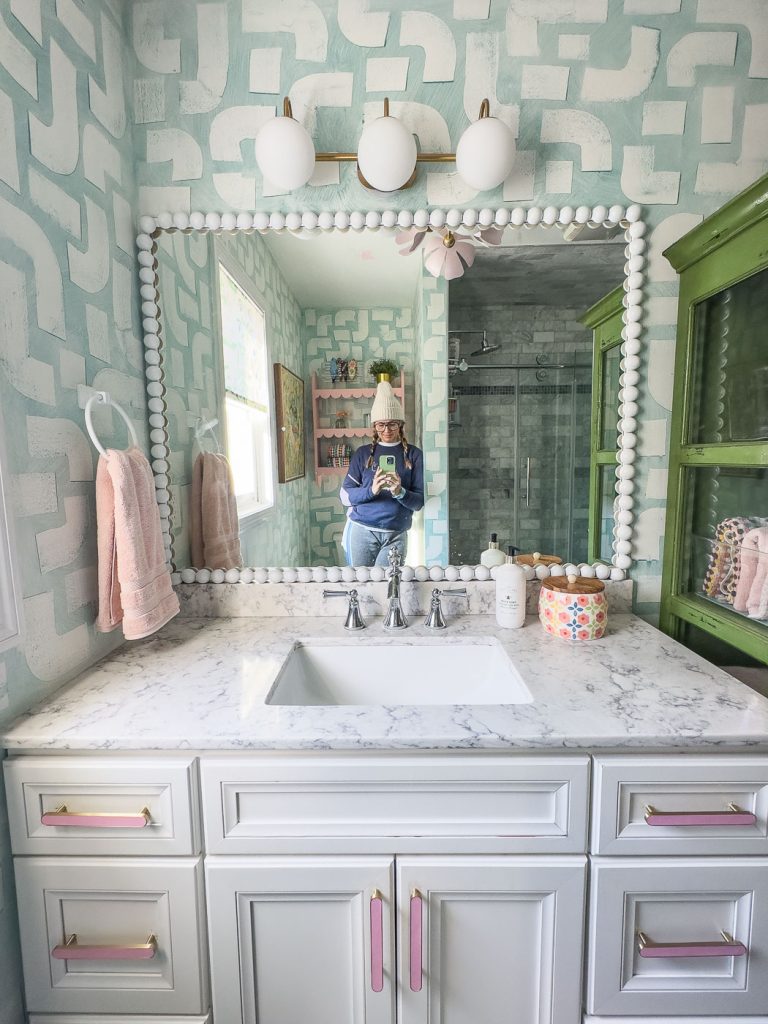
The mirror in my girls’ bathroom was SUPER basic so I decided to give it a modern update with this ball trim.
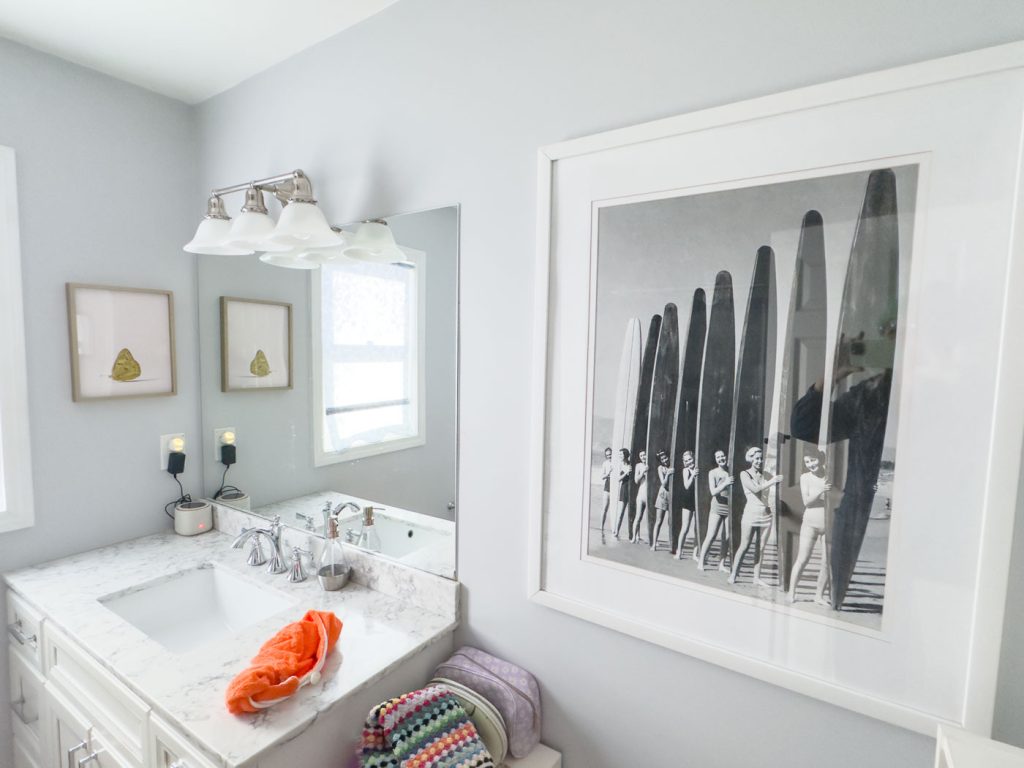
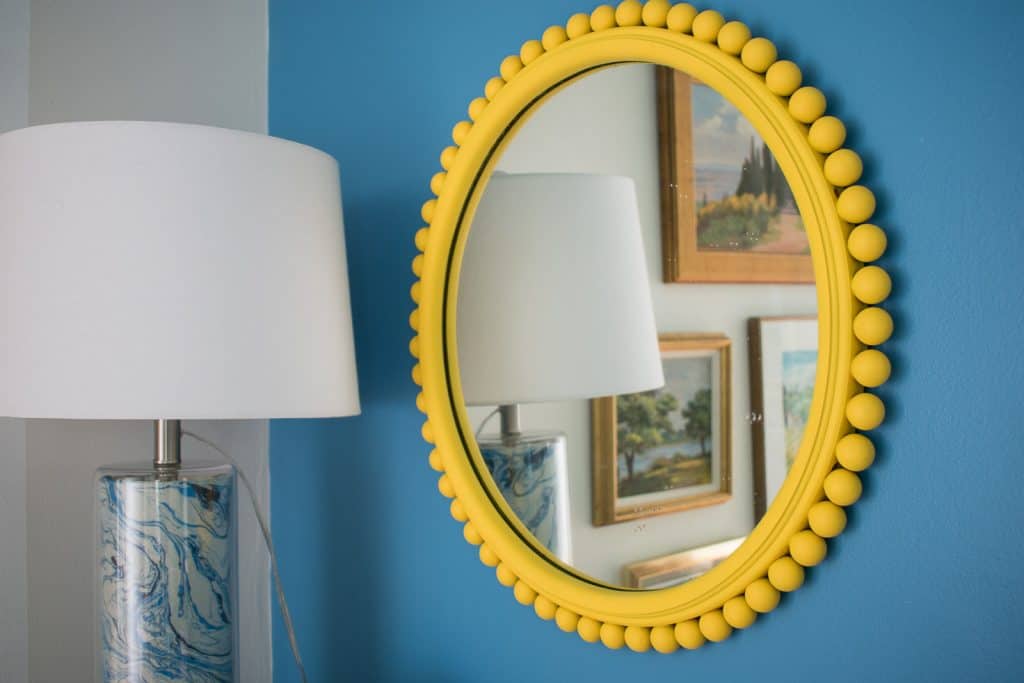
Story time: I’ve always loved this ball trim on a frame and I made something similar years ago when I transformed a flea market mirror. BUT… back then I bought wooden balls and took my life in my own hands trying to sand down one flat little part on every single bead so that I could glue them in place. Nowadays, you can buy half circles which are much easier to work with- as evidenced by this mirror project!
Step 1. Do a Little Math
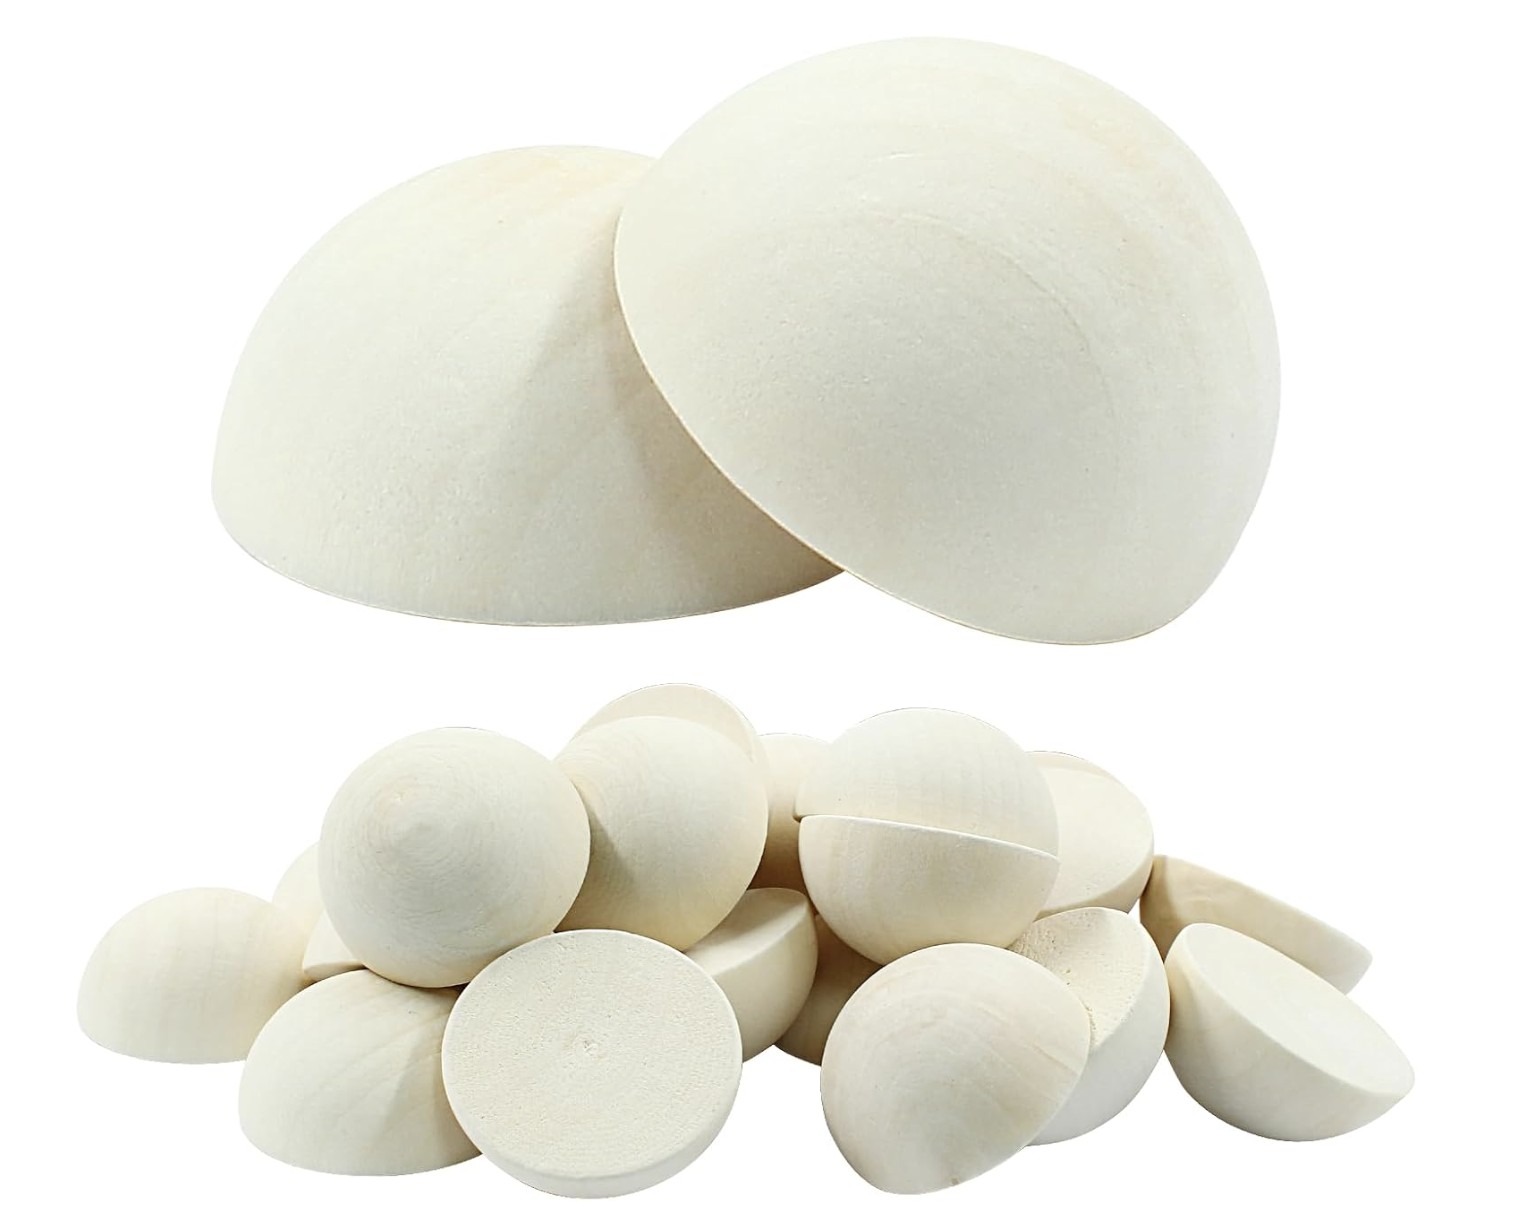
I’m working with 1.5″ half-rounds so I measured the perimeter of our bathroom mirror and figured out how many beads I would need to order. Obviously round up ever so slightly to account for any mistakes, but take the time to get yourself a rough estimate.
Shop my favorites!
Step 2. Glue the beads onto skinny trim
For a hot second, I thought about gluing each bead onto the mirror individually, but that felt like not only A LOT of work, but also potentially impossible to keep them all perfectly lined up the way they need to be to look clean and polished. I grabbed the skinniest flattest trim I could find at Home Depot and cut it down to size before using wood glue to glue each bead in place. I left a gap at either end of each length to account for the corners.
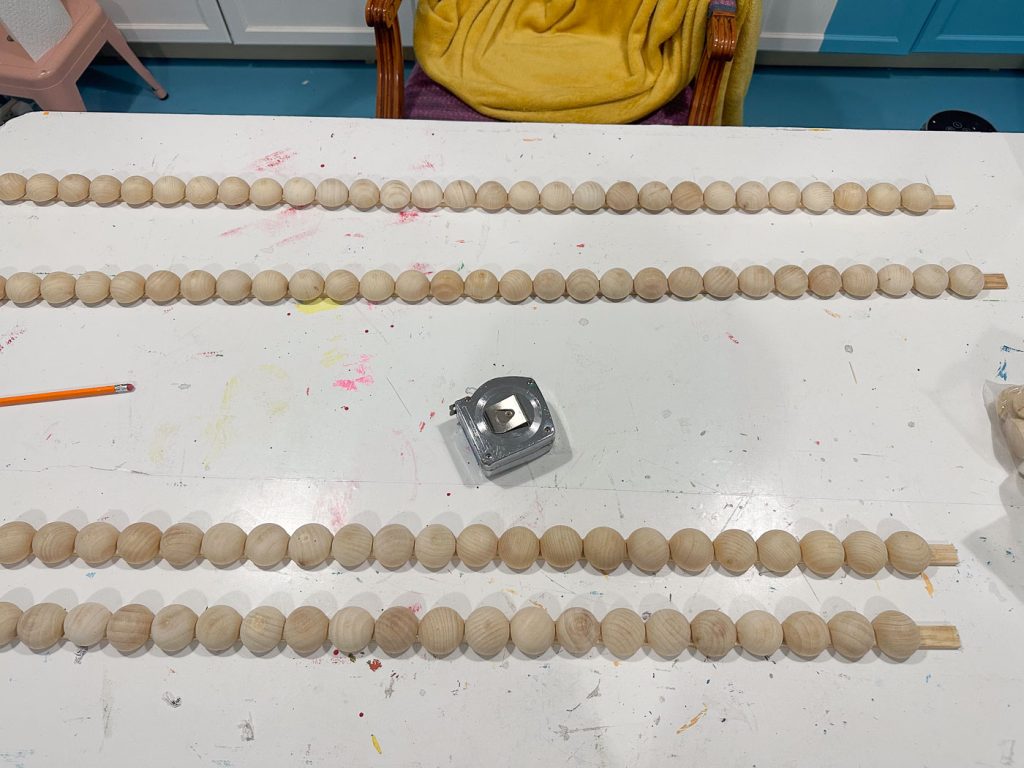
I made sure to use a long straight edge to makes sure the beads were lined up and perfectly straight before the glue dried!
Step 3. Prime and spray paint the beads
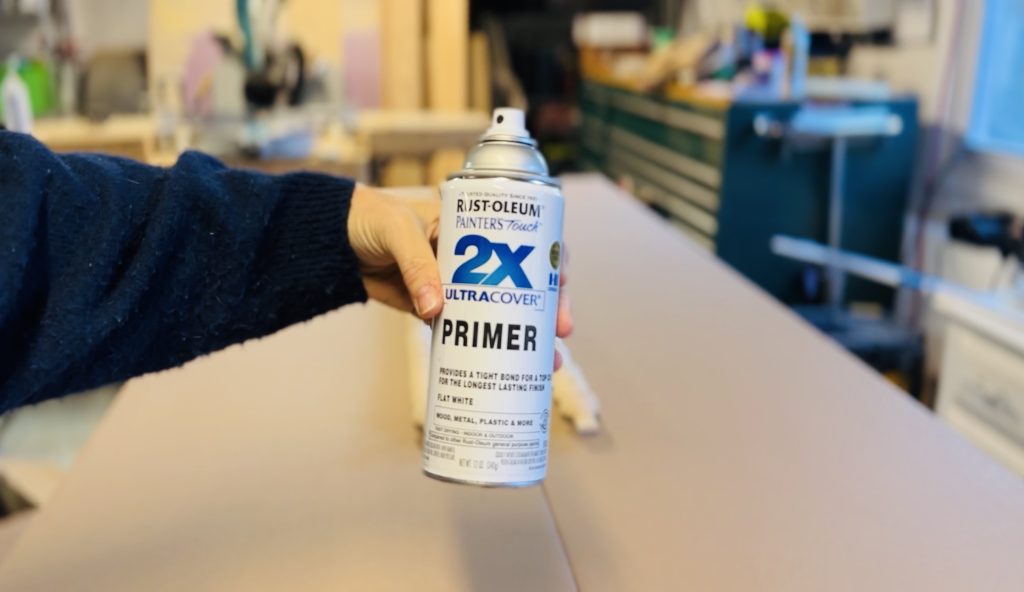
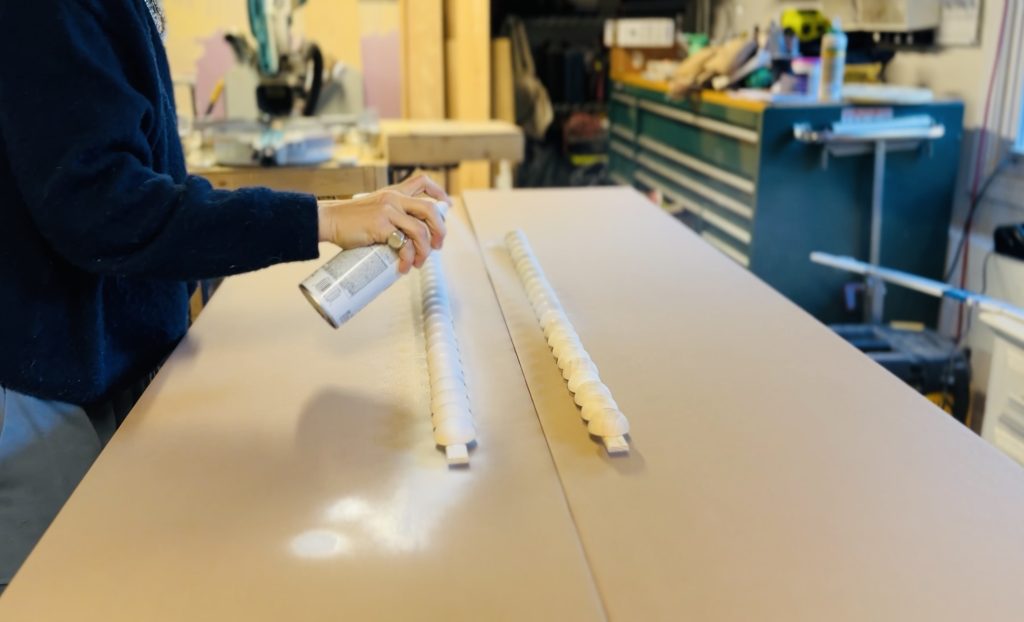
Once the glue has dried, prime and paint each length of trim… remember lots of light coats to help you get into all the nooks and crannies. You’re also going to want to flip each piece of trim over and spray the underside because the mirror will reflect the bottom a bit. I’m using a semi gloss white for the paint.
Step 4. Glue the trim onto (or around) your mirror
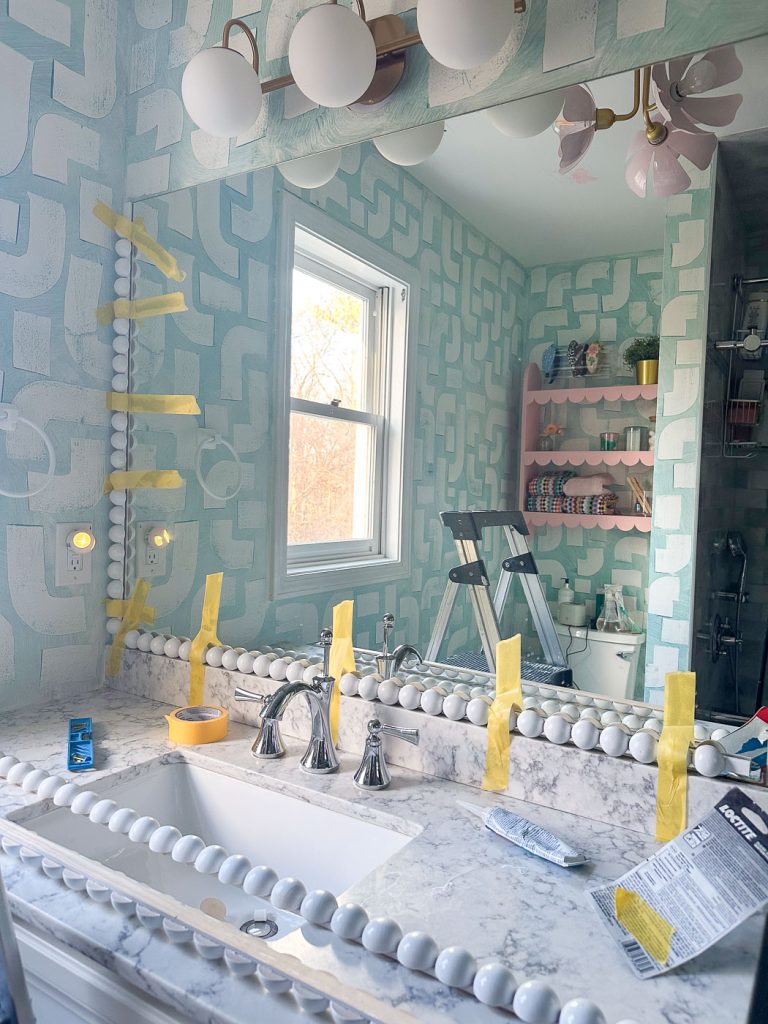
My mirror was sitting right on top of the vanity and basically touching the wall so I had to glue my trim directly onto the glass. Not ideal. (If you have room around your mirror… I would recommend gluing the trim right onto the drywall itself!)
I used this glue intended for glass and tried my best to hold the trim in place along the edge of the mirror with painter’s tape. The trim warped/ bent every so slightly so I used the tape as much as I could to keep contact with the mirror. It’s still a little loose on the four corners, but it appears to be solidly attached around the mirror.
Step 5. Place the beads on the Corners
I reserved four individual beads to glue in place on each corner. The spacing wasn’t perfect but I centered them as best I could. For the corners against the counter, I actually had to cut and sand down those half rounds so they would fit. If I were doing this project again, I would plan accordingly and space the beads on the trim a little better from the start.


Very nice. And great description of your technique. I love your bathroom decor and wallpaper. Great for girls!!
Thanks! We’re all so happy with it!
I just looked at your instagram….the wallpaper is faux painting. Amazing.
Yes! Isn’t that cool! The kit I used made it so much easier than I was expecting. Love the finished results! Thanks!