How to Make Colorful Button Flowers
Psssst… this post *might* contain affiliate links: see my disclosure here.
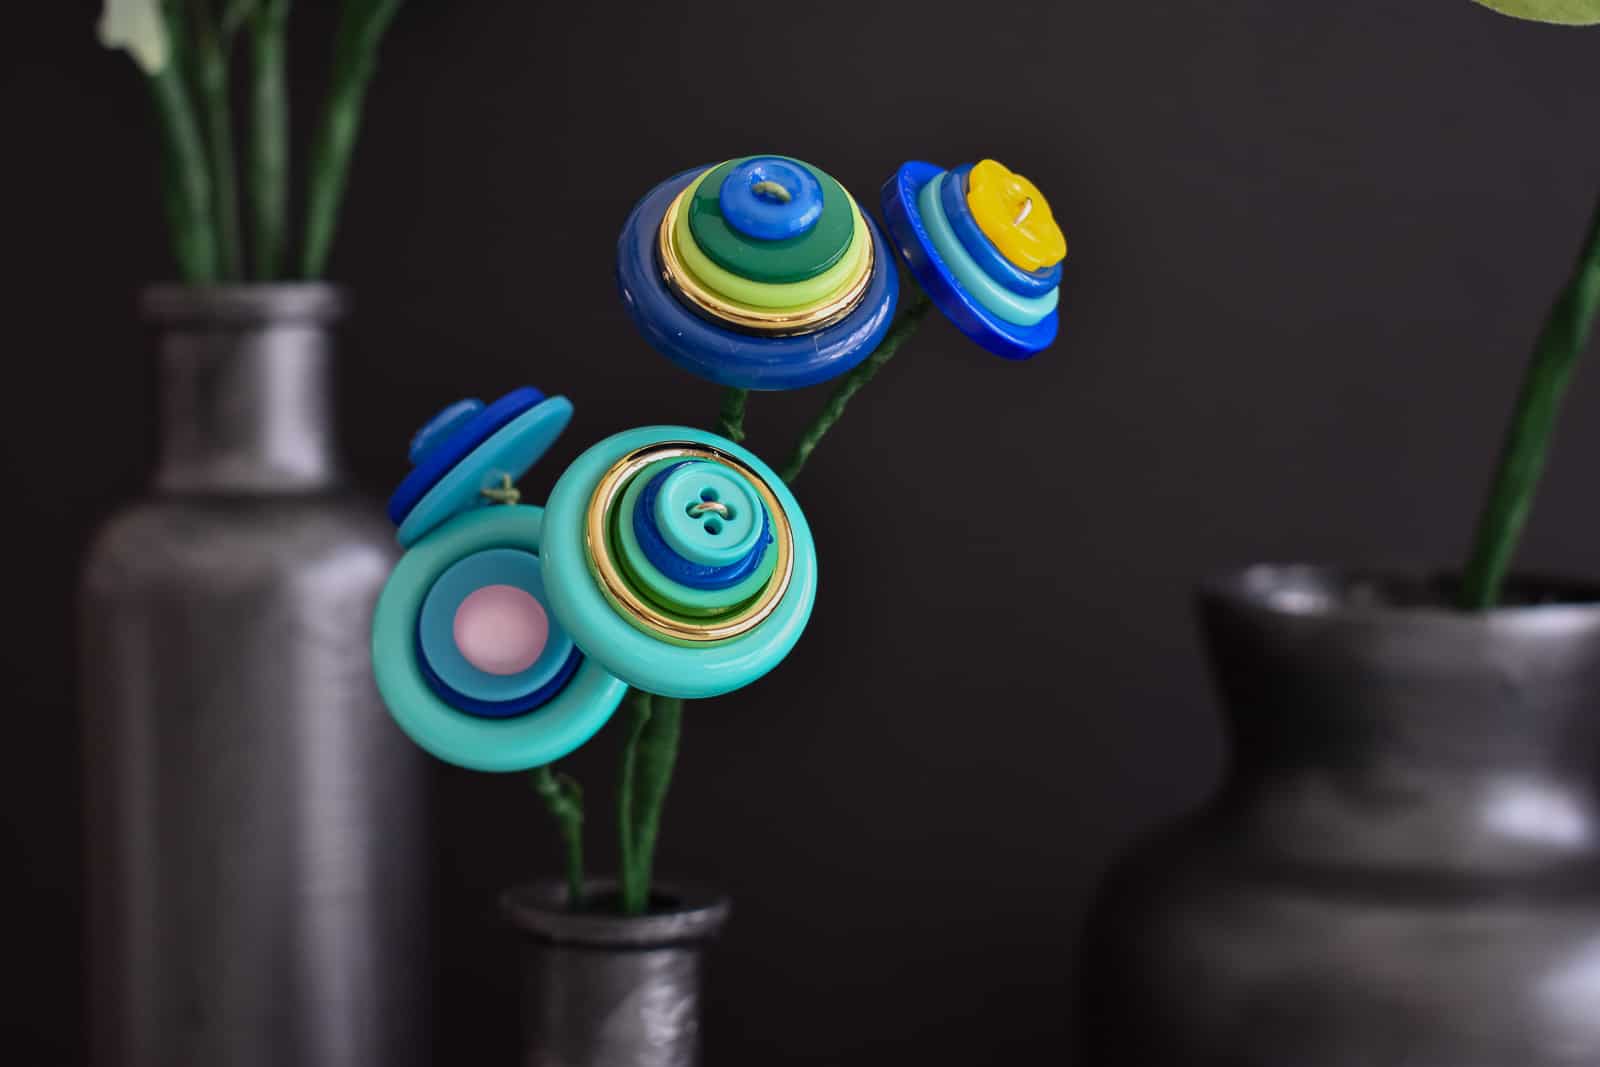
Colorful Spring Button Flowers
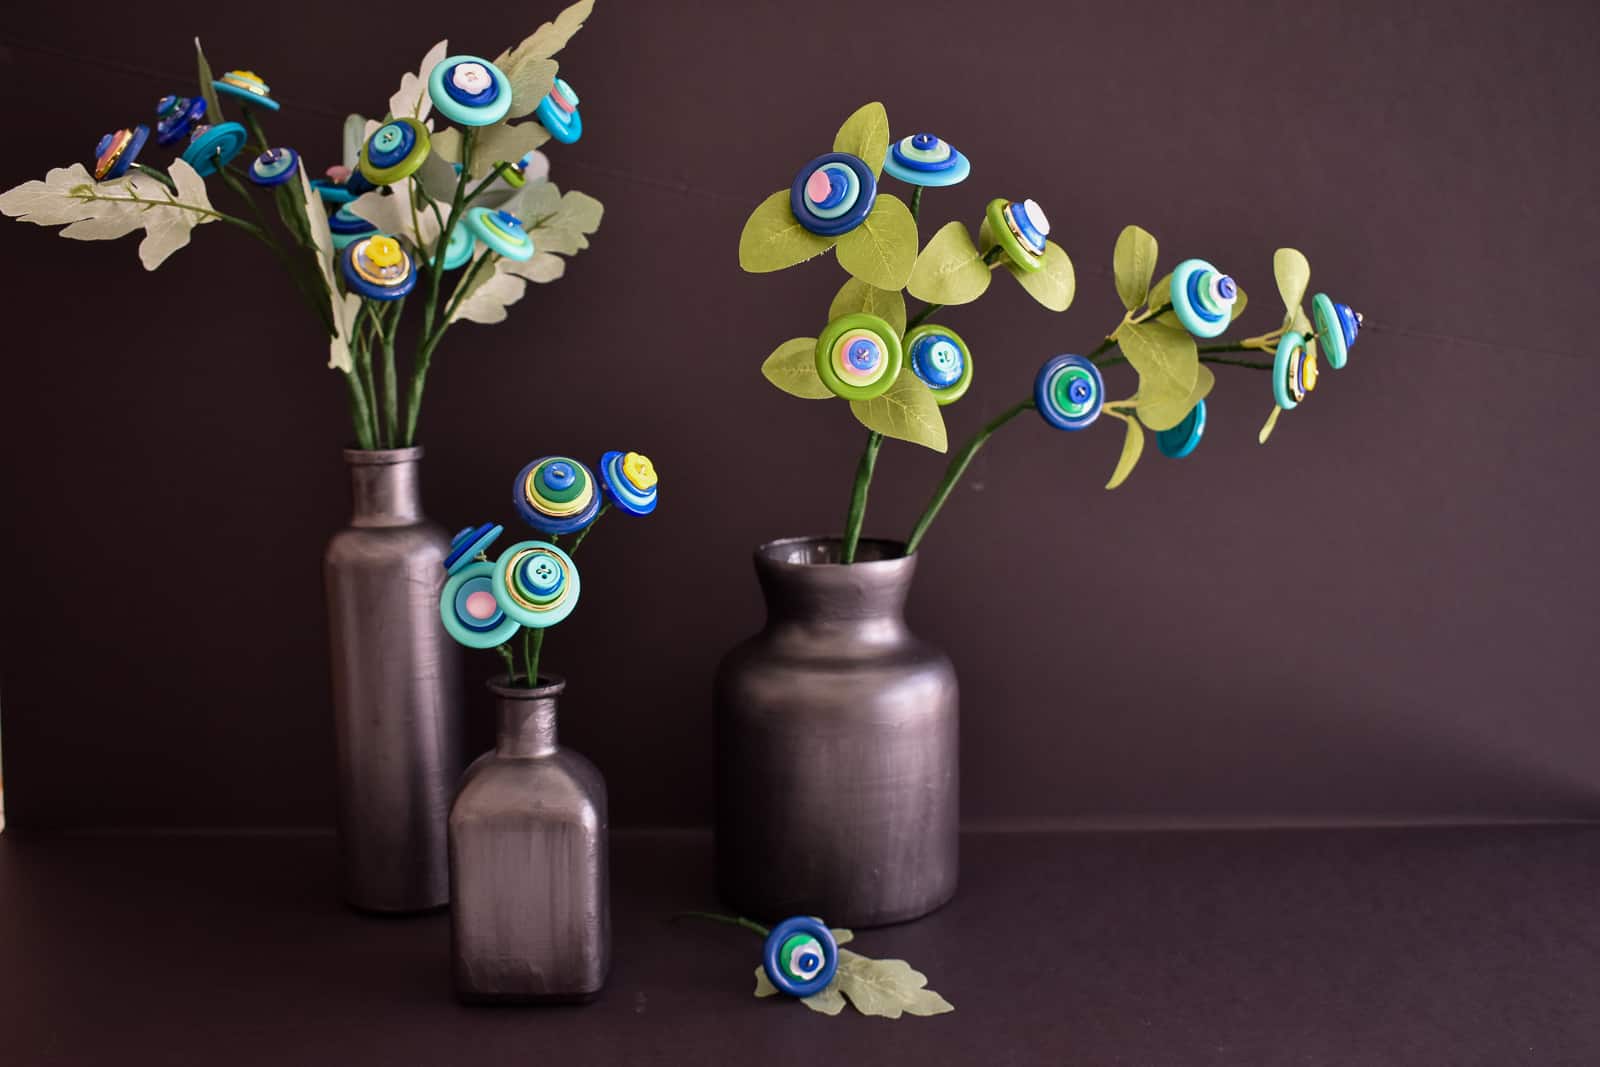
Disclaimer: I am writing this post in partnership with Joann.
It’s not flea market season quite yet, but sometimes I love to make things with my beloved thrift scores in mind… but thrifting isn’t for everyone so 100% of the items from this project were purchased brand new at JOANN. In other words, you can get that ‘found treasure’ look without… hunting. Flea market cheating! Full materials list at the end of the post!
Shop my favorites!
Step 1. Buttons
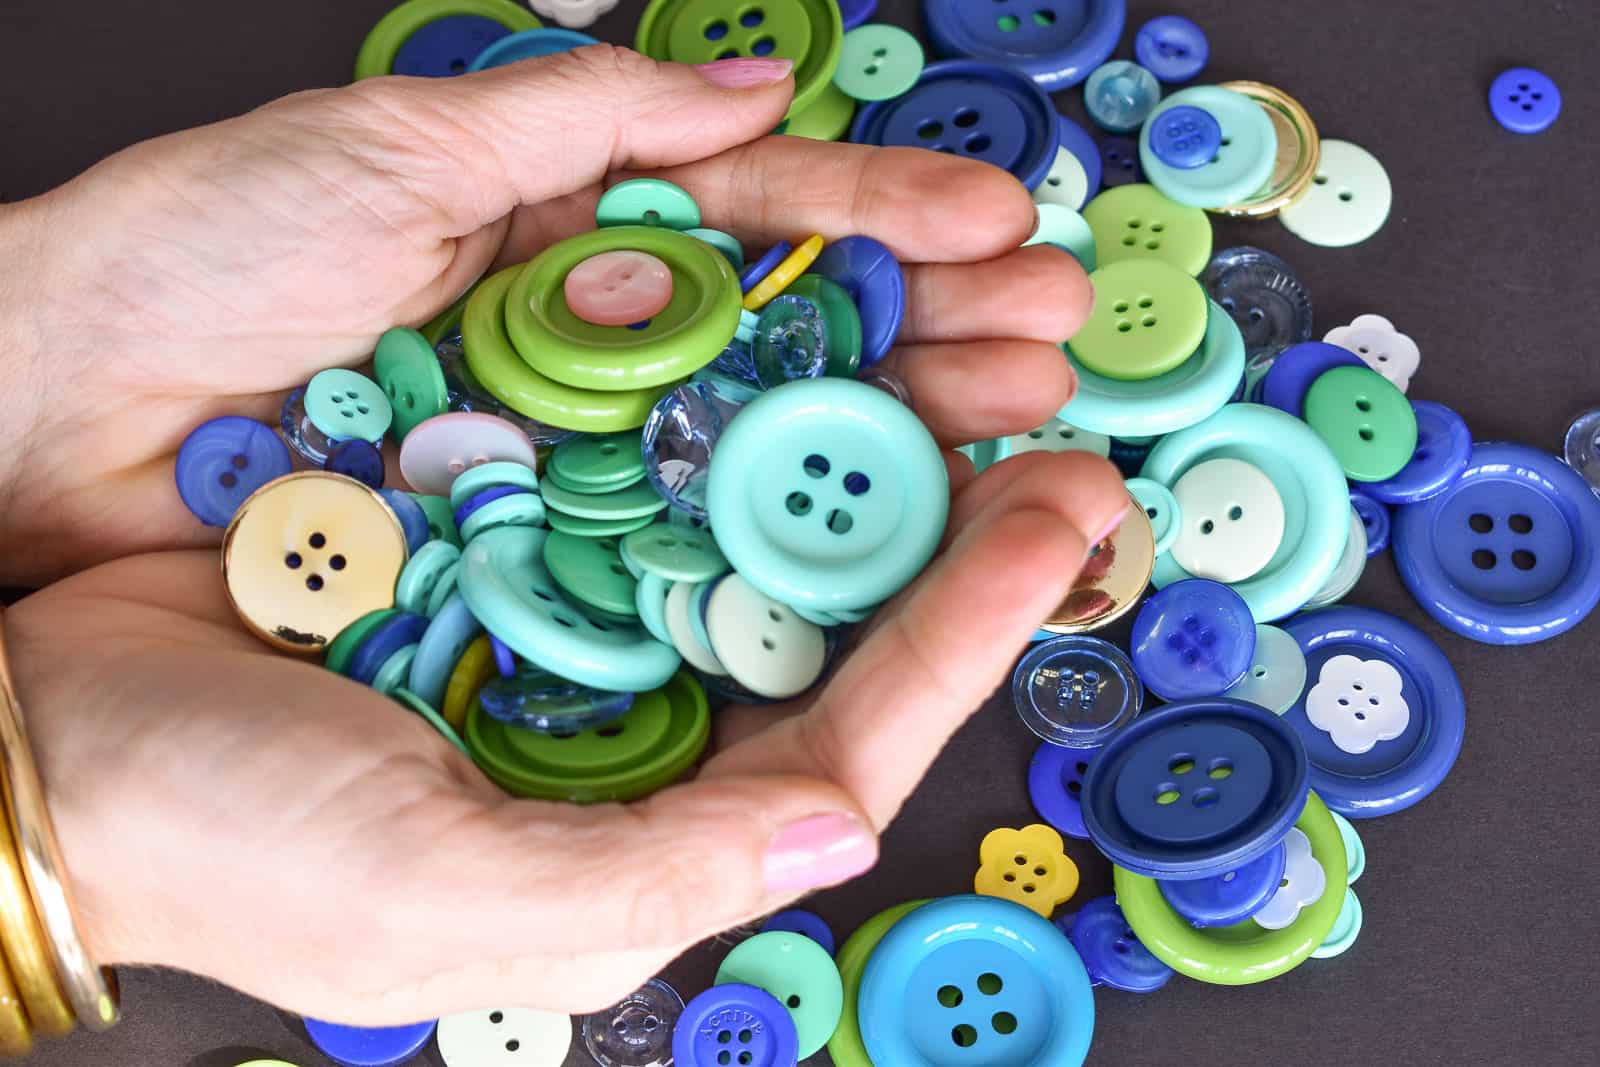
You need buttons for this project. Lots and lots of buttons. One thing to keep in mind is that you also need buttons in a wide array of SIZES. I could have used more large buttons, but the ones I had worked fine. Also… most of the buttons should have at least 2 button holes in the middle.
Step 2. Make the top of button flower
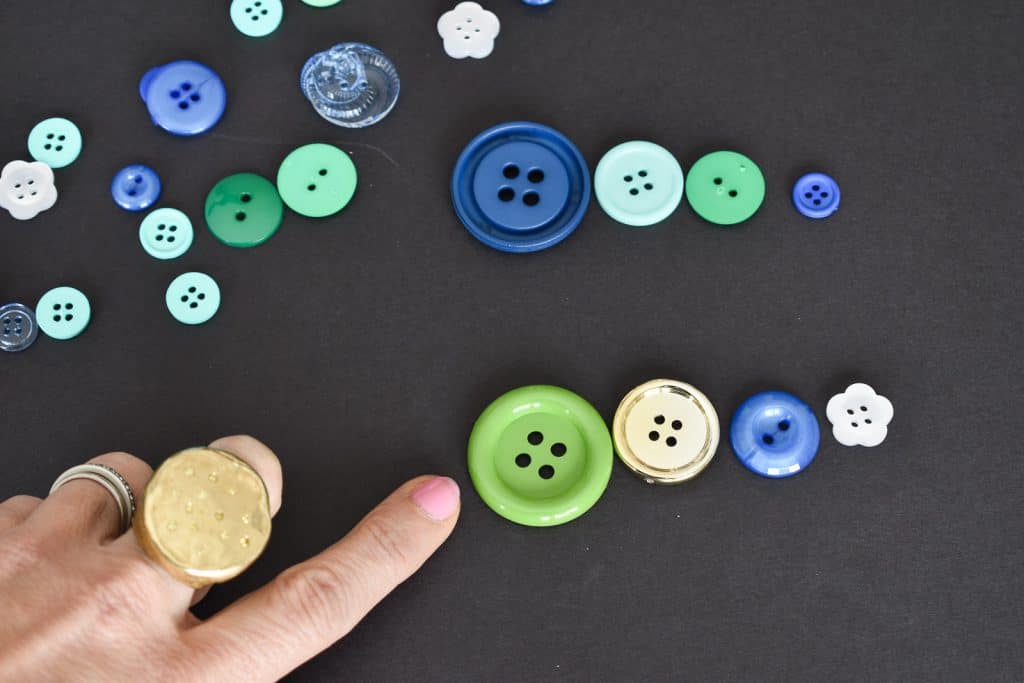
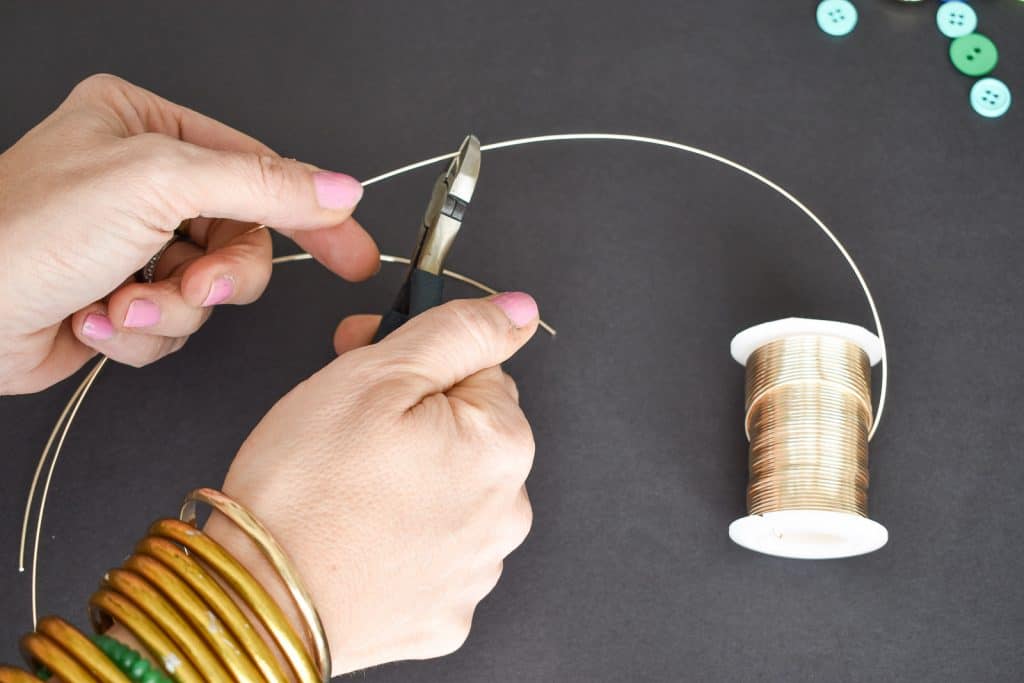
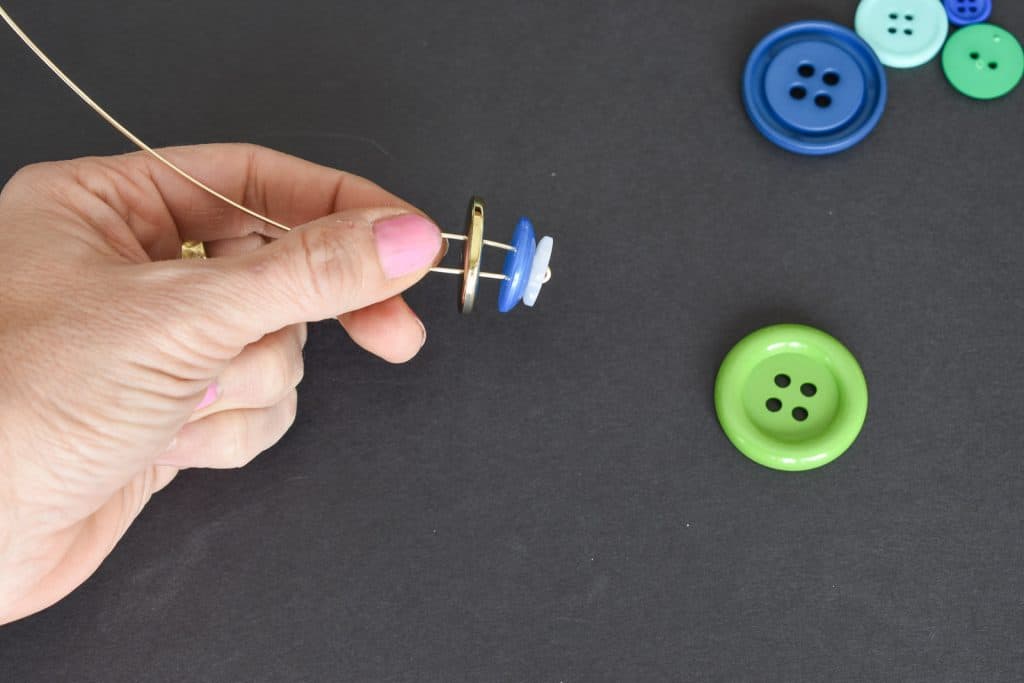
Find 3 or 4 buttons and arrange them from largest to smallest. Cut floral wire to about 8 inches long. Bend the end of the wire over by about 1.5 inches.
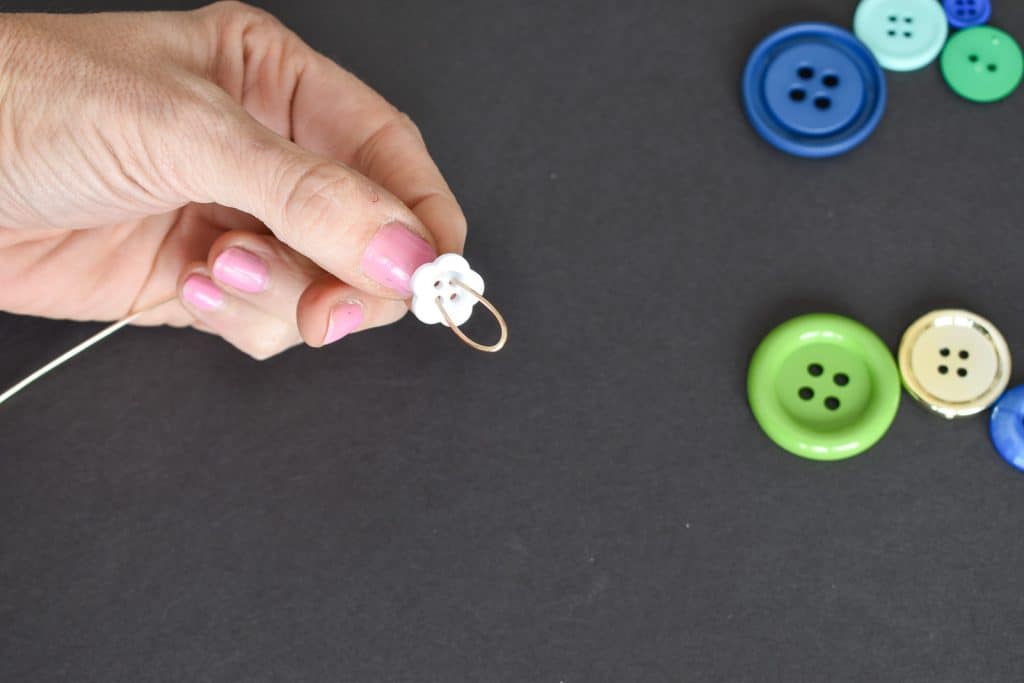
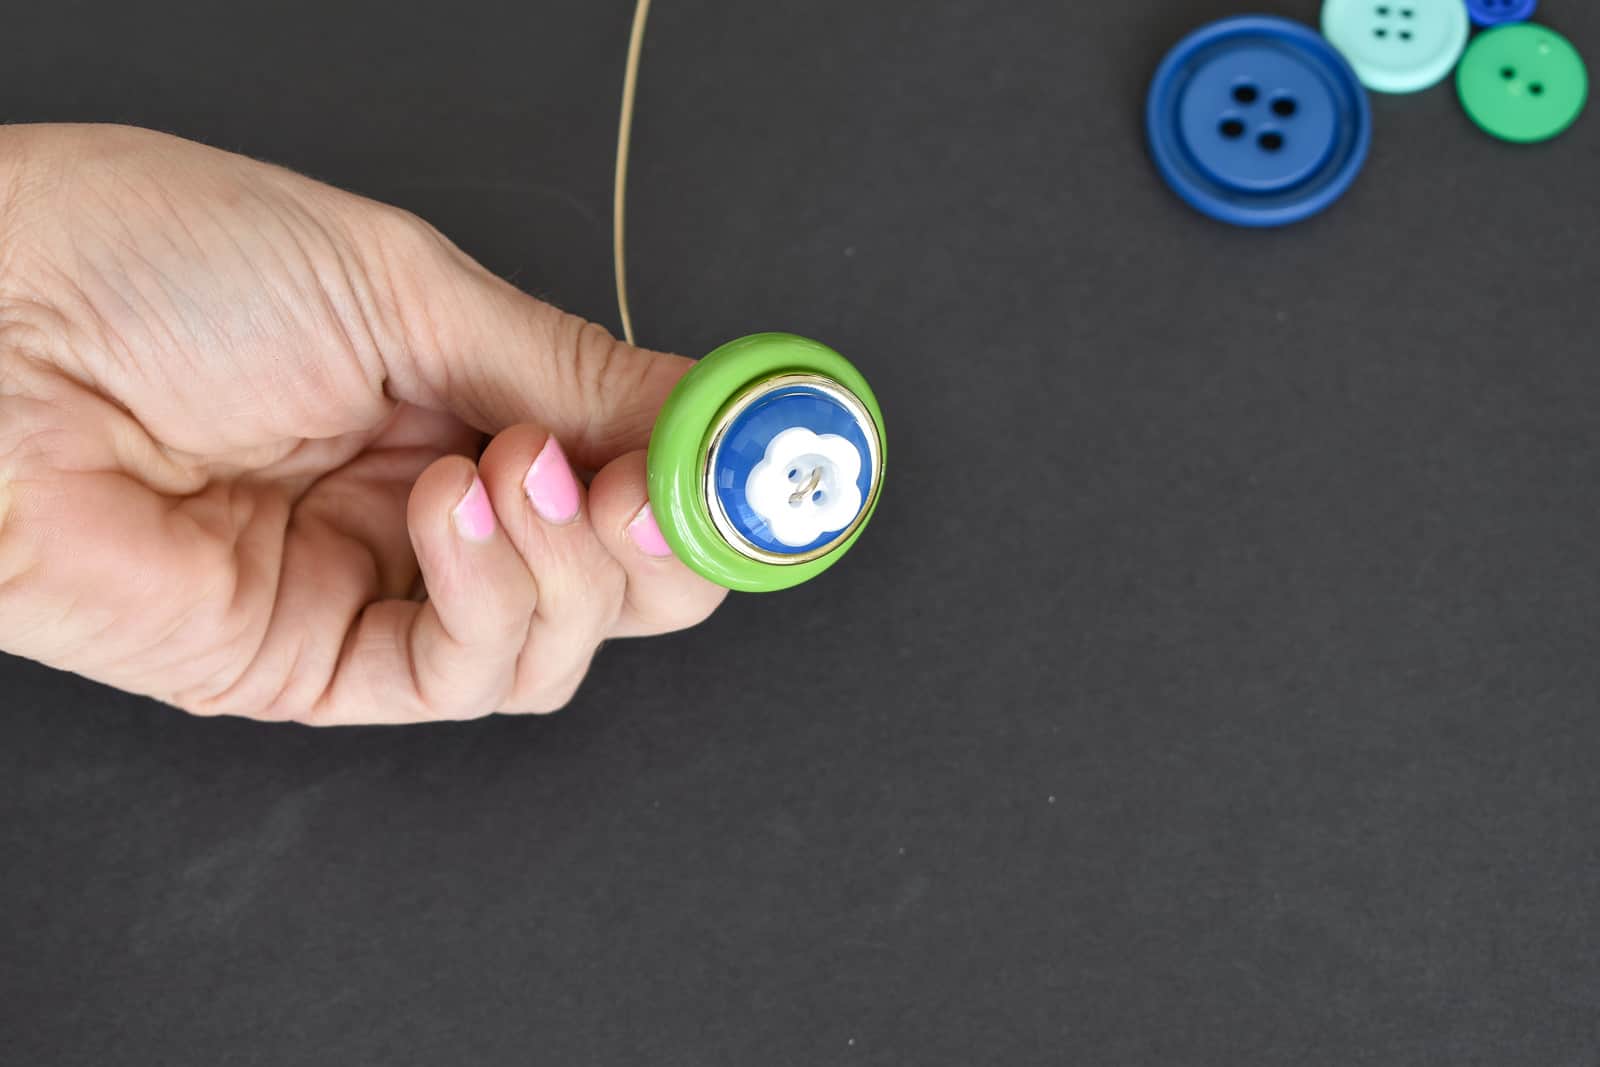
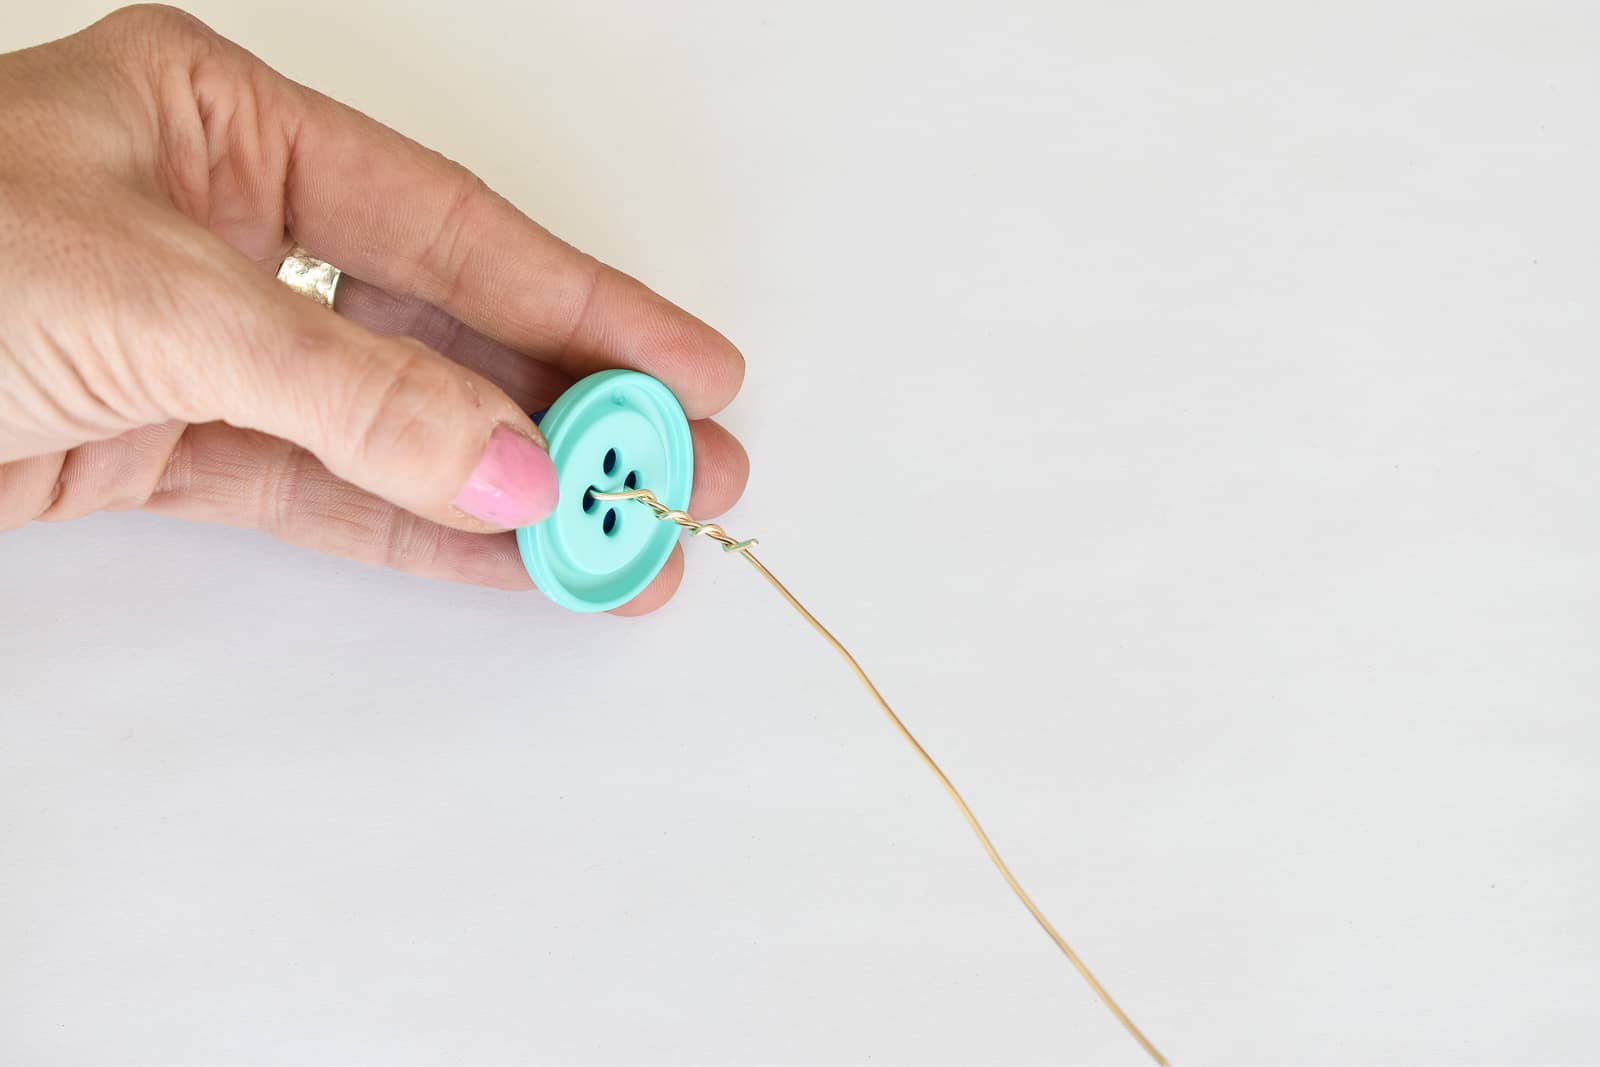
Thread the smallest button onto the wire placing the wire through 2 of the button holes. Repeat with the next largest button. Continue until all the buttons are on the wire from smallest to largest.
Twist the two ends of the wire together to secure beneath the flower. Repeat to make more flowers.
Step 3. Assemble the individual flower stem
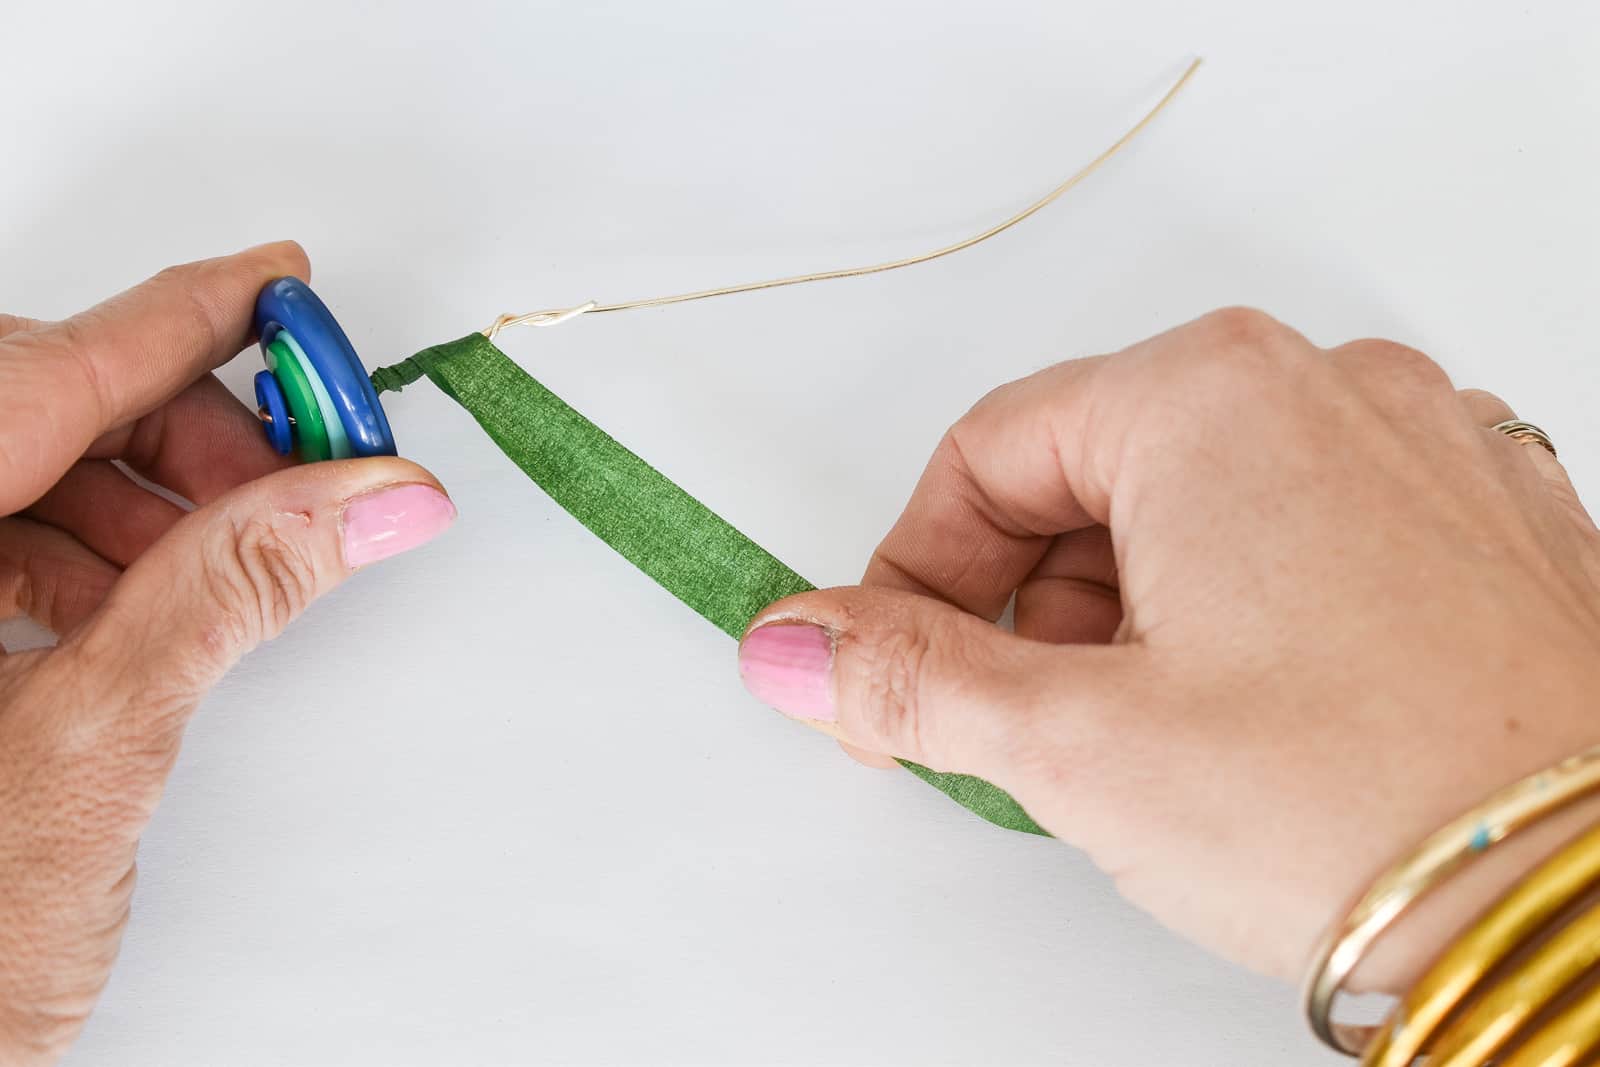
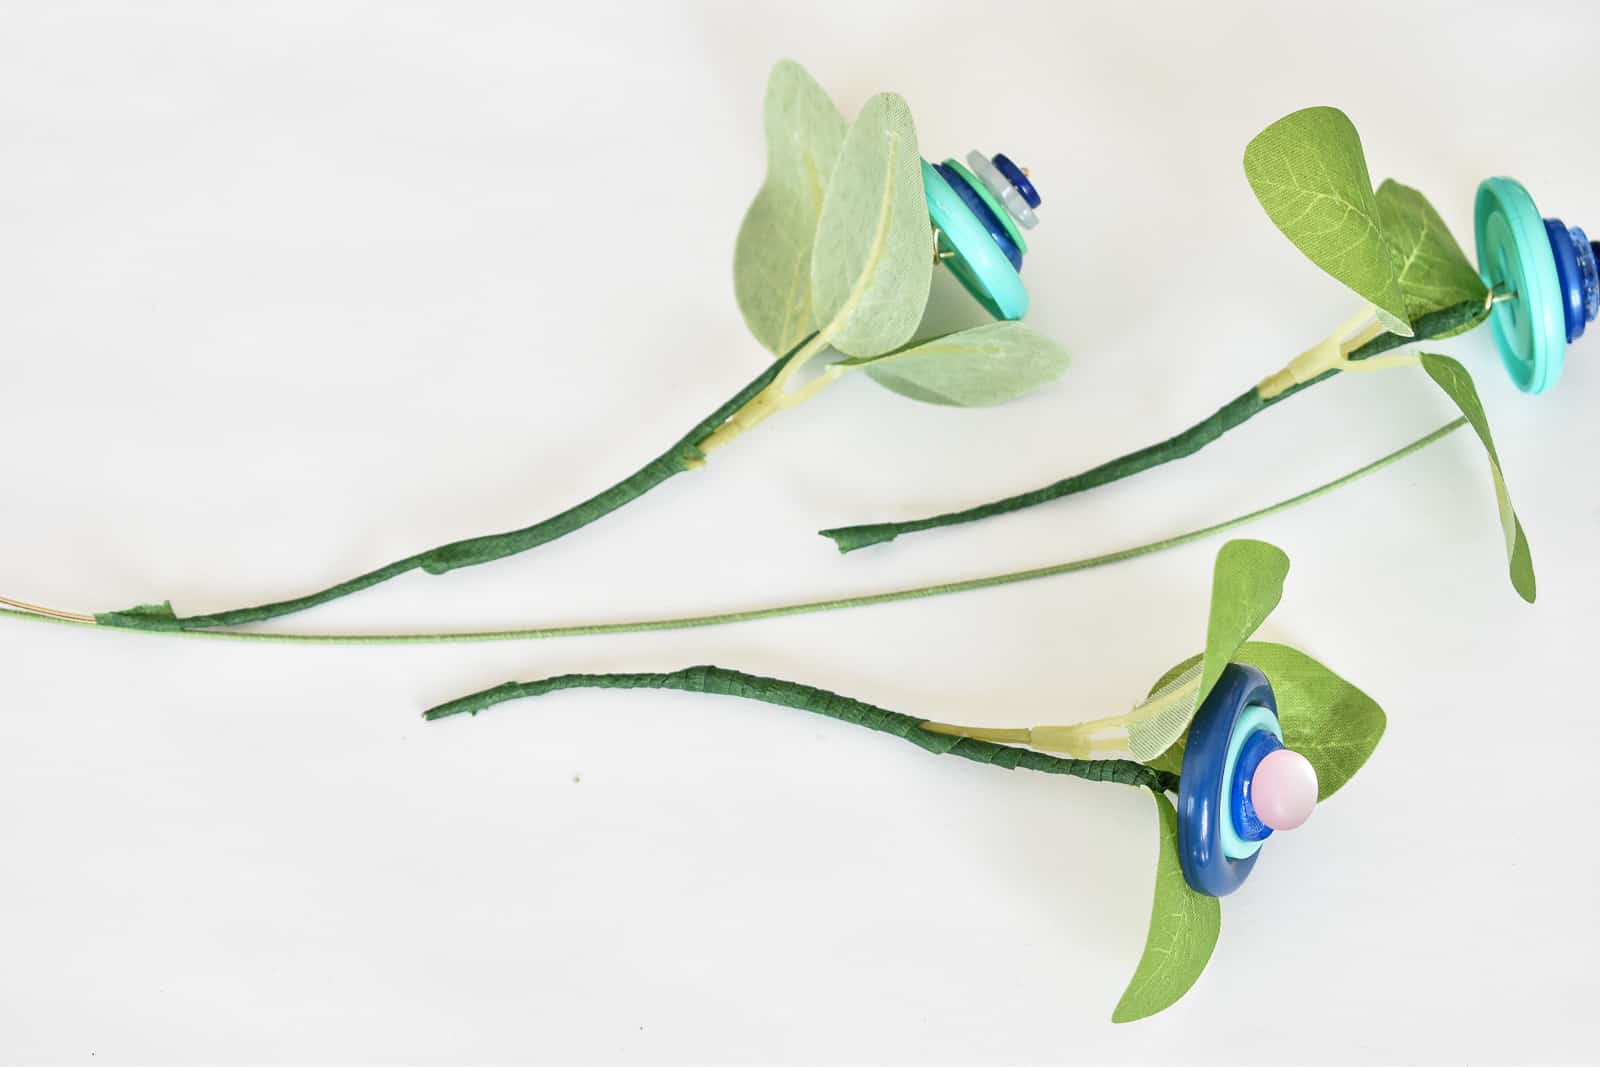
I tried this a few different ways and this felt the most secure and neatest to me! Start by wrapping the wire of each individual button flower with floral tape.
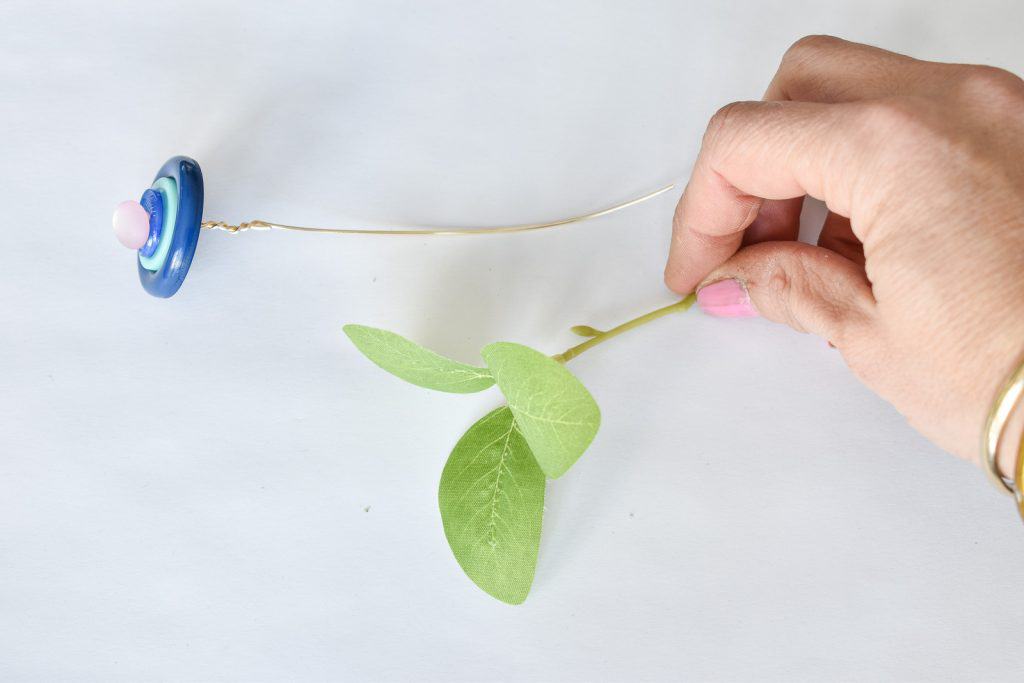
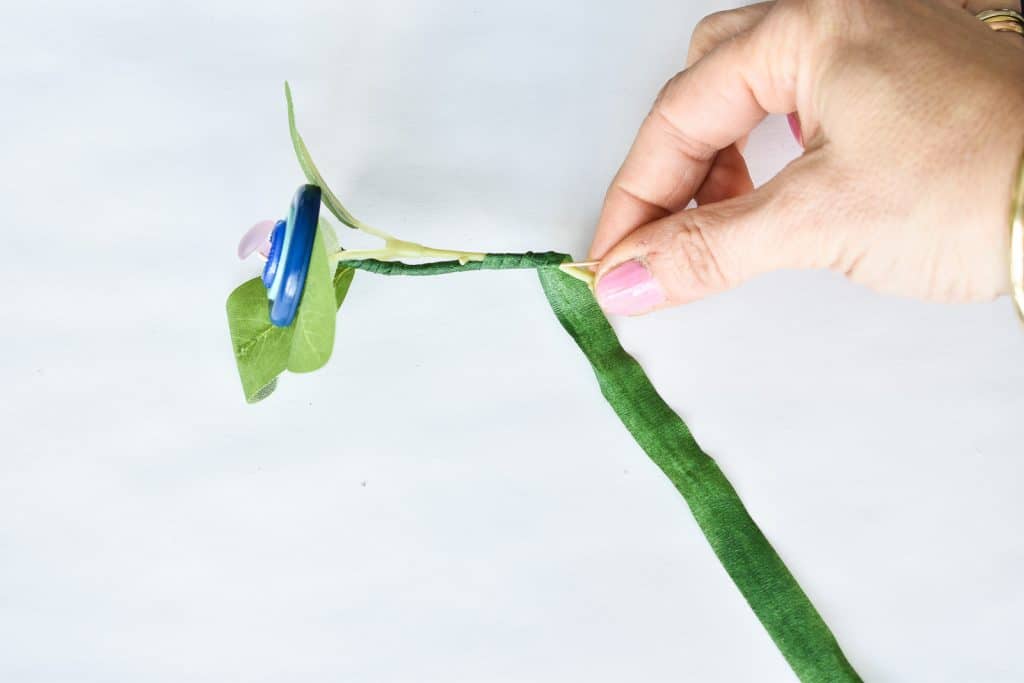
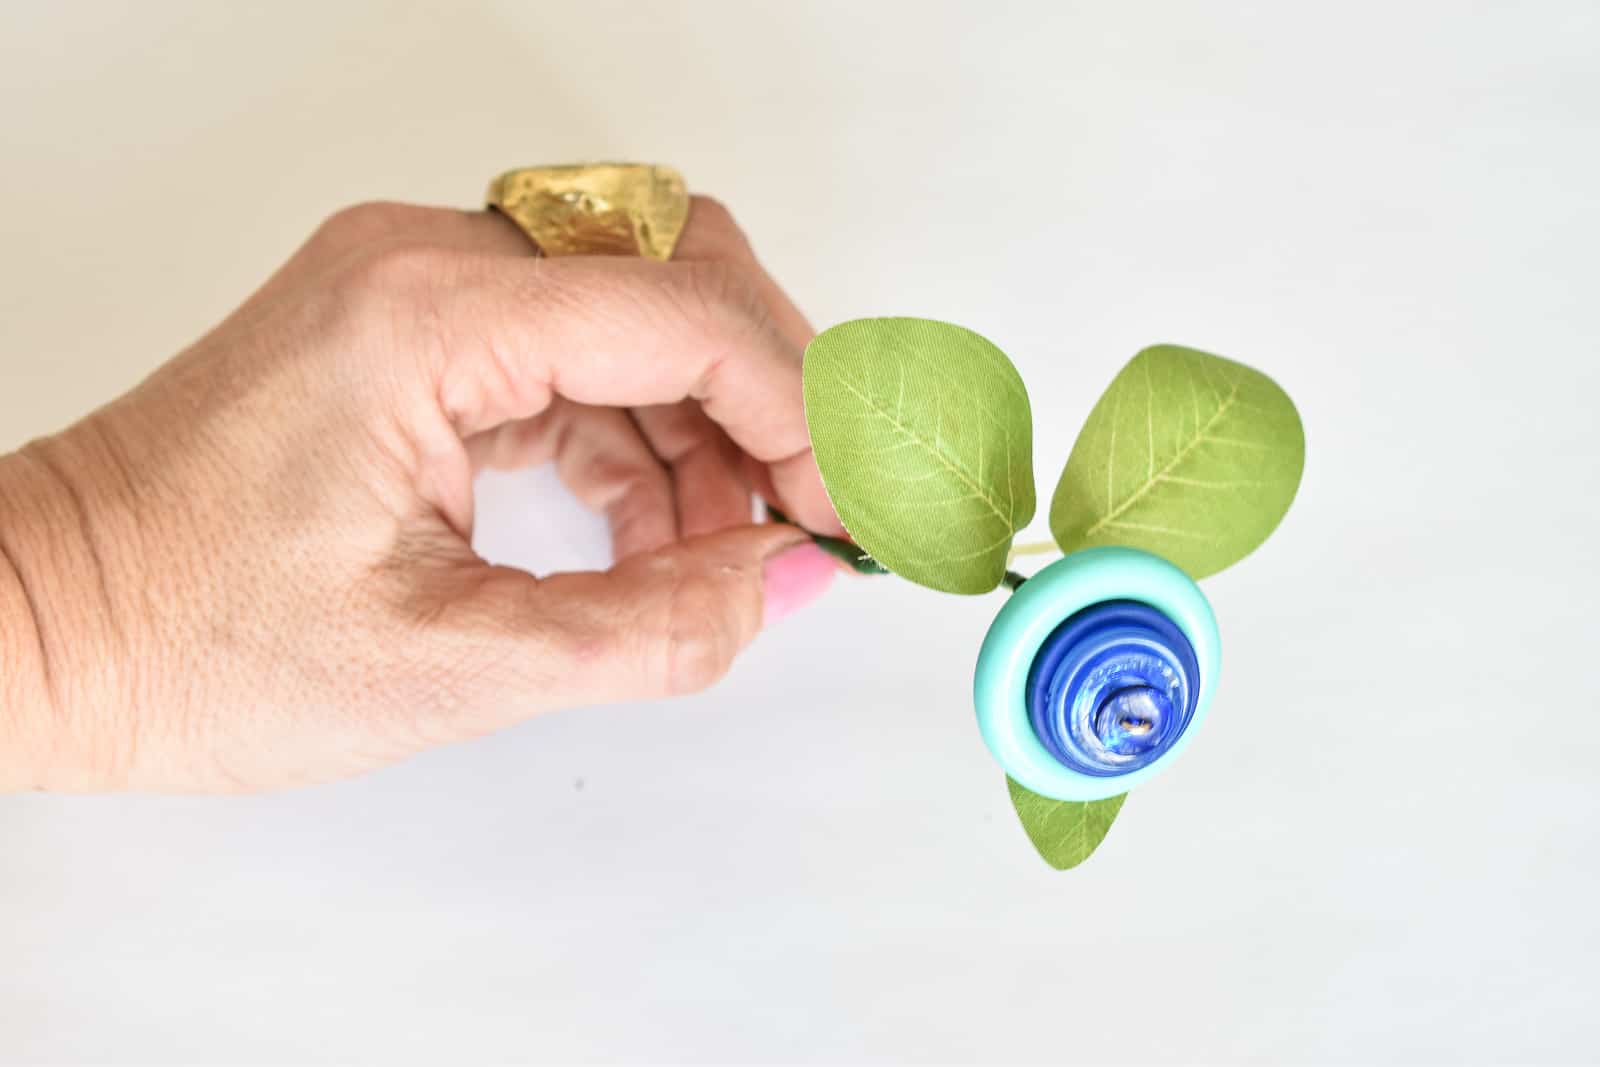
I cheated a bit and used leaves from faux florals for this… so I snipped off individual leaves first. Then I wrapped the stem again with floral wire, but incorporated the leaves.
Step 4 Assemble the full flower stem
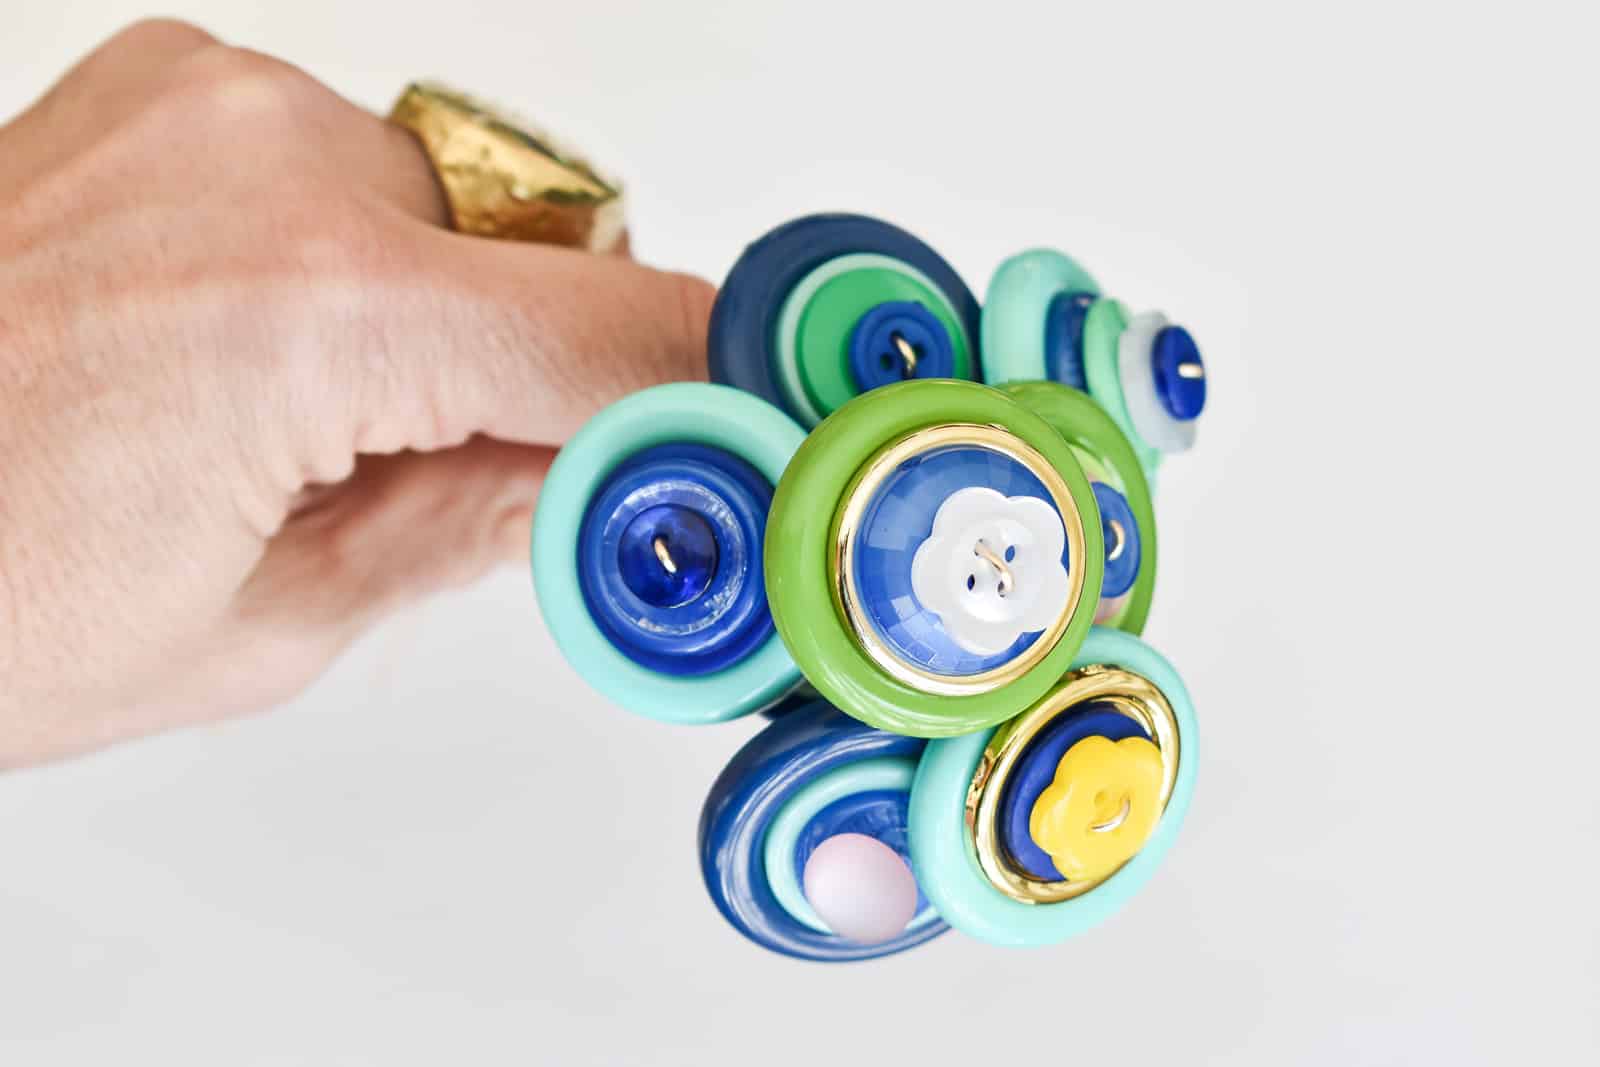
Grab a longer floral wire and place an individual wire flower at the end. Using the floral tape wrap this first flower onto the main stem. Work your way down the stem adding individual flowers as you go.
For some added strength, I used finished each stem off by wrapping a wooden skewer around the bottom portion. (Not shown.)
Step 5. ‘Pewter’ vase
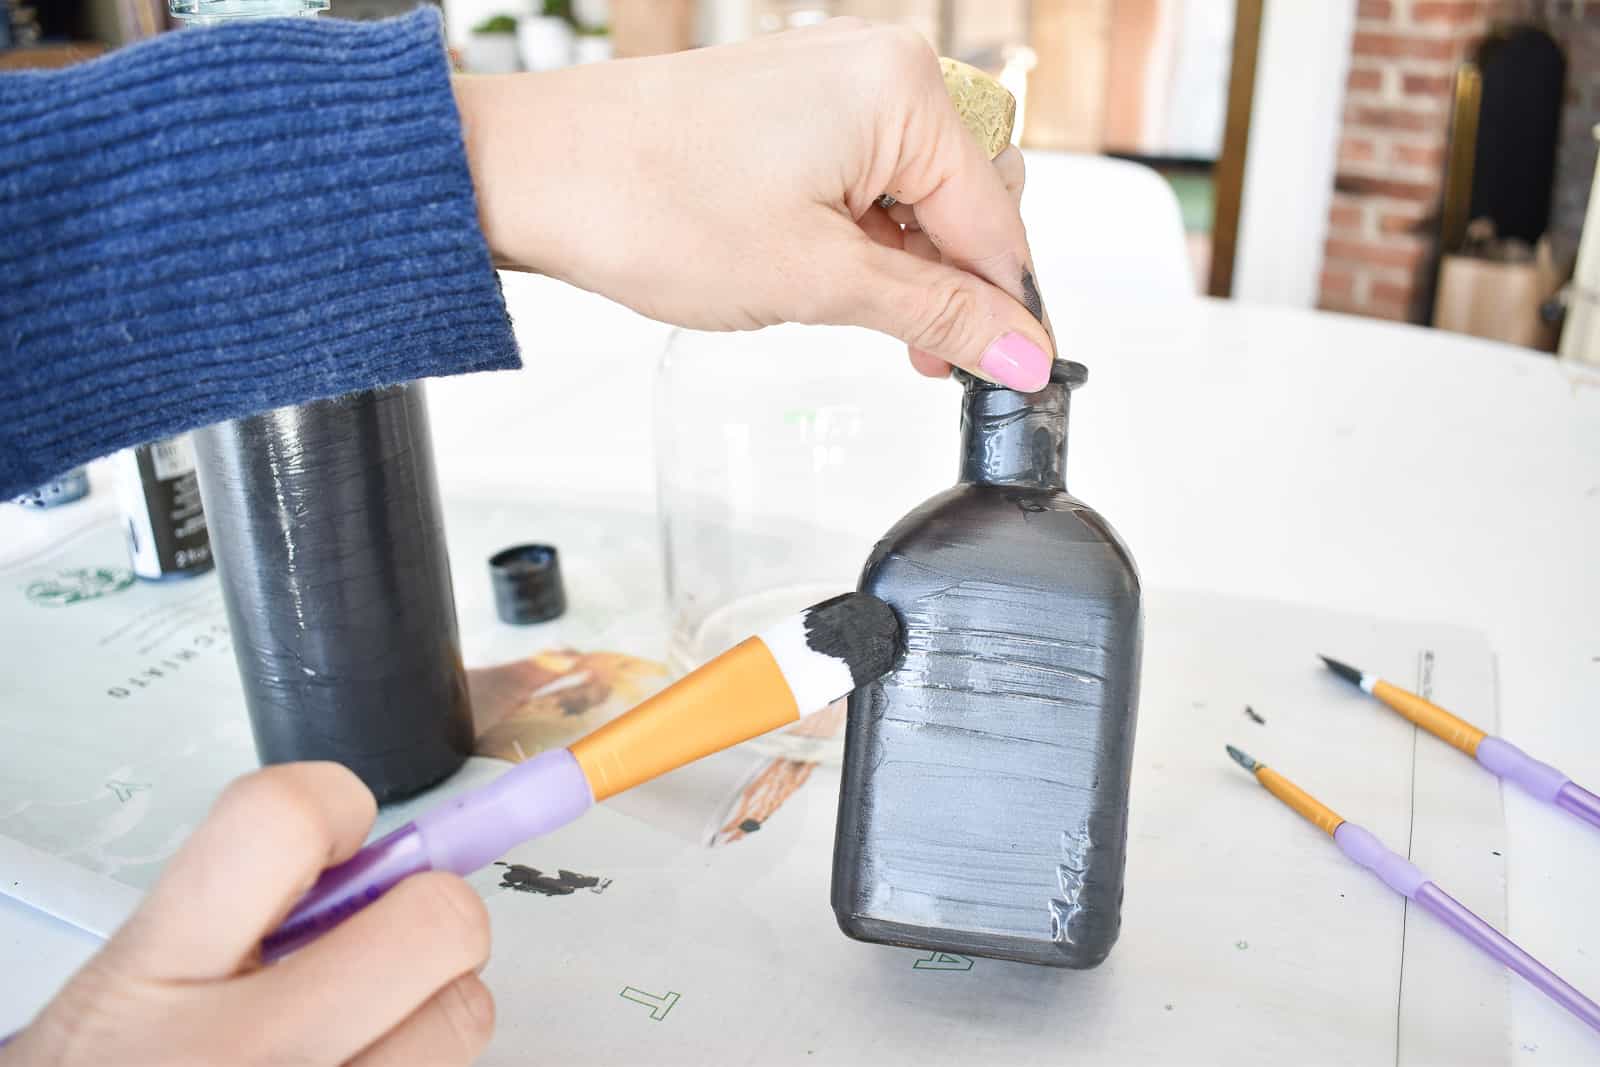
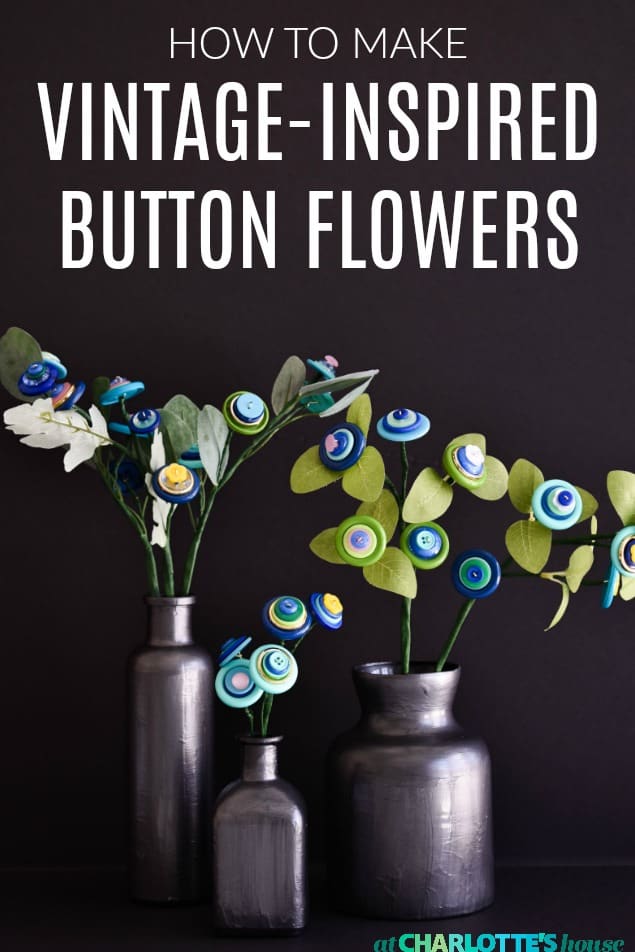
I LOVE vintage vases, but… they’re hard to come by. So let’s go ahead and MAKE some. I grabbed a few containers from JOANN that were the right size. And then I painted them with a mixture of two metallic paints.
Step 6. Fancy Photography
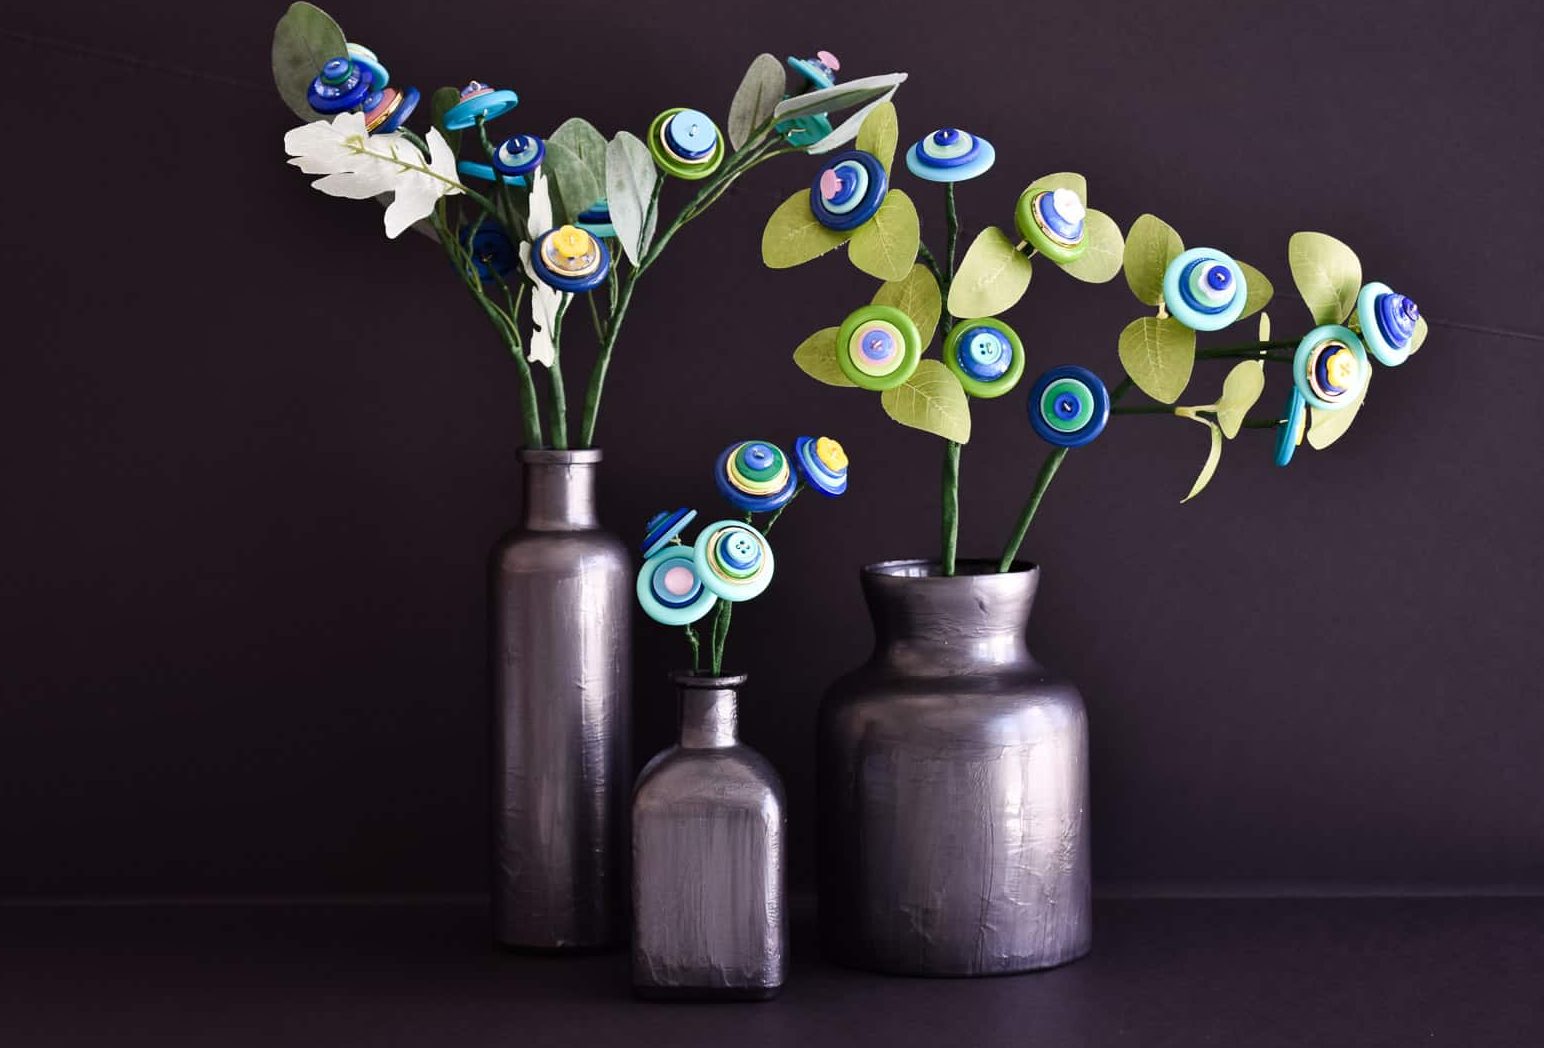
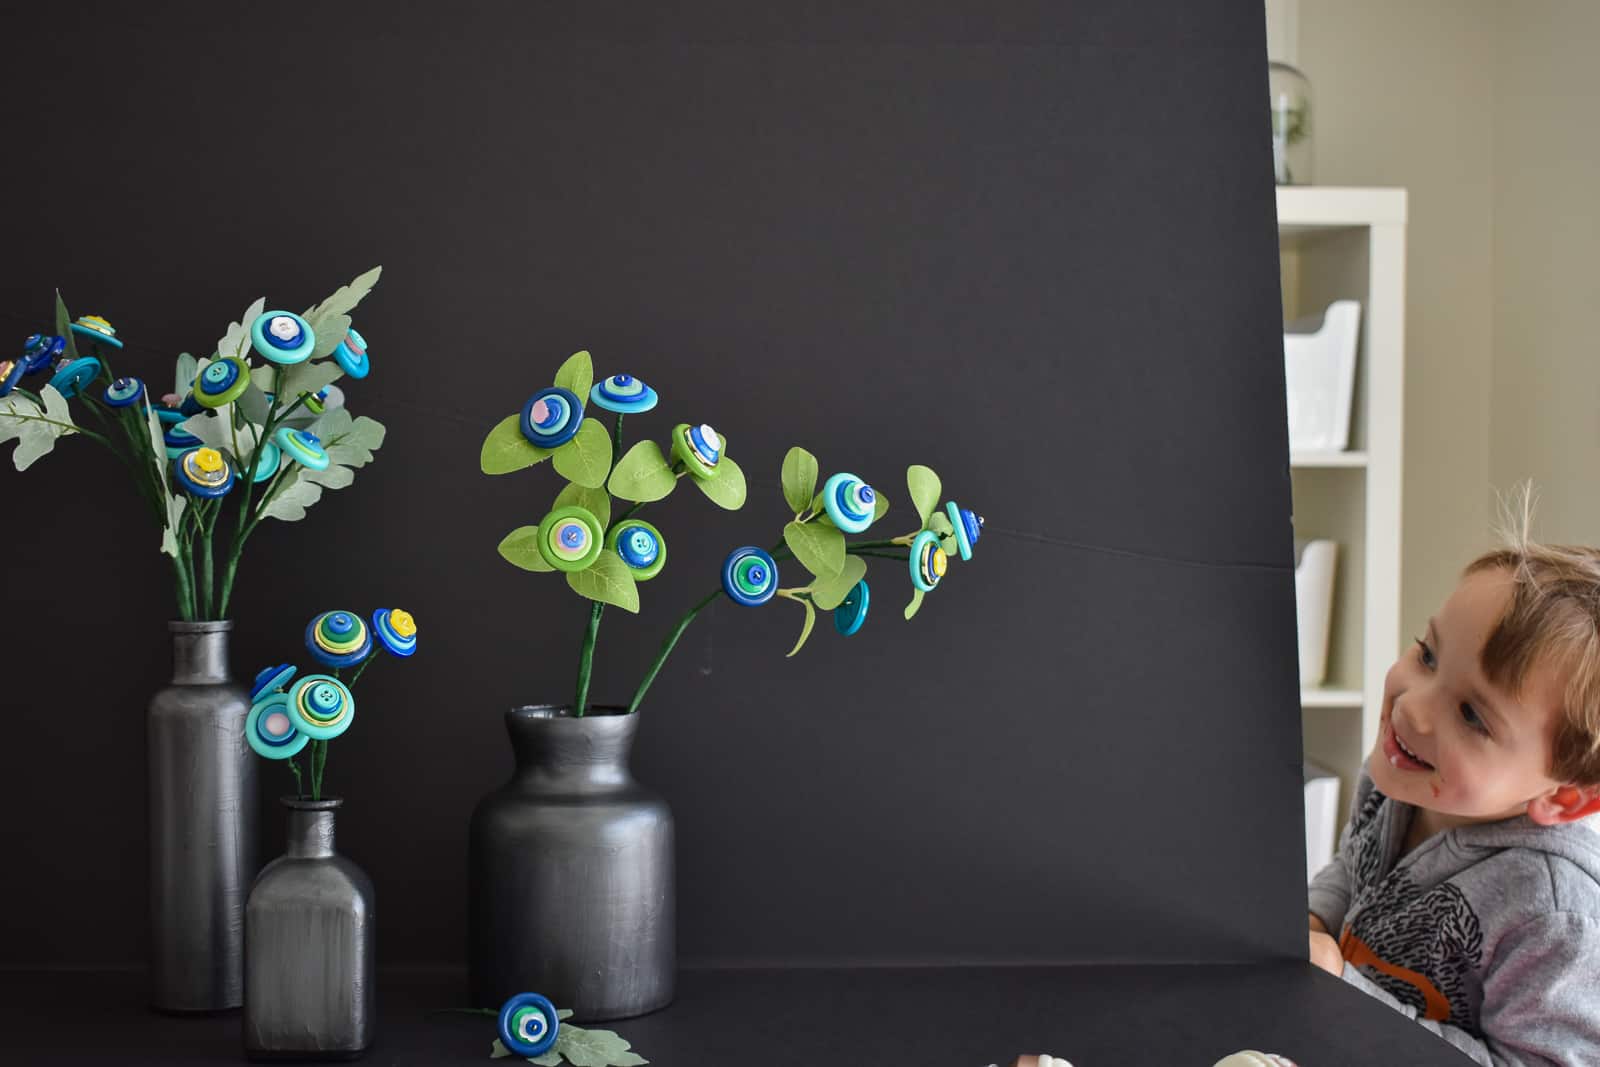
Lately I’ve been in love with these moody floral still life photos. They’re super simple to recreate, turns out. Grab a piece of black foam core. Set up your flower display with the light coming at it from the side. I cranked my aperture way up and then tweaked the contrast a bit when I edited the photo. But honestly… these shots were pretty close to this right out of the camera. I love the contrast of the formal elegant lighting with the crafted flowers… easy peasy found treasures from… JOANN!
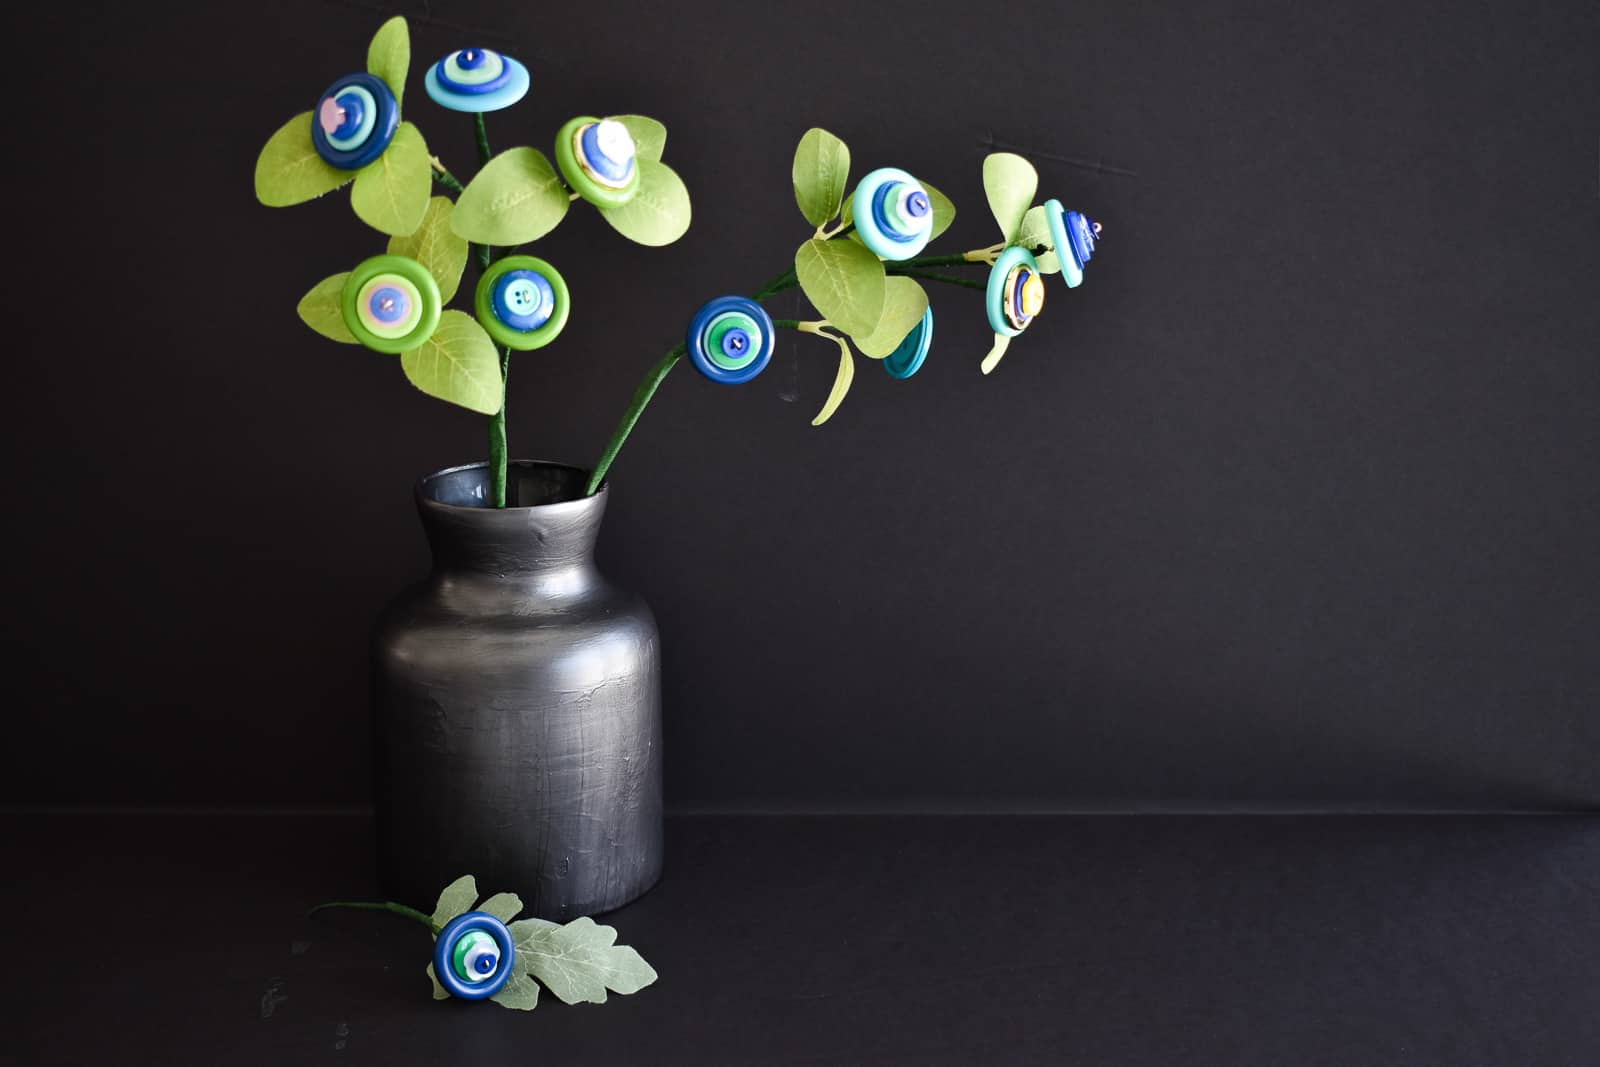
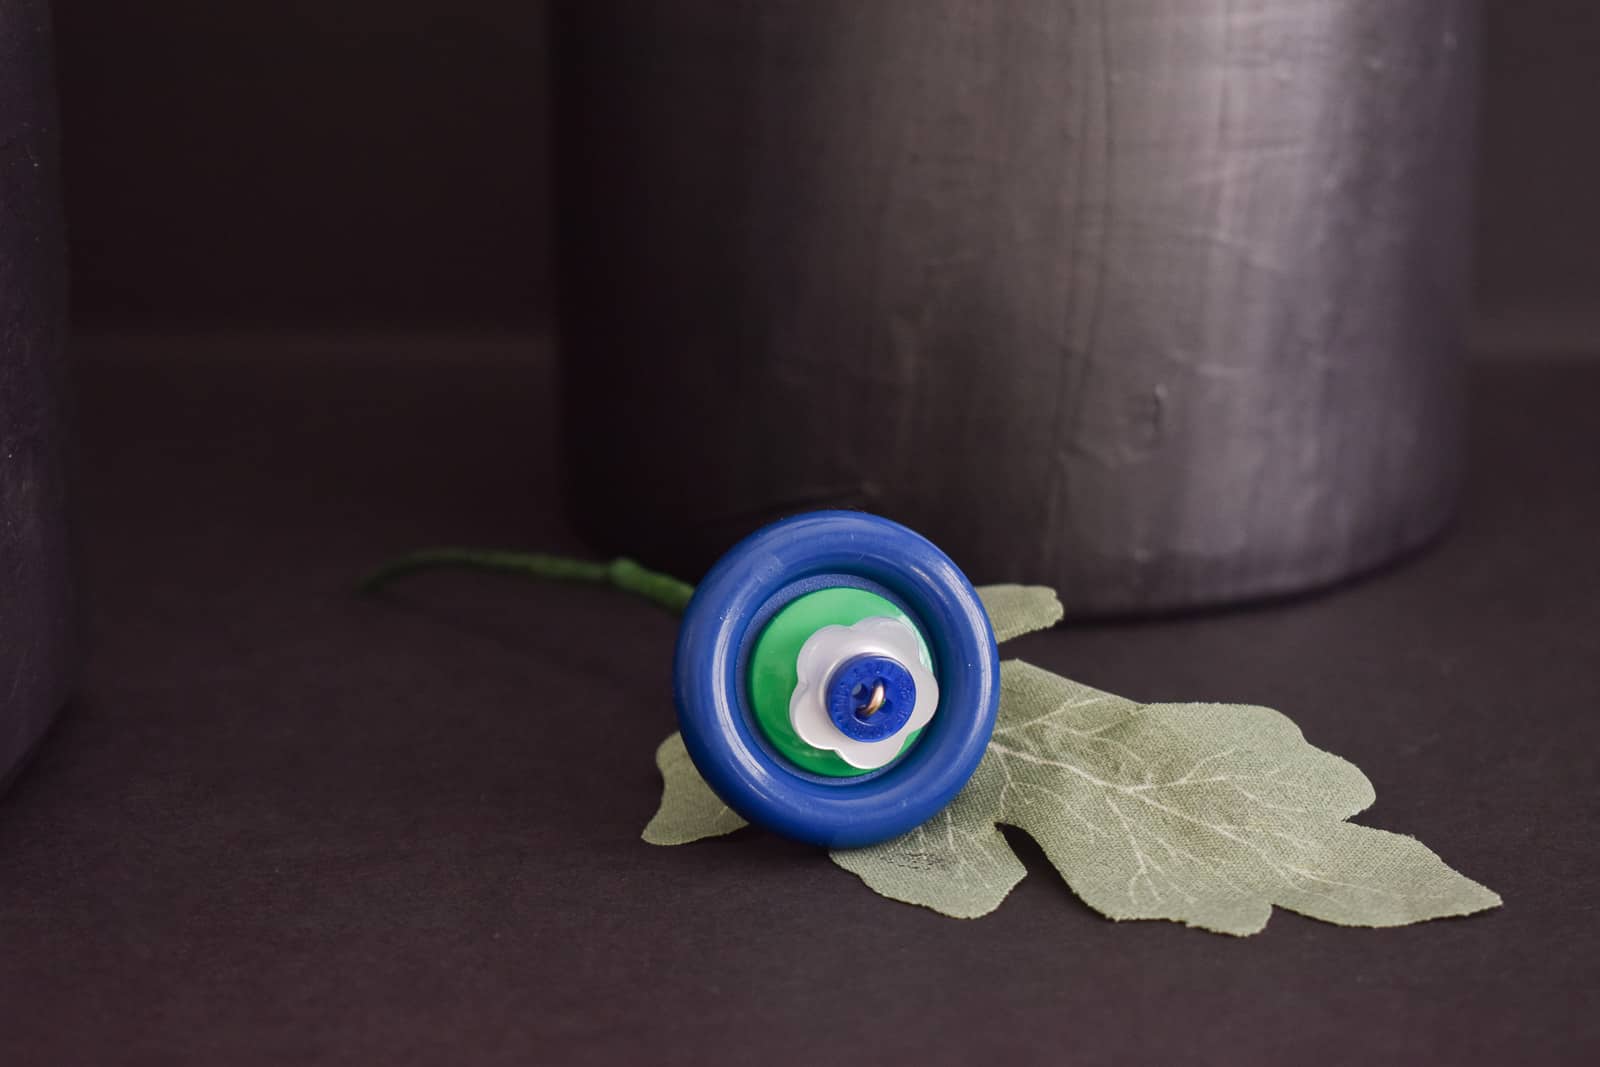
Here’s a final peek at my set up.
Materials for Button Flowers
- Buttons, buttons, and more buttons
- Wire
- Floral wire
- Floral Tape
- Faux flower/ Faux leaves
- Wire cutter
- Optional: wooden skewers
- Glass vases/ Glass Jars
- Metallic paint (I used Folk Art Brushed Metal… not available online)
- soft brushes
- black foam core project board
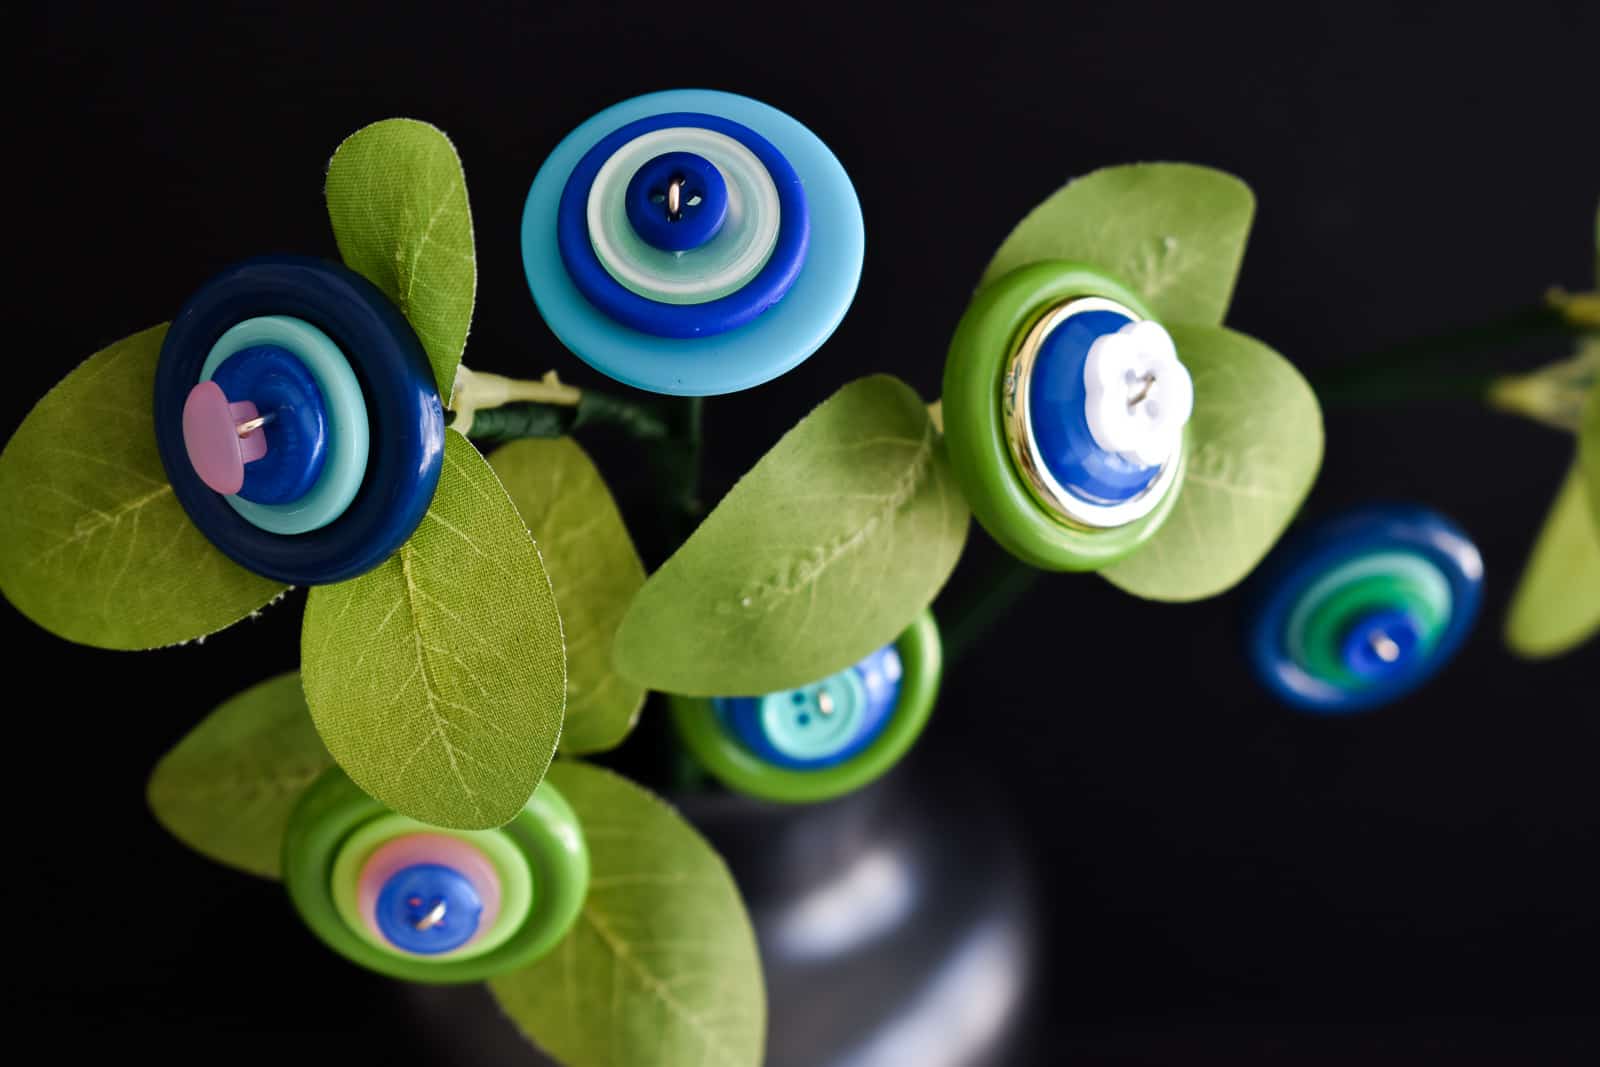



I just adore the colors you picked for the flowers. May I ask What two colors of metallic paint you used?
Hi! Thanks! The three metallics I purchased were Folk Art Brushed Metal in Brushed Black, DecoArt Extreme Sheen in Silver, and DecoArt Matte Metallic in Pewter. I honestly don’t remember which combo I used… but definitely the Folk Art (that *may* have been the only one so start with that!).