
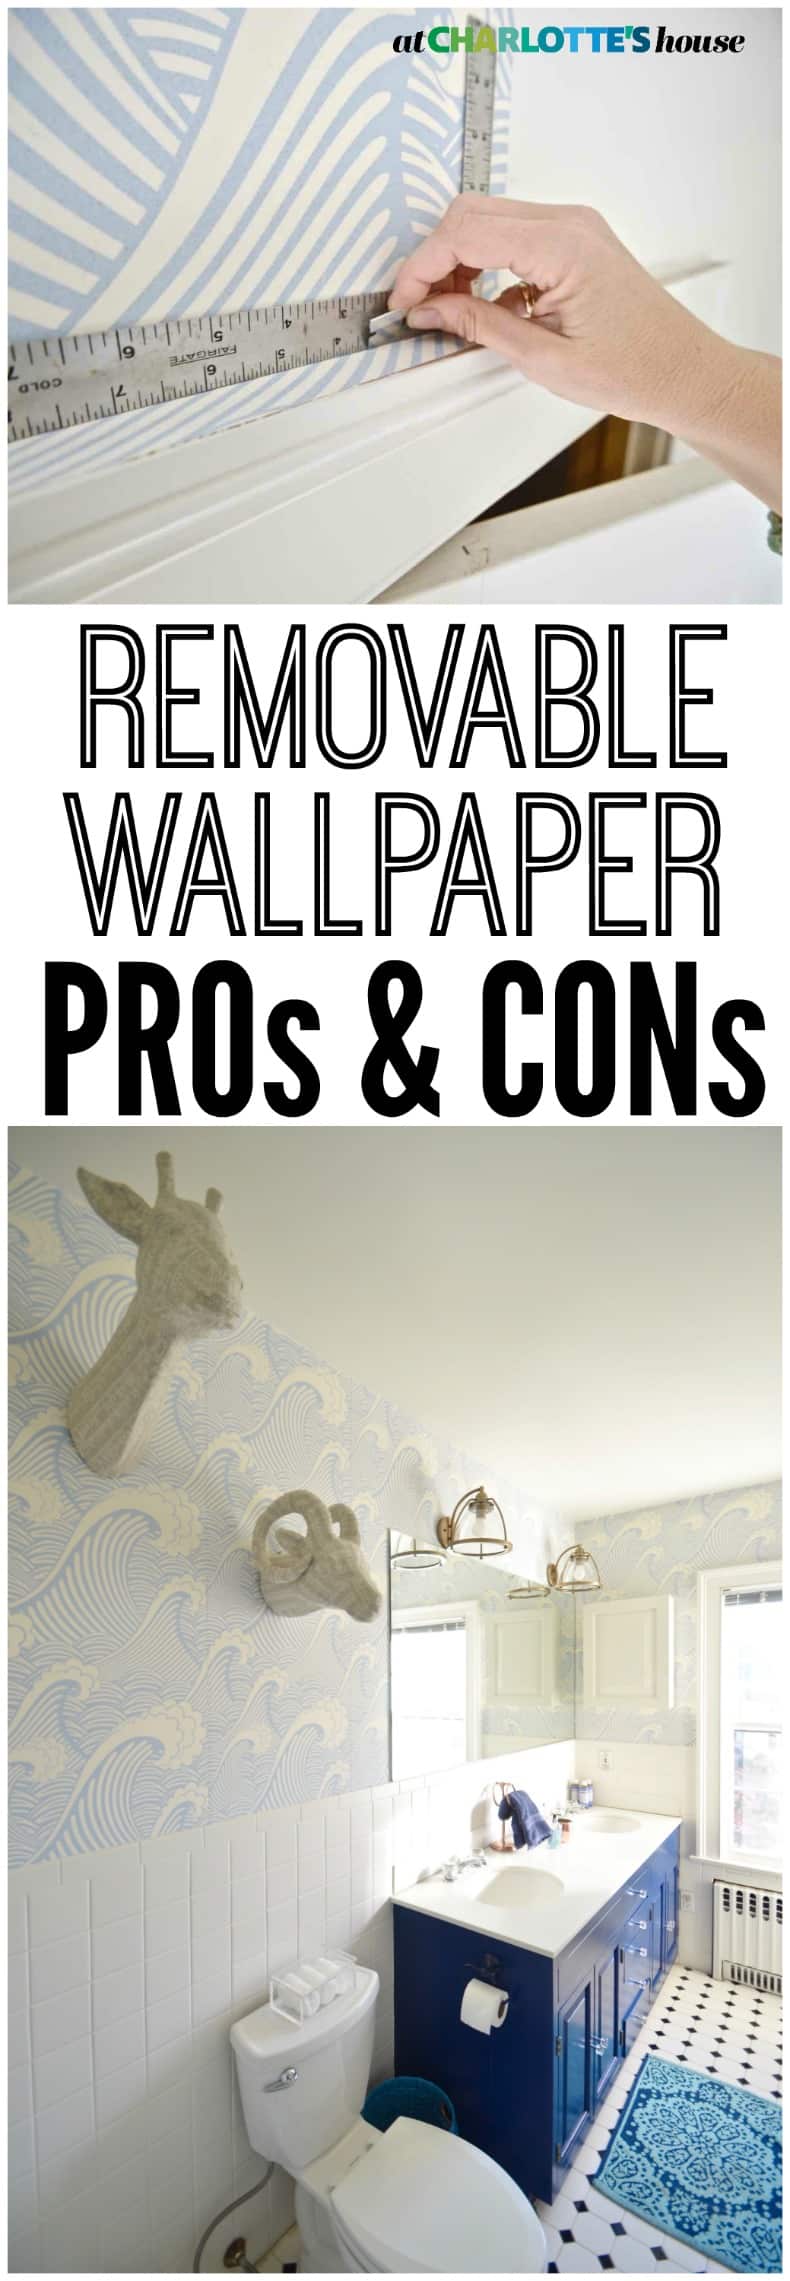
How To: Removable Wallpaper
Psssst… this post *might* contain affiliate links: see my disclosure here.
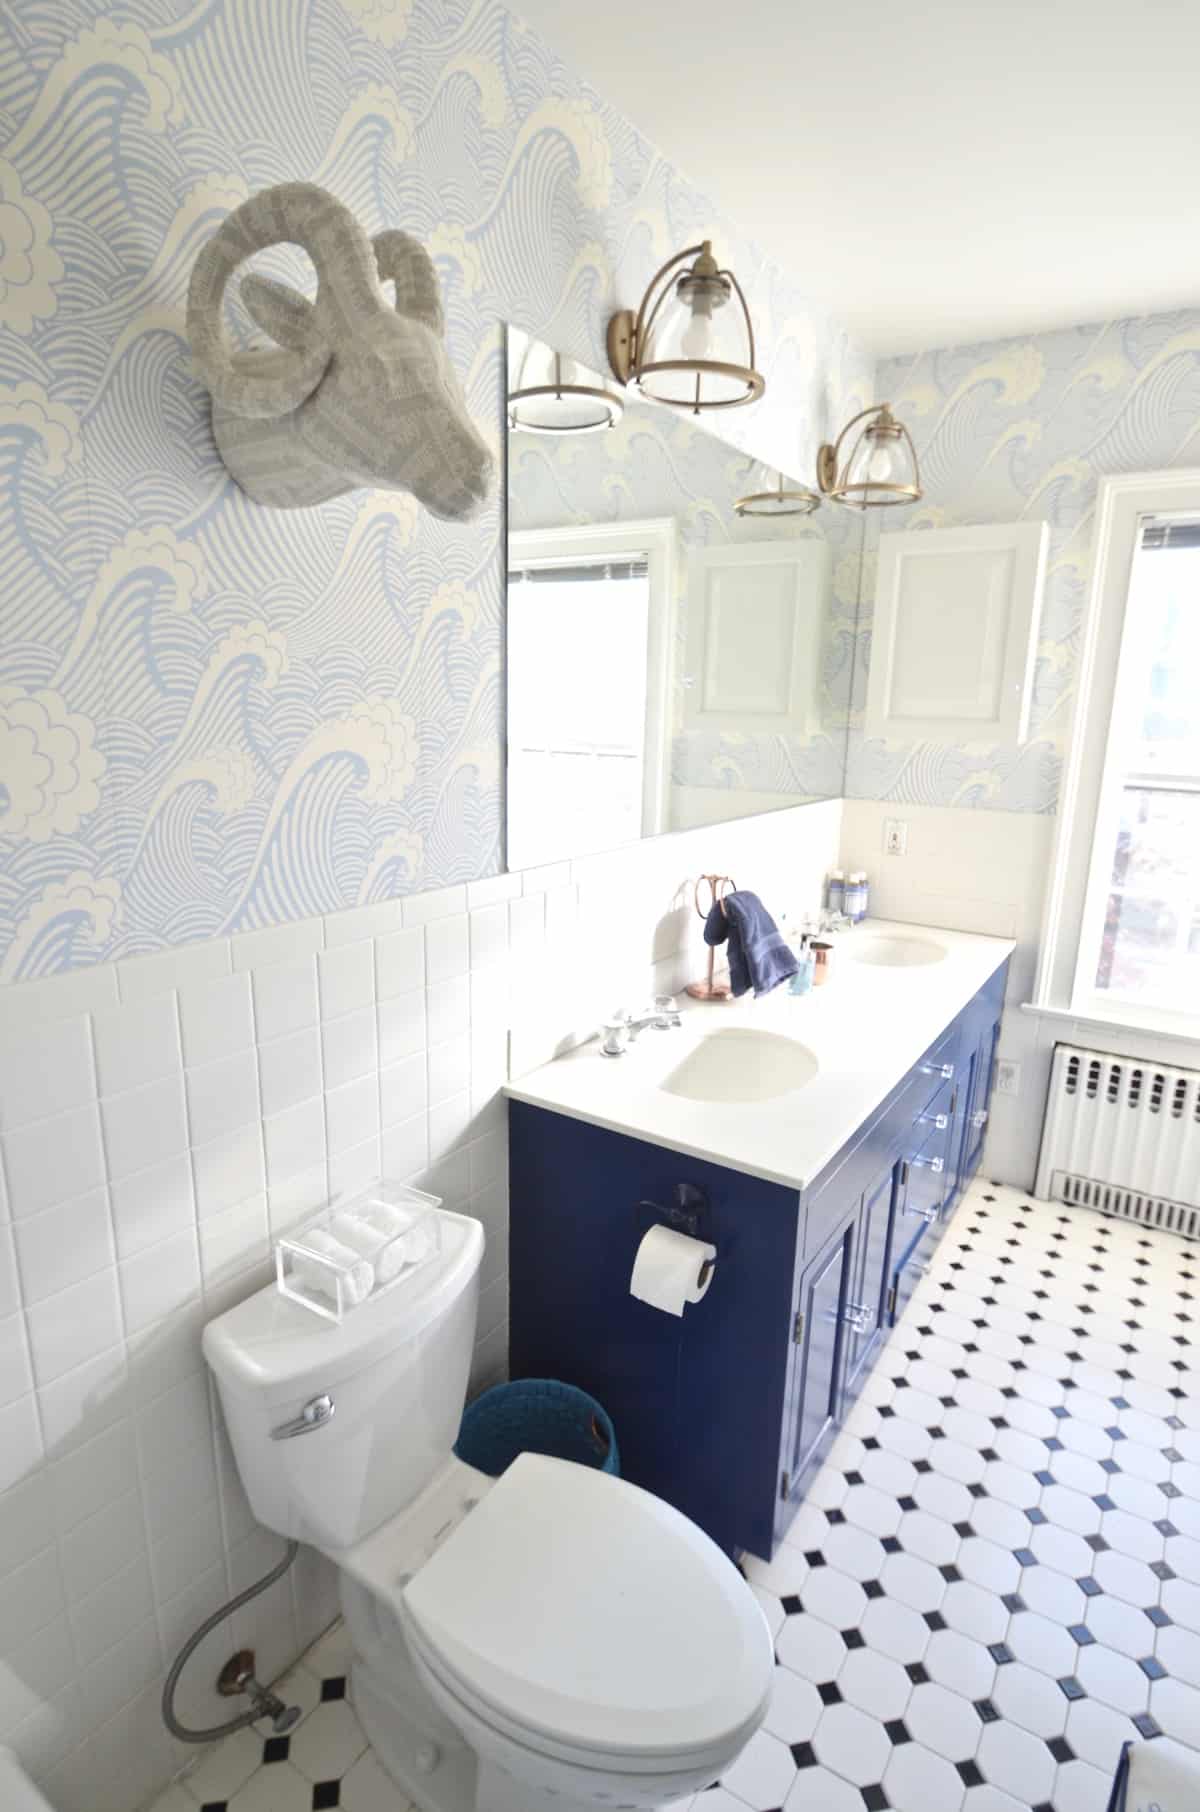
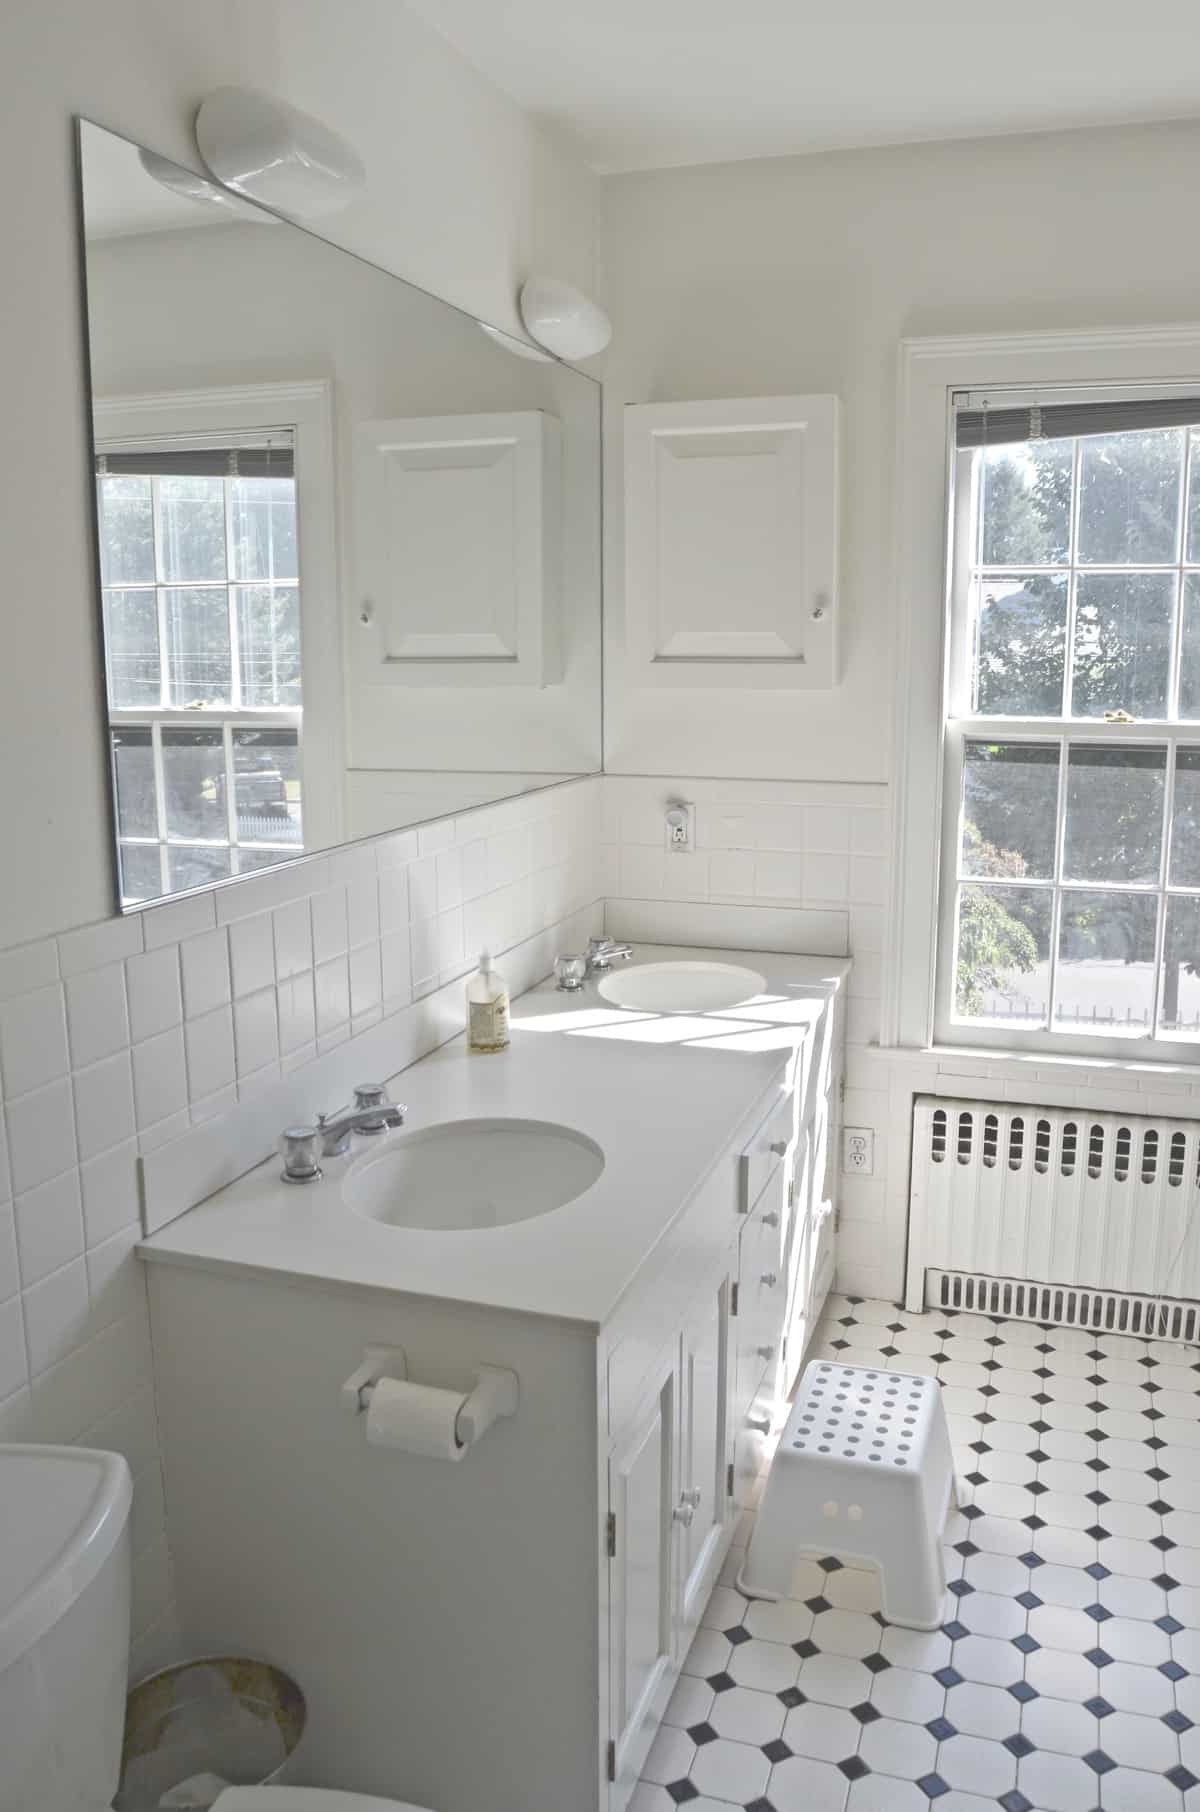
Last fall, I tackled the kids bathroom. Nothing major, but a big time refresh. I painted the vanity, brought in new lights, and added the icing on the cake: wallpaper. I LOVE wallpaper. It brings in pattern and depth and fun. I especially love wallpaper in a smaller space like a bathroom.
Disclosure: I reached out to WallsNeedLove and they were generous enough to send me their Waves of Chic removable paper. I’ve wallpapered a few other times (like here) and there’s definitely a learning curve, but this was my first time trying the removable/ peel and stick style wallpaper.
Shop my favorites!
How to Install Removable Peel and Stick Wallpaper
The process for a peel and stick is basically the same as regular wallpaper. You need the following supplies (affiliate links included):
- level
- box of razor blades
- metal ruler/ carpenter’s square
- scissors (I love my fancy gold ones!)
- step ladder (I have an ultra-lightweight one similar to this and I love it!)
- pencil
- sturdy piece of felt (included) to smooth out paper (this might work too!)
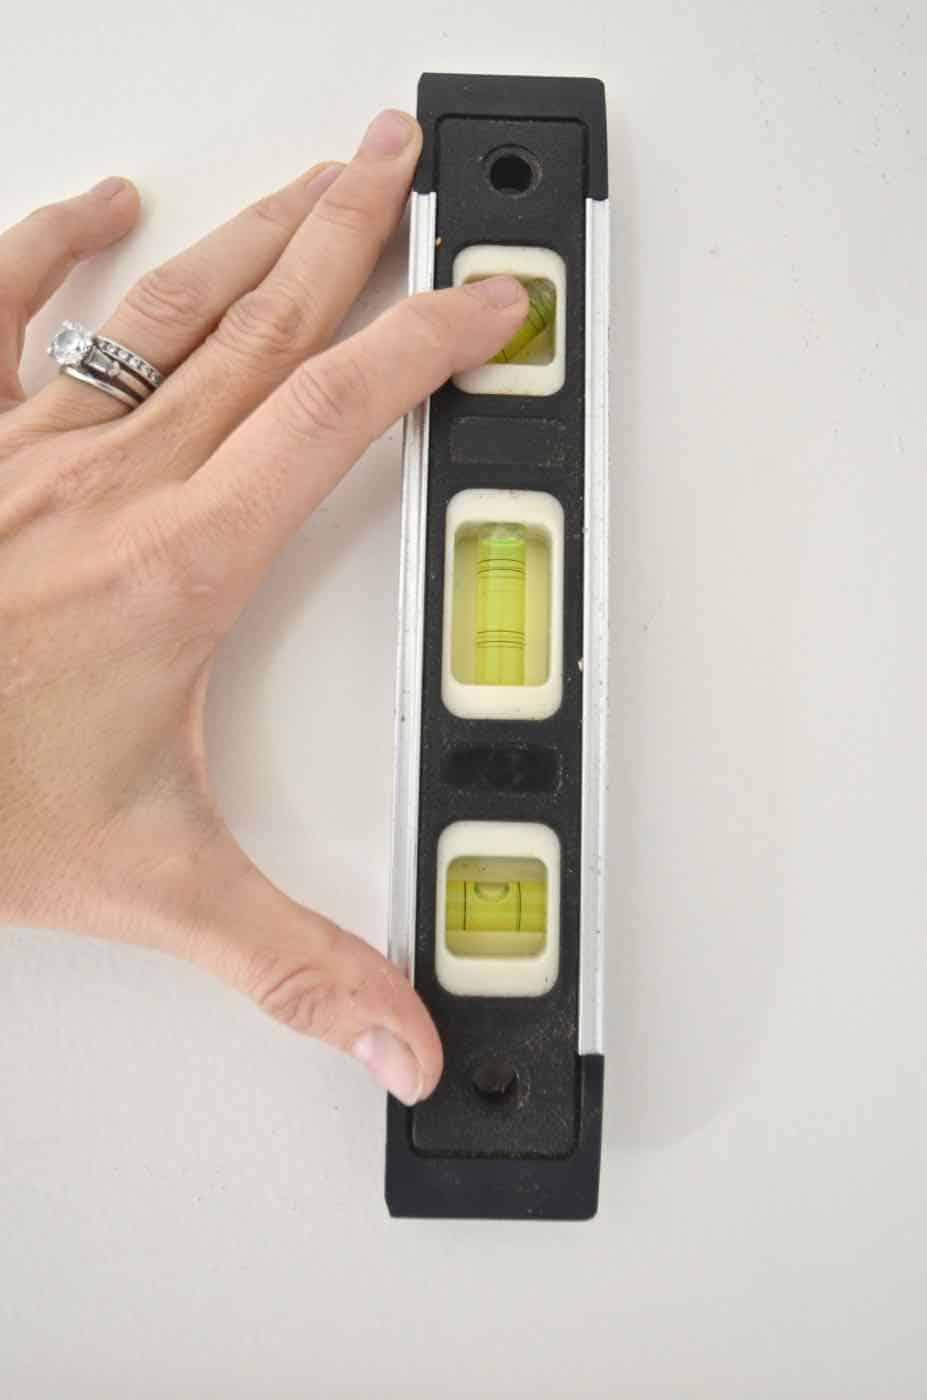
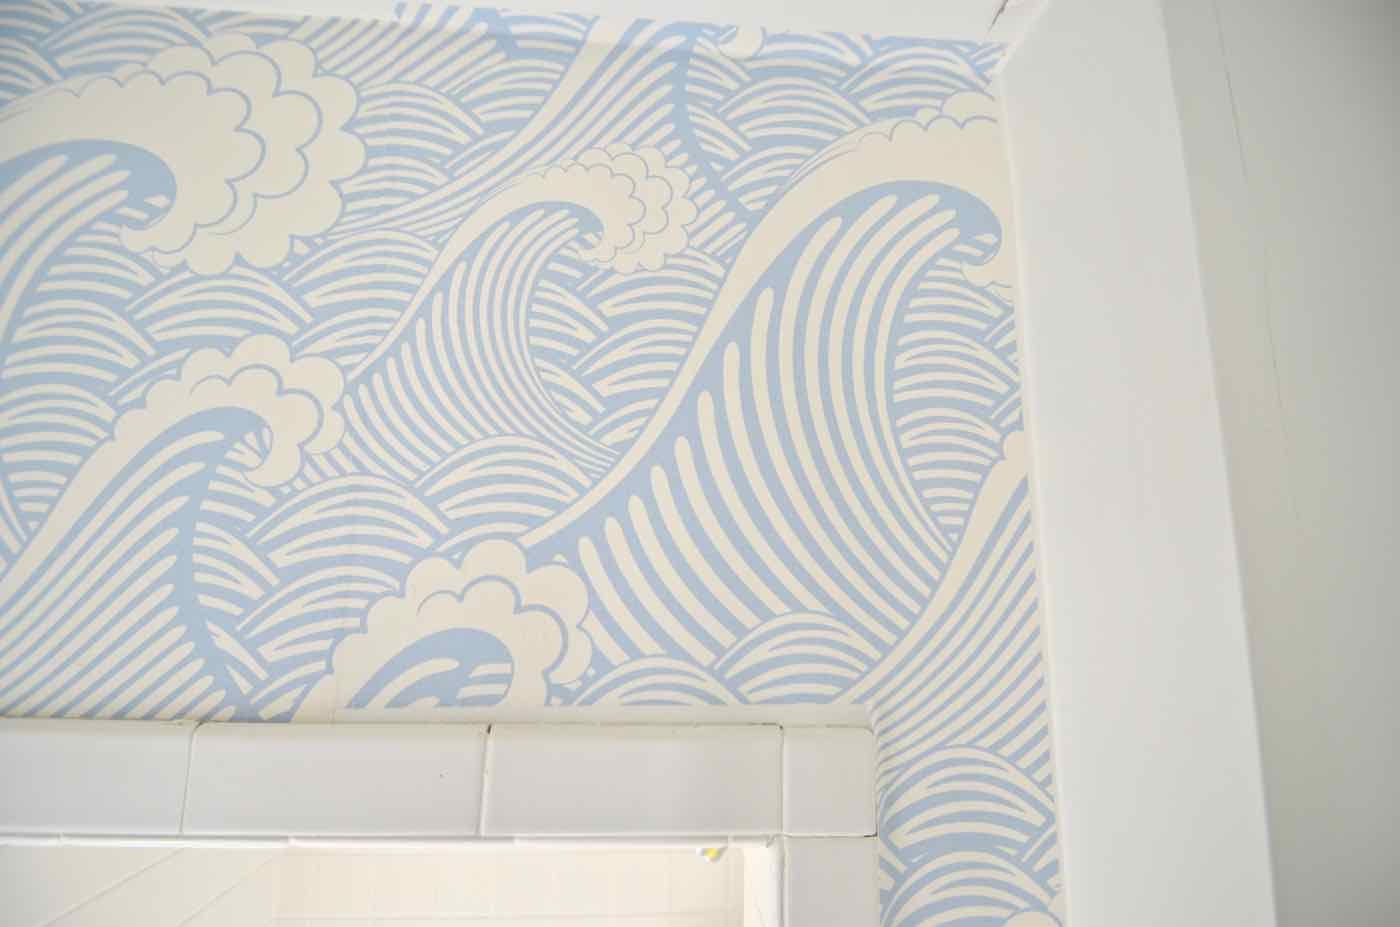
Step 1. Mark a guideline
Start in the least obvious corner of the room. Measure the width of your wallpaper. Draw a vertical line away from your corner slightly less than this measurement. (I.e. If your wallpaper is 24″ wide, draw this line 23″ away from the corner to allow for a 1″ to overlap that corner.) Use your level to ensure this line is dead straight.
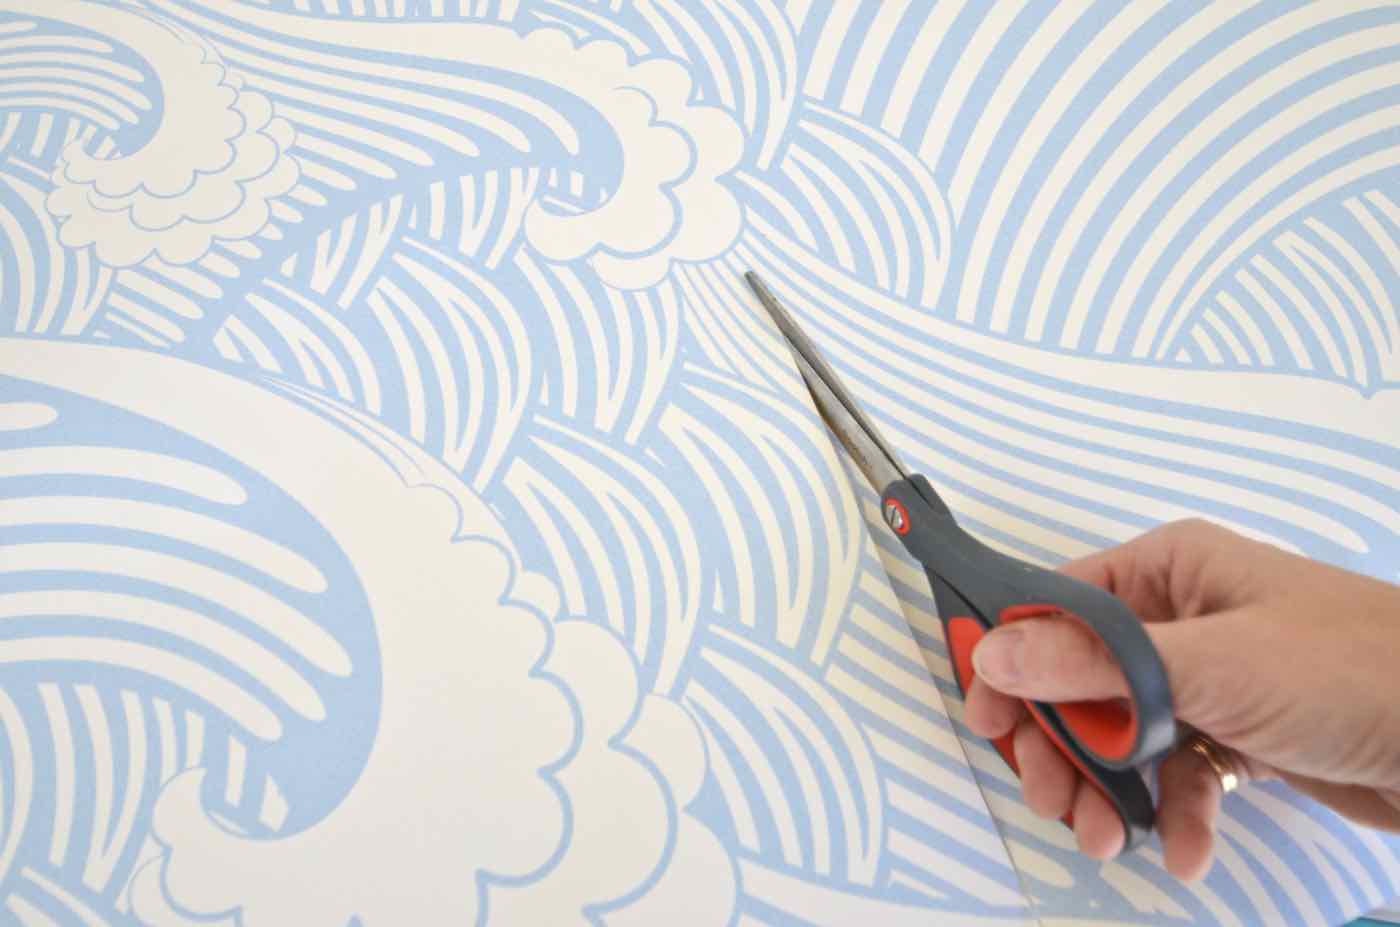
Using scissors, cut the first strip a few inches longer than the length of the wall to allow for some overlap on the top and bottom edge.
Step 2. Adhere the First strip of paper
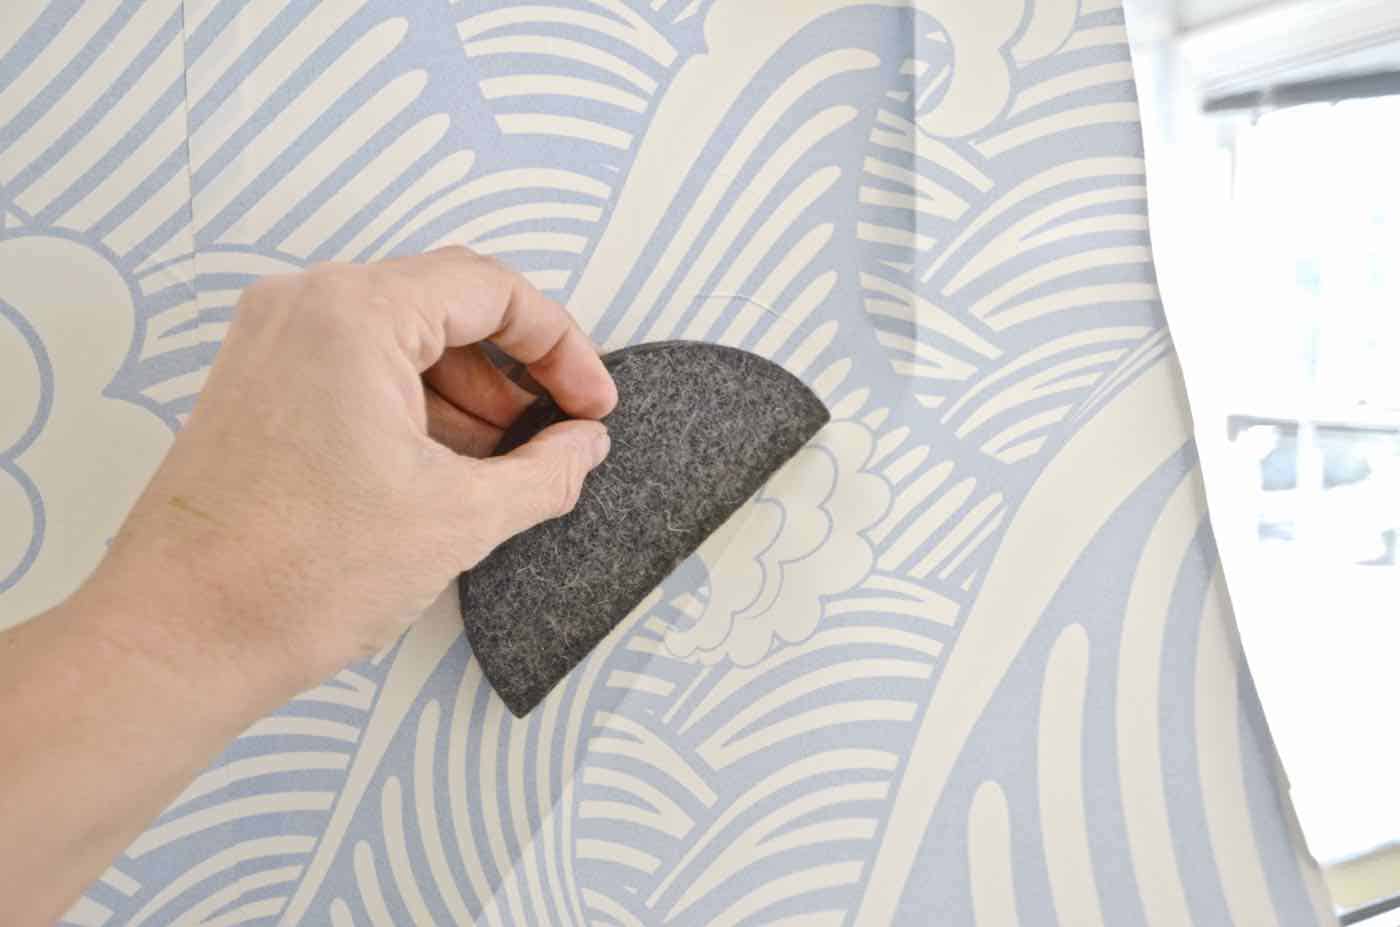
Peel back six inches of backing and align your paper with your guide line. Carefully smooth down the paper, removing the backing as you go. Make sure the edge is lined up with your pencil line the entire length. Continue to smooth out your paper moving from the inside of the paper towards the edges, ‘pulling’ the air bubbles with you as you go.
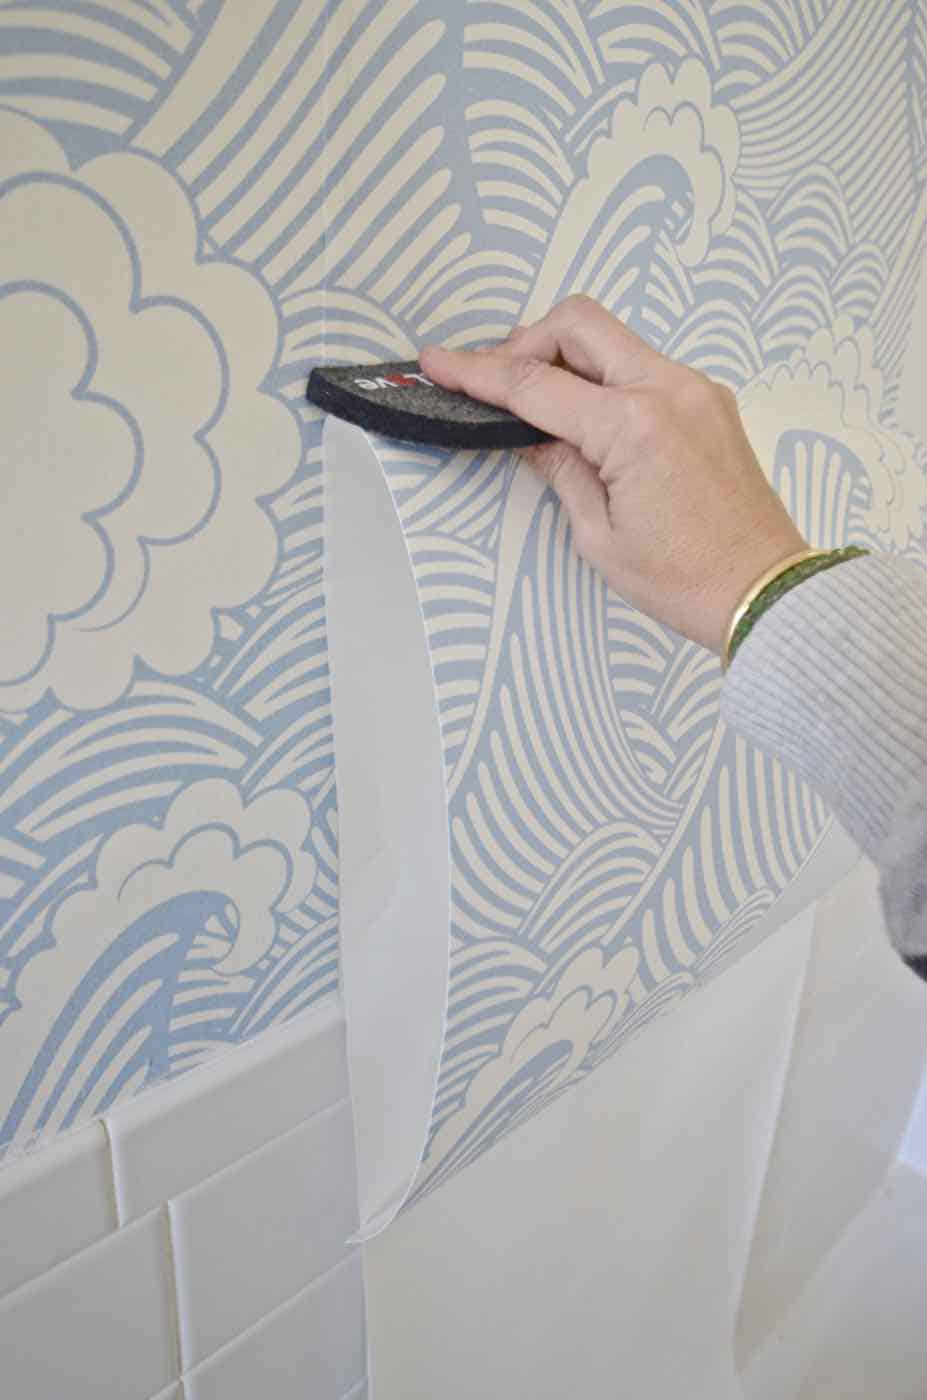
Tip: for any stubborn air bubbles, make a small incision with your blade and smooth over with the felt.
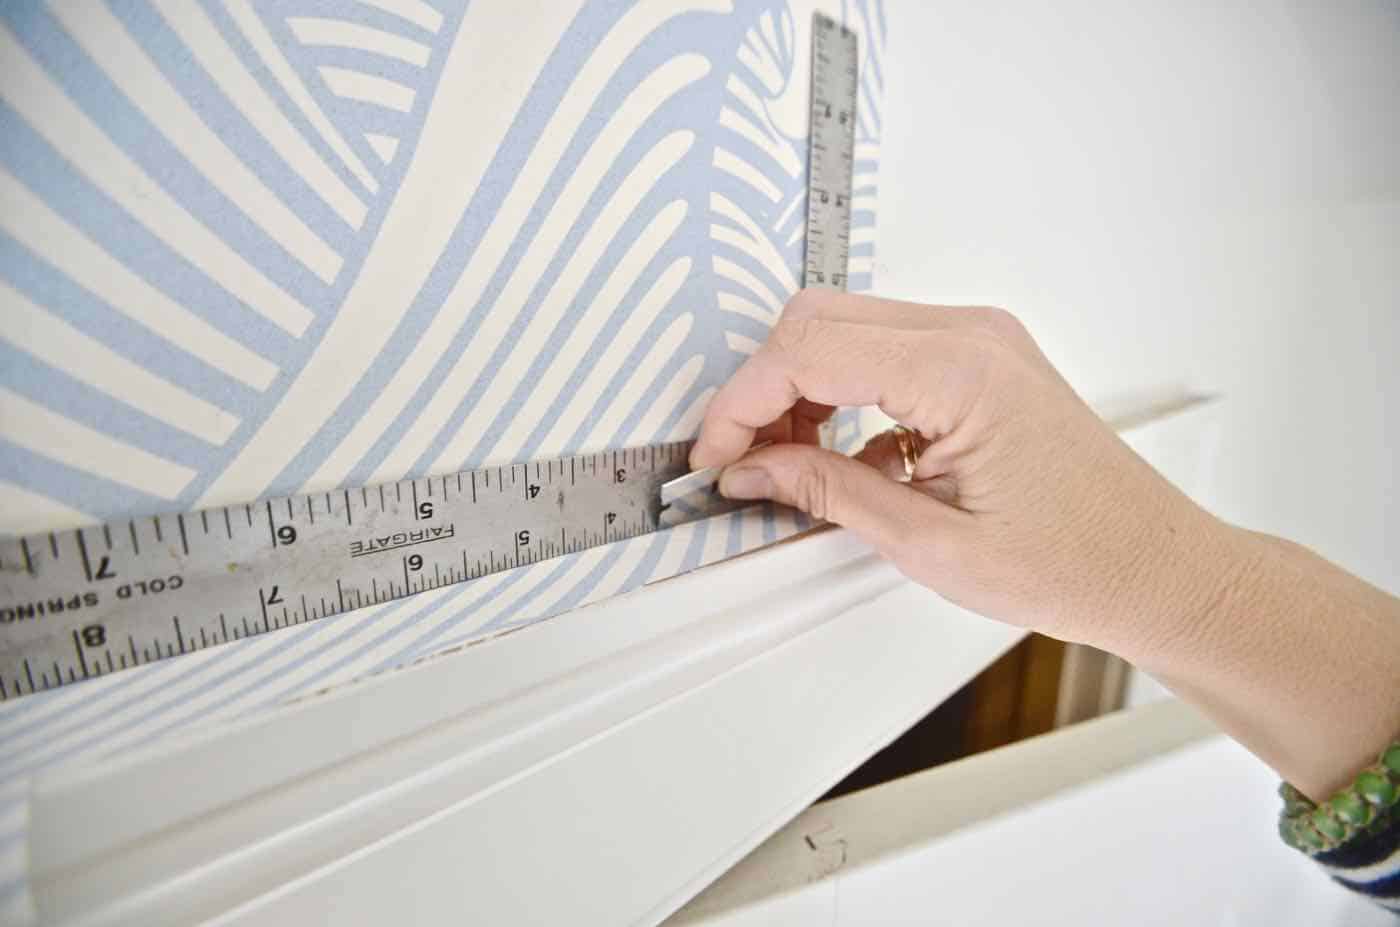
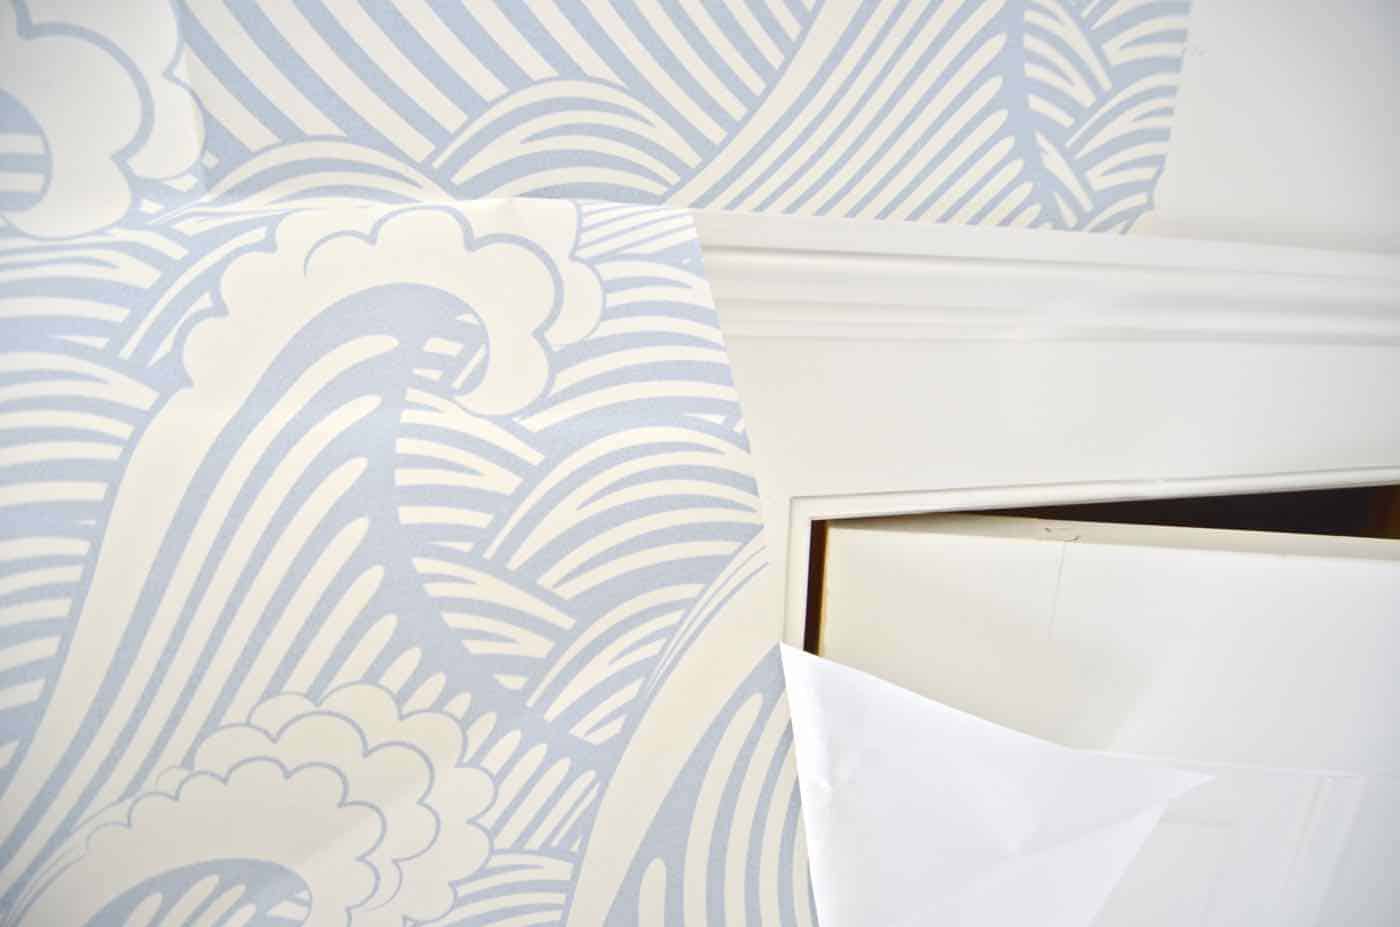
Step 3. Trim the edges.
Place your ruler against the ceiling edge or molding edge and, holding your sharp blade against the ruler, slowly run the blade along the edge. A SHARP blade is super important. I ultimately used one blade for every 3-5 cuts.
Step 4. Repeat!
Line up the edges and overlap the next strip the tiniest bit. Smooth towards the edges as before and feel free to lift your paper up from the wall to realign as needed.
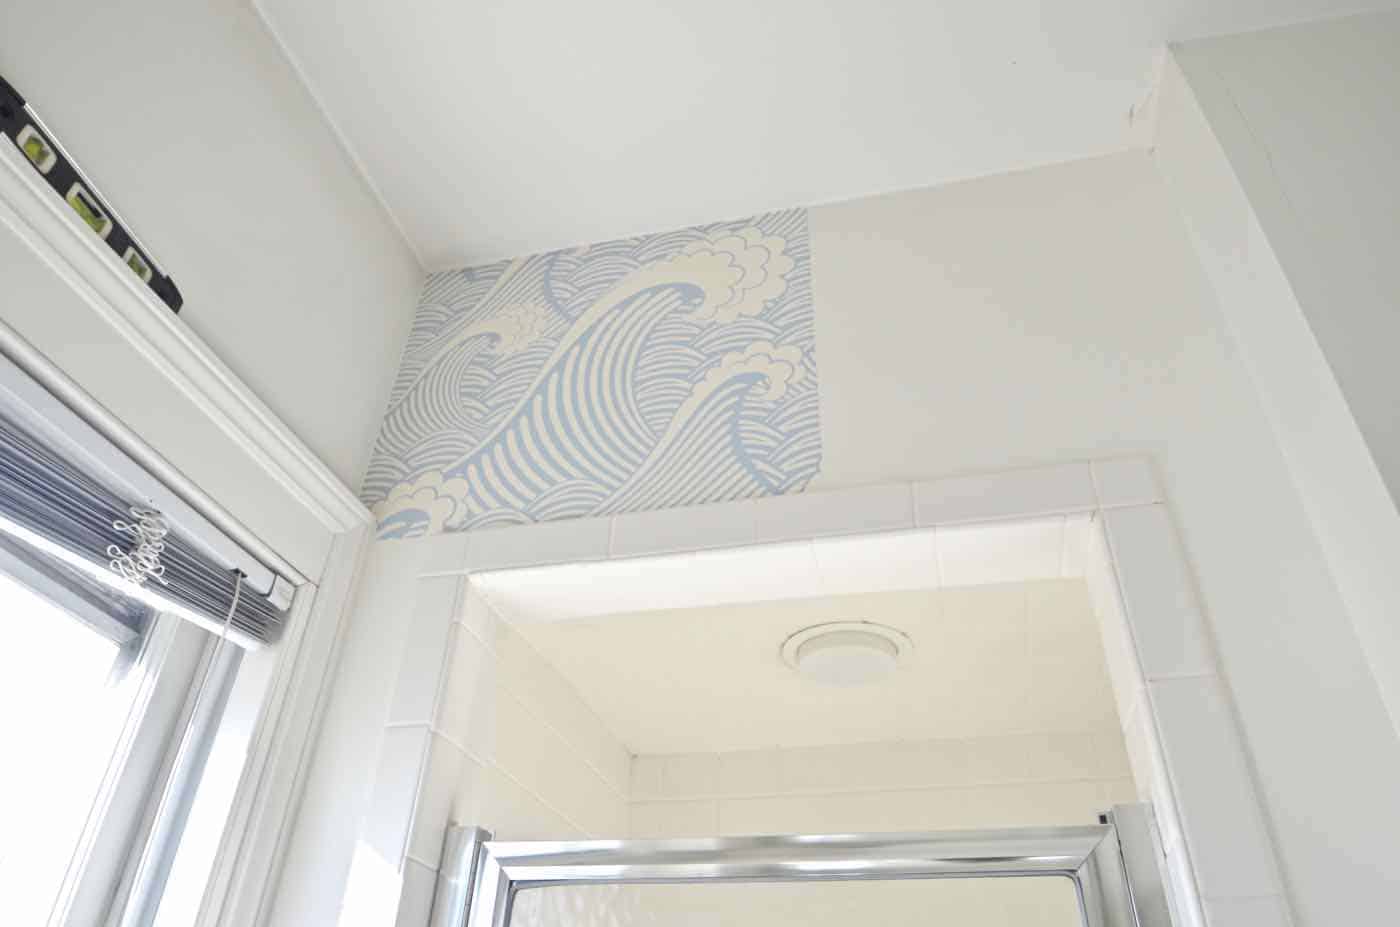
Doors and windows are always the challenge with wallpaper. I’m NO expert, but what worked best for me was to trim away as much of the excess paper as I could and then make release cuts into the corners. But there was definitely some cursing involved at times.
I realize that these instructions don’t seem all that extensive, but… that’s kind of the deal with wallpaper. The How-To is pretty basic! Smooth out the wallpaper onto the wall one strip at a time making sure each strip is dead straight. Repeat. No question it sounds MUCH easier than it is the first few times, but it truly isn’t hard. It just takes a little patience and a little practice!
The question I get asked the most is which one is better… So here’s my unscientific comparison of removable wallpaper vs. pasted/ traditional paper:
Application
Ultimately, you apply both papers the same.
• Removable paper is CLEANER to apply… no drips, no sponge, no paste. No water bath or pasting table is required.
• Removable paper doesn’t require nearly as much space to apply. No table or large flat surface is needed to handle the paper
Note: There were some spots in our bathroom in which the removable paper actually peeled off the drywall in places so I wouldn’t bet your security deposit on the ‘removability’ of the paper, but in general… yes… it was repositionable.
But… traditional wallpaper is quite a bit more FORGIVING. The paste allows you slide the paper around on the wall to line it up, whereas the removable paper… sticks.
Verdict: IF you have the space required to apply traditional wallpaper (table, soak tub, etc.) I give it a slight edge.
Cost
Comparable. And with any design project, the cost will depend on the brand and the pattern.
Verdict: Tie
Appearance
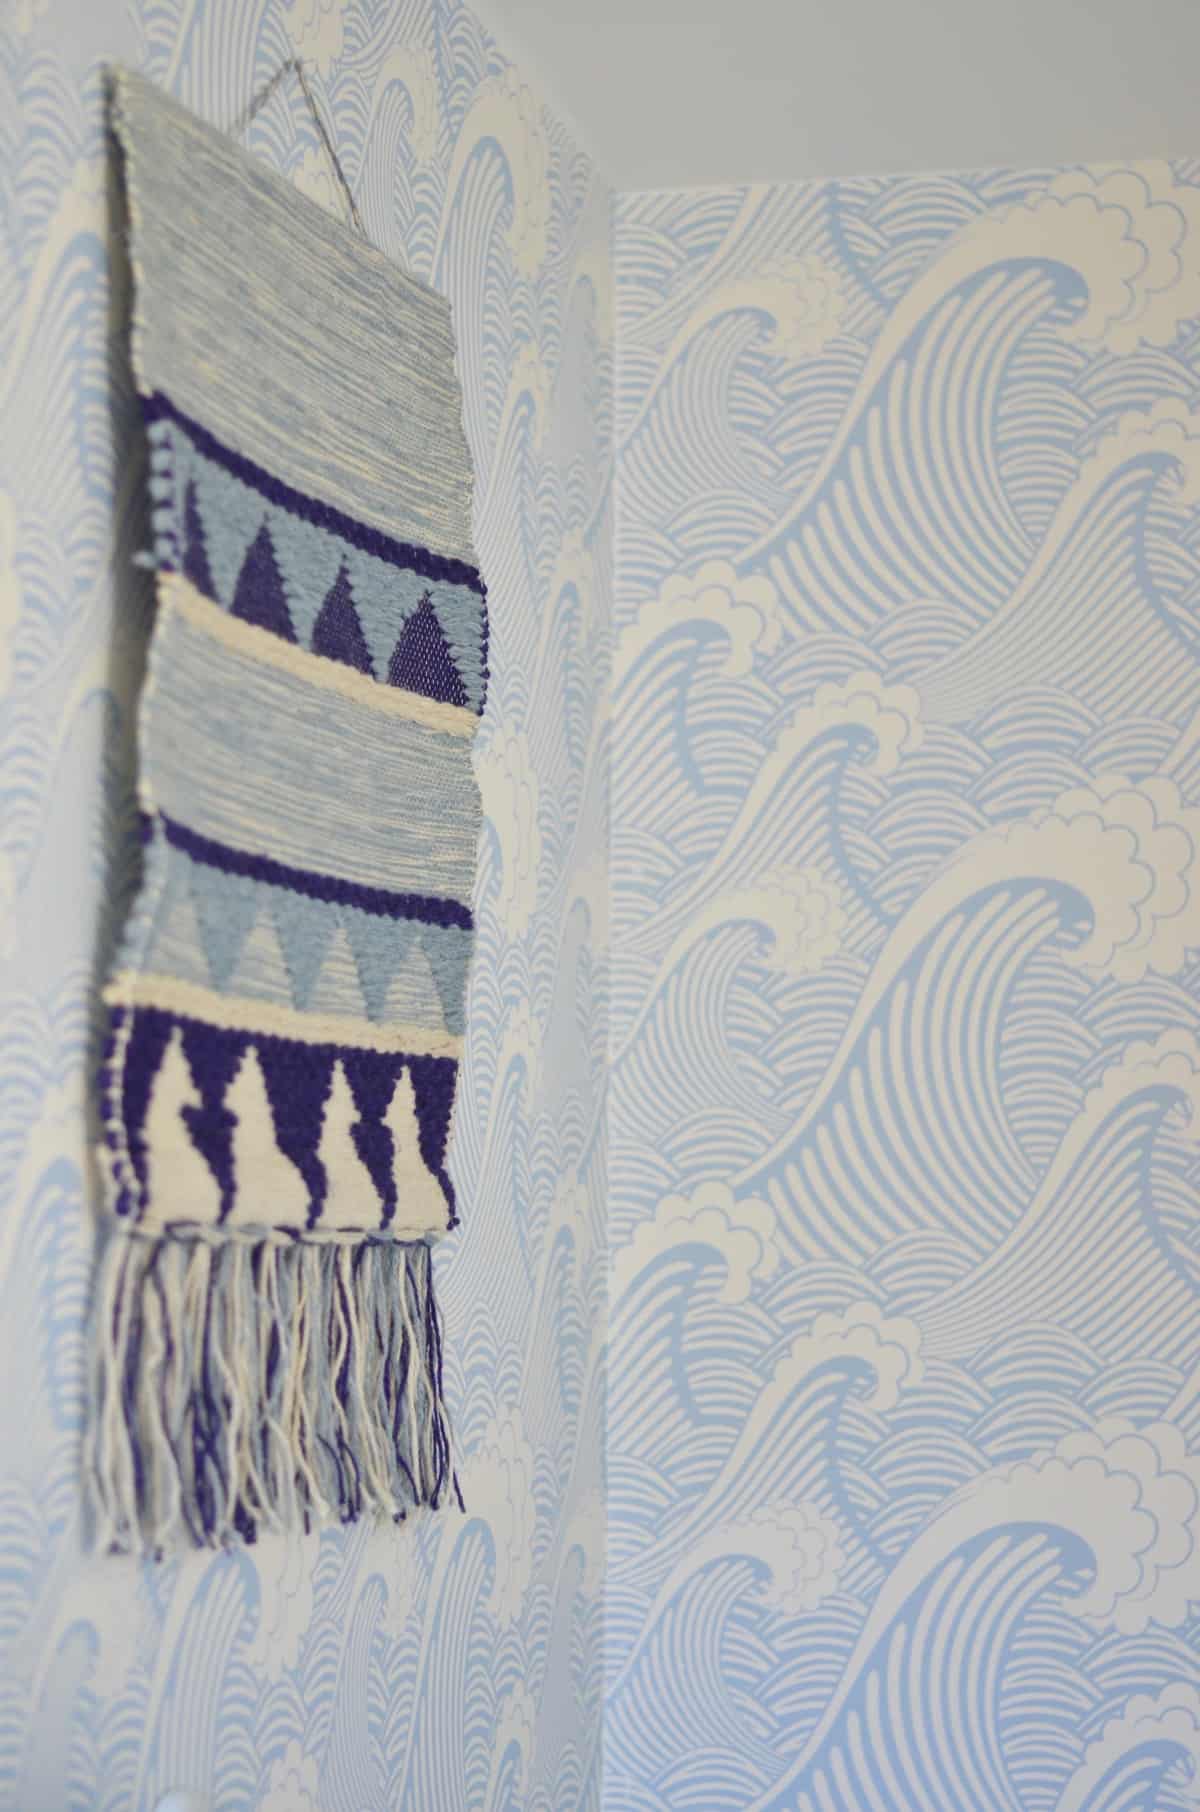
I’ve only used removable wallpaper once and I LOVED the pattern I chose. I can’t tell if this pattern/ paper is the norm for removable wallpaper or not, but it has more of a pixelated quality than a screenprinted quality if that makes sense. I also noticed in one small spot where I got a little dirt on the paper, the color smudged ever so slightly when I went to scrub the mark off.
Verdict: Quality felt the slightest bit different with the removable wallpaper, but… I would DEFinitely use it again if I liked the color and the pattern. In other words, whatever miniscule difference there might be in the printing process of removable wallpaper versus traditional wallpaper… it wasn’t enough to deter me even a little bit. I LOVE this paper.
Overall Winner?
Ultimately I’m going to choose a paper that fits my scheme for the space. Period. BUT… if there was ever a situation in which the same pattern was available in both removable AND traditional pasted paper, I’d probably choose the pasted. No question it takes a little more prep work and a little more space to install, but… the ability to slide the paper around in order to line up the seems is worth the extra prep/ clean up required! (The one exception might be a small space like an accent wall. Removable might get the edge so I didn’t have to set up a whole wallpaper station.)
Please leave me any questions or comments! I’d be curious to know what your experience is with removable wallpaper!
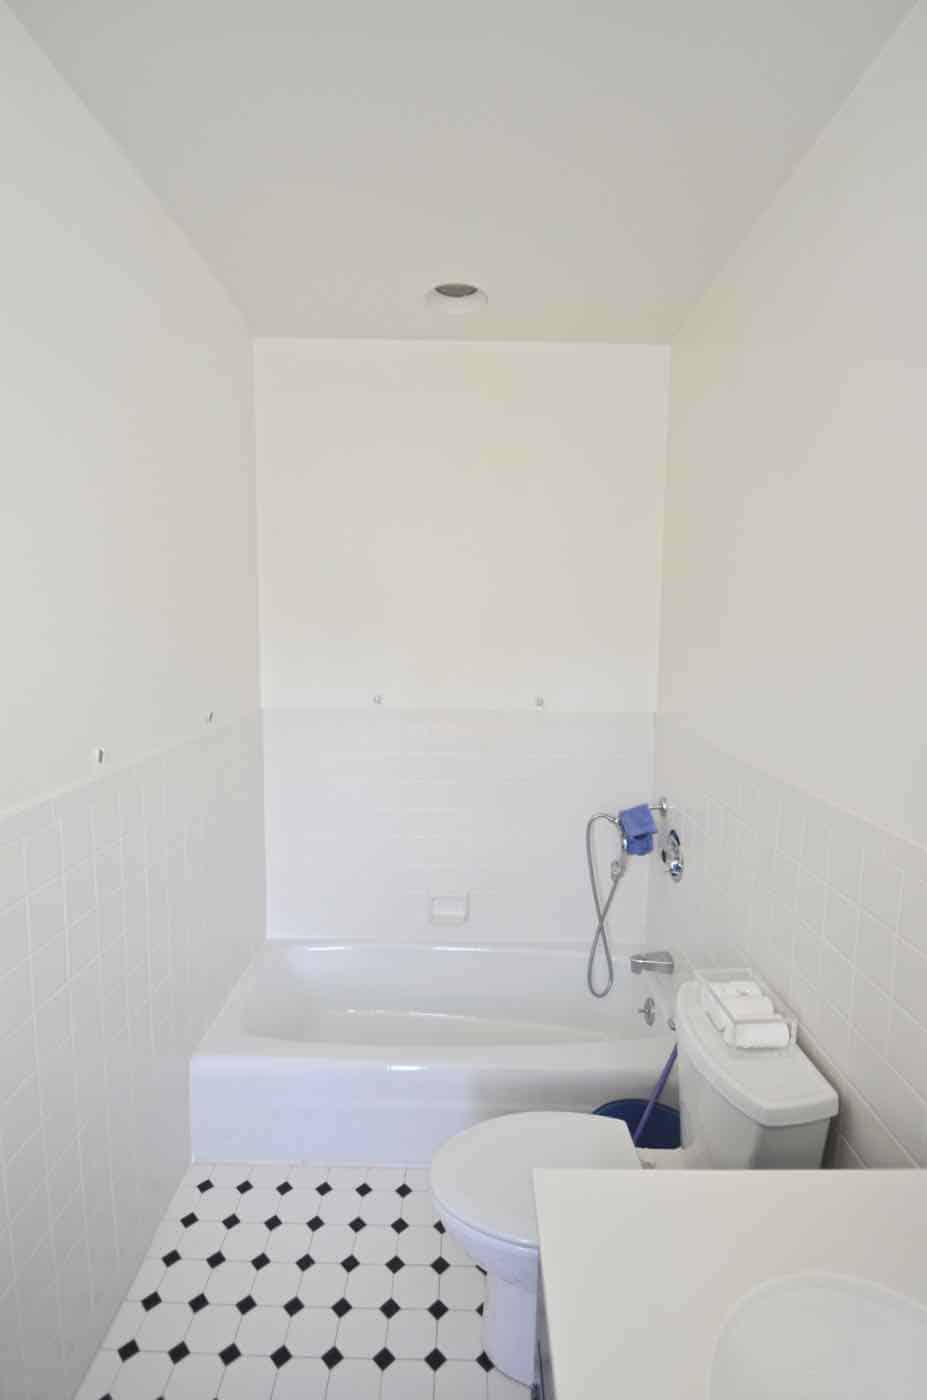
Before:
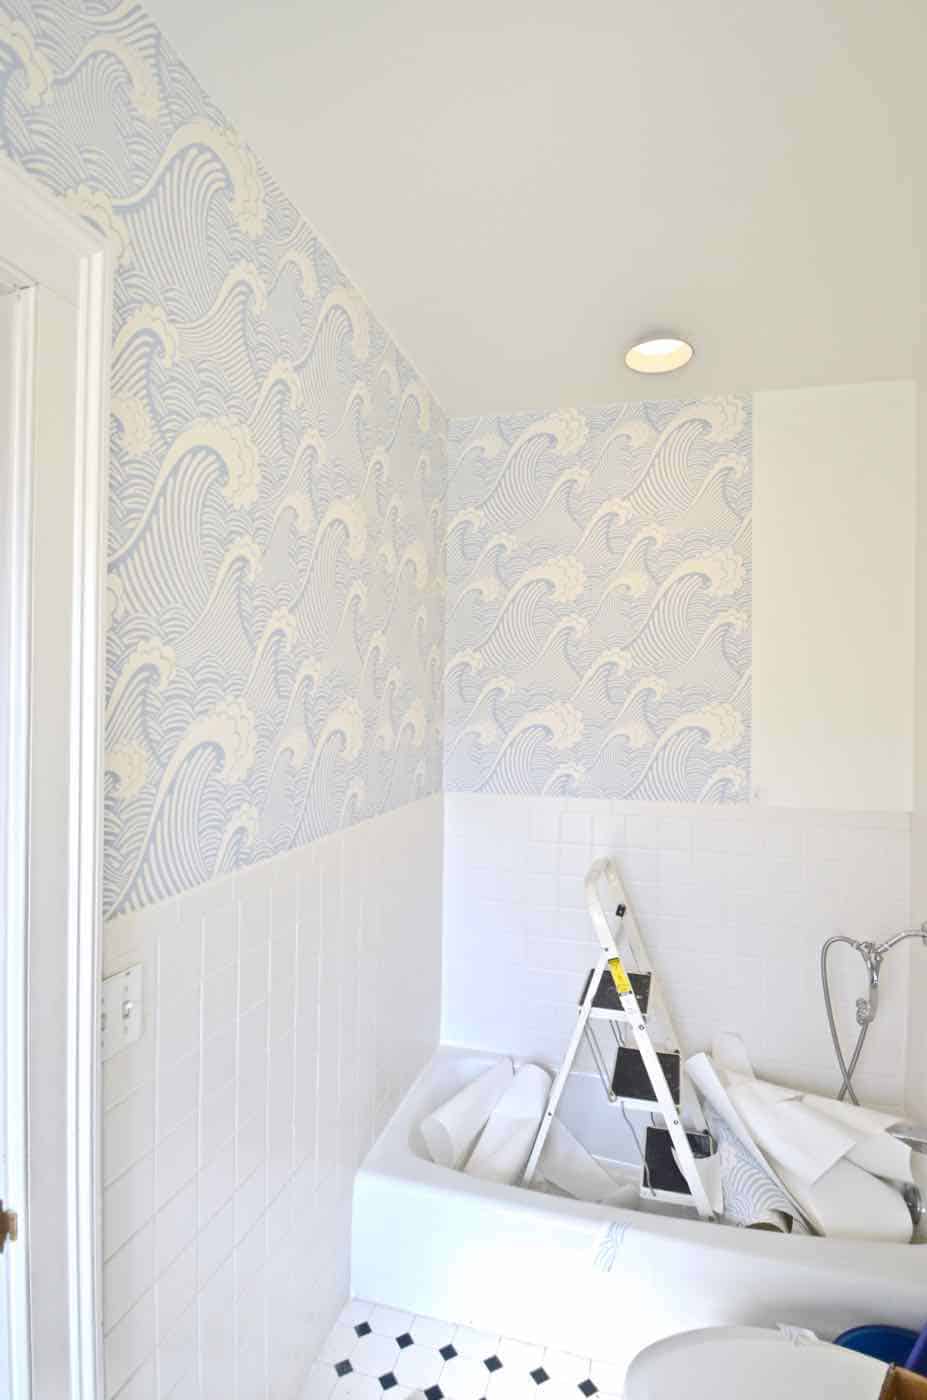
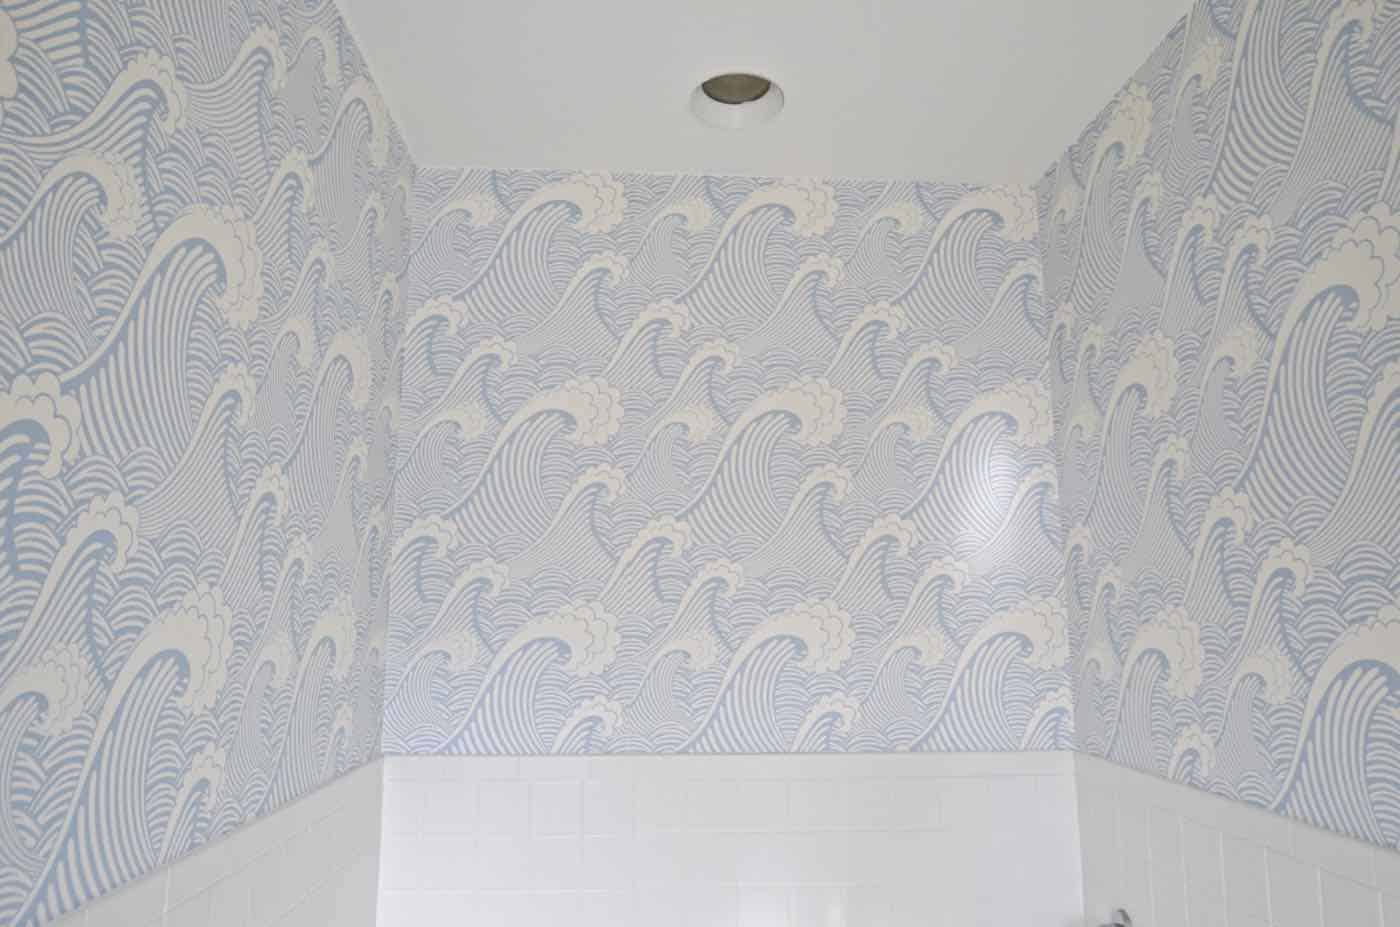
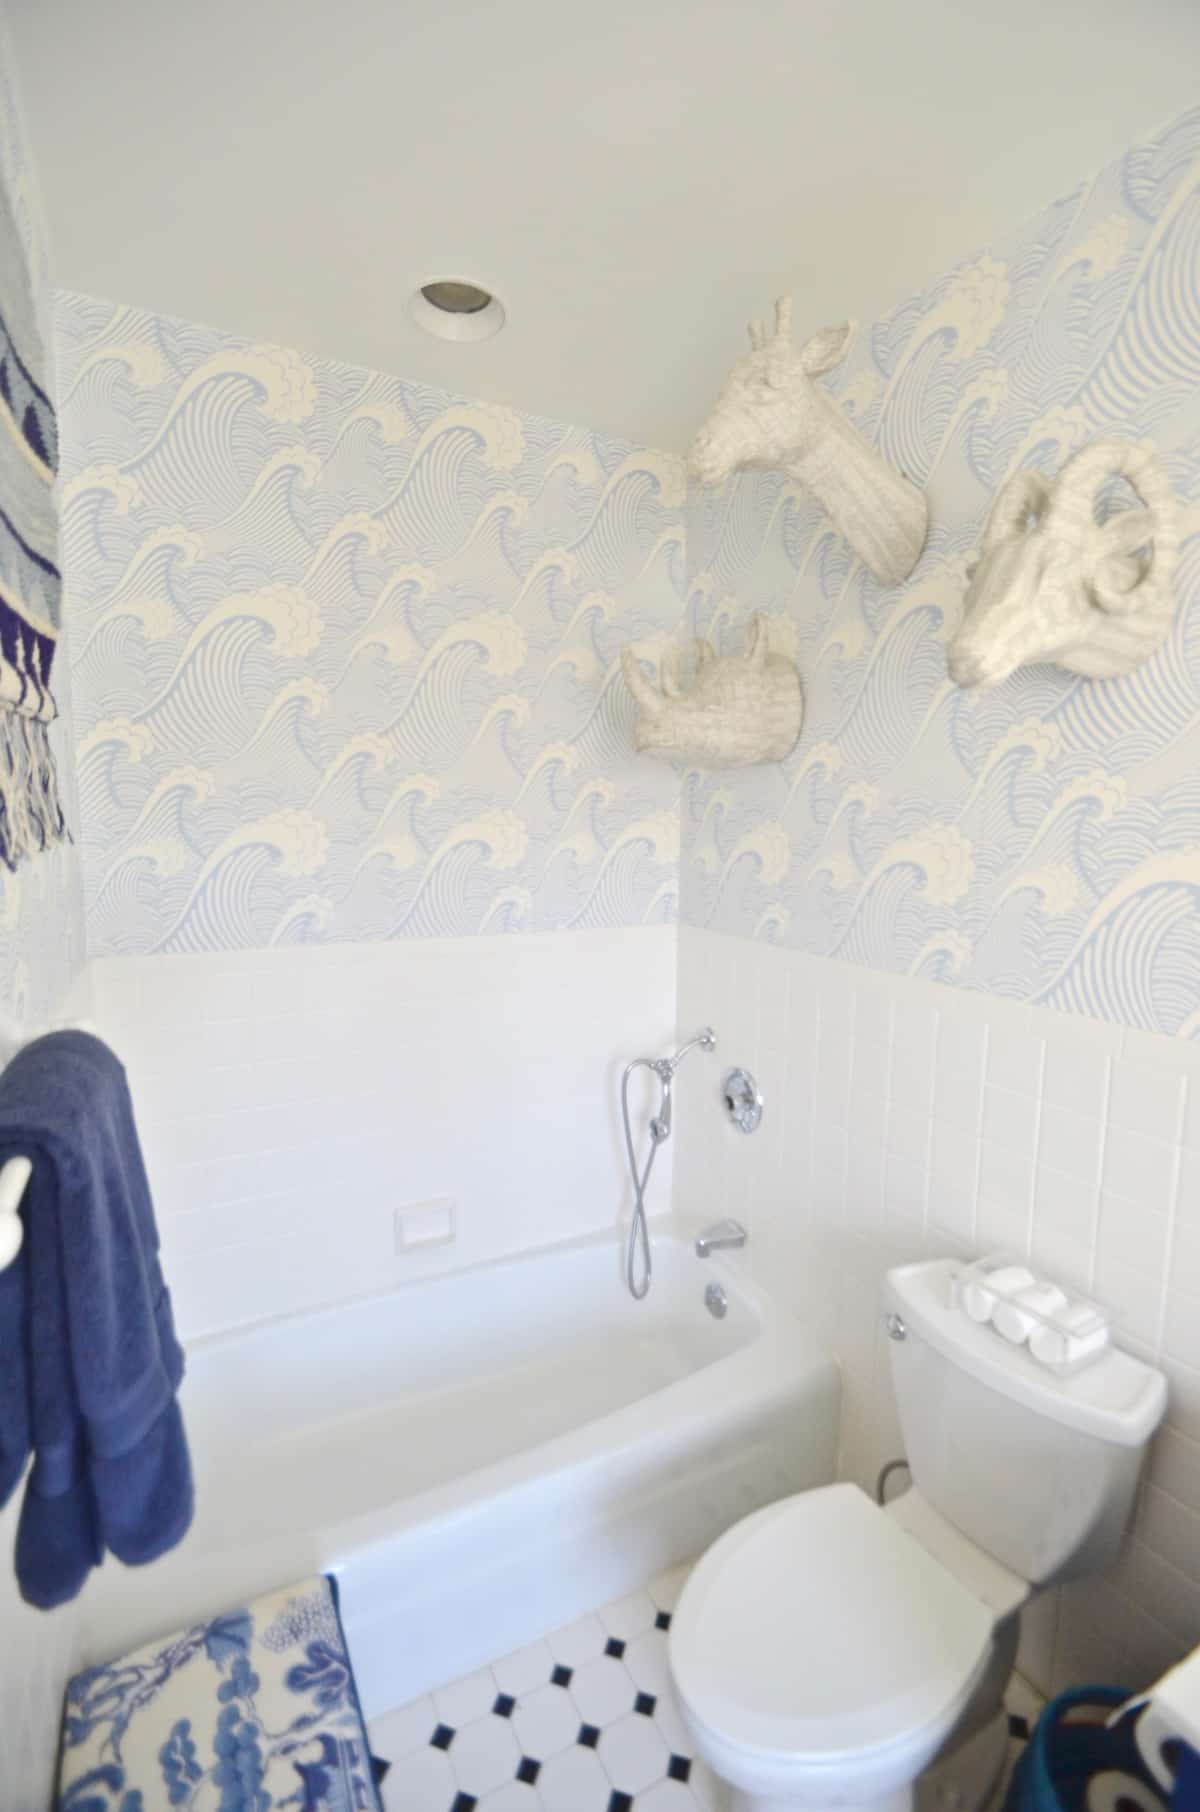
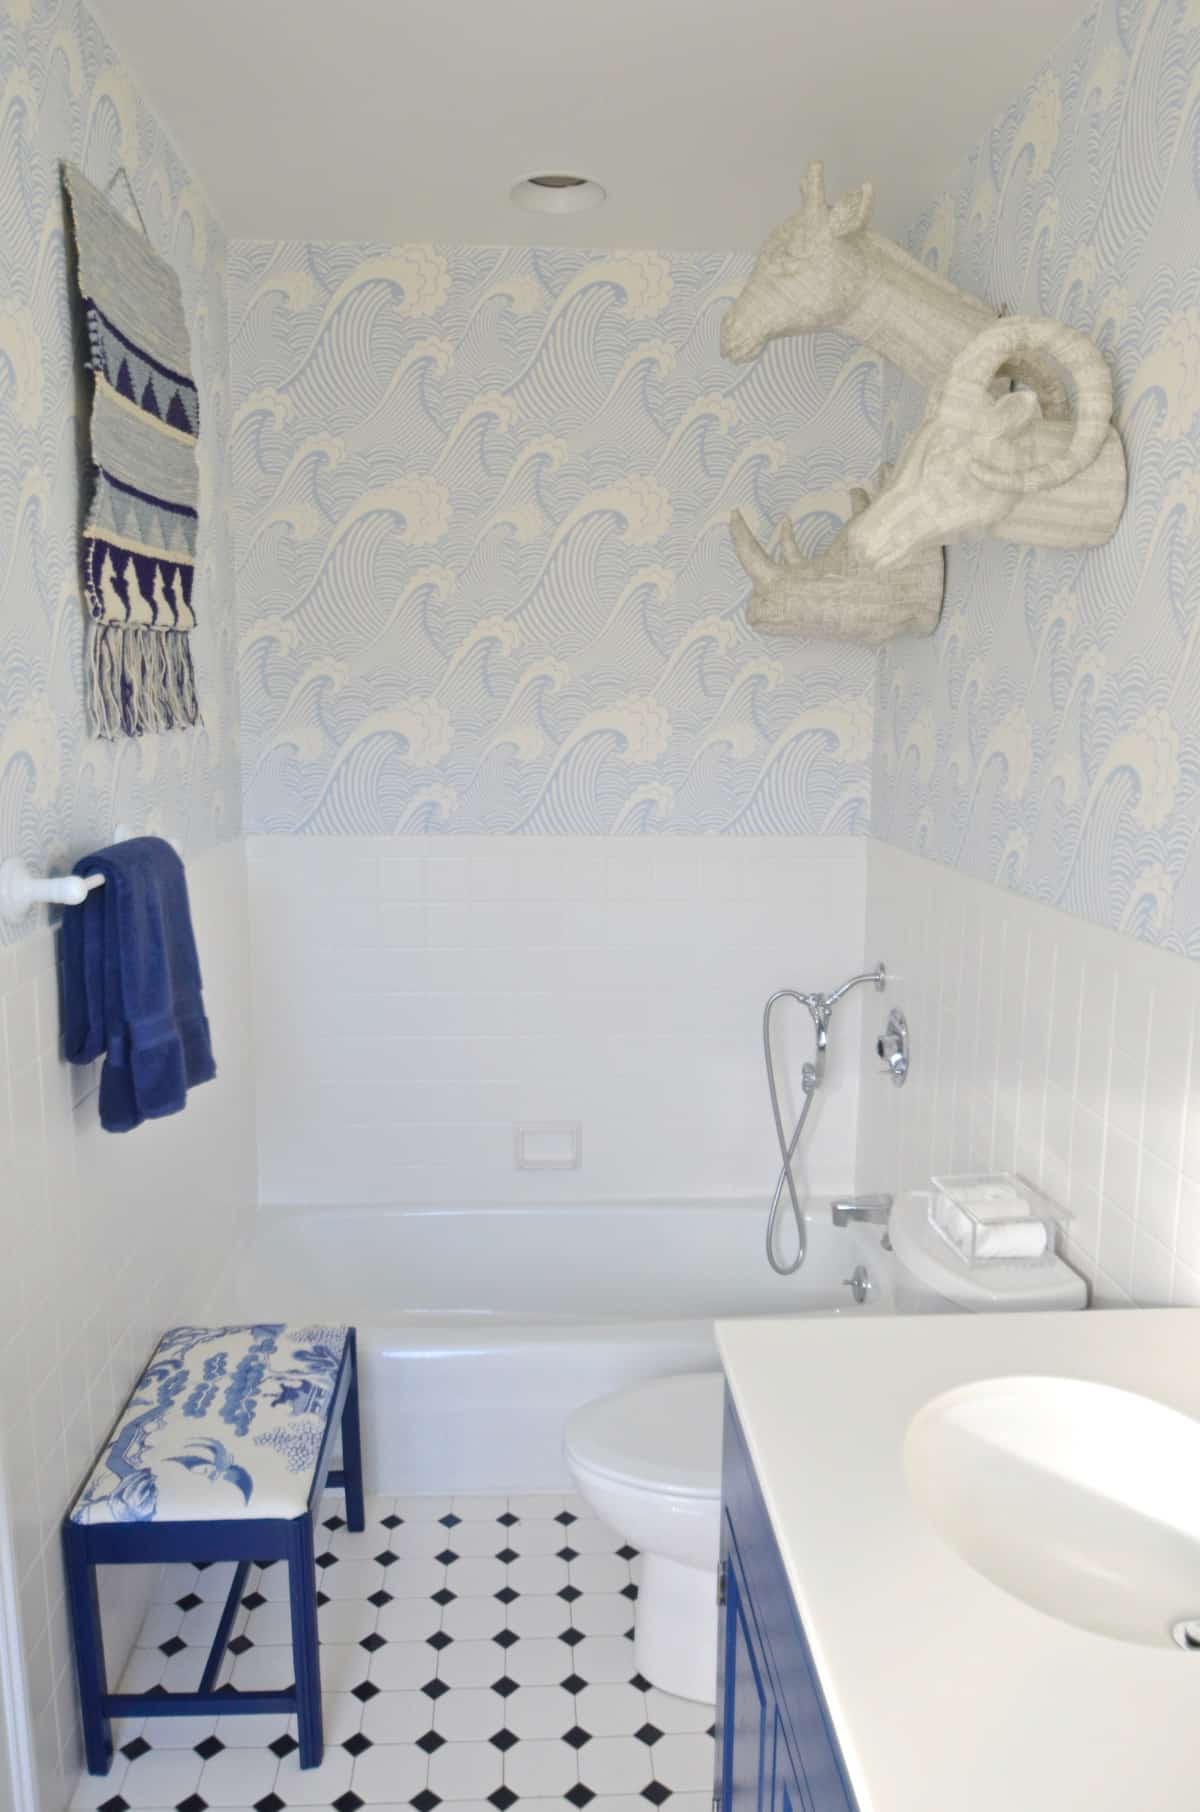
And After:
Before:
And AFTER!

Lastly… SHAMELESS begging… I won’t go into the details, but I’ve had to start a new YouTube channel in order to hopefully be At Charlotte’s House over there too! IF you were so inclined… I’d love you to click over and SUBSCRIBE! I’m trying to do more and more over there!


Wow, Your bathroom looks absolutely gorgeous! Love the light and Bright Look! 🙂
Thanks, Margo! These small changes made SUCH a difference! I’m eager to get started on our master bathroom now! 🙂
dID You TAKE THE MIRROR DOWN AND WALLPAPER BEHIND, OR JUST GO UP TO THE EDGES?
I just went up the edges! (I’m not sure I could take that mirror down even if I wanted to! 🙂 )
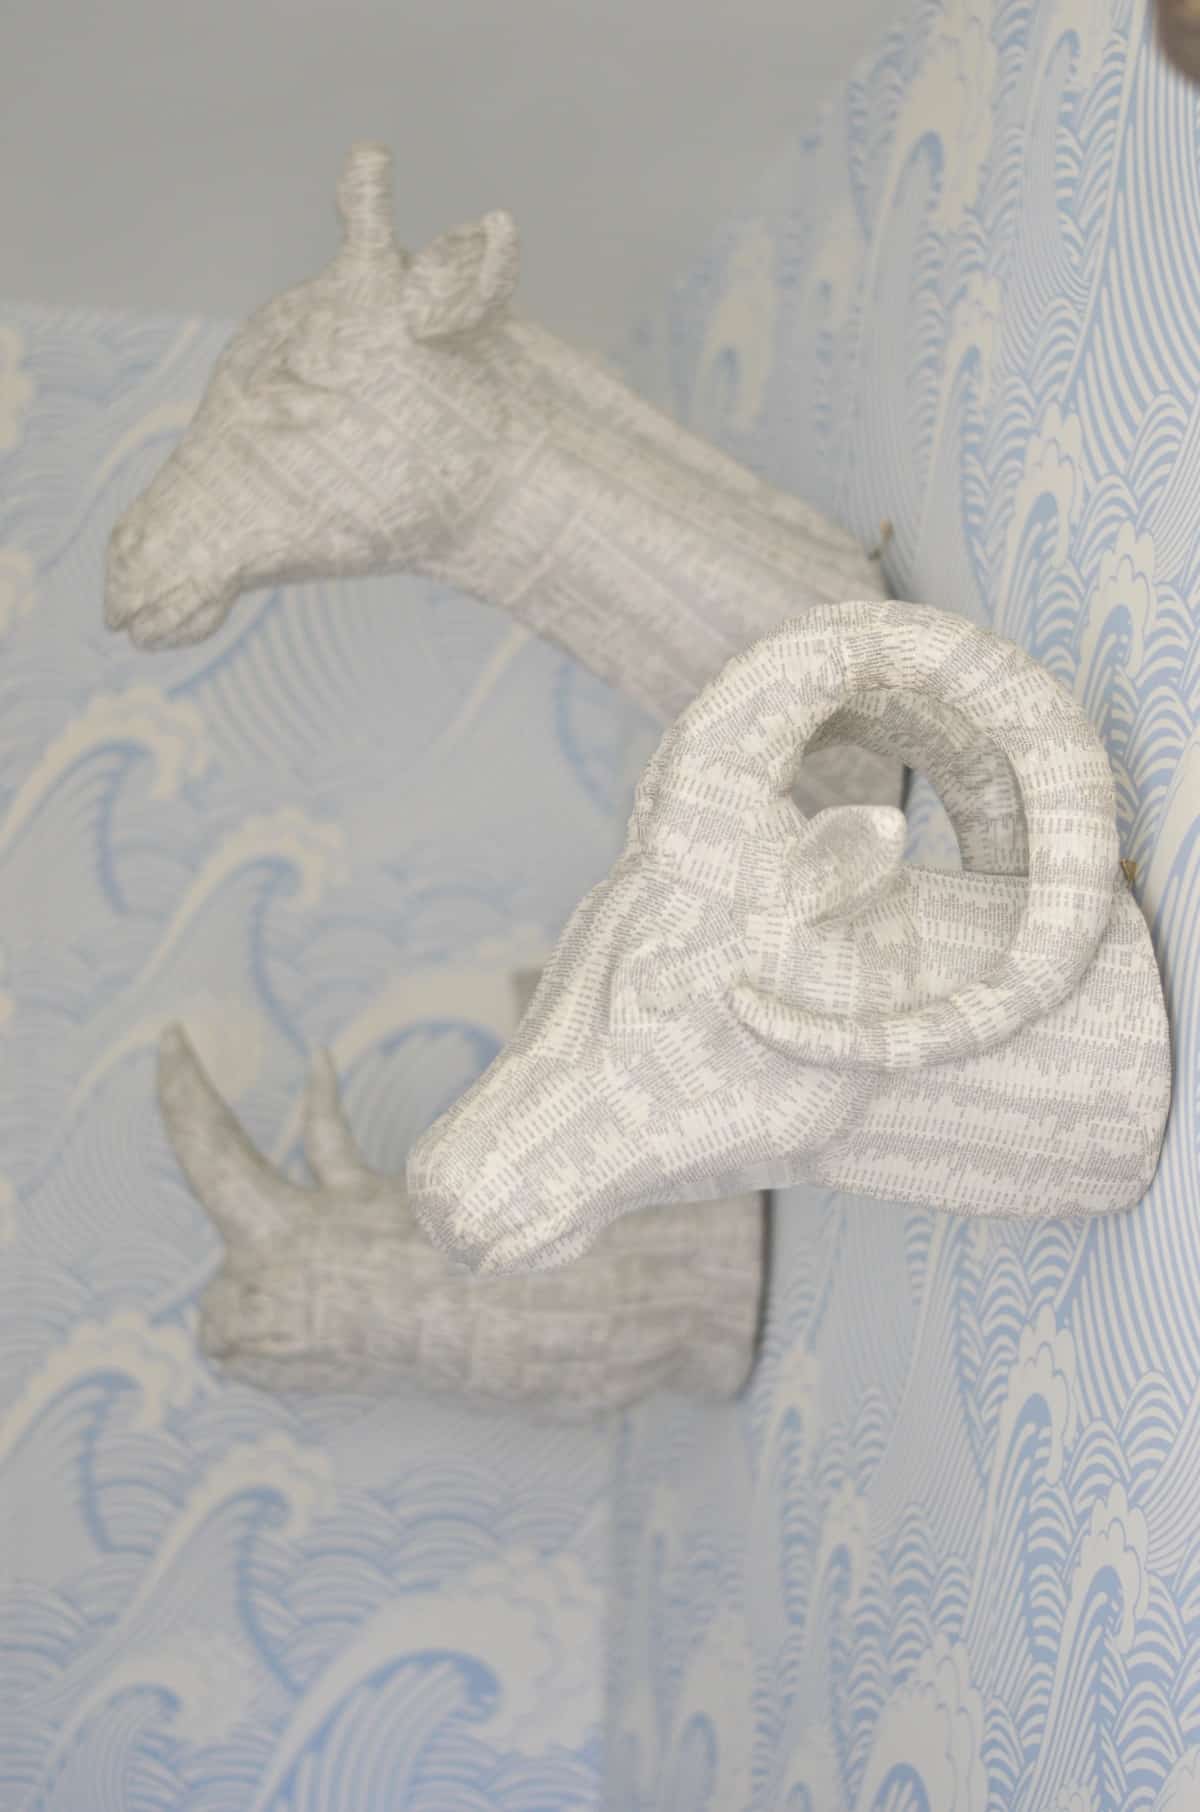
Hi Charlotte, real smart and crisp results you’ve GOT. Hav been wanting to try the peel n stick method..NOw I WILL! Also, where can i find those paper machete LOOKing mock trophy HEADS? I would hav never thot to put them in the bath.. But seems to go perfect.
Thanks so much, Jennifer! I LOVE this paper! Takes some time to get used to the peel and stick, but much neater than the pasted version. 🙂 Paper mache heads are from World Market… If you search the blog for the navy bathroom reveal, I bet I linked to them there? Good luck!
I just moved to a rented house where there’s an ugly wallpaper in a big wall in the living room… i am not allowed to remove or paint it.but I found a beautiful removable wallpaper. my question is: is it possible to remove removable wallpapers without damaging the one below ?thanks in advance Malu
Hmmm…. SO much will depend on the existing paper, the age, and how it was installed. I don’t know that I’d be confident that it wouldn’t pull off, but you could certainly try a section? Have you ever tried fabric with liquid starch? That should pull off easily… the starch might react with the paper but it’s another thought.
Girl, I don’t know why this is in all caps, but I’m going to roll with it (my caps lock is not on). Loving the before/after. I always had tons of trouble with paper mache and really didn’t like the feel of the paste, so peel and stick wallpaper has been on my radar! I know in bathrooms there is a lot of steam. Have you noticed that having any affect on the peel and stick?
The all caps is just a function of my website. Sorry! 🙂 This bathroom doesn’t get a lot of steam because of the shower doesn’t work actually… I’d be more leery of the ink on the paper than the adhesive… I splattered some water on one part of this paper and it felt like the ink was altered a bit so lots of humidity might impact the design itself?
How easy is it to peel off? Anything specific to know?
Hi Morgan! I think that probably depends on the wall! I found that, for this bathroom, it actually *did* pull off some of the wall, but I have a friend who shuffles removable around in her house all the time!
Are you able to ahare the Source of the Waves wallpaper?
Hi Elizabeth! I linked to it in the second Disclosure paragraph… CLick on the highlighted text and it will take you to the website! Thanks!
I love the light fixtures You chose! They elevate the sPace!
Thanks, Lori! I love them too! The old ones were super dated! 🙂
NICE job! You mentioned that the wallpaper did remove some drywall. I’m wondering what type of paint you had on the wall and if that makes a difference At all WHEN removing or repositioning?
Hi there! Sorry for the delay responding! This got buried! YES! The paint makes a huge difference. I believe this was flat paint and in retrospect, I’ve imagine a paint with more sheen would probably be a bit more resilient. This paint was also VERY old so not sure what condition it was in. This was when I repositioned and only in a few places.