How To Replace A Kitchen Faucet
Psssst… this post *might* contain affiliate links: see my disclosure here.
Moving into a new house is a little bit of a crap shoot… there are lots of things that you *know* you need to tackle (wallpaper, painting, lighting), but there are inevitably the little areas you don’t bank on, but you need to address ASAP. Our kitchen faucet was one of those things.
How to Change a Faucet
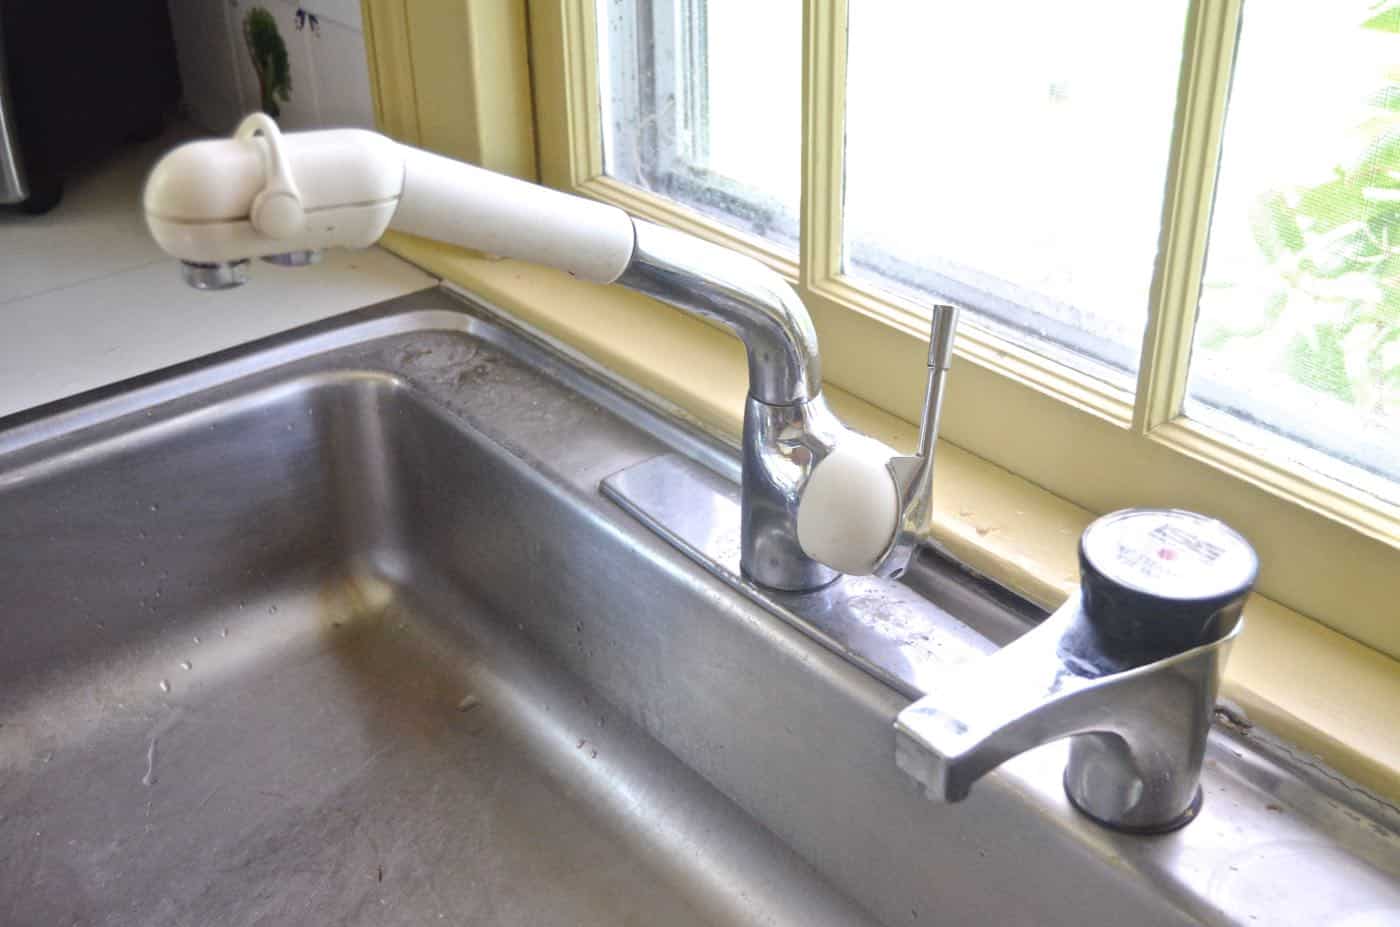
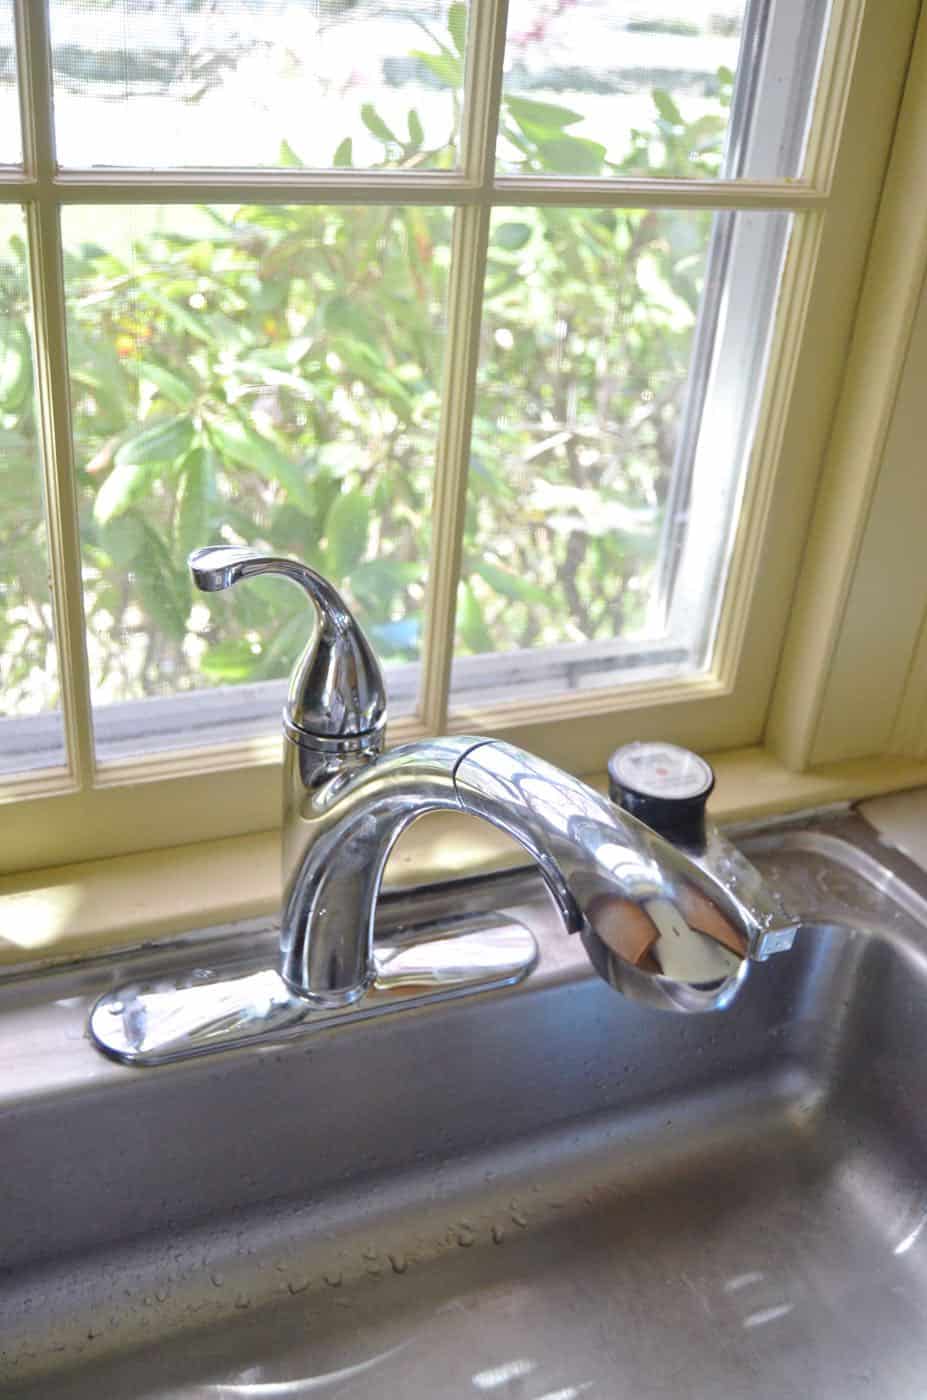
It looked modern enough. In theory there were two different types of water stream, a pull-out spray nozzle… totally workable. Until we realized that the spray functions were limited to one: INTENSE. The happy medium between on and off was absent and firehouse was the closest description for what we were dealing with.
Shop my favorites!
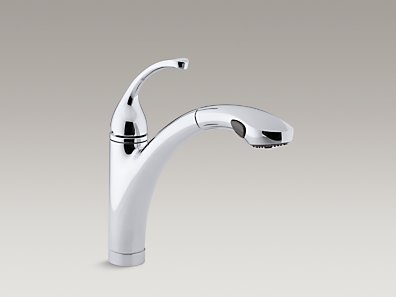
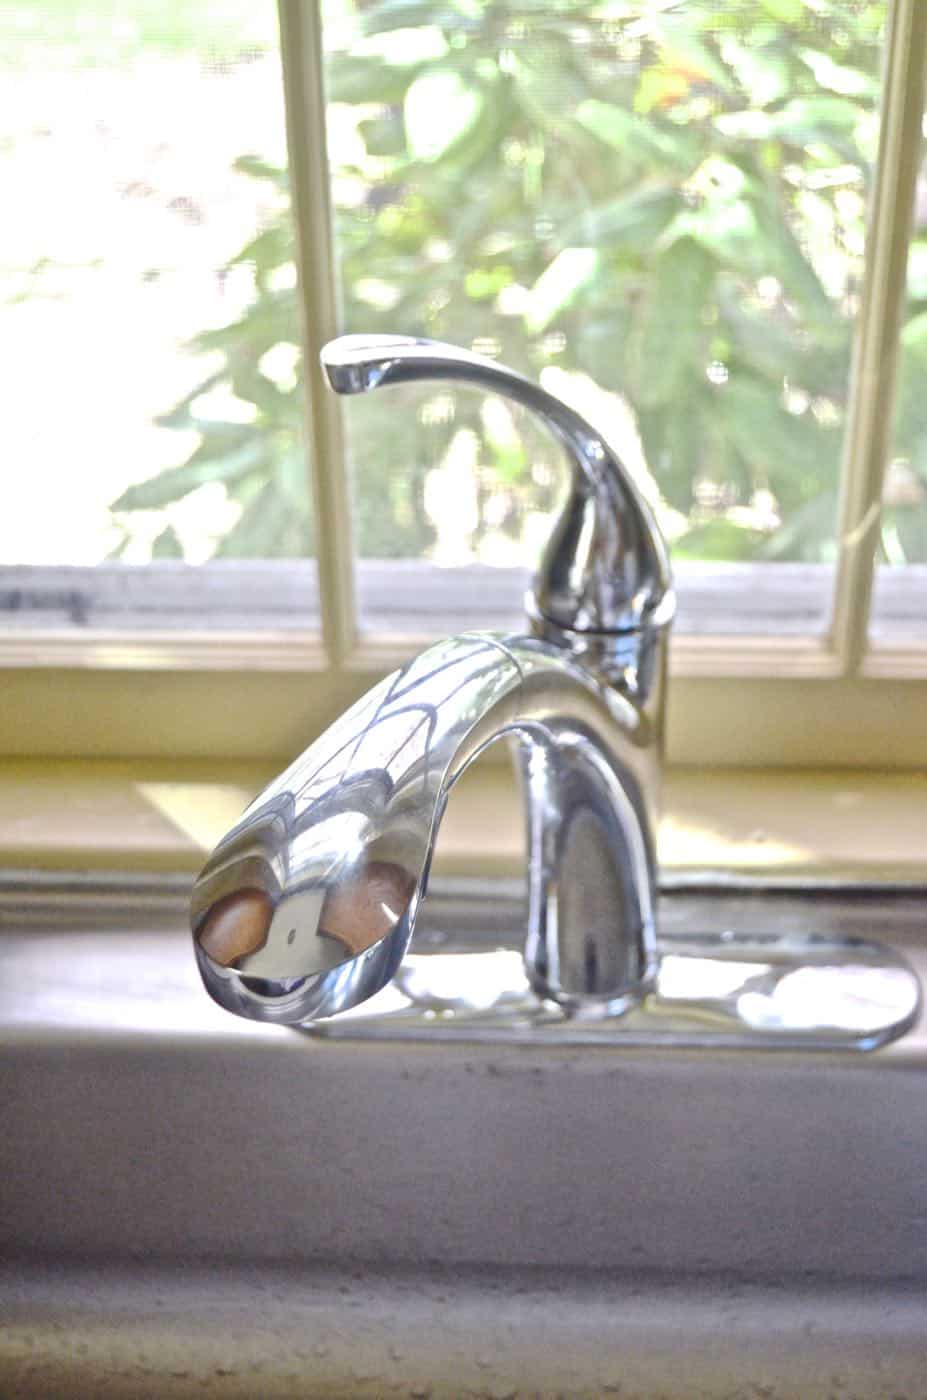
I’ve had plumber after plumber tell me this: get your fixture at a dedicated kitchen/ bath resource. The big box stores are amazing for looooooooots of things, but for something like a kitchen faucet that will be getting TONS of use, the product from the big box store won’t cut it. (Despite the brand on the label… they have a different manufacturing channel so a Kohler faucet at Home Depot will be sub par to a Kohler faucet at a dedicated kitchen/ bath retailer.) This also means you should expect to spend a little bit more… maybe $200+. This is the faucet we went with (ours was cheaper for some glorious reason).
Ready to get started? Picture an extremely pregnant lady crawling under a sink and cursing and that would be the subtext to this post. The over-text is simply: How to replace a kitchen faucet. The hardest part of plumbing in my book is actually removing the old fixtures… you’ll need a few tools: wrench (we have a whole set like this…), basin wrench
, plumber’s putty
, 6-in-1 tool
and pliers
. You should also have an old towel on hand and know where your main water main shut off valve is… just in case.
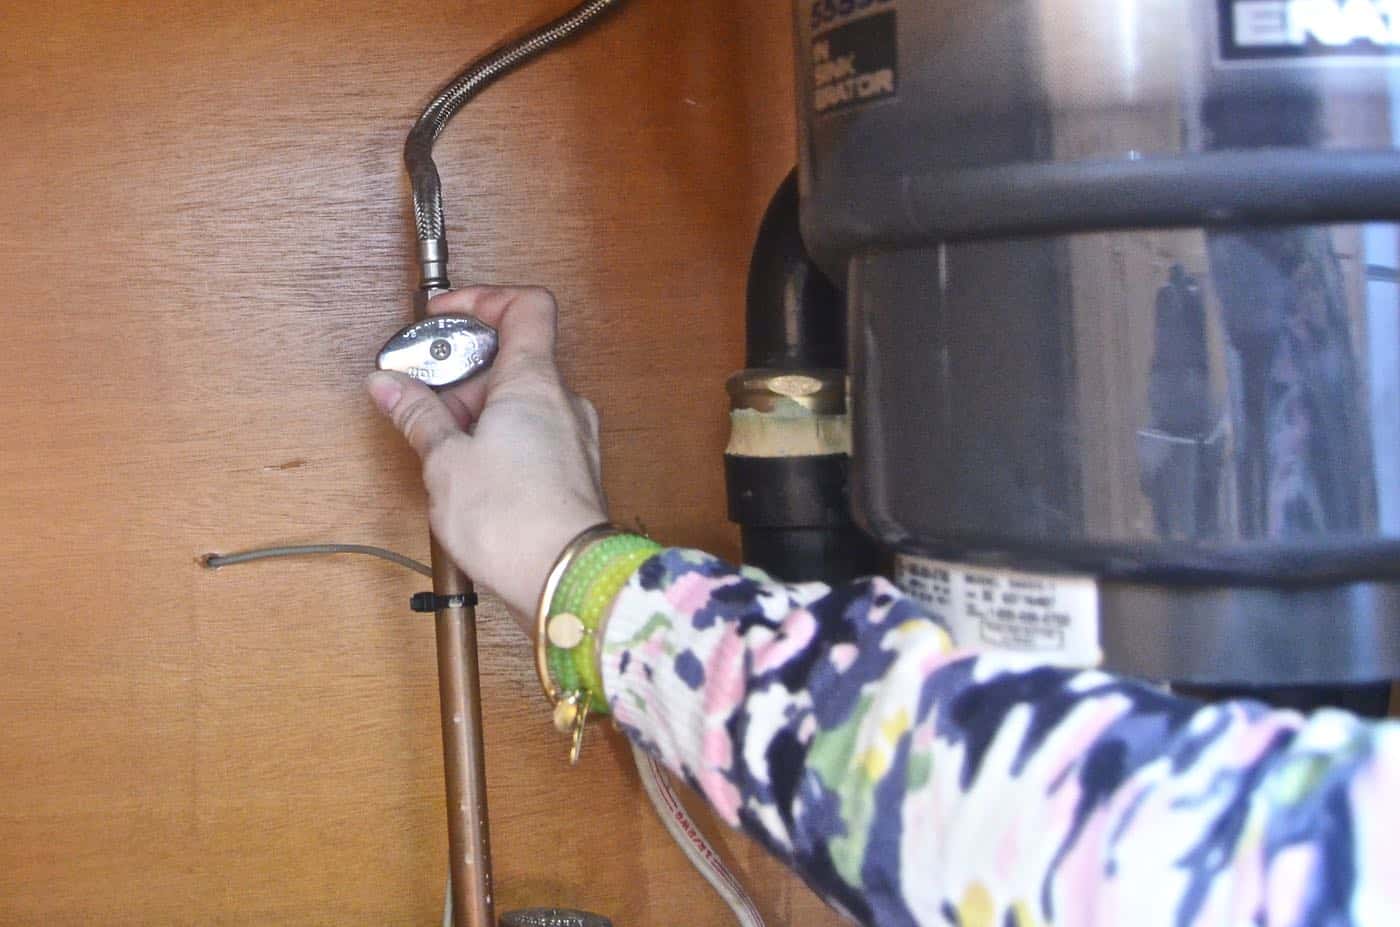
Step 1: Shut off the water to the faucet.
Look under your sink and you should see two fairly obvious handles. One will be for your hot water, the other will be for cold water. Turn these righty-tighty to shut off the water to your faucet. (Pliers may be necessary if these haven’t been twisted for a while!)
Step 2: Unscrew the hot and cold water lines.
You’ll see two little nuts above the water shut off handles… use your wrench to unscrew each of these. Some water may dribble out, but don’t worry… this is just the water left in the pipe between the faucet and the shut off handles. If you have a spray attachment on your existing faucet, you’ll also want to look for this nut and unscrew it as well. (I couldn’t get mine to budge so ultimately used a hack saw just to cut the thing loose.)
Step 3: Meditate, find your Zen place, have a glass of wine… this is the cursing portion of our program.
Many faucets will be attached to the sink with a large skinny nut that is more or less flush against the underside of your sink. Meaning, it’s IMPOSSIBLE to maneuver and get in there without this tool called a basin wrench. I discovered this magical tool back when I redid our powder room at the old house. Not saying this tool makes it easy, just that it makes it easy-ER. When the wrench is flipped to one side, you’re gripping and screwing one way… flip it over to the other side and you’re gripping and screwing the other way. (There’s a bad joke to be made there: gripping and screwing…)
Maneuver your wrench up against the basin and around the nut and trrrrryyy to crack it. I was able to get this, but I’ve had to call in the plumber in the past for just this step. Once the nut is unscrewed, you can use your 6 in 1 tool and pry the existing faucet up and away from the sink. Here’s a picture of the skinny ol’ nut once I’d done my victory lap.
Step 4: Remove old Faucet Plate and Replace with New
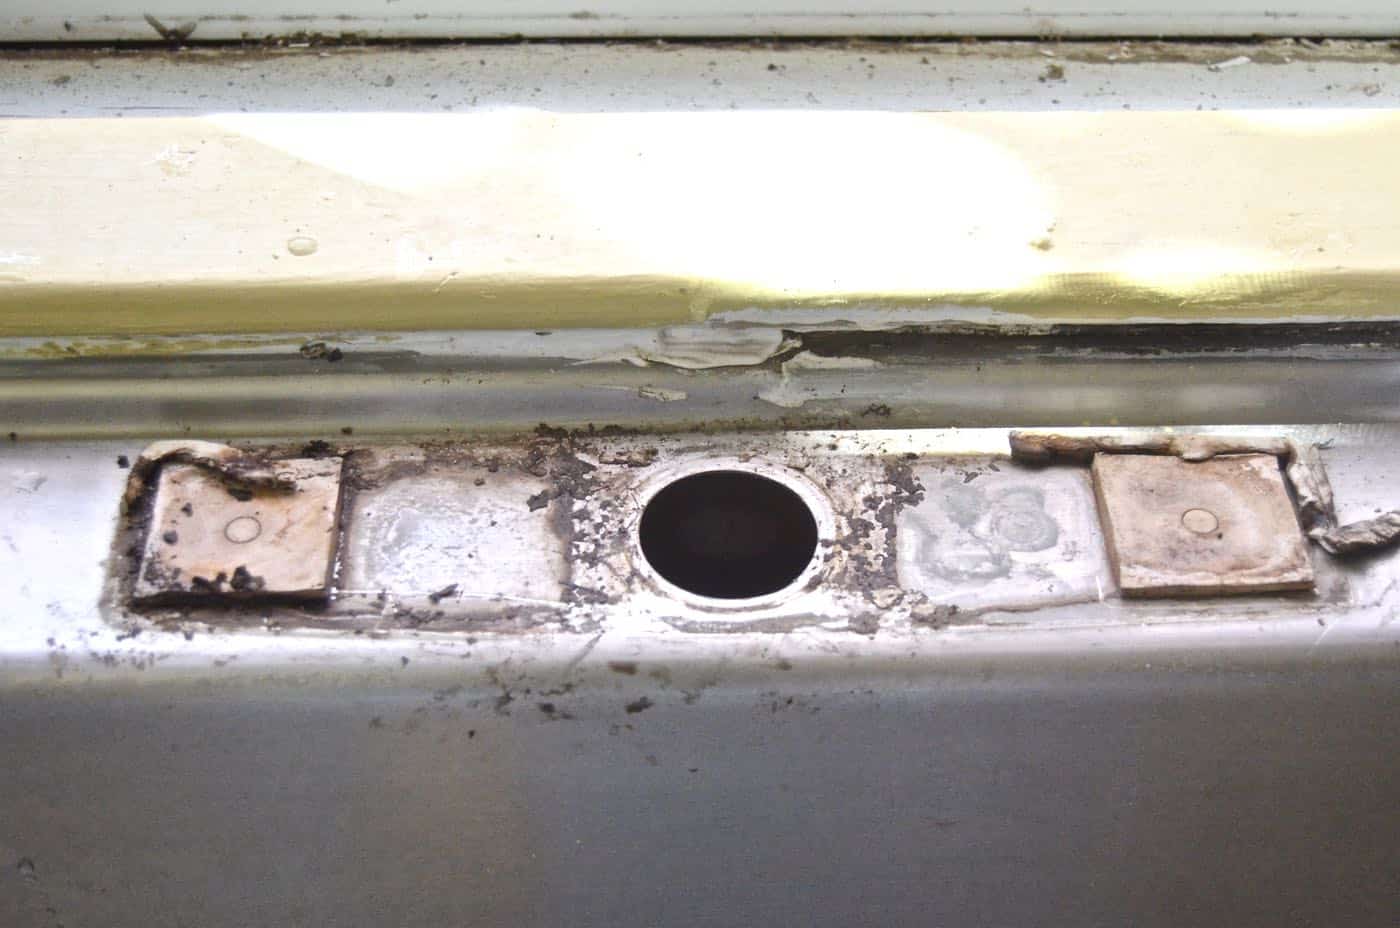
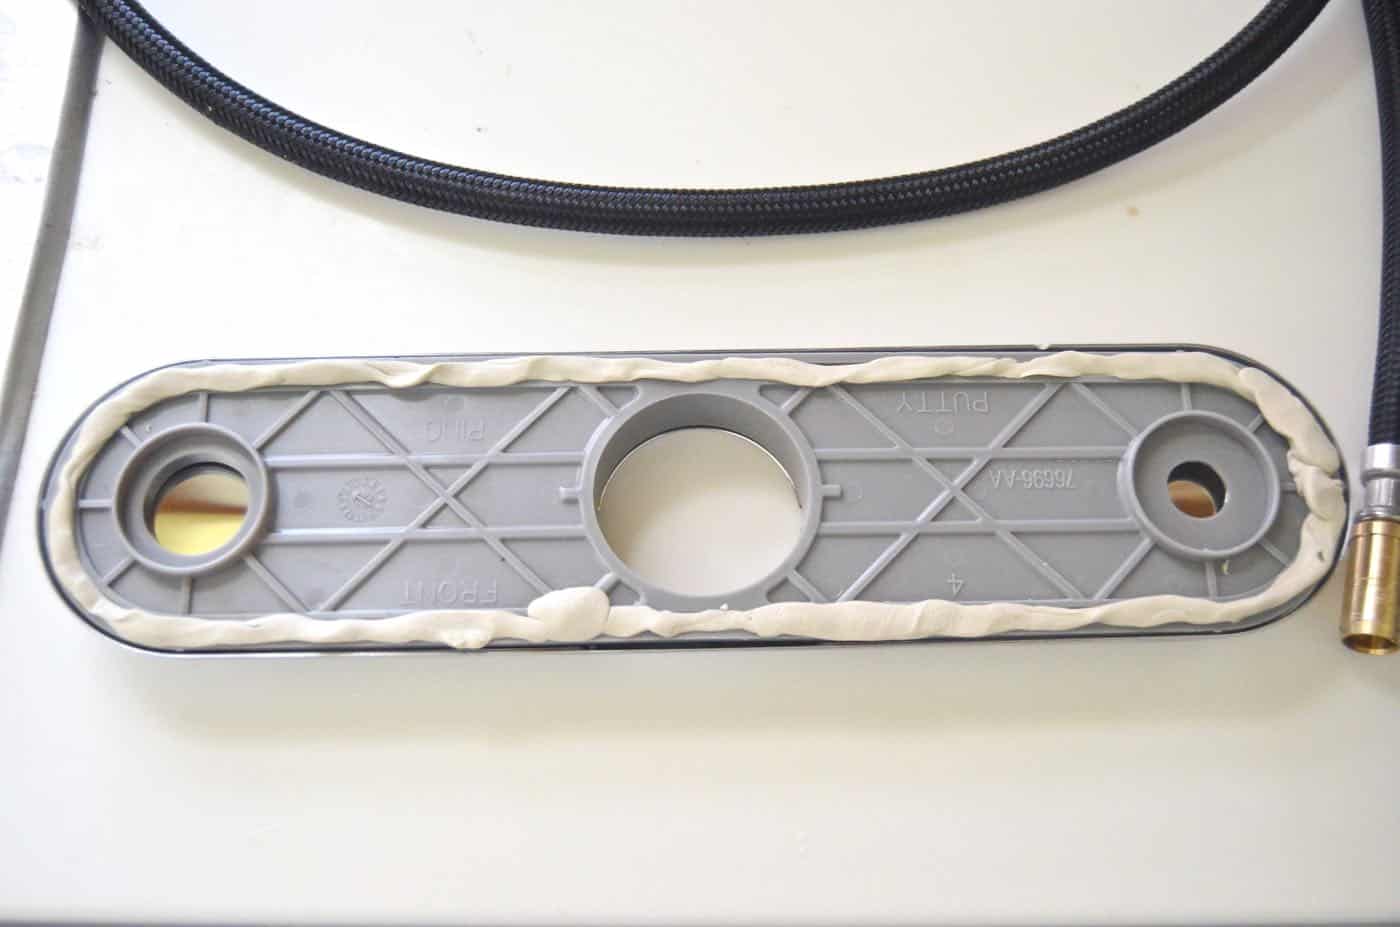
I opted for a single handle kitchen faucet, but the sink will probably have three holes in case you choose a faucet with two separate handles. Your faucet kit should include a plate to cover the 2 un-needed holes. Clean up the residue from the old faucet and apply your plumber’s putty around the edge of the faucet plate and place over sink holes.
Step 5: Thread water lines through the sink
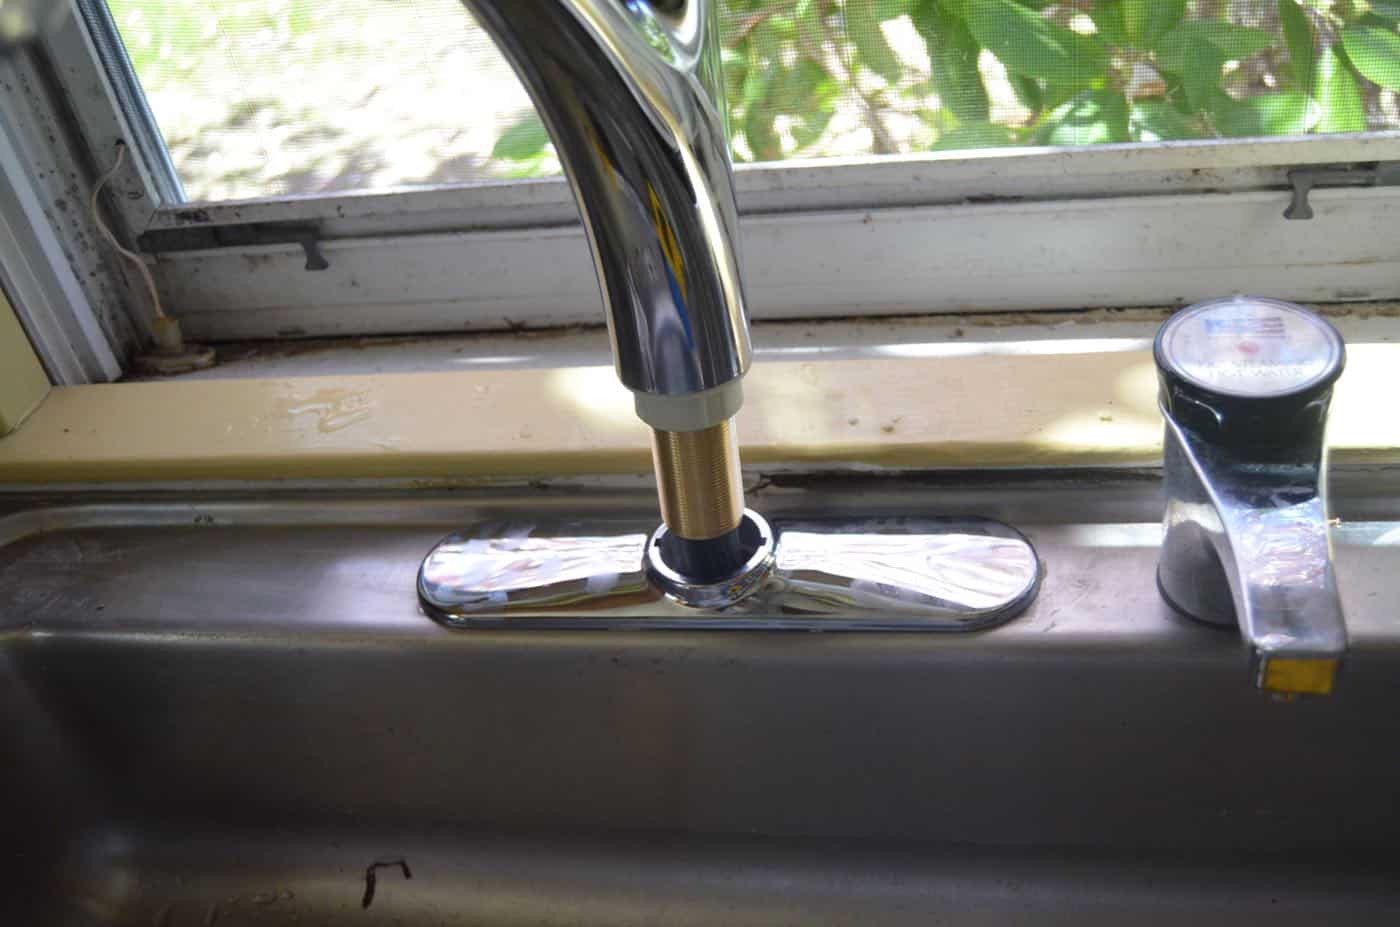
Thread the hot, cold, and spray lines down through your sink and apply pressure to the faucet plate to hold it in place.
Step 6: Screw in your new faucet.
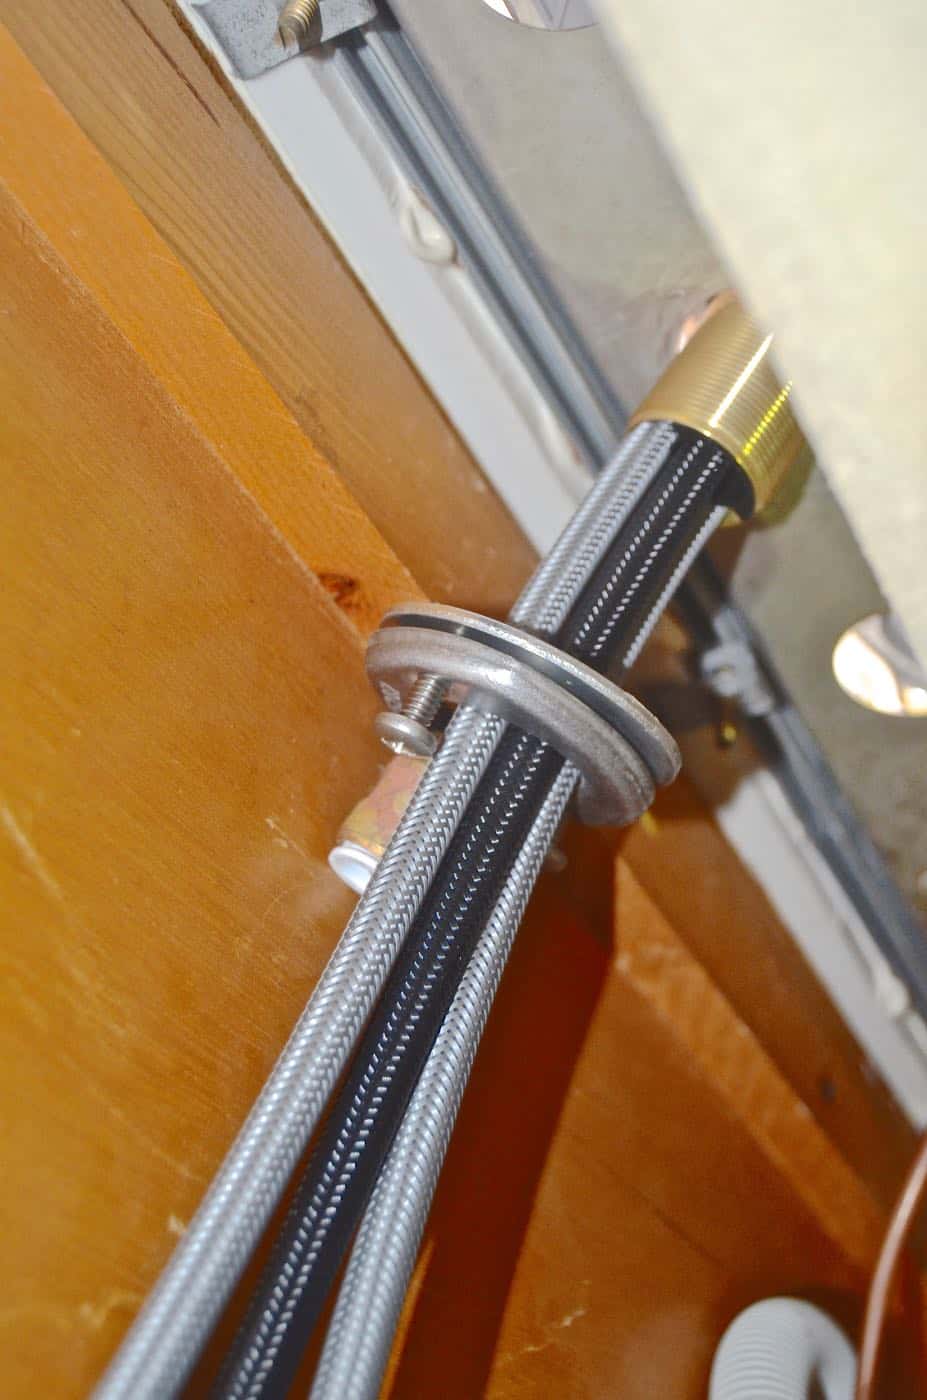
Our new faucet did NOT require the basin wrench again (thank you, Jesus), but it does have a ring and 2 screws to secure it to the sink.
Step 7: Reattach your hot and cold water lines. Simply screw the two lines back in the way you removed them earlier. Gently turn the water back on and check for leaks. If you notice any drips, tighten up your connections or consider adding some pipe tape (affiliate).
Step 8: Figure out the fixture.
If your new faucet has a spray nozzle, then you’ll have to attach this as well, but it’s simple… just slide the included weight onto your spray head hose and connect the hose into the outlet fitting beneath the sink. Our faucet had a zip tie to place under the weight wherever I wanted it… the weight is important because it’s what allows your spray hose to retract! Your preference for how long or short you want to allow your hose to come out from the faucet.
Step 9: Revel!
Bathe in your new sink because you just saved yourself $300 in plumber’s fees AND you have a fancy shiny new faucet to brag about to your friends and family!
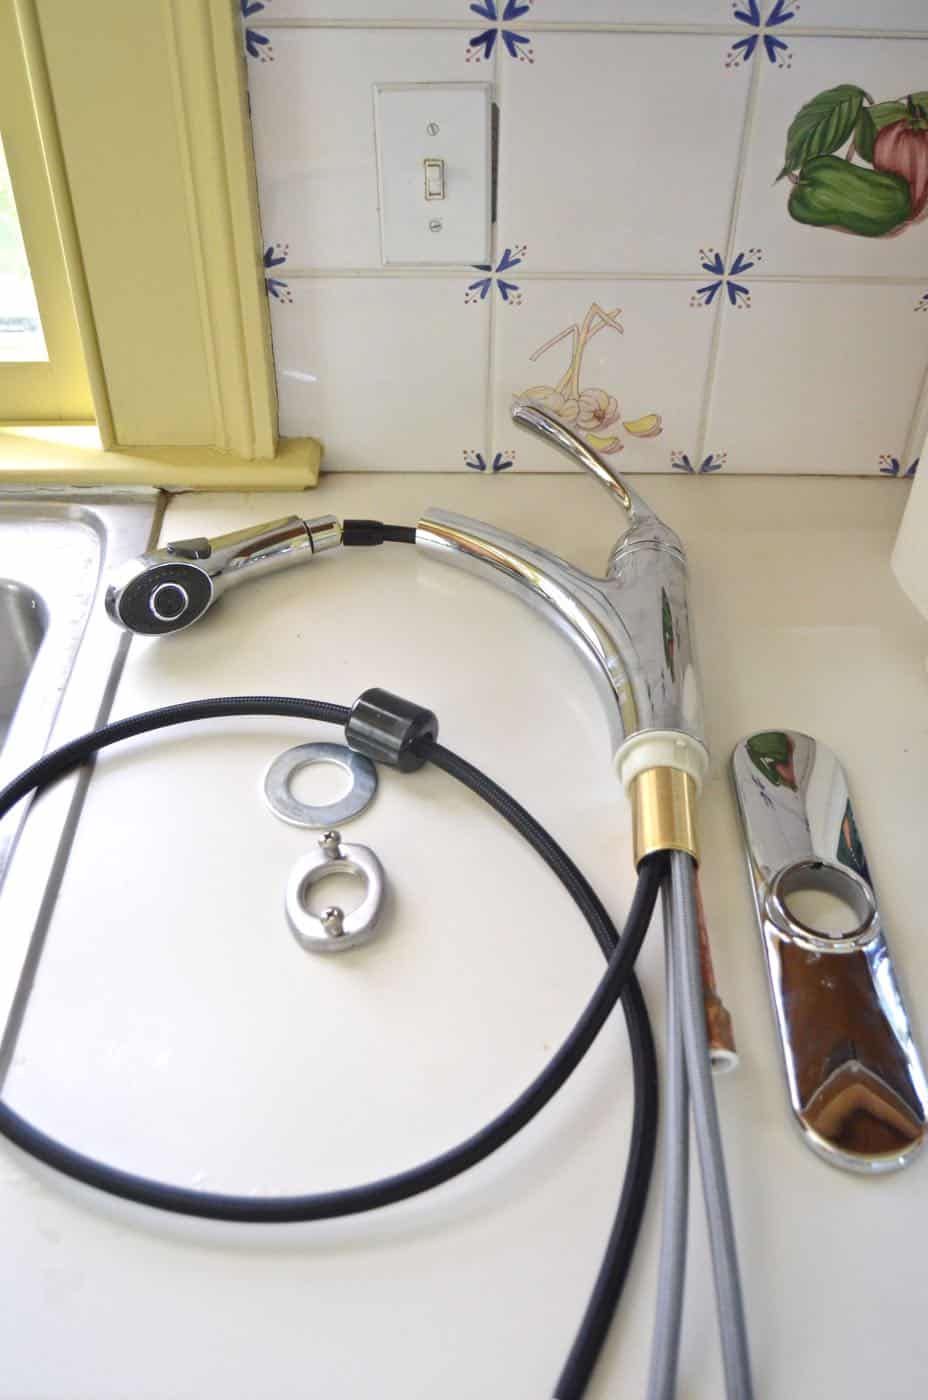
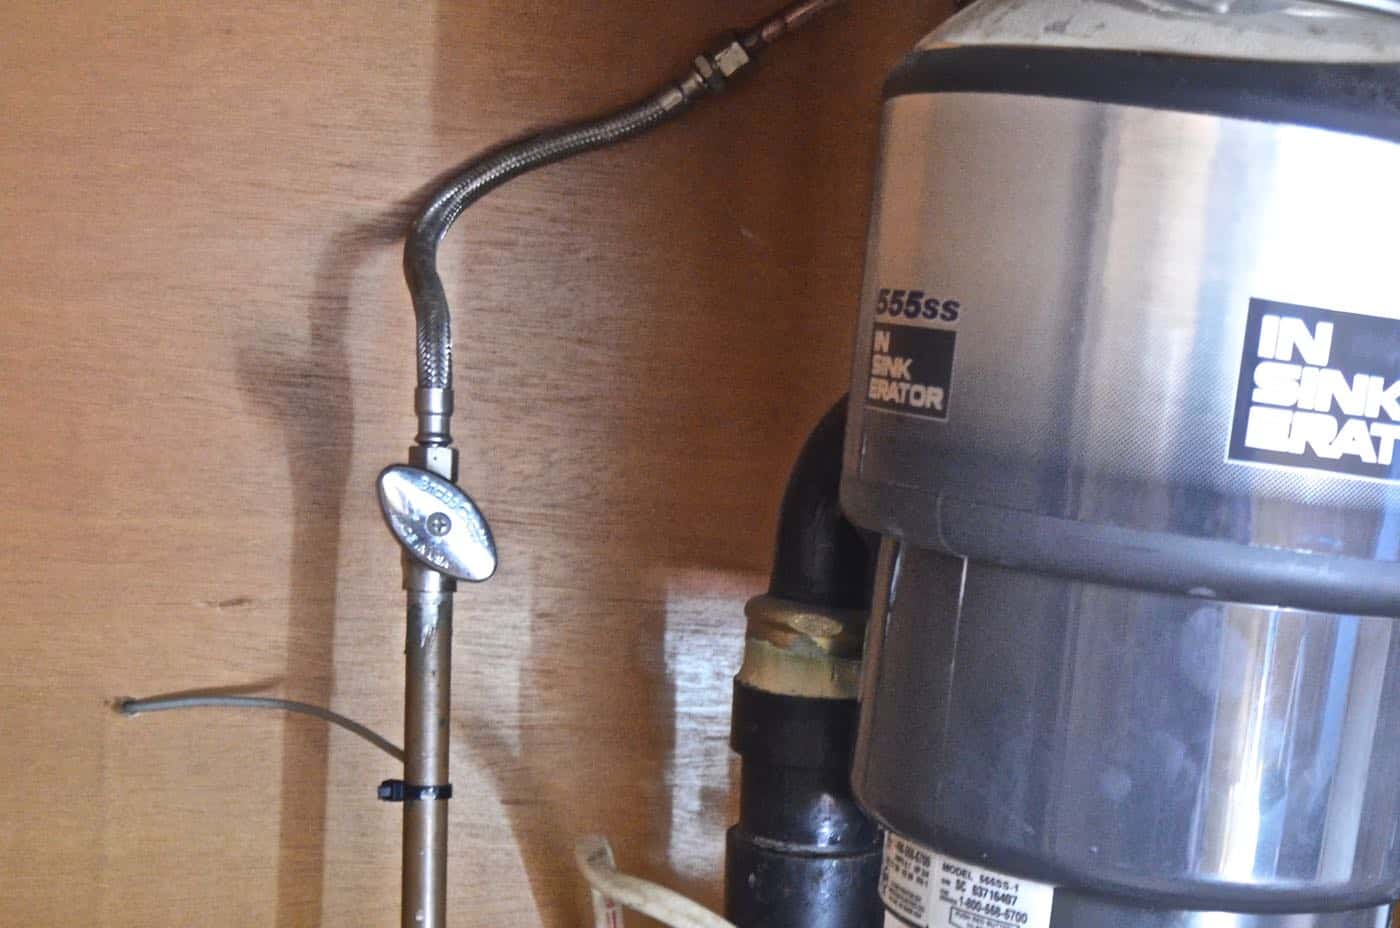
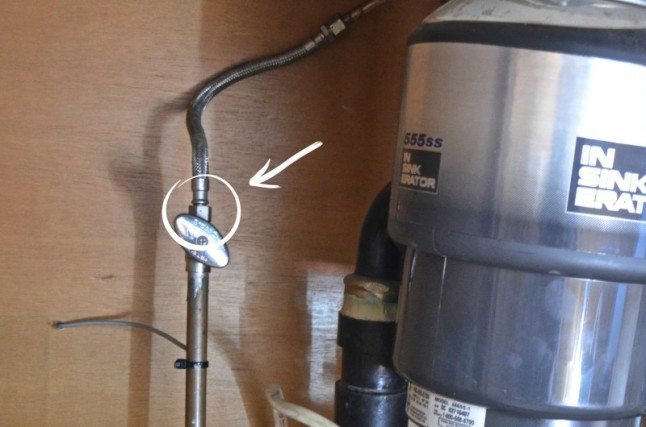
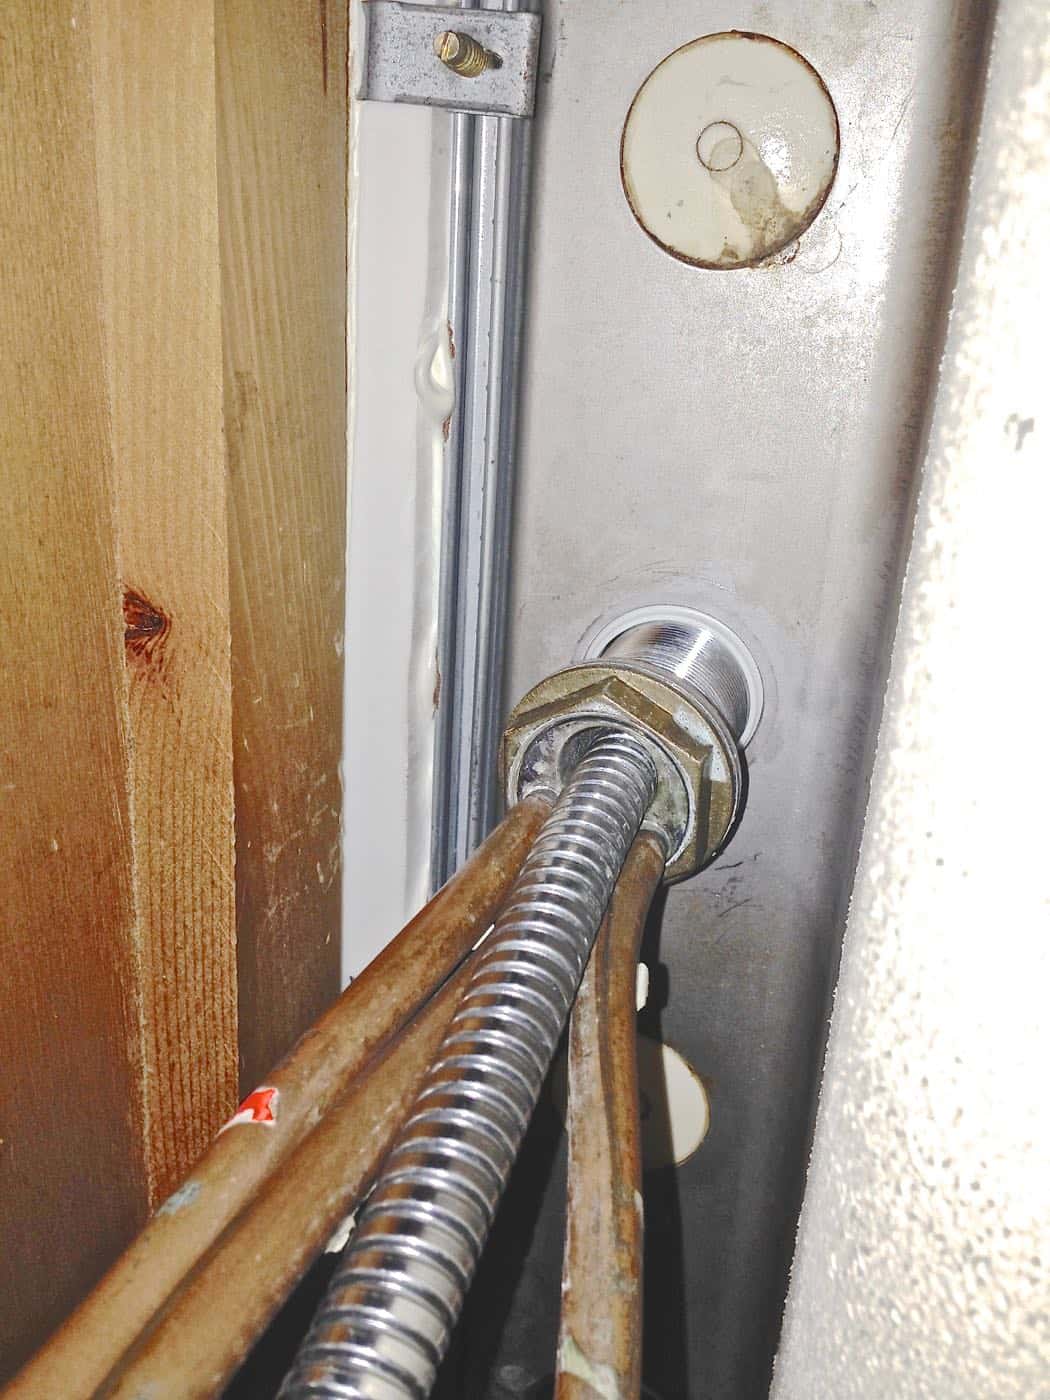
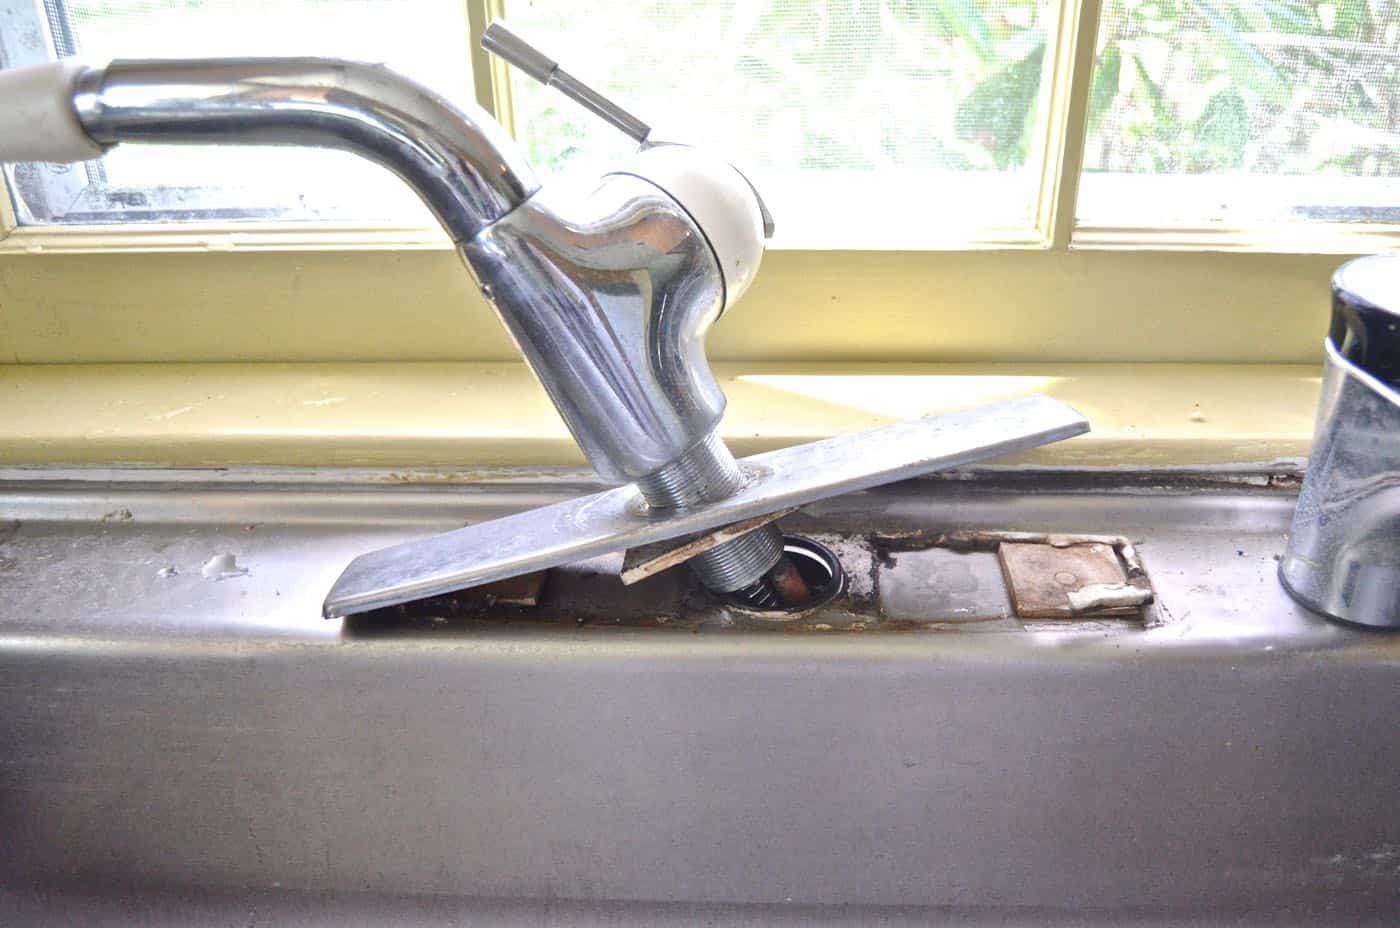



The only picture missing from that series is of you under the sink actually doing this as seen from the outside….where’s Eleanor when we need her? You, the belly and the camera all under the sink at once….it’s
impressive.
Yeah…. I’m brave but not THAT brave!!! I was cringing at the visual even as I was sitting in front of the sink!
What a woman!! I can’t believe you did that in one afternoon, I’m a visual learner and I’m still going back and forth trying to figure this out. You’re brave, and you should be proud of yourself.mmdoesnt it feel good to have mastered a skill?
Let me know if you have ANY questions, Sally! It’s hard to get as many pictures as I’d like when under the sink, but it’s really not nearly as complicated as it might seem!!
I am trying to convert my kitchen sink from a double sink to a single farmhouse
But I have two drains and the single I have has one drain in the center. Can you provide instructions on how to convert two drains to single drain. Thank you
Hi Mark, Nope. Never had to tackle that so no idea! 🙂 Good luck!