
Make Your Own Head Cut Out
Psssst… this post *might* contain affiliate links: see my disclosure here.
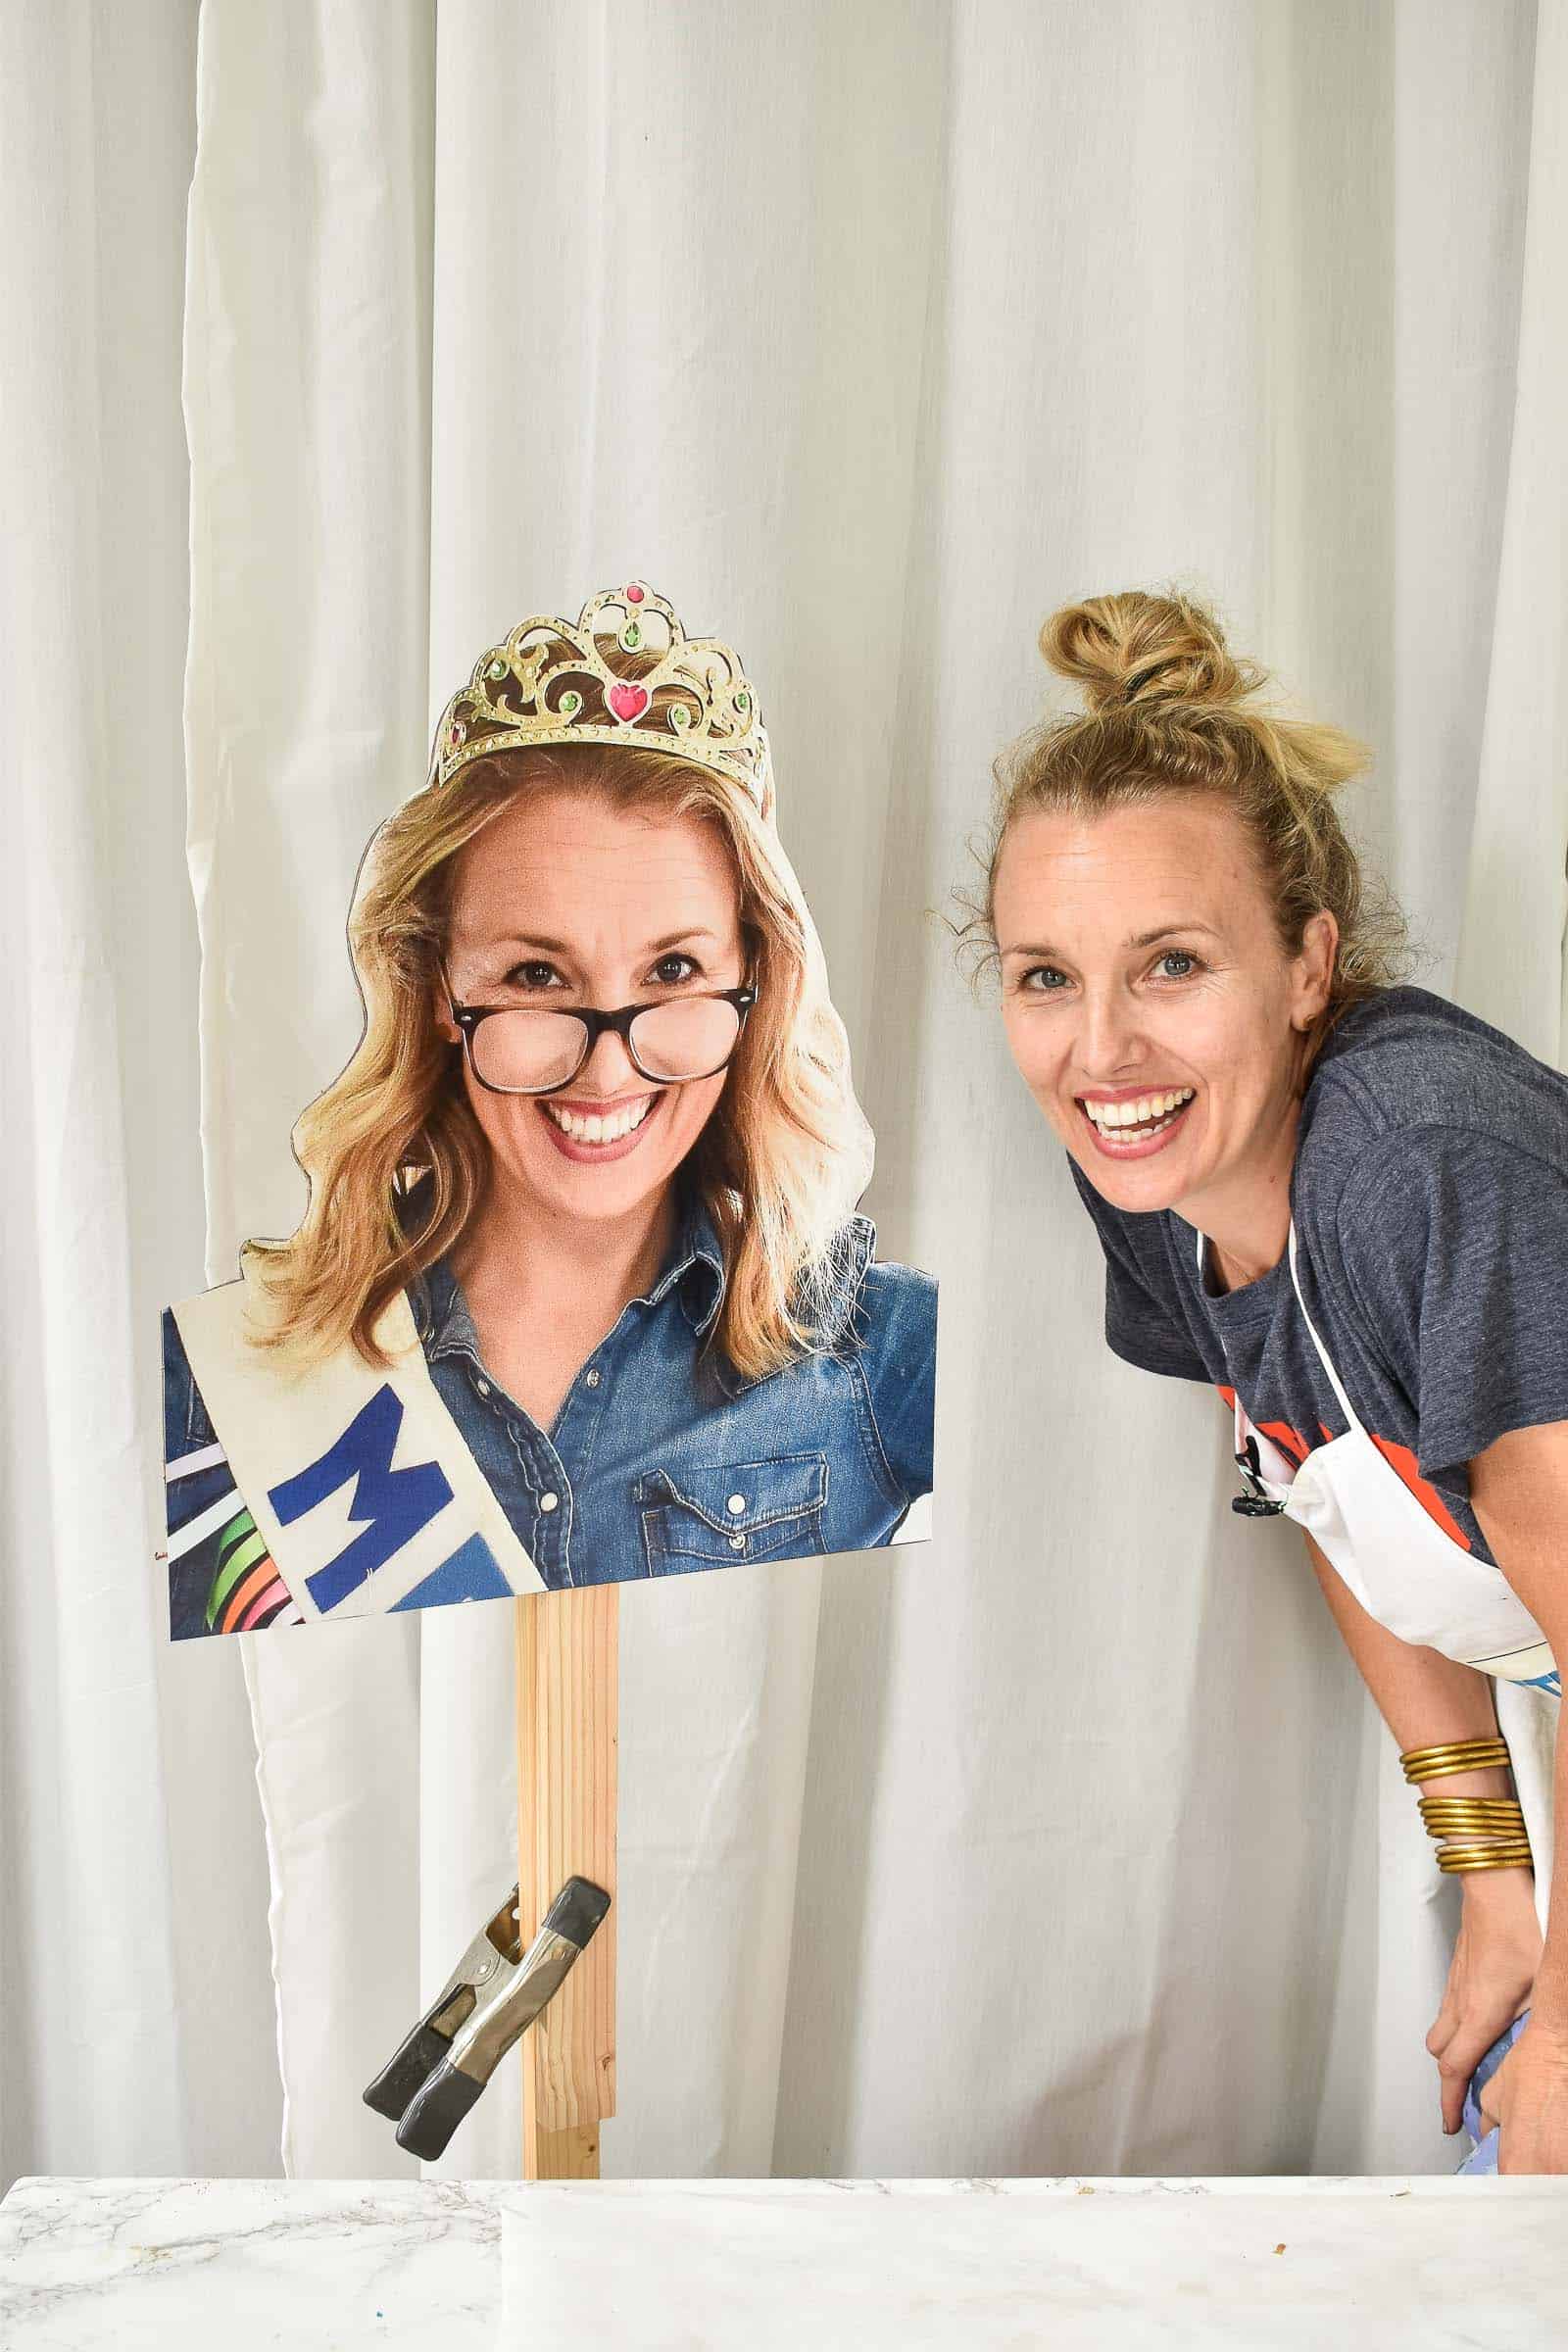
DIY Giant Head Cut Out
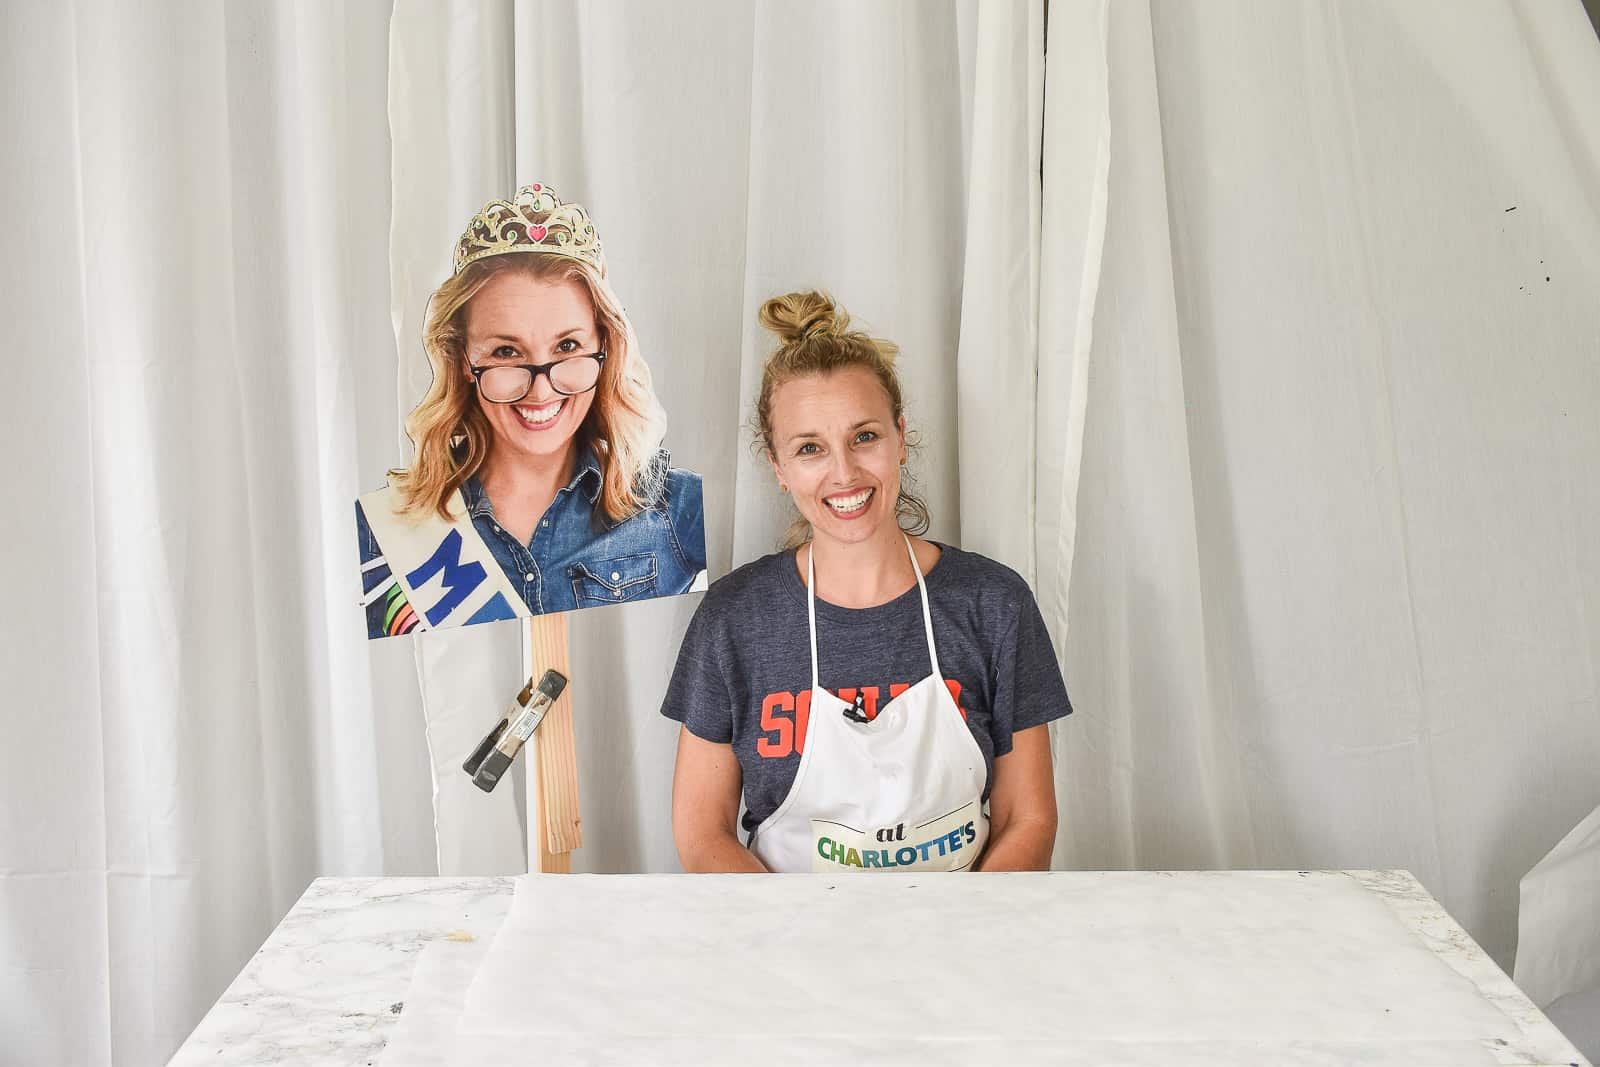
This post is so silly, but I love it so much! My friend Caleb from You Can Make This Too, uses a cardboard cutout of his head and torso when he’s setting up a video to ensure proper focus. Essentially a cardboard stunt double so he can set up his shot properly. It always makes me chuckle when I see that cardboard head hovering in the background of his videos, so I had to make my own!
Step 1. Choose a Photo
Find a photograph that makes you laugh. I use Walgreens for most of my printing because they’re quick, close and often have a coupon. This 16×20 poster cost me $8 (50% off). You’re going to want a high resolution image because it’s being printed on such a large scale (i.e. cell phone pictures *may* not work.)
Shop my favorites!
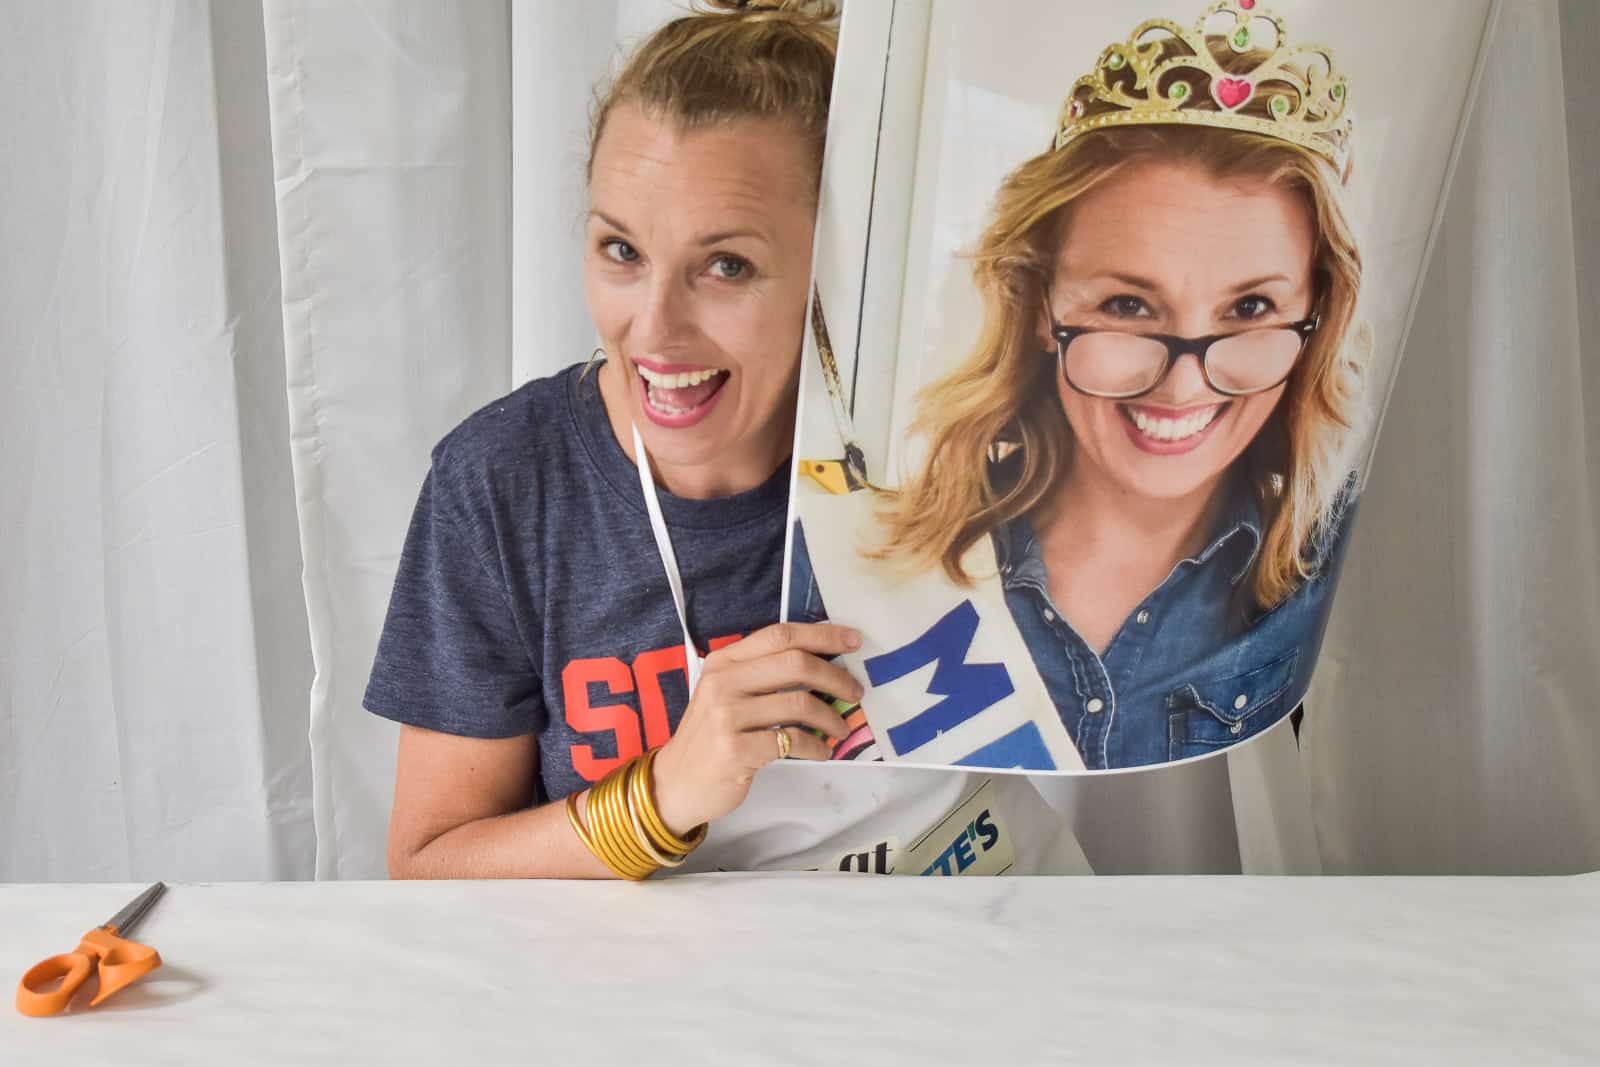
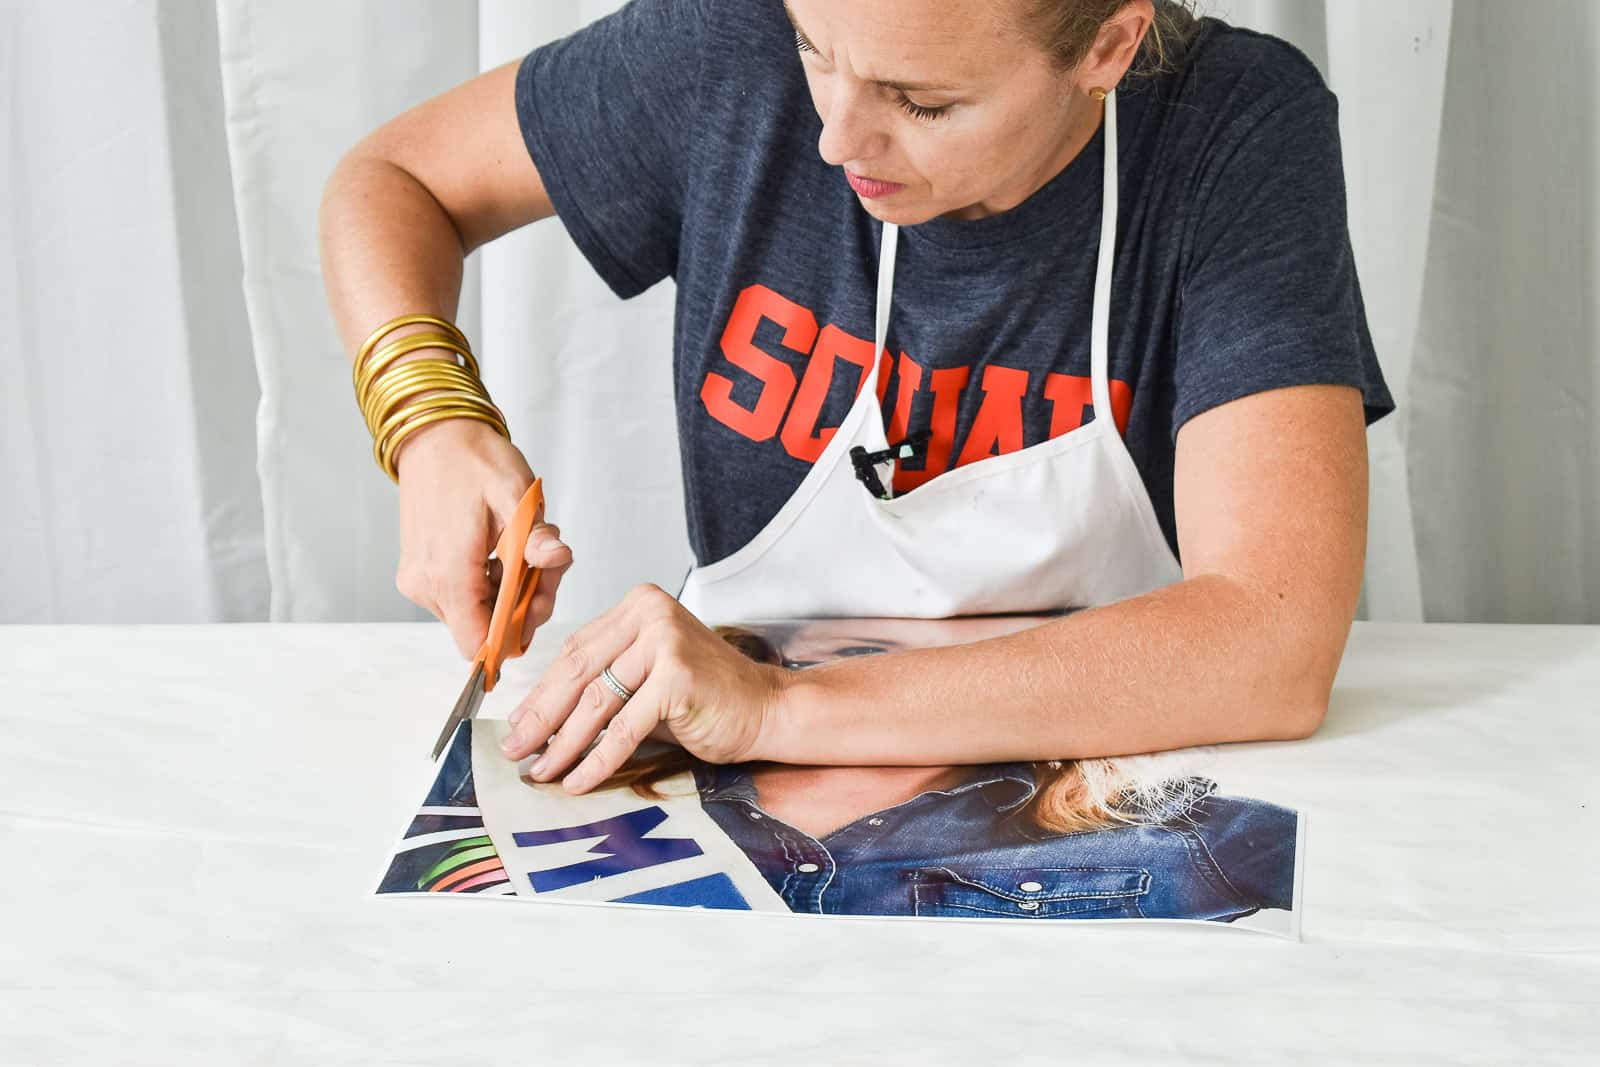
Step 2.
Cut out your head and shoulders. Keep in mind that the next step may involve a jig saw/ scroll saw so you don’t want anything too intricate. IF you don’t have a jig saw or a scroll saw, no biggie. Stick with cardboard and then you can use an X-acto knife!
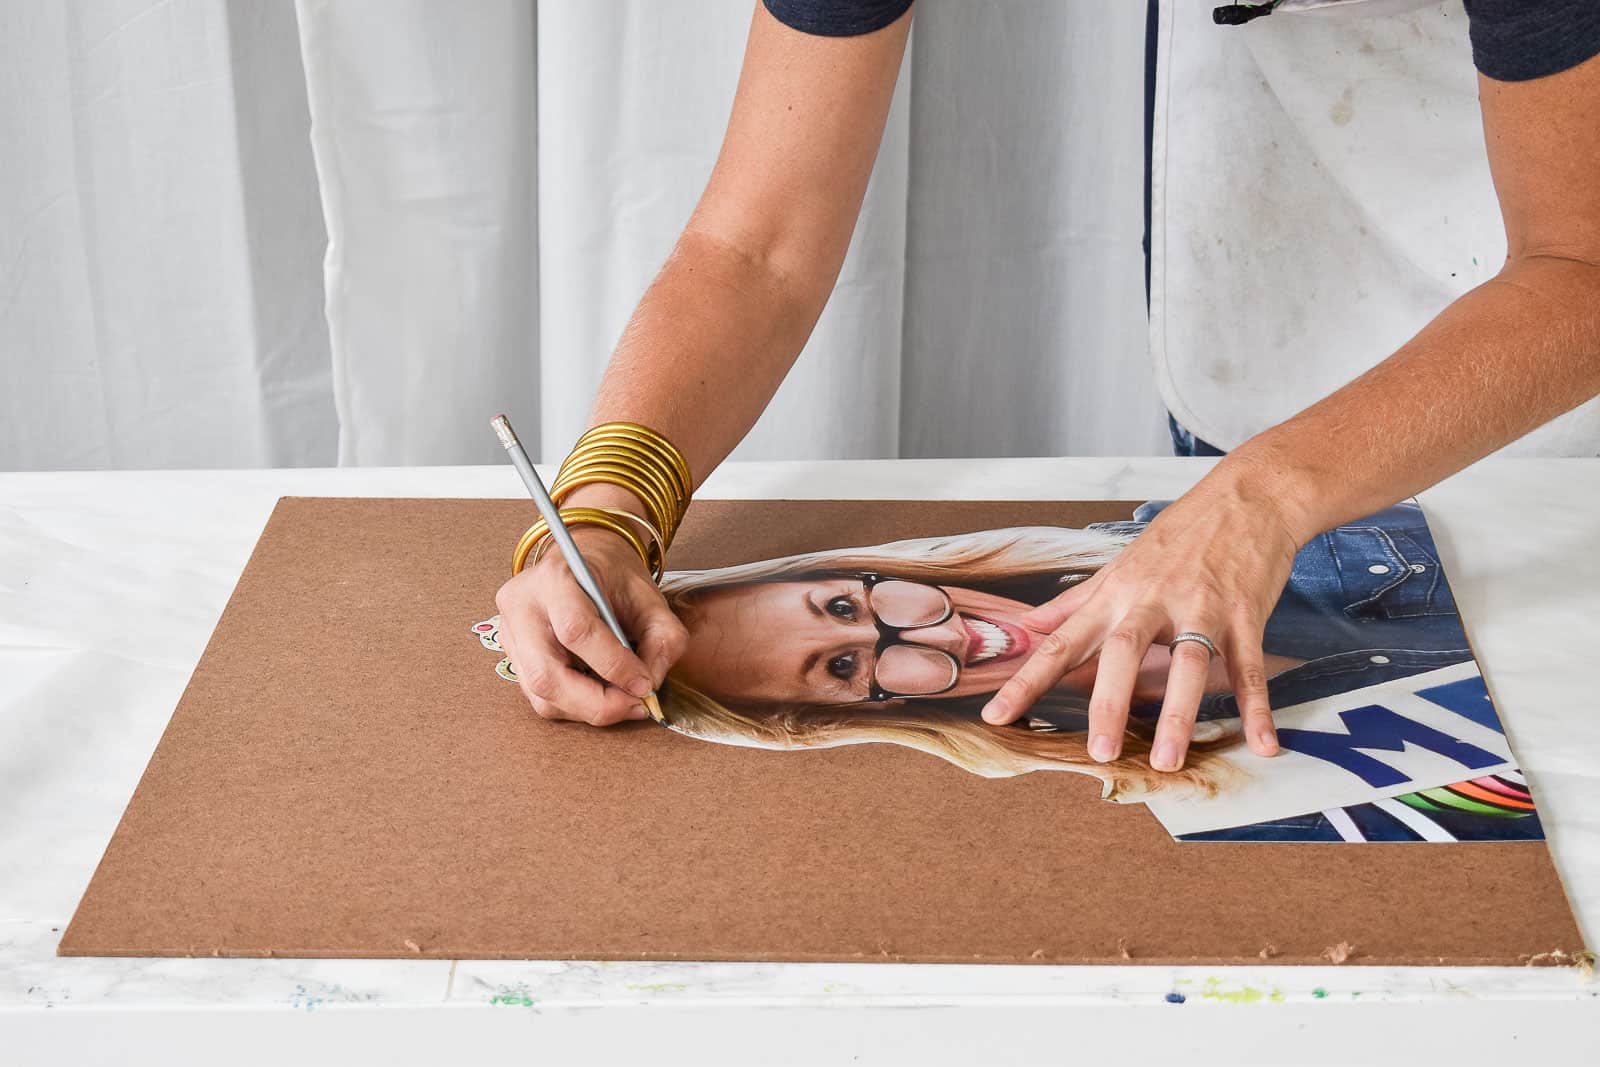
Step 3.
Trace your head onto the rigid backing. I’m using leftover hardboard, but plywood or cardboard will totally work.
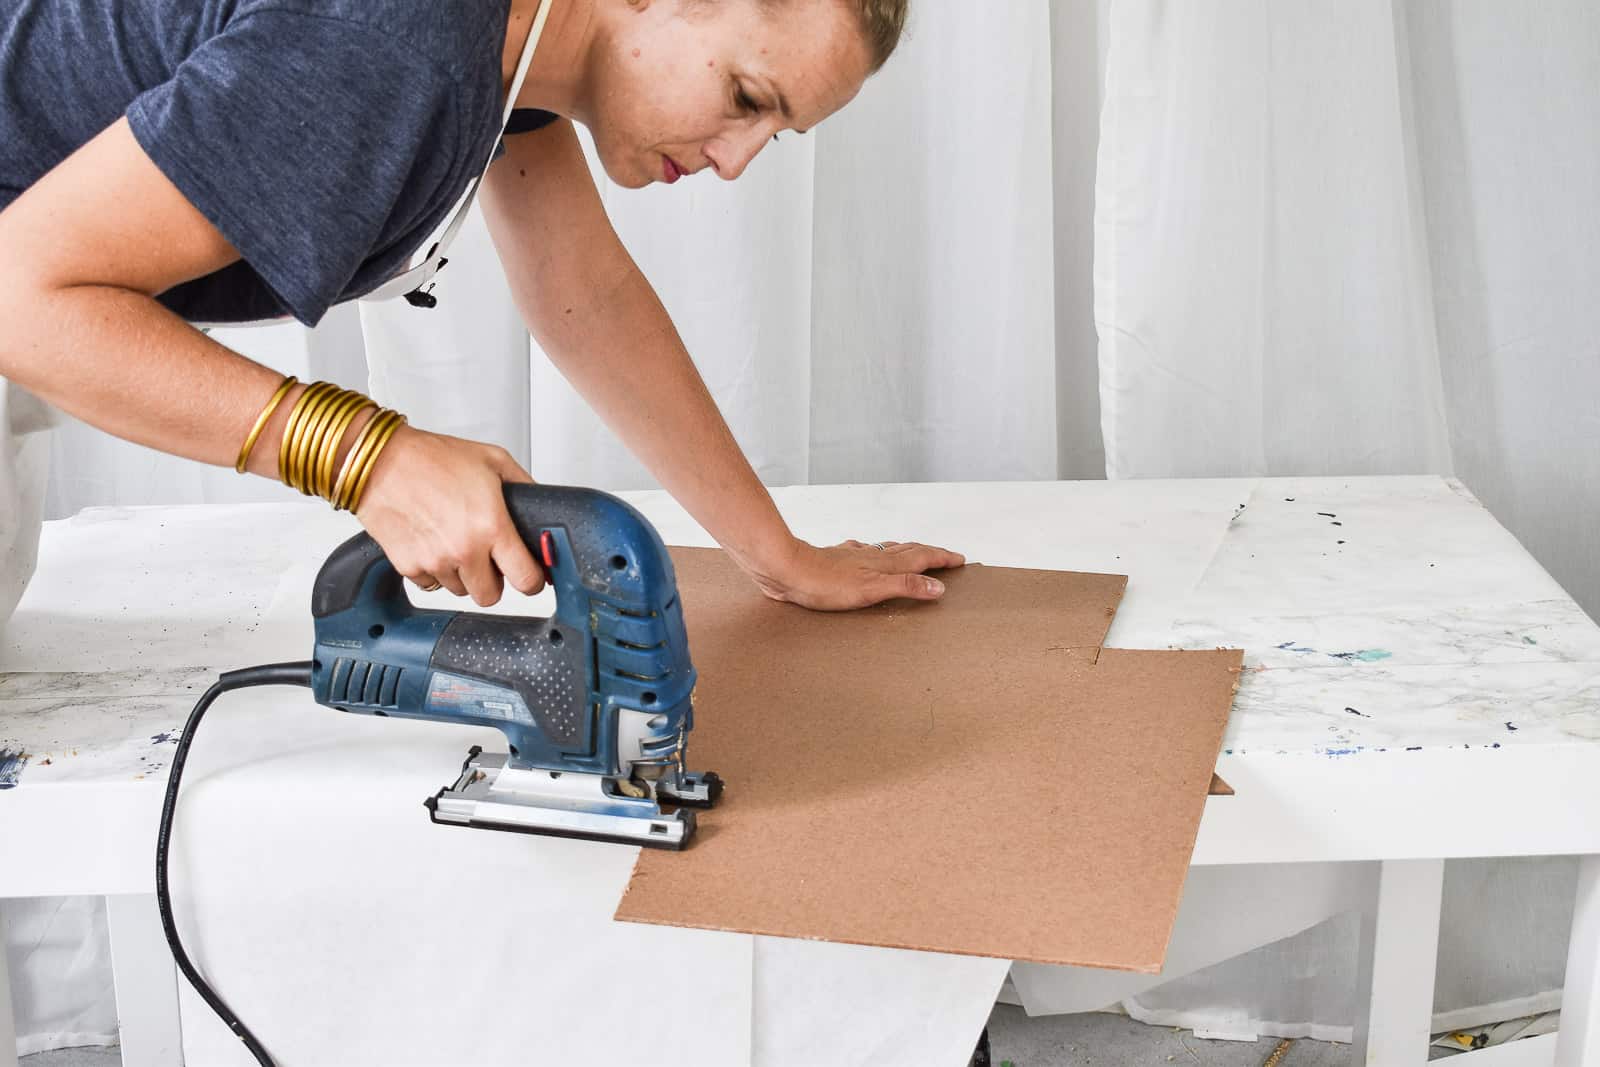
Step 4.
If using plywood or hardboard, use a scroll saw or jig saw to cut along your traced line. If you’re using cardboard, then crab a cutting mat and your X-acto knife.
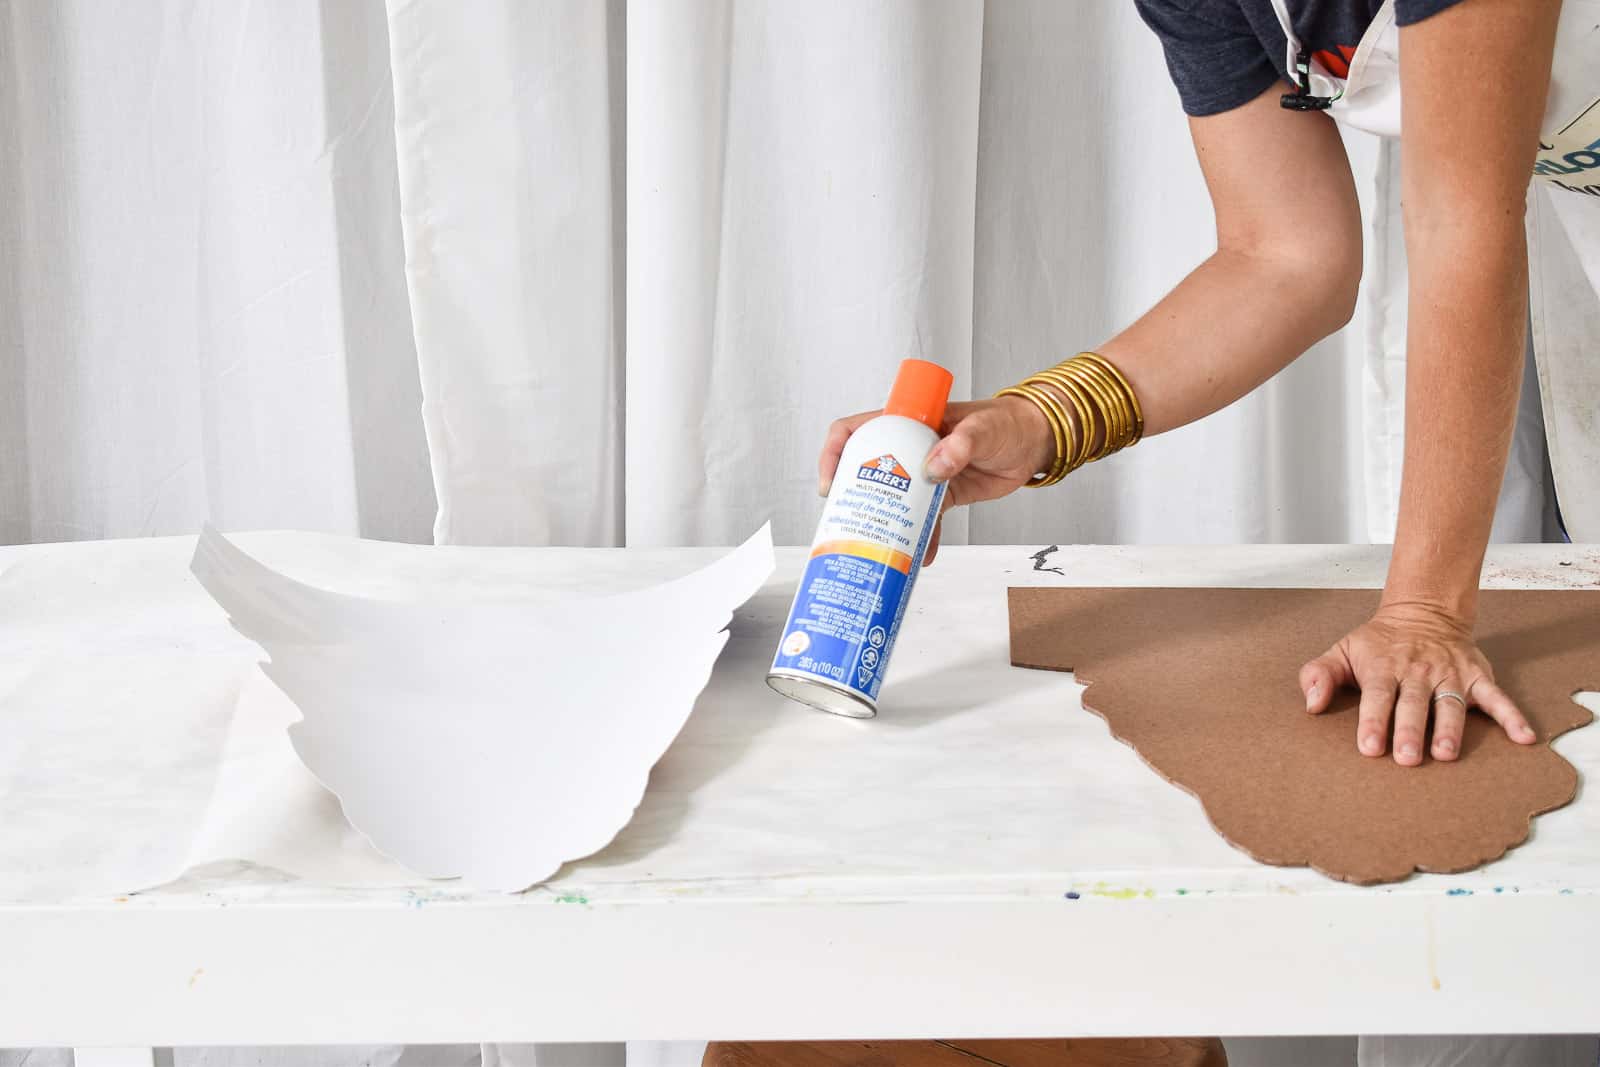
Step 5.
Because the photo is paper, you want to use proper adhesive so as not to leave bubbles. A spray adhesive or rubber cement would both work well. Follow the directions on the adhesive label and glue the photo onto the rigid backing you’ve just cut out.
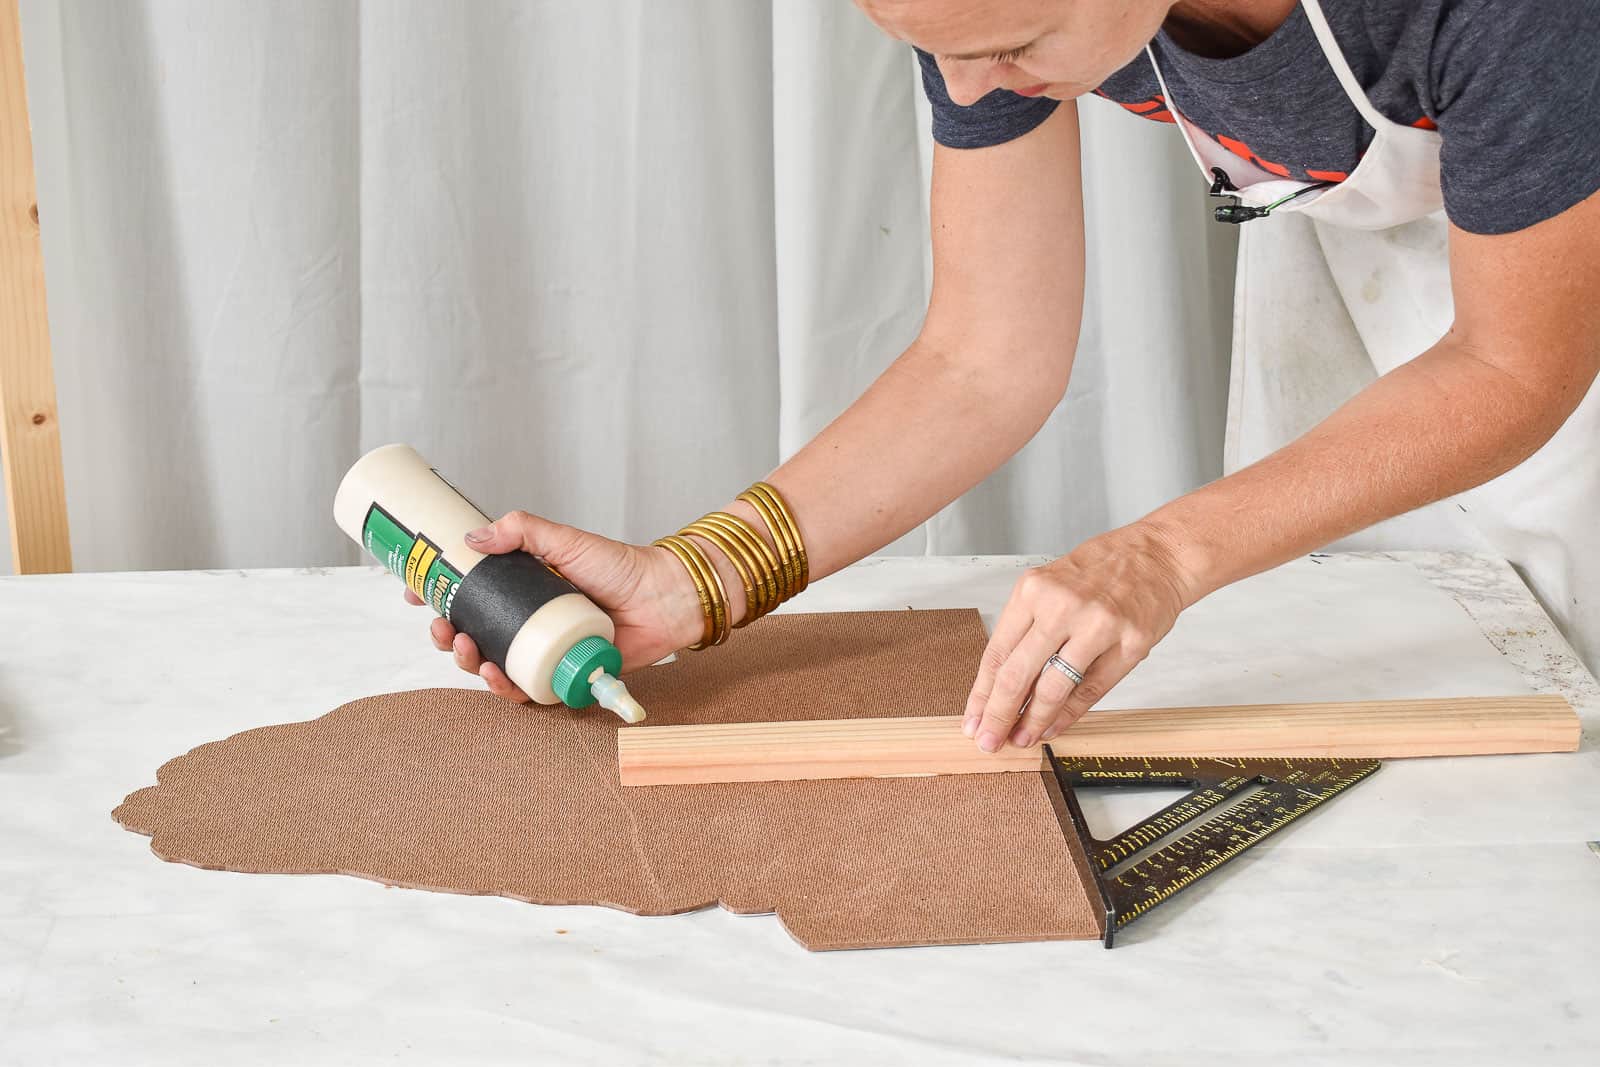
Step 6.
With wood glue, glue a 2-3 foot length of small (e.g. 1x2s) scrap wood onto the back of the head cutout.
Step 7.
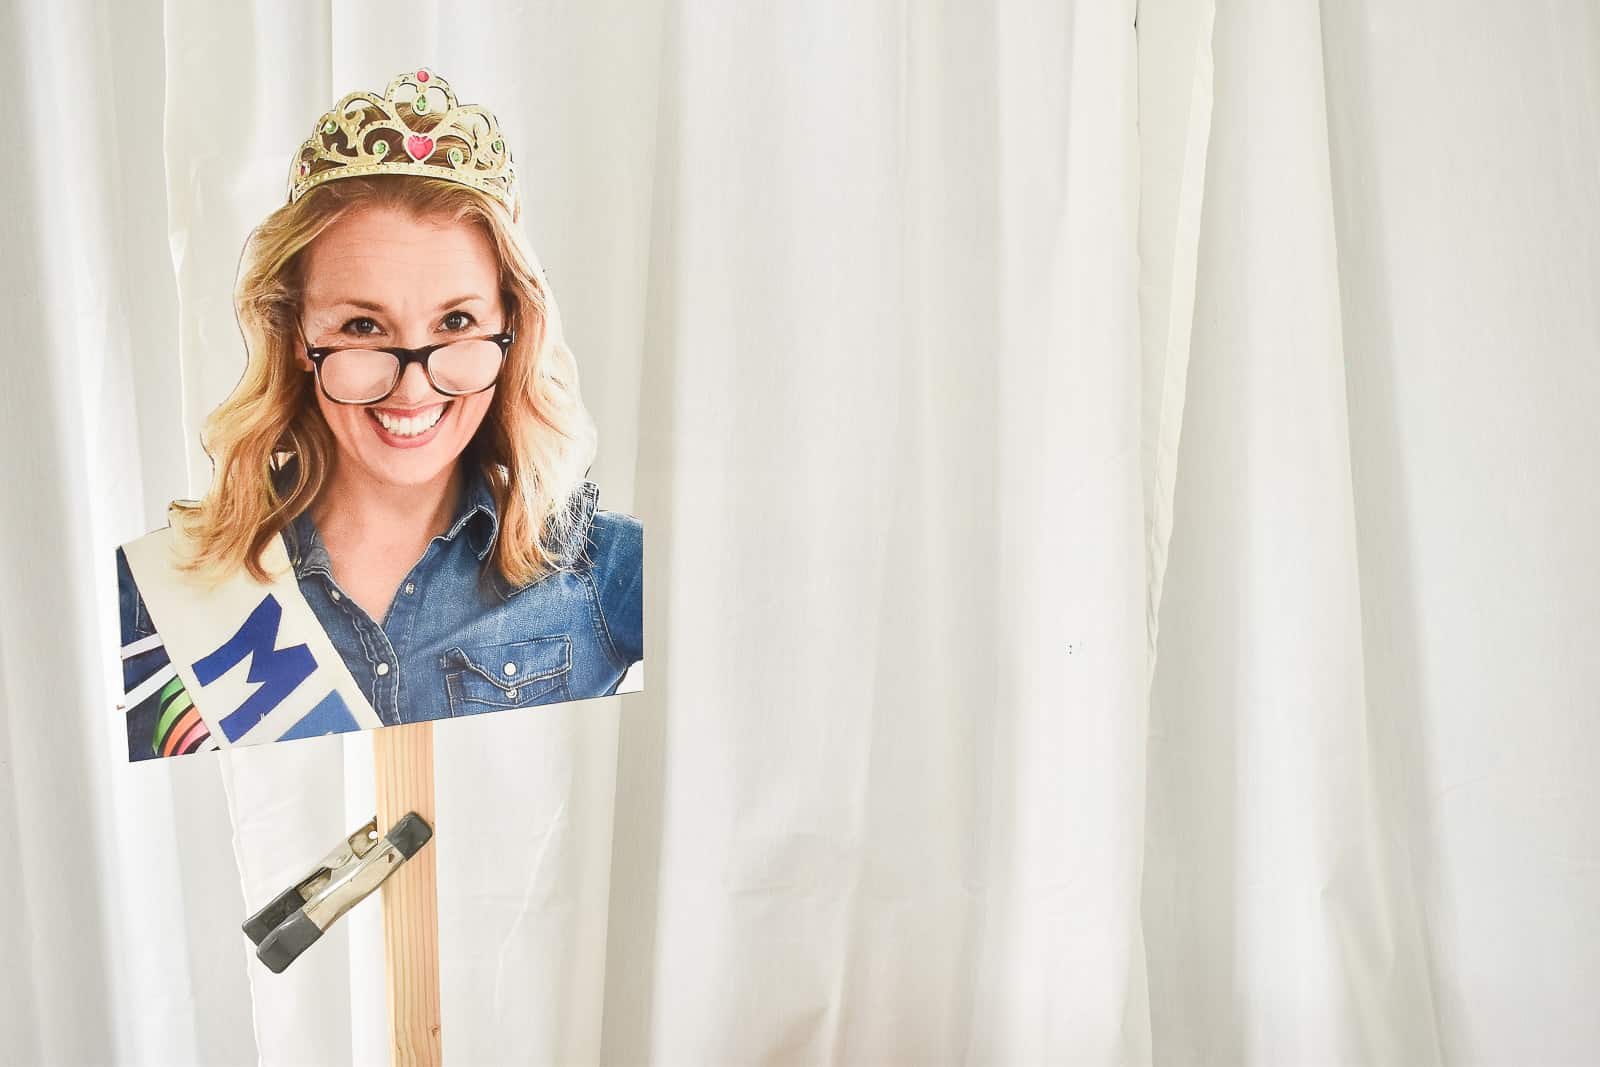
You’re going to want a base on which to clip your head. Again, I used scrap lumber for mine: 4 or 5 feet of 1×2, two 10-inch lengths of 2×4 and then a scrap of 3/4″ plywood that was about 8×10-inches to fit nicely under the 2x4s. I lay the 2x4s flat on either side of the 1×2 and screwed them in place. Then I placed the 2x4s onto the plywood and screwed them in place.

Now, when I go to shoot a video, I can set the height of my ‘Cardboard Caleb’ to whatever height I need by adjusting where I clamp the head onto the base. Also… so many other possibilities for places where I can place my head. Looking out a front window of our house… hovering over my kids while they sleep… the list goes on.
Make sure you follow Caleb on YouTube for a potential glimpse of his cardboard head! I’ll be using mine for both video and to sneak up on my kids for sure. To see my video on the project, click below!


This is so fantastic!
Haha! It will be very helpful for the 3 people looking for something similar! 🙂 🙂
This cracks me Up! So fun!