
My Renovation Binder
Psssst… this post *might* contain affiliate links: see my disclosure here.
Inside My Renovation Binder

One of the things we unearthed in our move was my old renovation binder. I shared it on Instagram and lots of you asked for more details so… here ya go! Eight years ago we bought our first house and there was loooots of work to be done. Our home inspector met us in the driveway, and looked us dead in the eye and asked what our intentions were with the house, so yeah…

Shop my favorites!

1. Keep everything in one place
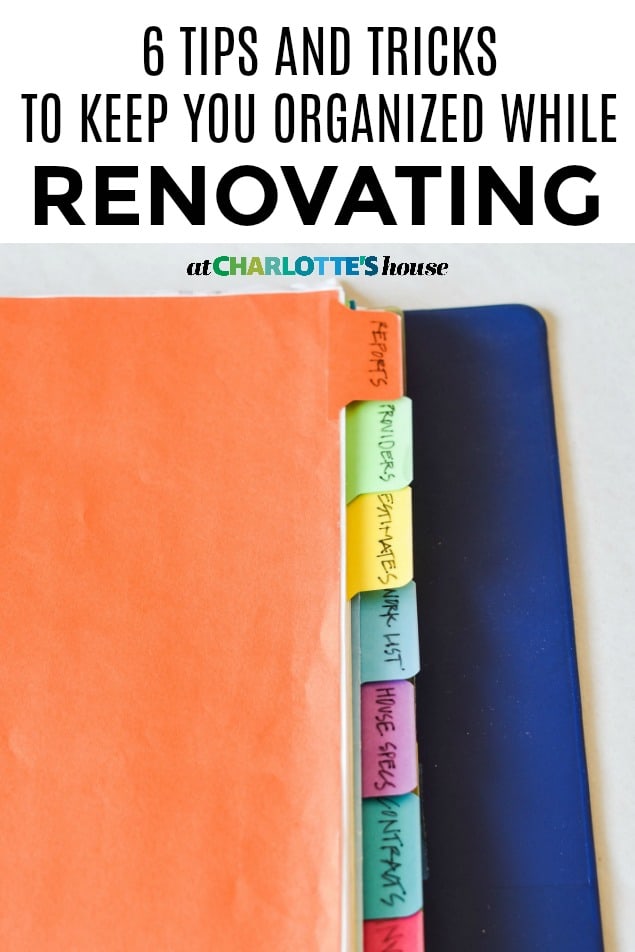
In order to keep a handle on it all, I put together this renovation binder and it was a LIFESAVER. I divided the binder into the following sections: Obviously these sections might be different from you, but we were essentially going through our home inspection and checking things off our list.

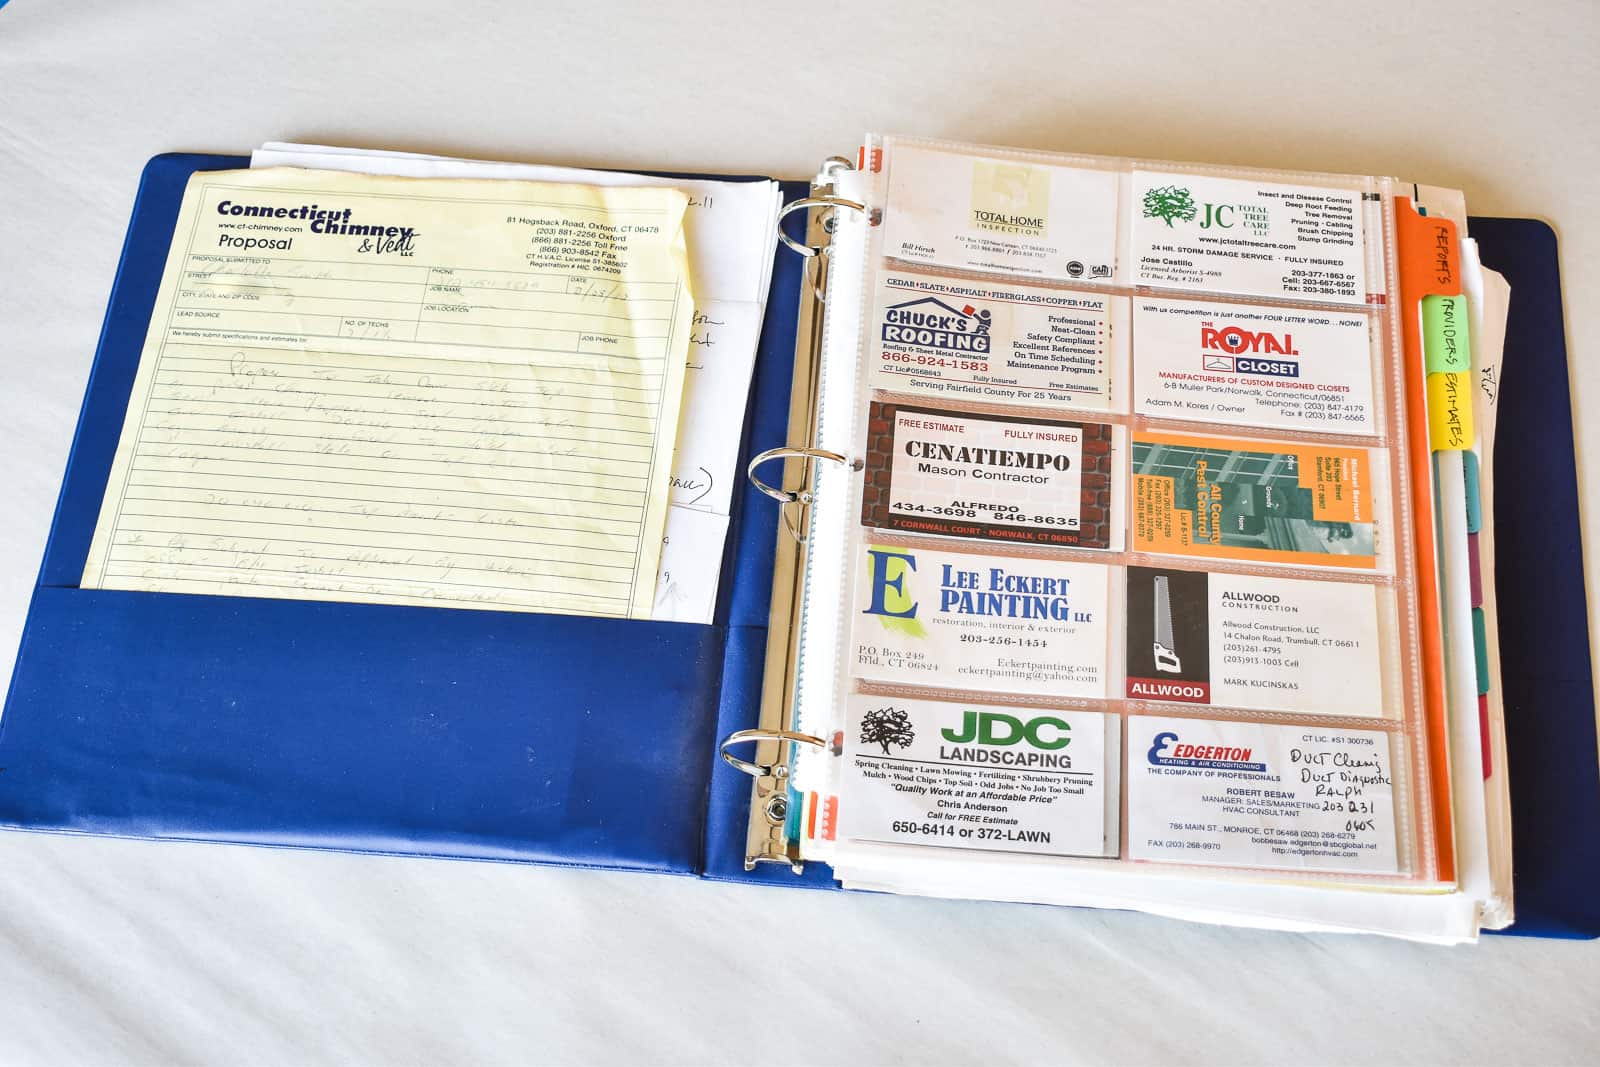
2. Meet and Interview Contractors
Since we were new to the area, I didn’t yet have a list of contractors so I met with lots and lots of people to get estimates and see what they had to say about the scope of work. I tucked all of their business cards into card holder and filed away every estimate that was given to use in writing.
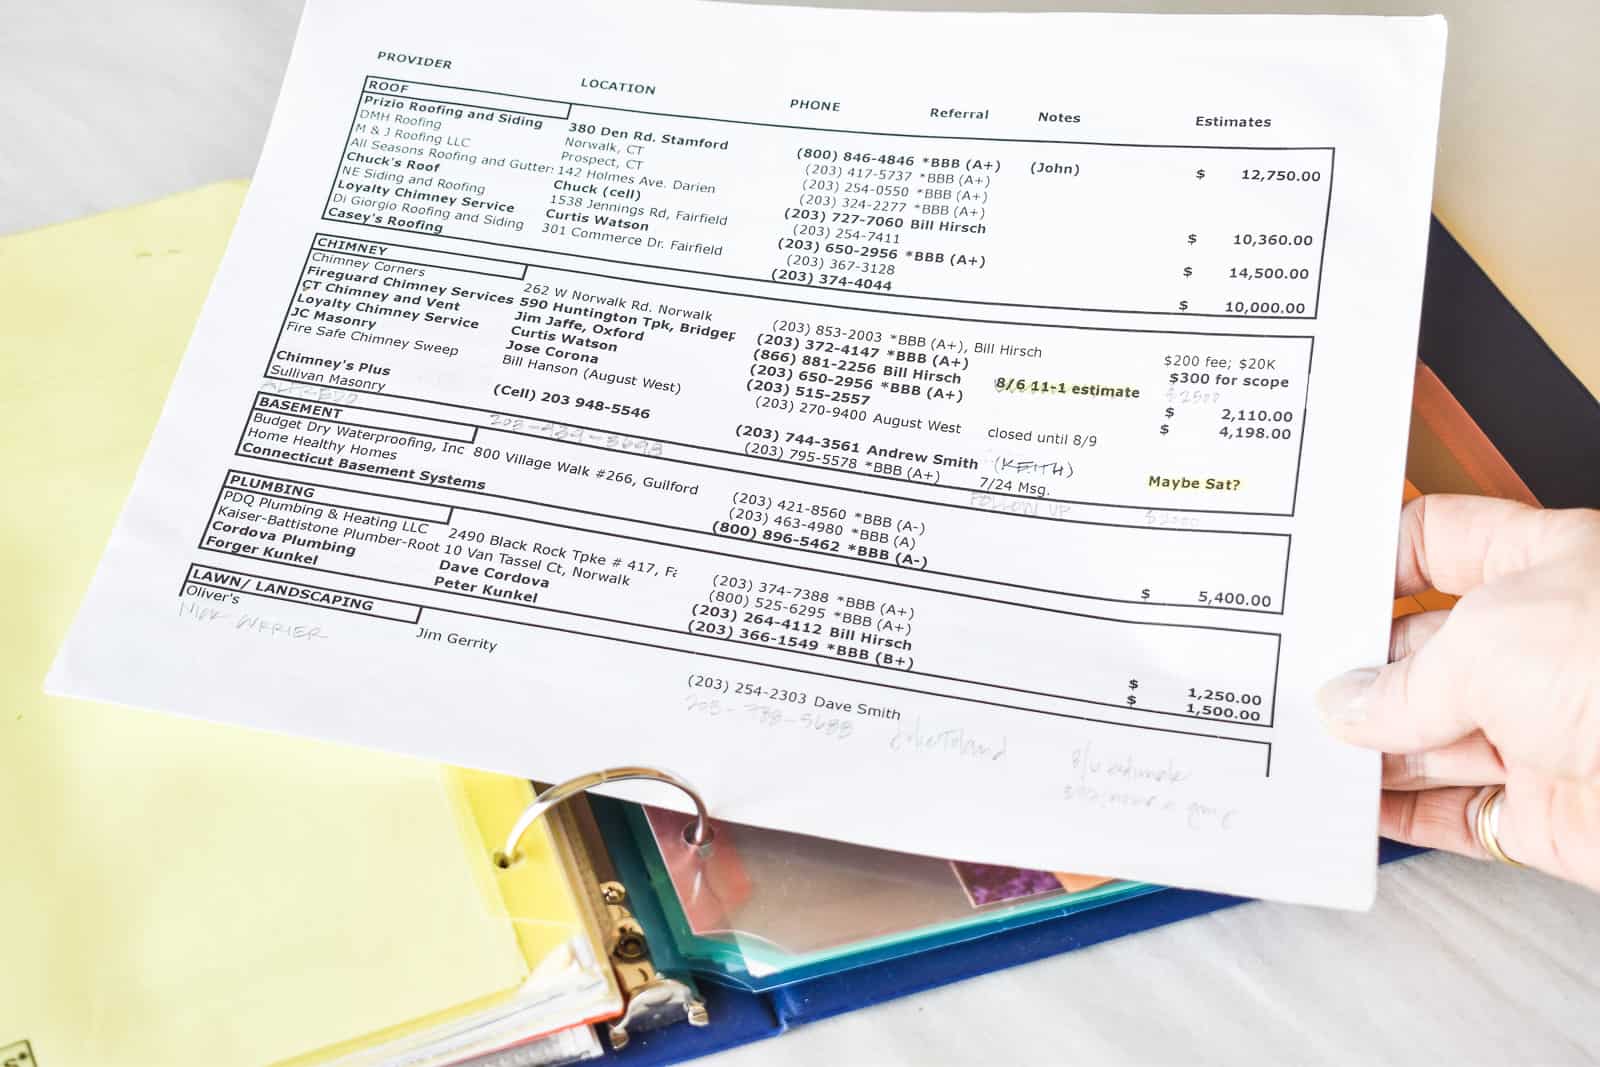
3. Compare and Collect Estimates and Contacts
I set up a spreadsheet to keep track of all our contractors, their contact numbers, addresses, any suggestions they had, and then of course their estimate. It was helpful to see who had the highest numbers, but also any notes I had about how long they thought the job would take, when they could start etc. etc.
4. Keep Work Lists and Reports on Hand
By the end of this post, you’ll probably be wondering why we even bought that first house… it had great bones and I’m so proud that we brought her back to life a bit. So… reports. We had a bunch of those. Reports for mold remediation. Reports for FEMA regulations. Reports for planning and zoning. I had a section in the binder for reports. A big one.

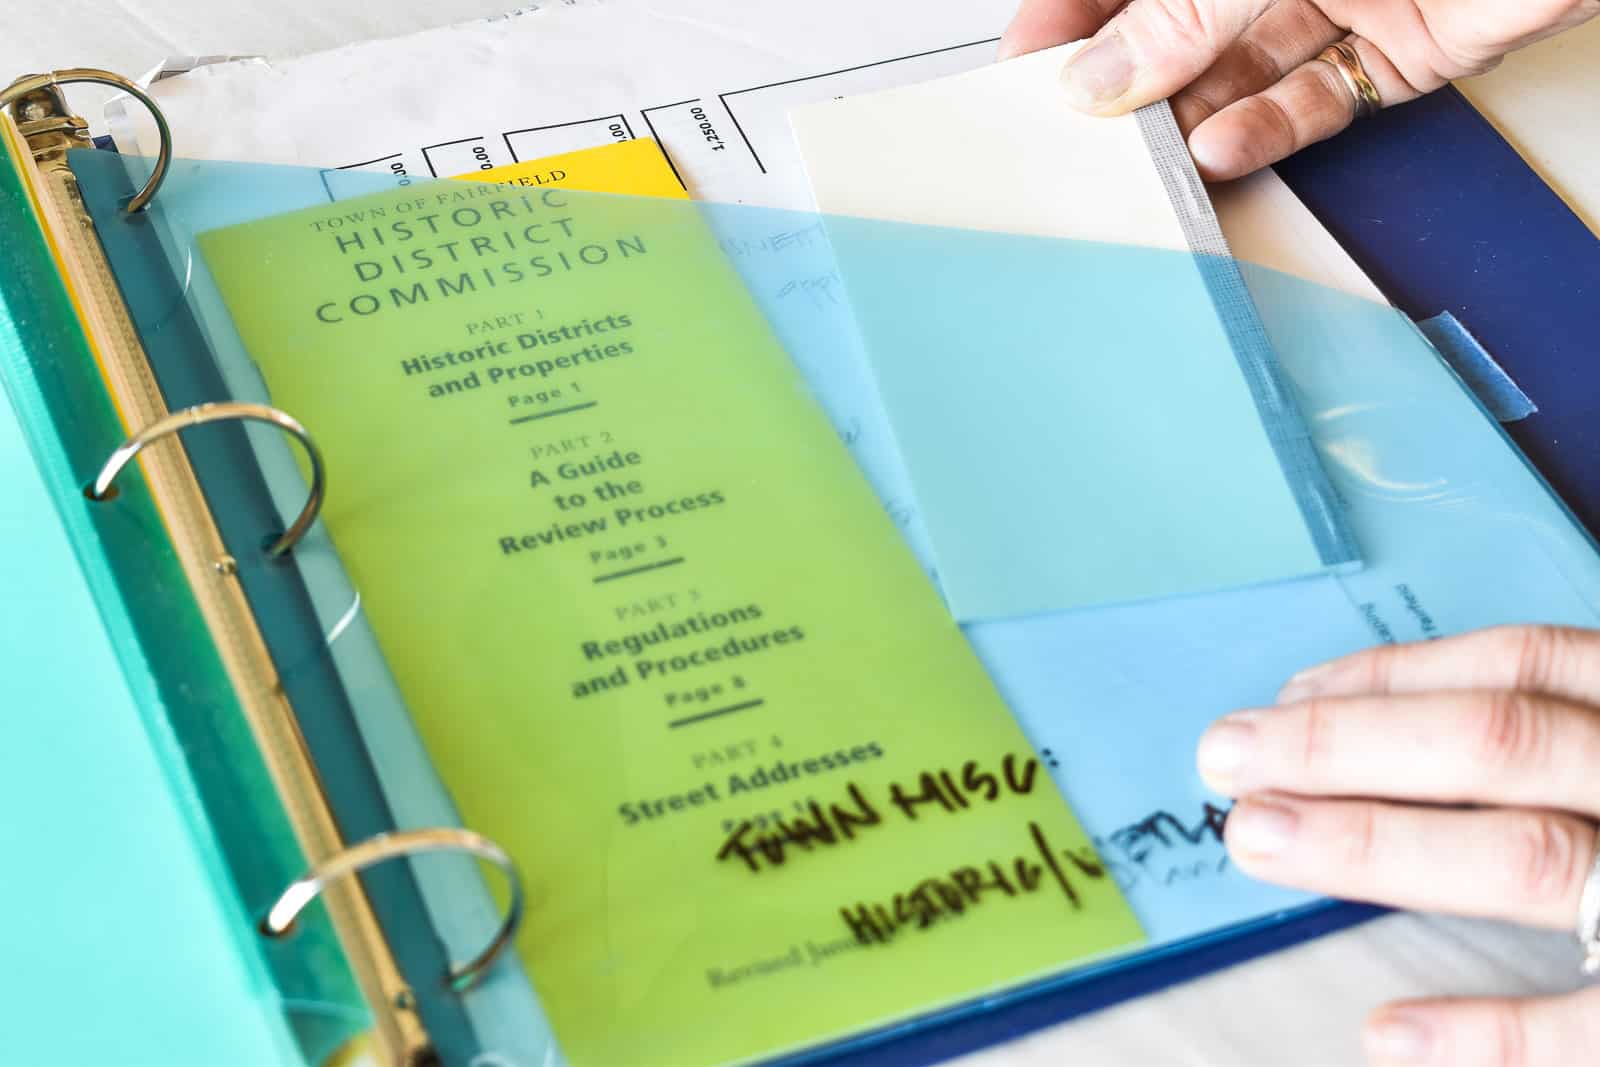
5. Store Guidelines, Applications and… a checkbook
Our house was in the historic district of town which meant that anything we did to the exterior had to be reviewed and approved. The process was annoying, but required an application and/ or a work order. I had one section of the binder for the historic district commission guidelines, blank paperwork, and any approved application forms. Also, a check book… this was helpful for deposits, etc.
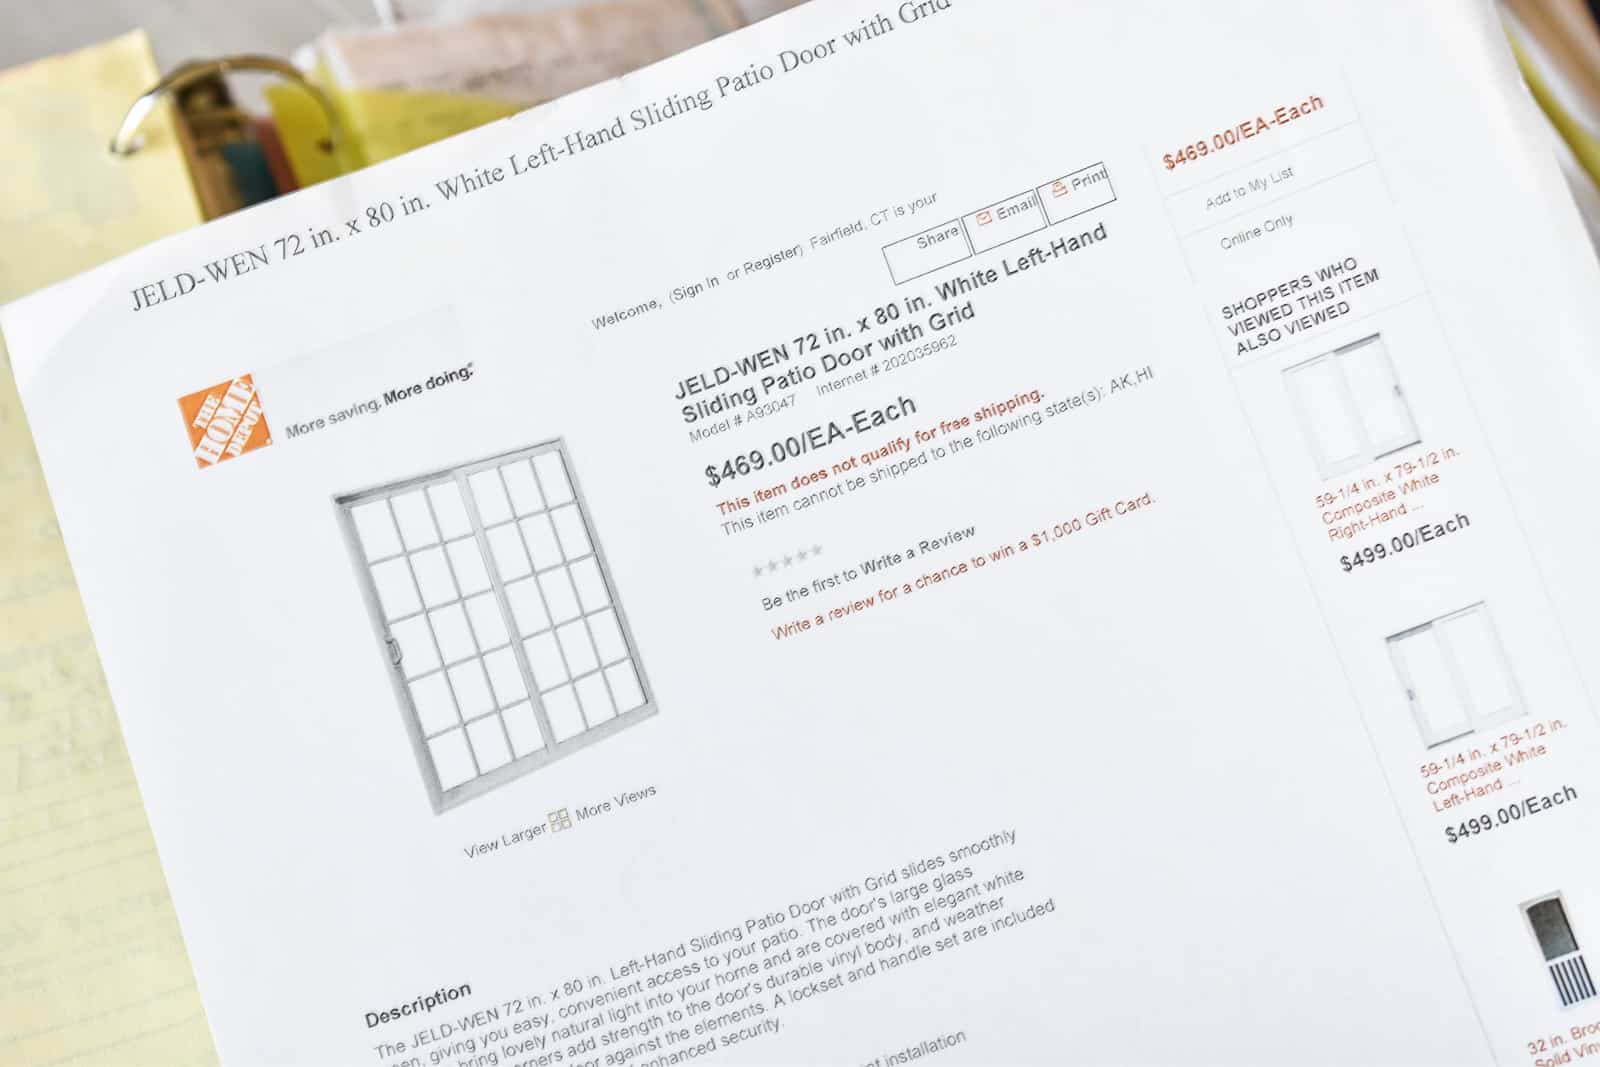
6. Specs and Product Tear sheets
Finally, I had a section for any products or specs that I needed. Windows, patio materials, carpet samples… that kind of a thing. The number of times a contractor has called me asking for the exact measurements or details of a product… well, it’s a lot. This saved me scrambling to find it on my phone or to, gasp, remember.
At one point, architectural plans were part of the renovation binder… but they ended up taking up too much room. A few isolated sketches for landscaping or a shelving unit tucked into the back pocket for reference. I also had a binder for my design decision and inspo. Pinterest quickly made this process easier but I always liked to have some place to store samples or swatches!
Eventually, here’s how the house looked from the exterior. Head over to my First Home Tour to see the extreme before/ afters… Also, keep in mind that I have come a LONG way with my photography/ styling/ decor so…


Your recently work was really good, and this is also amazing. I like it and I’ll share it with my friends soon. They also love these things….